When you click on links to various merchants on this site and make a purchase, this can result in this site earning a commission. Affiliate programs and affiliations include, but are not limited to, the eBay Partner Network.
hahaha .. I have more people going ... whaaaatt on the engine color then anything else .. love it !
guess you'll have to wait and see just what I'm talkin' 'bout
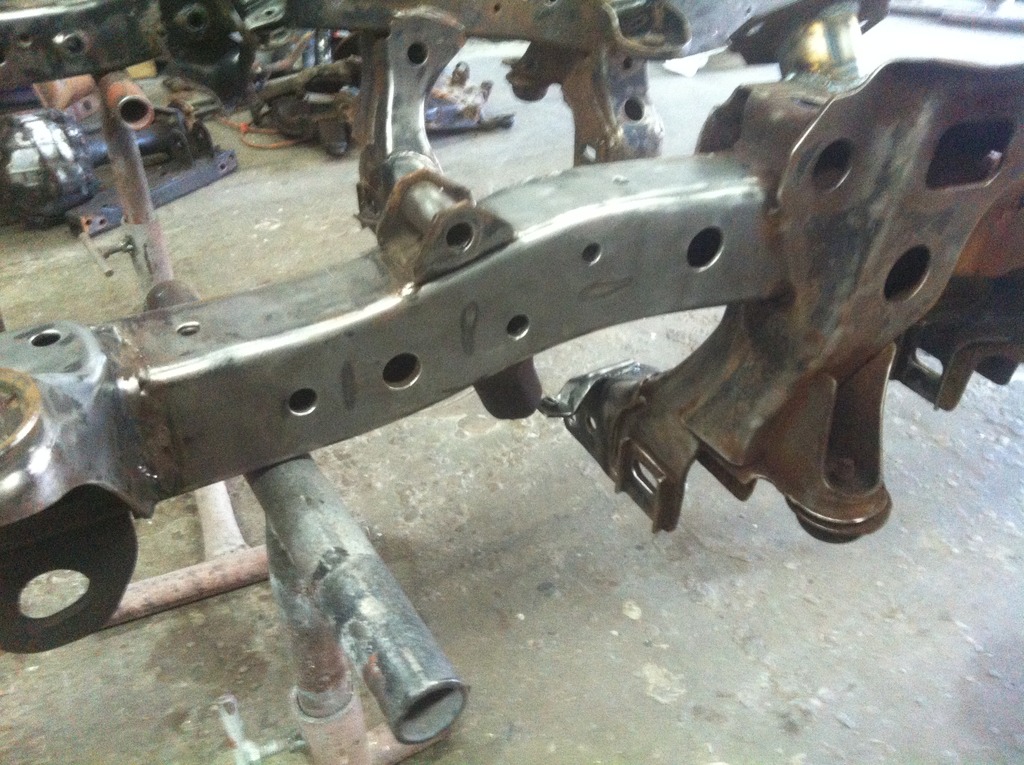
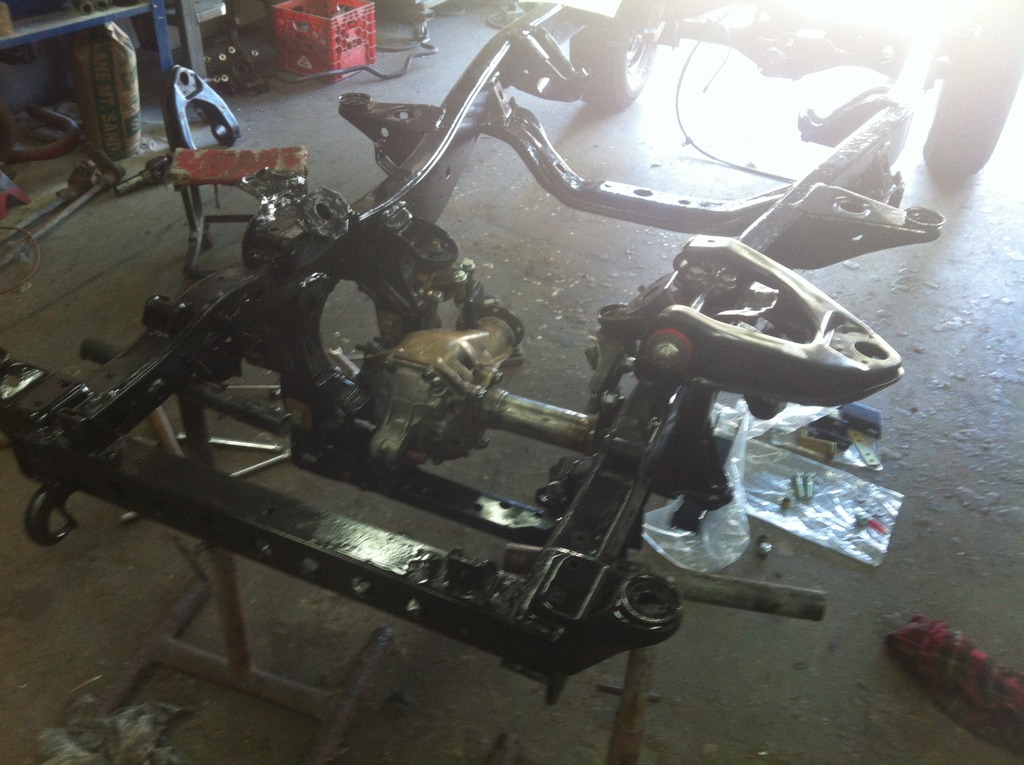
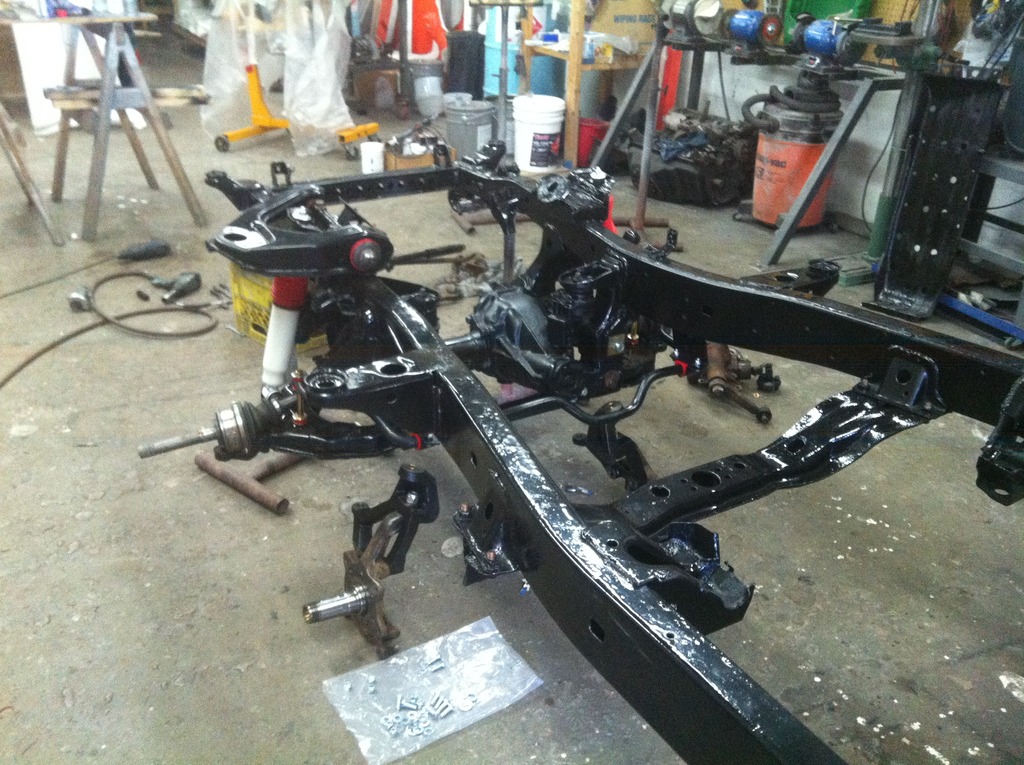
You sticking with the IFS or going SA? Please say IFS so I know that you are still a Toyota purist... :o) Doing my frame was perhaps the most annoying part of my build! The entire frame was thoroughly covered with that nasty tar-like undercoating that was popular around here in the late 80's/early 90's. Talk about a major PITA to remove!!!
I wondered how you did yours. I do the same thing. Getting in all the nooks and crannies takes a while but about the only way I know of doing it with out blasting it. Drive train looks great.
You sticking with the IFS or going SA? Please say IFS so I know that you are still a Toyota purist... :o) Doing my frame was perhaps the most annoying part of my build! The entire frame was thoroughly covered with that nasty tar-like undercoating that was popular around here in the late 80's/early 90's. Talk about a major PITA to remove!!!
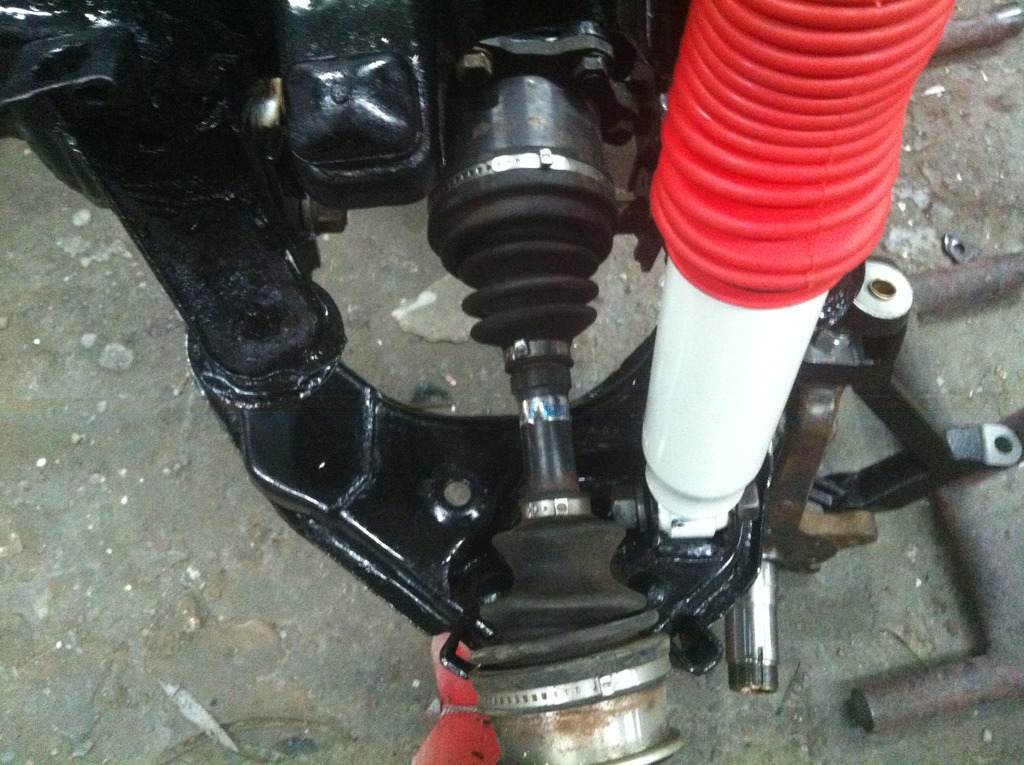
yep , sticking with the IFS ... I do have a new IFS suspension lift going in though , but yep , IFS
Originally Posted by Terrys87
I wondered how you did yours. I do the same thing. Getting in all the nooks and crannies takes a while but about the only way I know of doing it with out blasting it. Drive train looks great.
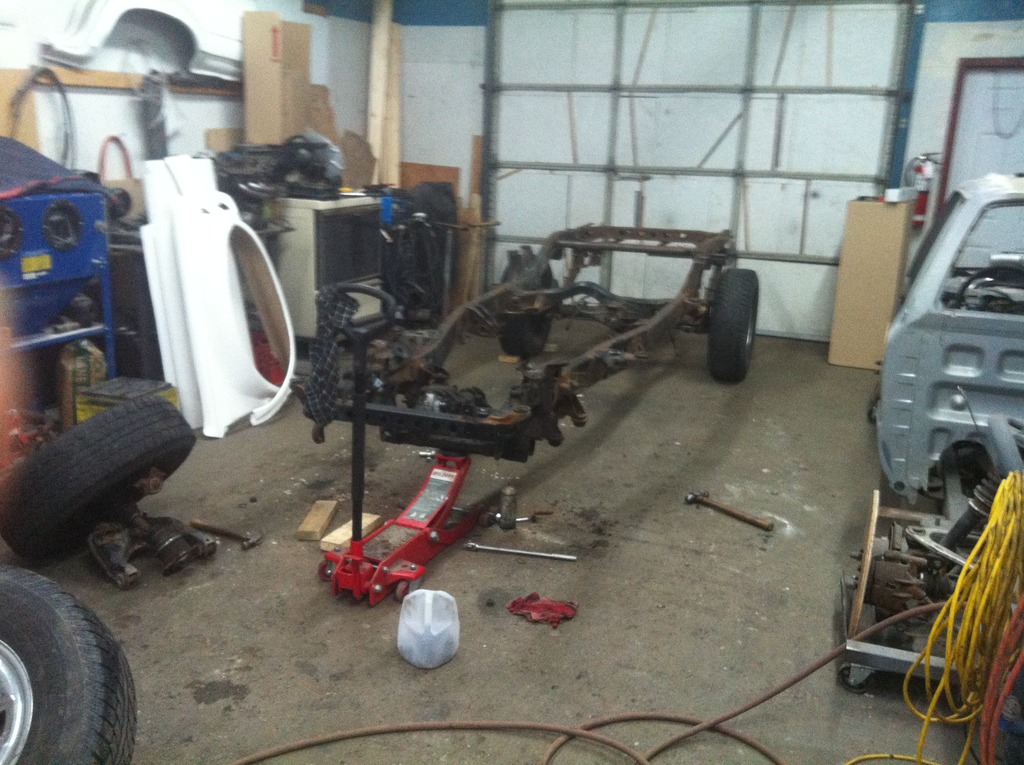
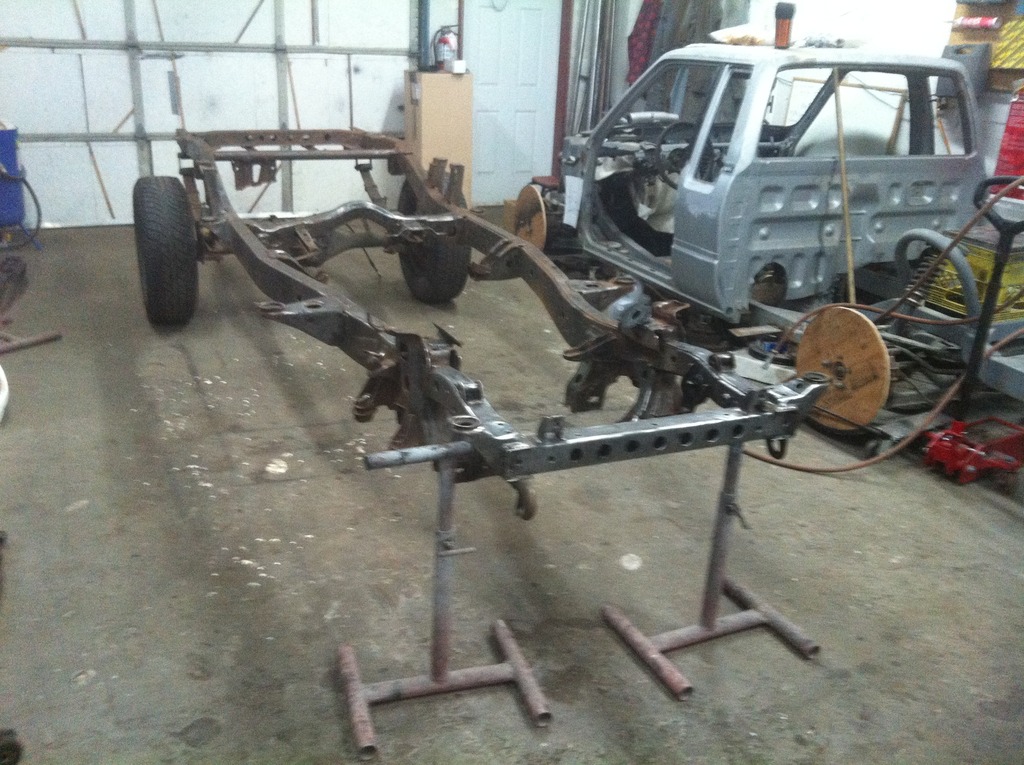
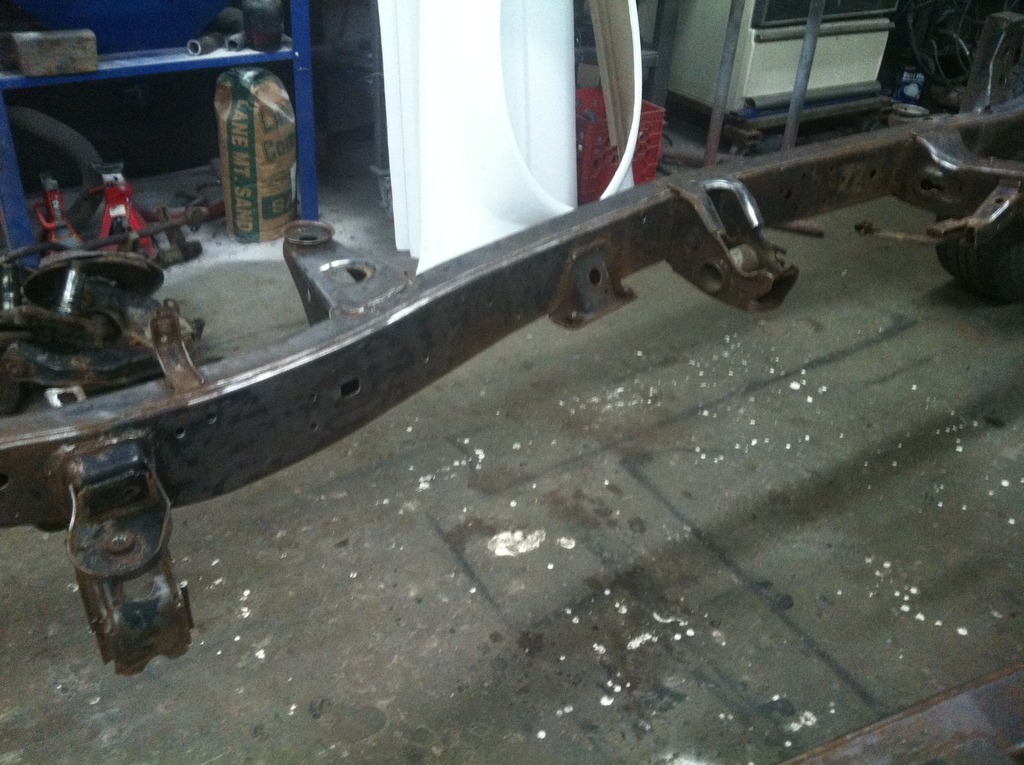
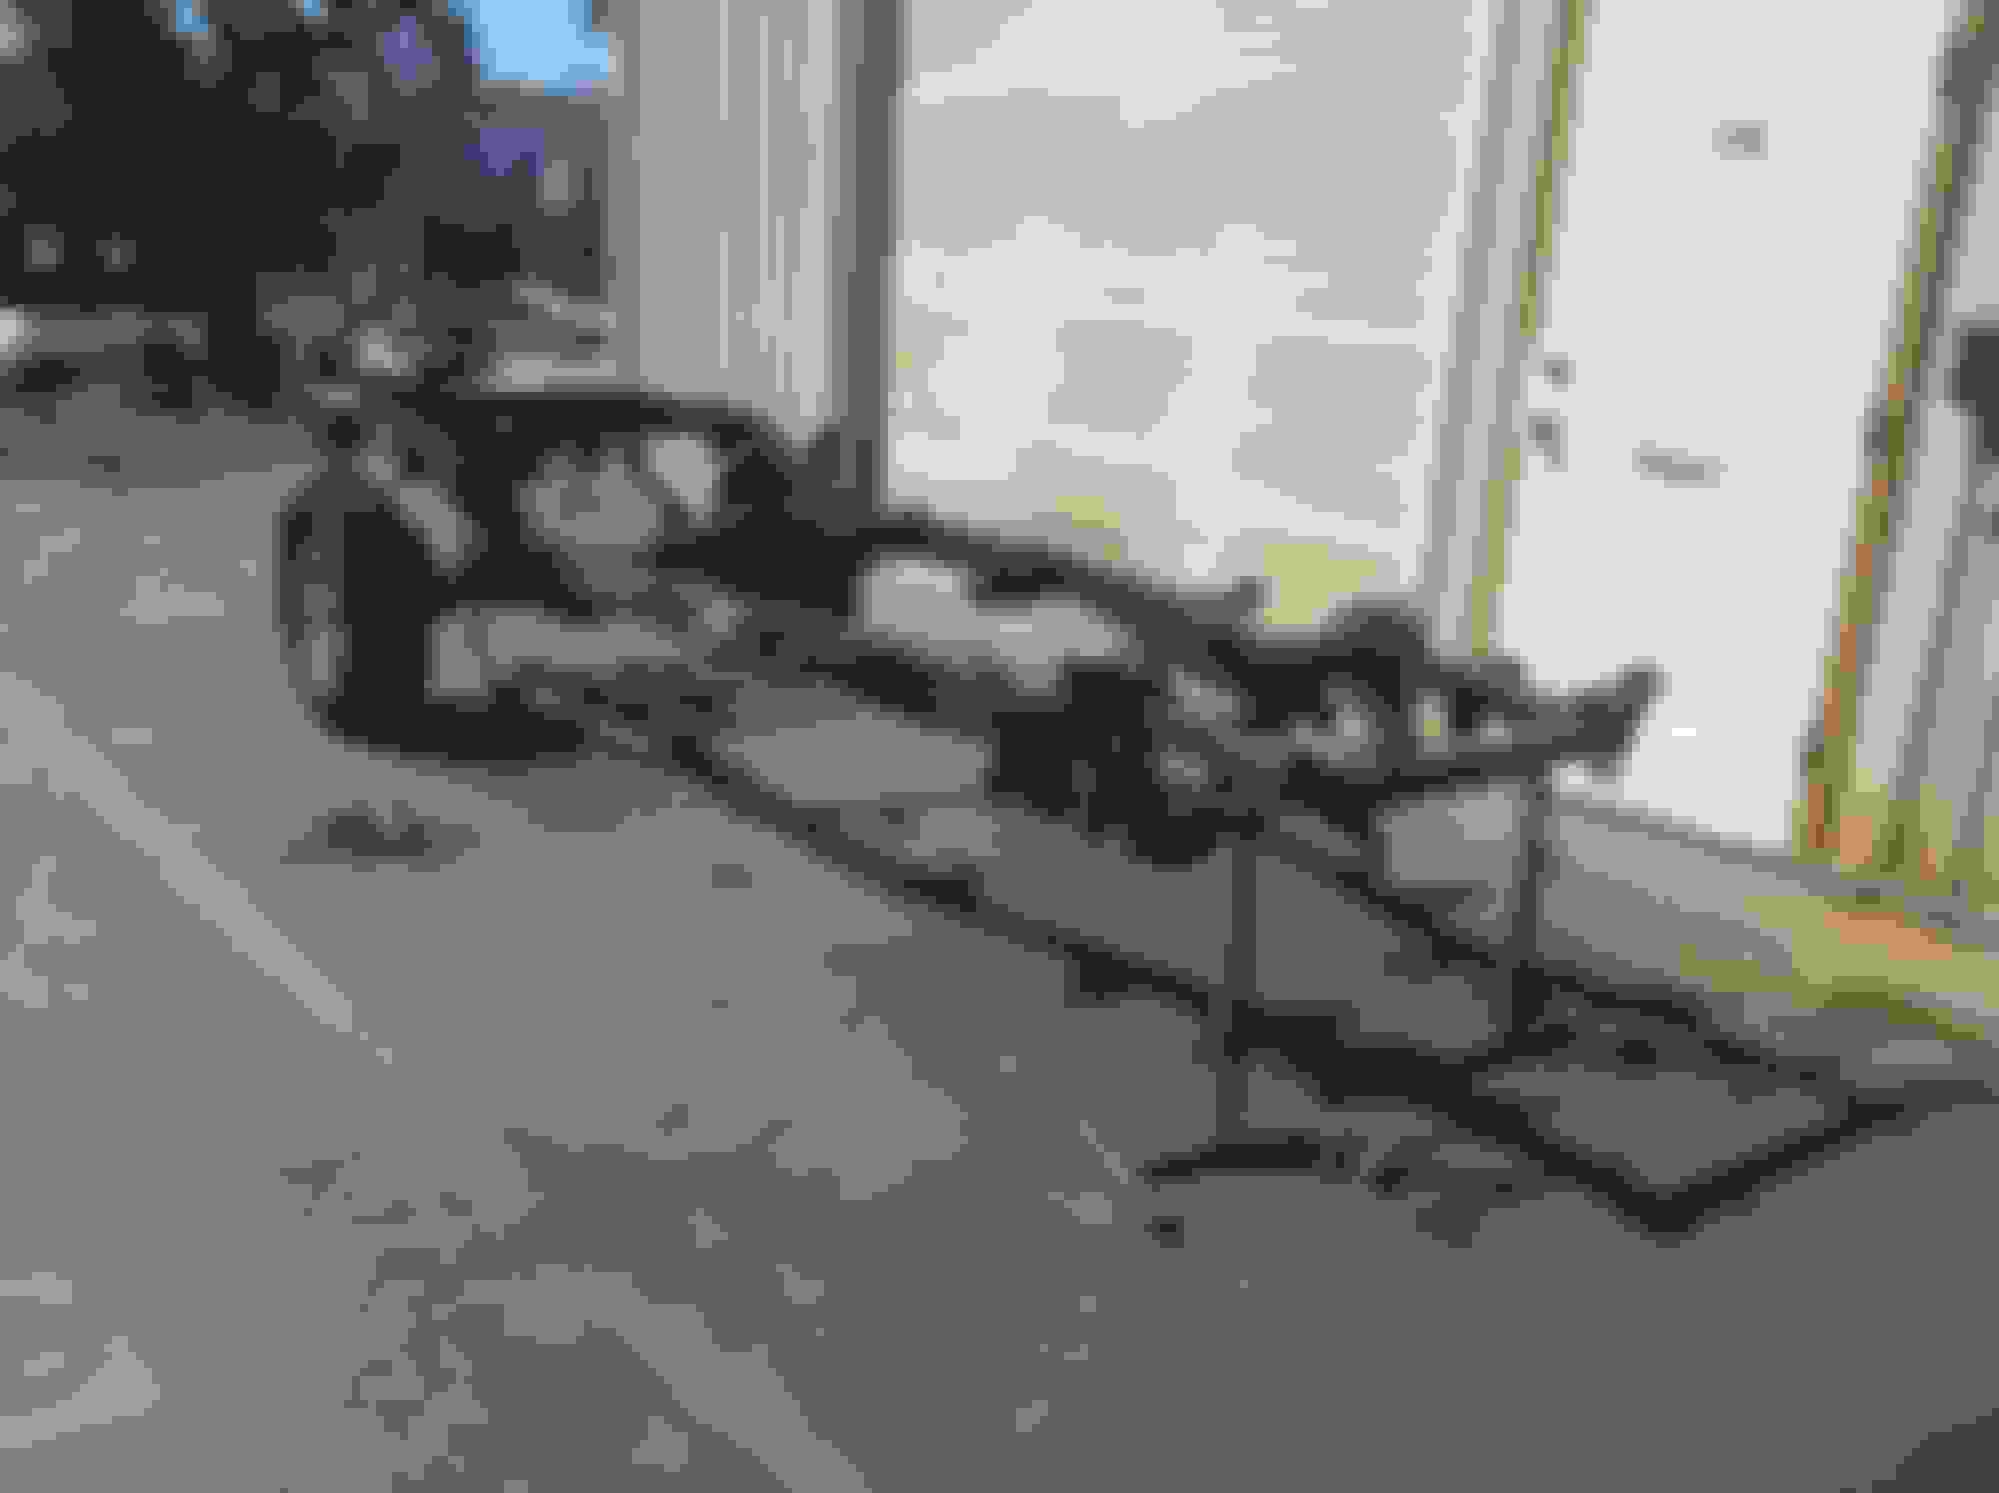
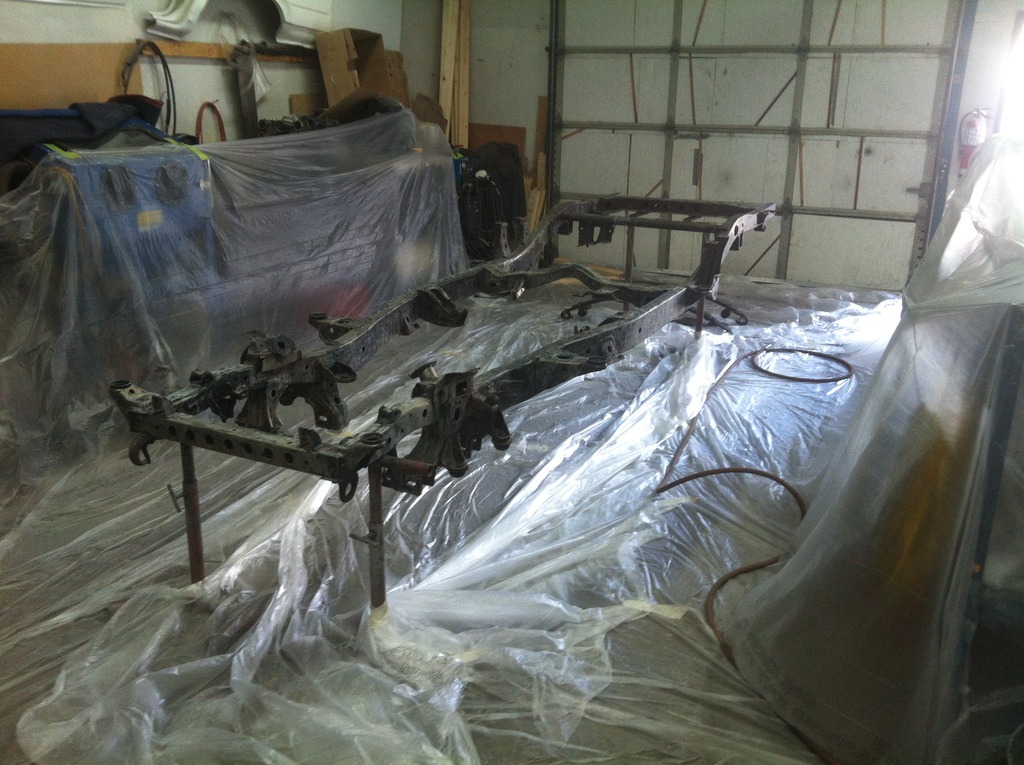
this is not the way I do it normally do it ... usually I start with a bare frame , sand blast it , and go from there . My trekker I didn't sandblast , but it was a real nice , nice frame to start with . I really wasn't planning to go this far , but I just cant seem to come to terms with just letting the "little things" go .. I seem to need to fix them ... I think I have some sort of disease or phobia
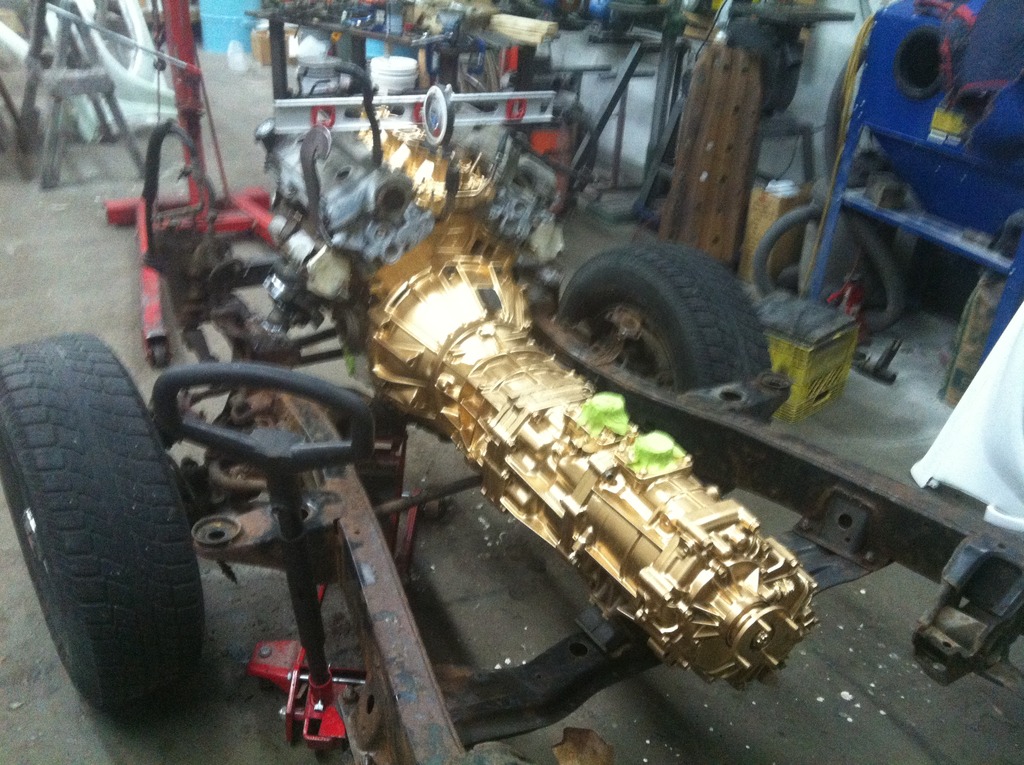
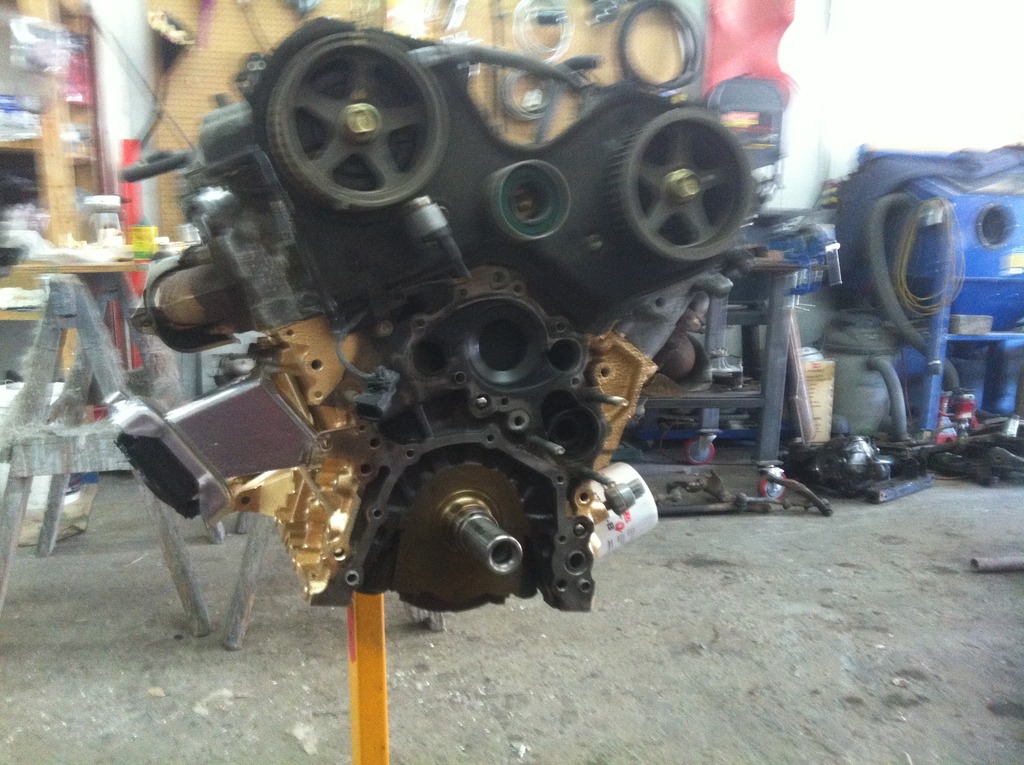
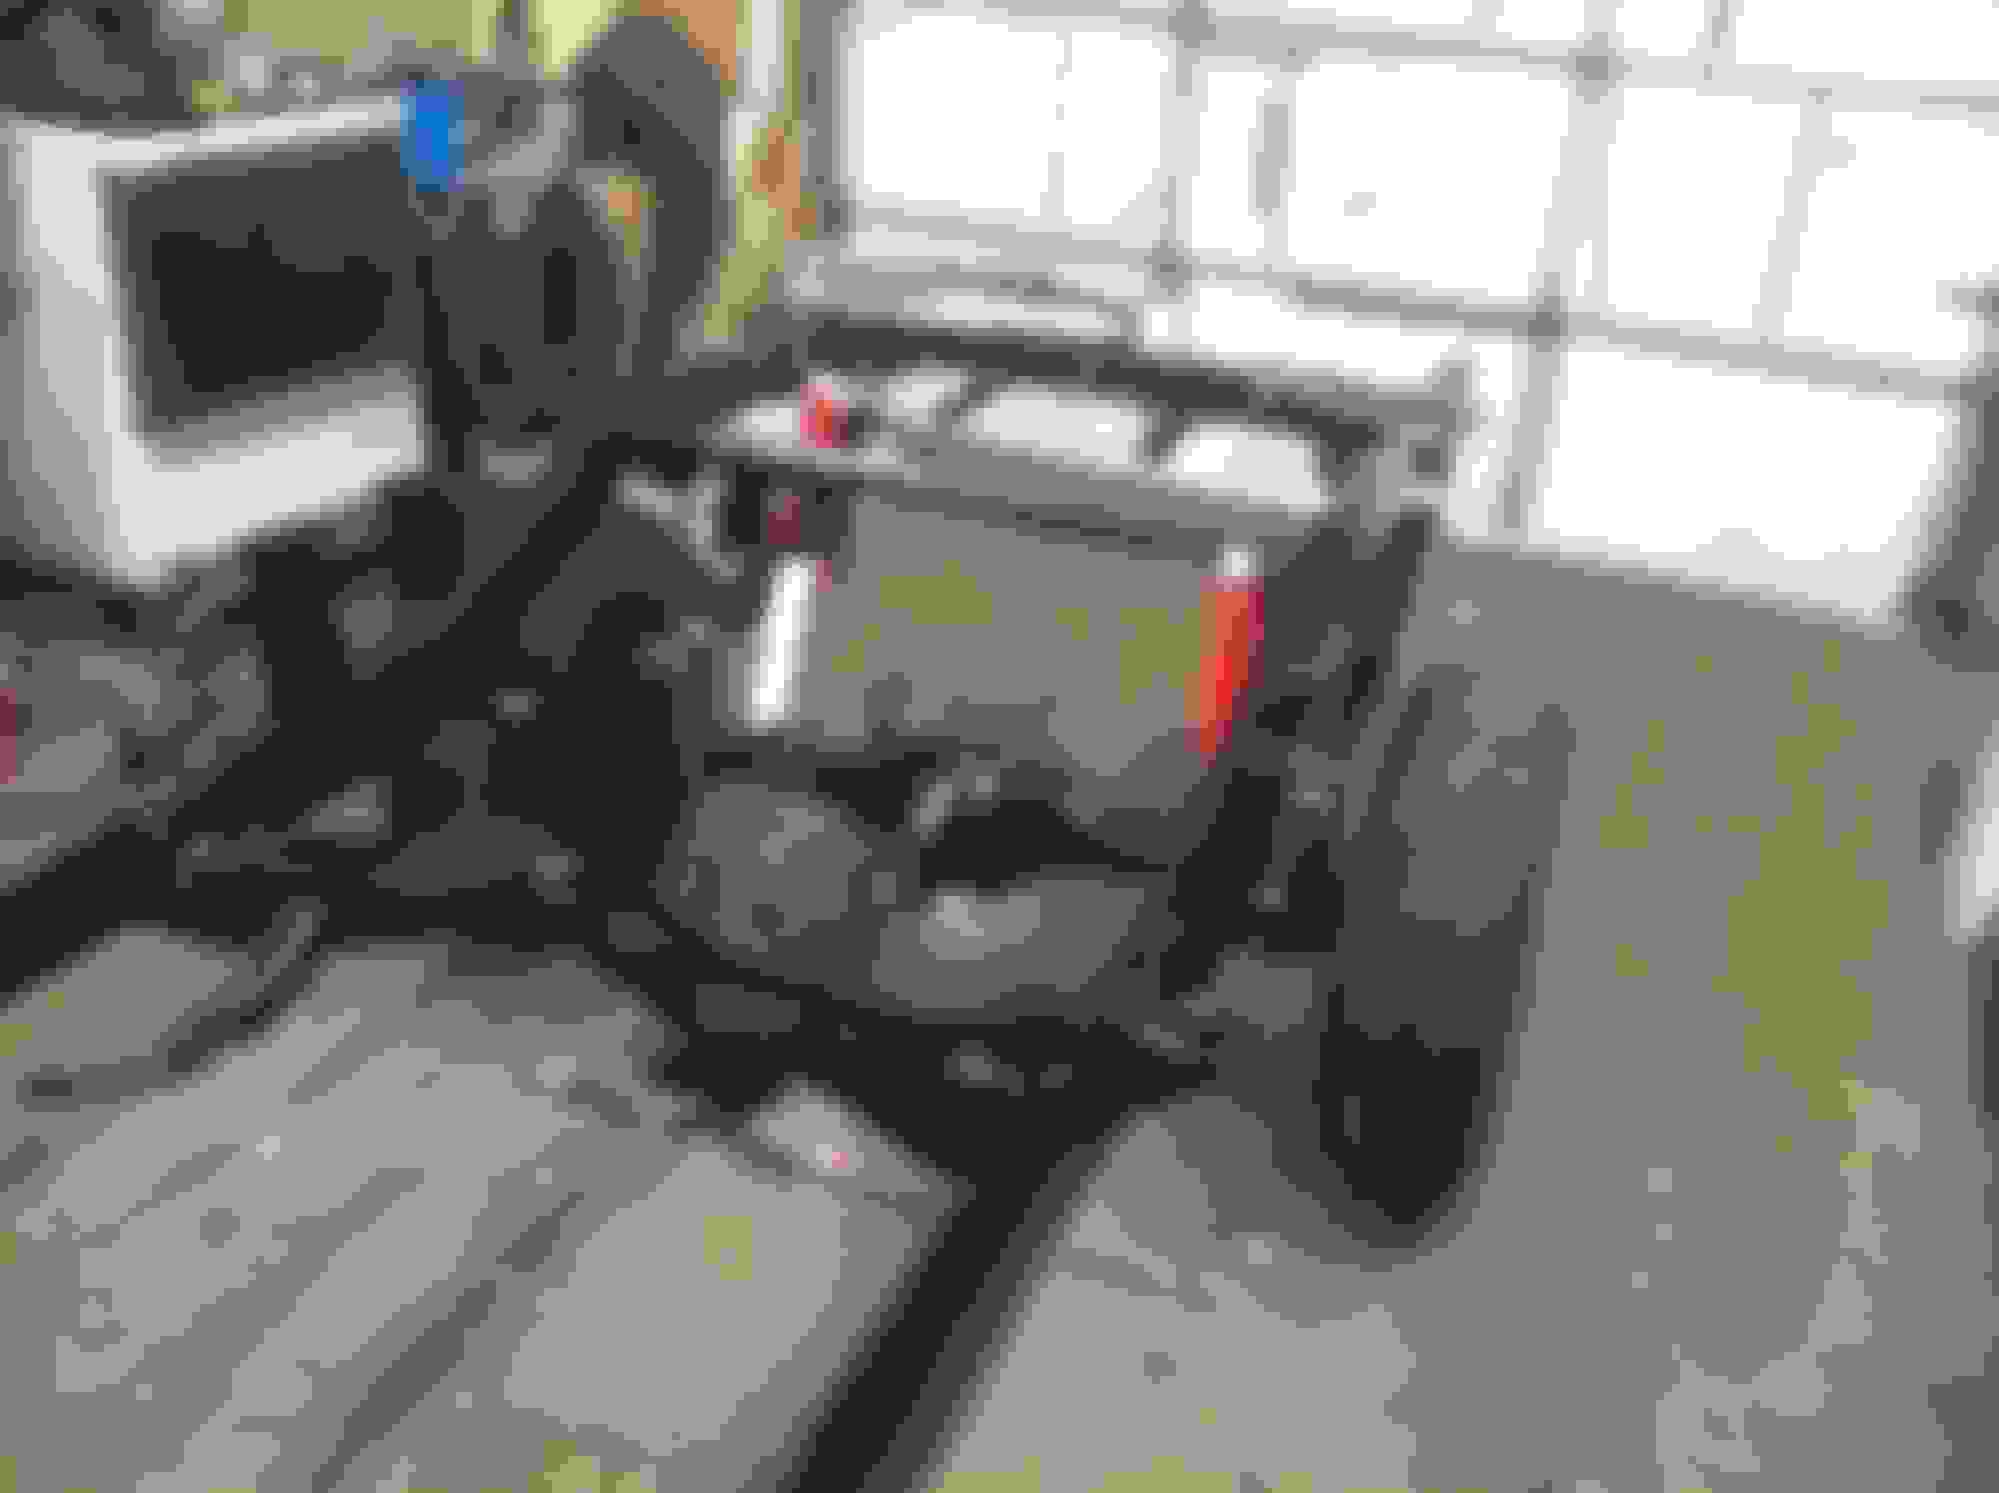
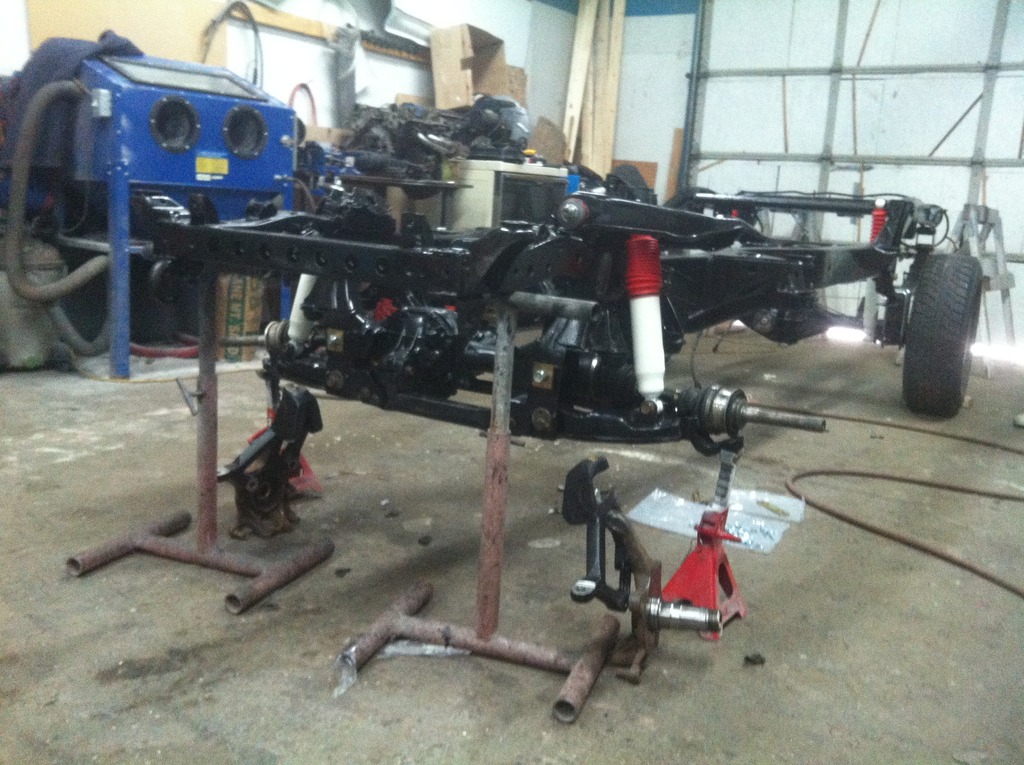
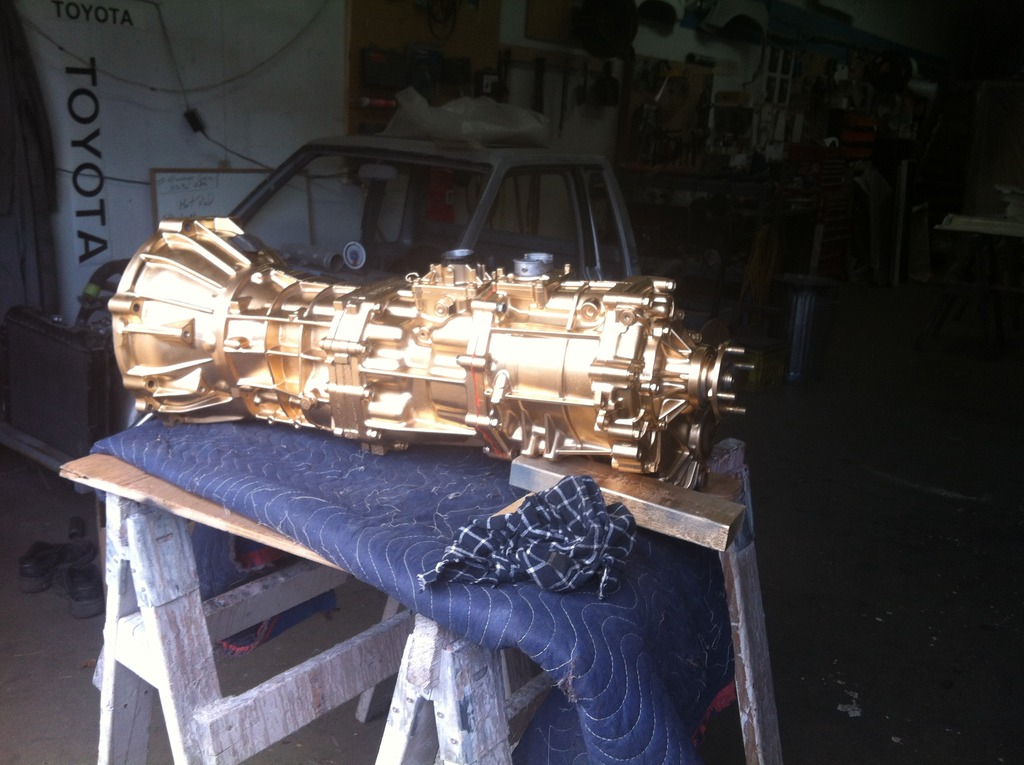
Joel has been a huge help on this .. and to keep up with him today we had to mount the tranny and engine to get the positioning for the new mounts .
I used some round tube I had , worked out great ...
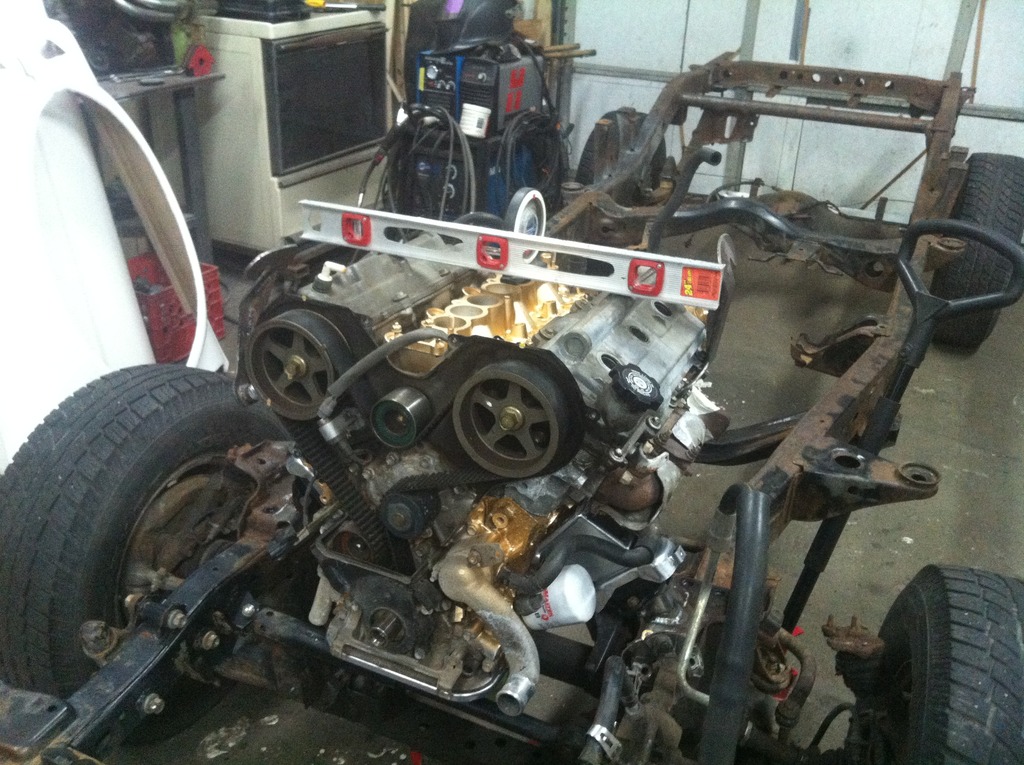
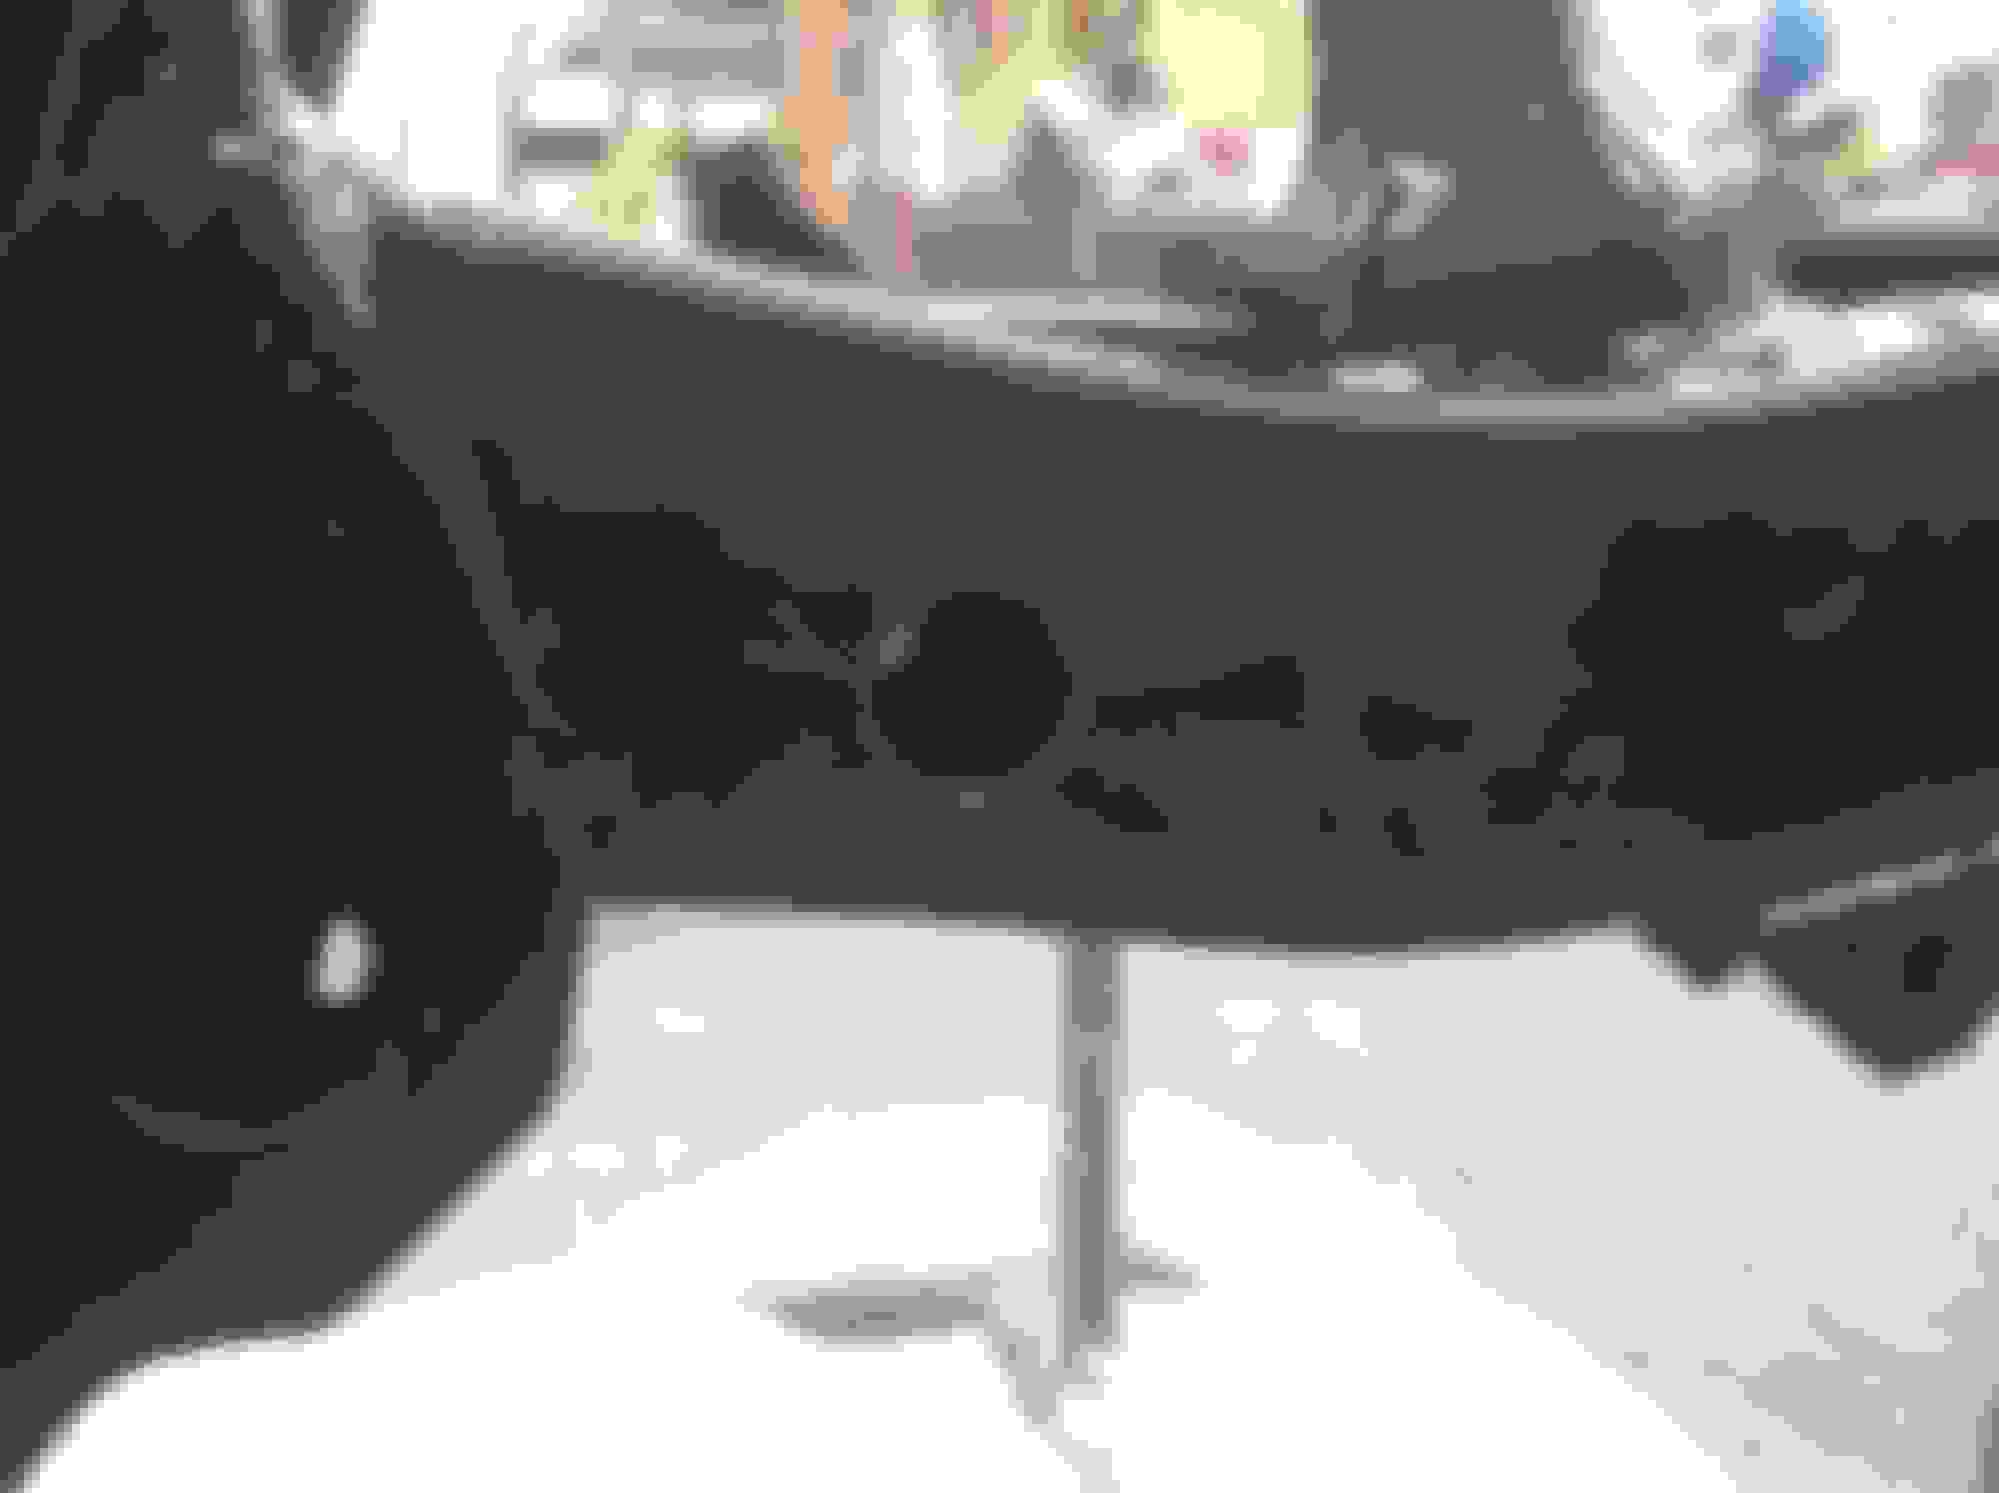
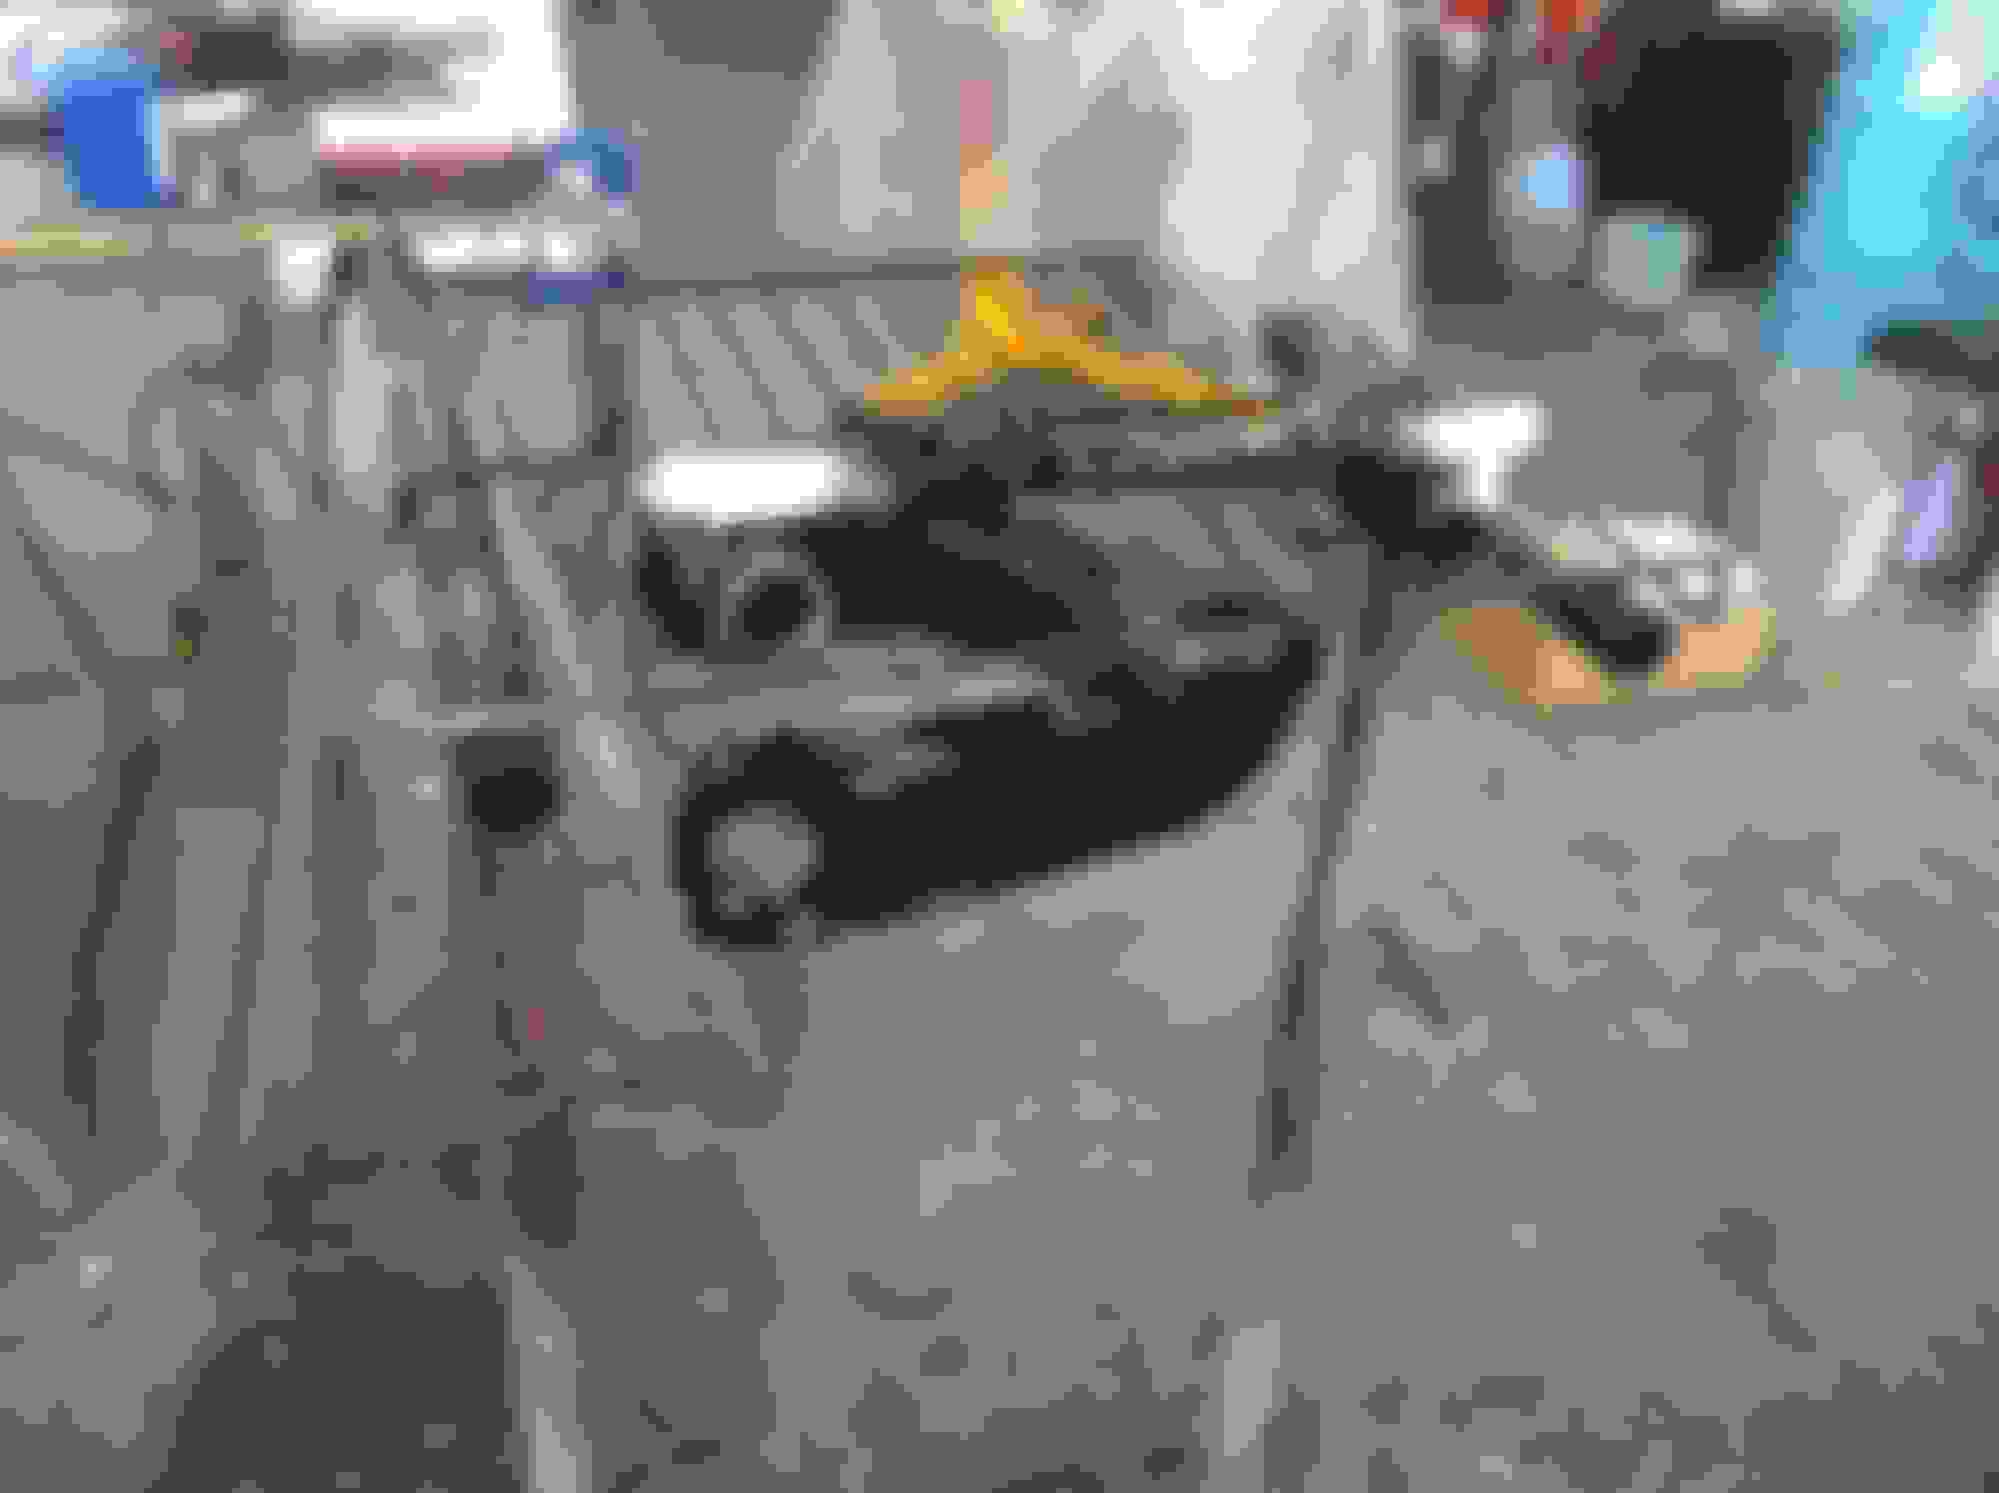
ok , so now we're done with the fitting of the engine .. time to make it perdy
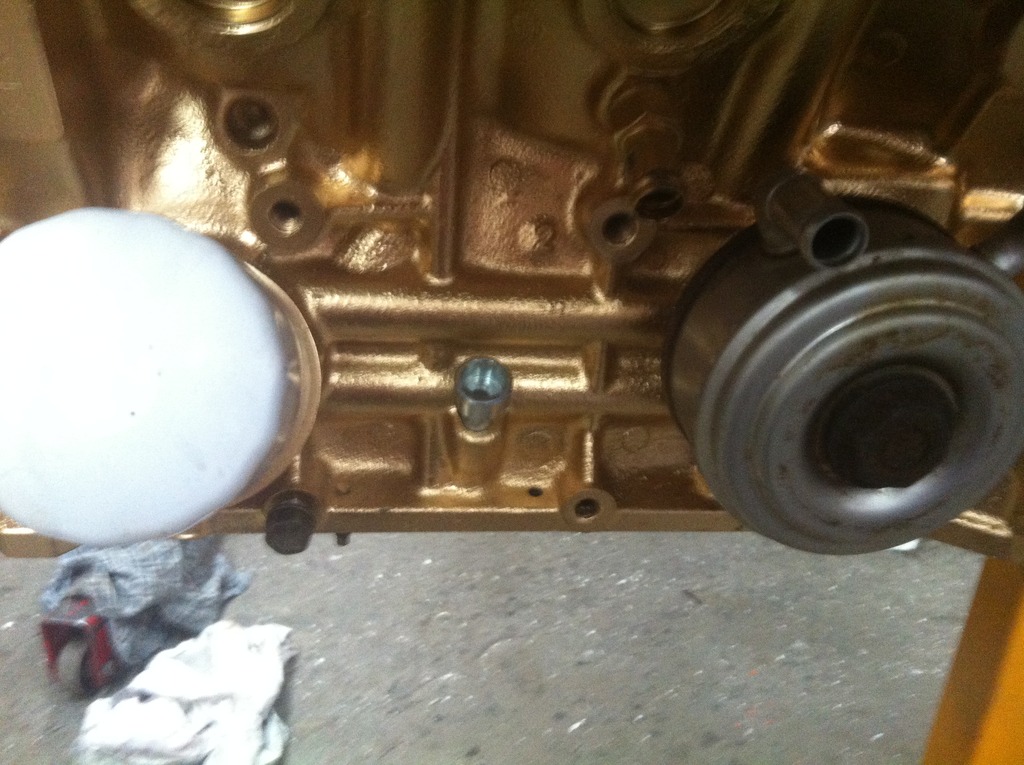
first I started with removing the pan .. for those whom don't know , the original oil pan and pick up on the 5Vzfe wont fit this application . so as you saw in the previous pictures , I already powder coated the pan I need ..
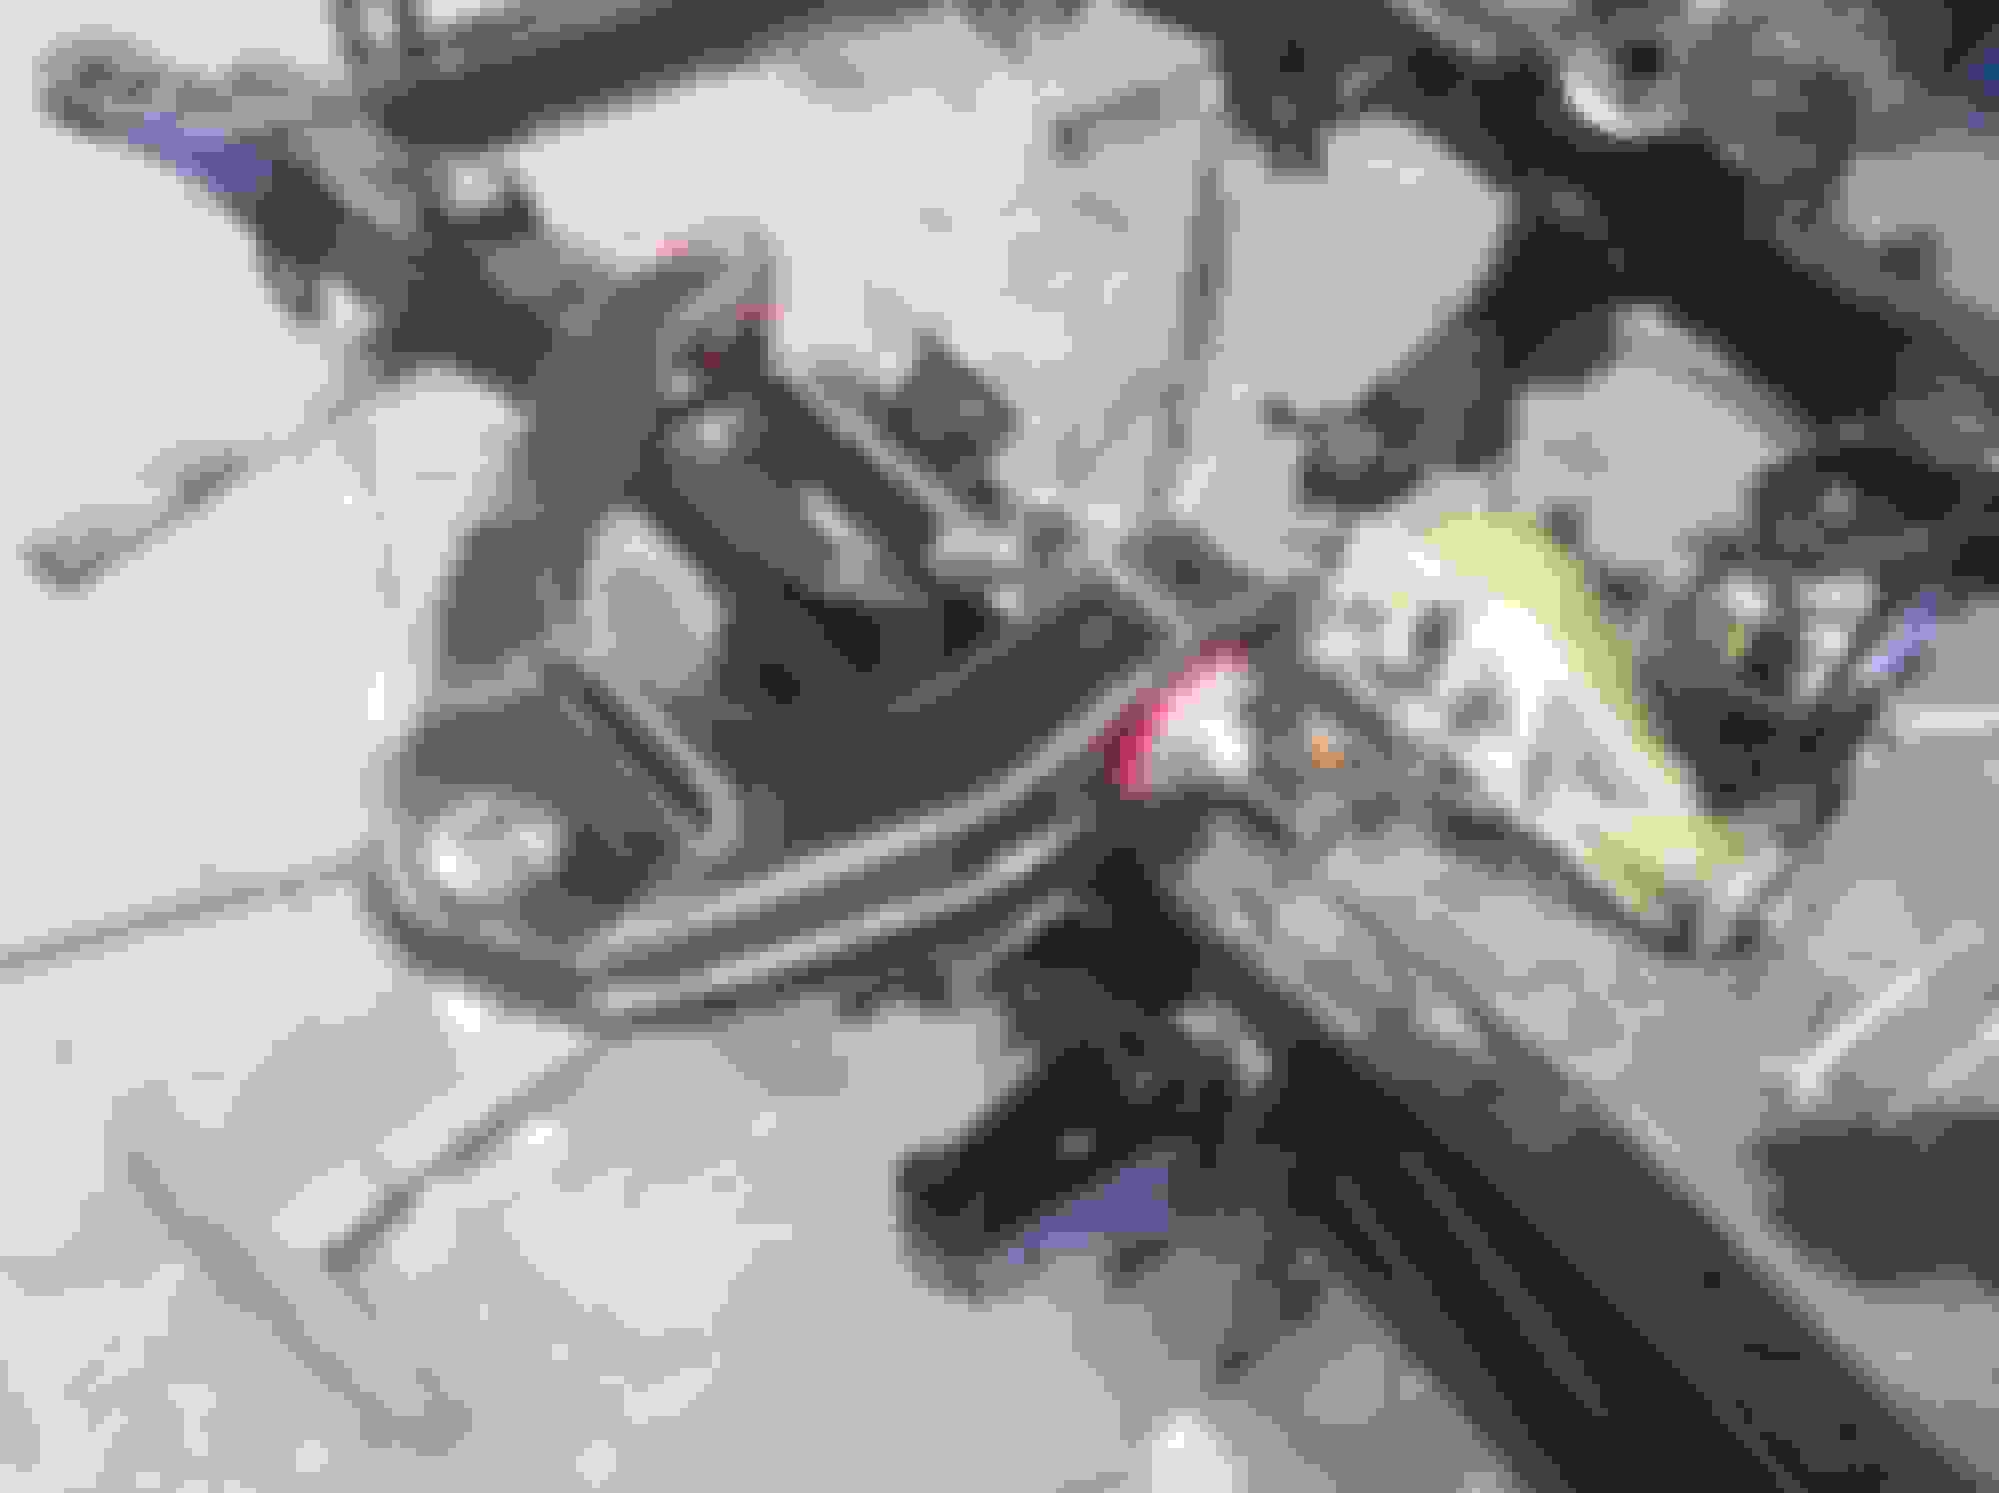
With the pan off , I can now drill the new dipstick location .. and install the new holder
installed with a little red LOCKTITE just for "piece of mind"
also removed the "front end" to replace with all new parts
new oil pump , water pump , timing belt , bearings ect .......
Are those "cheater marks" on the cam gears that I see so you don't have to re-do the timing later?? Just kidding, I do the same thing!!! HAHA! I hate having to re-time dual cams!
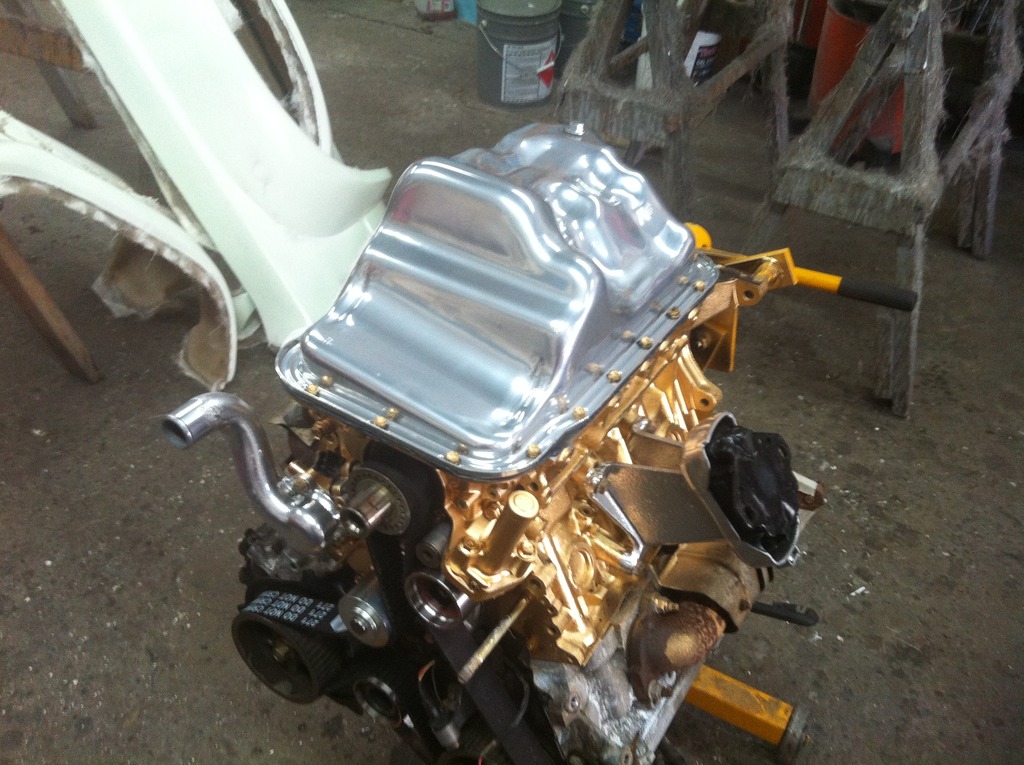
I really need to get some of that chrome powder to give it a whirl! That stuff looks really good - makes the gold pop really nice too! I particularly like how it looks more like polished and cleared aluminum than it does chrome (or at least that his how it come across in the pictures)
of course ....
I ordered some clear coat for the chrome powder , suppose to make it look more like chrome . I was kind of going for a gold and silver look , on these , and I think I have achieved exactly that ? I'm really happy with the colors , and I think it's going to go great with the brown engine bay color and exterior


 Apr 30, 2015 | 10:23 AM