
Toyota FiberGlass: 1st 1983 Trekker Build-Up Thread


 Sep 10, 2007 | 06:12 AM
#86
Thread Starter
Joined: Jan 2006
Posts: 6,382
Likes: 302
From: BC Canada
no .. I wouldnt recommend it .. It would work for only a short while , but would soon delaminate . Metal and fiberglass expand and contract at different rates . you'd be better off , in my opinion .... taking a piece of metal , banging it into shape , and then using a "panel bonder" epoxy , to glue it to the floor ... like the *3M stuff I use , If it is done correctly , it will NEVER come apart , 3m guarentees it .
Sep 10, 2007 | 04:44 PM
#87
Thread Starter
Joined: Jan 2006
Posts: 6,382
Likes: 302
From: BC Canada
no worries bud ... I'm glad to share .
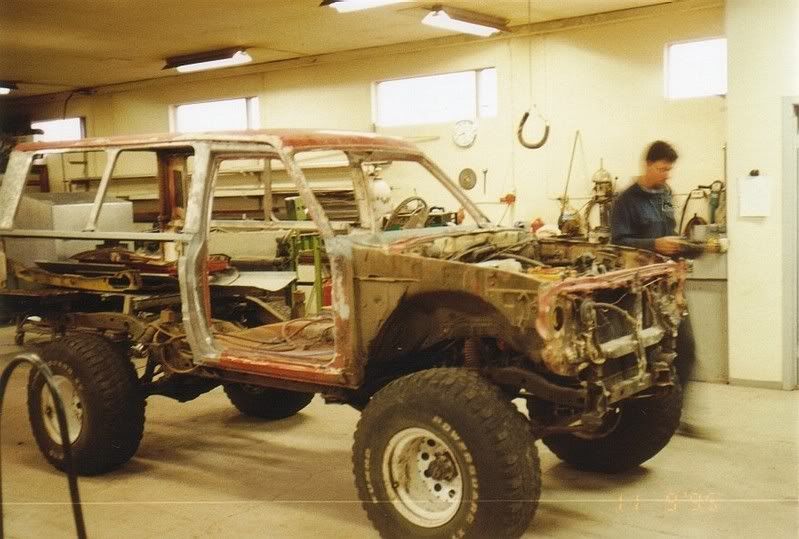
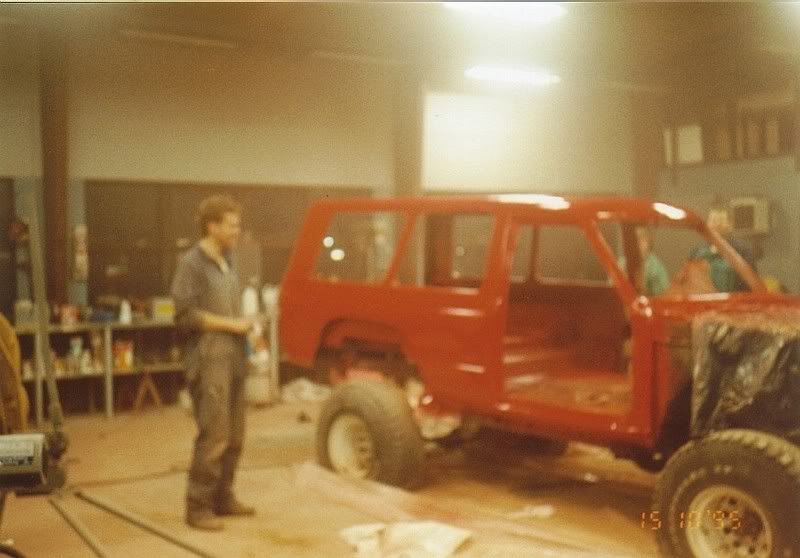
I was looking at my trekker the other day .. and I need floors 2 ... I think I will be building , and welding in pans though , just cuz I can

I was looking at my trekker the other day .. and I need floors 2 ... I think I will be building , and welding in pans though , just cuz I can
Oct 6, 2007 | 03:22 PM
#90
Thread Starter
Joined: Jan 2006
Posts: 6,382
Likes: 302
From: BC Canada
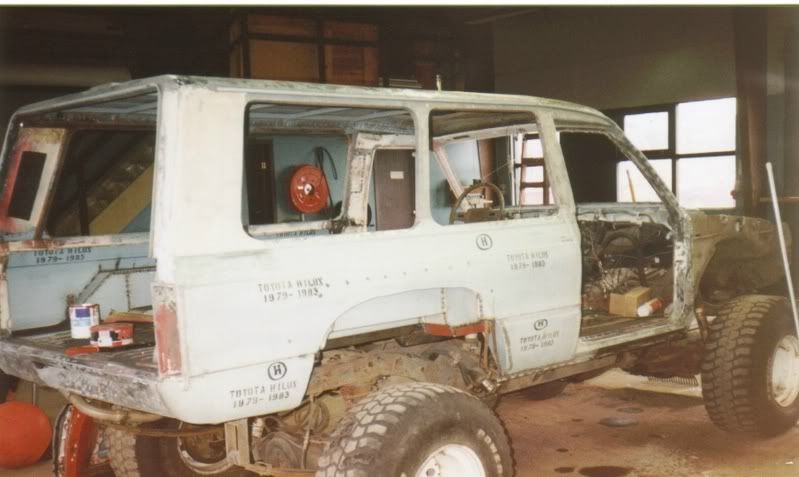
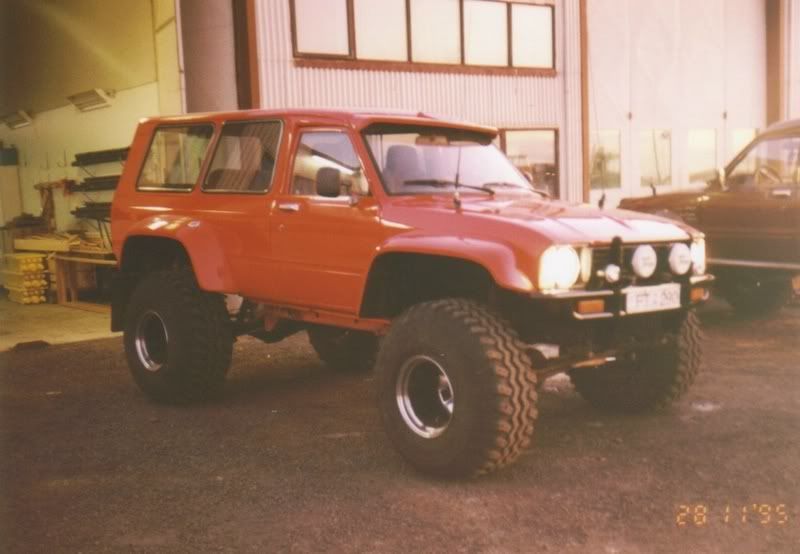
so new side windows are ordered , and here ..
I chose a basic canopy window/slider option , as it was the most economical choice .. oh and there 30% tint . look great , I think .
I have to revamp the whole canopy side for the glass to fit , but if ever a replacement is necessary , it will be avaliable anywhere .
I chose a basic canopy window/slider option , as it was the most economical choice .. oh and there 30% tint . look great , I think .
I have to revamp the whole canopy side for the glass to fit , but if ever a replacement is necessary , it will be avaliable anywhere .
Oct 9, 2007 | 03:50 PM
#91
Thread Starter
Joined: Jan 2006
Posts: 6,382
Likes: 302
From: BC Canada
holy cow .... I'm thinking I only want to do this project once .
what alot of work .
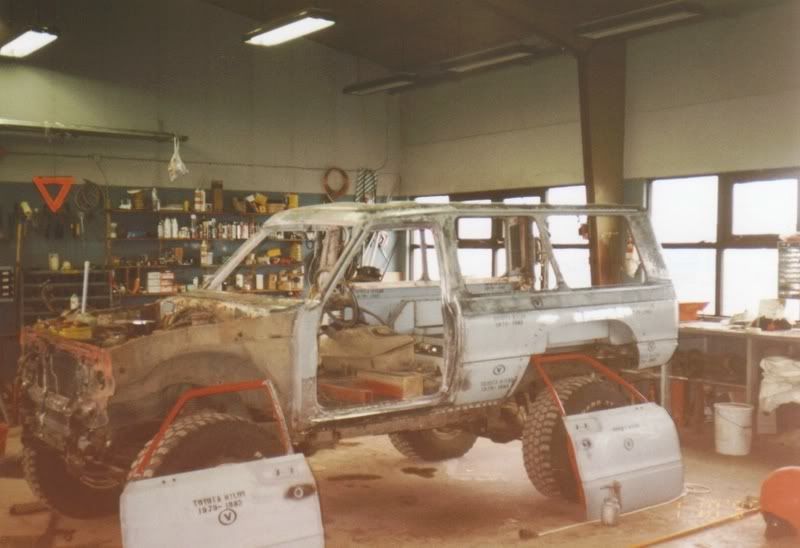
anyway , heres the top .. still working on body lines , but pretty good now .

also cutting/filling the window openings ..
these are completly different windows .. not just a bolt in .


and the ROUGH .. ROUGH window fit


what alot of work .
anyway , heres the top .. still working on body lines , but pretty good now .
also cutting/filling the window openings ..
these are completly different windows .. not just a bolt in .
and the ROUGH .. ROUGH window fit
 Oct 11, 2007 | 06:48 AM
#93
Thread Starter
Joined: Jan 2006
Posts: 6,382
Likes: 302
From: BC Canada

 Oct 20, 2007 | 04:47 PM
#94
Thread Starter
Joined: Jan 2006
Posts: 6,382
Likes: 302
From: BC Canada
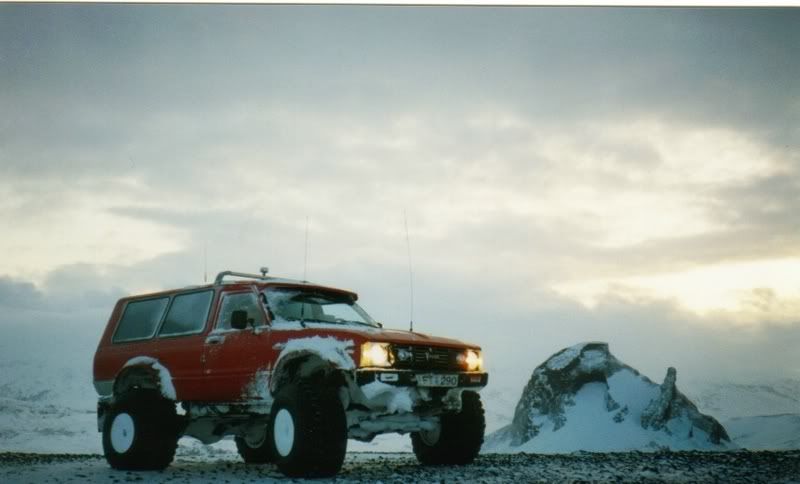
so Progress
pulled the plastic cover off because it was all cracked and missing pieces where it is riveted onto the door ..
"hemed and hawed" about what I was going to do .. I was going to make a mould , and make a completly new one .. but to much time and money involved there , so I decided to repair the holes , and send it off to line-x as well .. it'll work out great . and match the rest of the rig .
hatch cover repaired

and sanded and ready for line-x

rear hatch is now completly apart , and ready for some line-X

no luck in finding rear hatch hinges , so I thought I would try to fix these ones . there siezed solid. I had them soaking for about 2 weeks .. each day , taking them out , and lightly "tapping" with punch and hammer .
and finally , they loosened up , and I was able to take them apart .

so all cleaned up , and neversiezed .. and now work great .

.
pulled the plastic cover off because it was all cracked and missing pieces where it is riveted onto the door ..
"hemed and hawed" about what I was going to do .. I was going to make a mould , and make a completly new one .. but to much time and money involved there , so I decided to repair the holes , and send it off to line-x as well .. it'll work out great . and match the rest of the rig .
hatch cover repaired
and sanded and ready for line-x
rear hatch is now completly apart , and ready for some line-X
no luck in finding rear hatch hinges , so I thought I would try to fix these ones . there siezed solid. I had them soaking for about 2 weeks .. each day , taking them out , and lightly "tapping" with punch and hammer .
and finally , they loosened up , and I was able to take them apart .
so all cleaned up , and neversiezed .. and now work great .
.

 Oct 24, 2007 | 11:22 AM
#96
Registered User
Joined: Dec 2006
Posts: 611
Likes: 0
From: Boise, ID
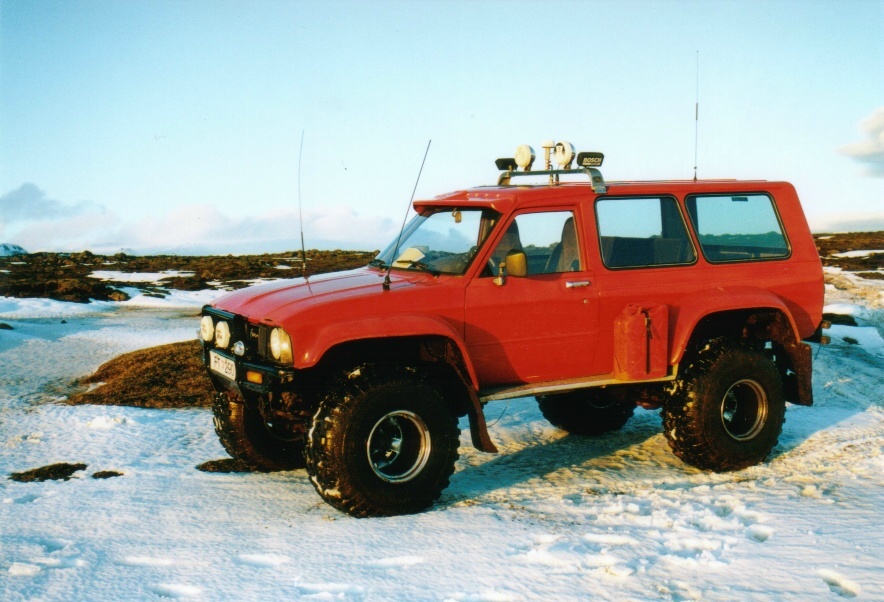
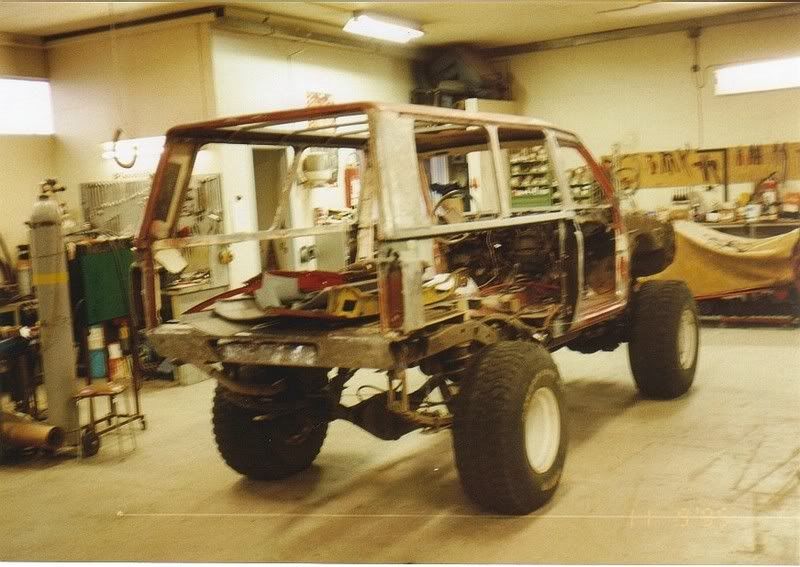
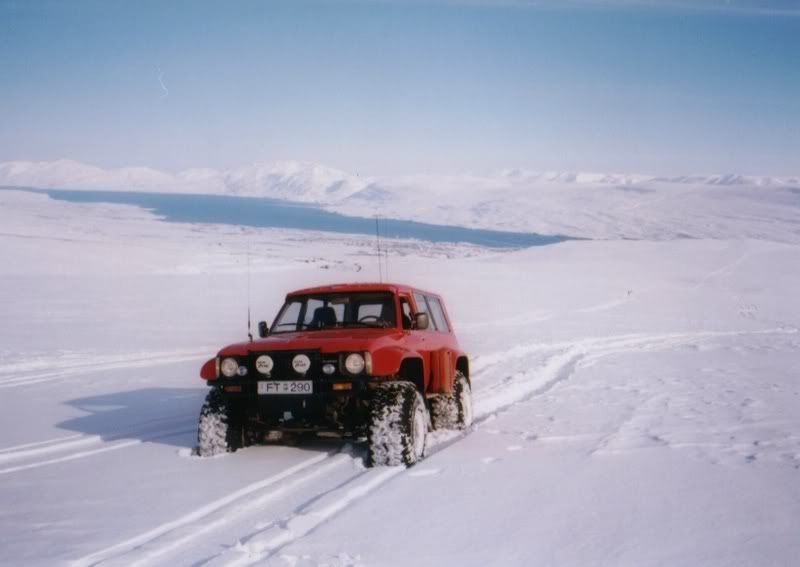
i was asked if i knew anything else about the icelandic trekker (or hilux as the case actually is)...here is a link to the page that has a little info on it.
http://www.brian894x4.com/Hiluxgeneration1.html
http://www.brian894x4.com/Hiluxgeneration1.html
Oct 30, 2007 | 04:37 PM
#98
Thread Starter
Joined: Jan 2006
Posts: 6,382
Likes: 302
From: BC Canada
so a wee bit to post ...
rear section has now been removed again .. time to start working on that .
Originally , the back half sits on a "winnabego" frame , that mounts to the Toyota frame . Bushings were toast , and not worthy of the new set-up .. got me to thinkin'
The Original mounts , I dont think were sufichant , because of all of the "leaks" I hear about , so I thought a softer compound mount would work better with the flexing , and handle a better "sway" of the back 1/2 . So I ended up purchacing some NEW "special" mounts , and some steel to make a new frame .
got it all "tacked up " under the body , so now time to weld it all up .

boxing the ends .

another "goofy" part of the Trekkers is the rear lamps .. They have these silly metal " u " brackets that hold the lamps in place .. you have to drill a hole in your lamps , and mount them to the brackets ??? dumb .....
so took the pockets from the 79-83 beds I build , and glassed them into the Trekker

Very rough right now .. but at least they will be easy to install , and RE & RE .
rear section has now been removed again .. time to start working on that .
Originally , the back half sits on a "winnabego" frame , that mounts to the Toyota frame . Bushings were toast , and not worthy of the new set-up .. got me to thinkin'
The Original mounts , I dont think were sufichant , because of all of the "leaks" I hear about , so I thought a softer compound mount would work better with the flexing , and handle a better "sway" of the back 1/2 . So I ended up purchacing some NEW "special" mounts , and some steel to make a new frame .
got it all "tacked up " under the body , so now time to weld it all up .
boxing the ends .
another "goofy" part of the Trekkers is the rear lamps .. They have these silly metal " u " brackets that hold the lamps in place .. you have to drill a hole in your lamps , and mount them to the brackets ??? dumb .....
so took the pockets from the 79-83 beds I build , and glassed them into the Trekker
Very rough right now .. but at least they will be easy to install , and RE & RE .


