
scuba's 1999 Tacoma Build-Up Thread

 Oct 22, 2010 | 09:50 AM
#182
Scuba, I know you did the mod a little while ago but where did you get the quick release valve you used to replace the oil drain plug? Is the bigger valve still protected by your skid plates? That is definitely something I would like to look into because I hate spilling oil all over the place, but I don't want something that sticks out and can be damaged when wheeling...
Last edited by 4ever4running; Oct 22, 2010 at 09:52 AM.
Oct 22, 2010 | 10:33 AM
#183
Thread Starter
Registered User
Joined: Jan 2008
Posts: 11,338
Likes: 120
From: Austin, Texas
I'm running the skid row skid plates, no clue if it'll be compatible with the stock skid but I don't see why not. Mine works fine with the skid row skid. Doesn't stick out below it or anything.
http://www.quickoildrainvalve.com/
I got the one with the nipple on it so I could add the hose to it and redirect it through the skid plate hole.

http://www.quickoildrainvalve.com/
I got the one with the nipple on it so I could add the hose to it and redirect it through the skid plate hole.


 Oct 22, 2010 | 02:16 PM
#185
Thread Starter
Registered User
Joined: Jan 2008
Posts: 11,338
Likes: 120
From: Austin, Texas
No problem Logan!
----------
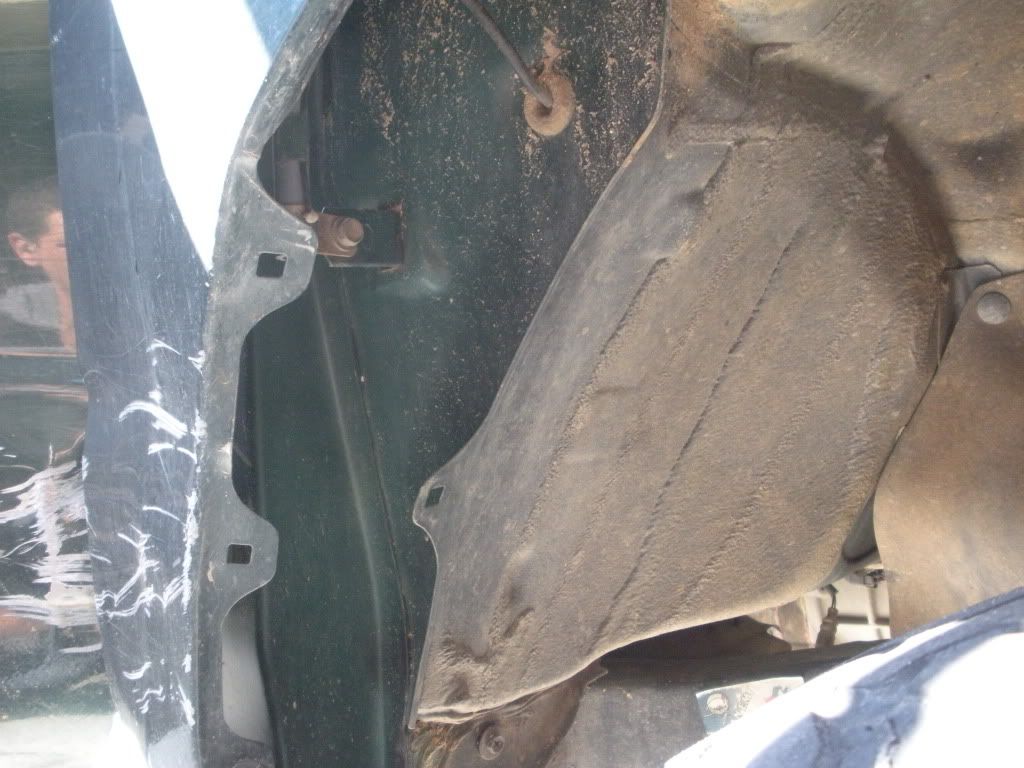
I started gutting the interior today. When fitting 35s on a tacoma without ~5-6" of lift there is serious firewall interference. Well, I'm on ~2.5" of lift and its staying that way.
So I pulled the seat, the kick panel, the cruise control brain, and moved everything else out of the way of the passenger side fender well.
For reference, this is about what I'm going to have to cut out:

And I will be following these instructions
Excuse all the junk:


And heres the outside. It's kind of hard to tell the dimensions from a computer screen but I think you get the point.
The cutting starts 0900 tomorrow morning. I've got all weekend off, so I'd like to be able to compete both sides within that 48 hours. We'll see.
----------
I started gutting the interior today. When fitting 35s on a tacoma without ~5-6" of lift there is serious firewall interference. Well, I'm on ~2.5" of lift and its staying that way.
So I pulled the seat, the kick panel, the cruise control brain, and moved everything else out of the way of the passenger side fender well.
For reference, this is about what I'm going to have to cut out:
And I will be following these instructions
Excuse all the junk:
And heres the outside. It's kind of hard to tell the dimensions from a computer screen but I think you get the point.
The cutting starts 0900 tomorrow morning. I've got all weekend off, so I'd like to be able to compete both sides within that 48 hours. We'll see.

 Thanks again!
Oct 23, 2010 | 12:16 AM
Thanks again!
Oct 23, 2010 | 12:16 AM
#187
Thread Starter
Registered User
Joined: Jan 2008
Posts: 11,338
Likes: 120
From: Austin, Texas

Some people make it sound intimidating. Some say its not as bad as the people who make it sound intimidating make it sound.
I never mentioned it. The quick oil drain valve isn't very quick. I think it took about 10 mins to drain 5 quarts last time I changed it. It drains slow. But its worth the wait.
No worries man. Glad I could help.


 Oct 23, 2010 | 03:35 PM
#190
Thread Starter
Registered User
Joined: Jan 2008
Posts: 11,338
Likes: 120
From: Austin, Texas
Whats there to lose?

I've got a friend who I'm giving them to for an 12 pack of sam adams octoberfest. The bald tires and scratched to hell rims aren't worth my time trying to sell.
-----------
Taking my lunch break.
Heres a teaser I guess..

I'm done cutting on that side. Gonna cut up the drivers side and then weld it all up at once.
Seems more logical to do it that way.
Oct 23, 2010 | 09:45 PM
#192
Thread Starter
Registered User
Joined: Jan 2008
Posts: 11,338
Likes: 120
From: Austin, Texas
Done for the night.
I'm 97% done clearancing the drivers side. It got late and my neighbor decided to come remind me that its 9PM
I still haven't gotten to any of the patching or welding. But that shouldn't be too bad tomorrow.
Couple more pics..
When I started I made my lines and drilled some small holes so I could look from the inside and make sure everything was kosher.

Same picture from my last post, the passenger side done with the cutting. If you look at where the firewall meets the floor pan on the right side of my cut, you'll see a > shape. Once I got some slack right there I was able to beat the fender well back with my rubber mallet.
I ended up cutting the bumper edges about 3" back..

Decent clearance between UCA and tire at full droop:

Testing clearance and some point during the day.. BTW, testing and retesting and whatnot took up most of the day. I'd have gotten further along had I not tested it SO MANY TIMES.

Drivers side was more of a PITA because the grinder wanted to shoot sparks at me.
But here's how the drivers side started out. You can see that it is somewhat deformed, I had to lay over the pinch weld and beat the firewall back a while ago when the KM1's were still fresh.

About done. The lines weren't as clean as the other side. Again, because the grinder was shooting sparks at me and body of the grinder was hitting the truck body:

Will update tomorrow.
I'm 97% done clearancing the drivers side. It got late and my neighbor decided to come remind me that its 9PM
I still haven't gotten to any of the patching or welding. But that shouldn't be too bad tomorrow.
Couple more pics..
When I started I made my lines and drilled some small holes so I could look from the inside and make sure everything was kosher.
Same picture from my last post, the passenger side done with the cutting. If you look at where the firewall meets the floor pan on the right side of my cut, you'll see a > shape. Once I got some slack right there I was able to beat the fender well back with my rubber mallet.
I ended up cutting the bumper edges about 3" back..
Decent clearance between UCA and tire at full droop:
Testing clearance and some point during the day.. BTW, testing and retesting and whatnot took up most of the day. I'd have gotten further along had I not tested it SO MANY TIMES.
Drivers side was more of a PITA because the grinder wanted to shoot sparks at me.
But here's how the drivers side started out. You can see that it is somewhat deformed, I had to lay over the pinch weld and beat the firewall back a while ago when the KM1's were still fresh.
About done. The lines weren't as clean as the other side. Again, because the grinder was shooting sparks at me and body of the grinder was hitting the truck body:
Will update tomorrow.
Oct 24, 2010 | 07:22 PM
#197
Thread Starter
Registered User
Joined: Jan 2008
Posts: 11,338
Likes: 120
From: Austin, Texas
Forgot? Or.. just didn't take any, or just didn't think it was special enough to take any from the inside?
Hint, A little of all of those
Went pretty well today. Started off by finishing up the cutting on the drivers side. Then moved back over to the passenger side to start the plating.
Burned through a couple times, almost lit the truck on fire a couple times.. but the passenger side is planted and has a hefty coating of silicone all over. Seam sealer would probably be better but I work with what I have. I barely got started on the drivers side when it was getting dark. Didnt feel like welding in the dark. Didn't feel like making a lot of noise on a sunday night.. was tired.. and hungry.. So thats where I'm at.
I was severely slacking on the pictures today though, only got 3.


I've got a doctors appt. at 9am. Then have to leave for work by ~2:45. should have enough time to finish up the drivers side and at least get the truck rolling. Fenders on or not.
Hint, A little of all of those
Went pretty well today. Started off by finishing up the cutting on the drivers side. Then moved back over to the passenger side to start the plating.
Burned through a couple times, almost lit the truck on fire a couple times.. but the passenger side is planted and has a hefty coating of silicone all over. Seam sealer would probably be better but I work with what I have. I barely got started on the drivers side when it was getting dark. Didnt feel like welding in the dark. Didn't feel like making a lot of noise on a sunday night.. was tired.. and hungry.. So thats where I'm at.
I was severely slacking on the pictures today though, only got 3.
I've got a doctors appt. at 9am. Then have to leave for work by ~2:45. should have enough time to finish up the drivers side and at least get the truck rolling. Fenders on or not.
Oct 24, 2010 | 08:26 PM
#198
Thread Starter
Registered User
Joined: Jan 2008
Posts: 11,338
Likes: 120
From: Austin, Texas
Just ordered 25 feet of this to line the fenders with:

http://www.mcmaster.com/?orderview=n...6/3739/=9f8w5x
I'll end up pulling the liner thats on the rear fenders, painting the edge of the fenders with some 300M pinchweld paint and putting the new liner on with some more clear silicone.
http://www.mcmaster.com/?orderview=n...6/3739/=9f8w5x
I'll end up pulling the liner thats on the rear fenders, painting the edge of the fenders with some 300M pinchweld paint and putting the new liner on with some more clear silicone.


