
4ever4running's 2002 4Runner Build-Up Thread
 Mar 11, 2013 | 12:21 PM
#221
Thread Starter
Registered User
iTrader: (1)
Joined: Aug 2009
Posts: 817
Likes: 2
From: Arlington, Virginia
This weekend the weather was perfect so I spent most of it outside working on the T4R.
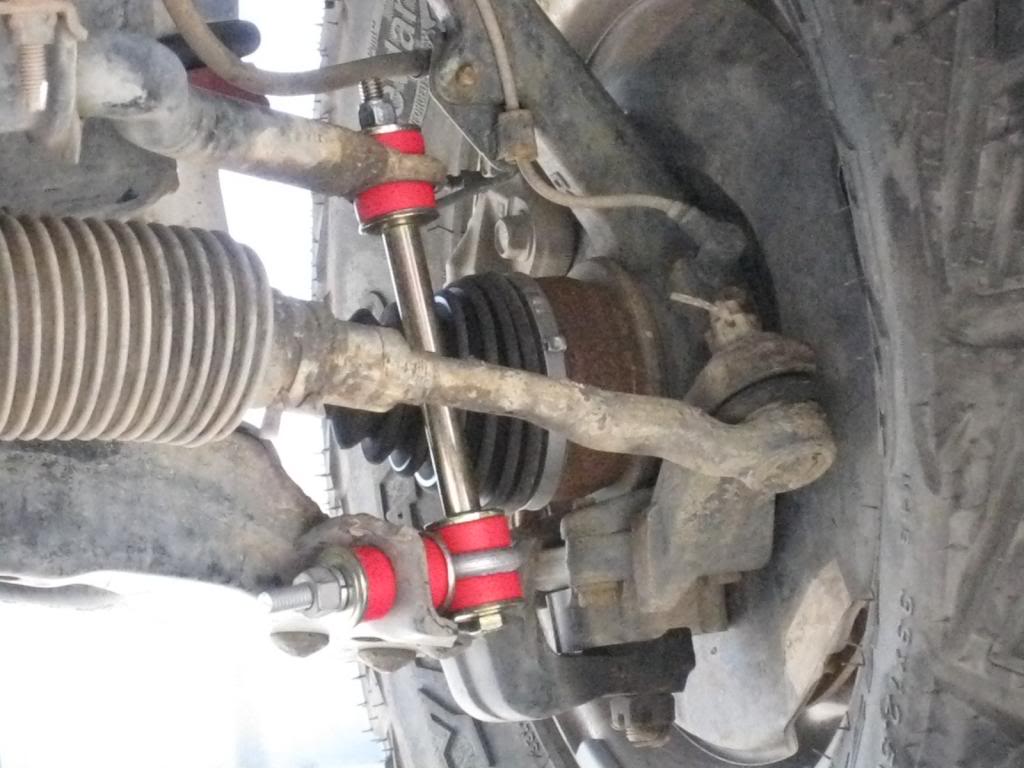
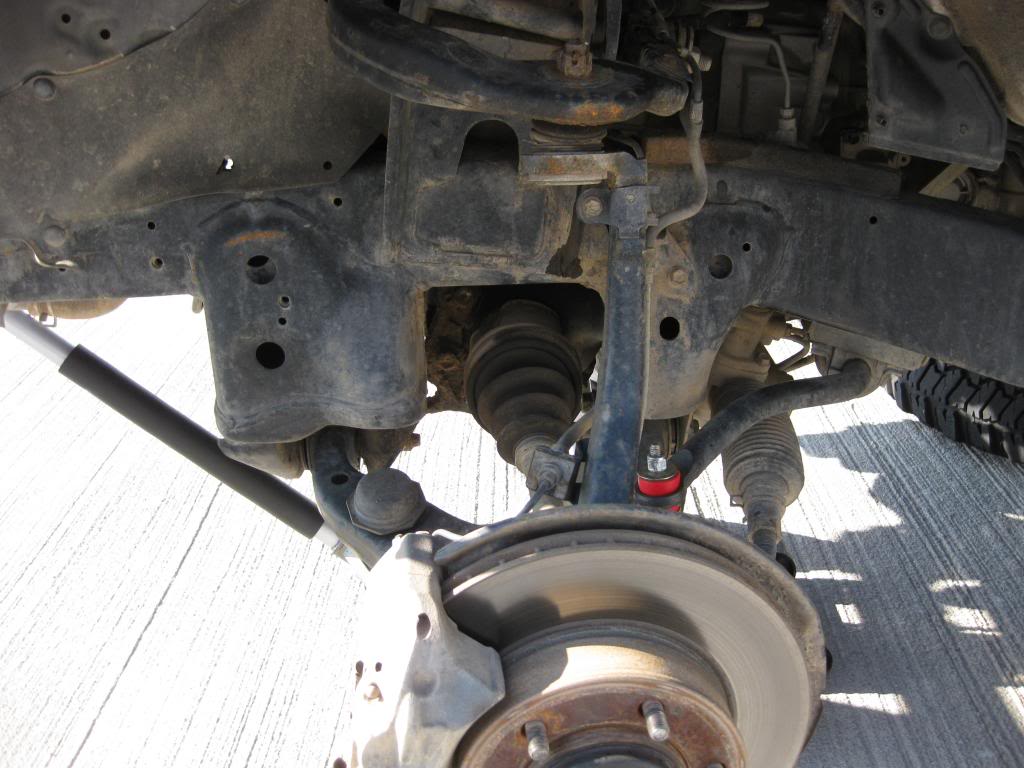
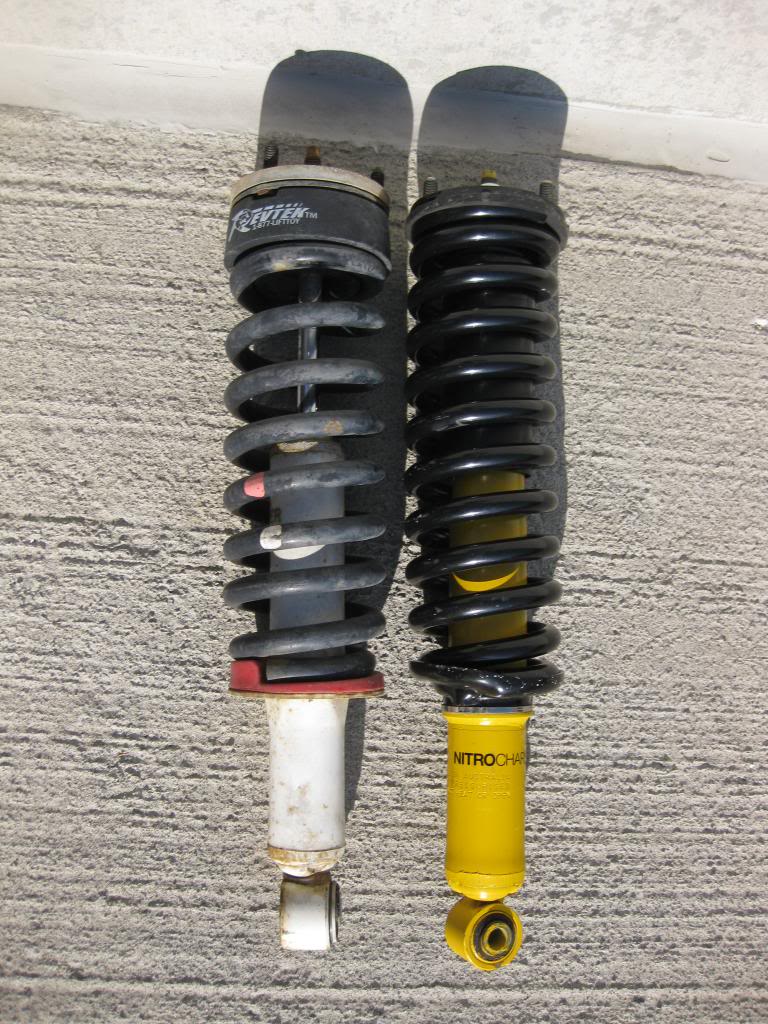
First, I finally installed the new front swaybar end links. I did the rear end links a while ago when I installed my 8.5 wrap coils and shocks, but I never got around to the fronts.
Old vs. new
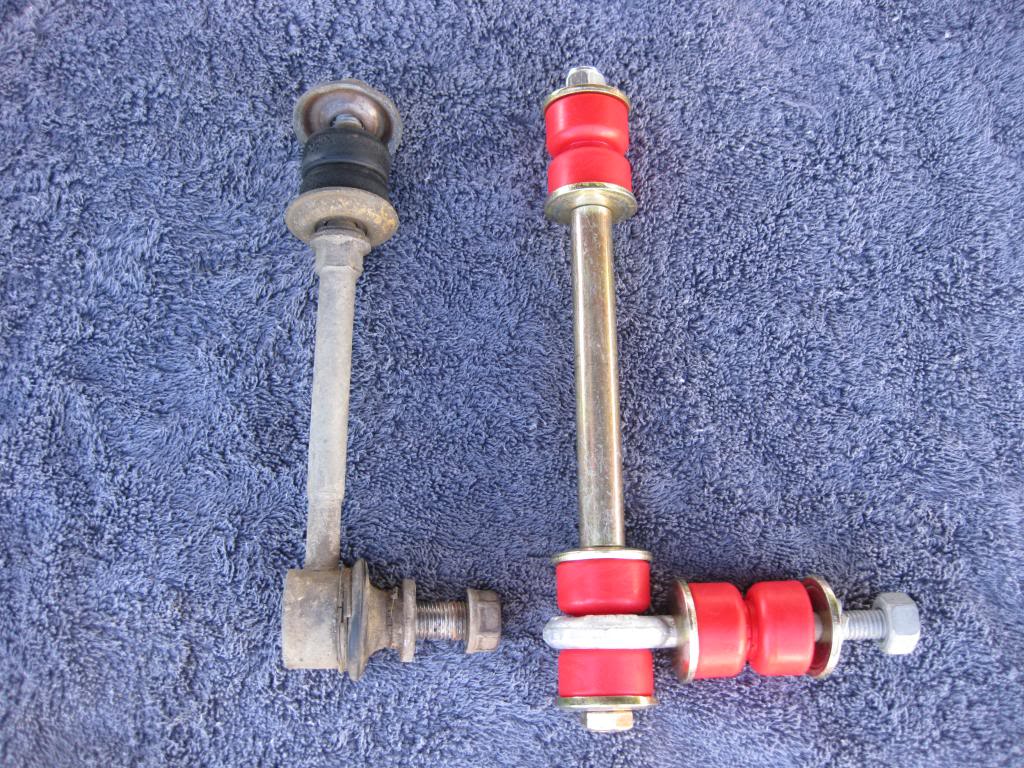
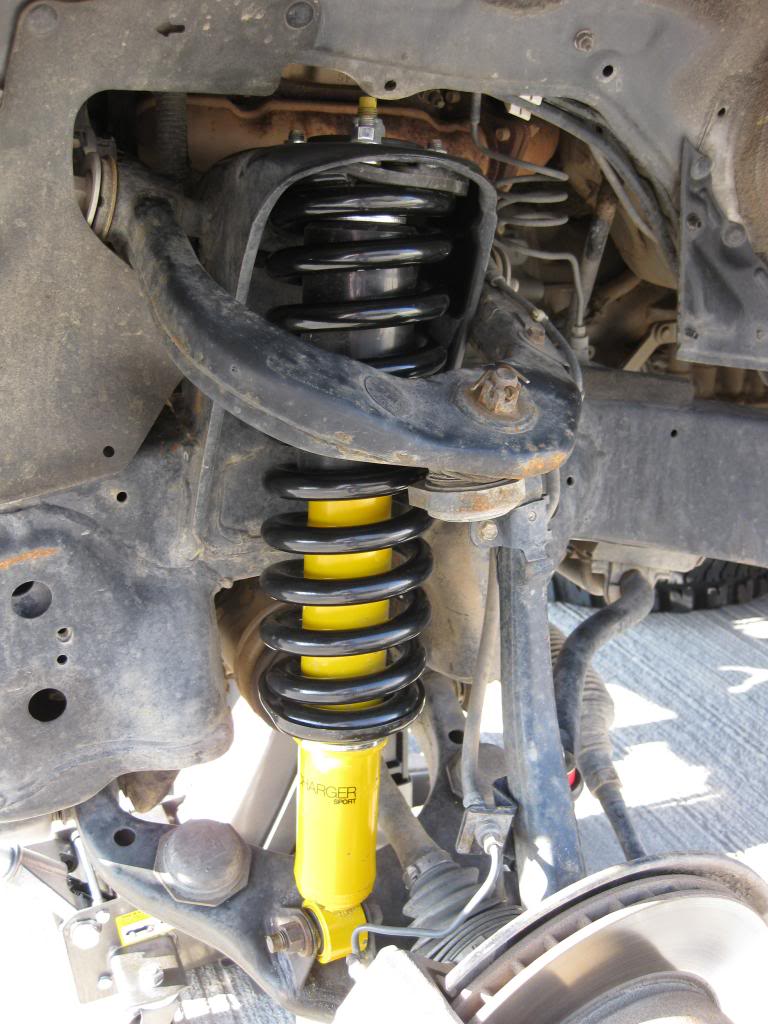
Installed
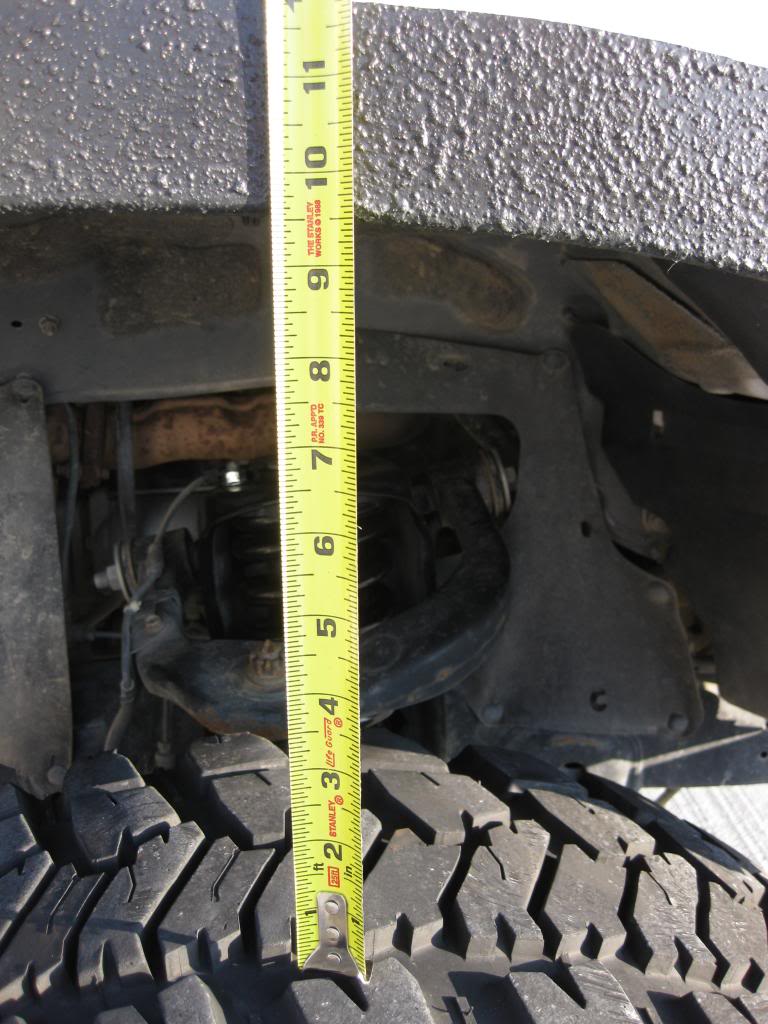
Then, I Installed my Toytec 1" differential drop

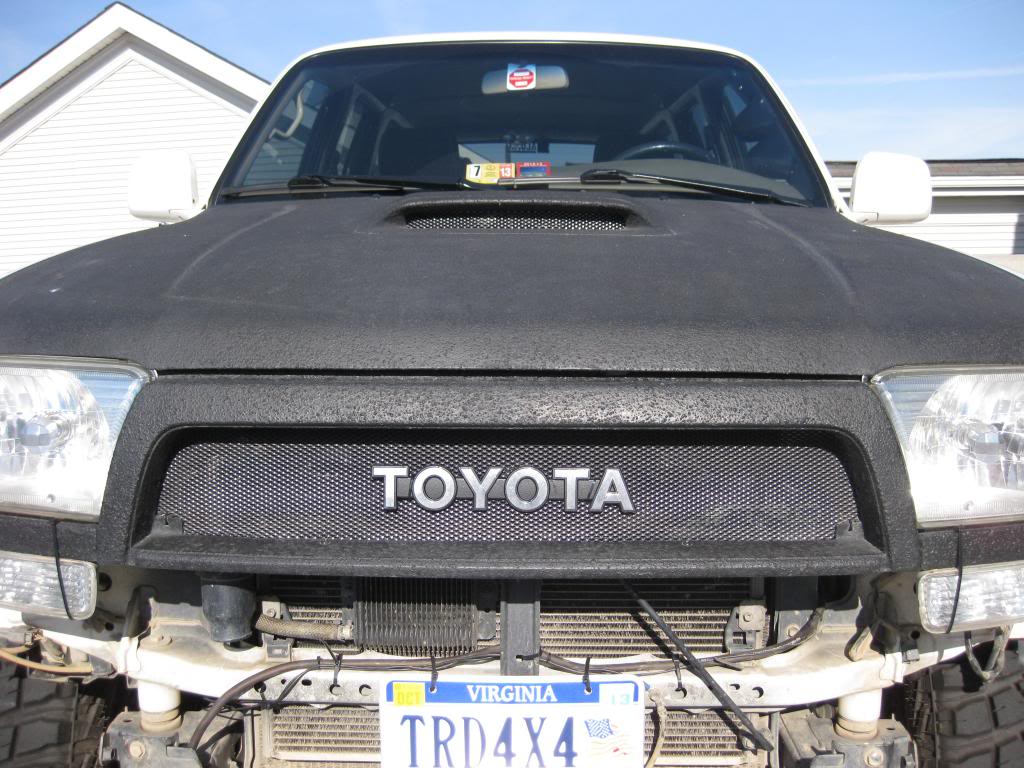
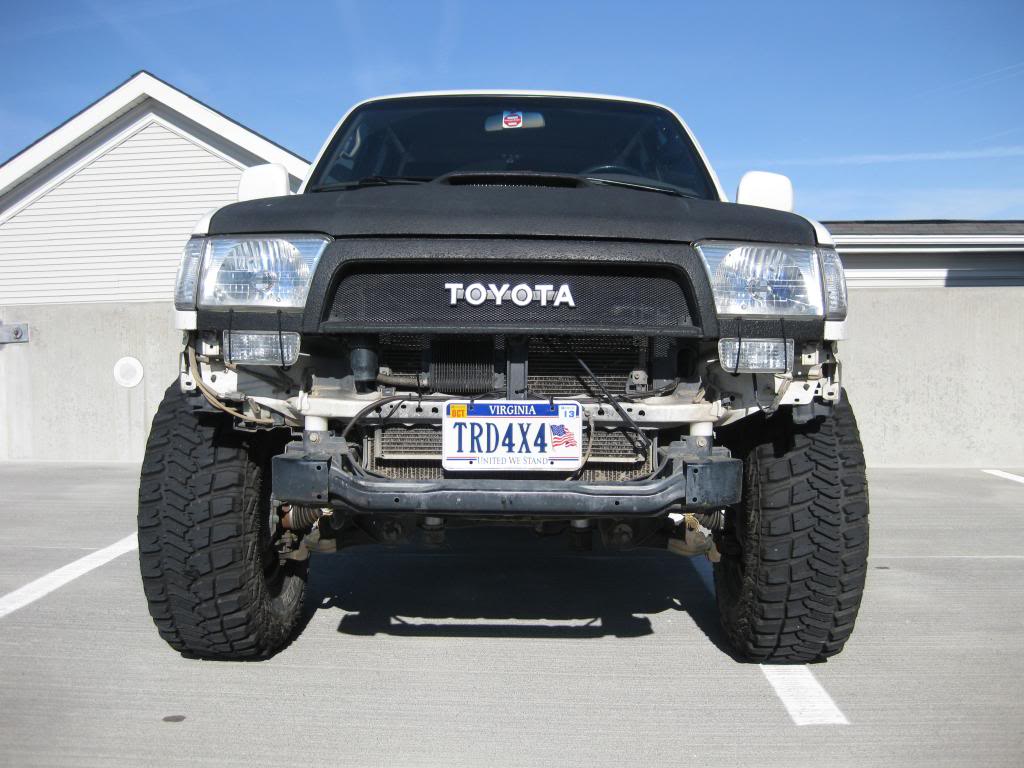
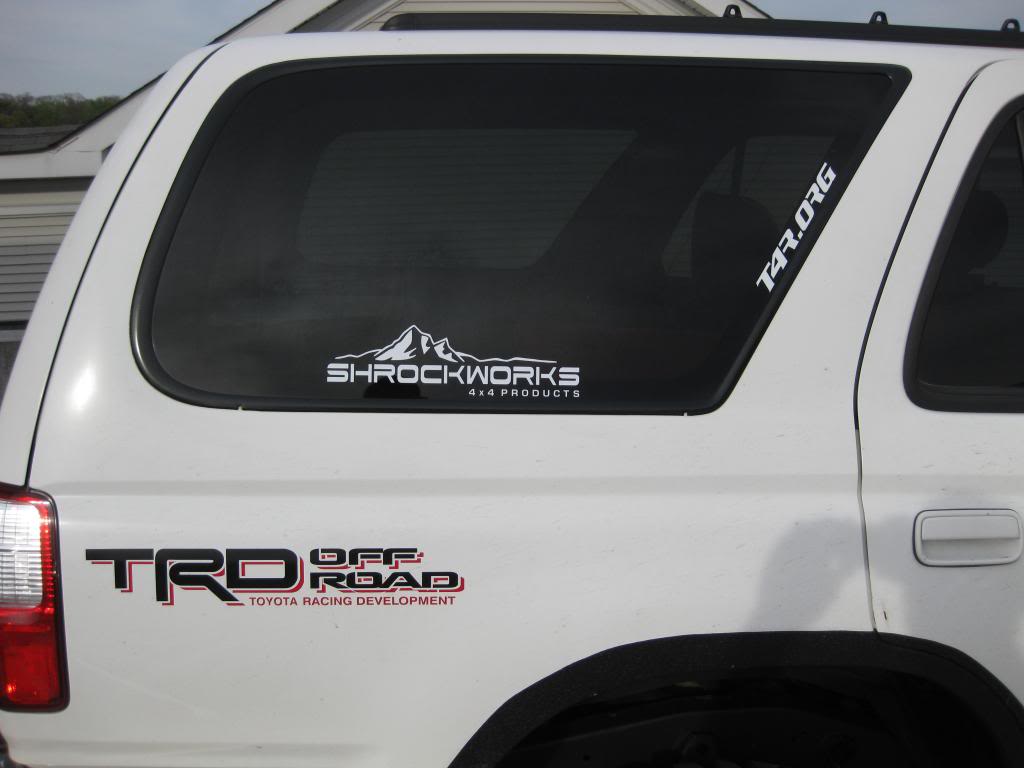
Next, I swapped the TRD emblem on my Satoshi for something a little cooler. I also removed the TRD emblem from my sport hood gille.
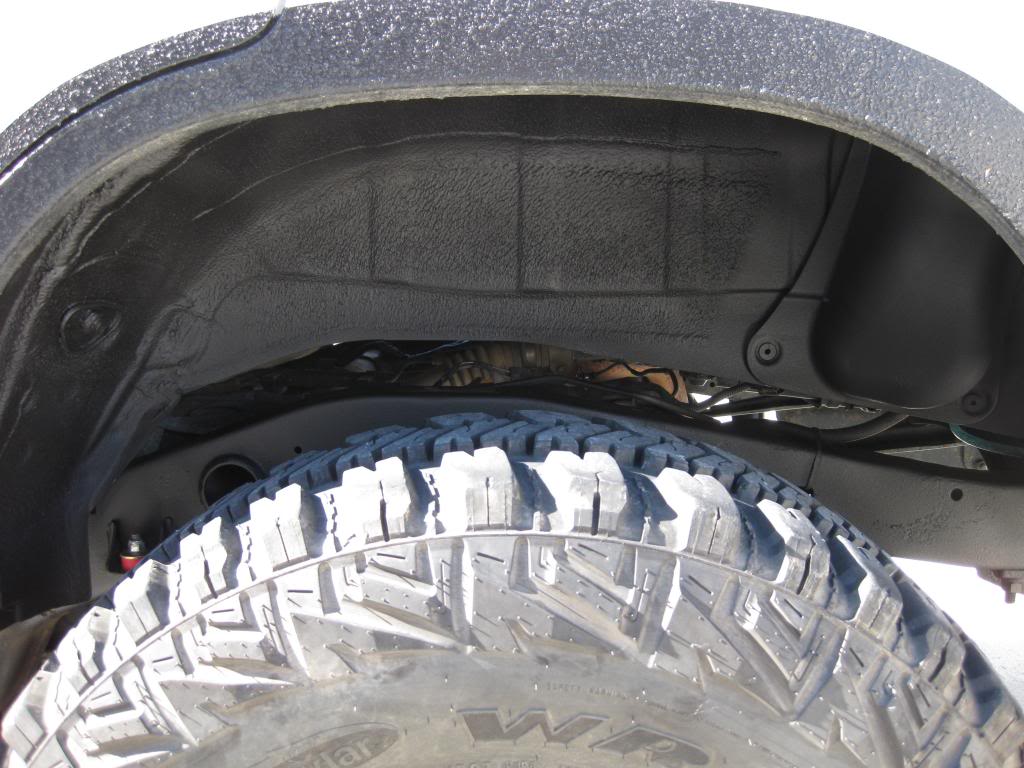
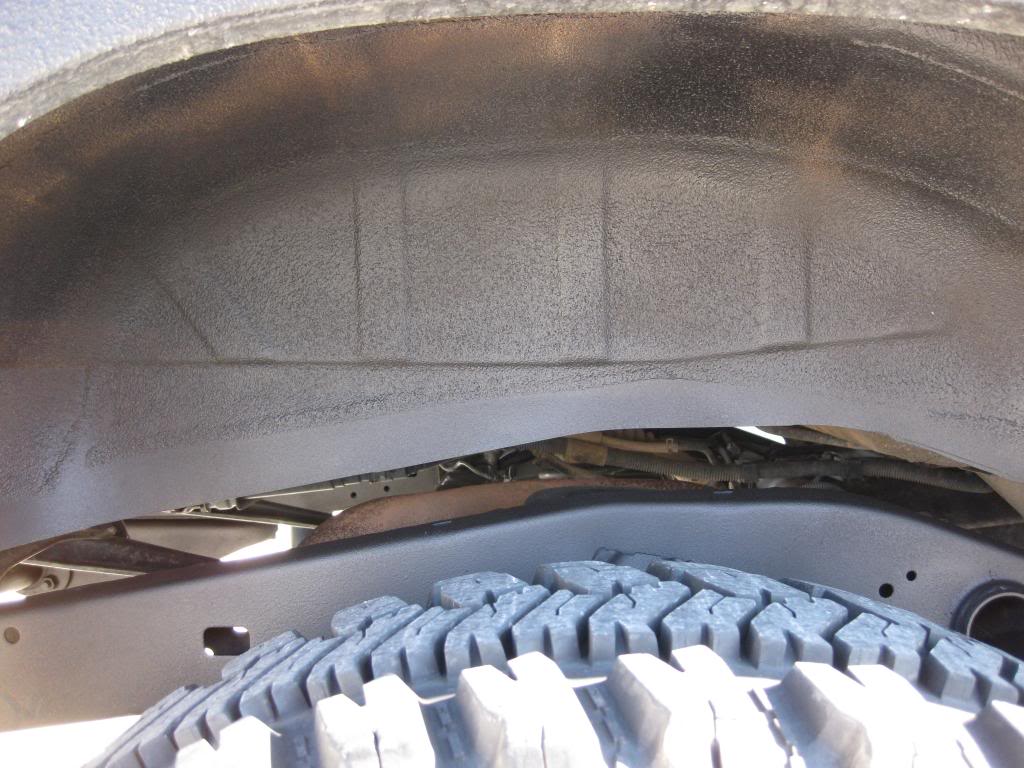
And finally, while I was working under my truck installing the differential drop and swaybar end links, I noticed how dirty, rusty and gross everything looked underneath. So I decided to do something about it...I went to my local auto parts store and pickup up a wire brush, a can of acetone, a couple rolls of shop towels, and 2 cans of 3M Professional Grade Rubberized Undercoating. After a couple hours of work here is what I have now..
Driver side wheel well
Underside


Passenger side wheel well
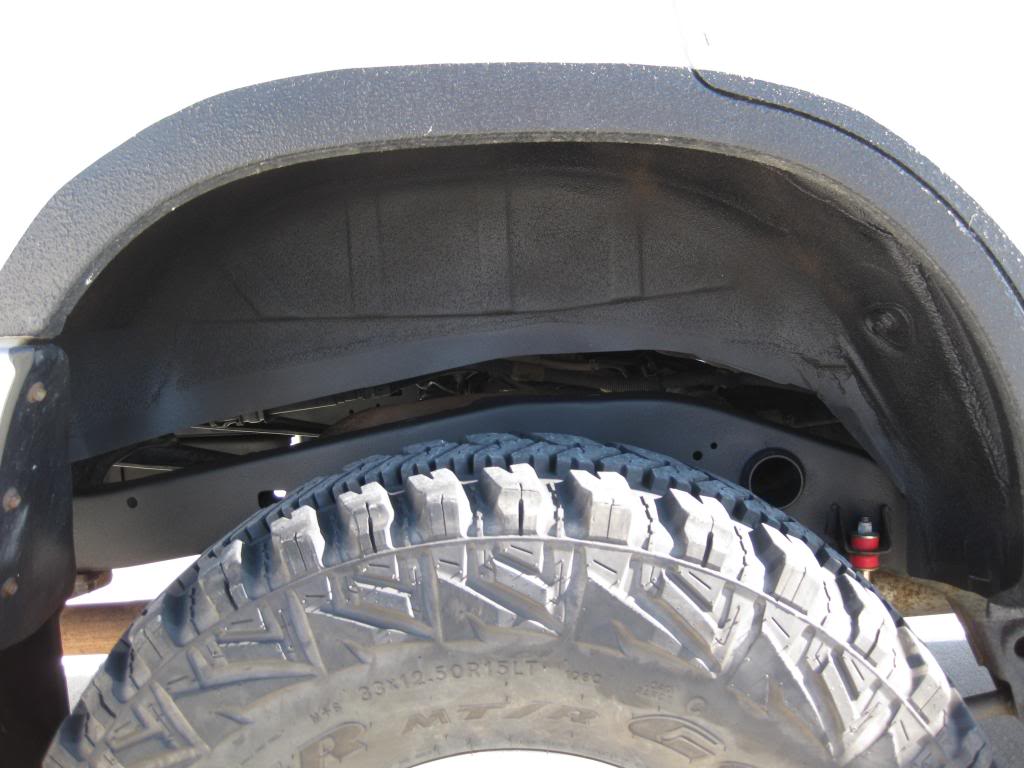
As you can probably tell, I ran out of undercoat before I could finish...
My process was as follows:
1) Used the wire brush to clean as much rust and heavy dirt off as I could
2) Used the acetone to clean everything and prep the surface for the undercoating
3) Used the shop towels and some masking tape to cover parts and components I didn't want to spray (coils, shocks, parking brake cable, brake lines, etc.)
4) Sprayed everything with the undercoating
The prep work is really tedious and the undercoating is kind of expensive ($10 per can) so this is a project that I will probably be working on for a while until I am satisfied. I figure 1-2 cans at a time is a decent pace.
First, I finally installed the new front swaybar end links. I did the rear end links a while ago when I installed my 8.5 wrap coils and shocks, but I never got around to the fronts.
Old vs. new
Installed
Then, I Installed my Toytec 1" differential drop
Next, I swapped the TRD emblem on my Satoshi for something a little cooler. I also removed the TRD emblem from my sport hood gille.
And finally, while I was working under my truck installing the differential drop and swaybar end links, I noticed how dirty, rusty and gross everything looked underneath. So I decided to do something about it...I went to my local auto parts store and pickup up a wire brush, a can of acetone, a couple rolls of shop towels, and 2 cans of 3M Professional Grade Rubberized Undercoating. After a couple hours of work here is what I have now..
Driver side wheel well
Underside
Passenger side wheel well
As you can probably tell, I ran out of undercoat before I could finish...
My process was as follows:
1) Used the wire brush to clean as much rust and heavy dirt off as I could
2) Used the acetone to clean everything and prep the surface for the undercoating
3) Used the shop towels and some masking tape to cover parts and components I didn't want to spray (coils, shocks, parking brake cable, brake lines, etc.)
4) Sprayed everything with the undercoating
The prep work is really tedious and the undercoating is kind of expensive ($10 per can) so this is a project that I will probably be working on for a while until I am satisfied. I figure 1-2 cans at a time is a decent pace.
 Apr 10, 2013 | 06:29 AM
#226
Thread Starter
Registered User
iTrader: (1)
Joined: Aug 2009
Posts: 817
Likes: 2
From: Arlington, Virginia
So I haven't updated for a couple weeks so here goes.
3/24/13 Update
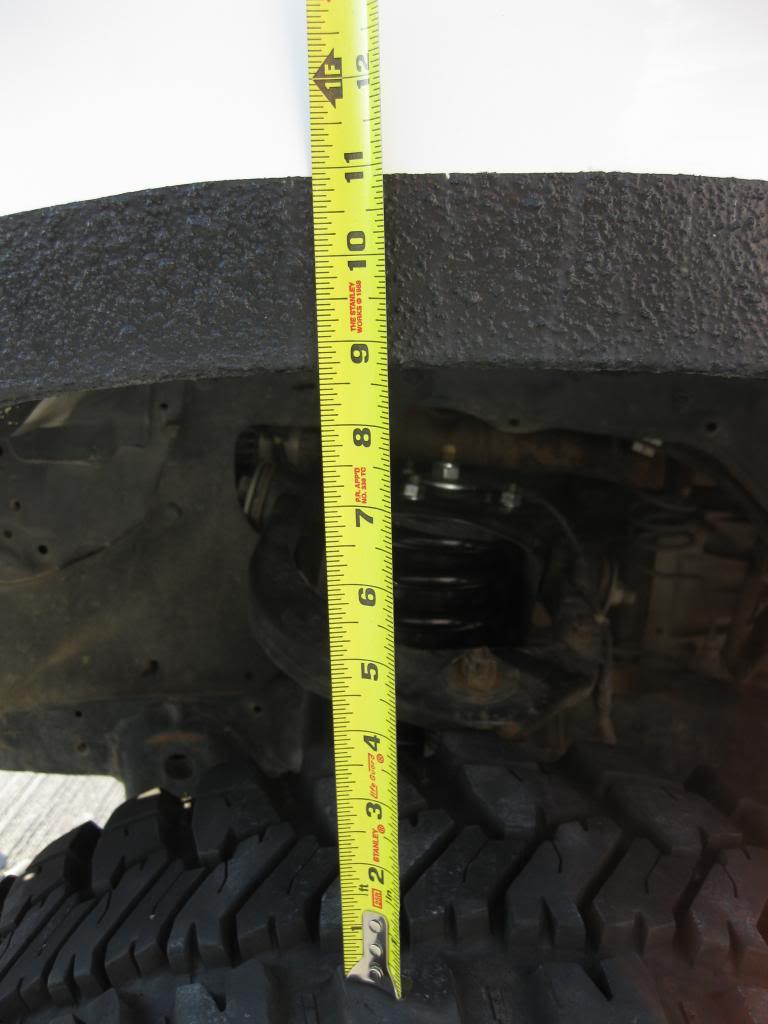
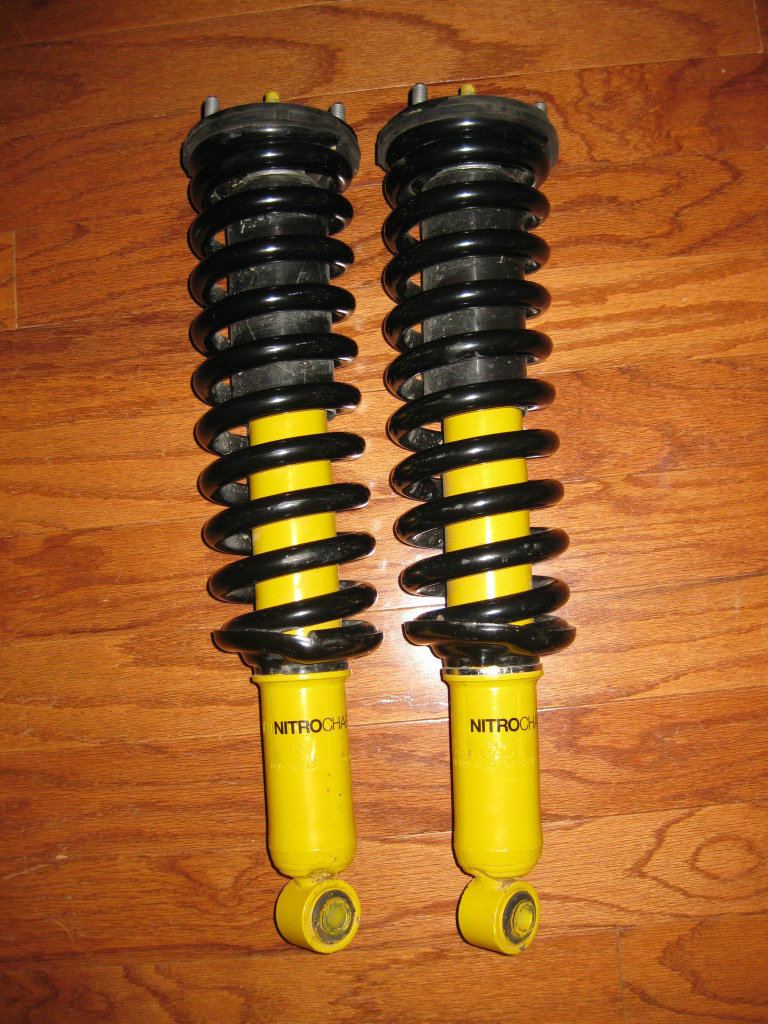
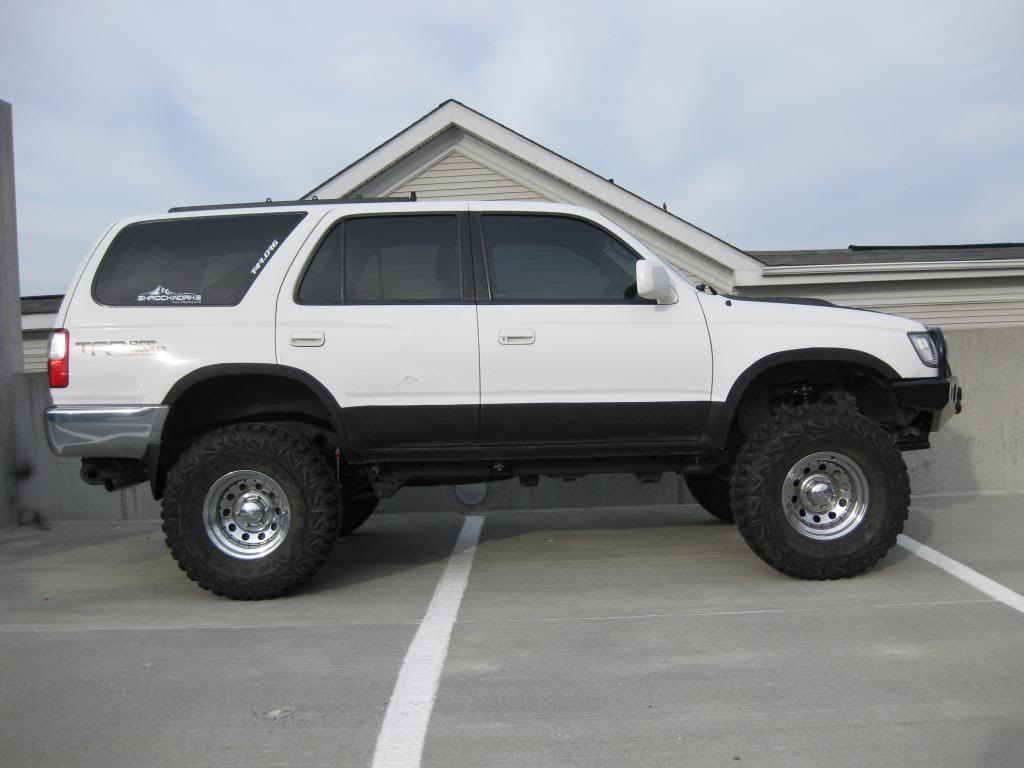
I was able to get my OME 882s swapped in. Everything went pretty smoothly, but now I have the dreaded driver side lean, so I am sitting about 3/4" higher on the passenger side. I haven't gotten an alignment yet, but I doubt that an alignment will correct that much of a difference. The 882s are designed to support a bunch of additional weight so I am going to wait until I get the bumper installed to do anything because I am hoping the weight of the bumper and winch will help level it out.
Old:
Old removed:
Old vs. new:
New:

And the lean...
Driver side:
Passenger side:
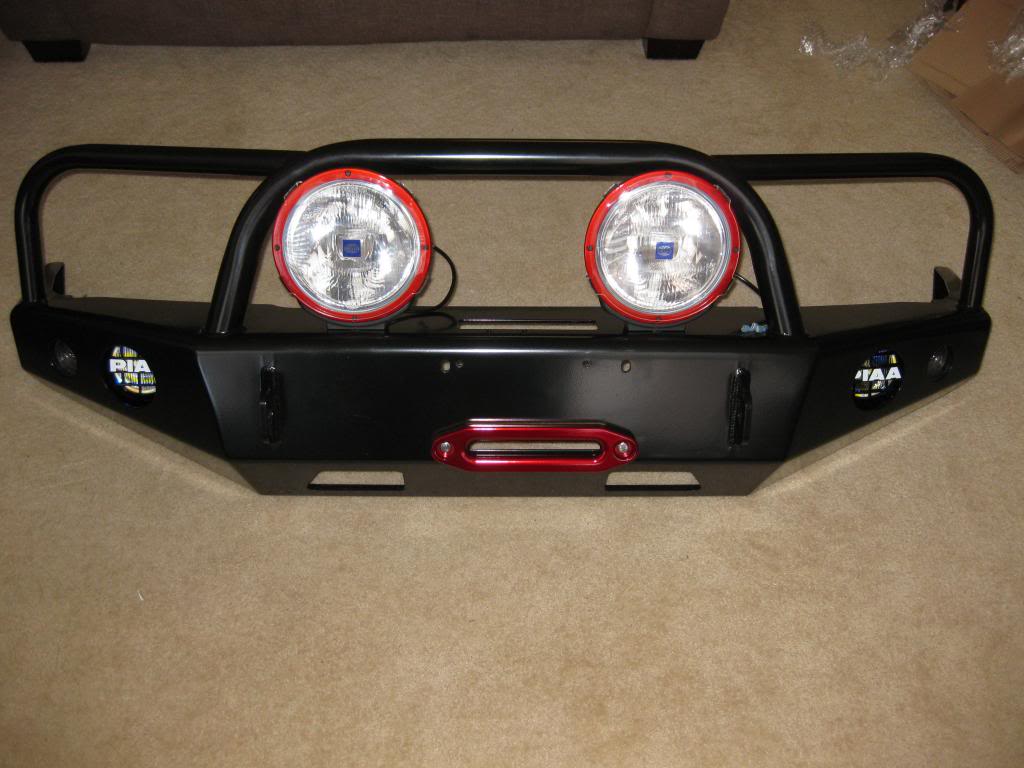
Last but not least, these just showed up...
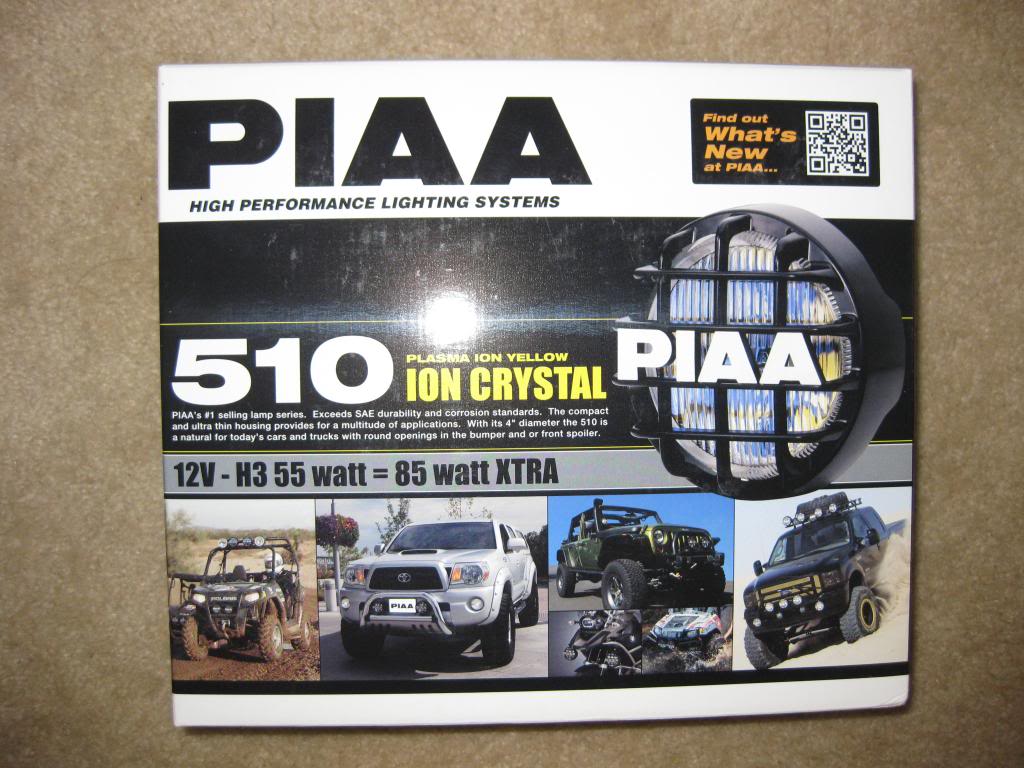
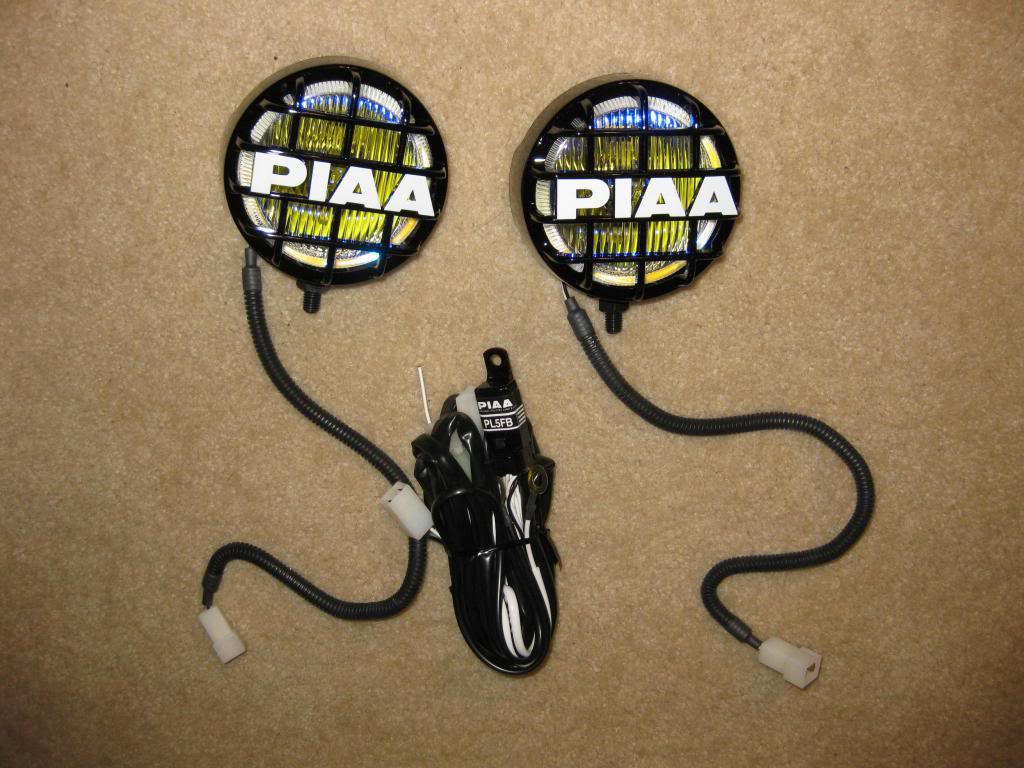
I was really excited but completely confused because I didn't order them...It turns out that it was a late "thank you" gift from my parents since we hosted them for Christmas. Great thank you gift if you ask me!
4/3/13 Update
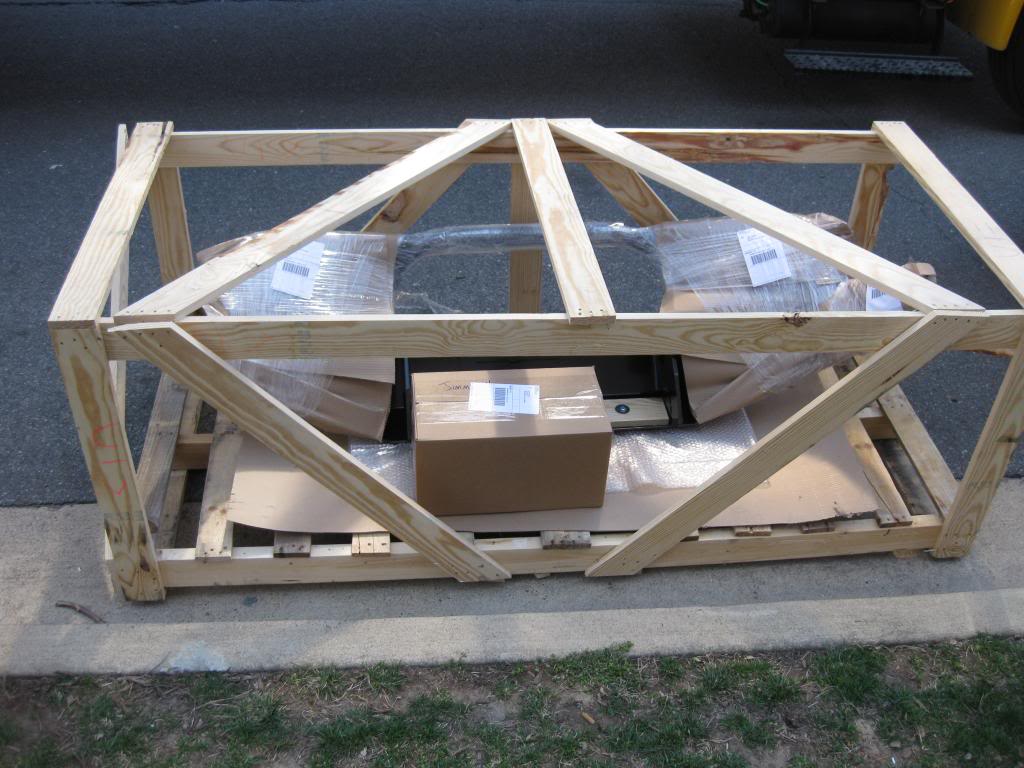
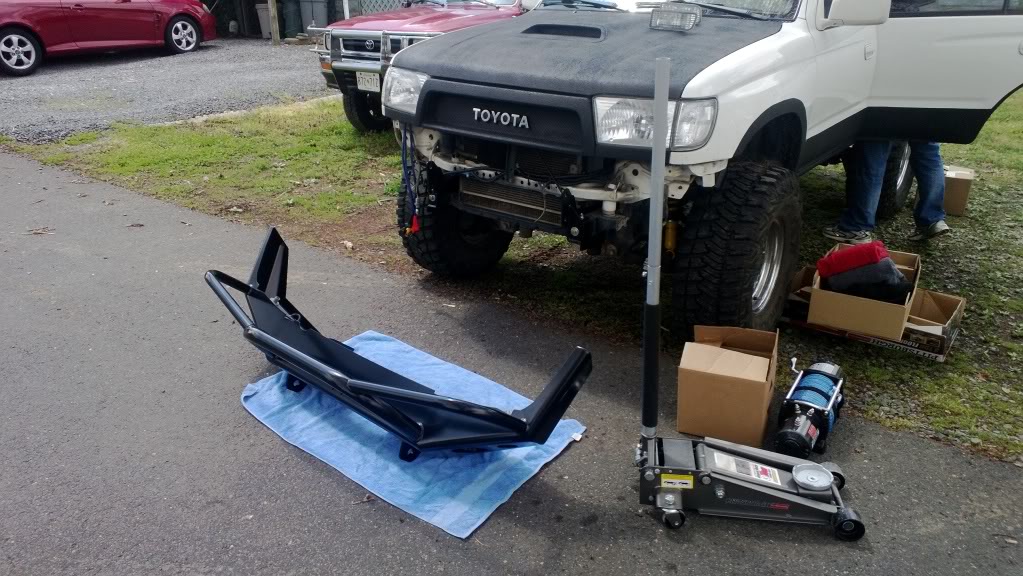
I can hardly believe it but my ShrockWorks finally arrived!!!
I already have an appointment to get the frame caps welded on this Friday so I should have everything installed and buttoned up by the end of the weekend!
They do a great job wrapping everything up and making sure it isn't damaged during shipping.
Teaser
4/6/13 Update
Well this weekend didn't quite go as I planned...I tried to tackle the bumper install myself with a 3 ton jack and a pair of 6 ton jack stands so I thought I could do it without a problem...WRONG!
After struggling with it for about 3 hours, I just couldn't get the bumper to fit between the brackets by myself, so I had to give up...
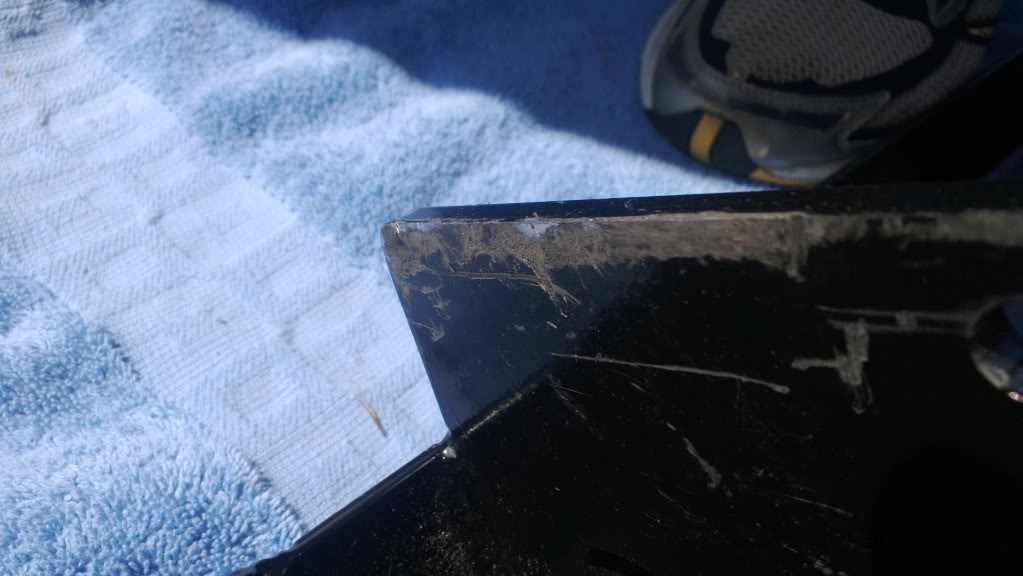
I'm really bummed that I couldn't get it installed but I'm even more upset because while I was wresting with it, I put some marks and scratches in the powder coat...Nothing major, but enough for me to be pissed at myself. Fortunately, I found a company that specializes in powder coat touch up paint so I ordered a small bottle and touch up pen to hide the scratches.
3/24/13 Update
I was able to get my OME 882s swapped in. Everything went pretty smoothly, but now I have the dreaded driver side lean, so I am sitting about 3/4" higher on the passenger side. I haven't gotten an alignment yet, but I doubt that an alignment will correct that much of a difference. The 882s are designed to support a bunch of additional weight so I am going to wait until I get the bumper installed to do anything because I am hoping the weight of the bumper and winch will help level it out.
Old:
Old removed:
Old vs. new:
New:
And the lean...
Driver side:
Passenger side:
Last but not least, these just showed up...
I was really excited but completely confused because I didn't order them...It turns out that it was a late "thank you" gift from my parents since we hosted them for Christmas. Great thank you gift if you ask me!
4/3/13 Update
I can hardly believe it but my ShrockWorks finally arrived!!!
I already have an appointment to get the frame caps welded on this Friday so I should have everything installed and buttoned up by the end of the weekend!
They do a great job wrapping everything up and making sure it isn't damaged during shipping.
Teaser
4/6/13 Update
Well this weekend didn't quite go as I planned...I tried to tackle the bumper install myself with a 3 ton jack and a pair of 6 ton jack stands so I thought I could do it without a problem...WRONG!
After struggling with it for about 3 hours, I just couldn't get the bumper to fit between the brackets by myself, so I had to give up...
I'm really bummed that I couldn't get it installed but I'm even more upset because while I was wresting with it, I put some marks and scratches in the powder coat...Nothing major, but enough for me to be pissed at myself. Fortunately, I found a company that specializes in powder coat touch up paint so I ordered a small bottle and touch up pen to hide the scratches.
Apr 10, 2013 | 08:08 AM
#227
Registered User
Joined: Mar 2008
Posts: 6,059
Likes: 101
From: Sacramento, CA
Nice bumper! i would've got it bare steel though and just painted it with hammer paint. I bought the TJM on my old 4runner used and it had a powdercoat paint job on it, but when it got too bad, i just resprayed it with hammer paint and it held up.
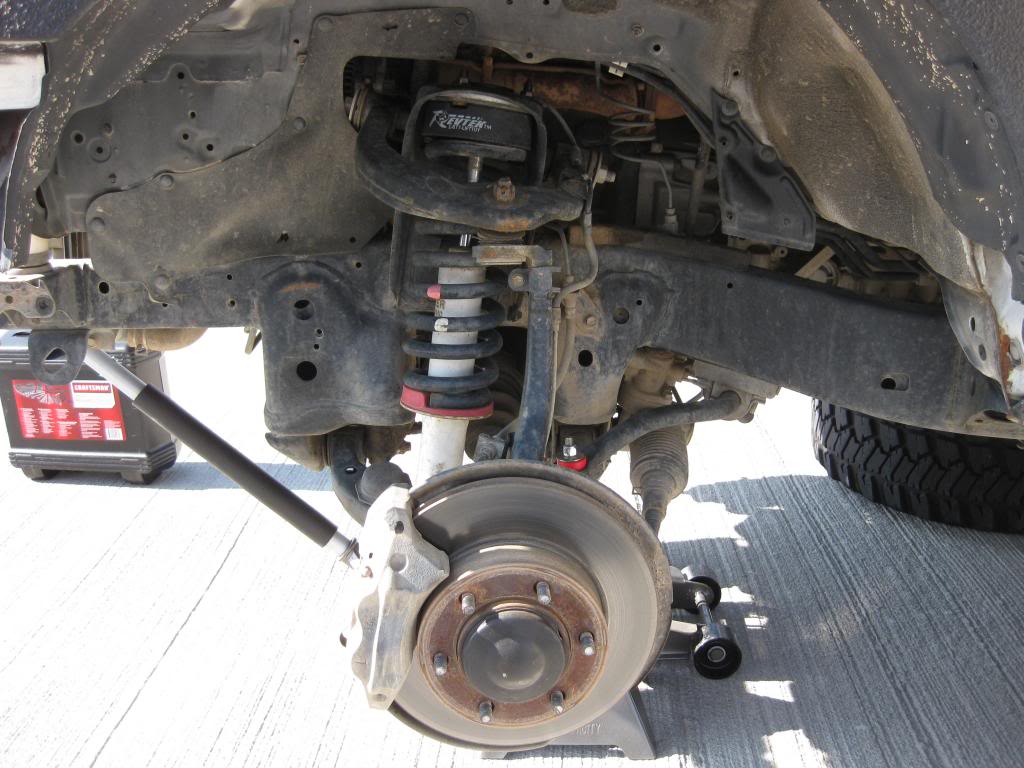
Not sure on the lean though. are you sure the coil spring insulator is on there right? looks kinda goofy from the picture.
Not sure on the lean though. are you sure the coil spring insulator is on there right? looks kinda goofy from the picture.

 Apr 10, 2013 | 08:44 PM
#229
Thread Starter
Registered User
iTrader: (1)
Joined: Aug 2009
Posts: 817
Likes: 2
From: Arlington, Virginia
Nice bumper! i would've got it bare steel though and just painted it with hammer paint. I bought the TJM on my old 4runner used and it had a powdercoat paint job on it, but when it got too bad, i just resprayed it with hammer paint and it held up.
Not sure on the lean though. are you sure the coil spring insulator is on there right? looks kinda goofy from the picture.
Not sure on the lean though. are you sure the coil spring insulator is on there right? looks kinda goofy from the picture.
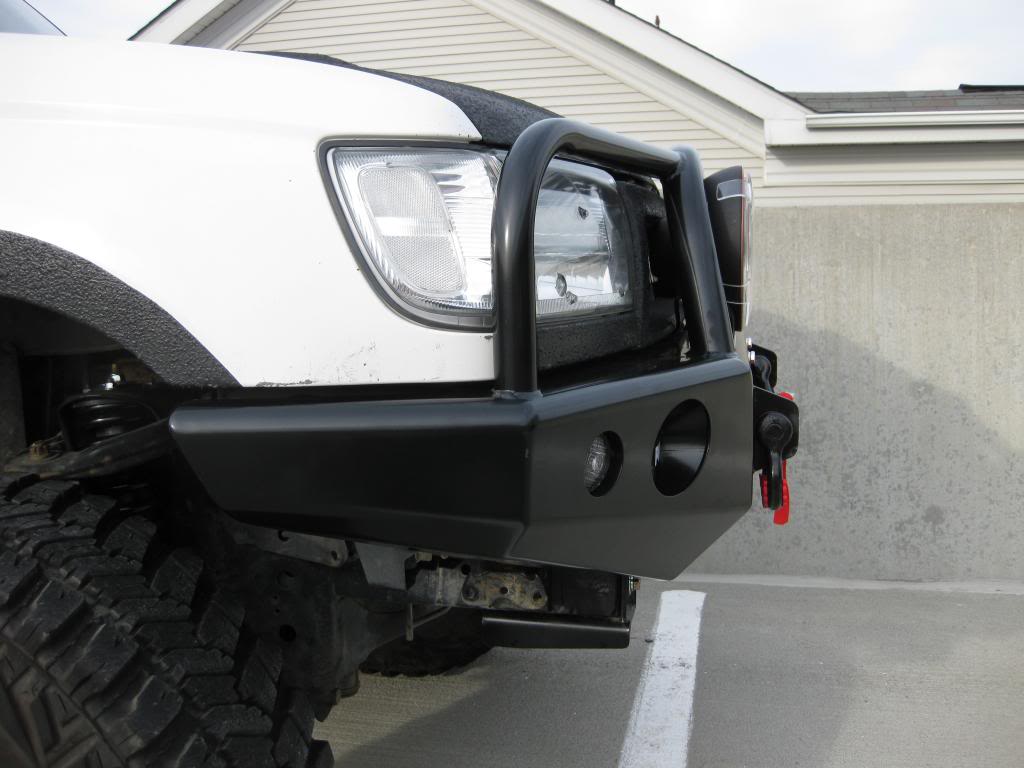
Yeah I'm pretty sure the coil spring insulator is installed correctly, it may just be a bad angle. What looks goofy about it? Here is a better pic:
Thank Ian. Is there any chance that you have some free time this weekend to give me a hand getting everything installed?
Apr 15, 2013 | 06:23 AM
#232
Thread Starter
Registered User
iTrader: (1)
Joined: Aug 2009
Posts: 817
Likes: 2
From: Arlington, Virginia
I finally was able to get the Shrockworks installed this weekend. First, I have to give a huge shout out to Ian (irab88) for helping me install it, thanks again man! It definitely wasn't as easy as I thought it was going to be and it took us the better part of a Saturday to get everything installed and tightened down. All said and done, I couldn't be happier with how it came out!
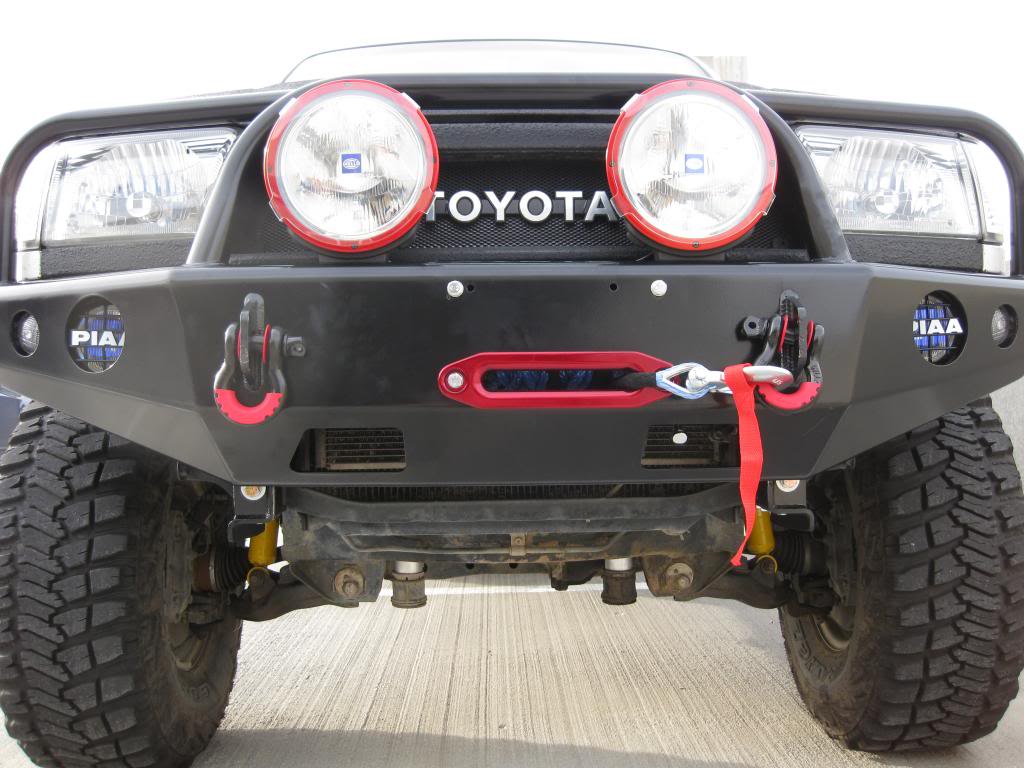
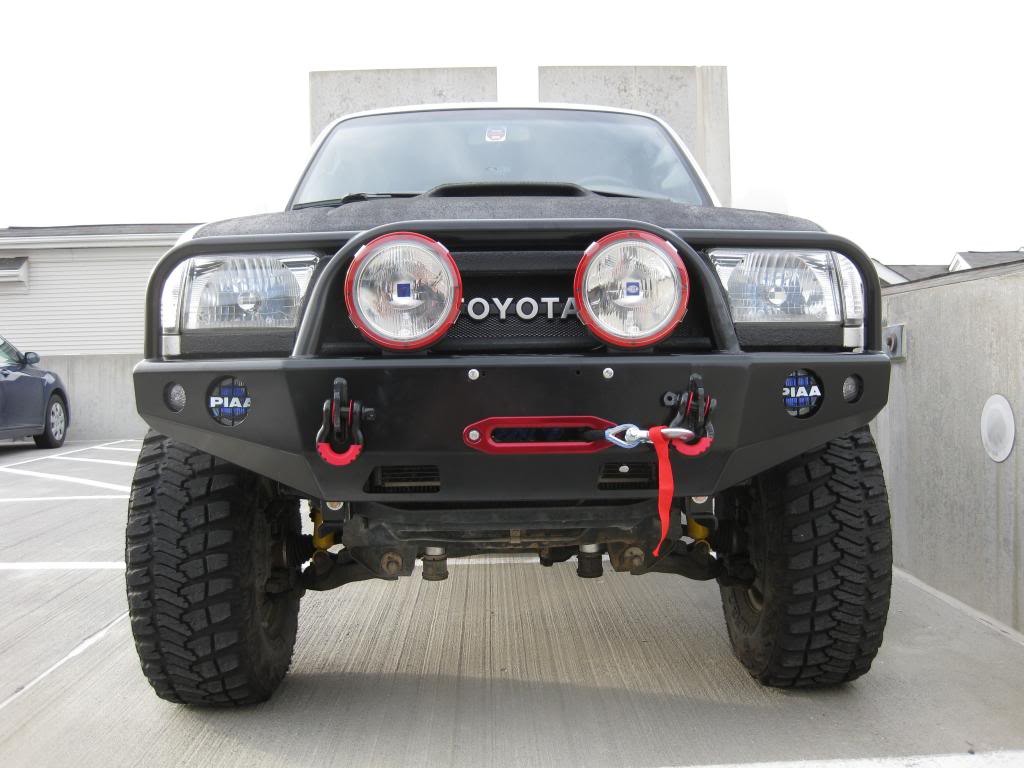
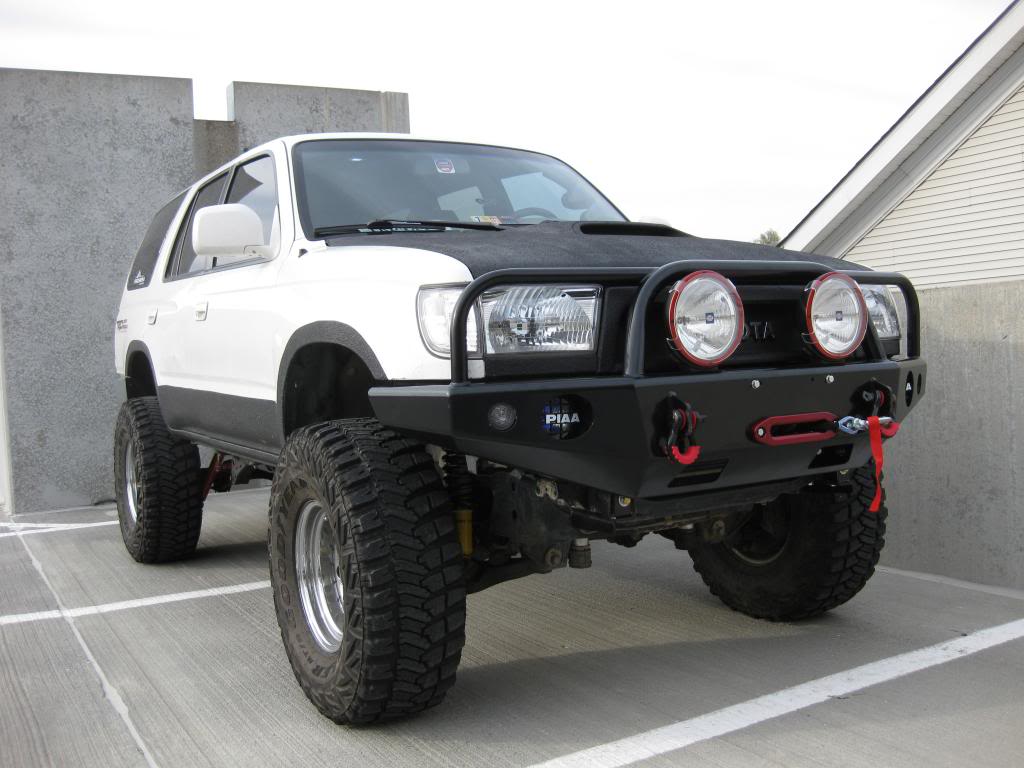
Gotta represent!


Gotta represent!
 Apr 15, 2013 | 07:04 AM
#233
seemed easy enough... bumper, truck, bolts... right?
lolnope. frame brackets were ~1/8" too narrow. time to break out the dremel and hit the high spots
the frame weld stuck up a bit, so that was ground down and painted

and after much persuasion with a bfh...

(we still had to do it again to drill mounting holes and mount the winch)
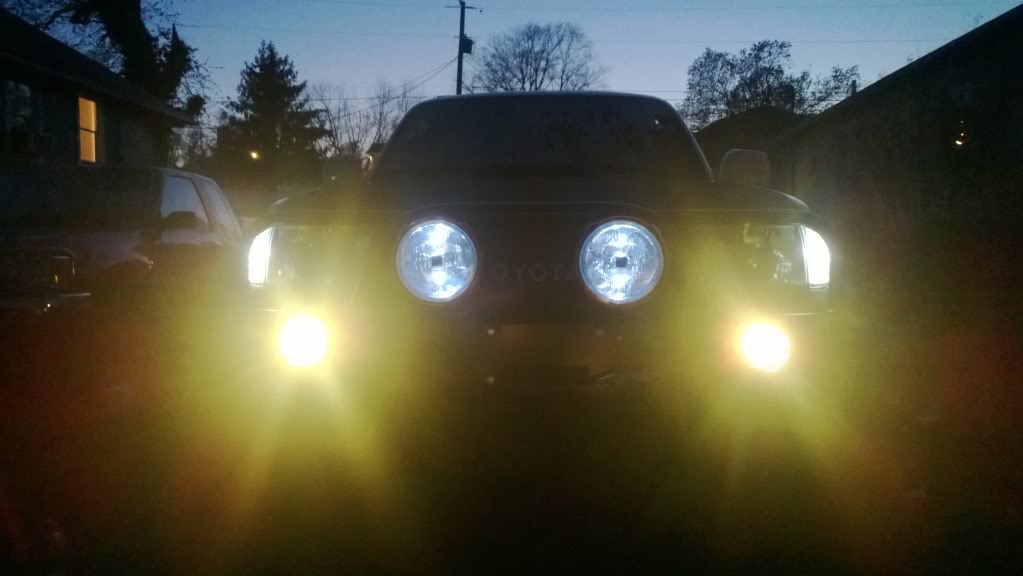
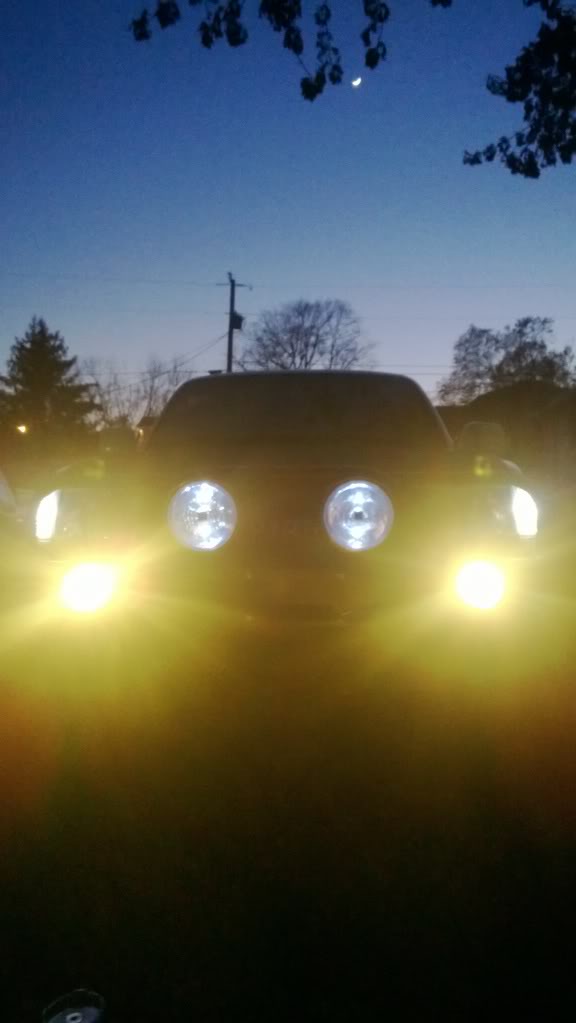
end result:

lights!

lolnope. frame brackets were ~1/8" too narrow. time to break out the dremel and hit the high spots
the frame weld stuck up a bit, so that was ground down and painted
and after much persuasion with a bfh...
(we still had to do it again to drill mounting holes and mount the winch)
end result:
lights!
Last edited by irab88; Apr 15, 2013 at 07:08 AM.


