
4ever4running's 2002 4Runner Build-Up Thread
 May 1, 2013 | 11:07 AM
#241
Thread Starter
Registered User
iTrader: (1)
Joined: Aug 2009
Posts: 817
Likes: 2
From: Arlington, Virginia
Since installing the Shrockworks I haven't done anything really big with the T4R, but I have done a couple small projects over the past couple weeks...
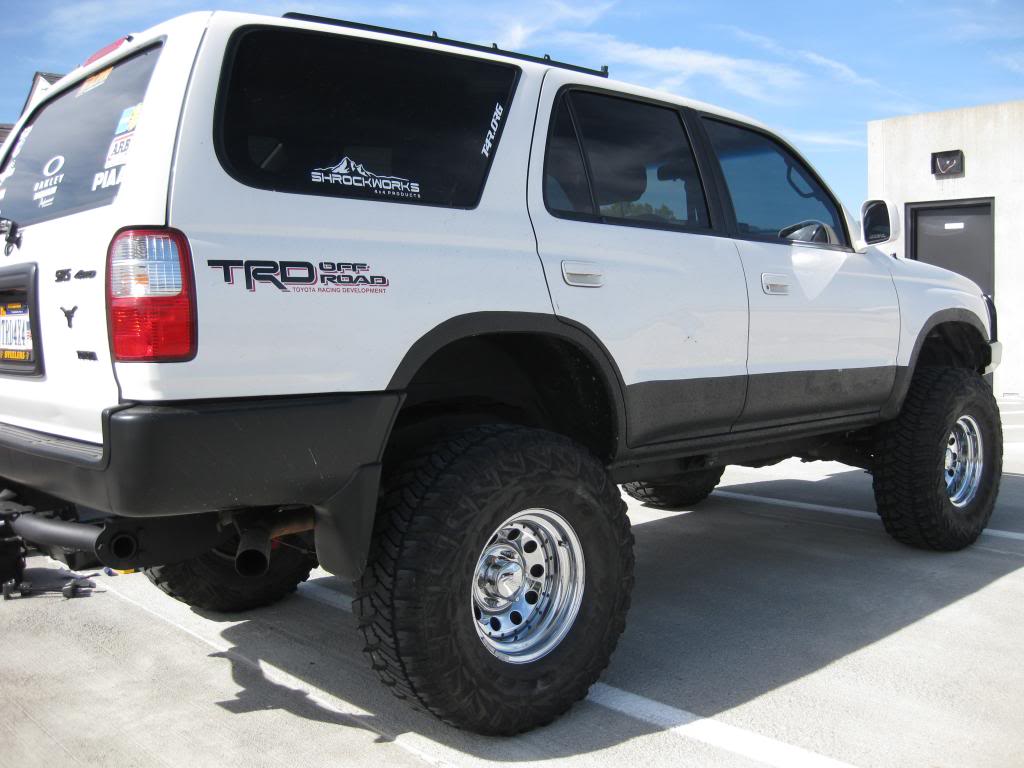
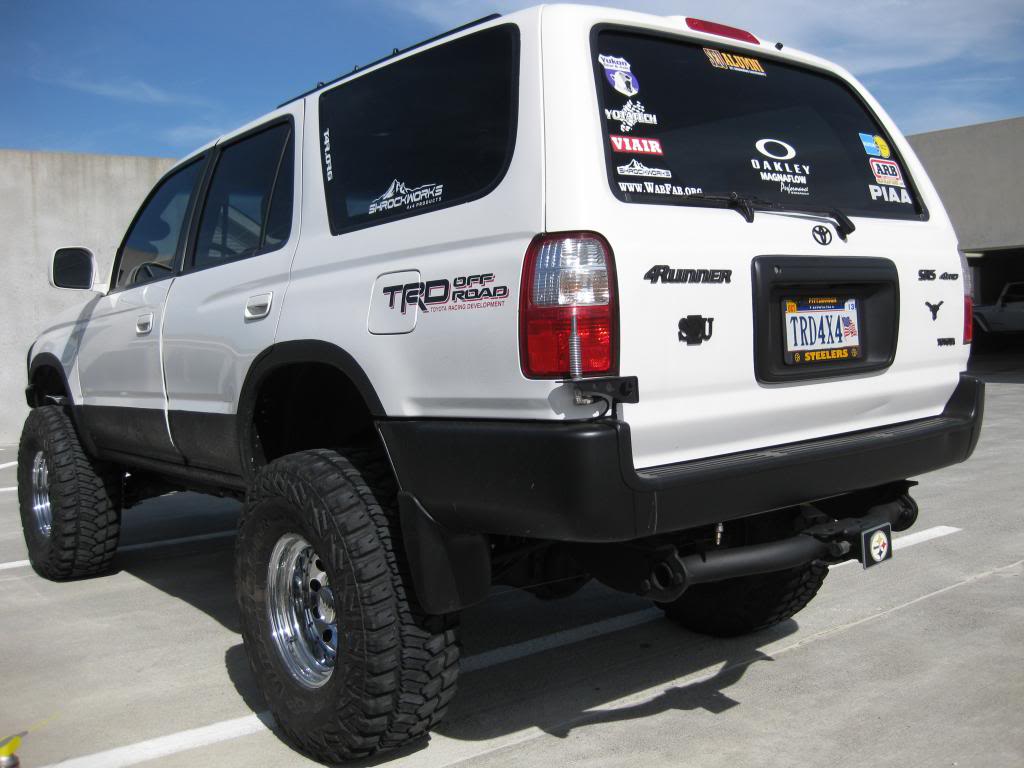
1) Plati-dipped my emblems, license plate surround, and rear bumper. I'm really happy with how everything came out and I was considering doing my wheels too, but I like how they actually stand out more, so I'm going to leave them alone for now.
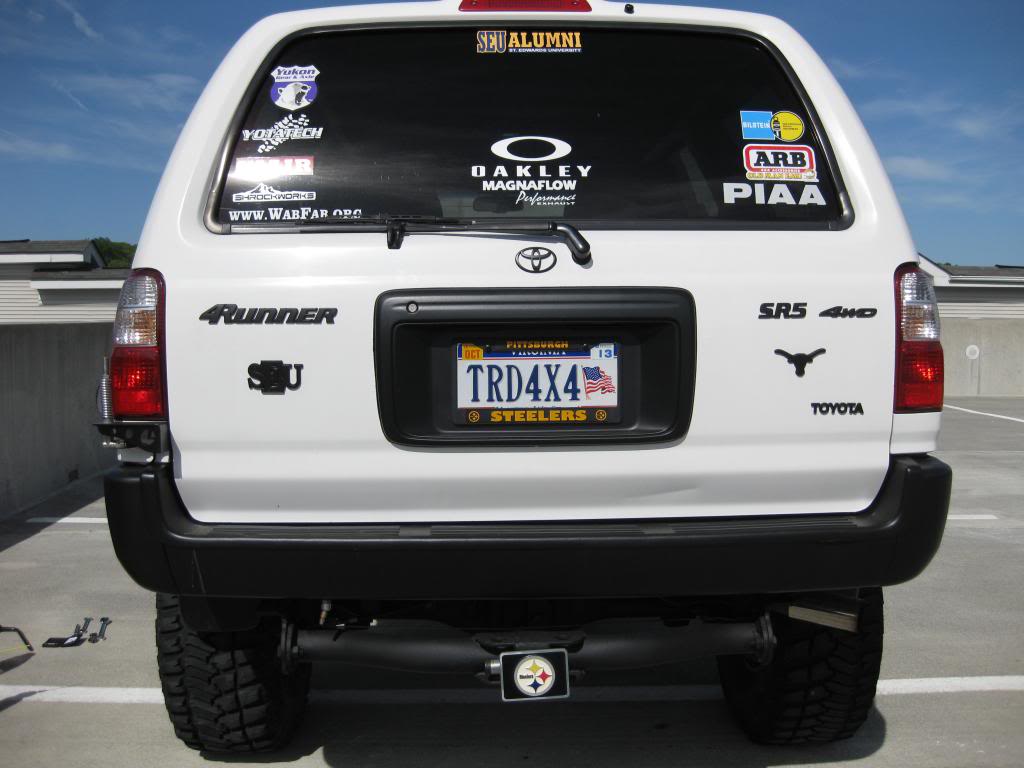
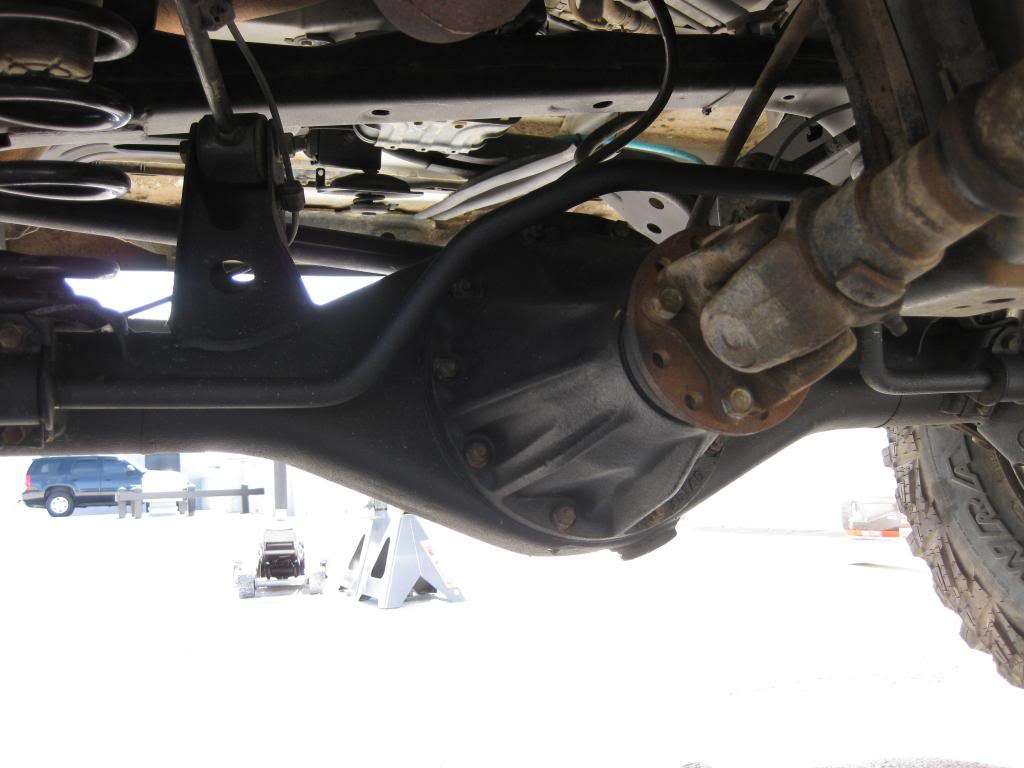
2) Rust prevention: I picked up a couple more cans of 3M Rubberized Undercoating and pretty much finished coating the rear end. It looks much better and so far everything I have done has held up really well.
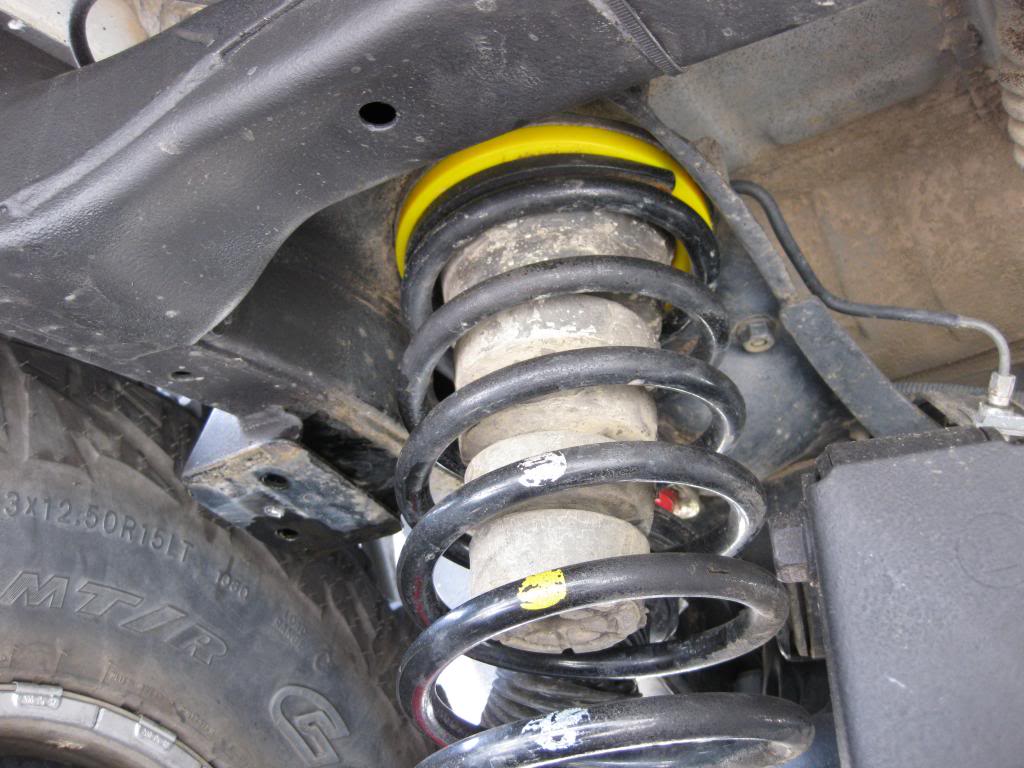
3) Got an alignment - As many of you may or may not know, I swapped out my spacer lift for OME 882 coils a while ago, but never had it aligned because I wanted to get the bumper and winch on first and have it sitting at ride height. So, I took it to Goodyear and unfortunately they don't offer lifetime alignments, but I did get a 3 years for around $160, not too bad IMO.
Up next...
4) Even after getting an alignment, I am still leaning to the driver side a bit (both front and rear). So, I ordered a 1/4" top plate spacer for the front (Front Top Plate Spacer (One - 1/4") - Toytec Lifts: Toyota Lift Kits: FJ Cruiser Lift Kits, Tacoma Lift Kits, Tundra Lift Kits, 4 Runner Lift Kits, Sequoia Lift Kits, Toyota Truck Lift Kits) and a 10mm coil spacer for the rear (Rear Coil spring spacers 10MM - Toytec Lifts: Toyota Lift Kits: FJ Cruiser Lift Kits, Tacoma Lift Kits, Tundra Lift Kits, 4 Runner Lift Kits, Sequoia Lift Kits, Toyota Truck Lift Kits). The plan is to install the rear coil spacer first and drive it around a bit to see if it helps to level out the front. If not, then I'll install the top plate spacer on the front.
5) Timing belt: I finally pulled the trigger and ordered a timing belt kit. I went with this kit from aircabinman on eBay based on a couple timing belt-related threads: http://www.ebay.com/itm/Toyota-TIMING-BELT-WATER-PUMP-KIT-Genuine-OEM-Parts-4-Runner-Truck-3-4L-V6-/180729034728?pt=Motors_Car_Truck_Parts_Accessories&fits=Year%3A2002%7CModel%3A4Runner&hash=item2a144a37e8&vxp=mtr. It's more expensive than most other kits I've seen, but it comes with ALL OEM replacement parts which is well worth the extra cost IMO.
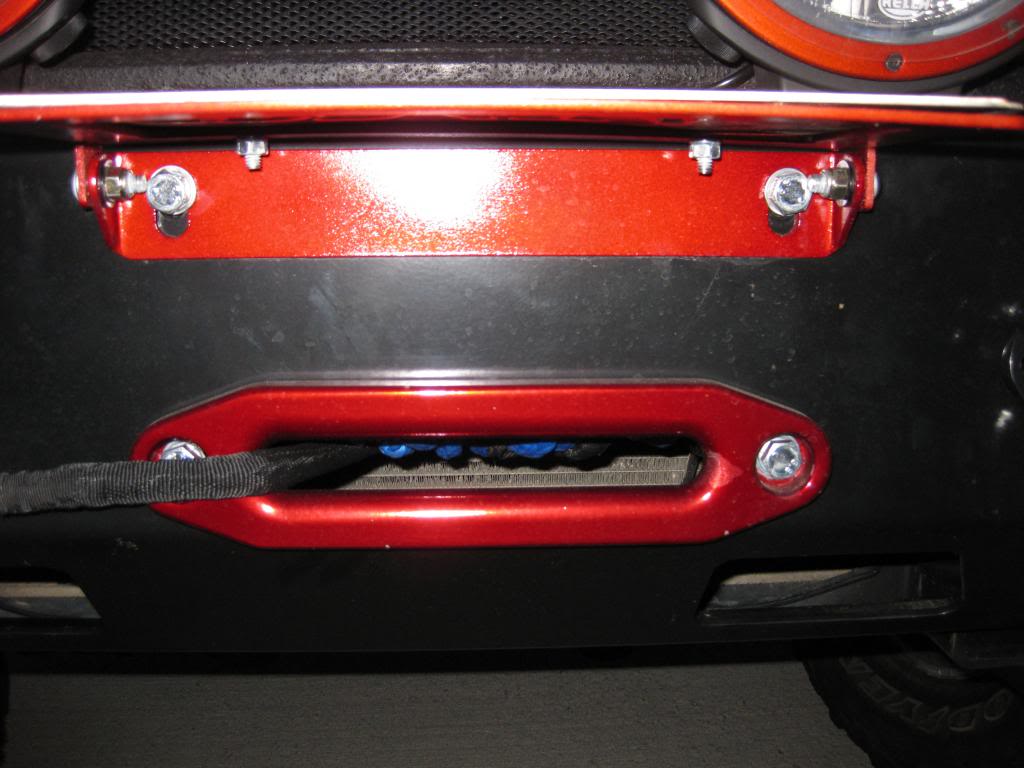
6) License plate mount: Here in VA we are required to have both a front and rear license plate, super annoying!. But, since I am running a synthetic line and hawse fairlead for my winch, I don't have anywhere to mount my license plate so I just have it taped to the inside of my windshield...I talked to Mark at Shrockworks and they actually just came out with a solution a couple weeks ago: A flip up license plate mount (Flip Up License Plate Mount). "Our new flip up license plate mount bolts on with the top two winch mounting bolts and hangs down covering the winch opening. When you need to use your winch, simply flip up the your license plate and go." So I ordered one in bare steel and I'm planning on painting it with the Duplicolor red Metalcast that I used on the fairlead and Hella light rings.
1) Plati-dipped my emblems, license plate surround, and rear bumper. I'm really happy with how everything came out and I was considering doing my wheels too, but I like how they actually stand out more, so I'm going to leave them alone for now.


2) Rust prevention: I picked up a couple more cans of 3M Rubberized Undercoating and pretty much finished coating the rear end. It looks much better and so far everything I have done has held up really well.

3) Got an alignment - As many of you may or may not know, I swapped out my spacer lift for OME 882 coils a while ago, but never had it aligned because I wanted to get the bumper and winch on first and have it sitting at ride height. So, I took it to Goodyear and unfortunately they don't offer lifetime alignments, but I did get a 3 years for around $160, not too bad IMO.
Up next...
4) Even after getting an alignment, I am still leaning to the driver side a bit (both front and rear). So, I ordered a 1/4" top plate spacer for the front (Front Top Plate Spacer (One - 1/4") - Toytec Lifts: Toyota Lift Kits: FJ Cruiser Lift Kits, Tacoma Lift Kits, Tundra Lift Kits, 4 Runner Lift Kits, Sequoia Lift Kits, Toyota Truck Lift Kits) and a 10mm coil spacer for the rear (Rear Coil spring spacers 10MM - Toytec Lifts: Toyota Lift Kits: FJ Cruiser Lift Kits, Tacoma Lift Kits, Tundra Lift Kits, 4 Runner Lift Kits, Sequoia Lift Kits, Toyota Truck Lift Kits). The plan is to install the rear coil spacer first and drive it around a bit to see if it helps to level out the front. If not, then I'll install the top plate spacer on the front.
5) Timing belt: I finally pulled the trigger and ordered a timing belt kit. I went with this kit from aircabinman on eBay based on a couple timing belt-related threads: http://www.ebay.com/itm/Toyota-TIMING-BELT-WATER-PUMP-KIT-Genuine-OEM-Parts-4-Runner-Truck-3-4L-V6-/180729034728?pt=Motors_Car_Truck_Parts_Accessories&fits=Year%3A2002%7CModel%3A4Runner&hash=item2a144a37e8&vxp=mtr. It's more expensive than most other kits I've seen, but it comes with ALL OEM replacement parts which is well worth the extra cost IMO.
6) License plate mount: Here in VA we are required to have both a front and rear license plate, super annoying!. But, since I am running a synthetic line and hawse fairlead for my winch, I don't have anywhere to mount my license plate so I just have it taped to the inside of my windshield...I talked to Mark at Shrockworks and they actually just came out with a solution a couple weeks ago: A flip up license plate mount (Flip Up License Plate Mount). "Our new flip up license plate mount bolts on with the top two winch mounting bolts and hangs down covering the winch opening. When you need to use your winch, simply flip up the your license plate and go." So I ordered one in bare steel and I'm planning on painting it with the Duplicolor red Metalcast that I used on the fairlead and Hella light rings.
Last edited by 4ever4running; Jun 4, 2013 at 01:04 PM.
Jun 4, 2013 | 01:07 PM
#242
Thread Starter
Registered User
iTrader: (1)
Joined: Aug 2009
Posts: 817
Likes: 2
From: Arlington, Virginia
Couple Updates
I have gotten a couple more things done on the 4Runner over the past couple weeks:
1) Got the trim spacer installed in the rear. It definitely helped to level out the rear a bit.
2) A couple months ago I sold my Yakima Loadwarrior and Thule load bar setup because it sat too tall on the roof for me to use them regularly so they just sat in storage most of the time. My plan was to sell everything and upgrade to a Whitson Metalworks full length rack because it is stronger and has a much lower profile. I was able to get $500 for my setup so I was well on my way to getting the Whitson, but I just never pulled the trigger. After some more thought I decided that the Whitson just doesn't really make sense right now because my truck is a DD and most of the parking garages in DC are pretty low clearance that I already don't fit in so it doesn't really make sense to further limit my options by adding the additional height. So I decided to use the cash for some maintenance and other mods.
After spending more than half on my timing belt kit, I still had some $$ left over....So, I decided to upgrade my stereo head unit and just ordered this bad boy from Amazon: . It has pretty much every feature I could possibly want/use and I have always wanted a double din unit so I'm pretty pumped!
I ordered up a rear view camera to go with it:
 Amazon.com: Night Vision Parking Car Rear View Wide Angle LED Reversing CMOS Camera: Car Electronics
And finally, a parking brake override Bypass switch (This allows you to operate the DVD player and watch other videos without having the parking brake engaged): .
1) Got the trim spacer installed in the rear. It definitely helped to level out the rear a bit.


2) A couple months ago I sold my Yakima Loadwarrior and Thule load bar setup because it sat too tall on the roof for me to use them regularly so they just sat in storage most of the time. My plan was to sell everything and upgrade to a Whitson Metalworks full length rack because it is stronger and has a much lower profile. I was able to get $500 for my setup so I was well on my way to getting the Whitson, but I just never pulled the trigger. After some more thought I decided that the Whitson just doesn't really make sense right now because my truck is a DD and most of the parking garages in DC are pretty low clearance that I already don't fit in so it doesn't really make sense to further limit my options by adding the additional height. So I decided to use the cash for some maintenance and other mods.
After spending more than half on my timing belt kit, I still had some $$ left over....So, I decided to upgrade my stereo head unit and just ordered this bad boy from Amazon: . It has pretty much every feature I could possibly want/use and I have always wanted a double din unit so I'm pretty pumped!
I ordered up a rear view camera to go with it:
And finally, a parking brake override Bypass switch (This allows you to operate the DVD player and watch other videos without having the parking brake engaged): .
Last edited by 4ever4running; Jun 4, 2013 at 01:08 PM.
Jun 4, 2013 | 01:09 PM
#243
Thread Starter
Registered User
iTrader: (1)
Joined: Aug 2009
Posts: 817
Likes: 2
From: Arlington, Virginia
Stereo Install
For the past couple years I have been using a Sony CDX-GT620IP head unit. While the Sony was great, I have always wanted a double din unit. After a substantial amount of research I ended up deciding on the Pioneer AVH-X3500BHS. It has all the features I want (Bluetooth, Ipod control, HD radio, etc.), got great reviews, and the price was just right ($300 shipped from Amazon). As an added bonus, you don't need a pocket install kit like all of the single din units require.
Here is a list of the major parts I used for the install (I ordered everything from Amazon):
Pioneer AVH-X3500BHS
Metra 70-1761 Radio Wiring Harness For Toyota 87-Up Power 4 Speaker (I already had this since I have an aftermarket head unit)
Night Vision Parking Car Rear View Wide Angle LED Reversing CMOS Camera (optional)
Parking Brake Override Bypass for Fully Automatic Video in Motion (optional)
Scosche Mda-B Micro/Delco Antenna Adapter Tip (optional)
Metra Ltd 40-UV43 Motorola Antenna Y-adapter (optional)
After removing the old Sony unit, I cut off the Sony wiring harness from the Metra wiring harness. I was careful not to cut too much of each since I would be reusing the Metra harness and selling the Sony harness with the head unit. After cutting off the old harness, I soldered and heat shrunk the Pioneer harness to the Metra harness.
Note: There were only 2 wires that are not used: 1) The orange wire with a black stripe on the Metra harness and 2) The yellow and black wire ("mute" wire) on the Pioneer harness. The white and purple wire on the Pioneer harness will only be used when connecting a rear view camera.
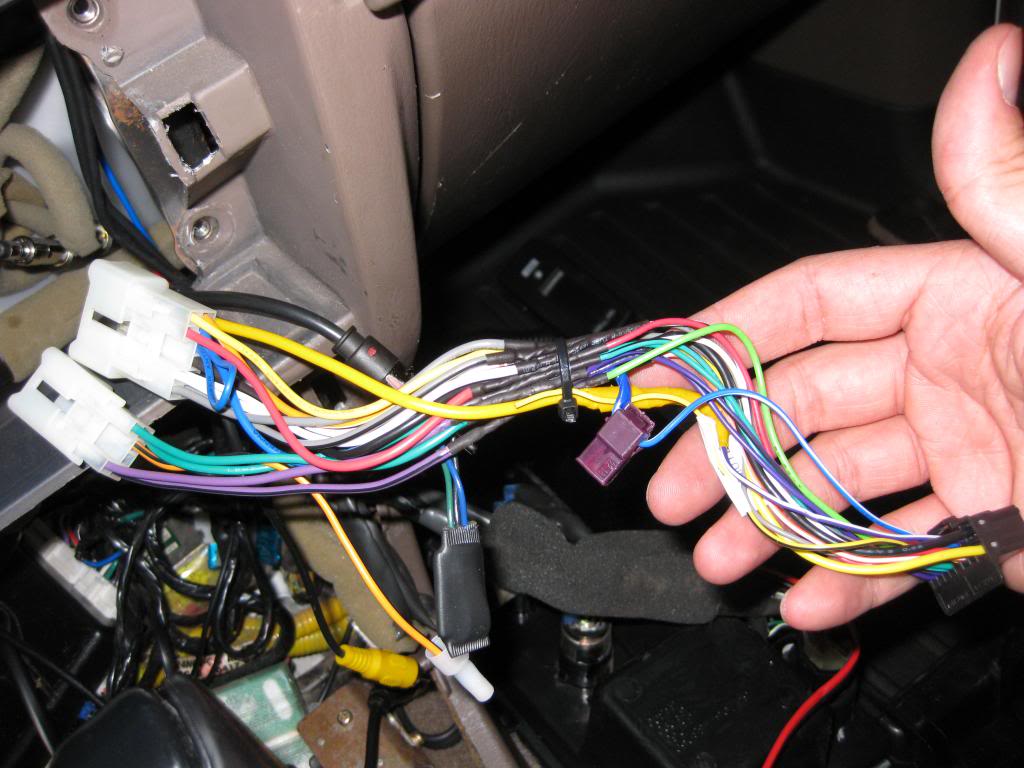
When soldering the two harnesses together, I was sure to include the Parking brake override relay wires. The override relay has 3 wires that match up to the wiring harness as so:
1) Black wire - This is a ground wire that is soldered in line with the other 2 black ground wires.
2) Green wire - This wire is attached to the light green parking brake wire on the Pioneer harness.
3) Blue wire - This wire is attached to the amp/antenna power wire. In my case this wire was soldered inline with the blue and white wire from the Pioneer harness and the blue wire from the Metra harness.
Here you can see the parking brake override relay (small black rectangle)
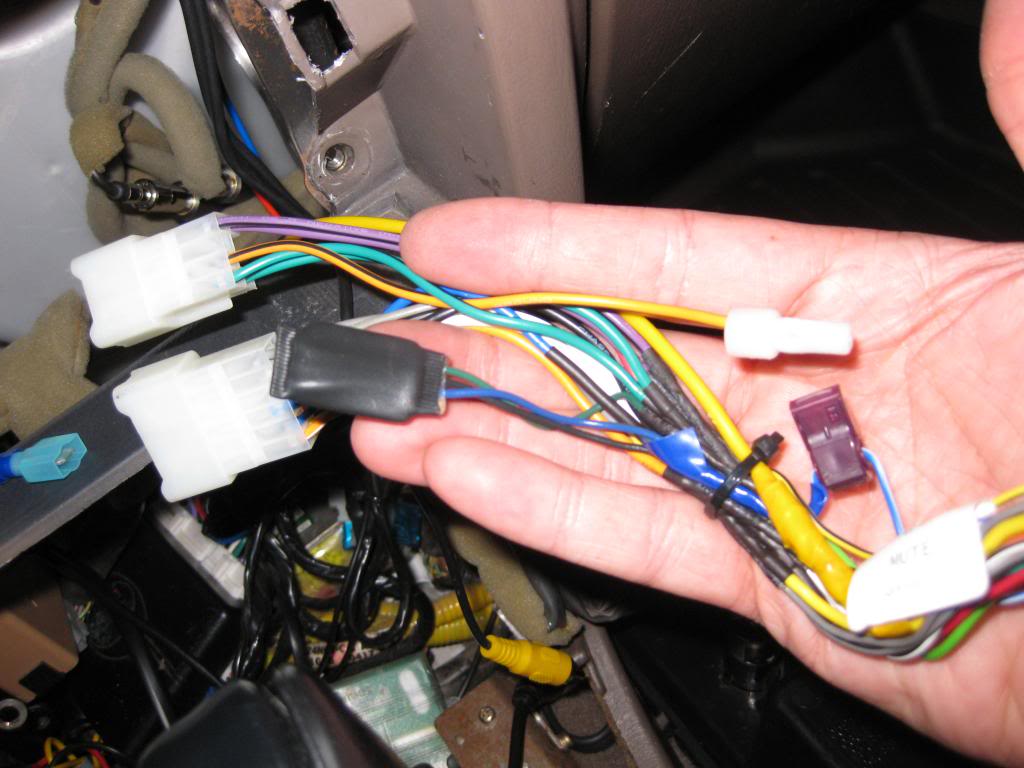
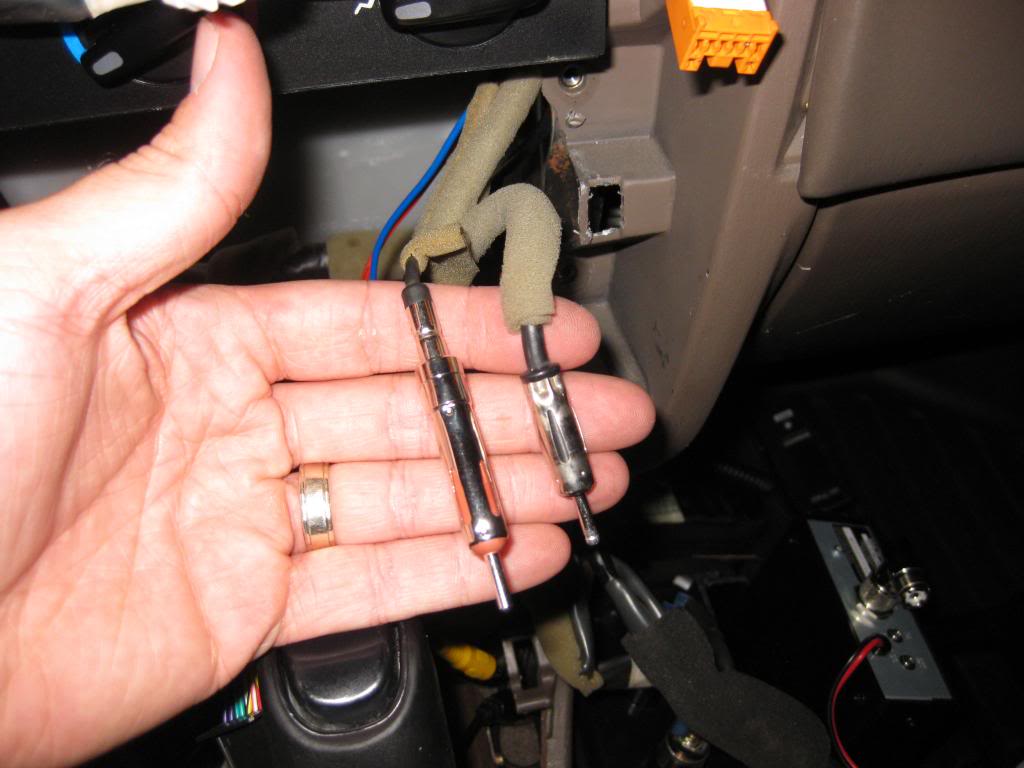
When you remove your factory head unit you will notice that you actually have 2 antenna wires. A large plug for the main front antenna and a smaller plug for the rear antenna.
Larger on right, smaller on left

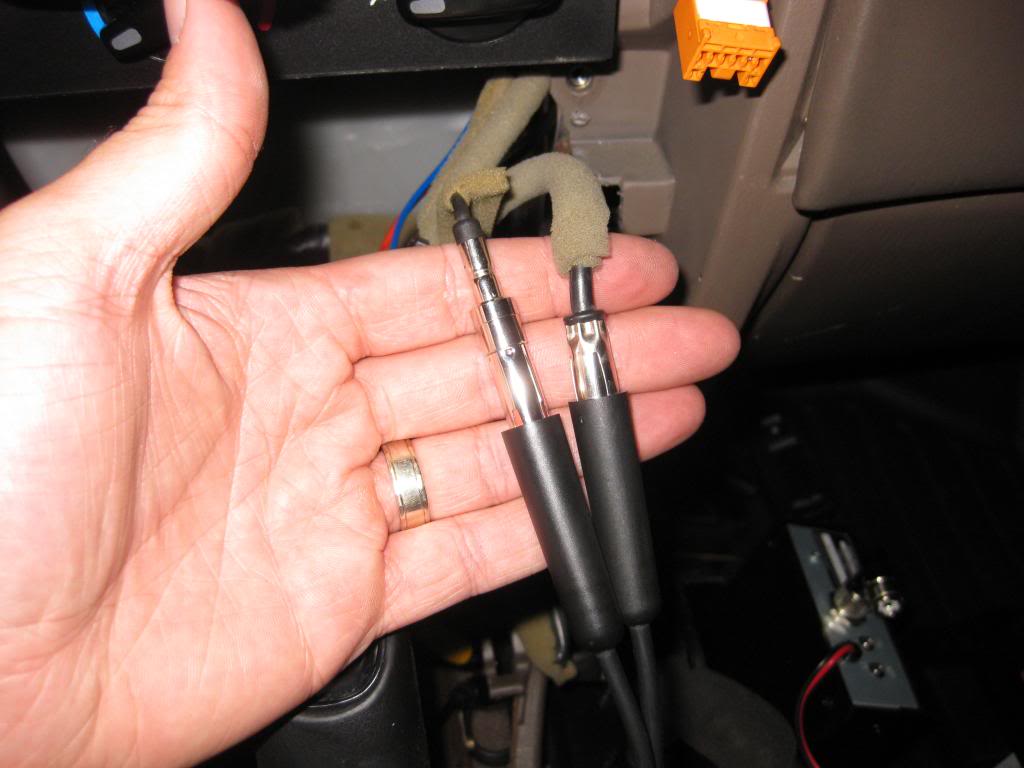
Since I bought an HD radio I wanted to make sure that I had the best reception possible so I bought a Scosche Mda-B Micro/Delco Antenna Adapter Tip and a Metra Ltd 40-UV43 Motorola Antenna Y-adapter.
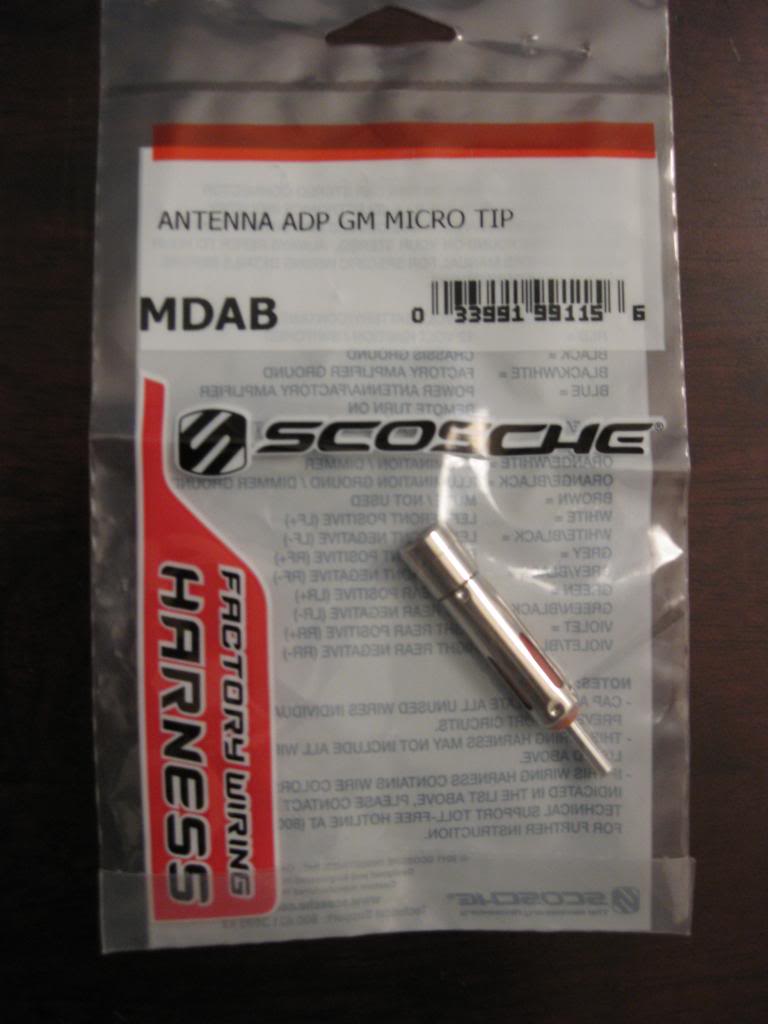
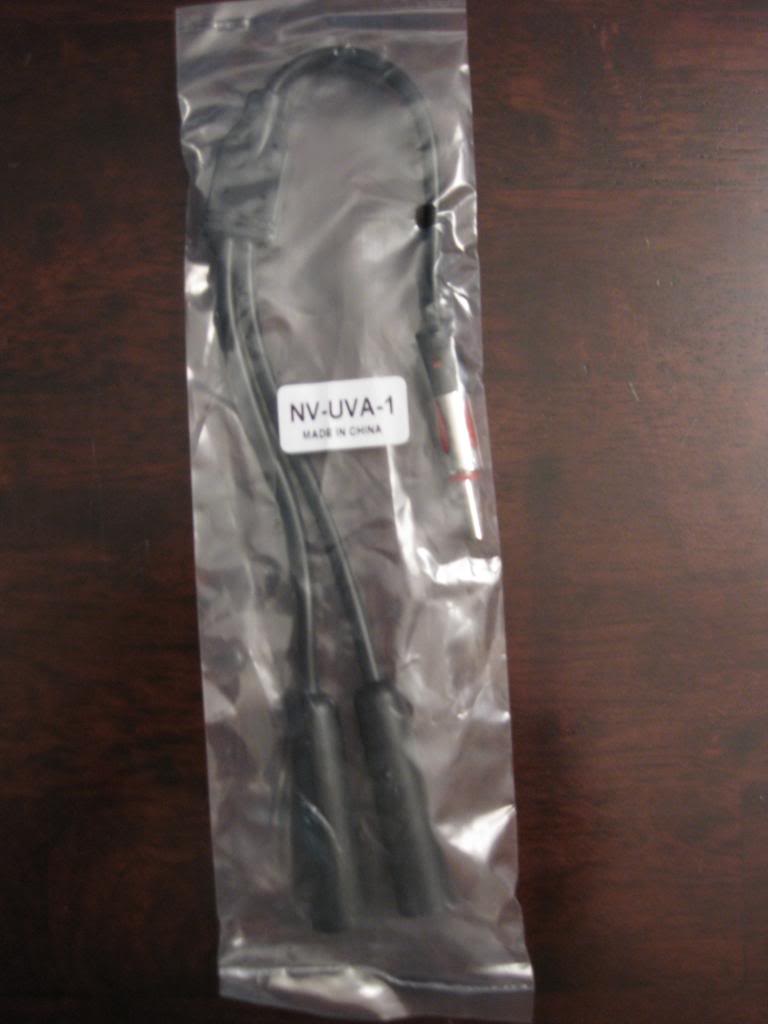
The adapter tip converts the smaller rear antenna plug to the same size as the larger main antenna plug.
And the Y adapter allows you to connect both the front and rear antenna to the single antenna plug on the Pioneer unit.
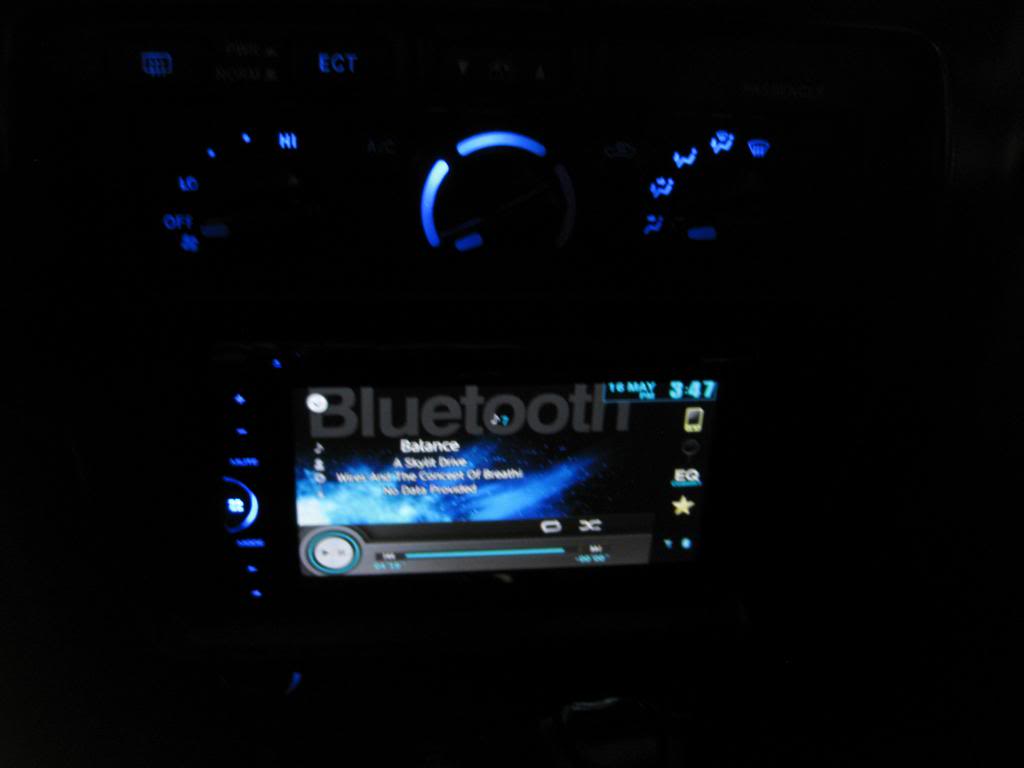
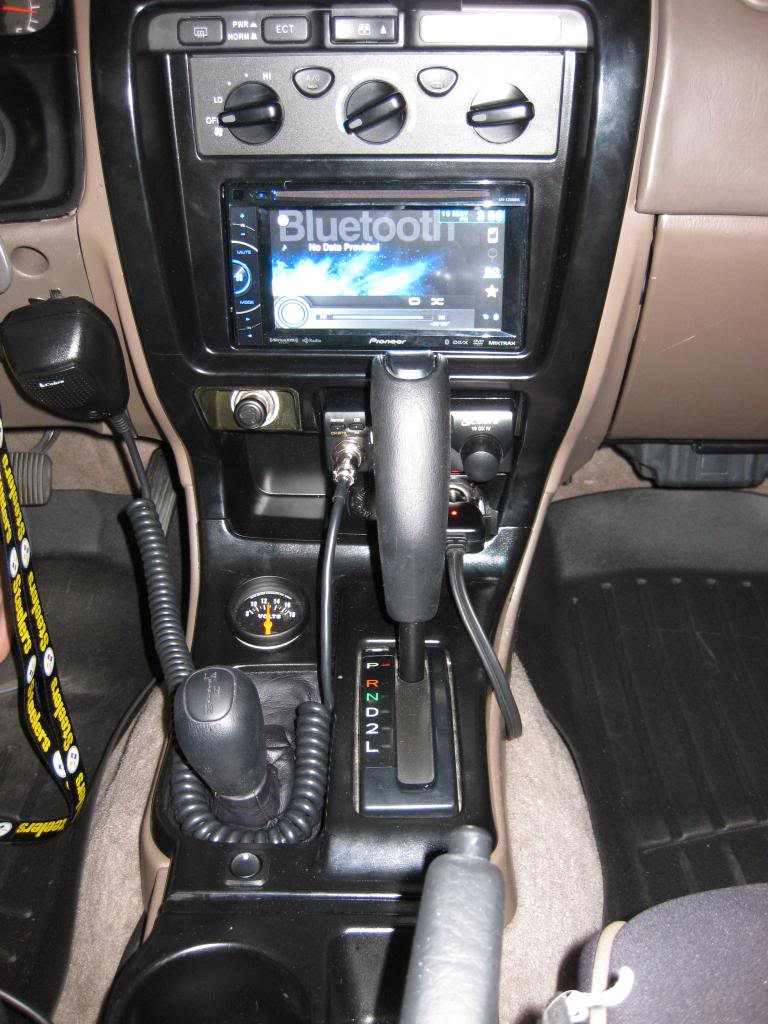
And after putting everything back together here's how it looks.
Finally, I noticed that with the new Pioneer unit, my antenna is up and stays up whenever the stereo is on, regardless of whether or not I am listening to the radio. While this isn't a huge deal, I don't like the idea of having the antenna up when I wanted to listen to music via iPod/iPhone while wheeling. So, I went to my local radio shack and I picked up a simple on-off switch. I cut the blue (antenna power) wire on the Metra harness and soldered a length of wire to each end and ran those to the switch. Now, I can raise and lower my antenna with the simple flip of a switch. Not difficult at all, but super useful!
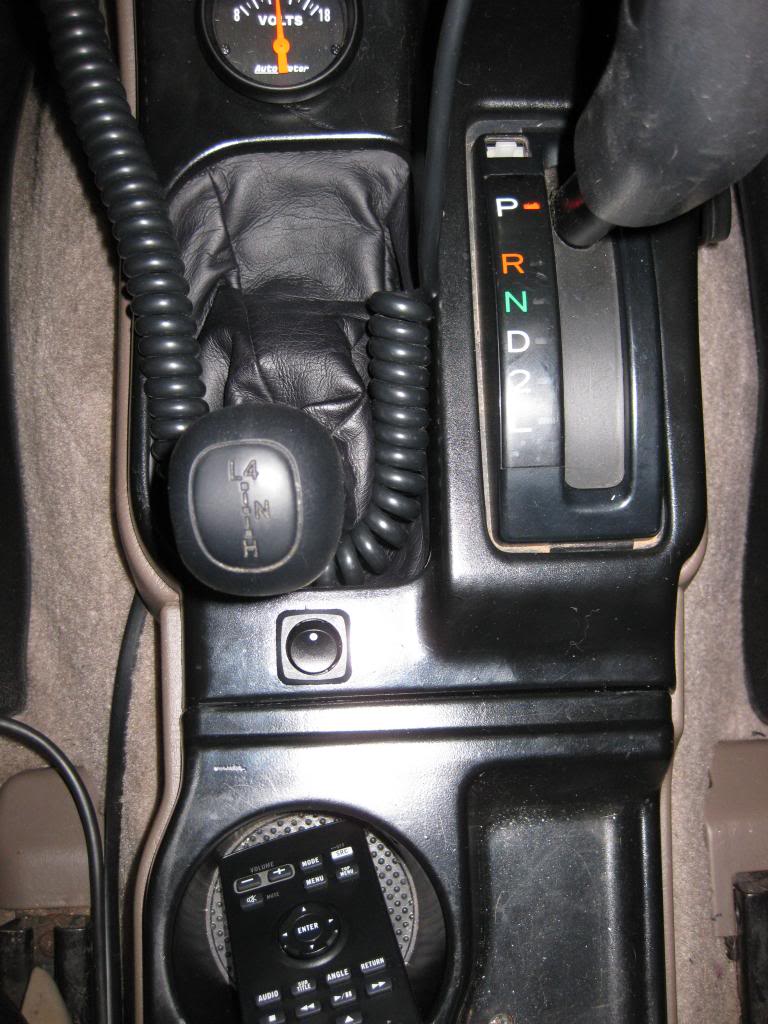
Here is where I mounted the switch.
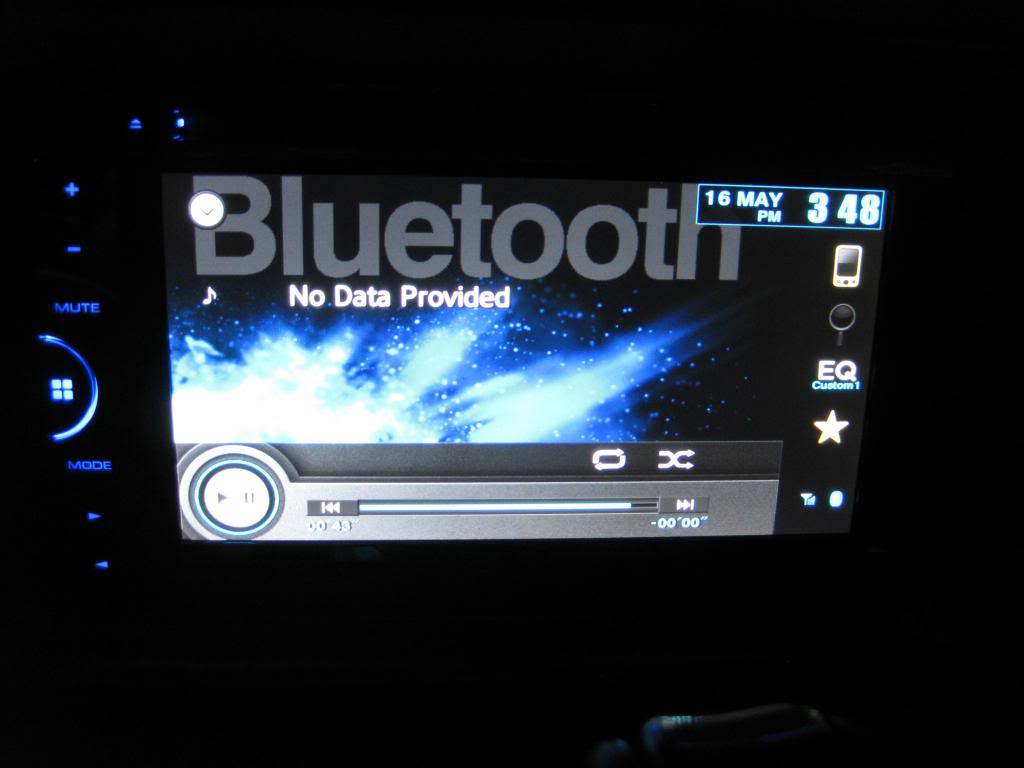
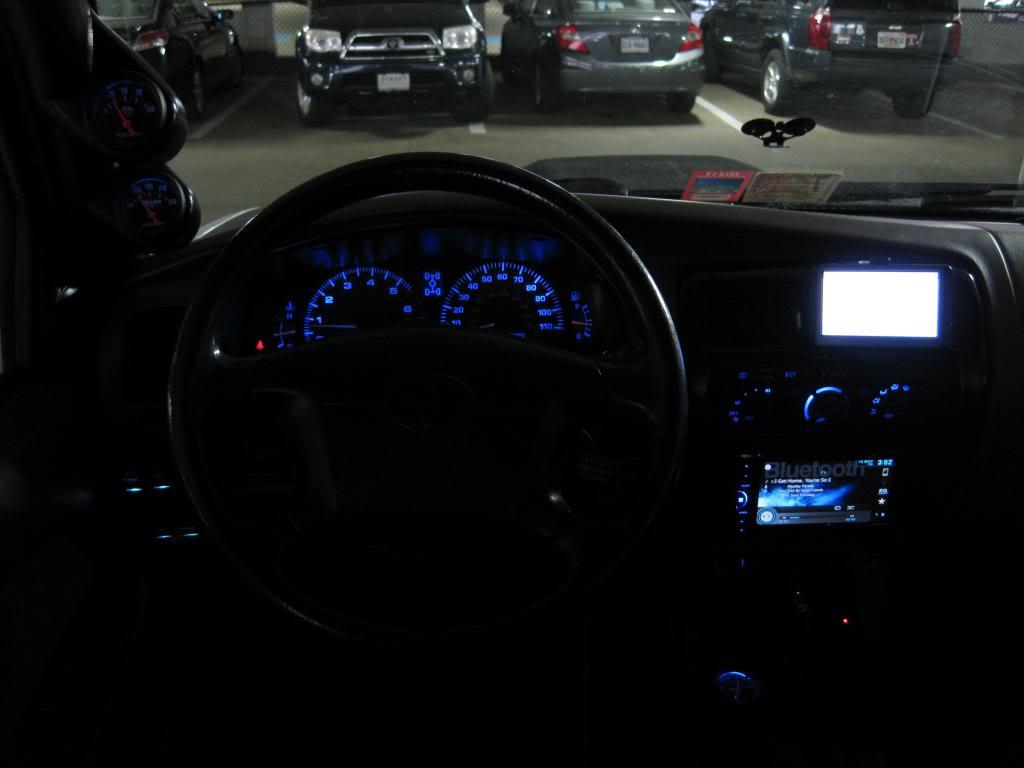
And an overall night shot
I'm still working on wiring up the rear view camera so more to come...
Here is a list of the major parts I used for the install (I ordered everything from Amazon):
Pioneer AVH-X3500BHS
Metra 70-1761 Radio Wiring Harness For Toyota 87-Up Power 4 Speaker (I already had this since I have an aftermarket head unit)
Night Vision Parking Car Rear View Wide Angle LED Reversing CMOS Camera (optional)
Parking Brake Override Bypass for Fully Automatic Video in Motion (optional)
Scosche Mda-B Micro/Delco Antenna Adapter Tip (optional)
Metra Ltd 40-UV43 Motorola Antenna Y-adapter (optional)
After removing the old Sony unit, I cut off the Sony wiring harness from the Metra wiring harness. I was careful not to cut too much of each since I would be reusing the Metra harness and selling the Sony harness with the head unit. After cutting off the old harness, I soldered and heat shrunk the Pioneer harness to the Metra harness.
Note: There were only 2 wires that are not used: 1) The orange wire with a black stripe on the Metra harness and 2) The yellow and black wire ("mute" wire) on the Pioneer harness. The white and purple wire on the Pioneer harness will only be used when connecting a rear view camera.

When soldering the two harnesses together, I was sure to include the Parking brake override relay wires. The override relay has 3 wires that match up to the wiring harness as so:
1) Black wire - This is a ground wire that is soldered in line with the other 2 black ground wires.
2) Green wire - This wire is attached to the light green parking brake wire on the Pioneer harness.
3) Blue wire - This wire is attached to the amp/antenna power wire. In my case this wire was soldered inline with the blue and white wire from the Pioneer harness and the blue wire from the Metra harness.
Here you can see the parking brake override relay (small black rectangle)

When you remove your factory head unit you will notice that you actually have 2 antenna wires. A large plug for the main front antenna and a smaller plug for the rear antenna.
Larger on right, smaller on left

Since I bought an HD radio I wanted to make sure that I had the best reception possible so I bought a Scosche Mda-B Micro/Delco Antenna Adapter Tip and a Metra Ltd 40-UV43 Motorola Antenna Y-adapter.


The adapter tip converts the smaller rear antenna plug to the same size as the larger main antenna plug.

And the Y adapter allows you to connect both the front and rear antenna to the single antenna plug on the Pioneer unit.

And after putting everything back together here's how it looks.


Finally, I noticed that with the new Pioneer unit, my antenna is up and stays up whenever the stereo is on, regardless of whether or not I am listening to the radio. While this isn't a huge deal, I don't like the idea of having the antenna up when I wanted to listen to music via iPod/iPhone while wheeling. So, I went to my local radio shack and I picked up a simple on-off switch. I cut the blue (antenna power) wire on the Metra harness and soldered a length of wire to each end and ran those to the switch. Now, I can raise and lower my antenna with the simple flip of a switch. Not difficult at all, but super useful!
Here is where I mounted the switch.

And an overall night shot

I'm still working on wiring up the rear view camera so more to come...
Jul 10, 2013 | 01:16 PM
#244
Thread Starter
Registered User
iTrader: (1)
Joined: Aug 2009
Posts: 817
Likes: 2
From: Arlington, Virginia
1) As promised, here are some install pics of my rear view camera. I wanted to keep it low profile so I mounted it to the underside of my stock bumper. It was a PITA to get a drill in the right spot to drill the 2 mounting holes, but other than that it wasn't too bad.
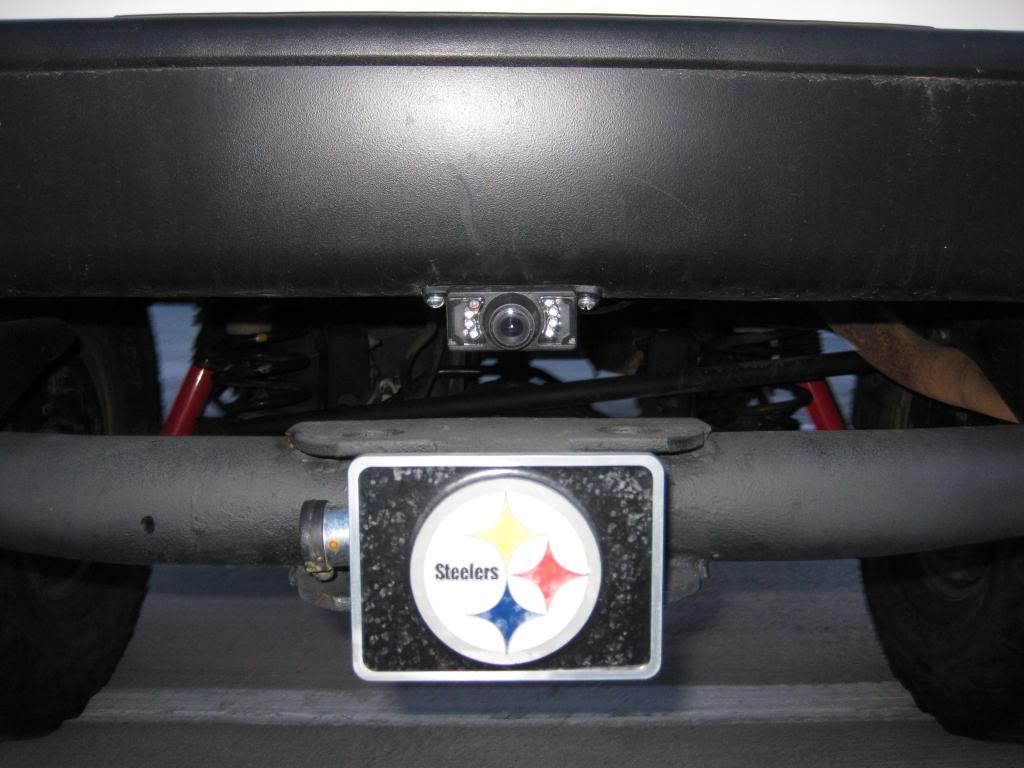
One downside with this location is that it is a little too low, so the scale for the green/yellow/red zones built into the camera aren't to scale at all. It will take a little getting used to, but I have no desire to mount it anywhere else.
(pic to come)
For the wiring, I ran them from the camera through the hole for the spare tire winch, into the trunk, and along the trim panels in the trunk. I tapped the power and ground wires into the passenger side reverse light so the camera powers on whenever the truck is in reverse.

The yellow video cable runs from the radio along the passenger side trim panels to the trunk.
There is one thing I still can't figure out.... I don't know where to connect the automatic sensing wire from the Pioneer. This wire from the Pioneer is supposed to be hooked into a "reverse sensing wire" that automatically switches over to the camera when the truck is in reverse. Anyone know which wire I need to tap into? Right now I just have the yellow video cable plugged into the "Aux Video" input on the Pioneer so I have to switch over to it manually, not a huge deal, but I would like to be able to have it done automatically.
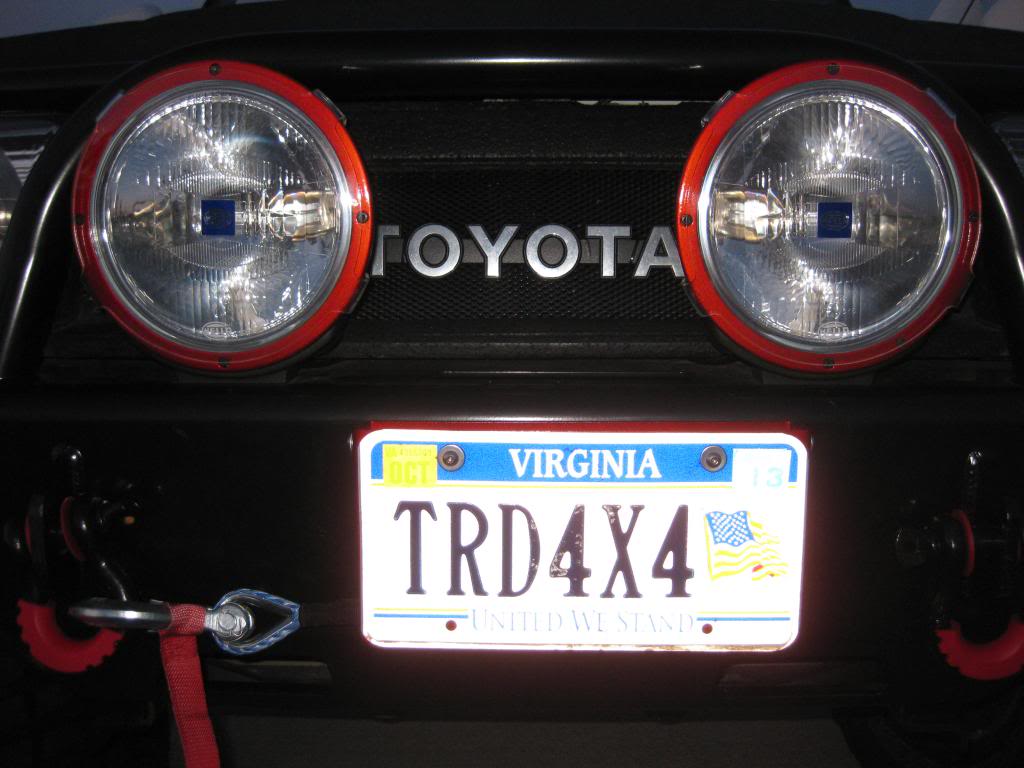
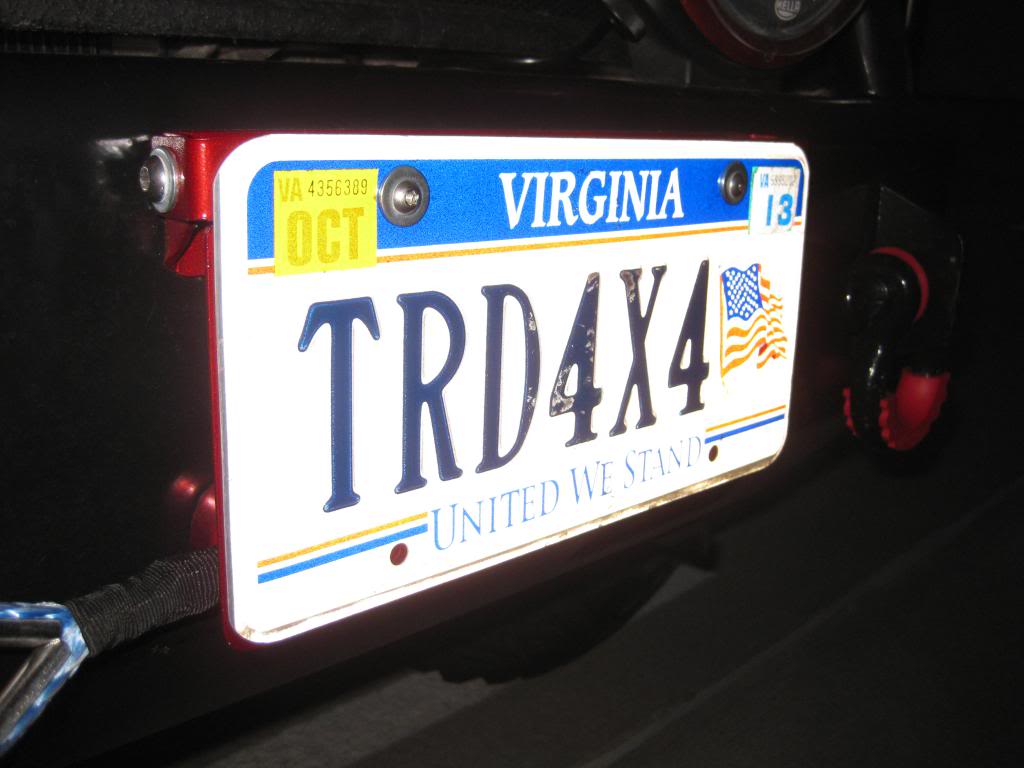
2) I received my license plate mount from Shrockworks. I ordered it in bare steel so I hit it with some Duplicolor Metalcast to match the other red accents.
3) Finally got my timing belt job done and it honestly wasn't as bad as I thought it was going to be. Everything went pretty smoothly and we were able to save some time by removing the old tensioner and installing the new one without having to mess with the power steering pump at all. The only parts I have left over are the 2 camshaft seals and the crankshaft seal. Mine weren't leaking, so I didn't bother messing with them. I don't have any pics of the actual install, but here is everything that came in the kit.
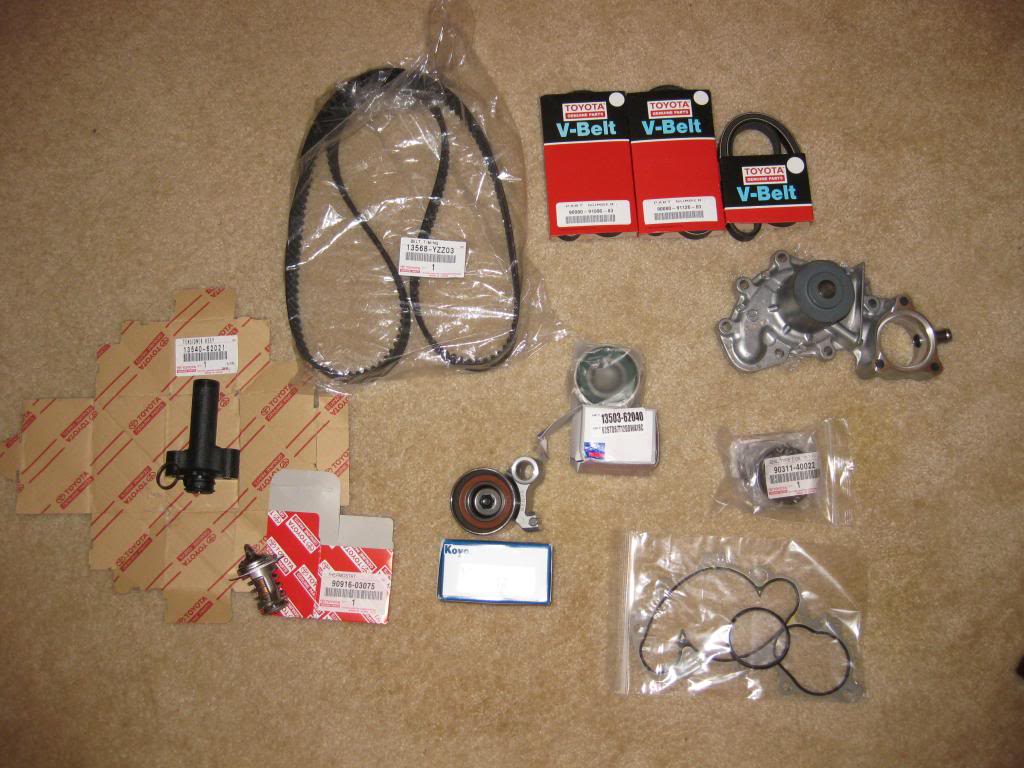
For anyone doing this job by themselves, this writeup is a great resource and definitely comes in handy: http://www.nwtoys.com/forum/tech-art...ming-belt.html.

One downside with this location is that it is a little too low, so the scale for the green/yellow/red zones built into the camera aren't to scale at all. It will take a little getting used to, but I have no desire to mount it anywhere else.
(pic to come)
For the wiring, I ran them from the camera through the hole for the spare tire winch, into the trunk, and along the trim panels in the trunk. I tapped the power and ground wires into the passenger side reverse light so the camera powers on whenever the truck is in reverse.

The yellow video cable runs from the radio along the passenger side trim panels to the trunk.
There is one thing I still can't figure out.... I don't know where to connect the automatic sensing wire from the Pioneer. This wire from the Pioneer is supposed to be hooked into a "reverse sensing wire" that automatically switches over to the camera when the truck is in reverse. Anyone know which wire I need to tap into? Right now I just have the yellow video cable plugged into the "Aux Video" input on the Pioneer so I have to switch over to it manually, not a huge deal, but I would like to be able to have it done automatically.
2) I received my license plate mount from Shrockworks. I ordered it in bare steel so I hit it with some Duplicolor Metalcast to match the other red accents.


3) Finally got my timing belt job done and it honestly wasn't as bad as I thought it was going to be. Everything went pretty smoothly and we were able to save some time by removing the old tensioner and installing the new one without having to mess with the power steering pump at all. The only parts I have left over are the 2 camshaft seals and the crankshaft seal. Mine weren't leaking, so I didn't bother messing with them. I don't have any pics of the actual install, but here is everything that came in the kit.

For anyone doing this job by themselves, this writeup is a great resource and definitely comes in handy: http://www.nwtoys.com/forum/tech-art...ming-belt.html.
Last edited by 4ever4running; Jul 10, 2013 at 01:17 PM.
Jul 10, 2013 | 01:25 PM
#245
Thread Starter
Registered User
iTrader: (1)
Joined: Aug 2009
Posts: 817
Likes: 2
From: Arlington, Virginia
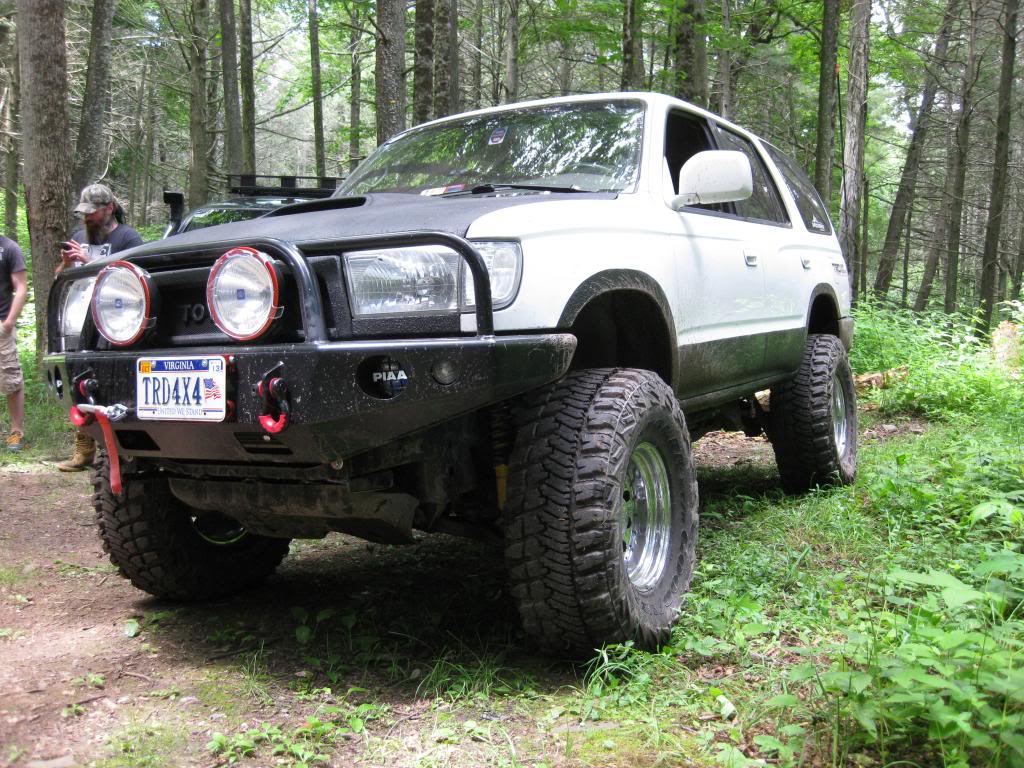
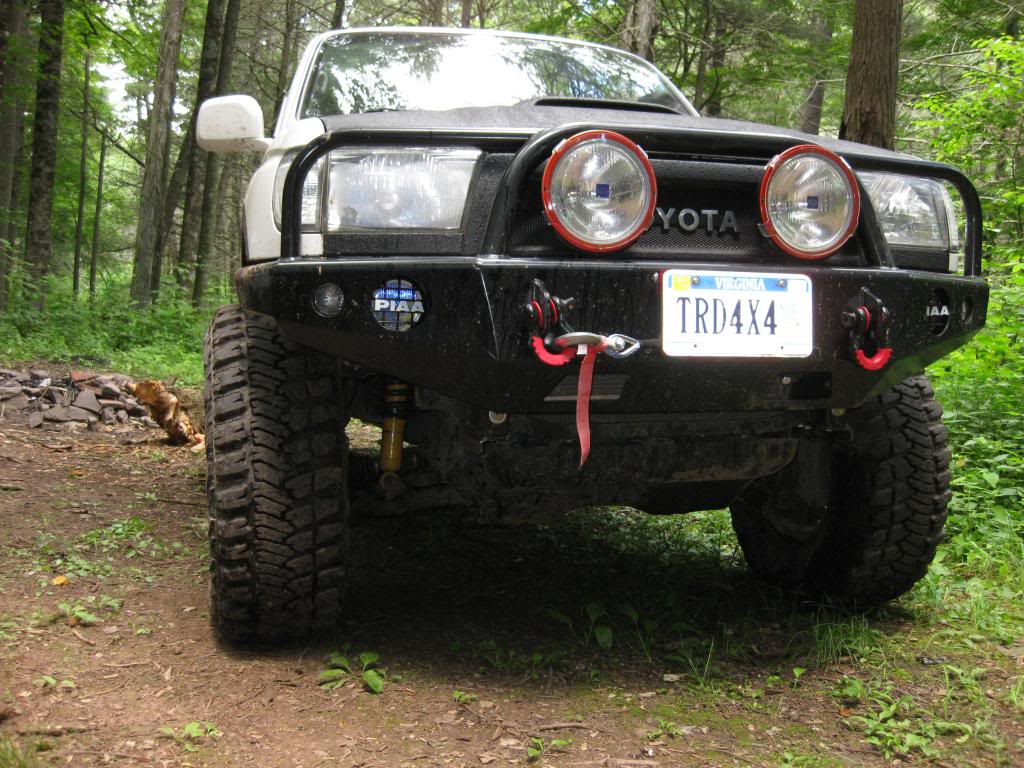
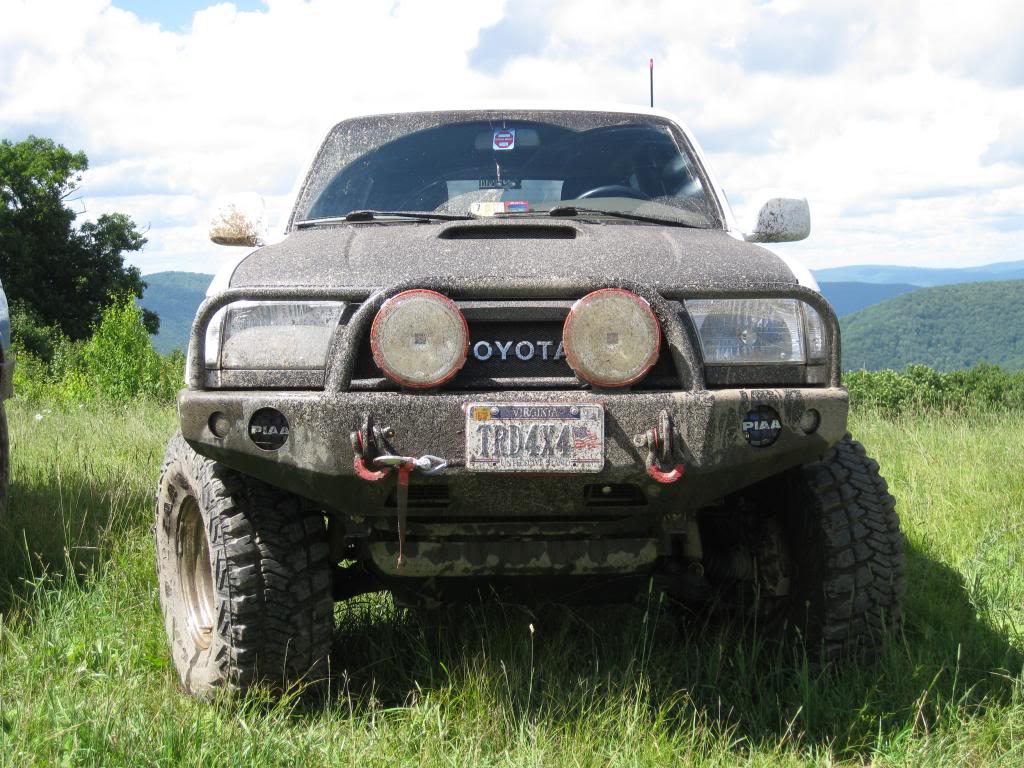
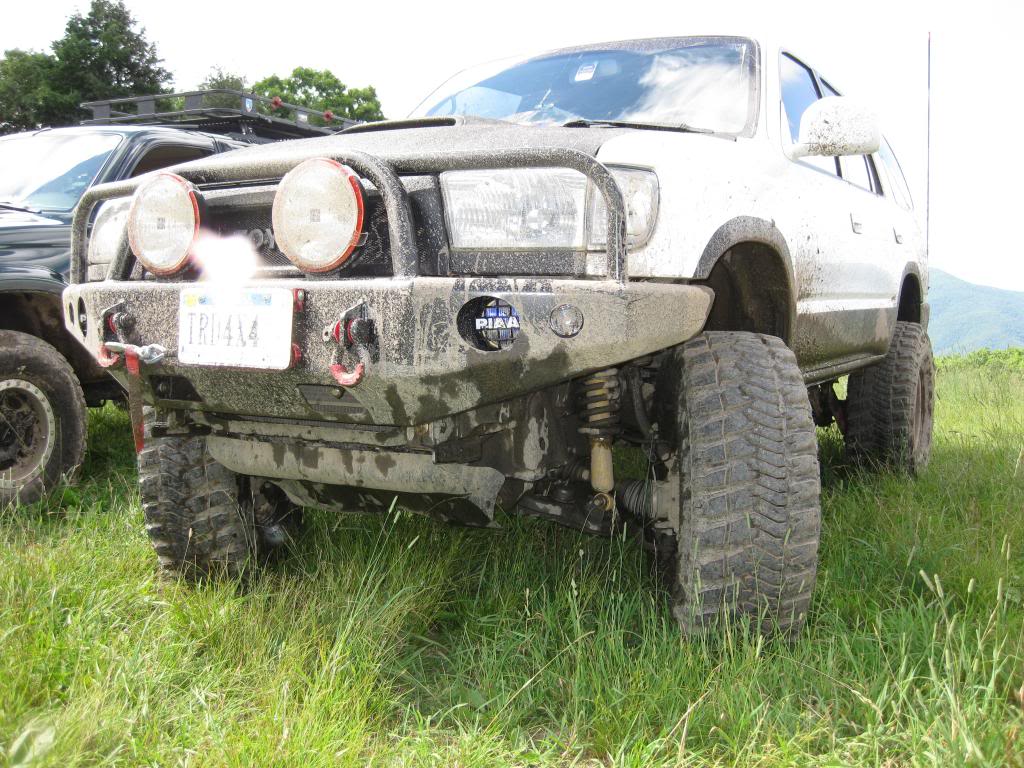
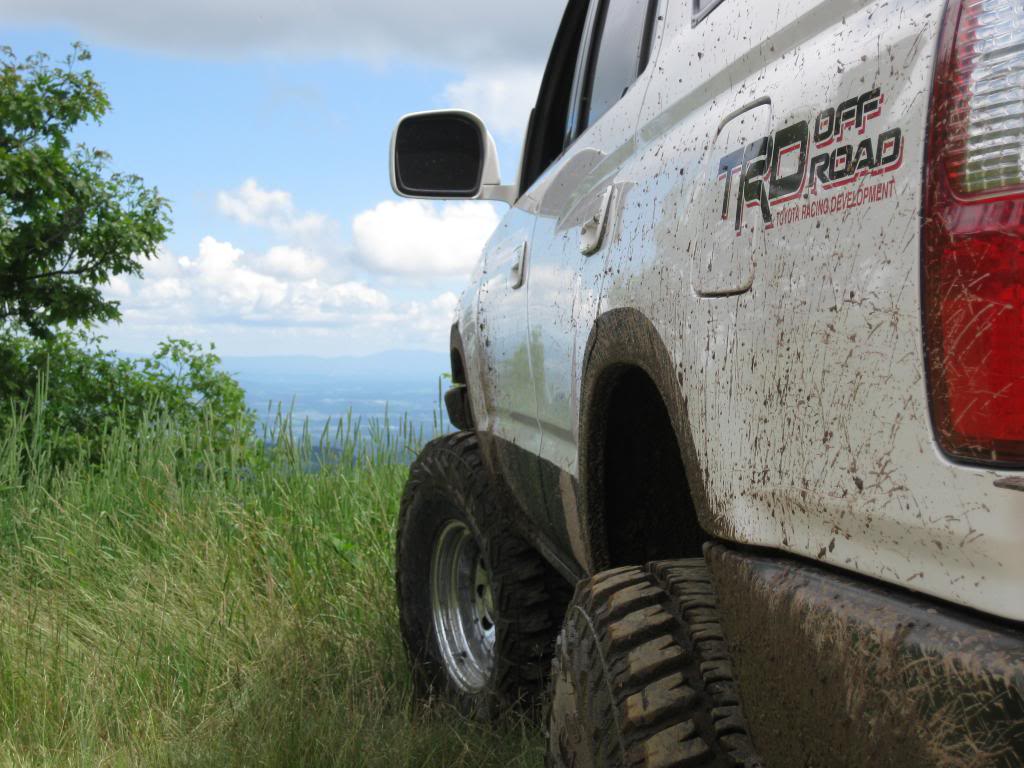
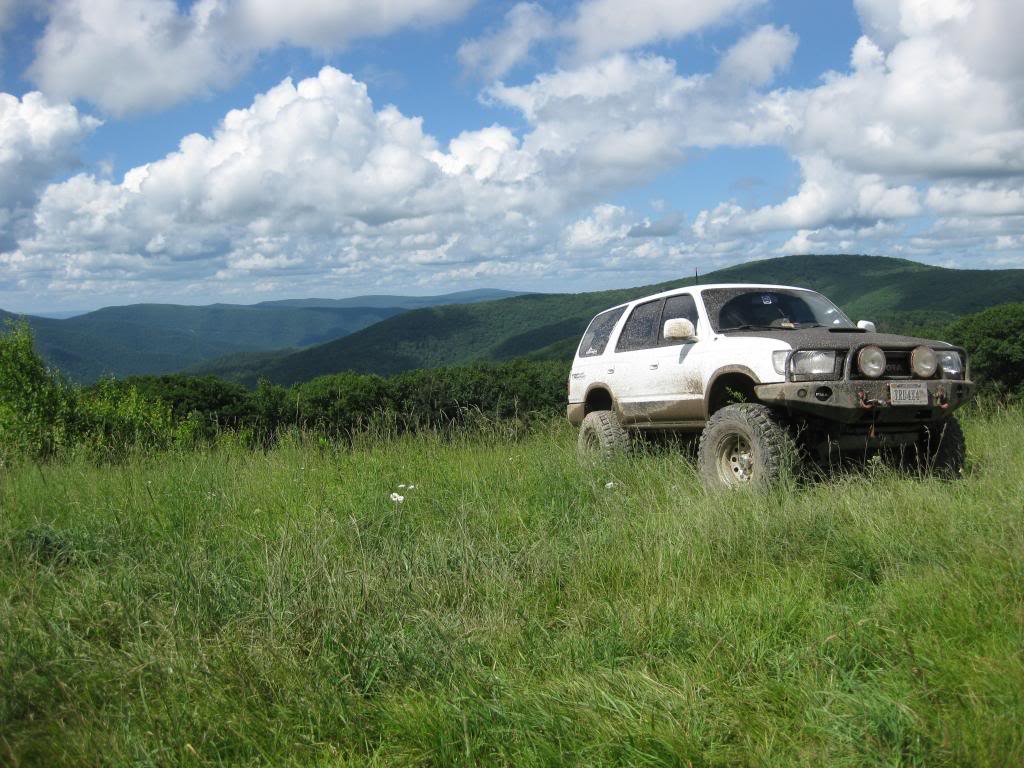
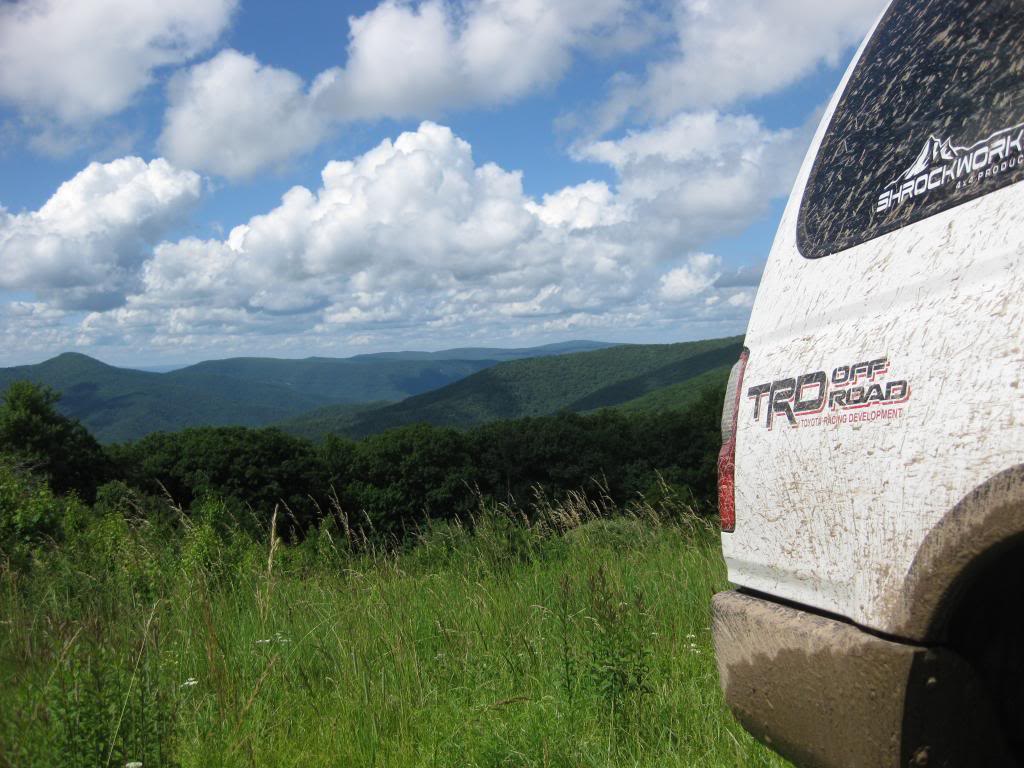
This weekend I was able to get out and hit the trails with a group of T4R members. We ran Flagpole Knob and Meadow Knob in the George Washington National Forest just outside of Harrisonburg, VA. Overall it was a great day with a great group of guys and I can't wait to get out there again sometime soon!
Airing down
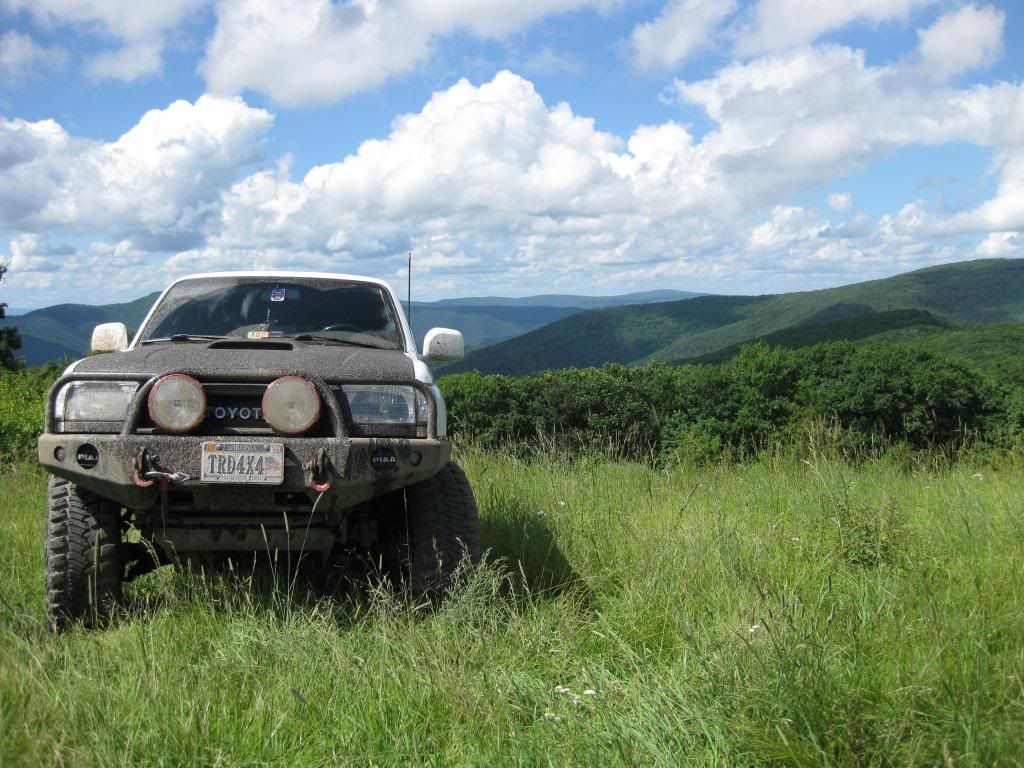
At the top of Flagpole Knob
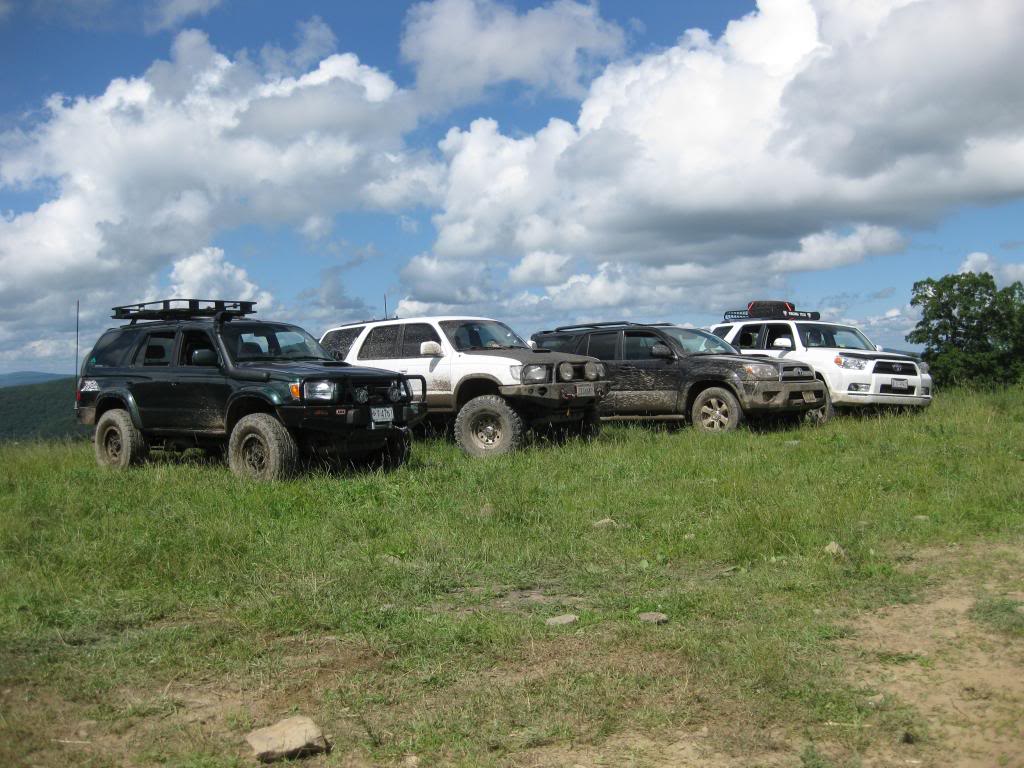
and at the top of Meadow Knob
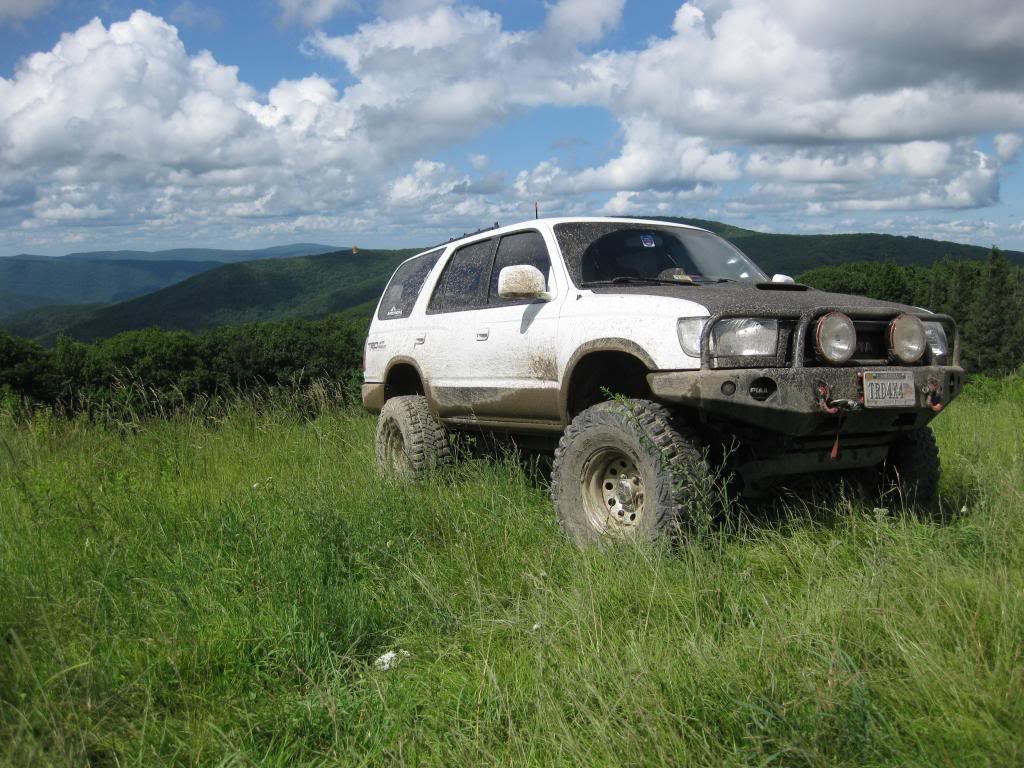
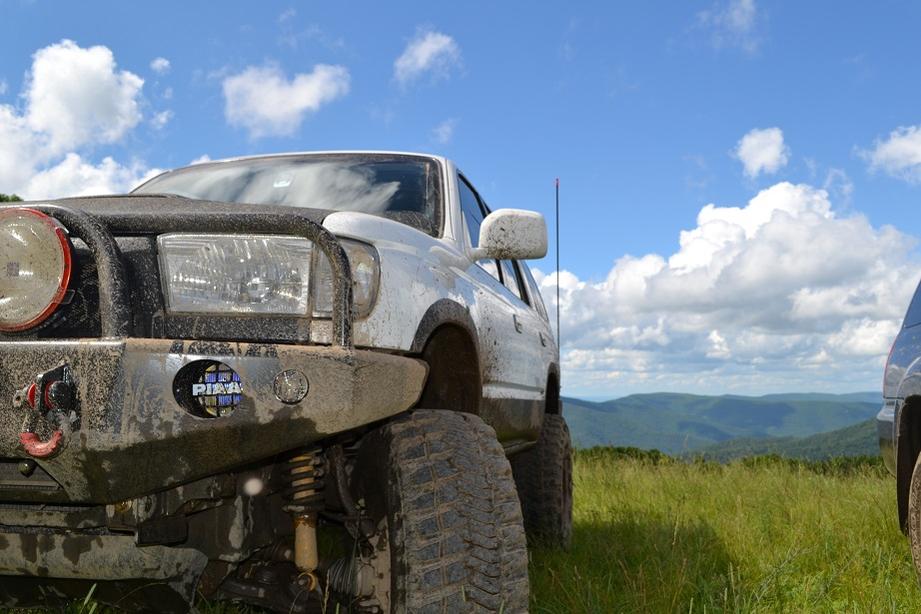
My 2 favorites from the day (so far)
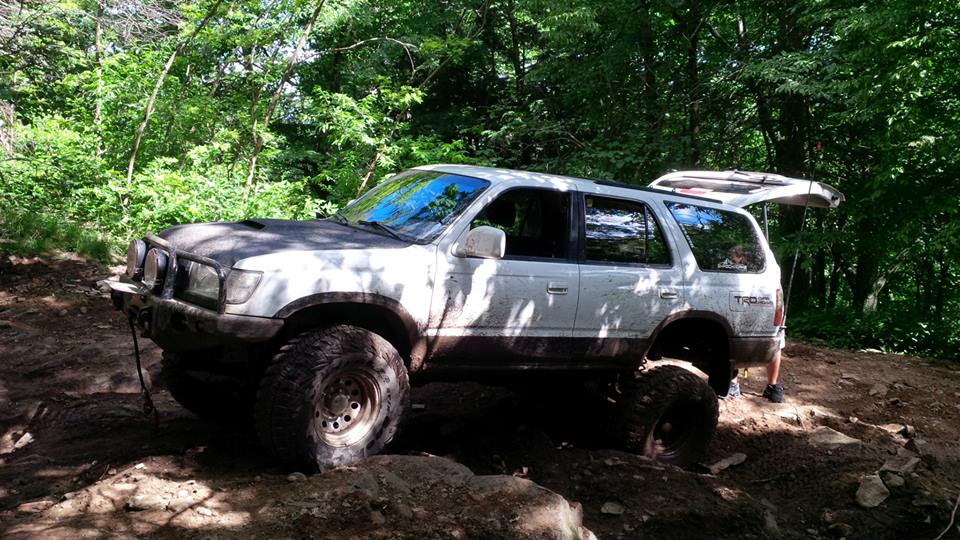
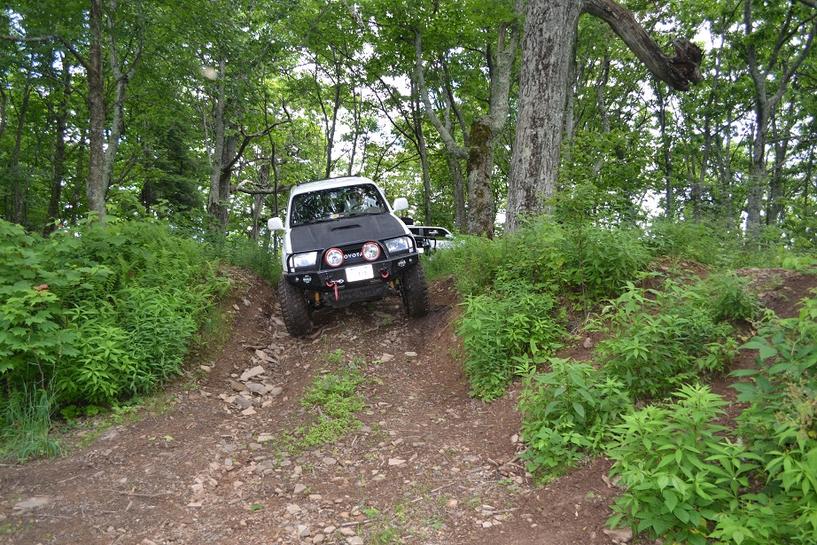
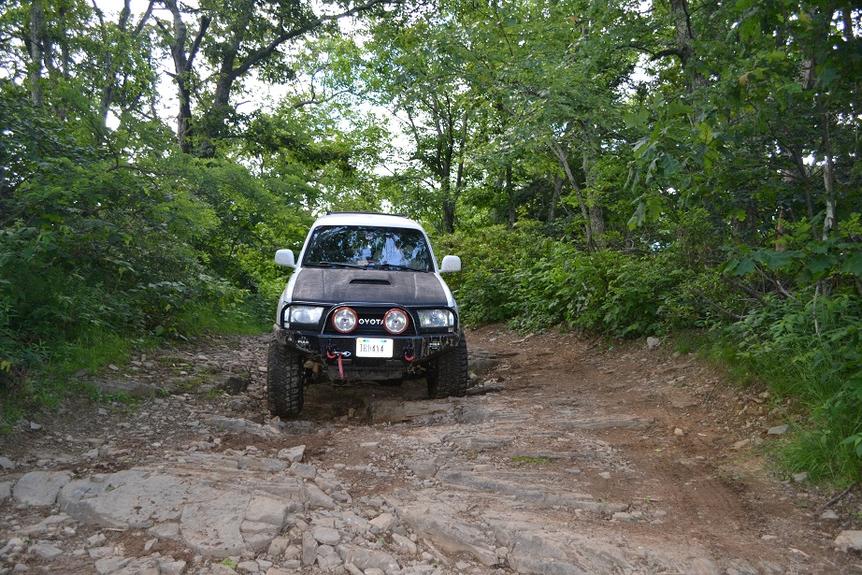
The trails were pretty easy with the exception of a couple of technical sections that required a spotter to get the stock truck through. The most technical section was an uphill climb over some pretty big boulders. Fortunately for the stock trucks in the group, it had bypasses so they could still get through without any issues, but I was determined to take the hard line and make it through. I made it a little ways up, but even with 4WD and the rear locker, the slick rocks and mud wouldn't let me get the traction I needed to make it to the top. So, I ended up having to winch myself up the rest of the way. This was the first time that I had to use the winch on the trails and I must say that I am very happy and impressed with how well it did.
Here's a pic of where I got stuck.
And a video of the recovery
[youtube]EqtDKlxgXGw[/youtube]
And just another video
[youtube]pHyFVN-AbuQ[/youtube]
Finally, a few more pics thanks to some of the other guys in the group.
Airing down


At the top of Flagpole Knob


and at the top of Meadow Knob


My 2 favorites from the day (so far)


The trails were pretty easy with the exception of a couple of technical sections that required a spotter to get the stock truck through. The most technical section was an uphill climb over some pretty big boulders. Fortunately for the stock trucks in the group, it had bypasses so they could still get through without any issues, but I was determined to take the hard line and make it through. I made it a little ways up, but even with 4WD and the rear locker, the slick rocks and mud wouldn't let me get the traction I needed to make it to the top. So, I ended up having to winch myself up the rest of the way. This was the first time that I had to use the winch on the trails and I must say that I am very happy and impressed with how well it did.
Here's a pic of where I got stuck.

And a video of the recovery
[youtube]EqtDKlxgXGw[/youtube]
And just another video
[youtube]pHyFVN-AbuQ[/youtube]
Finally, a few more pics thanks to some of the other guys in the group.


Thread
Thread Starter
Forum
Replies
Last Post
RedRunner_87
95.5-2004 Tacomas & 96-2002 4Runners (Build-Up Section)
84
Jun 1, 2021 01:51 PM
Road Bull
86-95 Trucks & 4Runners
23
Oct 10, 2015 04:55 PM
crashburnoveride
86-95 Trucks & 4Runners
1
Jul 10, 2015 06:39 AM


