When you click on links to various merchants on this site and make a purchase, this can result in this site earning a commission. Affiliate programs and affiliations include, but are not limited to, the eBay Partner Network.
My plan is to mount them off the back of the axle. Trying to get them as vertical as possible. I will have to build a new crossmember for them as I cut all them out when I converted to springs.
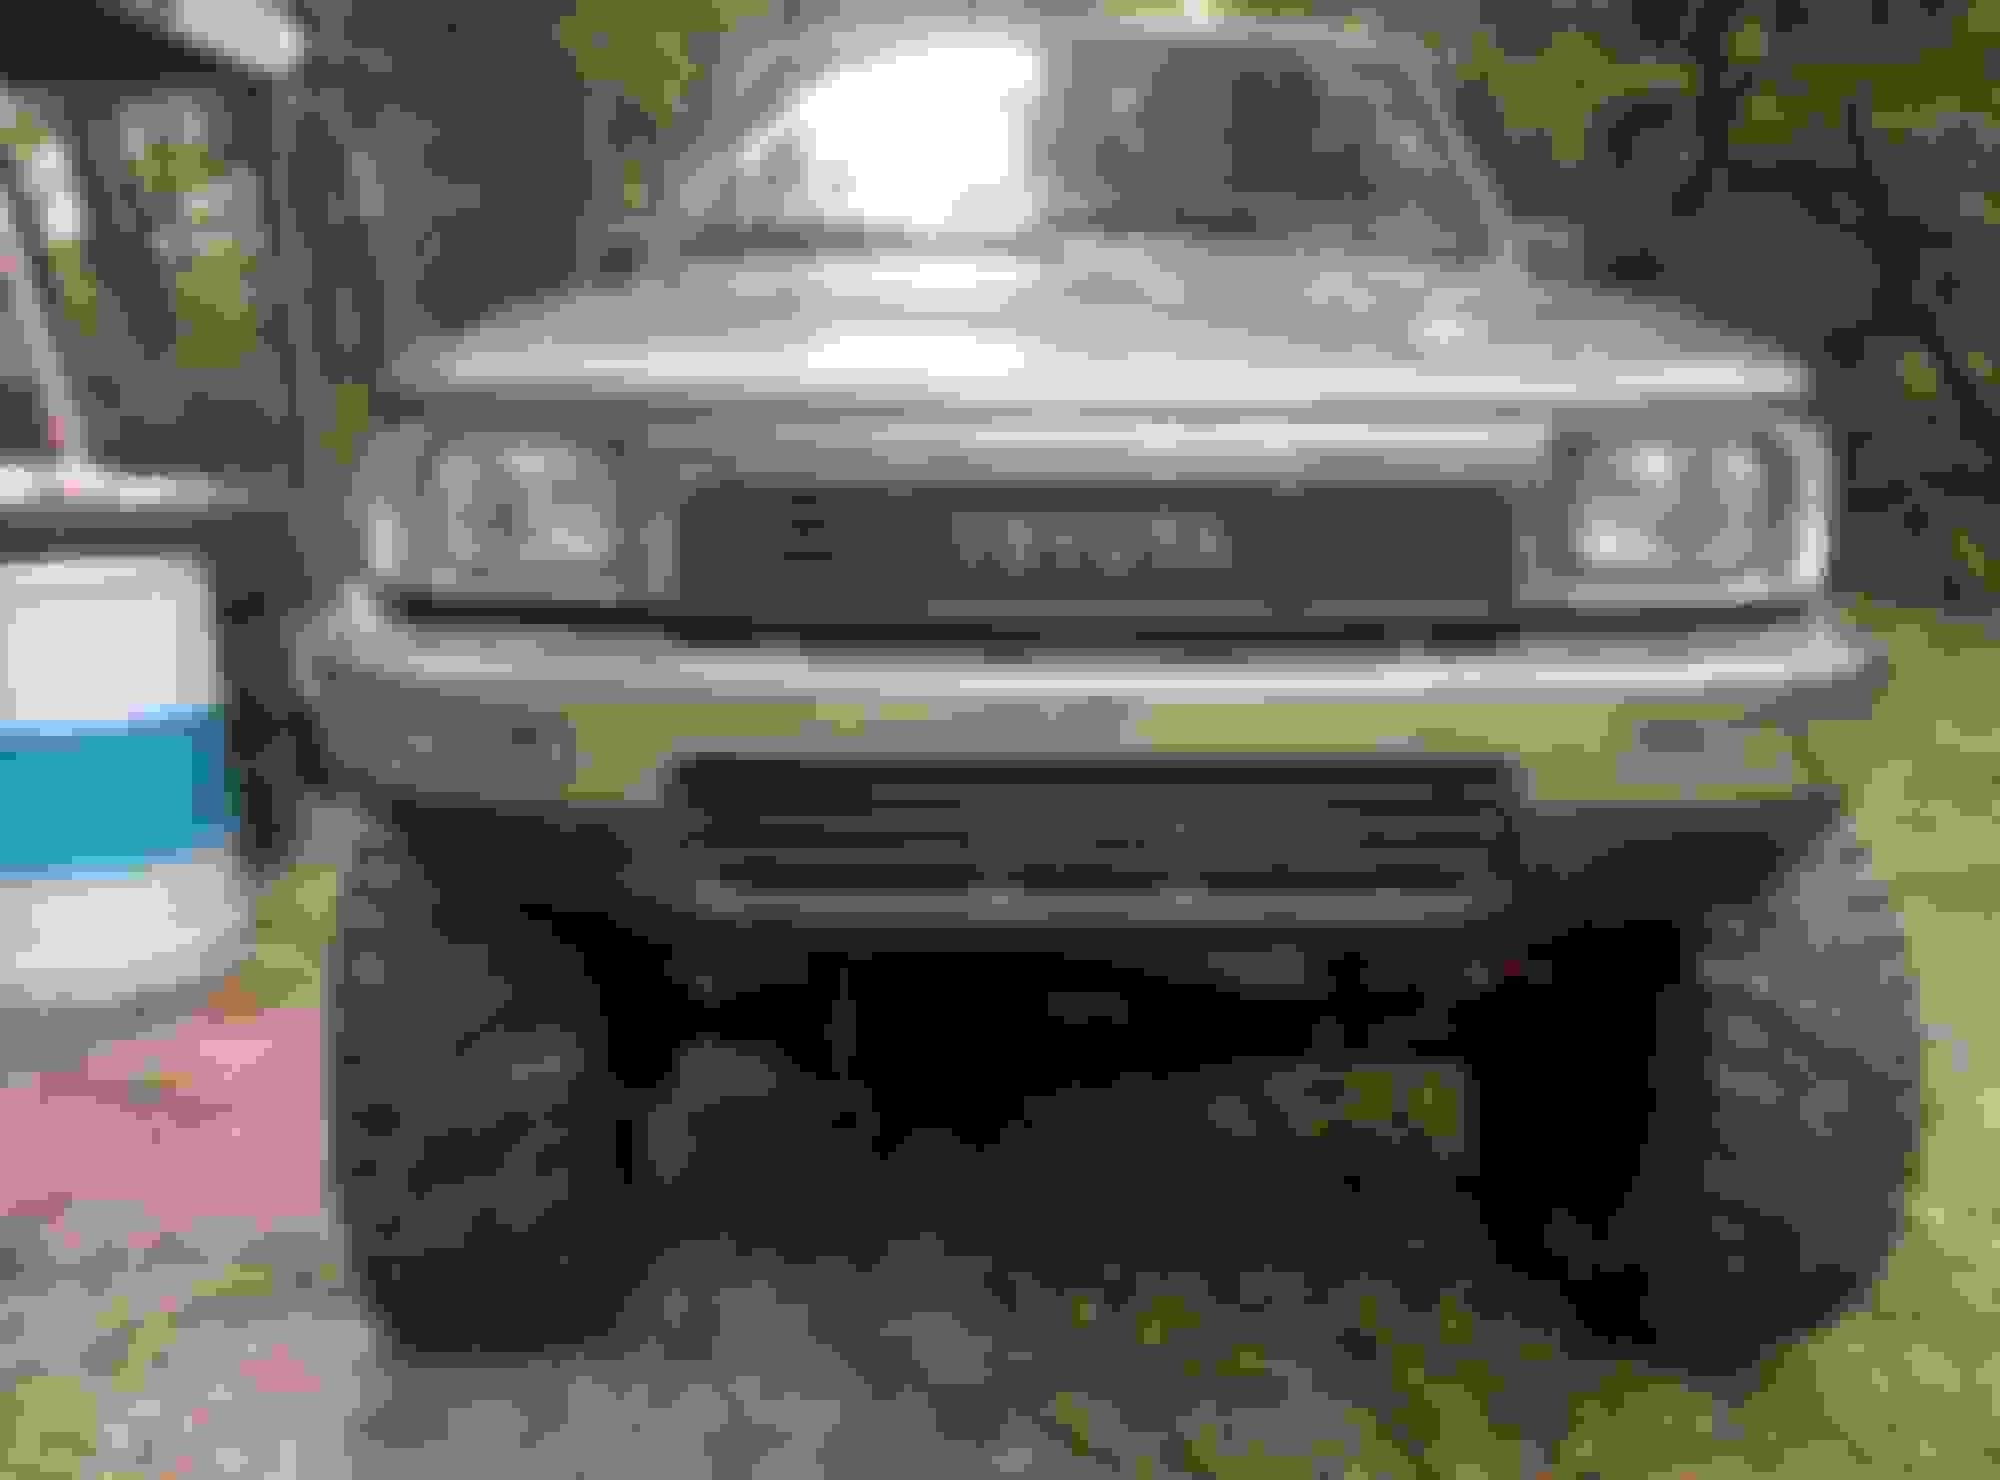
Got the body lift on the bed removed...
Looks more normal now and not so tall. I'm still thinking she's gonna need 35's though and with 4.56 that is gonna suck.
Good work man but I really think you would have had way more trouble if that chicken wasn't there to help hahaha! You did some damn good work and I love the little details like the paint and stuff. Maybe someday I'll SAS my baby.
Now that it is done I have to say I am really glad I did it. It really wasn't that hard, just expensive, but it didn't have to be. If you can use a grinder, a drill, and can weld then the whole thing is just taking your time and measuring. So much info on this it takes the guessing out if it.
If you ever decide to swap and need help feel free to ask.
It was about 4000 not including random tools I had to buy. But that is with long fields and paying someone to rebuild the diffs which was 400 in labor so if you run the stock birfs out of the solid axle you swap in yes you can do it for around 3000. But that doesn't include is you want to add lockers and gears.
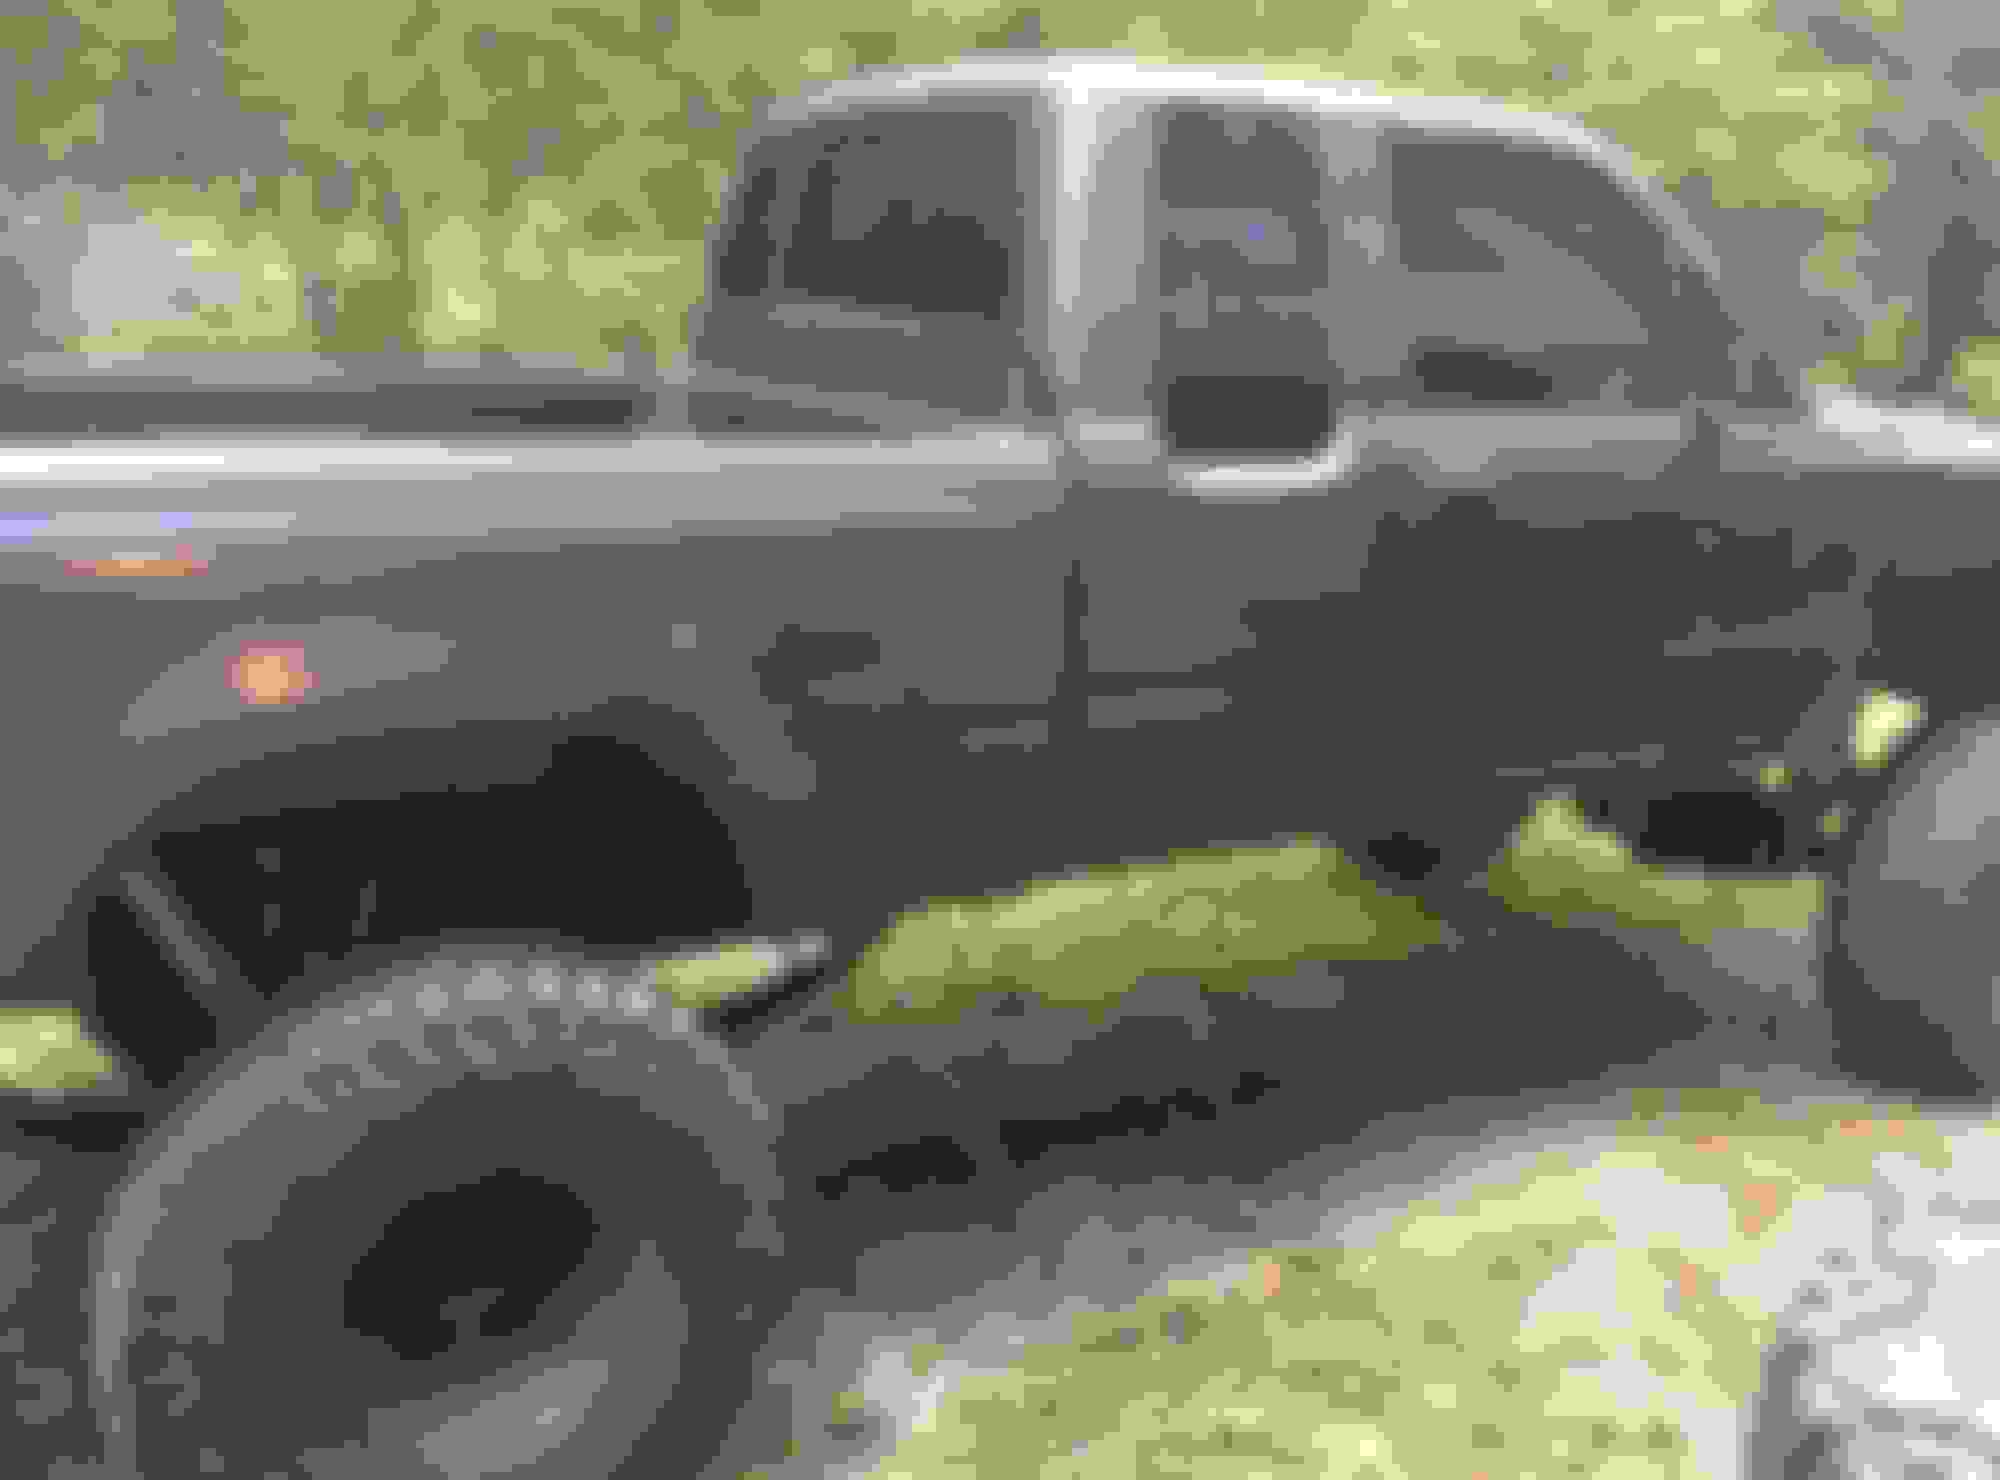
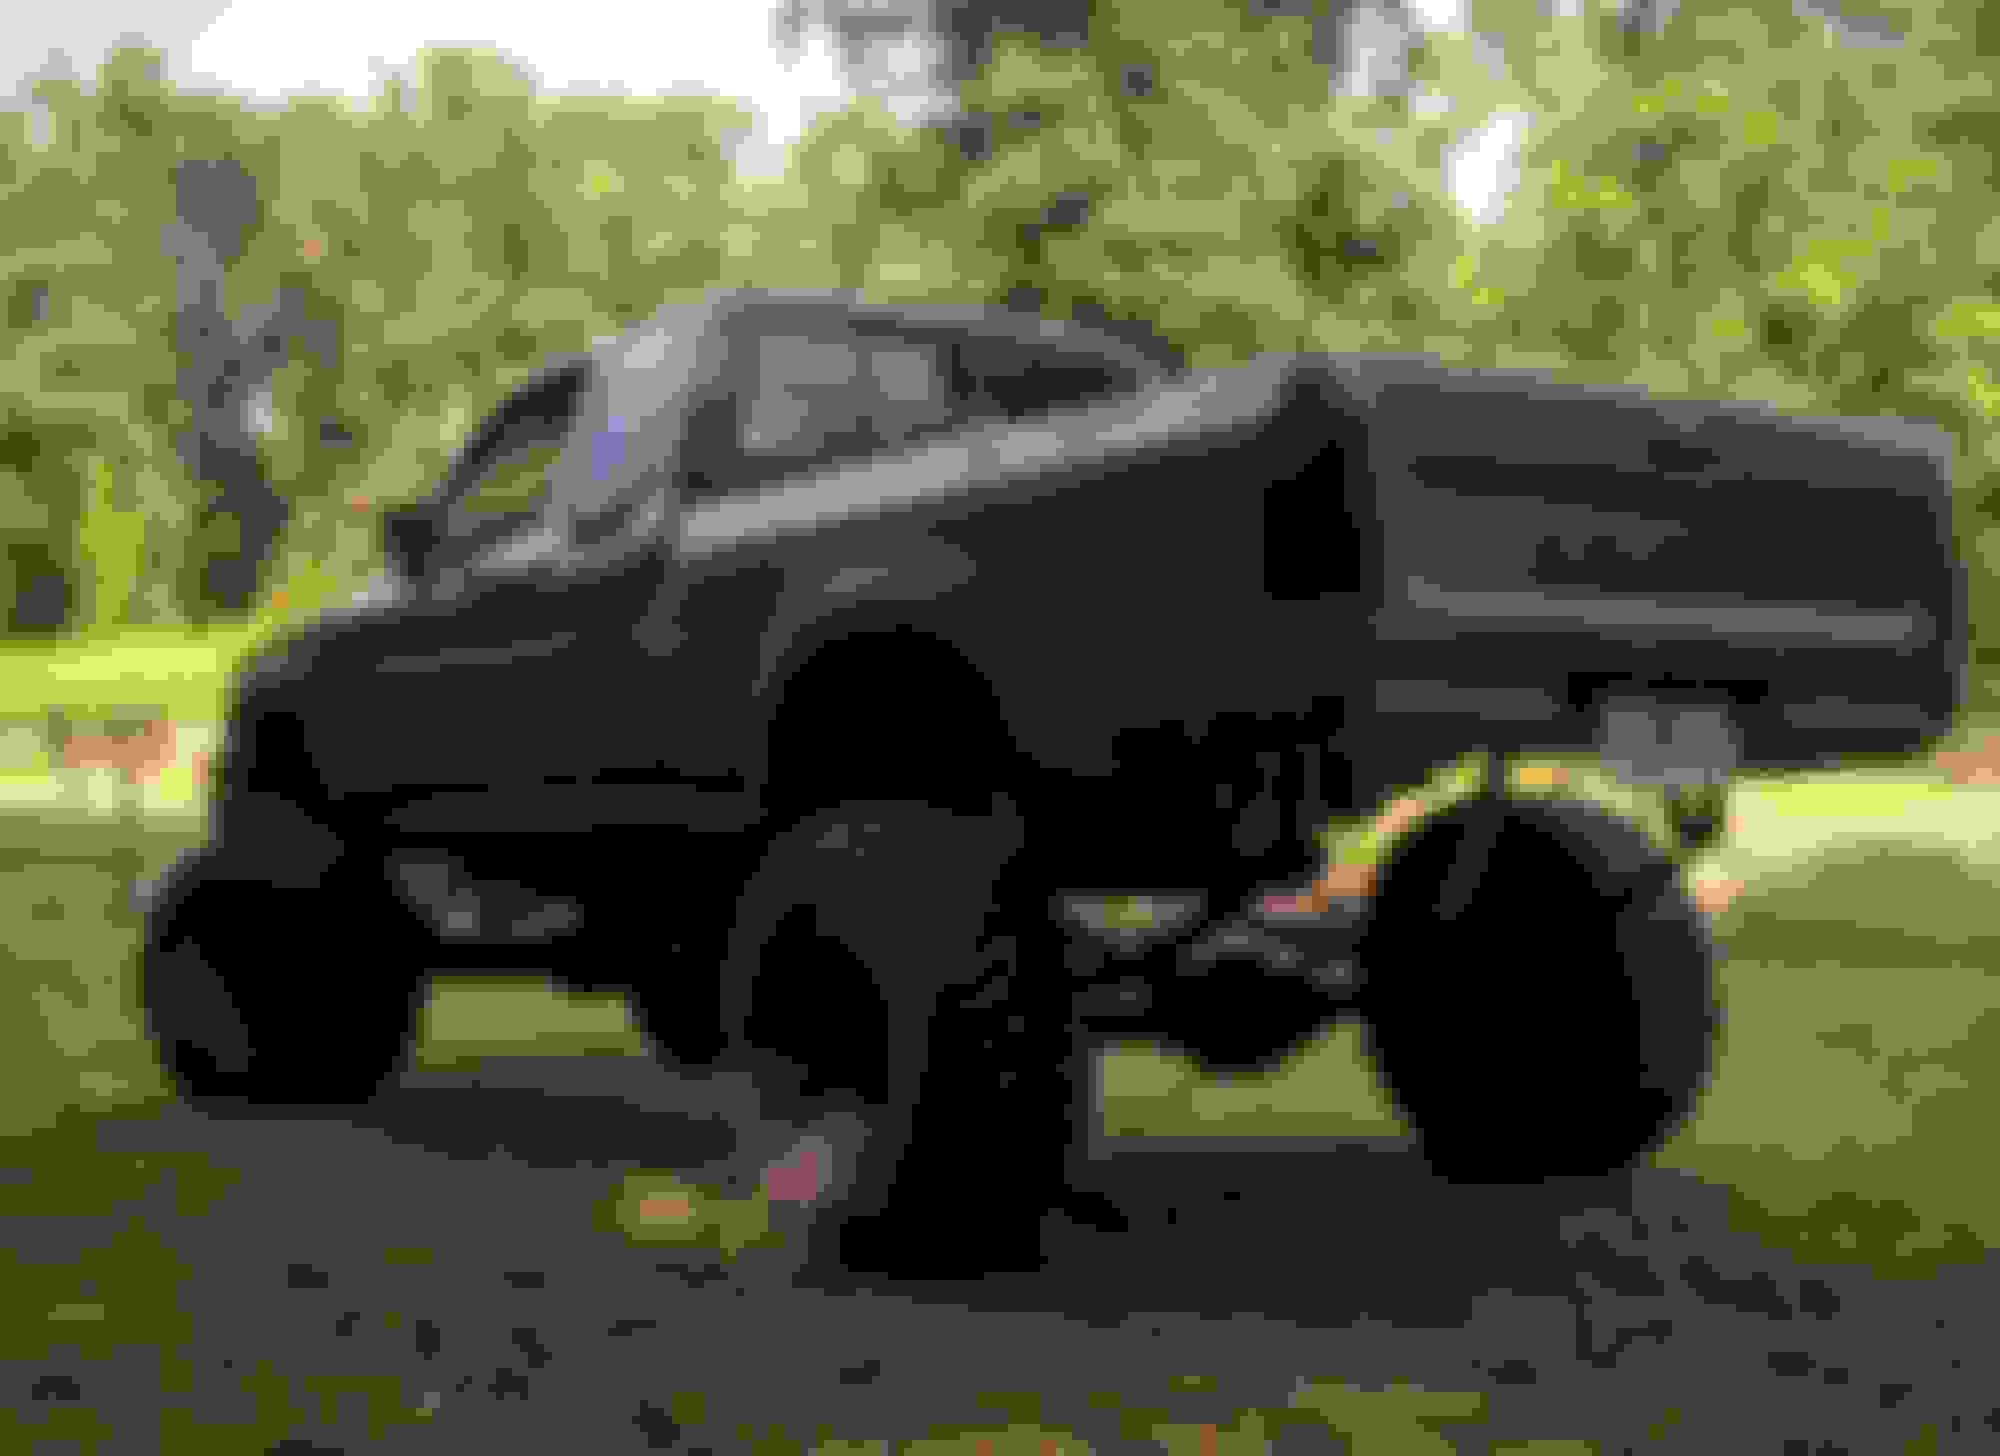
Well I got the body lift off but my cab is sitting higher than it should. I used the energy suspension kit. Comes highly recommended so I don't know if I did something wrong? It was a pretty straight forward install.
You can see the cab is about an inch higher than it should be. Bed and bumper mounted directly to the frame.
Took her on her first street drive today. The first trip was rough. Brakes weren't bled enough, driveshaft wasnt tightened down, and leaf springs weren't torqued all the way. It was underwhelming. Came back, bled brakes, and torqued it all down. After that it felt awesome! Definitely a rougher ride than ifs but I can live with that. Bump steer is an issue but I have the steering stabilizer to fix it. Also hard as hell to turn with the lockers. I don't think my rear locker is unlocking. Maybe not enough weight in the back? Every project is never without it's kinks to work out after.
$4,000 grand isnt to bad. If 4.88 already built lockers can fit in my truck then I would go that route. finding a front axle is going to be hard for me. May have to travel to Woodbury, TN and get one from the Toyota grave yard.
Sorry no updates. Shop has had my truck for about a week. I took it in so sometime could inspect everything, align it, and look at my rear locker. Turns out the pins in my rear locker are broken, and that is why it is not unlocking. They ordered a new pin set yesterday but probably won't have it back til Monday at the earliest. But I did find out it's an Aussie locker. That's half the fun of buying Craigslist parts!
Cannot wait to get this thing back so I can wheel the snot out of it!!!
But with all this capability, you need armor right? Well I got that started too...
I need to weld in the 4th bracket but its a real bitch to notch out the pinch welds with the sliders already up there. No idea why I burned them in before adding the 4th...
Last edited by wberry85; Jun 28, 2015 at 12:13 PM.
This front driveshaft debacle is killing me. The 28* angle is almost impossible for anyone to make it seems. Marlin said no. Carolina Driveline said no. Tom Woods was iffy. Davez says he can but I dont believe him. Everyone recommends High Angle Driveline who I will say is definitely most knowledgable on the topic but the high angle CV starts at around $800...
So my options are:
- Pay $800 for a front driveline (boo)
- Limit straps (boo)
- High pinion diff (maybe)
- Dual case
Dual case is the most appealing out of the four. It would give me a couple more inches to the tcase and make the angle less steep. Then I can just get a regular front driveline and save $400 and put the other $400 (or more) toward a dual case setup. Its something I see myself doing anyways.
So apparently I have a very rare combo with the 22re and an a340f tranny. And this is good because the tcase and tranny can come apart and I can easily install dual cases with the Inchworm adapter and then just throw the ultimate marlin setup behind it.
What sucks worst about this is its going to cost me another $2k just to get 4wd working in this thing unless I want to spend $800 on a driveshaft that will have to be modified anyways when I move to dual cases. Going to be awesome when finished but I never imagined I was embarking on such an expensive project when I bought this truck lol.


 Jun 2, 2015 | 04:30 PM