
Ole Red 1987 87 4runner build
 Dec 29, 2013 | 05:39 PM
#1

Thread Starter
Registered User
Joined: Dec 2013
Posts: 26
Likes: 0
From: SLC, UT
Ole Red 1987 87 4runner build
I finally decided to start a thread on my build. I'm looking for inputs and ideas, I want to make this a capable weekend warrior, it's my first truck and I'm a young gear head.
When I bought the runner it didn't start, had no clue why but bought it because of the bumper and tires. Another reason I bought it non-running is because i wanted to get something i could fix and build my way.
Got it home checked for spark, nothing. So i figured it was the ignitor or the coil. I bought a used ignitor still wouldn't start. I pulled the valve cover and the timing chain was broke.
A few hours later I had the timing cover off. My dad said that their might be problems with the head so that was pulled, machined and gone through. A few weeks later had it back together, learning from trial and error. It wouldn't start but with a little either and cranking it finally started.
Over the next few months I changed the TPS, worked out the bugs (for the most part)
I tore out the interior and herculined the floor. Its louder but it looks good and is durable. Since my interior is trashed I'm building a wood console and box to go in between the wheel wells that i can lock stuff in.
Here's some pictures, hope it works

Now I'm thinking of getting Kc daylighters, and a aussie locker for the rear.
Any ideas will be appreciated.
When I bought the runner it didn't start, had no clue why but bought it because of the bumper and tires. Another reason I bought it non-running is because i wanted to get something i could fix and build my way.
Got it home checked for spark, nothing. So i figured it was the ignitor or the coil. I bought a used ignitor still wouldn't start. I pulled the valve cover and the timing chain was broke.
A few hours later I had the timing cover off. My dad said that their might be problems with the head so that was pulled, machined and gone through. A few weeks later had it back together, learning from trial and error. It wouldn't start but with a little either and cranking it finally started.
Over the next few months I changed the TPS, worked out the bugs (for the most part)
I tore out the interior and herculined the floor. Its louder but it looks good and is durable. Since my interior is trashed I'm building a wood console and box to go in between the wheel wells that i can lock stuff in.
Here's some pictures, hope it works
Now I'm thinking of getting Kc daylighters, and a aussie locker for the rear.
Any ideas will be appreciated.
Jan 22, 2014 | 02:08 PM
#2
Thread Starter
Registered User
Joined: Dec 2013
Posts: 26
Likes: 0
From: SLC, UT
Well i haven't gotten much done. I'm still fixing things from the previous owner's either not knowing what they were doing or poor care.
I've had to remove the amp and wire the rear speakers, fix the Tps, and today i pulled the front drive shaft because in 4wd there was a clunking sound coming from that area. Once it was out no more clunking. I guess it doesn't surprise me because when I greased the CVJs the seals were popping.
Also the wiring for the starter is all messed up. for some reason it goes from the starter to the ignition, well its supposed to go through the computer but its cut from the harness and and spliced to bypass the computer. Gotta love the previous owner.
I plan to start working on some rear panels. Gonna make them out of oak so hope it works. I'll try to get some pictures up.
Feb 10, 2014 | 02:16 PM
#3
Thread Starter
Registered User
Joined: Dec 2013
Posts: 26
Likes: 0
From: SLC, UT
This build has been somewhat of a pain. Working with the tps, transmission, driveshaft, and other small things that become a pain. On the plus side I've gotten a lot done.
For Auto shop at school I have to do write ups of what I'm doing so I can get credit, so i figure is should post some of them here.
Transmission kickdown (throttle cable)
Well ever since I bought the truck the transmission throttle cable was unhooked. Didn�t know why so I left it alone. Well the transmission has been actin funny and the engine jerks at 3500 rpm (I think it�s the tps and it�s not related to this) so I decided to dig into it.
Well the purpose of the kickdown cable is so for pressure during transmission shifting if I�m correct. It goes from the action on the throttle body down into the transmission. It�s accessible by removing the transmission pan.
Bought a new transmission filter and pan gasket.
Drained the fluid I kept it because it has less than 200 miles on it.
Removed the 19 bolts that hold on the pan.
Well the pan doesn�t come straight off I had to get in there with a razor blade and get a small groove going to get a putty knife in and scrape off more gasket. I found out that if I too the putty knife and a rubber mallet I could tap on the knife and push it through the gasket. It didn�t scratch the pan or the transmission.
Well with the pan off I could see the action that the cable goes to. At first I thought the action was bent but after removing the solenoid that was in front of it turns out the cable was in a position where it held the action open all the time. So it was the same as having the throttle wide open all the time, hope it explains my bad gas mileage. Removed the cable and its about 2-3 inches to short! No wonder it wasn�t hooked up properly.
Well I put everything back together leaving out the cable because it wasn�t doing anything anyway and some people decide to run without it. I will put another one back in that�s the right length.
I needed to get gas and on the drive it shifted so smoothly, it had never been like that before. I also noticed I didn�t have my foot to the floor to get it to go. That�s surprising for a Four Banger. Now I need to figure out the pesky TPS.
Feb 11, 2014 | 11:52 PM
#4
Best way to learn is to just get in there and do it so this runner will teach you quite a bit. As far as the butchered up wiring, I would suggest finding a good harness in the boneyard and take it back to factory. POs do some poor fixes that can usually cause more problems. Looking forward to seeing your build.
Apr 15, 2014 | 05:07 PM
#5
Thread Starter
Registered User
Joined: Dec 2013
Posts: 26
Likes: 0
From: SLC, UT
Thanks. yea that's the best way to learn for sure. I had no clue what i was doing when i first started all this.
Well in the past month I replaced the Drivers side CV Axle thought it was making a noise in 4WD but i think its the bolt stops on the steering knuckle. and of course the drivers side had no rubber on it.
I pulled the top and all i can say is its a lot better except for the constant weather changing. I need to get a soft top. I may try the trick on 4crawler with the jeep bikini top.
Today i found a 4Runner in a ladies back yard. It's her grandsons. I hope i can get it because the body is Extremely clean. Even more than mine. Only two downsides. It has a cracked block (that's not a big deal) and my dad wants it for a DD.
Jul 5, 2014 | 07:16 PM
#6
Thread Starter
Registered User
Joined: Dec 2013
Posts: 26
Likes: 0
From: SLC, UT
Alright, well its been a while. Between changing jobs and school life has been crazy.
Good news, my dad bought a 89 4runner. Bad thing is its a 3vze and needs a head gasket. Guess who wants to fix it!
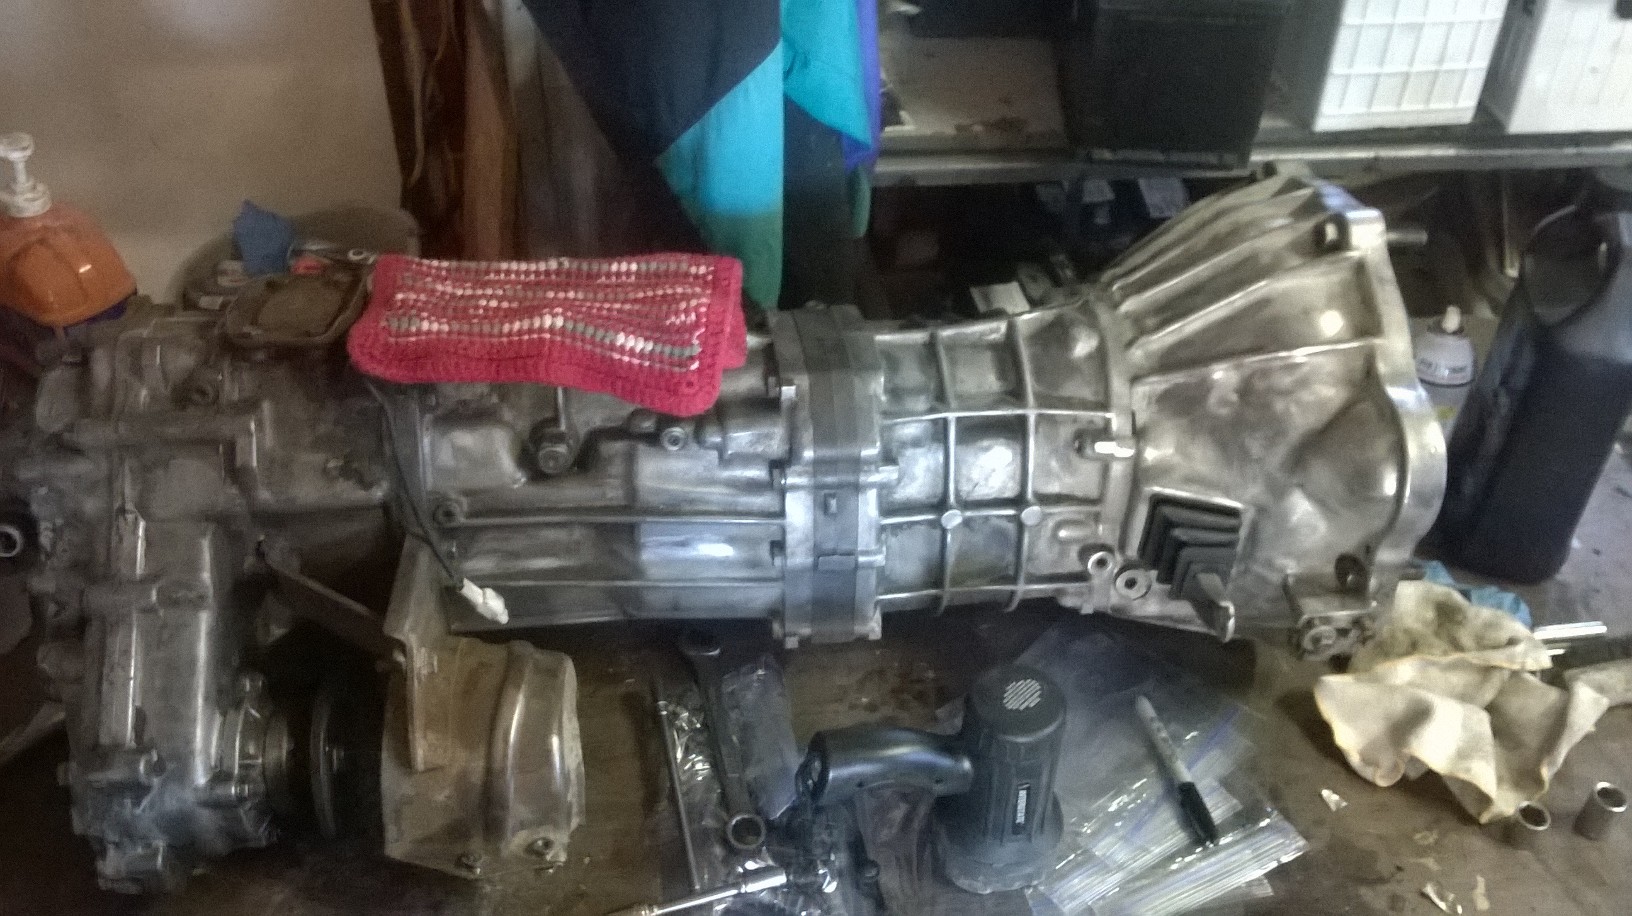
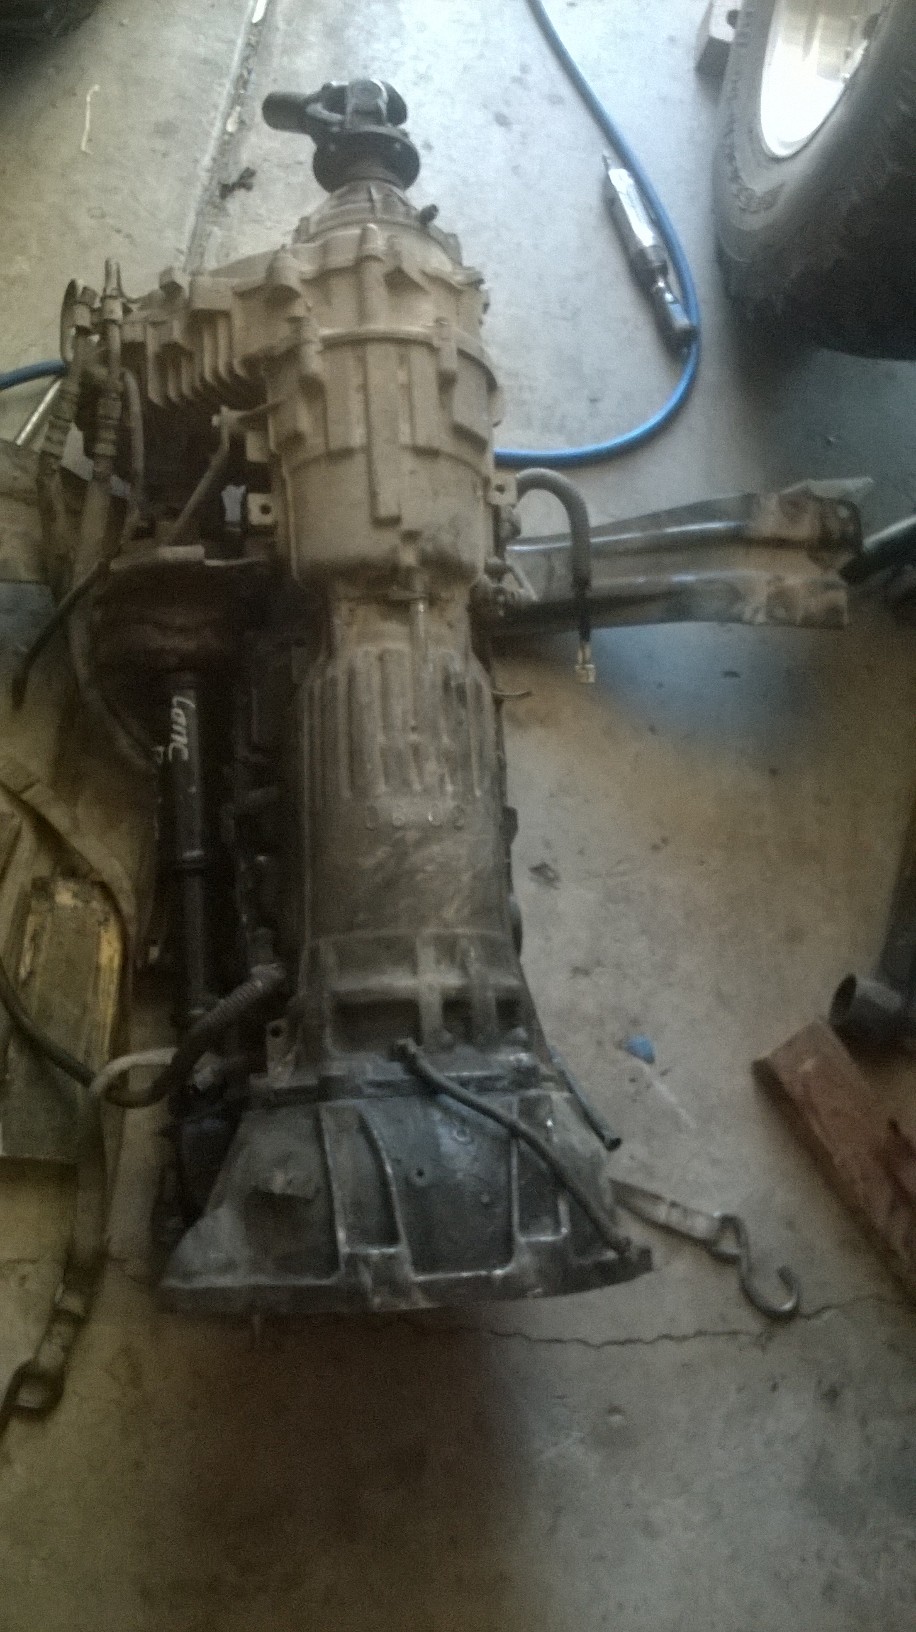
When I bought my 4runner it had a auto transmission, and well it needed a 5speed so now it has a w56 from a 89 pickup. Total cost was around $600.
The swap was fairly simple but time consuming. I spent 25 hours on the swap all together. Its easier than it sounds online and it would have been easier with a transmission jack. I'm not going to go into detail about it, all I have to say is that it was worth it. That manual is way better than the A340H that it had.
The nerve racking thing was my torque converter was missing a chunk out of the sleeve that goes into the tranny.
next on the list is a rear locker, rewiring and possibly paint.


Good news, my dad bought a 89 4runner. Bad thing is its a 3vze and needs a head gasket. Guess who wants to fix it!
When I bought my 4runner it had a auto transmission, and well it needed a 5speed so now it has a w56 from a 89 pickup. Total cost was around $600.
The swap was fairly simple but time consuming. I spent 25 hours on the swap all together. Its easier than it sounds online and it would have been easier with a transmission jack. I'm not going to go into detail about it, all I have to say is that it was worth it. That manual is way better than the A340H that it had.
The nerve racking thing was my torque converter was missing a chunk out of the sleeve that goes into the tranny.
next on the list is a rear locker, rewiring and possibly paint.
Trending Topics
Sep 20, 2014 | 06:38 PM
#8
Thread Starter
Registered User
Joined: Dec 2013
Posts: 26
Likes: 0
From: SLC, UT
Sorry its been a while and hard to find the time with school and work. I installed a Aussie Locker a few months ago and with that and a manual trans its a big improvement over when i got it. I feel like the truck will go places I don't dare take it.
I also got a set of trail gear rock sliders and now I need to find the time to put them on. It seems I've been pressed on time lately. I've only pulled two trans and one engine this week.
Well i bought a parts truck a month ago and am redoing the wiring harness and going to swap the engine that has 150k on it. So in a few months I'll get it in the truck after a timing chain and water pump. I learned that the Cloyes timing chain set comes with a metal or alloy driver side guide.
Ill try and get pictures up soon. Its been so crazy lately because in about two weeks both me and my dad bought two more 4runners. So I have two parts trucks to choose from! Man my friends think I'm crazy.
 Jan 6, 2015 | 09:33 AM
#10
Thread Starter
Registered User
Joined: Dec 2013
Posts: 26
Likes: 0
From: SLC, UT
Its been a while and a lot has happened. Still need to get pictures on but You'll find this interesting.
I wanted to solid axle my 87 so this was the best/cheapest way that I could do for the time being.
I started with an 85 4runner that had a completely rusted out body. There was a whole where the driver�s feet would go that I could fit through, the doors body and everything else was rusting. The good news was the frame and suspension was in good shape. It had surface rust but nothing a lot of sanding and patience could fix.
It took about 5-10 man hours of sanding to complete and another 5 hours of painting but that took 3-4 days to finish because of the paint. I used Rustoleum paint over rust primer for the first coat then three coats of a Rustoleum oil based paint. It turned out really nice and that paint is thick. I couldn�t justify spending $150 for POR15 when I painted the frame that can be easily touched up for $50.
So with this done I had to cut holes in my body for the ford shock towers, and clean all the mud out from under my truck from when I got stuck in a mud pit. The mud really never disappeared no matter what it kept appearing.
Now the fun part of pulling the body, engine and every other little thing I wanted from my truck and put it on the new frame. This part went by real fast with Sam and my brother Dalton helping. I started at the front of the truck and worked my way back disconnecting everything and draining fluids, while Sam and Dalton worked on the gas tank and drive shafts.
Saturday morning Dalton and I pulled the body by using a tow strap, engine hoist, bumper jack, coma long, chains, and heavy duty tie down strap. We lifted the body, disconnected the things we forgot and pushed the old frame out. Then set the body lightly on some 50 gallon drums. There was mud and dirt everywhere.
From there we put the engine and Trans on the new frame bolted them down. We got the gas tank moved and put the drive shafts in. We did all this in the front yard with it raining outside.
The best part was getting the new (to me) frame in. The problem was the frame was 6 inches taller than the other frame. So with Dalton and my dad, we lined up the frame, let the air out of the 29 in rear tires and pulled the 33s up front. From there using the engine hoist and floor jack we lower the frame and front axle so the front rotors we � in off the ground then slide the frame under. We had to lower the front more because of the engine.
From there we lifted up the front, installed the tires, filled up the rear and started lowering the body. With it about an inch of the frame we realized the new washers needed to be drilled out to fit the body bolts. By Sunday the body was bolted to the frame.
With the body connected all the other things I had unhooked had to be reconnected. I put in the rear differential from the green 87 I had, then put my drums and axle shafts in the rear axle. Then Zac, Dalton and I hooked up the front calipers and Zac and I bled the brakes. Instead of pulling the Master Cylinder we raised the rear of the truck up so it was level.
Since I had the shifters for the Trans and tcase out I installed a new plastic seat and shifter ball from Marlin Crawler. Shifts a lot better now because the old seat was made of rubber and was falling apart and missing bits and pieces. To add to that the transmission was leaking from that seat.
The 85 frame had different mounts for the exhaust, so my mounts didn�t line up. I got one on then with a battery tie down bolt I held the other side up. This is temporary until I get it to work, school or if we finally get a 220 outlet in the garage for my Lincoln 225.
I got the wiring, shifters, and gas tank lines hooked up while Dalton and Zac fixed the steering because it was different between the two different years, my steering shaft was too short. I thought we would have to pull the steering columns but all we had to do was loosen a bolt and extend the steering shaft to the steering box. Then we started the truck up for the first time in its current state. She fired right up, what a good sound that was.
I had to pull the front differential out because I wanted to run 4:30s instead of 4:10s. Since Toyota differentials are a 3rd member or pumpkin design I had to pull the calipers, rotors, spindles and the backing plates to get the axle shafts out. On the Birfields there are two flat spots on each side of the Birfield joint that need to be lined up vertical to remove the shaft. Then the shaft wiggles out. Then the 15ish bolts on the differential are removed and it falls out. I installed the other 3rd member and hooked everything back up. I installed the front drive shaft and tightened down the transmission mounts.
During the week I was doing this it was around 30 degrees outside and around 40 in the garage. The problem with this (besides freezing) is that the gear oil is so cold it doesn't want to move at all. It took an hour and a half to fill up the front axle and a little less for the rear.
With all this done and all the little things hooked up I could at least drive my truck. There�s still the a few bugs to work out, mainly the rear pinion angle, but for the major part it�s done. For now. Between Dalton, Zac, Sam, and me working on it periodically we got the truck back on the road in ten days.
The truck now rides a lot stiffer, which is better than bouncing and the steering�s better, the only problem is the noise from the pinion because it�s angled to high. But well worth the investment.
Thanks for everyone that helped and my mom for letting me have the garage for the past month.
Nov 29, 2015 | 11:11 AM
#12
Thread Starter
Registered User
Joined: Dec 2013
Posts: 26
Likes: 0
From: SLC, UT
Been a while. Things have been busy, I got a new job and am trying to finish school.
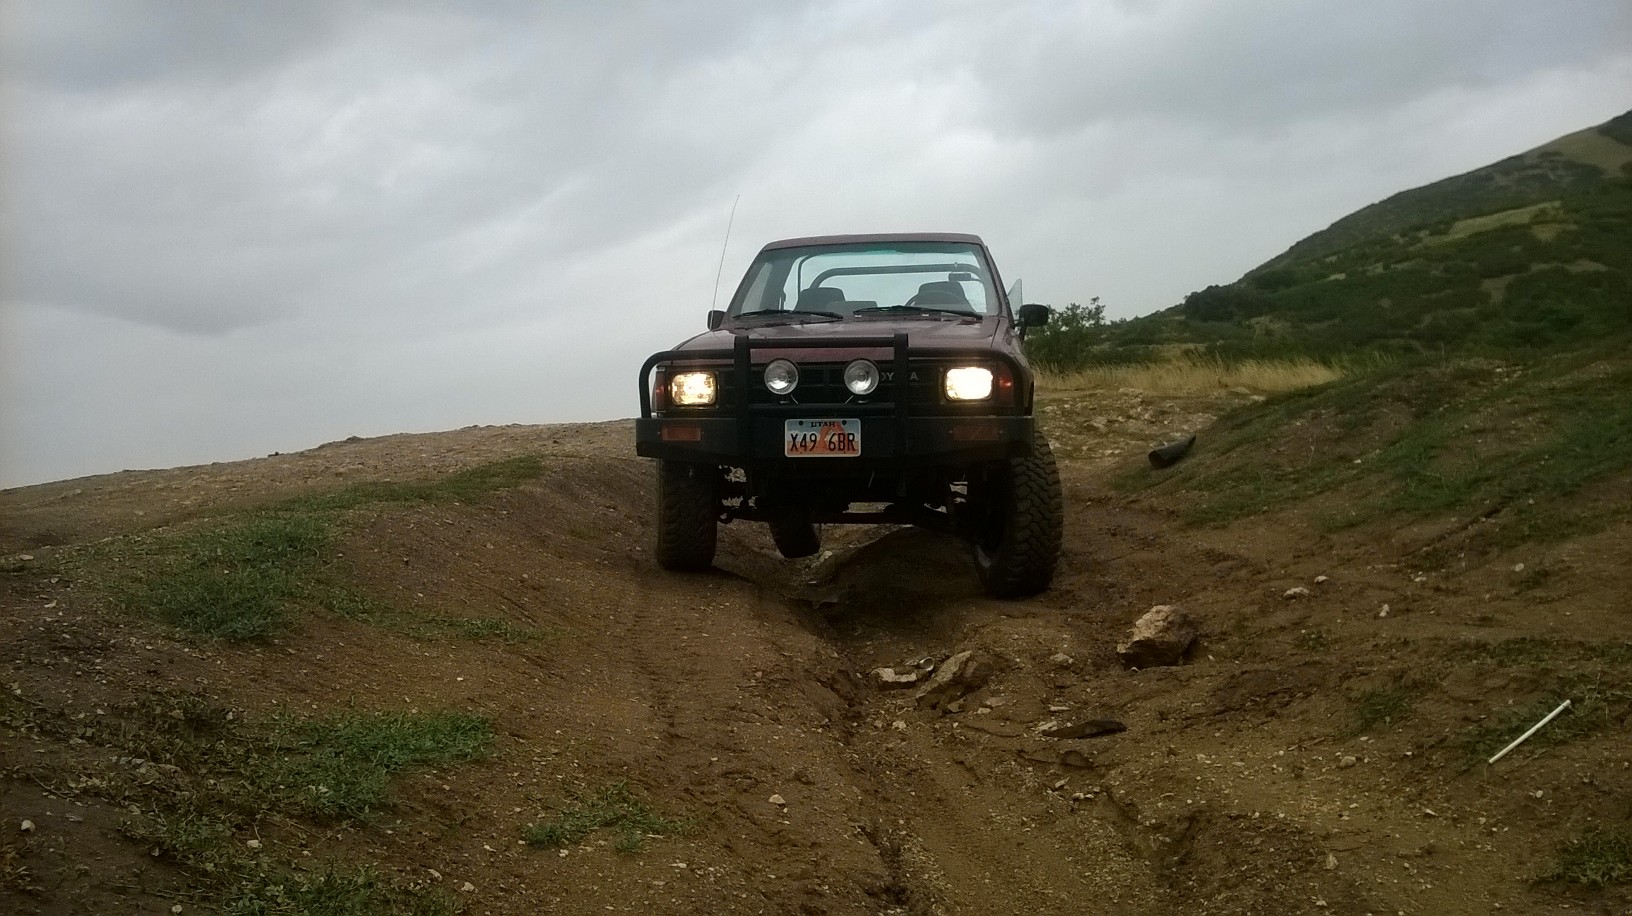
A lots been done on the truck. I've added a double, it has the stock 2.28 gearing in both cases. I finally bought tires 35x12.50 BFGs.
I'm going to try and keep updated on my current project of installing a Chevy 4.3 out of an 89 astro van
A lots been done on the truck. I've added a double, it has the stock 2.28 gearing in both cases. I finally bought tires 35x12.50 BFGs.
I'm going to try and keep updated on my current project of installing a Chevy 4.3 out of an 89 astro van
Nov 29, 2015 | 11:19 AM
#13
Thread Starter
Registered User
Joined: Dec 2013
Posts: 26
Likes: 0
From: SLC, UT
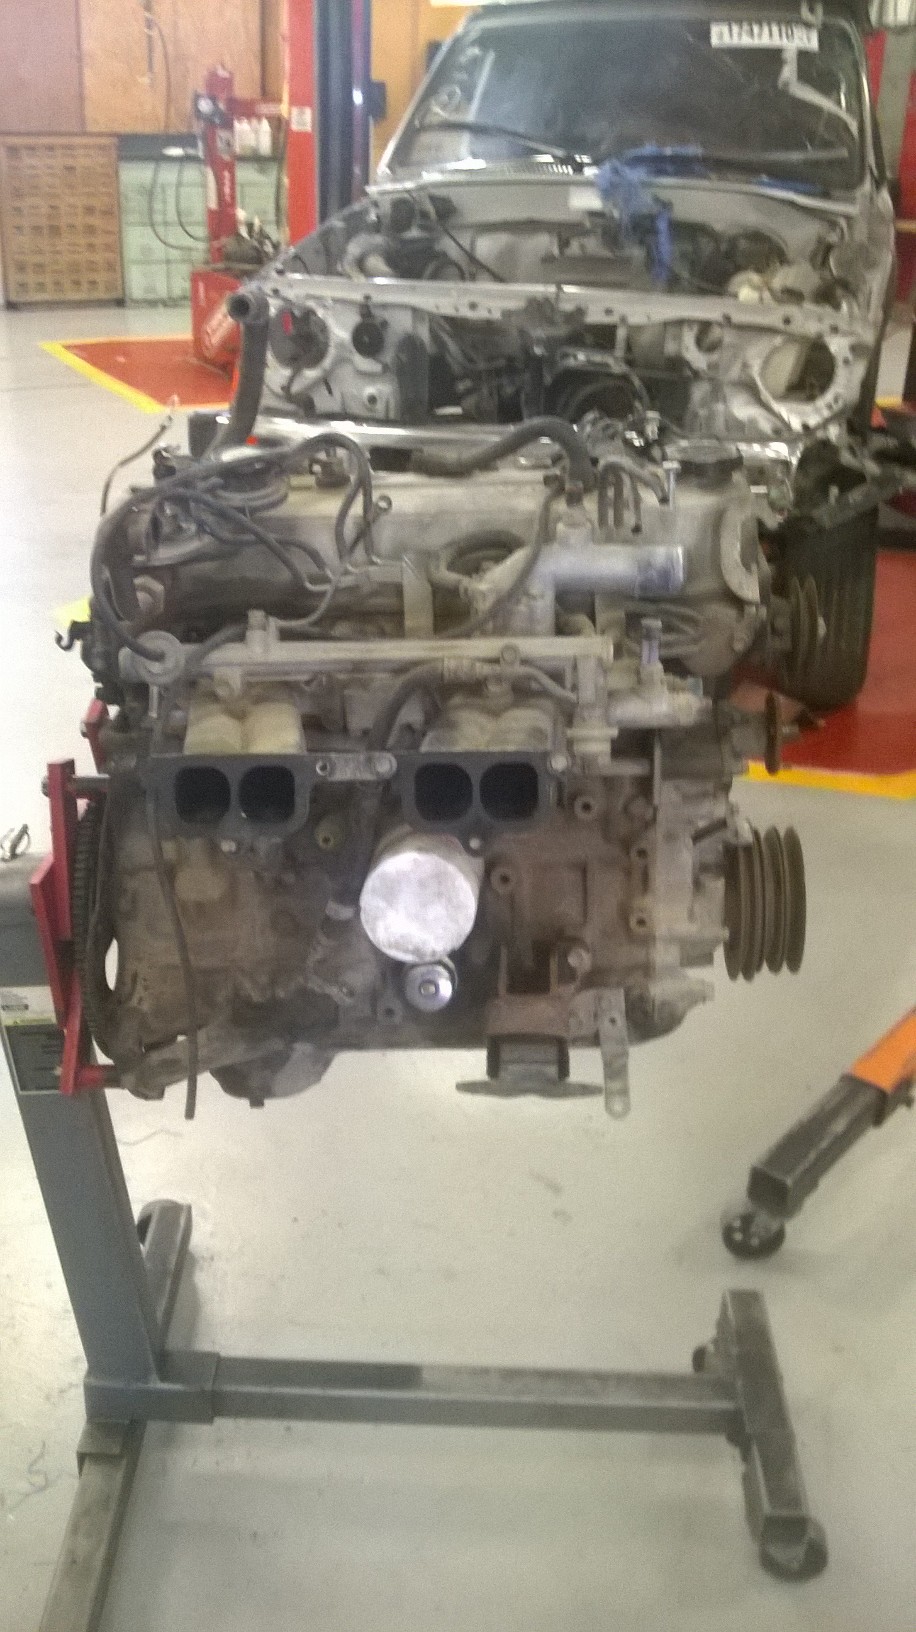
Here's some pictures of what's been going on the last couple of months. I bought the van last Friday none running for $240 and a few hours later had it fixed by adjusting the timing. The plan is to pull the engine, do some maintenance, and gather all the parts for the swap
Don't ever buy a van, they are a pain to work on.
Don't ever buy a van, they are a pain to work on.

Thread
Thread Starter
Forum
Replies
Last Post
RedRunner_87
95.5-2004 Tacomas & 96-2002 4Runners (Build-Up Section)
84
Jun 1, 2021 01:51 PM
FS[SouthEast]: Mercury Villager Fan & DCC Fan Controller
coryc85
Misc Stuff (Vehicle Related)
6
Sep 9, 2015 06:24 AM


