
LifterCatcher's 1993 4Runner Build-Up Thread
 Jan 22, 2011 | 02:19 PM
#121
Thread Starter
Registered User
Joined: Aug 2010
Posts: 224
Likes: 1
From: Columbia, Mo
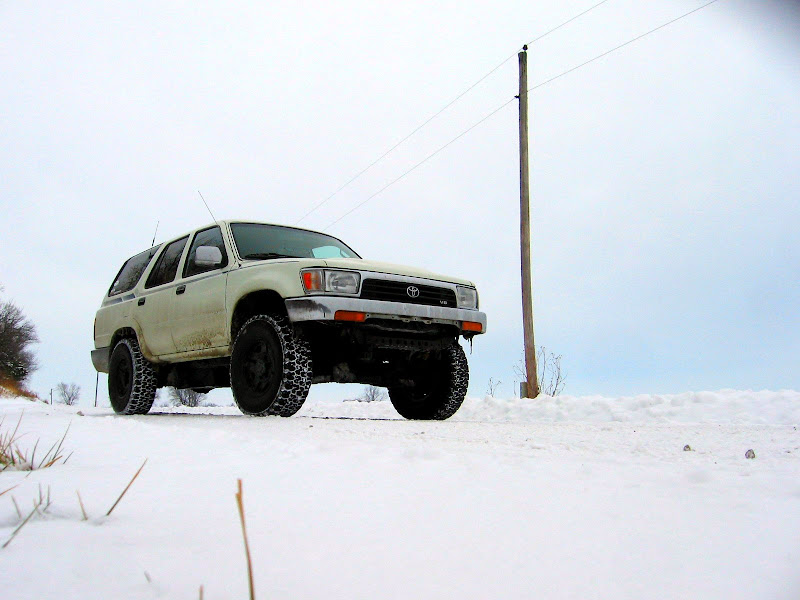
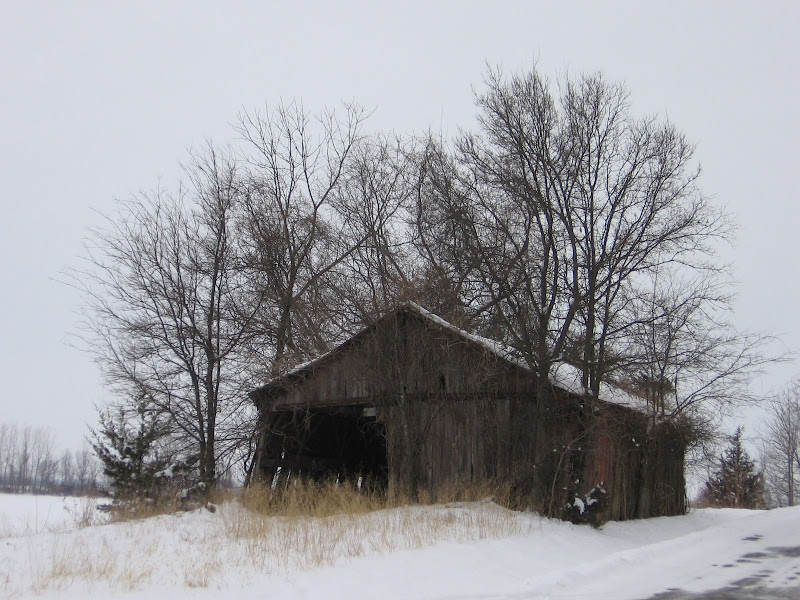
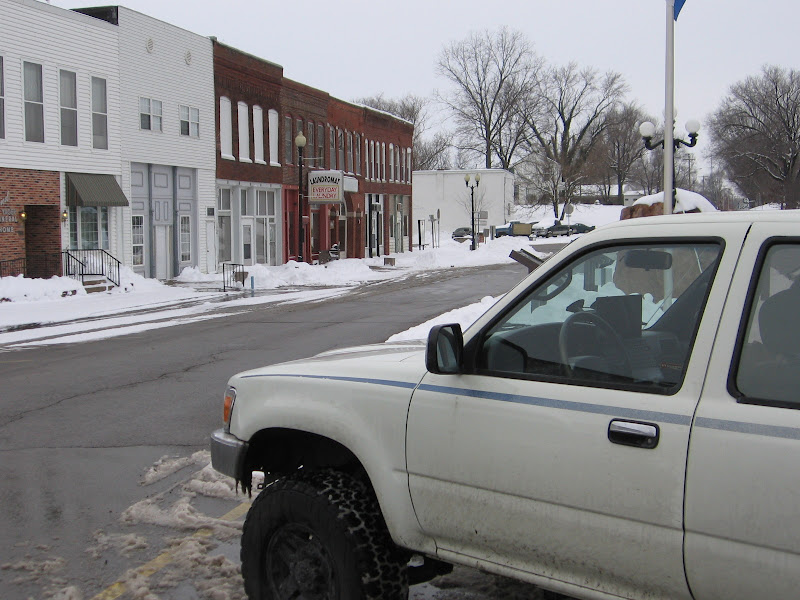
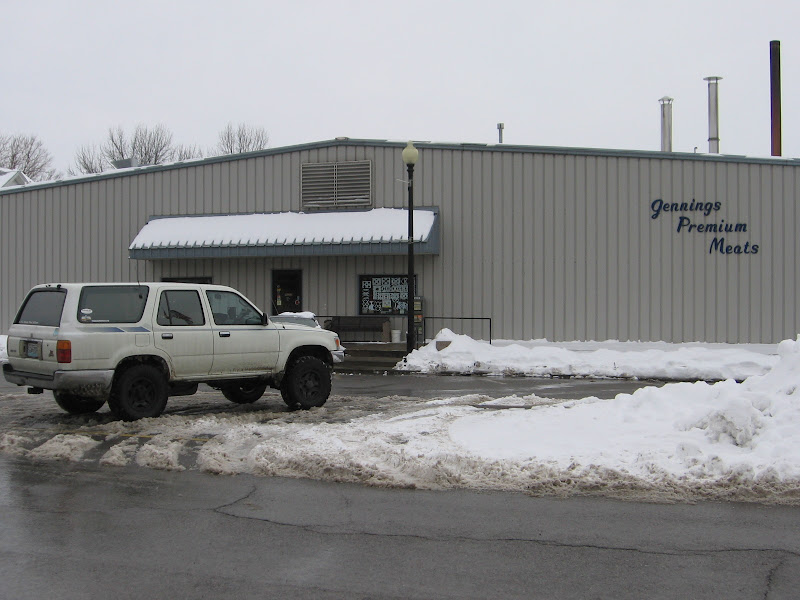
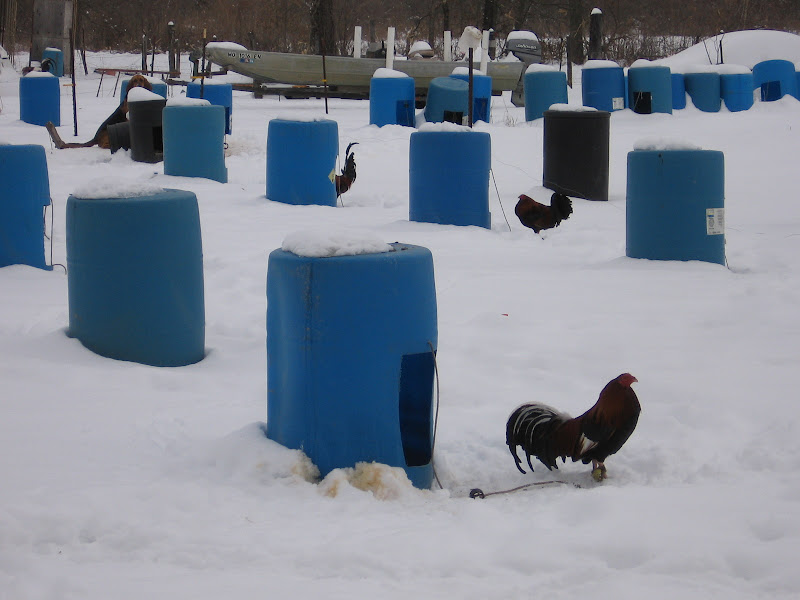
Time for a update  I got the laptop setup in the rig and its awesome! I have been sing it to explore old Missouri towns and its a ton of fun.
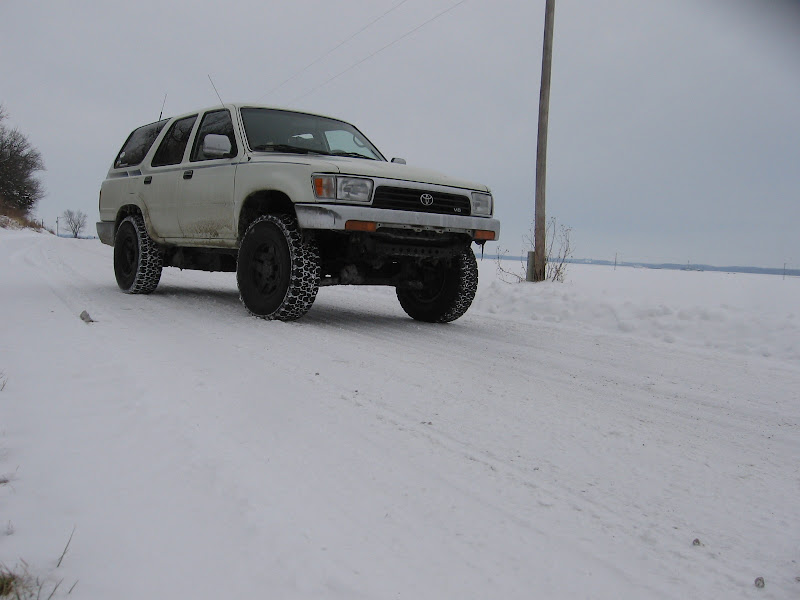
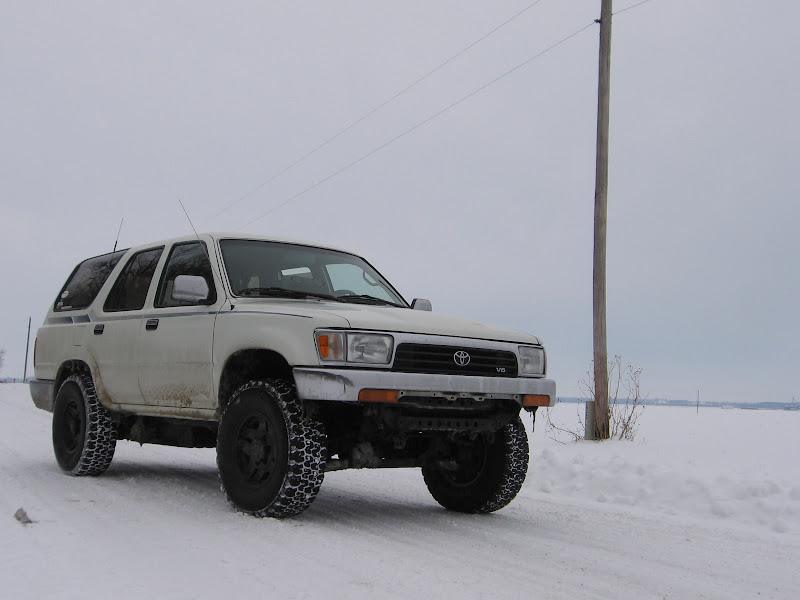
Here are some pics of our most recent trips.
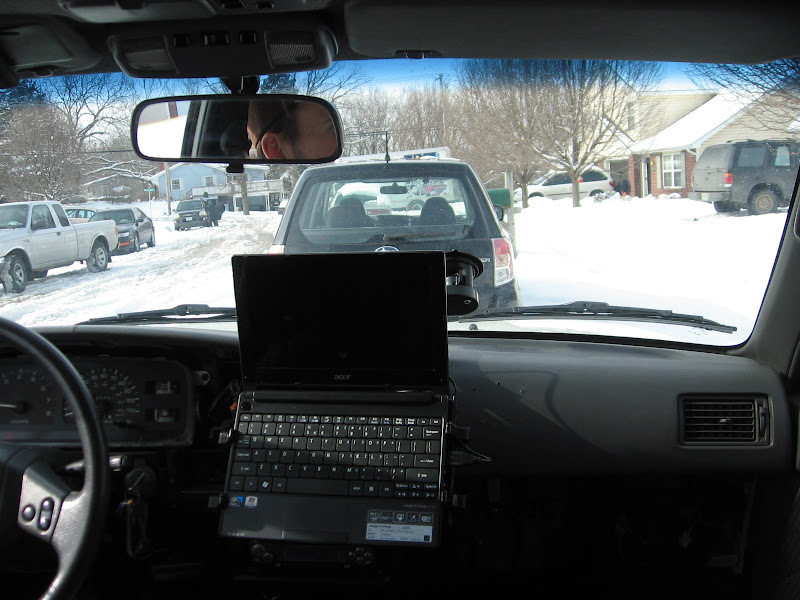

(Trigger The NAVIgator)
I got the laptop setup in the rig and its awesome! I have been sing it to explore old Missouri towns and its a ton of fun. Here are some pics of our most recent trips.
(Trigger The NAVIgator)
Last edited by LifterCatcher; Jan 22, 2011 at 02:38 PM.
Jan 22, 2011 | 04:05 PM
#122
Registered User
Joined: Jun 2010
Posts: 175
Likes: 0
From: Orwigsburg, PA
Nice job man with all your work.....but I think you may have just made my "To-Do" List A LOT longer! How are the interior pieces holding up now after a few months?
I'm currently doing suspension work, lift, etc to mine. Then on to interior/body work. My interior is blue and I HATE it. I wonder how doing a base coat of Krylon Fusion, then rattlecan bedliner would work out on interior pieces.
Ruskymx
I'm currently doing suspension work, lift, etc to mine. Then on to interior/body work. My interior is blue and I HATE it. I wonder how doing a base coat of Krylon Fusion, then rattlecan bedliner would work out on interior pieces.
Ruskymx
Jan 23, 2011 | 11:06 AM
#123
Thread Starter
Registered User
Joined: Aug 2010
Posts: 224
Likes: 1
From: Columbia, Mo
Nice job man with all your work.....but I think you may have just made my "To-Do" List A LOT longer! How are the interior pieces holding up now after a few months?
I'm currently doing suspension work, lift, etc to mine. Then on to interior/body work. My interior is blue and I HATE it. I wonder how doing a base coat of Krylon Fusion, then rattlecan bedliner would work out on interior pieces.
Ruskymx
I'm currently doing suspension work, lift, etc to mine. Then on to interior/body work. My interior is blue and I HATE it. I wonder how doing a base coat of Krylon Fusion, then rattlecan bedliner would work out on interior pieces.
Ruskymx
I have put the paint through it's paces and it looks the same as the day I sprayed it on. It has held up a lot better than I thought it would that is for sure. I would not use a base coat when using rattlecan bedliner just spray it right over top of the plastic, this will give it a better hold.
 Jan 23, 2011 | 10:48 PM
#125
just an FYI, the Krylon fusion has a special plastic primer that is formulated to prime plastic pieces and it works FANTASTIC and wont come off without sanding... also, it gives a nice porus surface for the bedliner to stick to...
i only say this if you have a dash like mine where the previous owner armoralled it twice a week... (seems like)
sometimes in the summer i think i can fry an egg on that damn dash...
EDIT: Bosco, i LOVE your sig!!!
i only say this if you have a dash like mine where the previous owner armoralled it twice a week... (seems like)
sometimes in the summer i think i can fry an egg on that damn dash...
EDIT: Bosco, i LOVE your sig!!!
Feb 2, 2011 | 04:02 PM
#129
Thread Starter
Registered User
Joined: Aug 2010
Posts: 224
Likes: 1
From: Columbia, Mo
Mar 6, 2011 | 05:22 PM
#132
Registered User
Joined: Mar 2010
Posts: 365
Likes: 0
From: Sc Pa
I just read through the thread. Your interior looks amazing. I'm thinking about doing the back of my 86 runner. How much road noise do you get when you take the carpet out and line it? my carpet is crap so i need to make a change.
Apr 2, 2011 | 04:50 PM
#134
Thread Starter
Registered User
Joined: Aug 2010
Posts: 224
Likes: 1
From: Columbia, Mo
Skid plate got put on the back burner atm  but I did start to fab and build a rear high clearance bumper with swing out and it's turning out awesome. PICS to follow
Not much road noise at all, it is a little louder but after a couple of days you get used to it and totally forget the sound changed. Go for it you will love it.
Still looks just like the day I sprayed it. It's amazing and I am very surprised how well it's held up.
but I did start to fab and build a rear high clearance bumper with swing out and it's turning out awesome. PICS to followStill looks just like the day I sprayed it. It's amazing and I am very surprised how well it's held up.
Apr 2, 2011 | 05:39 PM
#135
Thread Starter
Registered User
Joined: Aug 2010
Posts: 224
Likes: 1
From: Columbia, Mo
Ok it's time to post up what I have been working on.
I have always wanted a rear bumper with tire carrier/swing out. However I would never pay the prices that they go for, but after starting the build I fully understand why they cost upwards of a grand.
I have spent most of my time measuring and thinking and doing a little at a time.
I wanted a bumper that was high clearance, has side protection and a rear tire carrier with swing out. So after a lot of thinking and designing this is what I came up with. It's not complete and there is a lot of tweaking that I need to do but I am making good progress.


Here is the swing out that will house my Hi-Lift Jack and spare tire. I wanted to keep the majority of the weight close to the hinge to keep as much force off the hinge as possible. The above setup only weights 14lbs
The hi-lift support will be cut off at the end of the supporting plate, and the top of the main beam will be cut at the same angle as the hi-lift support to make it look purty


Hi-Lift Jack base that matches the angle when the jack is mounted.


Rough basic design of the rear bumper, the main rear beam is 2" x 4" 3/16 Side protection is 2" x 2" 3/16 and the side protection supports are 1" x 1" 3/16. I will add quite a bit more bracing before its complete. I am also going to be adding a receiver and mounts for shackles.

I searched and searched for a hinge that would get the job done for the swing out and settled on 4x4 competitions hinge kit. I liked the fact that they provided a sleeve for the hing to sit in allowing the height of the hinge to be adjust and fine tuned before welding. The hinge is BEEFY!!!


The roll/tension pin is used to set the height of the sleeve then you simply weld it in, and your done.
Here she is mounted up.

I love it!!! The tire will also be housed on the right side and I will start working on that tomorrow.


Here is how the hi-lift is supported, I used two 1/2" bolts and cut them down to size, I then took my grinder and ground the top of the bolts flat, I drilled a small hole then used a clevis pin to insure the wing nuts could not back off freeing the hi-lift. Super simple and super BEEFY the Hi-lift is very sturdy and it not going anywhere.

It's getting there!

This shot shows how tight the clearances are! I feel pretty proud that I was able to make it fit this good. I hate some of the rear tire carrier bumpers that hang off the back of rigs 3' or more. I wanted to insure that my departure angle was better than stock.


Fully open.

Fully open showing clearance.

Bolts tack welded in

Hing with dual Zerks (minus the dust cap)

I will be using a 2,000 lb SS Latch like the one below. It will be here on Monday

The side protection will also have hoops to protect the qtr panels like this.


Having the Hoops bent up this week
So far I have $168.00 into the rear bumper. Sure beats a grand..............
Stay Tuned!
Chris
I have always wanted a rear bumper with tire carrier/swing out. However I would never pay the prices that they go for, but after starting the build I fully understand why they cost upwards of a grand.
I have spent most of my time measuring and thinking and doing a little at a time.
I wanted a bumper that was high clearance, has side protection and a rear tire carrier with swing out. So after a lot of thinking and designing this is what I came up with. It's not complete and there is a lot of tweaking that I need to do but I am making good progress.
Here is the swing out that will house my Hi-Lift Jack and spare tire. I wanted to keep the majority of the weight close to the hinge to keep as much force off the hinge as possible. The above setup only weights 14lbs
The hi-lift support will be cut off at the end of the supporting plate, and the top of the main beam will be cut at the same angle as the hi-lift support to make it look purty
Hi-Lift Jack base that matches the angle when the jack is mounted.
Rough basic design of the rear bumper, the main rear beam is 2" x 4" 3/16 Side protection is 2" x 2" 3/16 and the side protection supports are 1" x 1" 3/16. I will add quite a bit more bracing before its complete. I am also going to be adding a receiver and mounts for shackles.
I searched and searched for a hinge that would get the job done for the swing out and settled on 4x4 competitions hinge kit. I liked the fact that they provided a sleeve for the hing to sit in allowing the height of the hinge to be adjust and fine tuned before welding. The hinge is BEEFY!!!
The roll/tension pin is used to set the height of the sleeve then you simply weld it in, and your done.
Here she is mounted up.
I love it!!! The tire will also be housed on the right side and I will start working on that tomorrow.
Here is how the hi-lift is supported, I used two 1/2" bolts and cut them down to size, I then took my grinder and ground the top of the bolts flat, I drilled a small hole then used a clevis pin to insure the wing nuts could not back off freeing the hi-lift. Super simple and super BEEFY the Hi-lift is very sturdy and it not going anywhere.
It's getting there!
This shot shows how tight the clearances are! I feel pretty proud that I was able to make it fit this good. I hate some of the rear tire carrier bumpers that hang off the back of rigs 3' or more. I wanted to insure that my departure angle was better than stock.
Fully open.
Fully open showing clearance.
Bolts tack welded in
Hing with dual Zerks (minus the dust cap)
I will be using a 2,000 lb SS Latch like the one below. It will be here on Monday
The side protection will also have hoops to protect the qtr panels like this.
Having the Hoops bent up this week
So far I have $168.00 into the rear bumper. Sure beats a grand..............
Stay Tuned!
Chris
Last edited by LifterCatcher; Apr 10, 2011 at 08:02 AM.
Apr 2, 2011 | 05:42 PM
#136
Awesome!!
I had planned on Herculiner...Herculineing...Herculiner-ing...I planned on puttin it in the place of carpet for a while, wanted to make some other changes and this is EXACTLY what I was looking for
Very excited to see your bumper, very interested in a tire swing also. That was an option Toyota should not have done away with,
Good luck!!!
Looks like you have pictures now.... Im liking what I see
Last edited by Tdavis03; Apr 2, 2011 at 05:43 PM.
Apr 10, 2011 | 08:00 AM
#137
Thread Starter
Registered User
Joined: Aug 2010
Posts: 224
Likes: 1
From: Columbia, Mo
Hoops Are bent and welded!


Took the bumper off yesterday and primed it, still need to add a receiver hitch and some additional bracing plus the tire mount.
Took the bumper off yesterday and primed it, still need to add a receiver hitch and some additional bracing plus the tire mount.
Last edited by LifterCatcher; Apr 10, 2011 at 08:05 AM.
Apr 12, 2011 | 07:29 AM
#138

Registered User
Joined: Jan 2010
Posts: 96
Likes: 0
From: Northwest Arkansas
Looking good LifterCatcher, i may be moving to Columbia in a few weeks for a new job. If so, i would love to give you a hand and let you see my 4runner also. I don't know anyone in Columbia, so it would be nice to atleast know someone.
Apr 14, 2011 | 02:07 AM
#139
Thread Starter
Registered User
Joined: Aug 2010
Posts: 224
Likes: 1
From: Columbia, Mo
Chris
Apr 14, 2011 | 04:36 PM
#140
Registered User
Joined: Mar 2011
Posts: 39
Likes: 0
From: Missouri
Hey man you wouldn't Happen to live anywhere near Sikeston Missouri or Jackson Missouri. I live in Sikeston and a lil hole in the wall named Oran but in Jackson there's a nice mudpit place for like 10 bucks. If you live around here or are ever down here hit me up.


