
Kevin88's PU build
 Feb 4, 2013 | 03:14 PM
#23

Thread Starter
Registered User
Joined: Jan 2013
Posts: 43
Likes: 0
From: Iowa
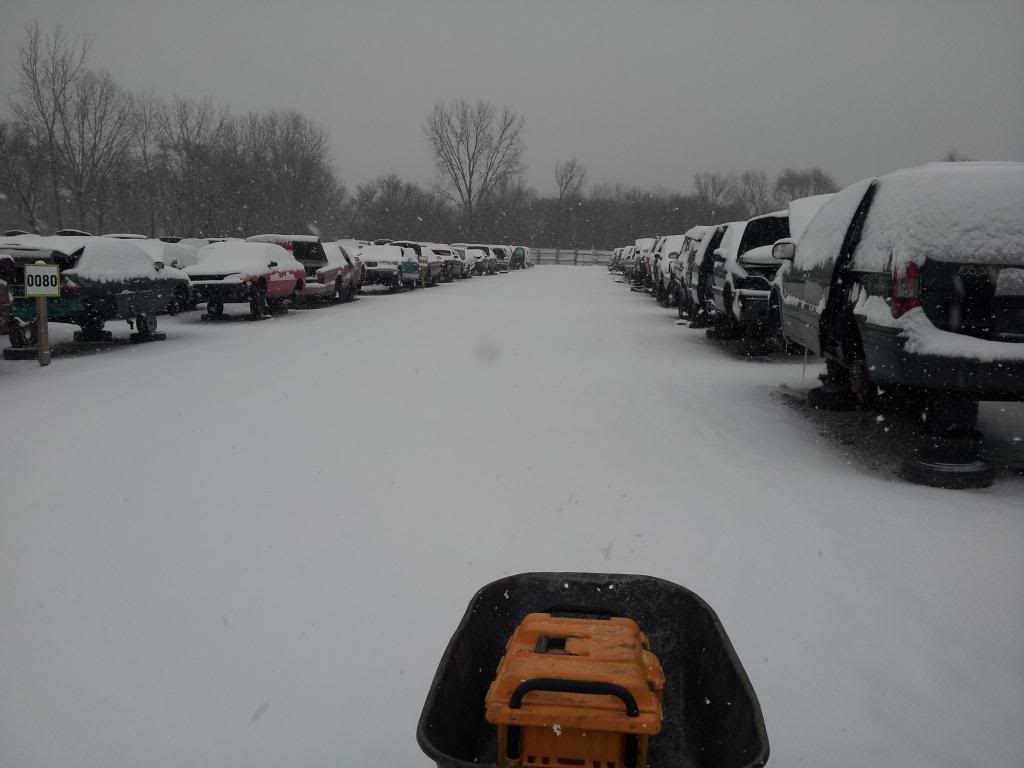
only one in the yard at 8am while snowing 5 inches
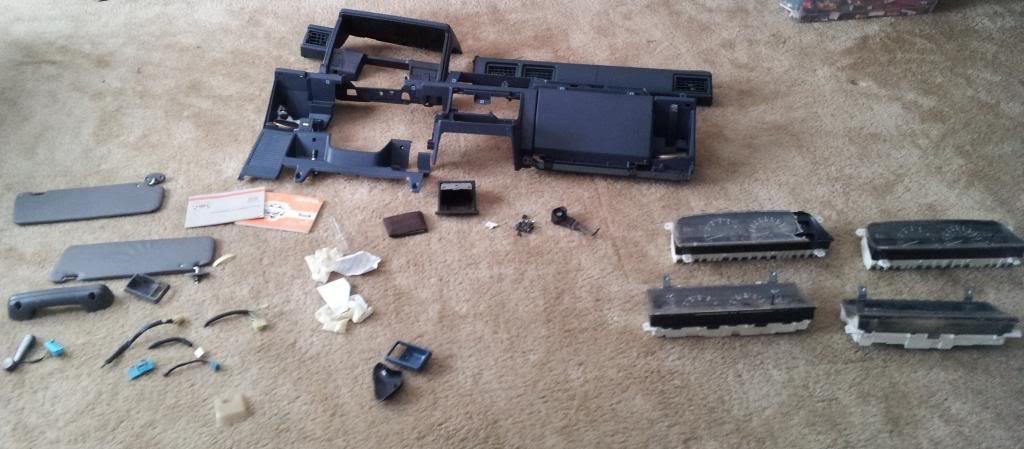
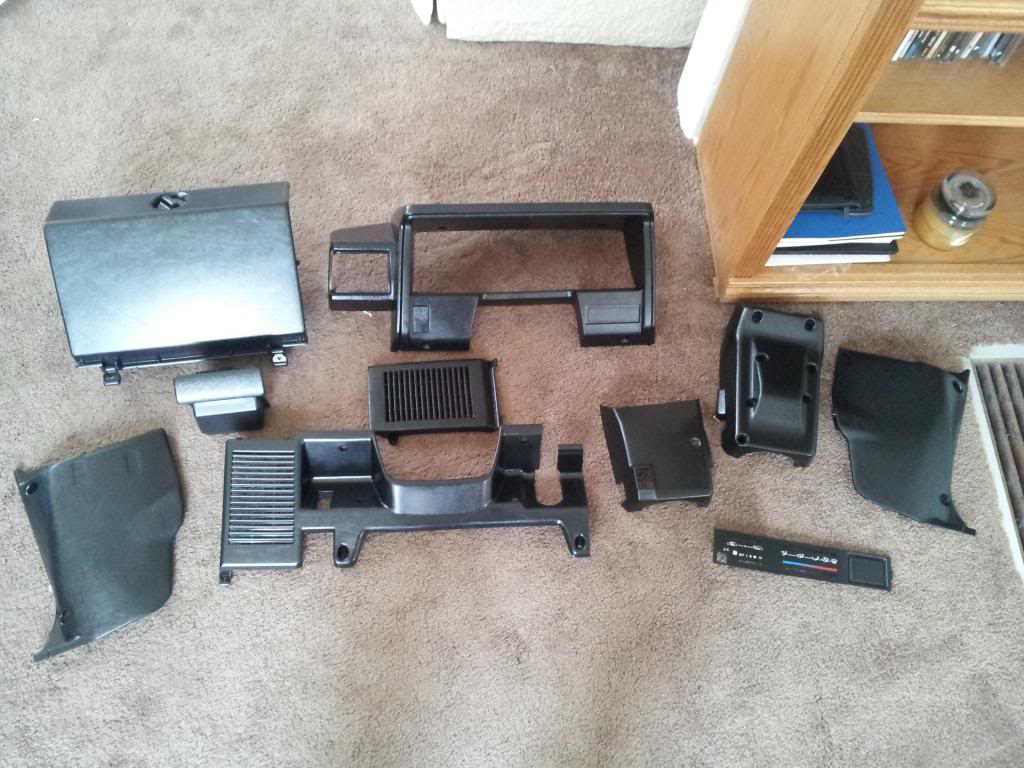
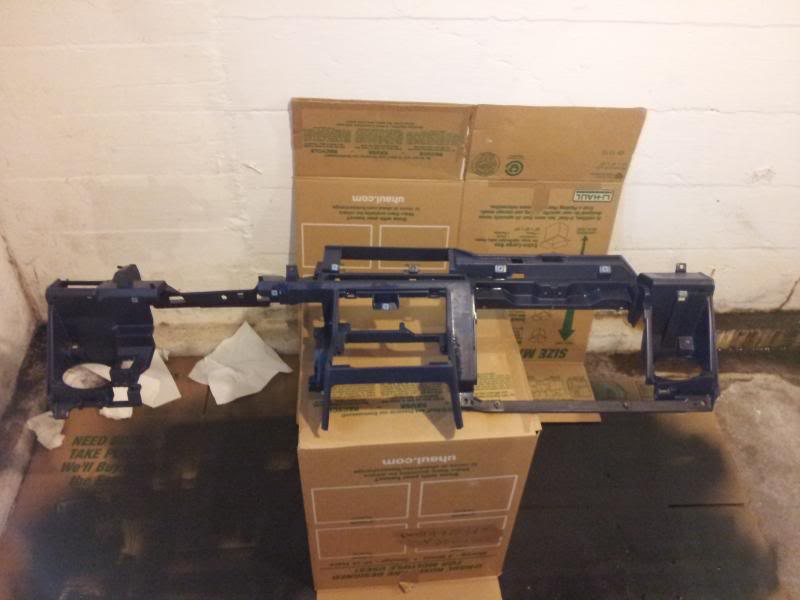
picked up a full dash that i'm going to try and paint black. 4 clusters. lots of harness pig tails for repairing the previous guy's crap. a new tps and connector. and misc interior pieces. Also after seeing the state of 80s pickups in the yard I have decided to spray undercoating on my floor before putting new carpet down and i'm also going to make my own door panels, i'm thinkin black diamond plate.
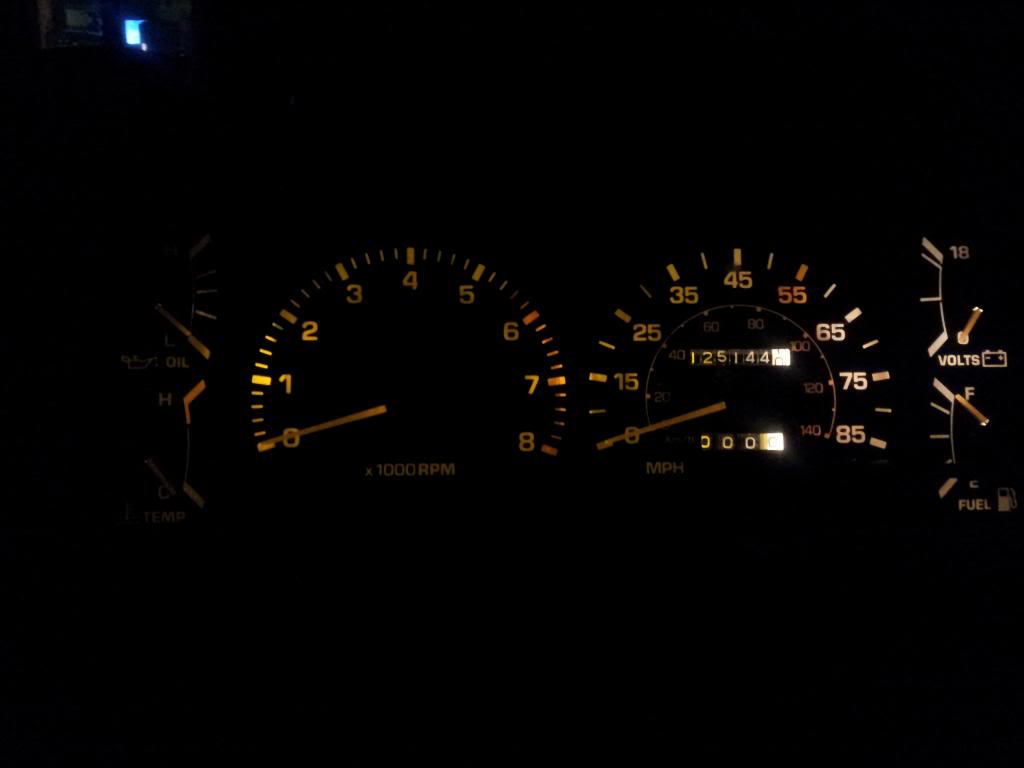
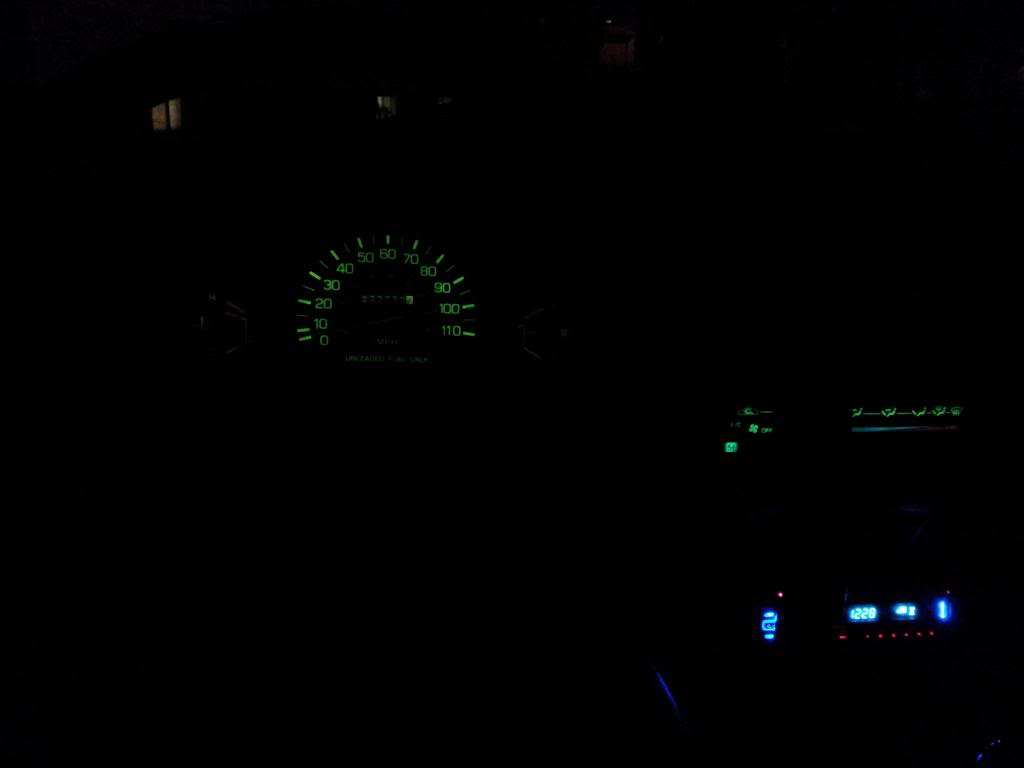
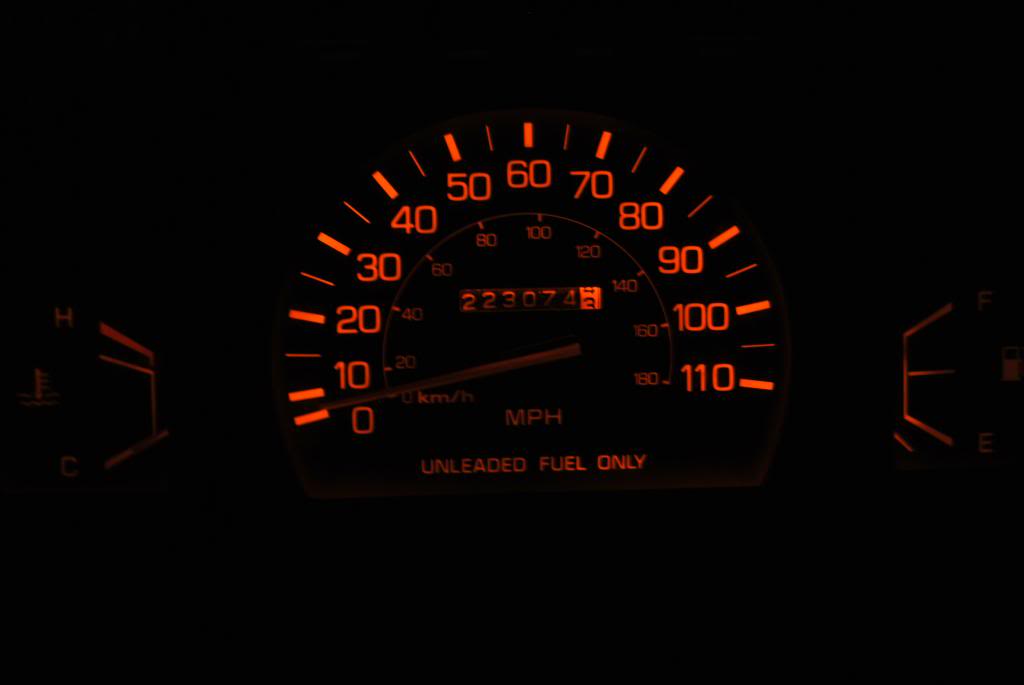
new cluster. I'm going to ditch the LEDs and go with bulbs. This is my new cluster with 2 LEDs and 1 white bulb. The bulb is brighter and is able to be dimmed, which I like on the highway
picked up a full dash that i'm going to try and paint black. 4 clusters. lots of harness pig tails for repairing the previous guy's crap. a new tps and connector. and misc interior pieces. Also after seeing the state of 80s pickups in the yard I have decided to spray undercoating on my floor before putting new carpet down and i'm also going to make my own door panels, i'm thinkin black diamond plate.
new cluster. I'm going to ditch the LEDs and go with bulbs. This is my new cluster with 2 LEDs and 1 white bulb. The bulb is brighter and is able to be dimmed, which I like on the highway
 Feb 22, 2013 | 07:17 PM
#25
Thread Starter
Registered User
Joined: Jan 2013
Posts: 43
Likes: 0
From: Iowa
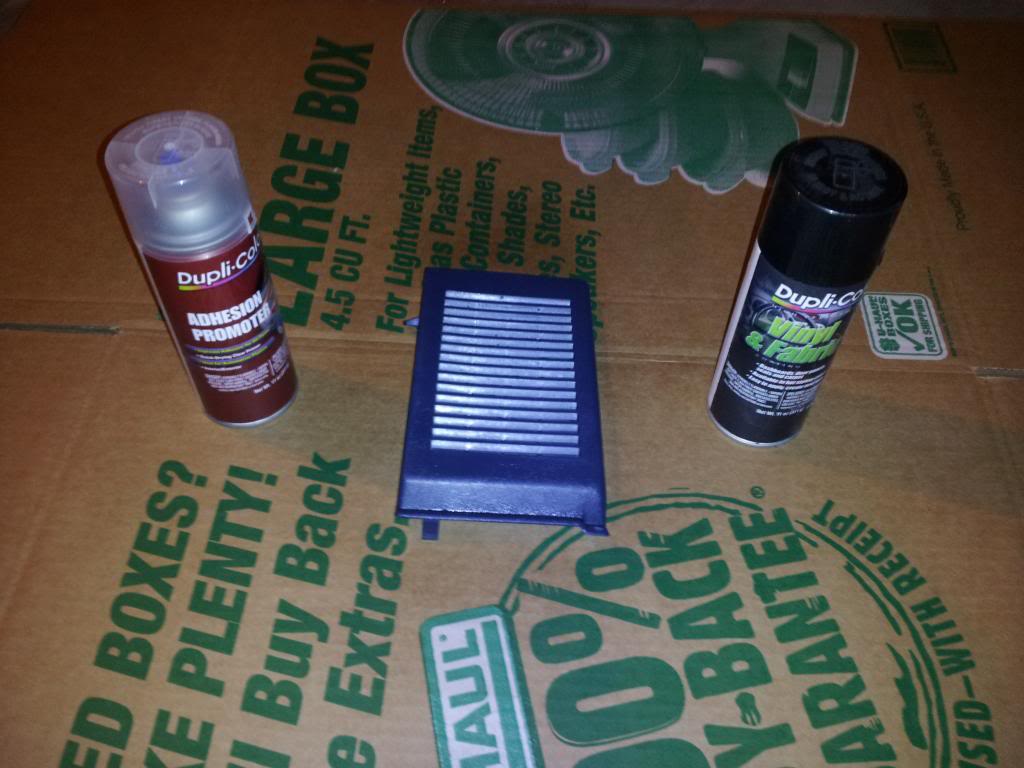
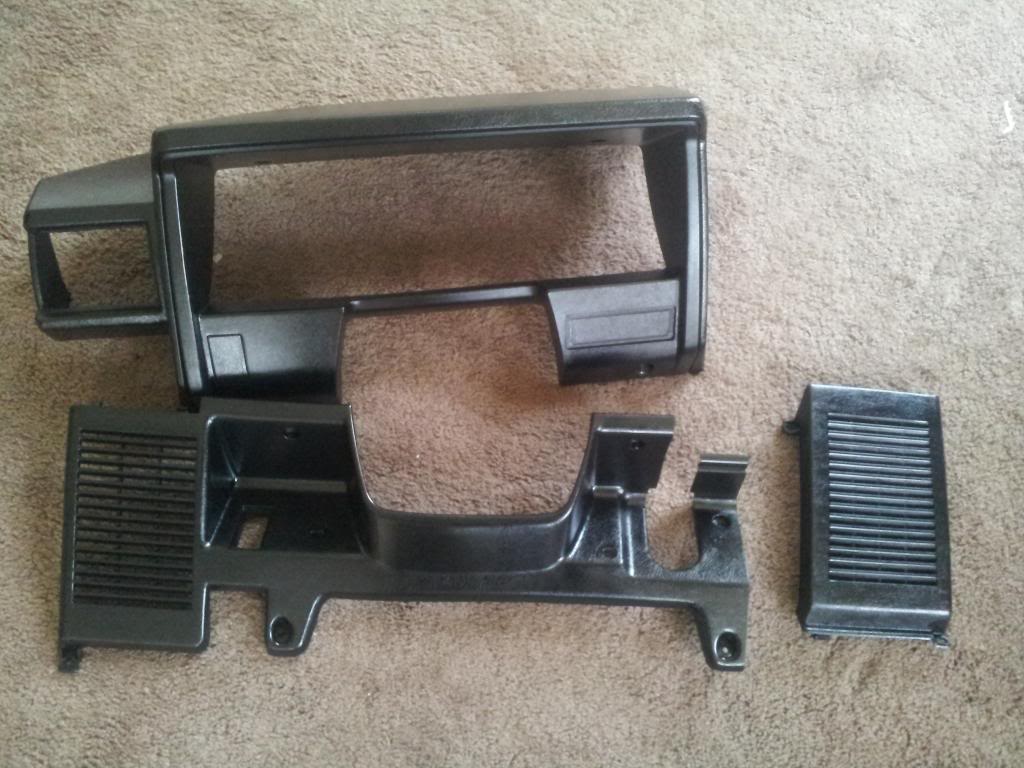
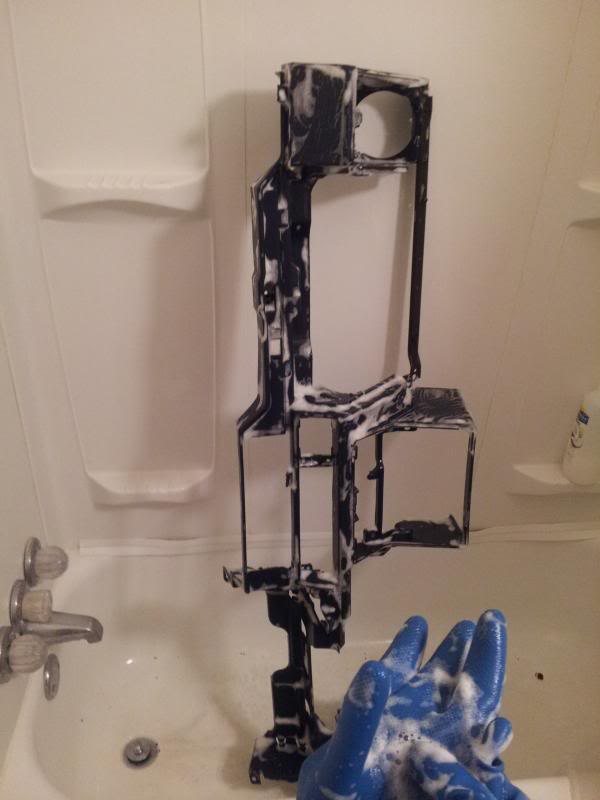
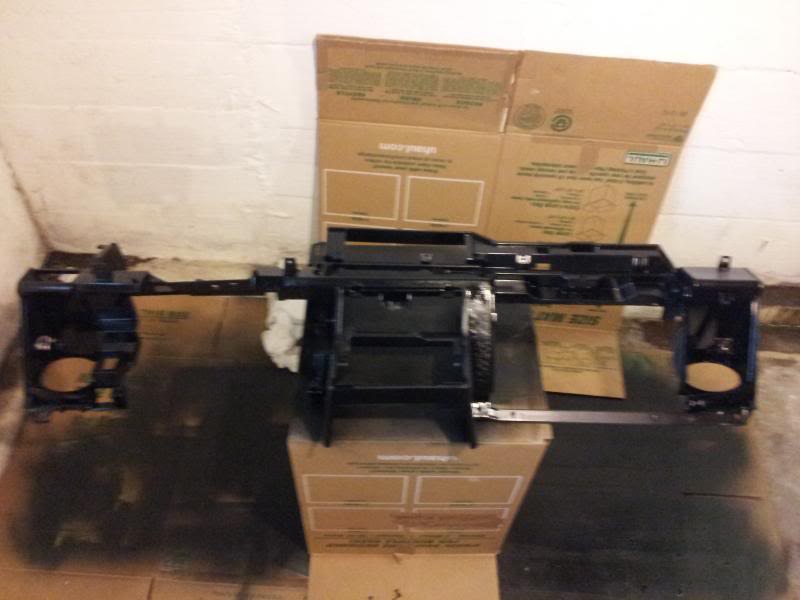
washing each dash piece with an industrial grade degreasing soap 3 times. a few coats of adhesive promoter and then vinyl paint.
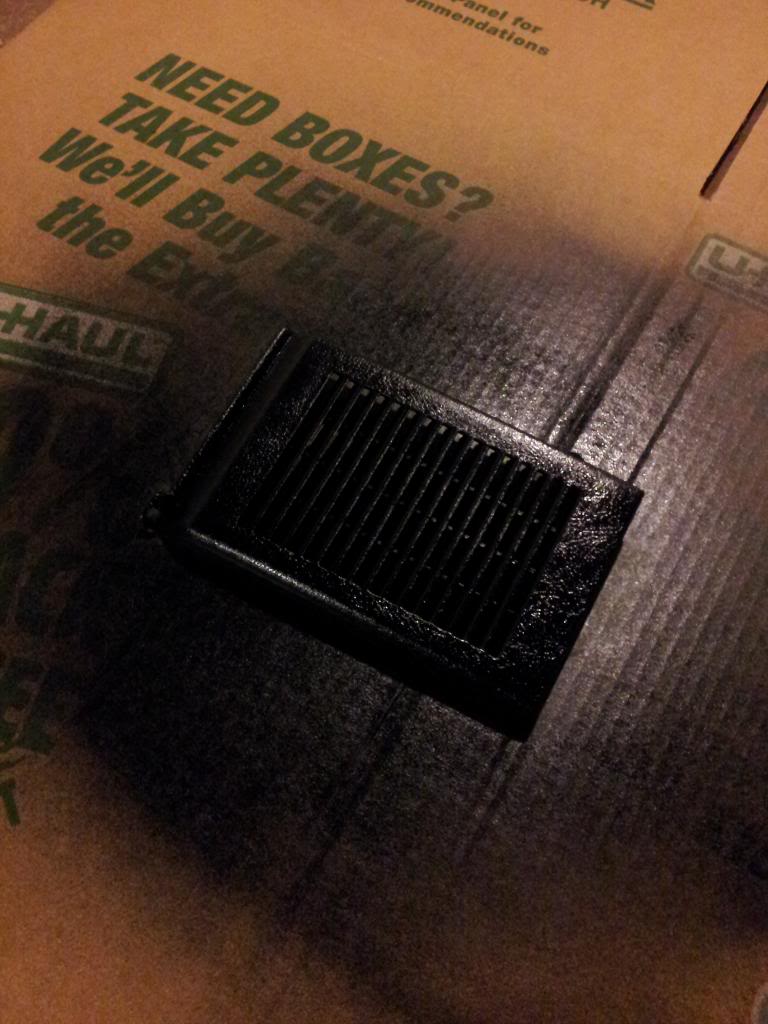
its a lot of work
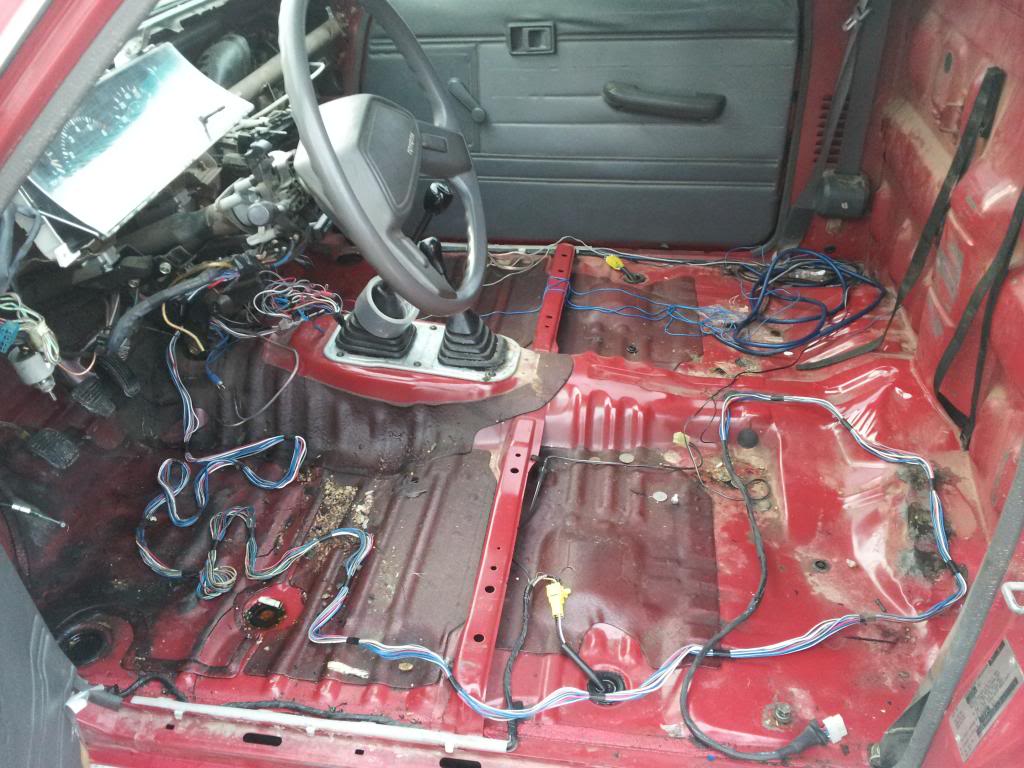
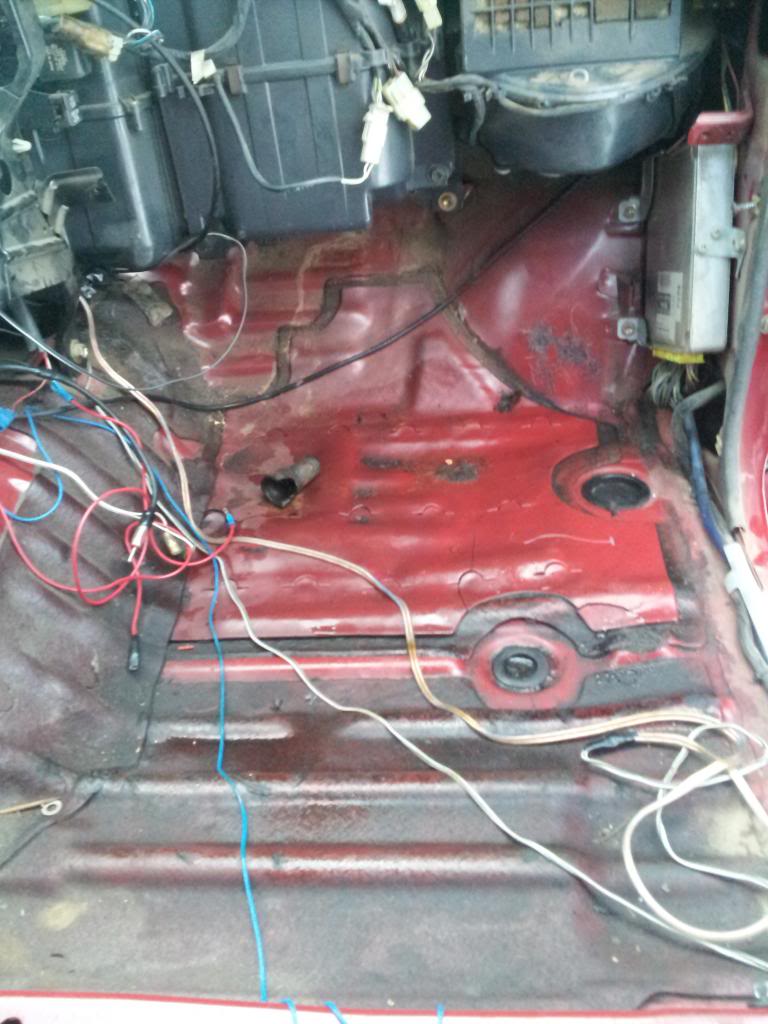
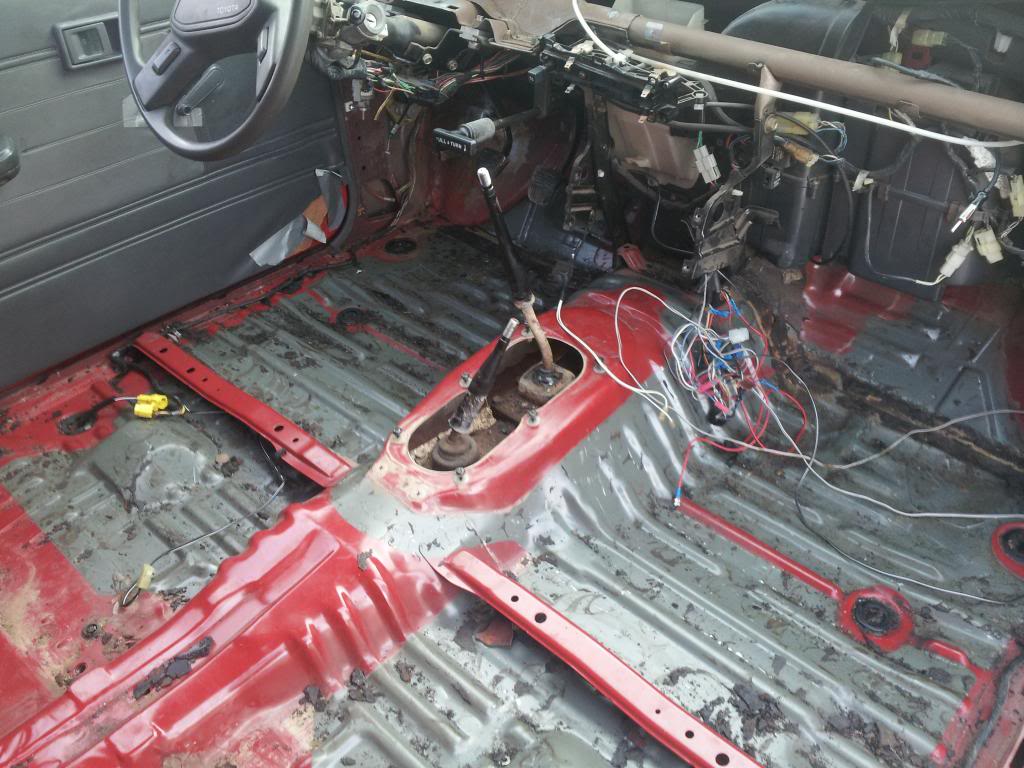
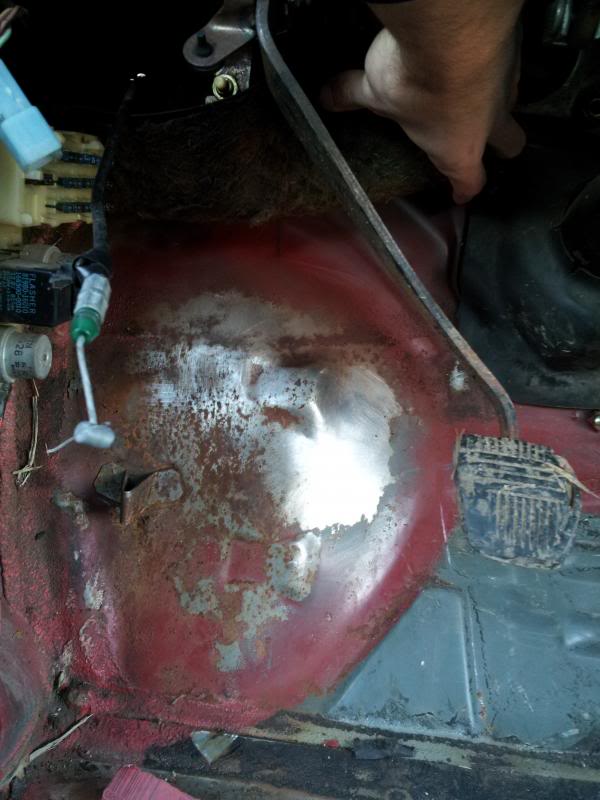
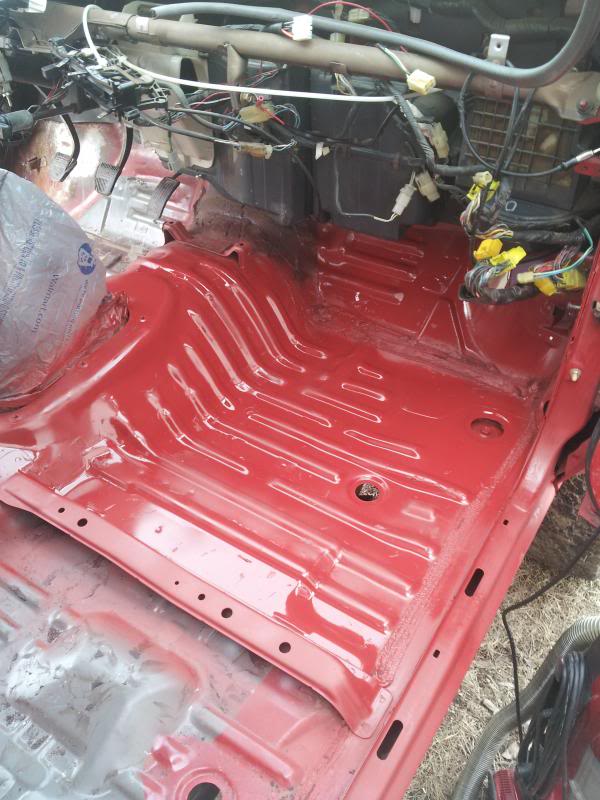
working on the floorboard rust prevention
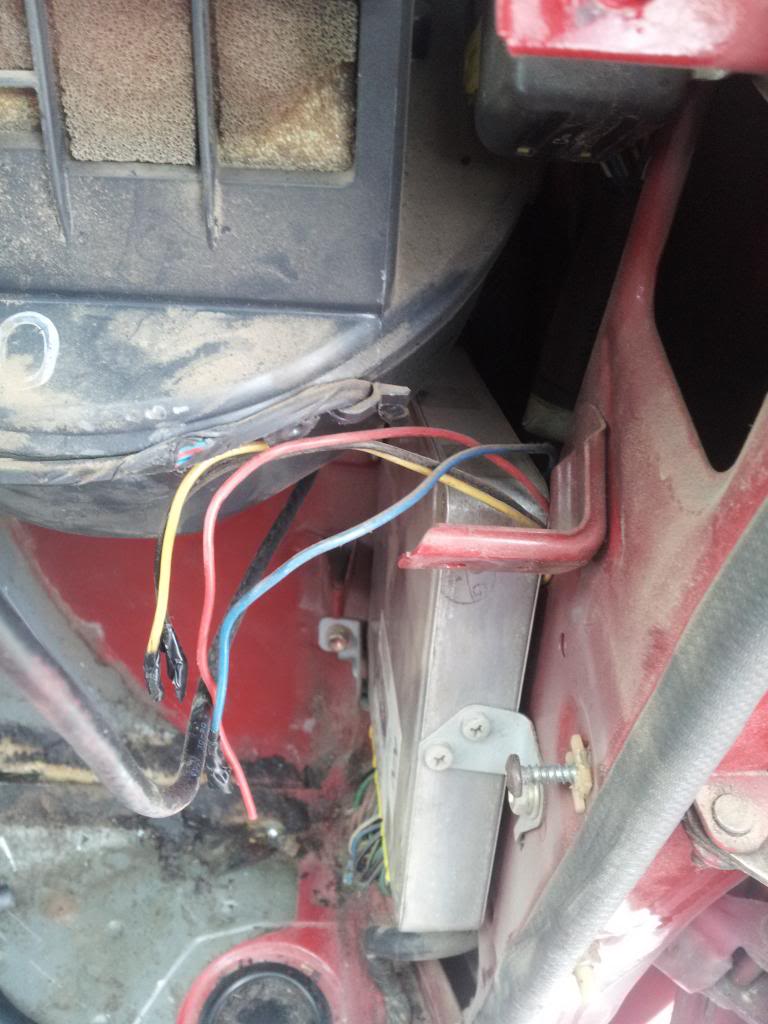
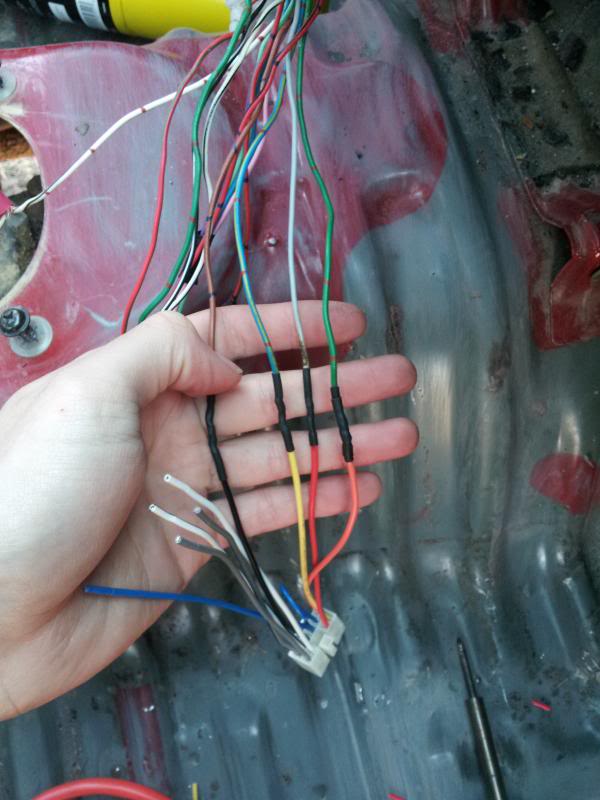
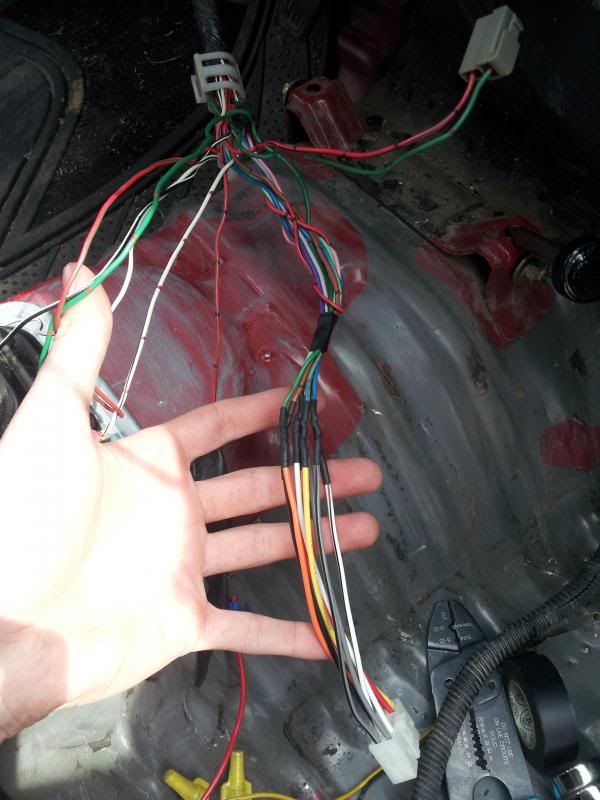
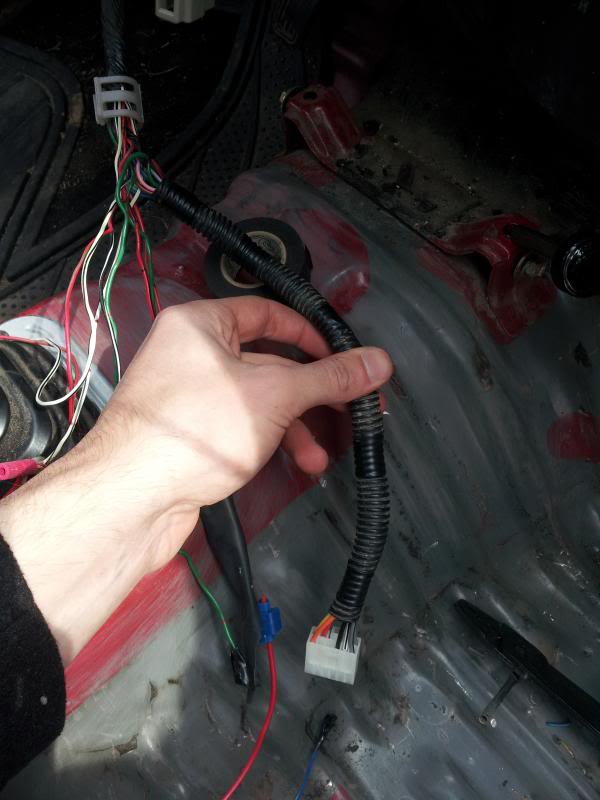
i need help identifying what clips need to go here; the PO cut them all off
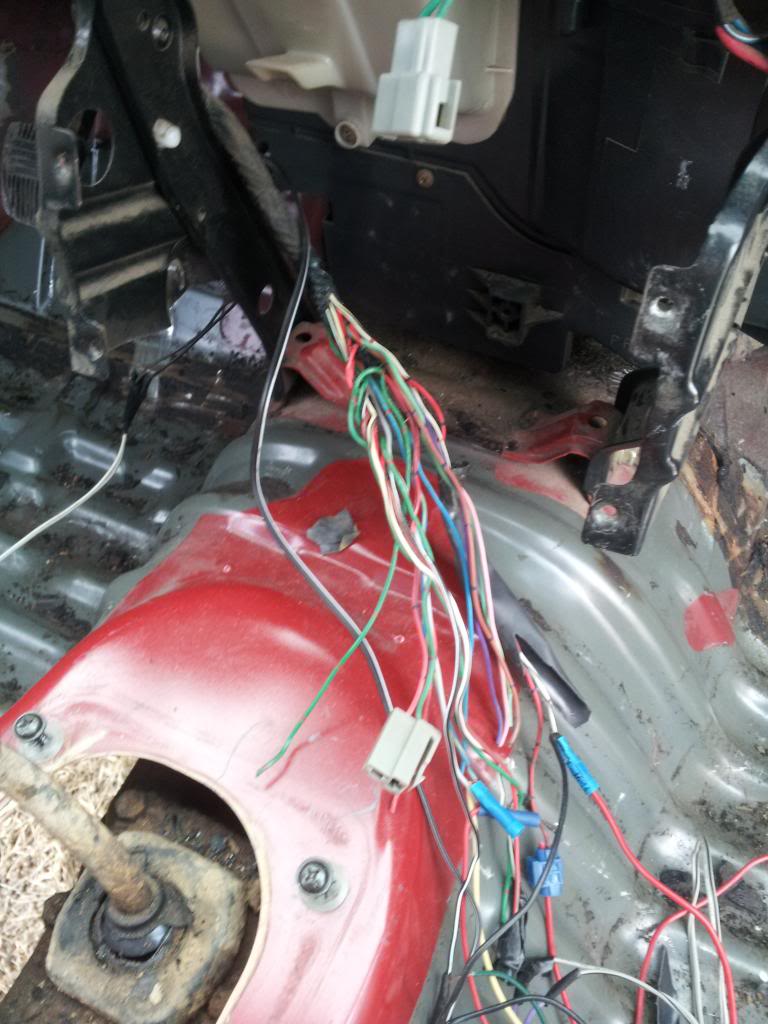
found these too.. ?
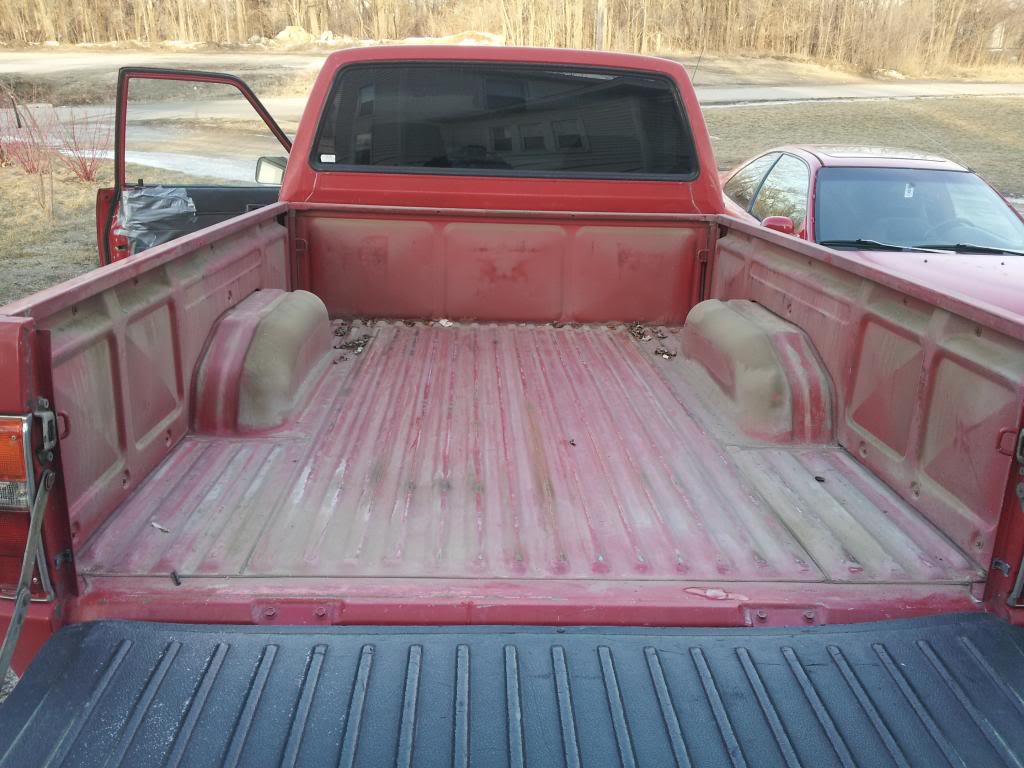
took the bed liner out to see what was under there.. more arizona dirt
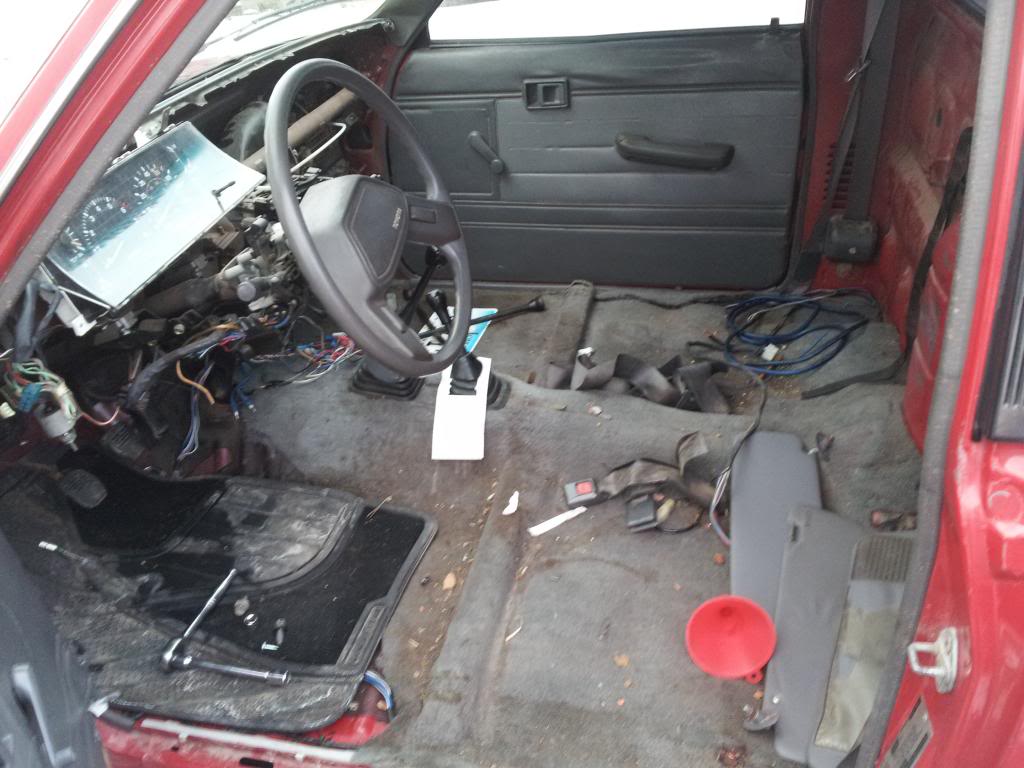
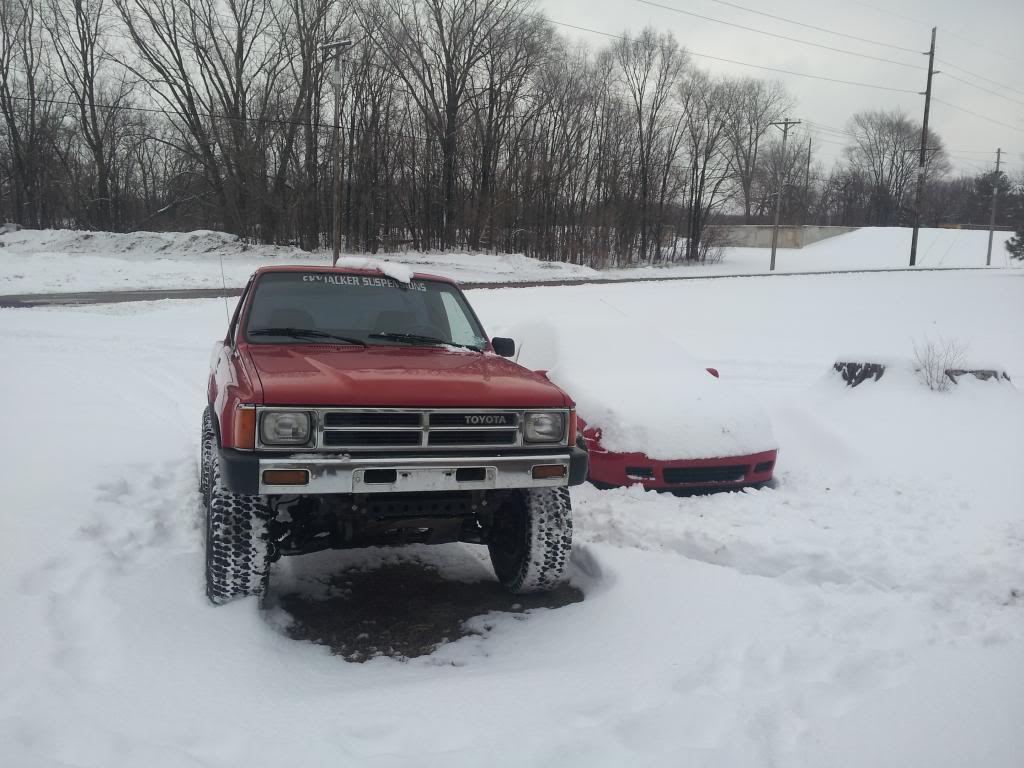
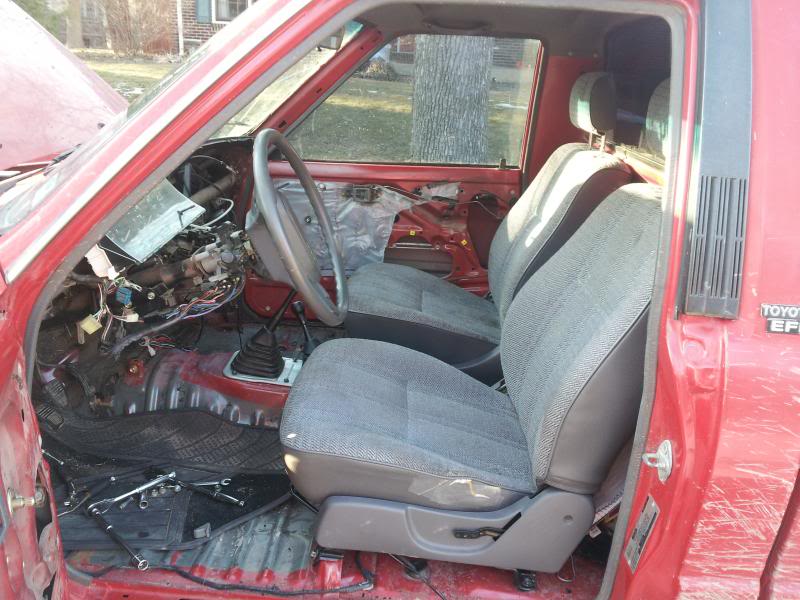
but it gets me through the snow, kinda weird driving a truck with just a seat and a searing wheel
its a lot of work
working on the floorboard rust prevention
i need help identifying what clips need to go here; the PO cut them all off
found these too.. ?
took the bed liner out to see what was under there.. more arizona dirt
but it gets me through the snow, kinda weird driving a truck with just a seat and a searing wheel
Last edited by Kevin88; Feb 22, 2013 at 07:19 PM.

 Mar 4, 2013 | 09:05 PM
#27

Guessing you maybe already figured out the rats nest behind your radio unit, but in case you didn't radio wiring link.
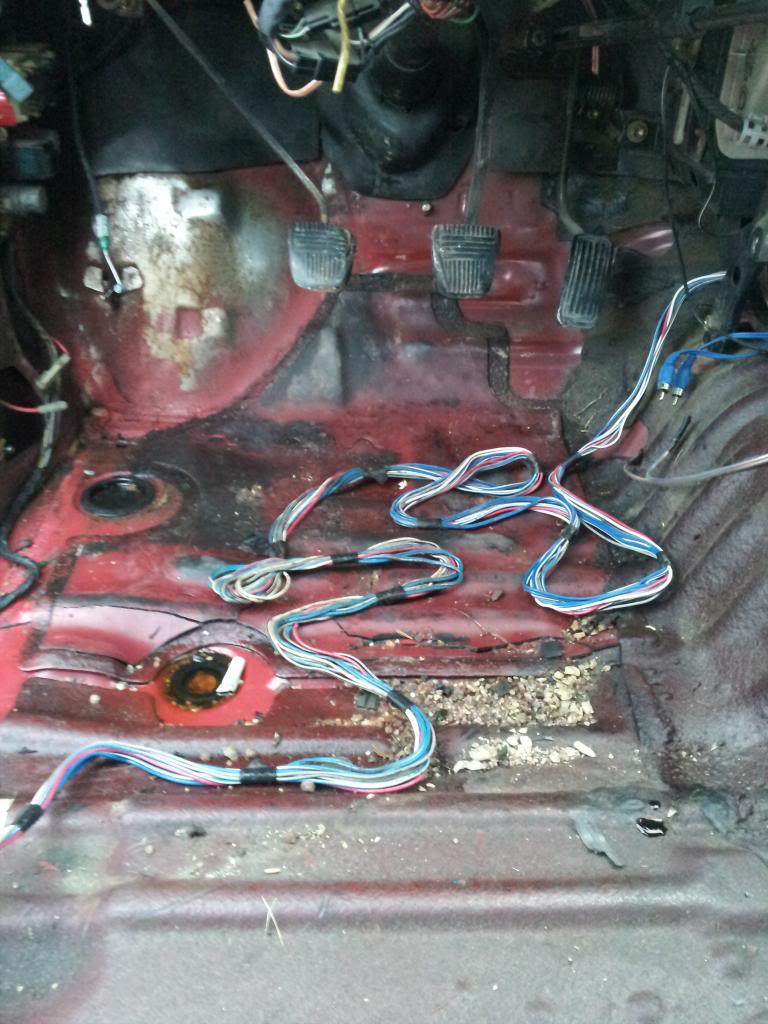
Not sure about the four coming out from behind the ECM, they don't look like toyota wires, too heavy no color stripes. Could be a alarm starter kill, dead end on the other side of the firewall. Or aux power, attached at the fuse box.
Took me a while to figure out the 10+ft wiring spolled up under the seat was likely an stereo amp.
Interior looks pretty slick with the fresh color. Why did you pick up a whole new dash cover set, Uv brittle, damaged or maybe just to have the originals un molested(colored) I guess maybe.
Anyways thanks for the pics and taking the time to post stuff up. Waiting for the install pics so I can Ohh and Ahh and clean carpet =D
Mar 5, 2013 | 02:34 PM
#29
Thread Starter
Registered User
Joined: Jan 2013
Posts: 43
Likes: 0
From: Iowa
Guessing you maybe already figured out the rats nest behind your radio unit, but in case you didn't radio wiring link.
Not sure about the four coming out from behind the ECM, they don't look like toyota wires, too heavy no color stripes. Could be a alarm starter kill, dead end on the other side of the firewall. Or aux power, attached at the fuse box.
Took me a while to figure out the 10+ft wiring spolled up under the seat was likely an stereo amp.
Interior looks pretty slick with the fresh color. Why did you pick up a whole new dash cover set, Uv brittle, damaged or maybe just to have the originals un molested(colored) I guess maybe.
Anyways thanks for the pics and taking the time to post stuff up. Waiting for the install pics so I can Ohh and Ahh and clean carpet =D
picked up the dash because i wanted a second one to try painting to see if it would actually work, also came out of a wisconsin truck with 125k. probably going to ditch the carpet and just keep the rubber coating. I picked up some 3M rubber undercoating and am waiting for it to get a bit warmer outside.
4 clusters because they were there for $23 each and they go on ebay for $75-125 :p
Mar 14, 2013 | 06:46 PM
#30
Thread Starter
Registered User
Joined: Jan 2013
Posts: 43
Likes: 0
From: Iowa
wash
adhesive promoter
plastic/vinyl paint
all of the pieces are now painted. waiting for it to get warmer outside to solder some harness back together and sand/prime/rubberize the floor.
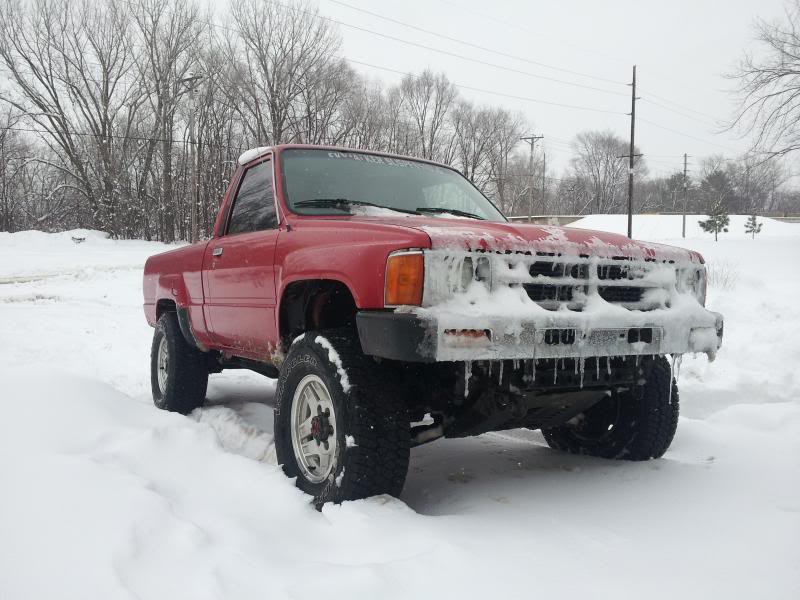
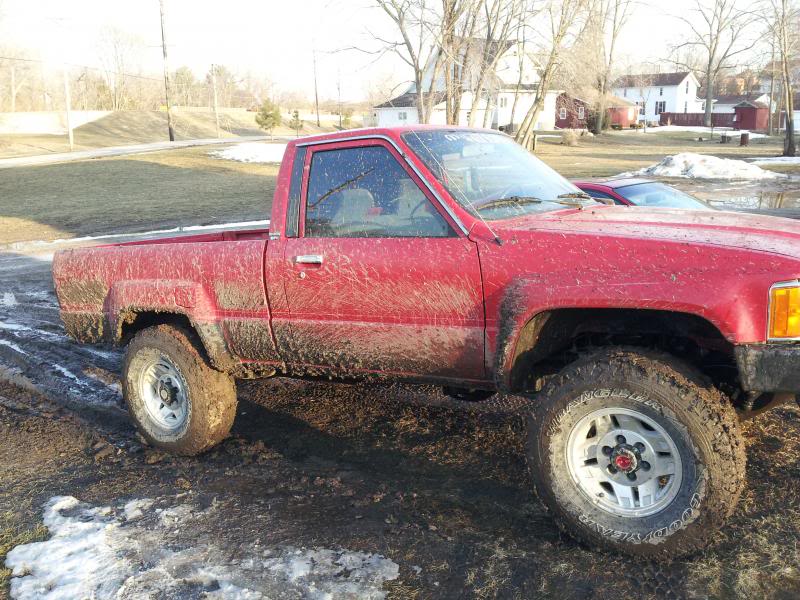
still driving it through the Iowa snow
Mar 14, 2013 | 09:20 PM
#31
 didn't recognise the shower surround at first(hadn't scrolled far enough to see the tub yet), thought wow he sanded off a ton of color why is ABS white and mine cream colored.
Looking good! I had a giggle over the frozen hood, hoping I don't get another chance for that particular photo for a few months. Of course we need the water ut that doesn't mean I have to like it.
Little late for you maybe but for the next guy
Becareful of getting to much of the adhesion premoter stuff built up in one area. These are a blend of MEK tolulene and acetone, essentially, and you'll wind up with some "swelling" or gloss differences. Yeah I been reading waayyyy too many datasheets and plastic stuff..
Mar 27, 2013 | 05:36 PM
#32
Thread Starter
Registered User
Joined: Jan 2013
Posts: 43
Likes: 0
From: Iowa
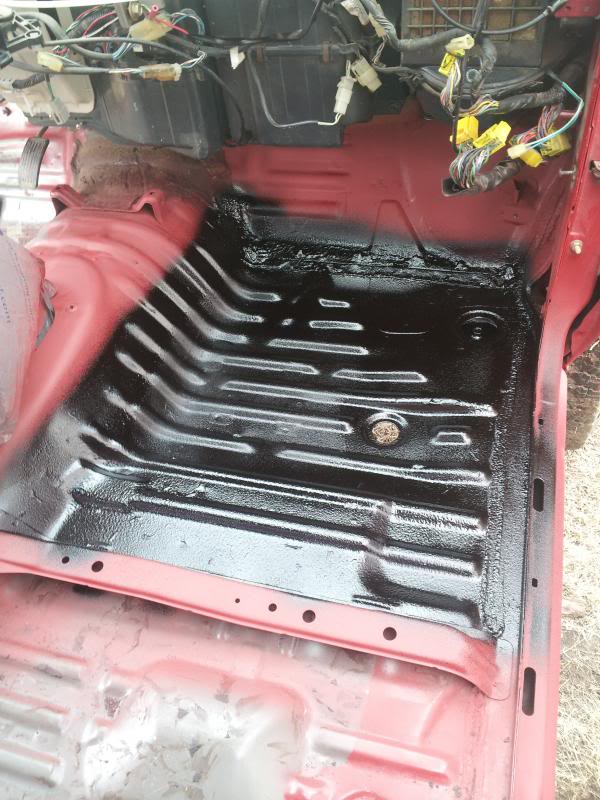
started getting warmer! (i think we have had our last snow) so it's time to put the truck out of commission while i sand the floor and prep for primer and rubber.
also started wiring (thanks Co_84_PU)
not before some spring fun though
also started wiring (thanks Co_84_PU)
not before some spring fun though
Mar 27, 2013 | 05:50 PM
#33

Nice bathtub cleaning. Took me a second also to realize that where it was. Haha.
I'm hoping this snow here in Iowa was our last also. I'm tired of the slush and salt on the roads. Eating away at my rig. Haha.
I'm hoping this snow here in Iowa was our last also. I'm tired of the slush and salt on the roads. Eating away at my rig. Haha.
Mar 27, 2013 | 06:34 PM
#35
Thread Starter
Registered User
Joined: Jan 2013
Posts: 43
Likes: 0
From: Iowa
Starting to plan out whats next, take off the bed this summer and spray the frame, putting together a parts/to do list.
In no particular order:
install power steering
new stainless exhaust
Rancho shocks
custom front bumper
light force blitz driving lights
winch
fiberglass fenders
1" brake master cylinder
dual diaphragm booster
new pads rotors and 94runner calipers
ifs long travel
air compressor
air locker
re-gear for 33's
Wrangler duratracs

Last edited by Kevin88; Mar 27, 2013 at 07:02 PM.
Mar 28, 2013 | 06:18 PM
#37
Registered User


Joined: Mar 2012
Posts: 7,125
Likes: 681
Lookin' good!
[QUOTE]
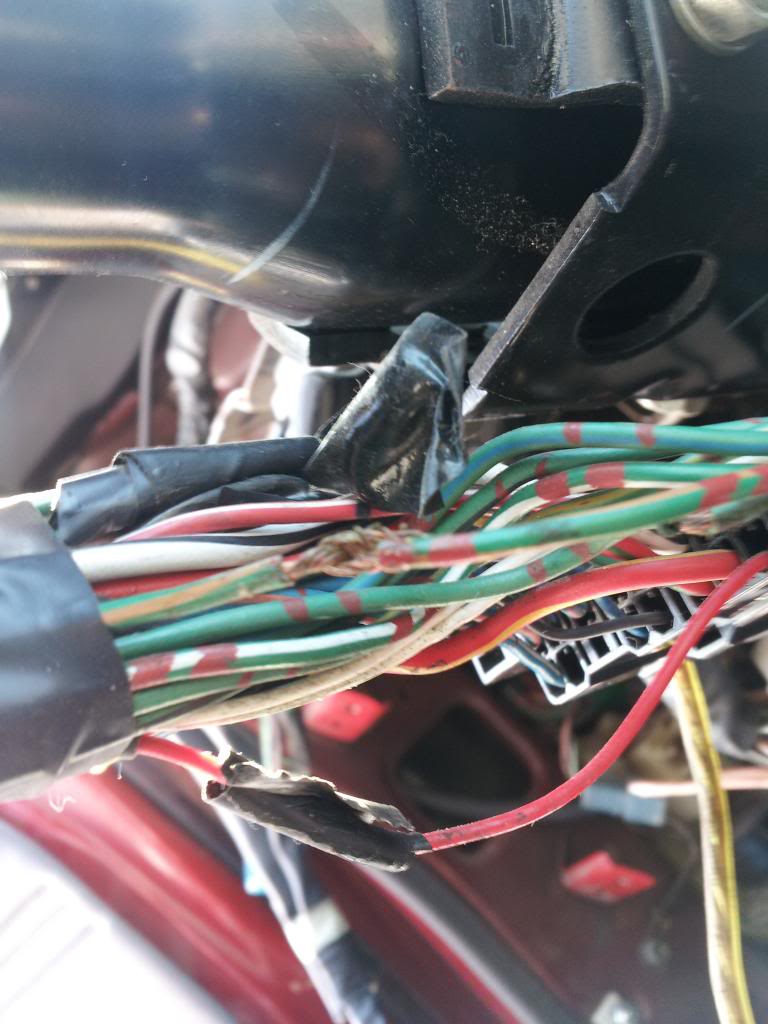
more of PO's crappy repairs
 [/[QUOTE]
Yeah, hate that, too.
Now that's clean work! I wish more owners would do that. But then again, when PO's butcher wiring (hopefully nothing major), that's when we get our trucks for less
[QUOTE]
more of PO's crappy repairs
[/[QUOTE]Yeah, hate that, too.
Now that's clean work! I wish more owners would do that. But then again, when PO's butcher wiring (hopefully nothing major), that's when we get our trucks for less
 Mar 31, 2013 | 07:41 PM
#38
Thread Starter
Registered User
Joined: Jan 2013
Posts: 43
Likes: 0
From: Iowa
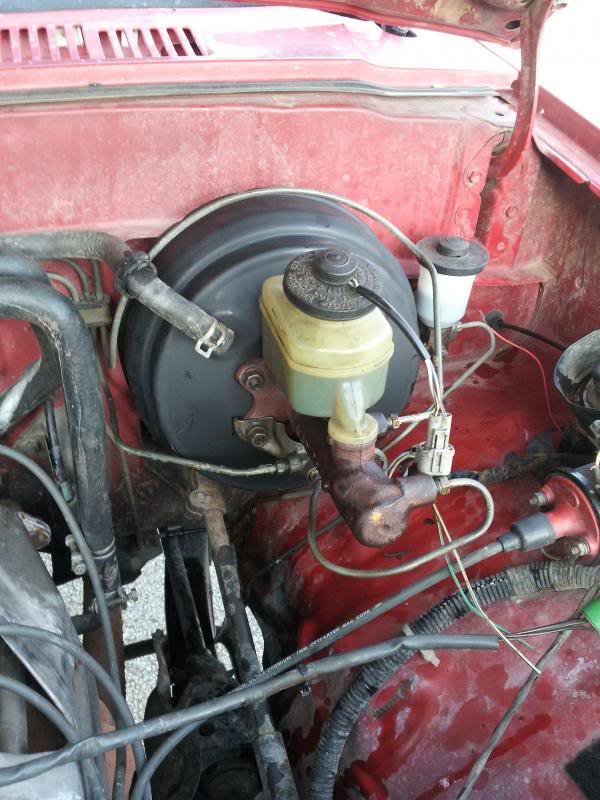
upgrades
junkyard had just put out a new 92 4runner when we got there.
bucket seats
brake booster
master cylinder
front calipers
sun visors
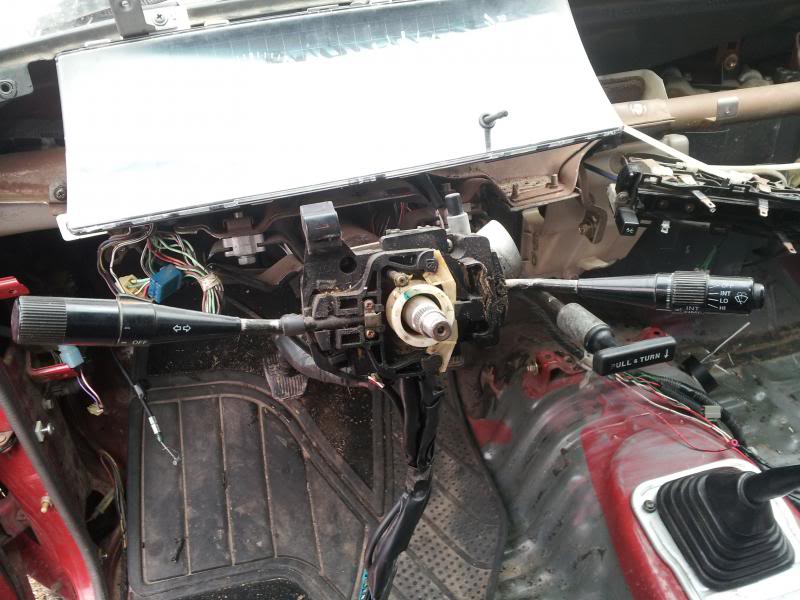
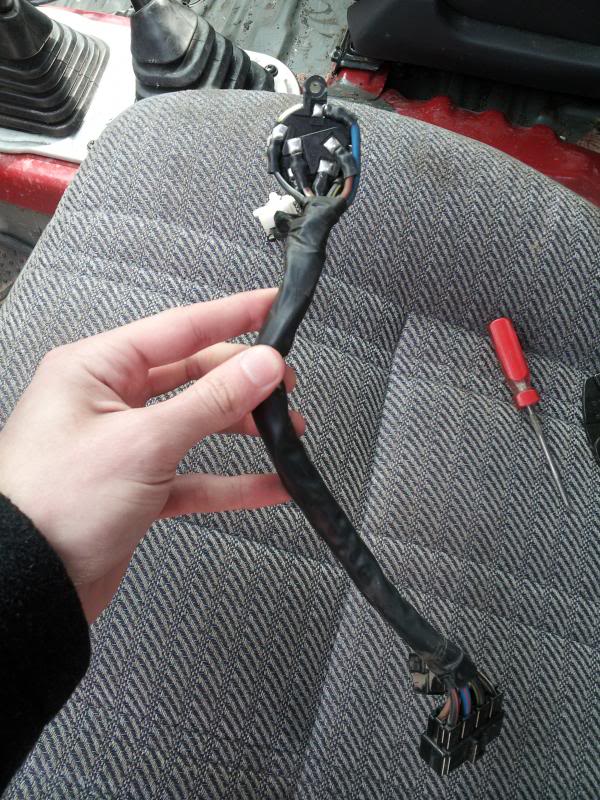
and 2 steering column harnesses for ignition and a new combination switch now with intermittent wipers.
low beams and horn work again too!
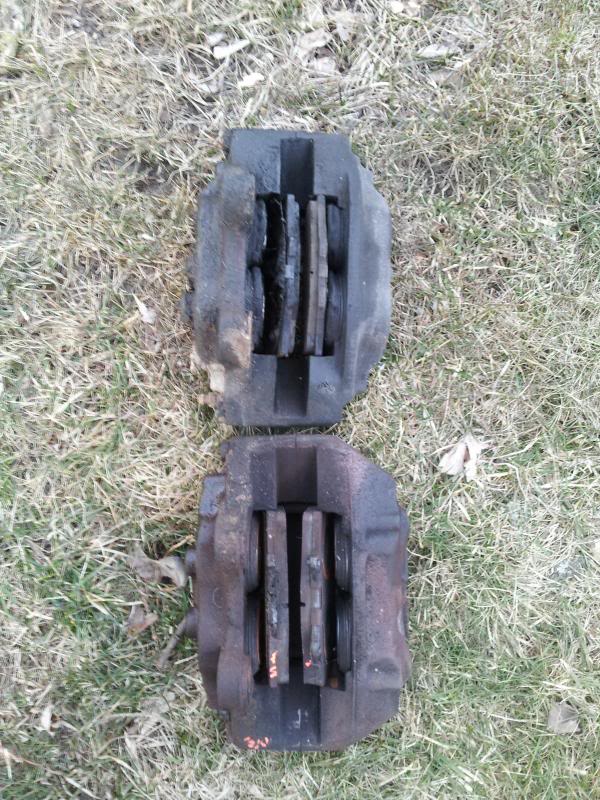
old on top, new on bottom
bucket seats
brake booster
master cylinder
front calipers
sun visors
and 2 steering column harnesses for ignition and a new combination switch now with intermittent wipers.
low beams and horn work again too!
old on top, new on bottom
Last edited by Kevin88; Mar 31, 2013 at 07:42 PM.
 Apr 3, 2013 | 05:23 PM
#40


