irab88's 1993 PickUp Build-Up Thread


 12-18-2010, 03:45 PM
#206
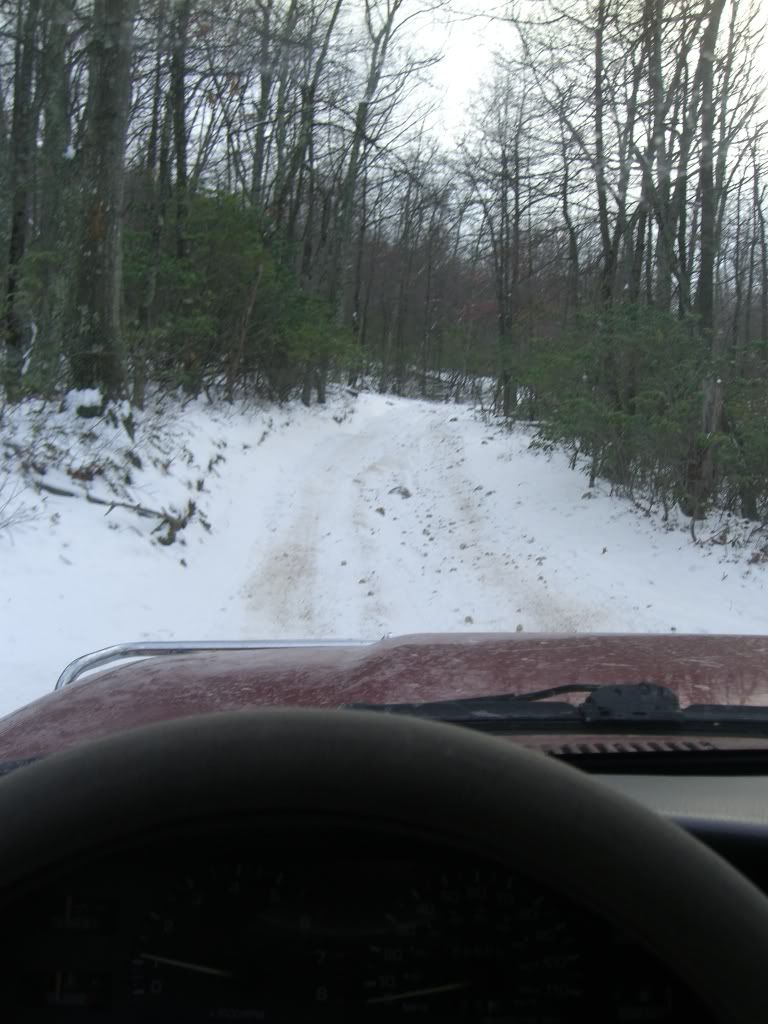
went wheelin' (for the first time) today. i went with one of my friends who always wants to go off road in the truck. trails are hard to come by out here, so i was happy to find gw national park had off road trails. the one that was open was supposed to be a straight shot through, but without a locker, tires, or gears, i couldn't make it up one point. upon turning around, i managed to hit all 3 bumper lights. but still a fun trail for a semi-stock truck
(pics are uploading)
(pics are uploading)
12-18-2010, 04:31 PM
#207
here's the pics 
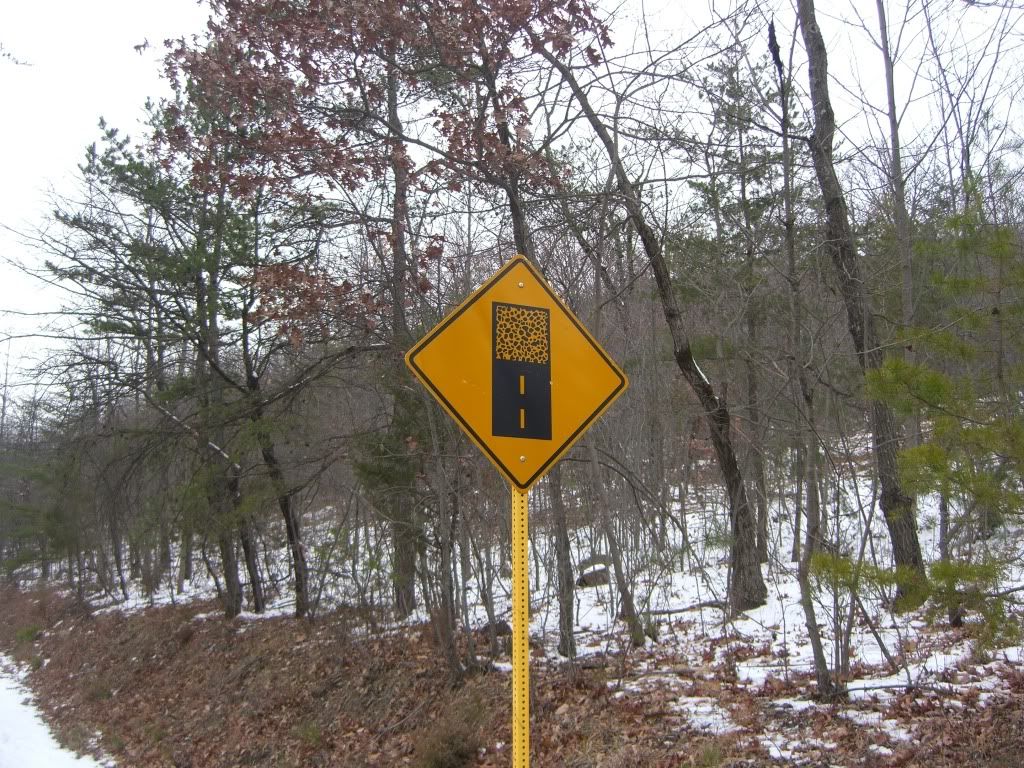
we were greeted by this sign
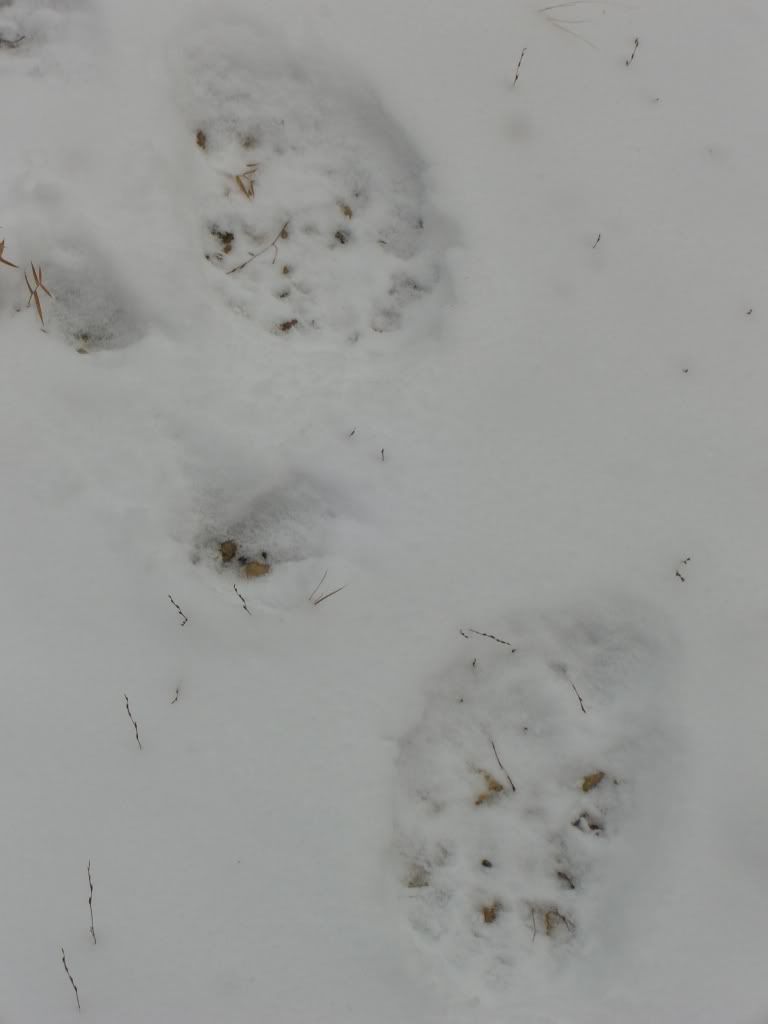
bear tracks (?)
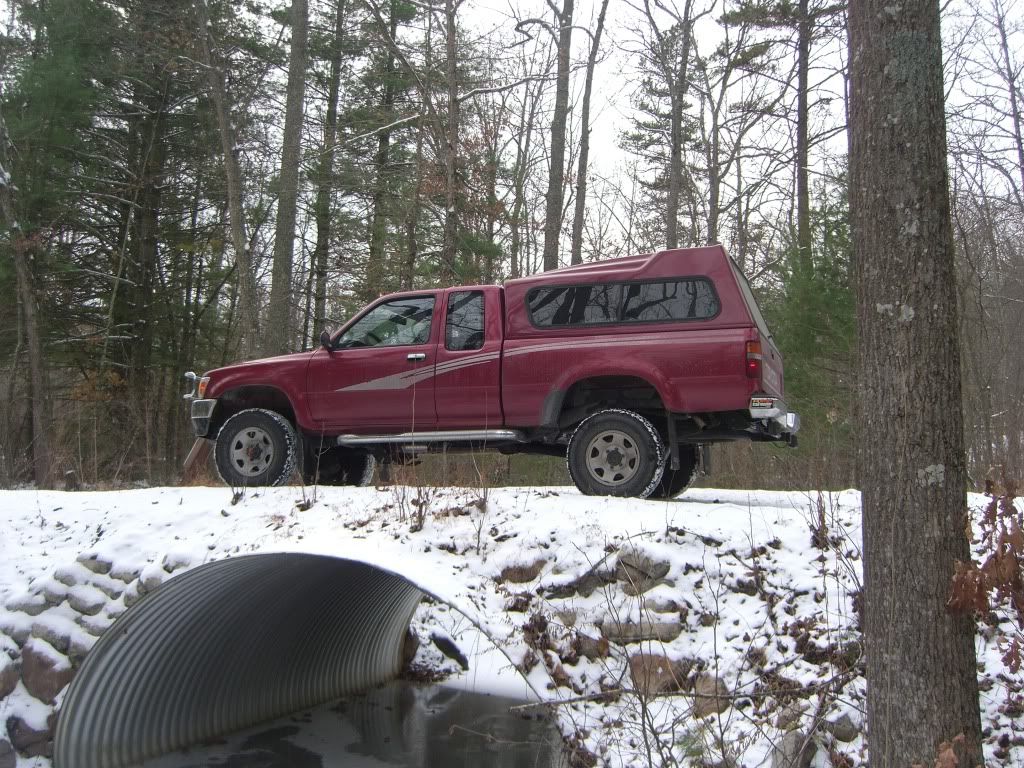
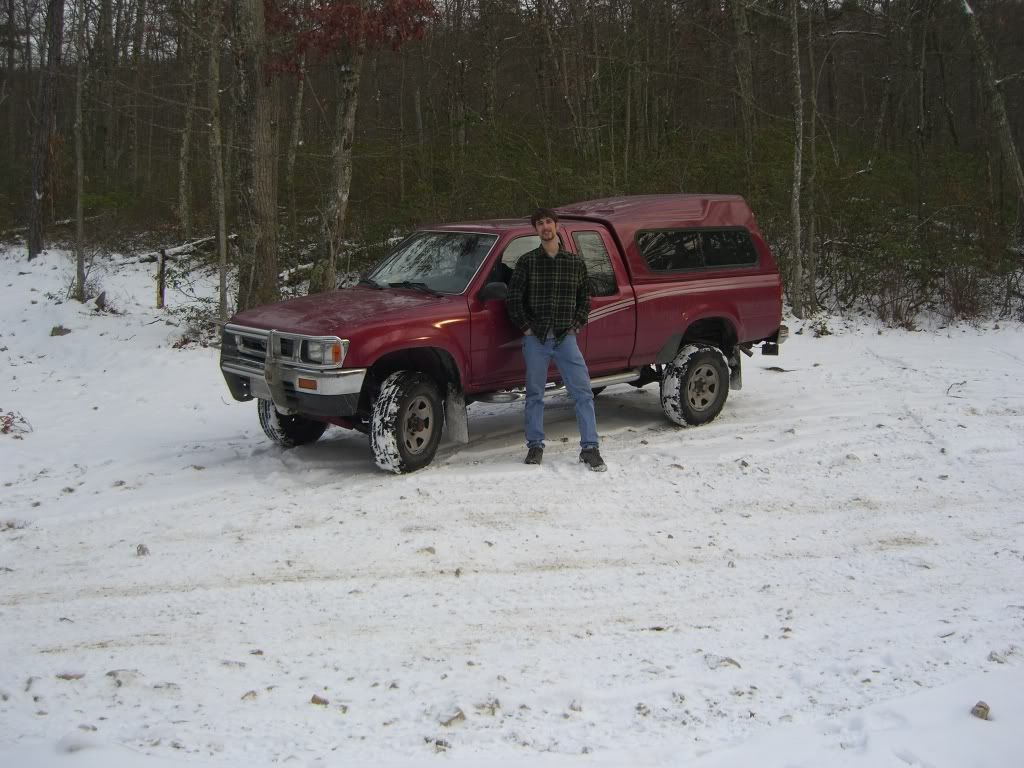
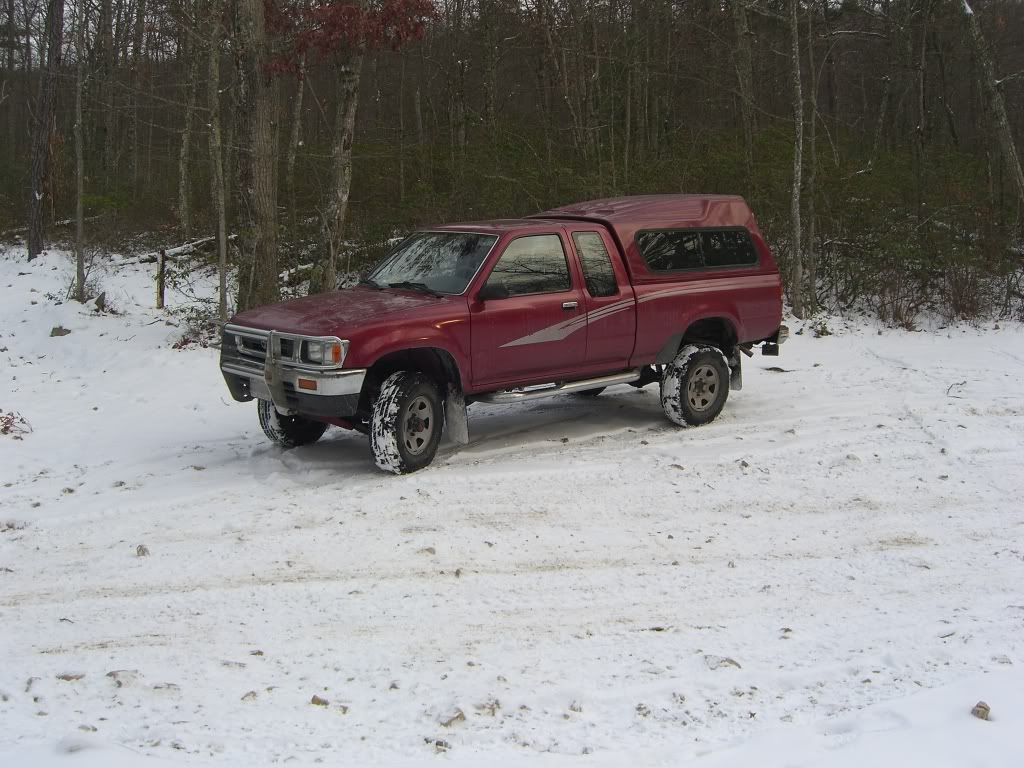
your's truly
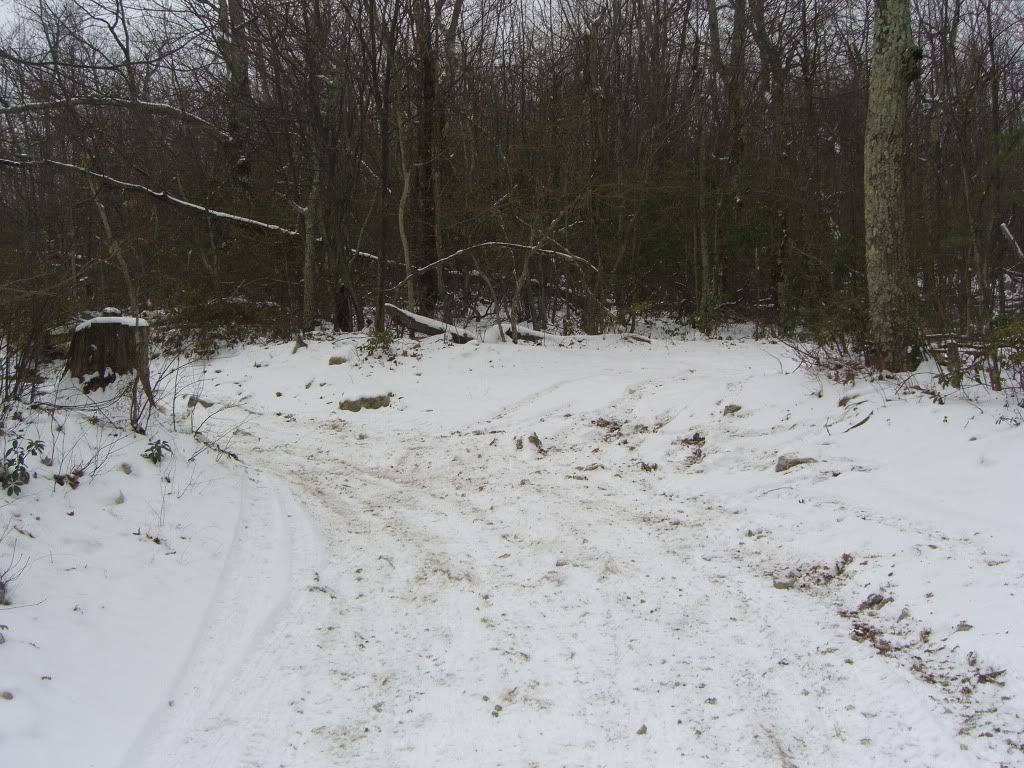
i couldn't make it up the hill, so i backed around. ended up between the stump (left) and the tree (right)
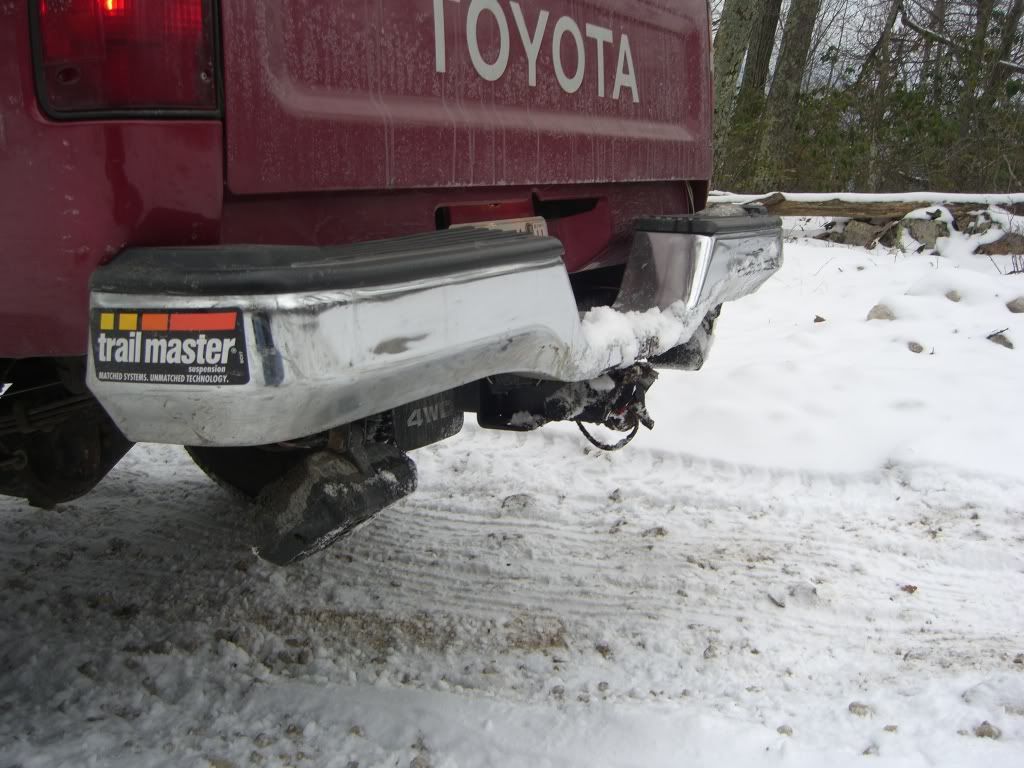
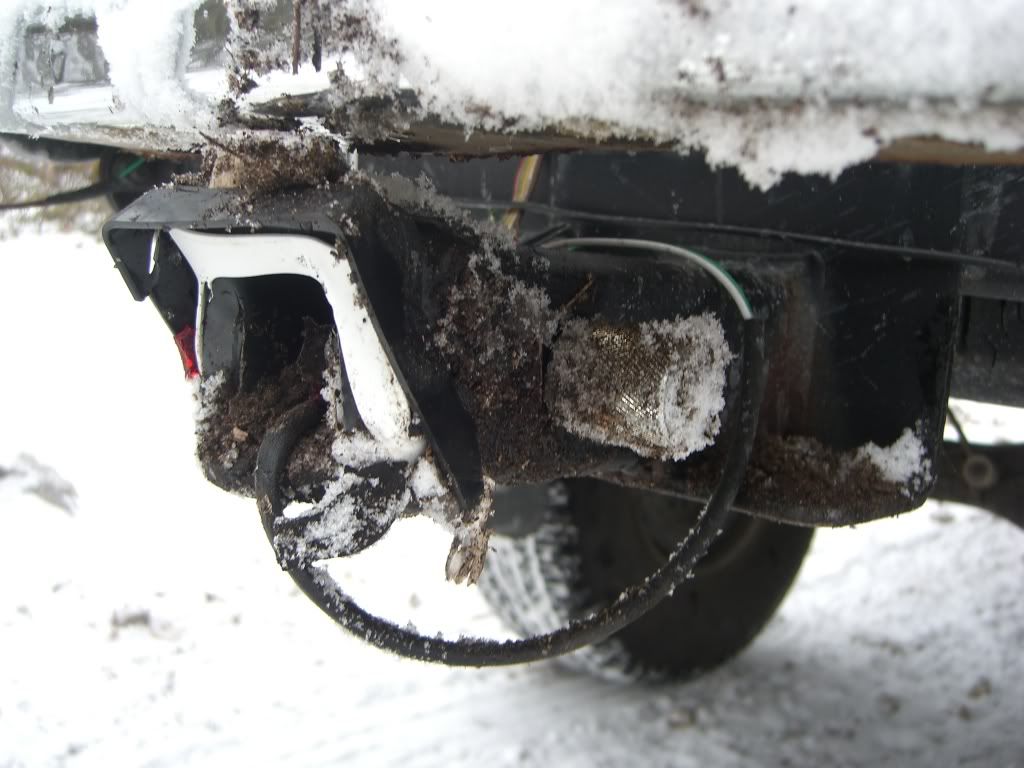
got out, but destroyed every light under the bumper

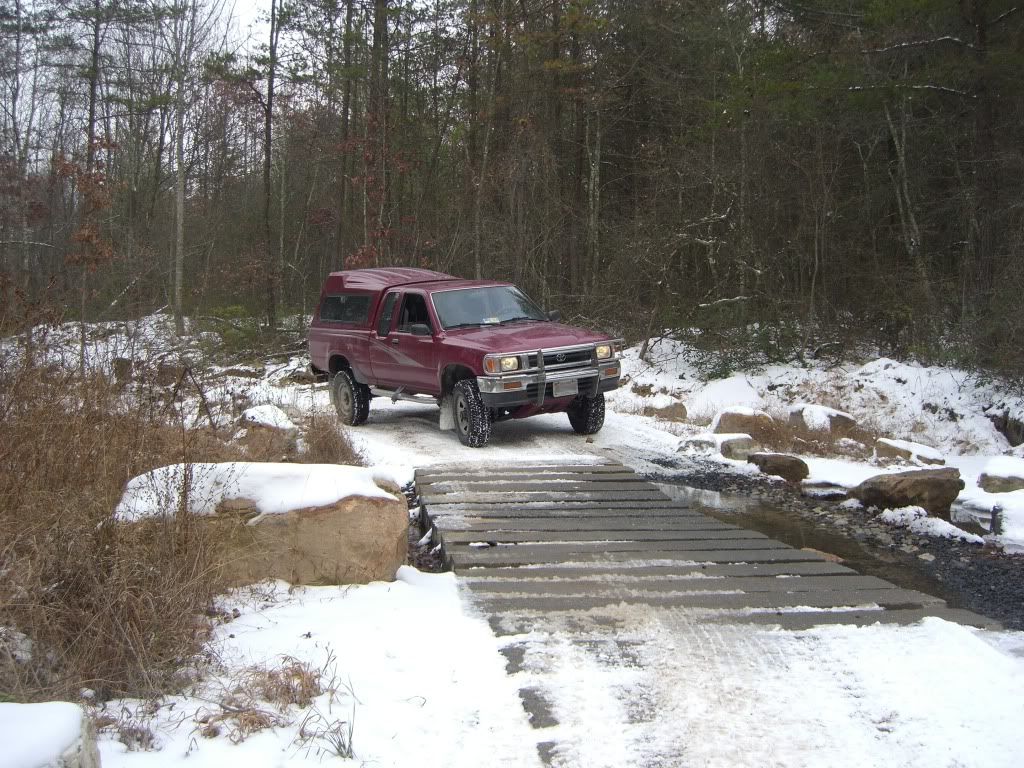
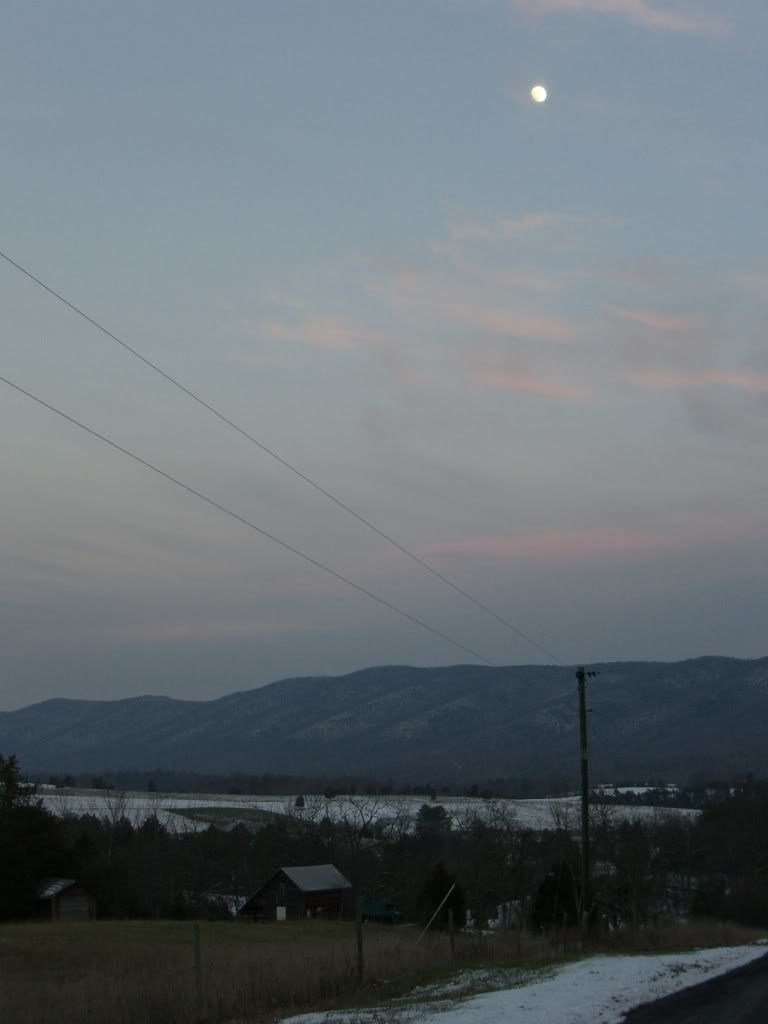
and a nice view on the way back

great trip. worth the 1.5 hour drive. i'll defiantly have to go back and camp
one more pic
we were greeted by this sign
bear tracks (?)
your's truly
i couldn't make it up the hill, so i backed around. ended up between the stump (left) and the tree (right)
got out, but destroyed every light under the bumper
and a nice view on the way back
great trip. worth the 1.5 hour drive. i'll defiantly have to go back and camp
one more pic
12-18-2010, 05:10 PM
#209
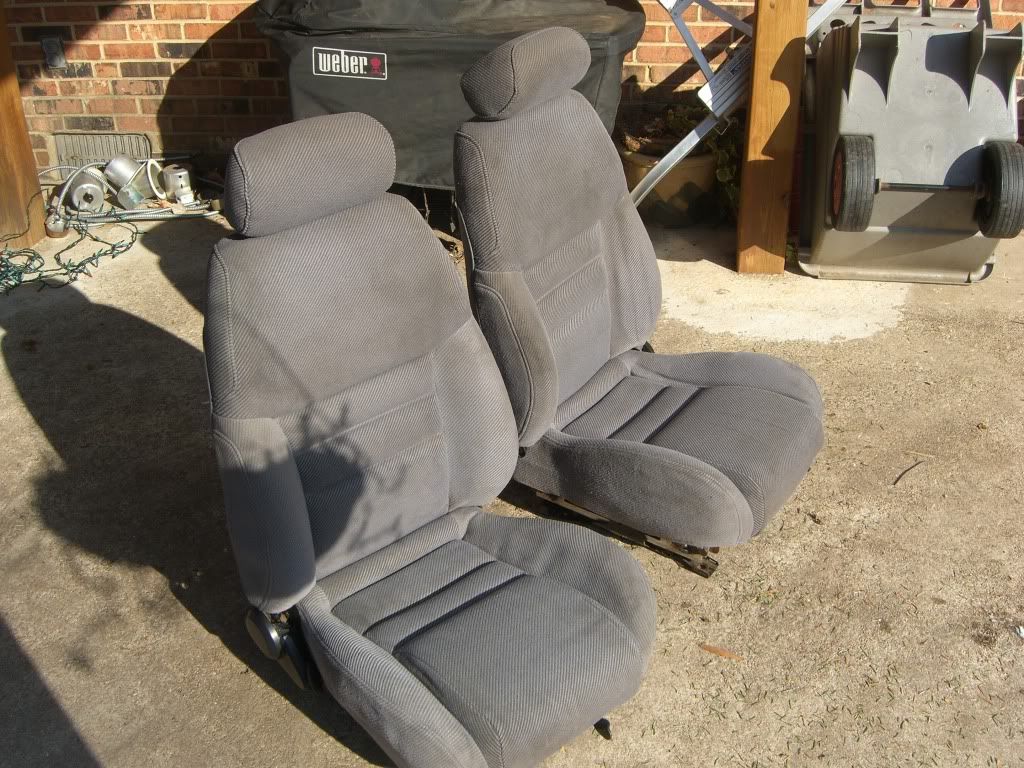
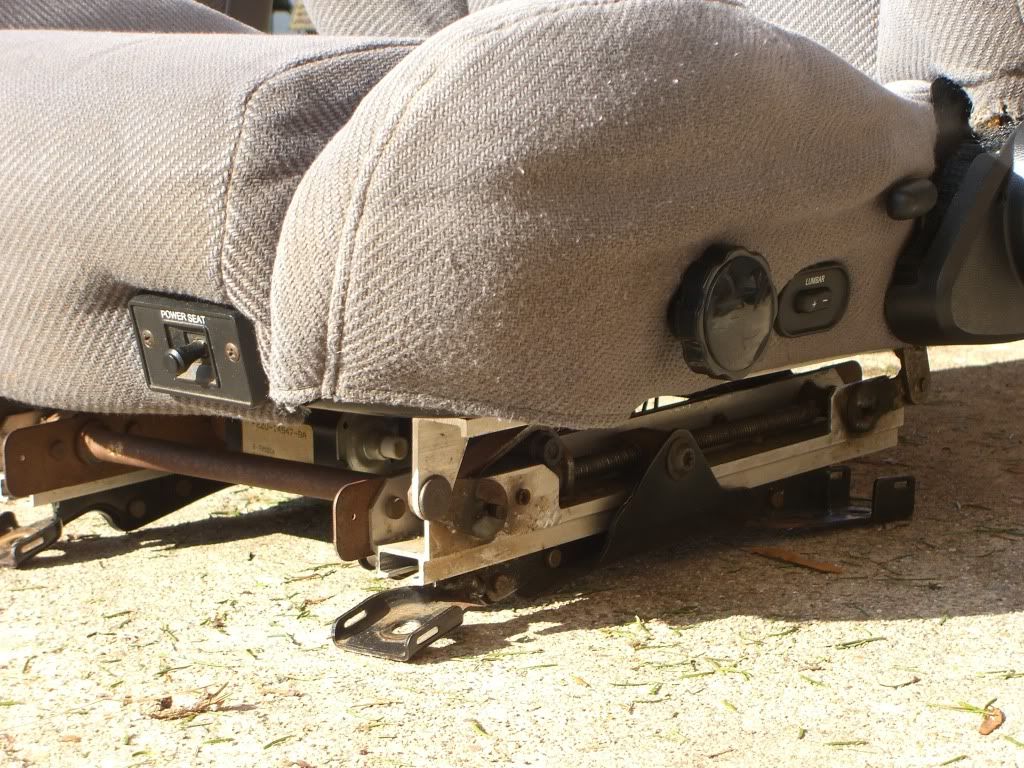
thanks. i'll have more on the seats tomorrow, but i got them both (just the two fronts) for $120. they both have the rear "escape switch" to lower the seats from the back. also, the driver's seat has electric lumbar support (oooooohhh). and a note: they will not bolt right up. i'll need to fab some brackets, but they do not match the yota bolt pattern at all
 12-25-2010, 02:54 PM
#211
so a bit of an update. got some new tools today  and i'll have some time this week. i plan on measuring for the new seats, and maybe even get them in. also, i can finally start on the platform. first thing is going to buy the steel ($80 for all the sections and 3 cuts). then i'll be back to my normal schedule, so it'll be nothing during the week, with mods on the weekend. i plan on going back to gw forest, but not until it warms up. the snow was great, but i had no traction to get up that last hill. so until then: mods mods mods!
first up: red aluminum valve caps (gift)
and i'll have some time this week. i plan on measuring for the new seats, and maybe even get them in. also, i can finally start on the platform. first thing is going to buy the steel ($80 for all the sections and 3 cuts). then i'll be back to my normal schedule, so it'll be nothing during the week, with mods on the weekend. i plan on going back to gw forest, but not until it warms up. the snow was great, but i had no traction to get up that last hill. so until then: mods mods mods!first up: red aluminum valve caps (gift)
12-26-2010, 09:41 AM
#213
Registered User
Join Date: Dec 2010
Location: Northern Virginia
Posts: 128
Likes: 0
Received 0 Likes
on
0 Posts
Still admiring your build thread,... given me a bunch of ideas!
In regards to your cat, did you order it too short? I think it can be ordered in 12.5" or 17.5" so was wondering why you had to retro-fit it with a test pipe?
Thanks for all the pics. Looking forward to the seat mod.
In regards to your cat, did you order it too short? I think it can be ordered in 12.5" or 17.5" so was wondering why you had to retro-fit it with a test pipe?
Thanks for all the pics. Looking forward to the seat mod.
12-26-2010, 02:13 PM
#215
i went to partstrain.com and put in my vehicle's info. there, you can find parts like the cat and aal's. search the threads for cranking the torsion bars, which will give you an inch or so of lift. the small pipe was to make it 17.5". i accidentally ordered the 12.5" cat.
12-31-2010, 01:52 PM
#216
i got a bunch o' stuff done today. well, actually, just the front seats. well, actually, just the driver's seat. so here's how i did it:
my original idea was to make my own transition bracket. ha! the mustang seat sat too high.
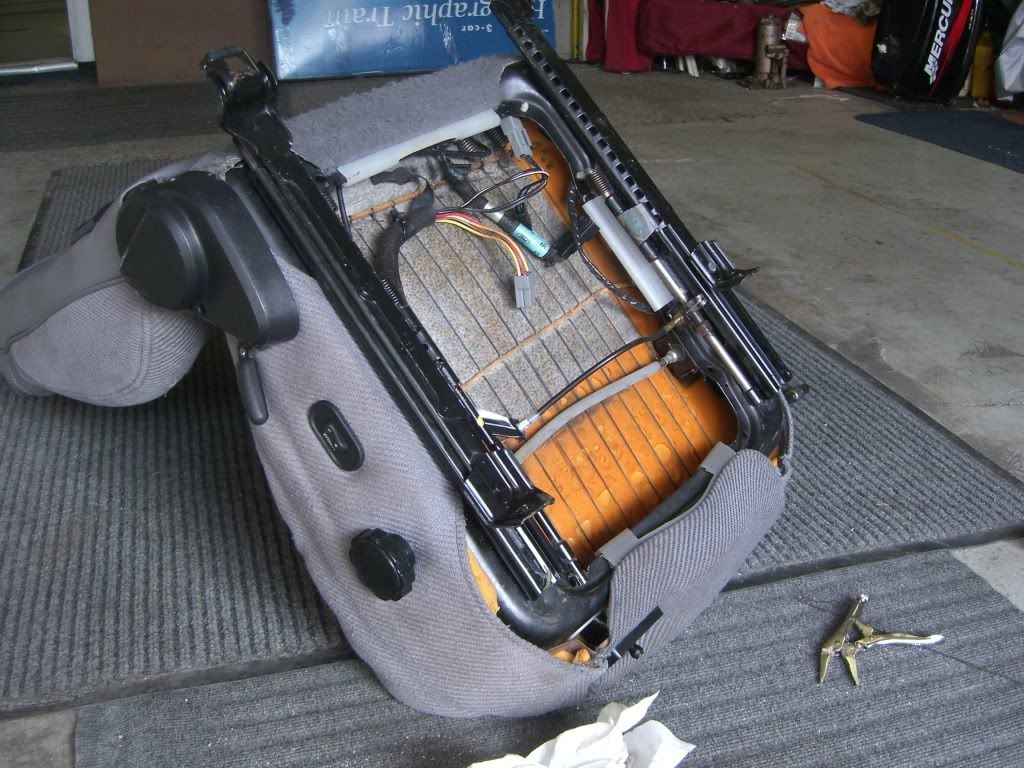
first i took the brackets off of both seats. the mustang seat:
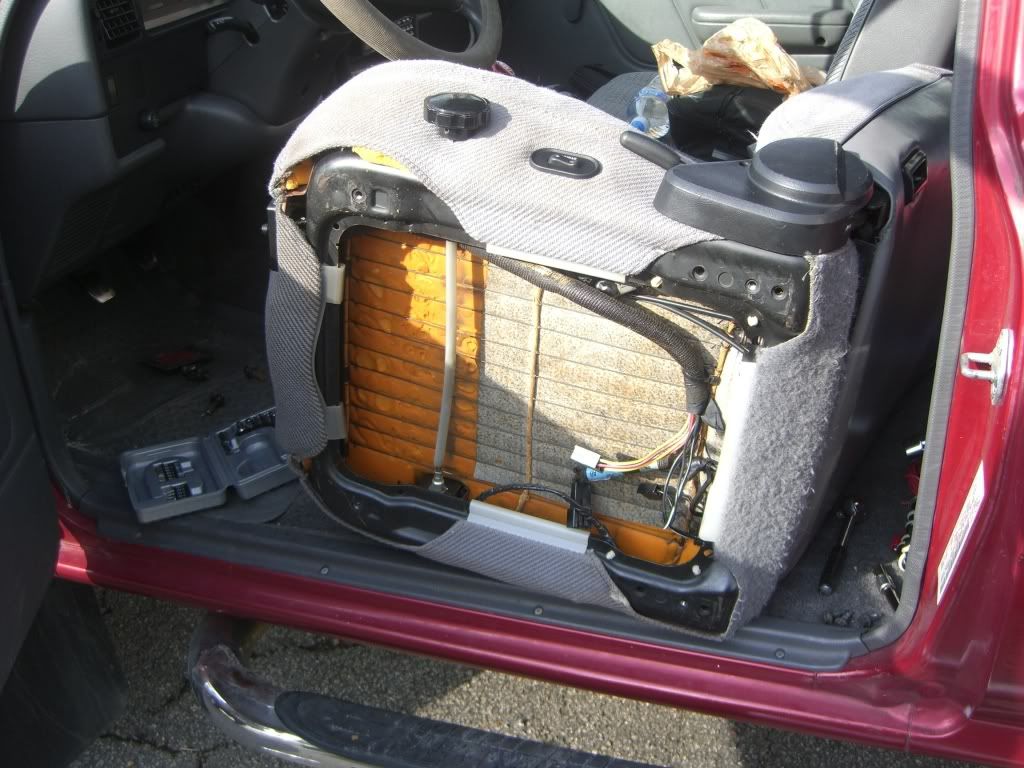
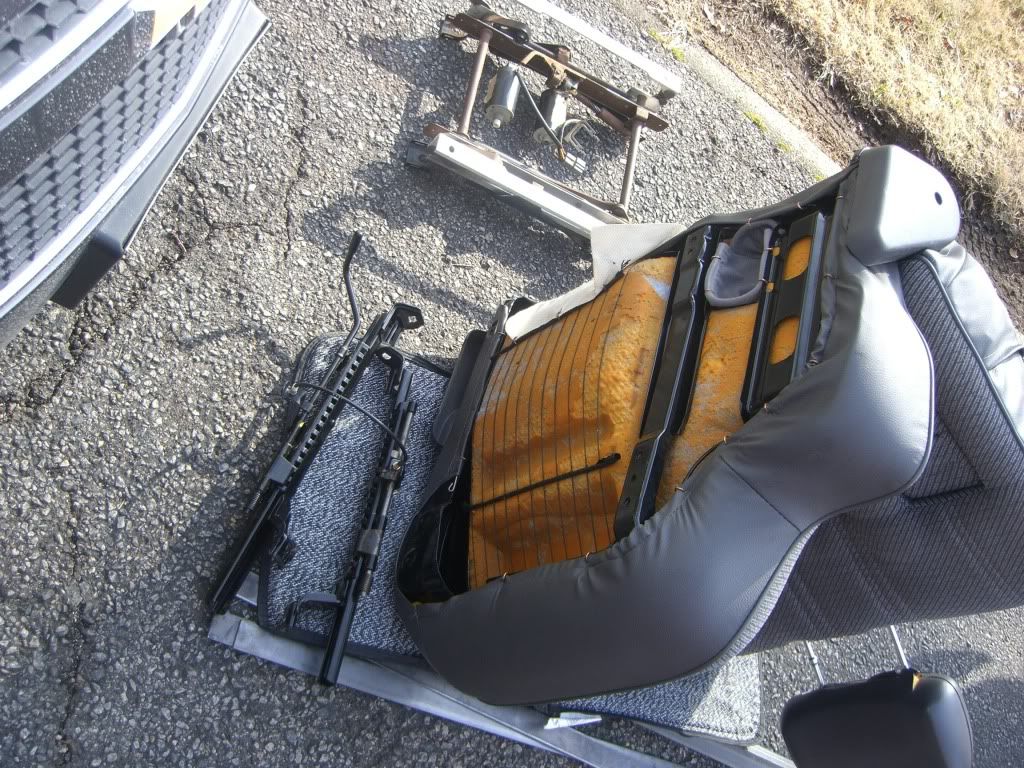
here you can see the mustang bracket (back, with all the motors), the yota bracket (the pair of tracks), and the yota seat:
the mustang seat had holes that lined up almost perfectly. just needed to tap them:

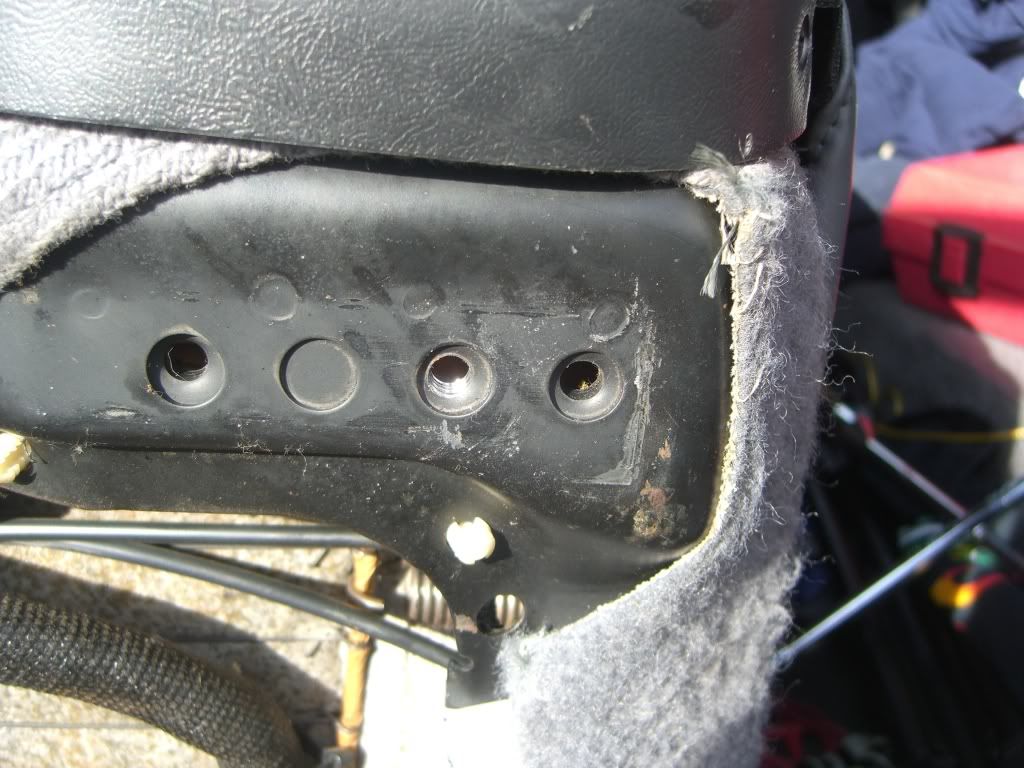
so i did. i was surprised that they were metric bolts on the ford seats:
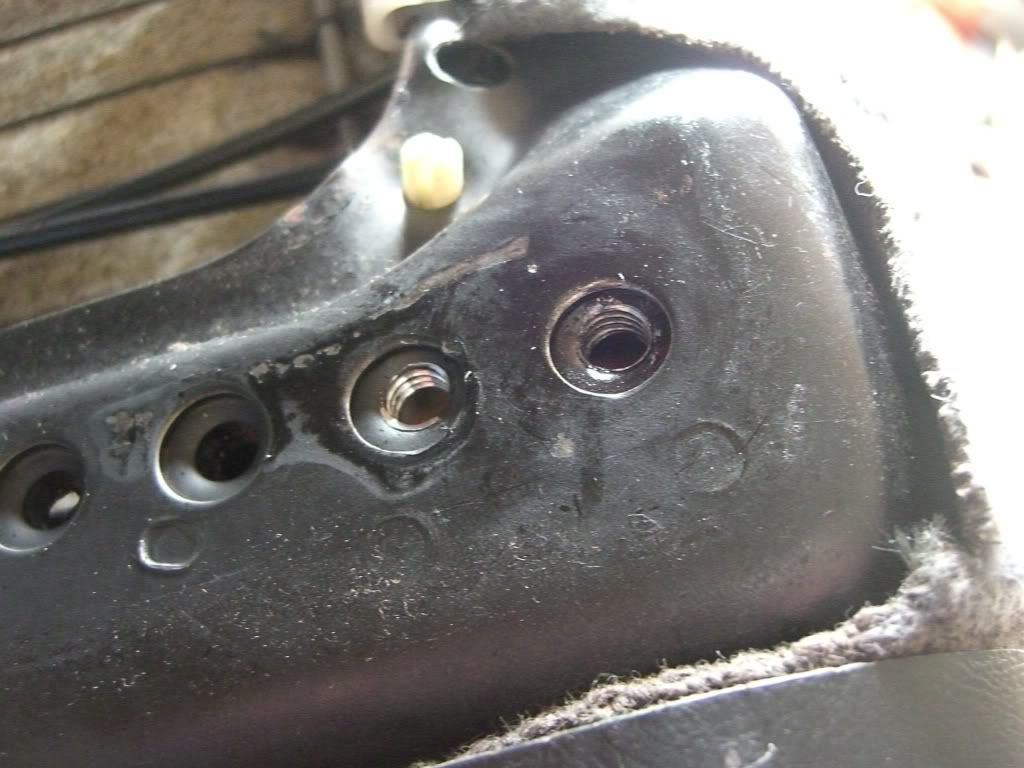
some minor enlargement of the hole was necessary:

i needed to extend the adjustment lever. more on that later:
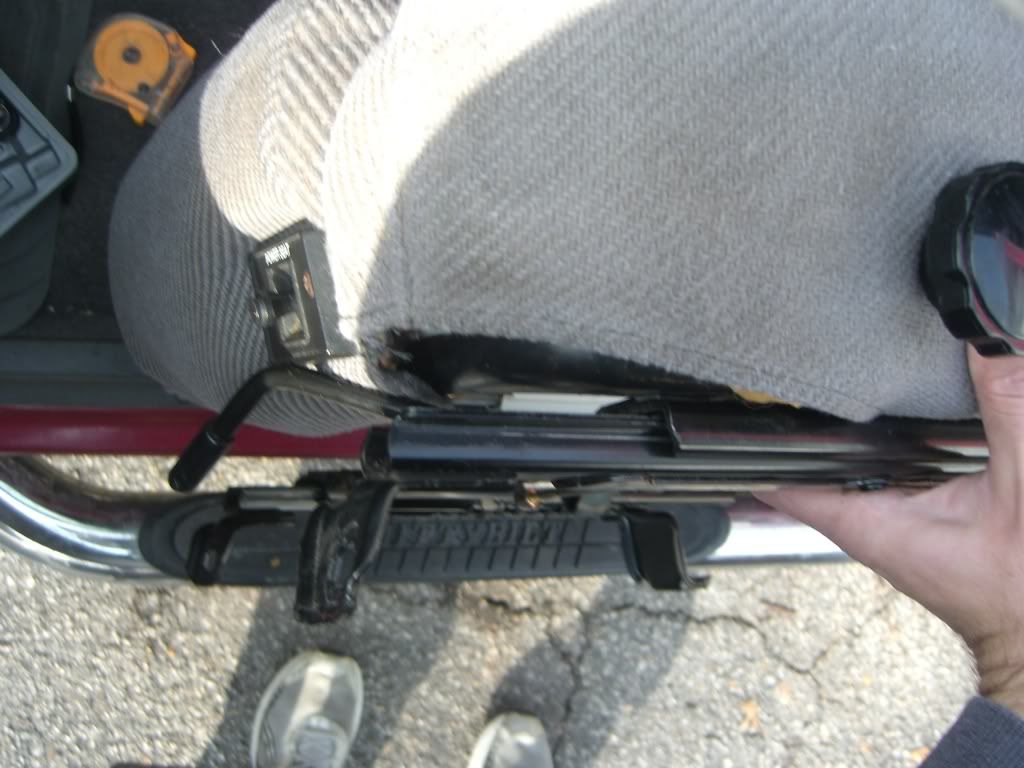
here's the yota bracket on the ford seat:
and how all the holes lined up:
front left:
front right:
back left:
back right:
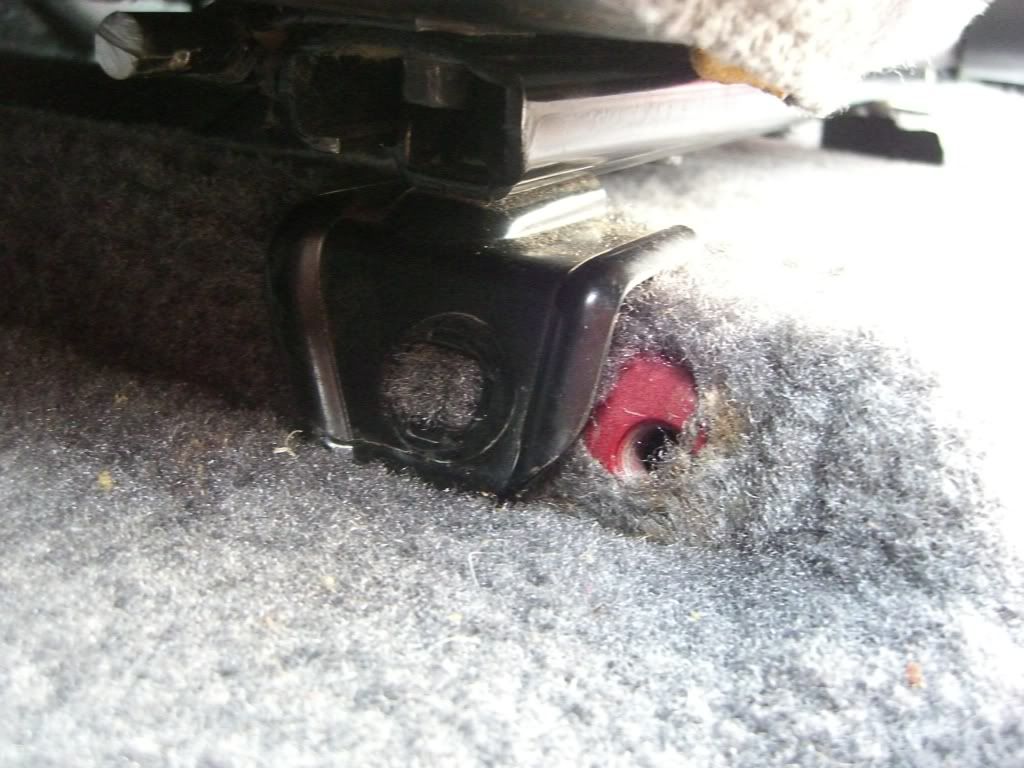
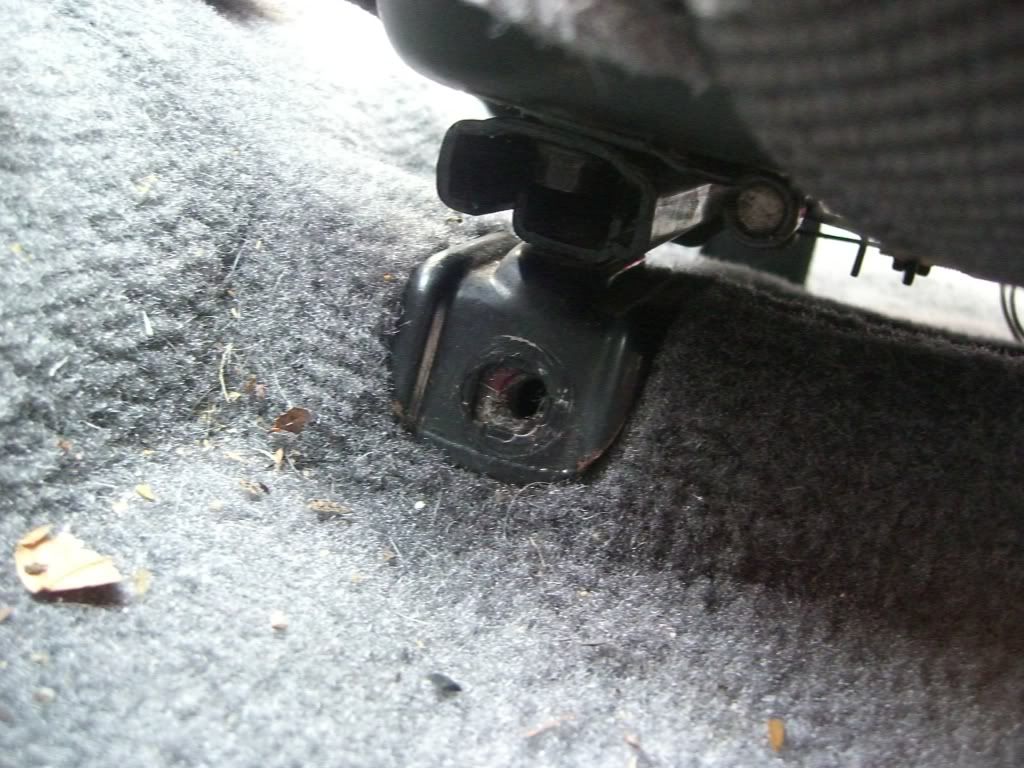
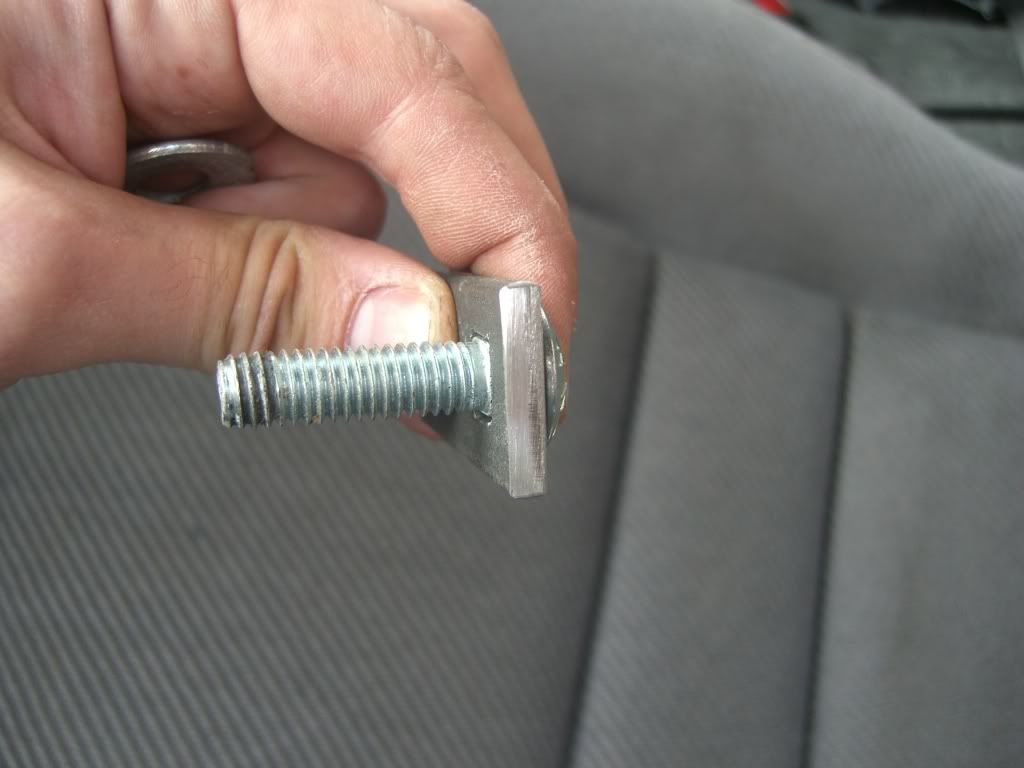
almost a direct fit. at least i didn't have to make anything too complex or heavy. the brackets that were made were tiny:
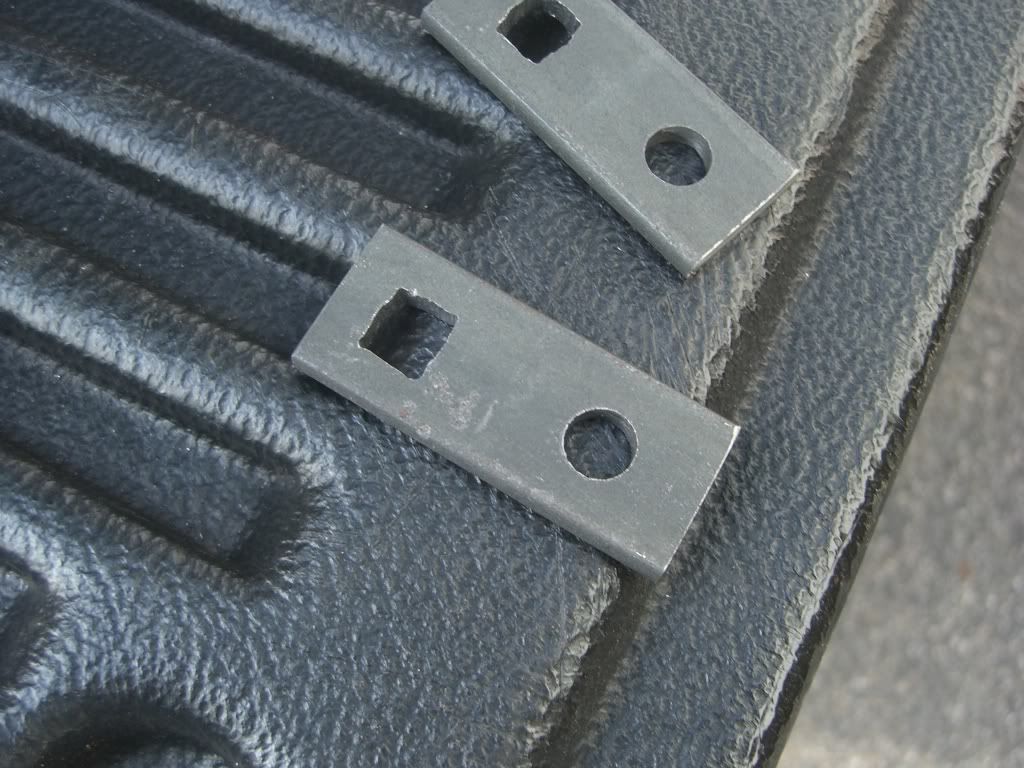
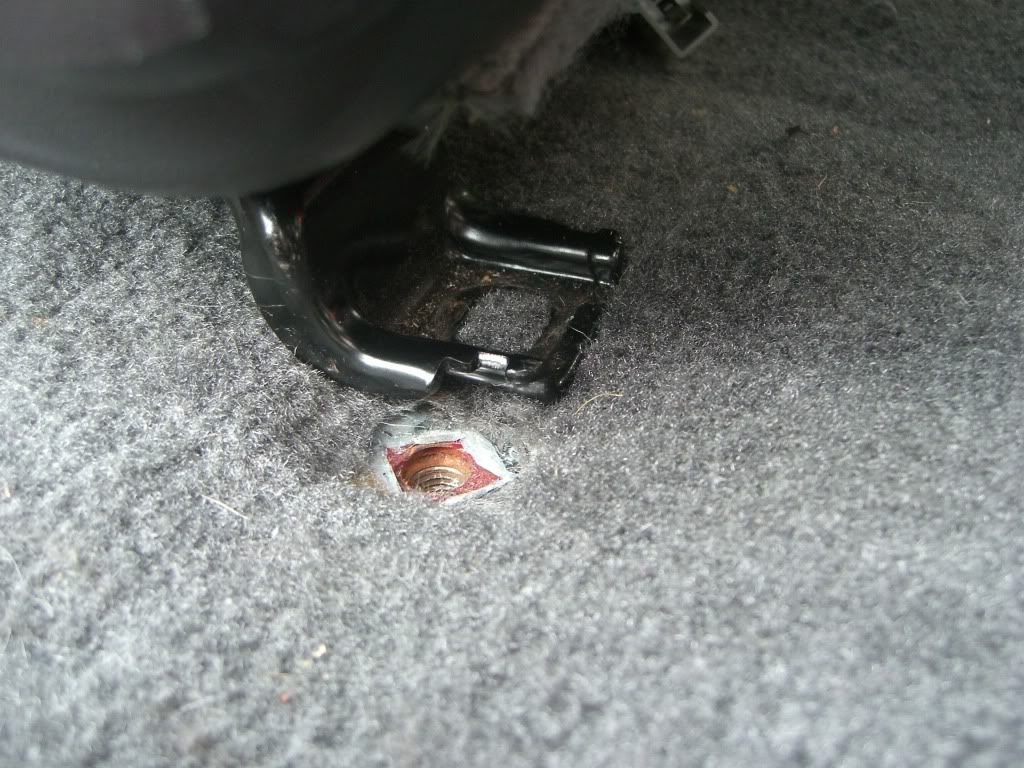
a square hole to accommodate the carriage bolt:
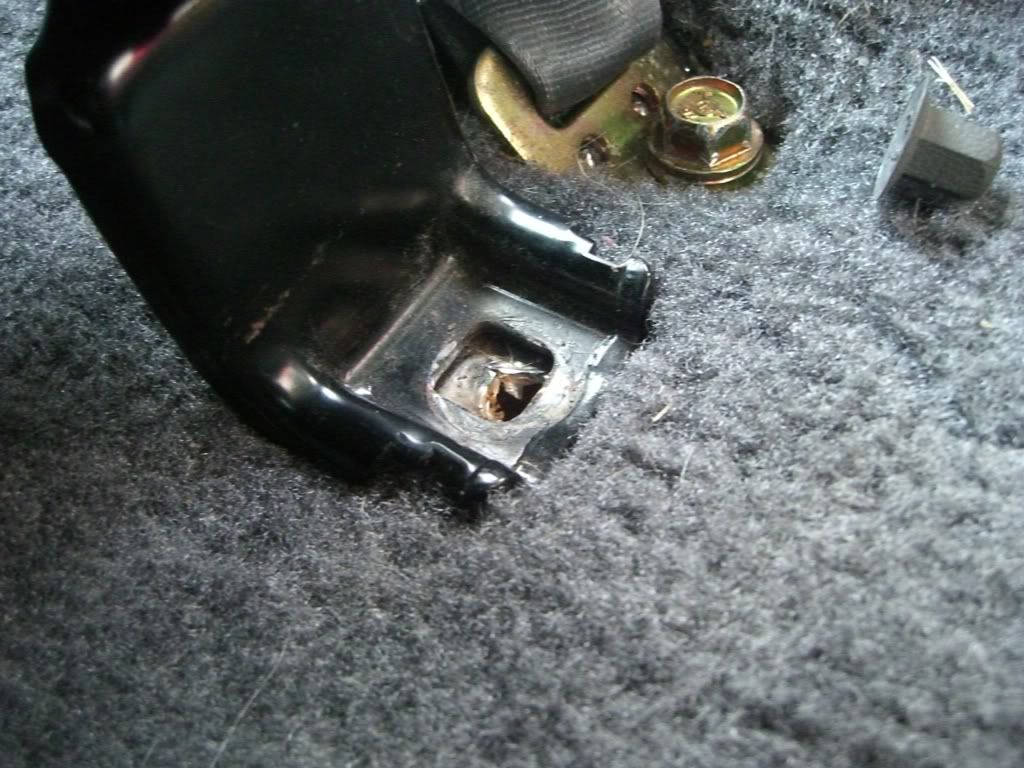
and how they're mounted:
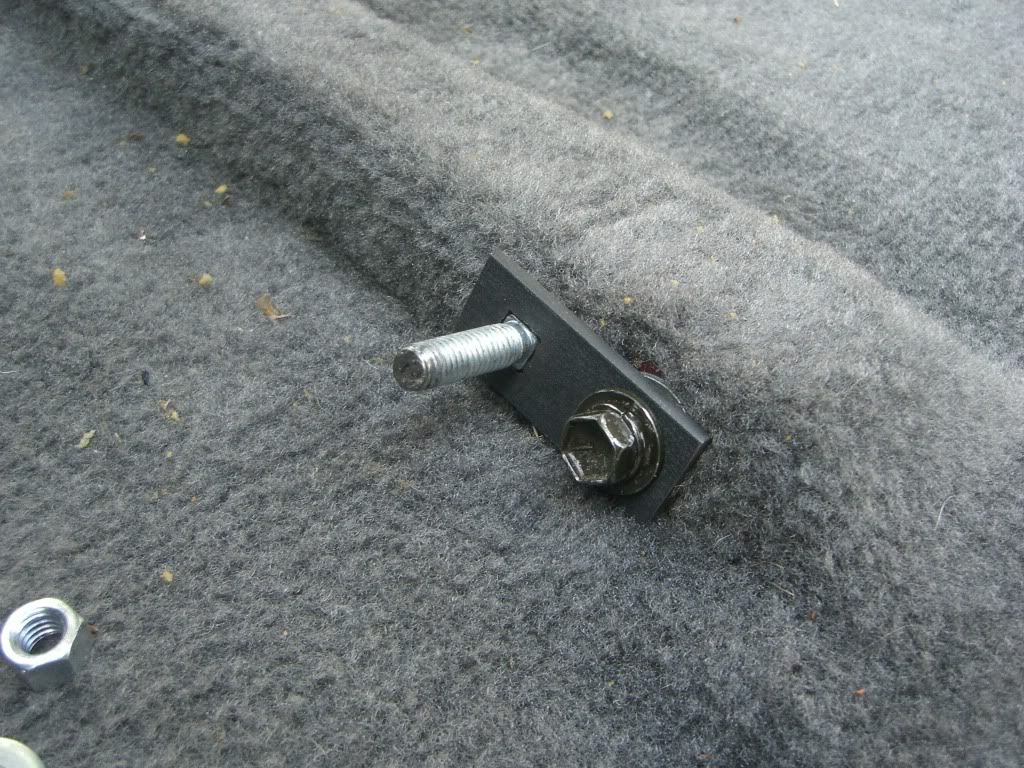
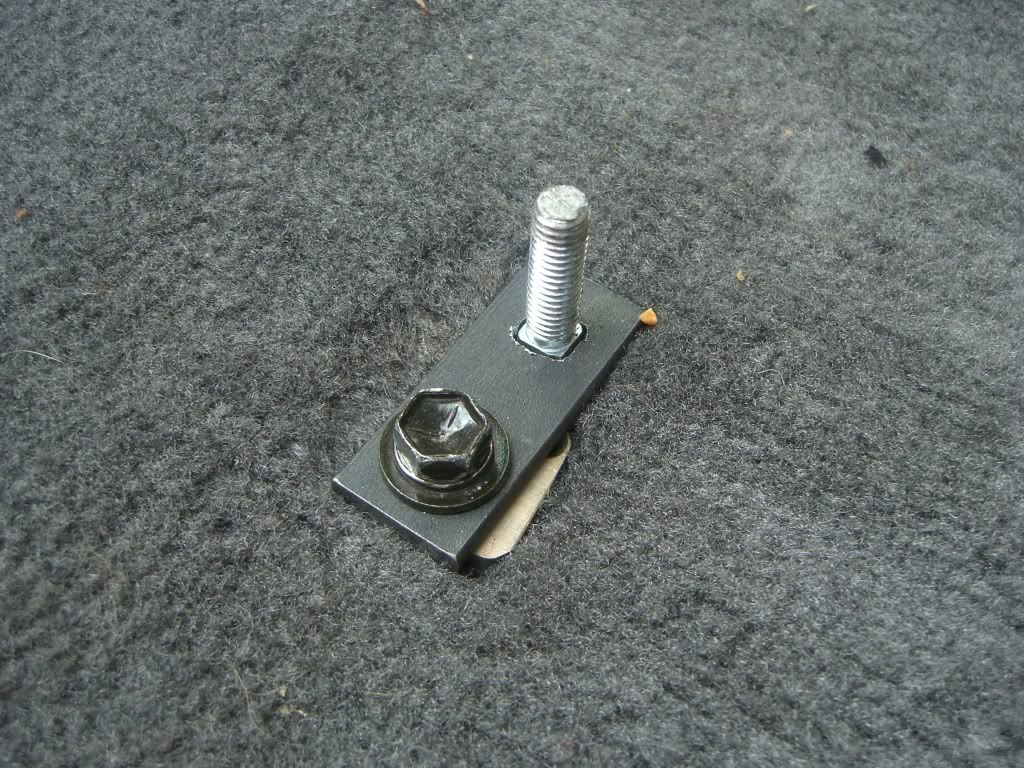
they go on first, followed by the seat:
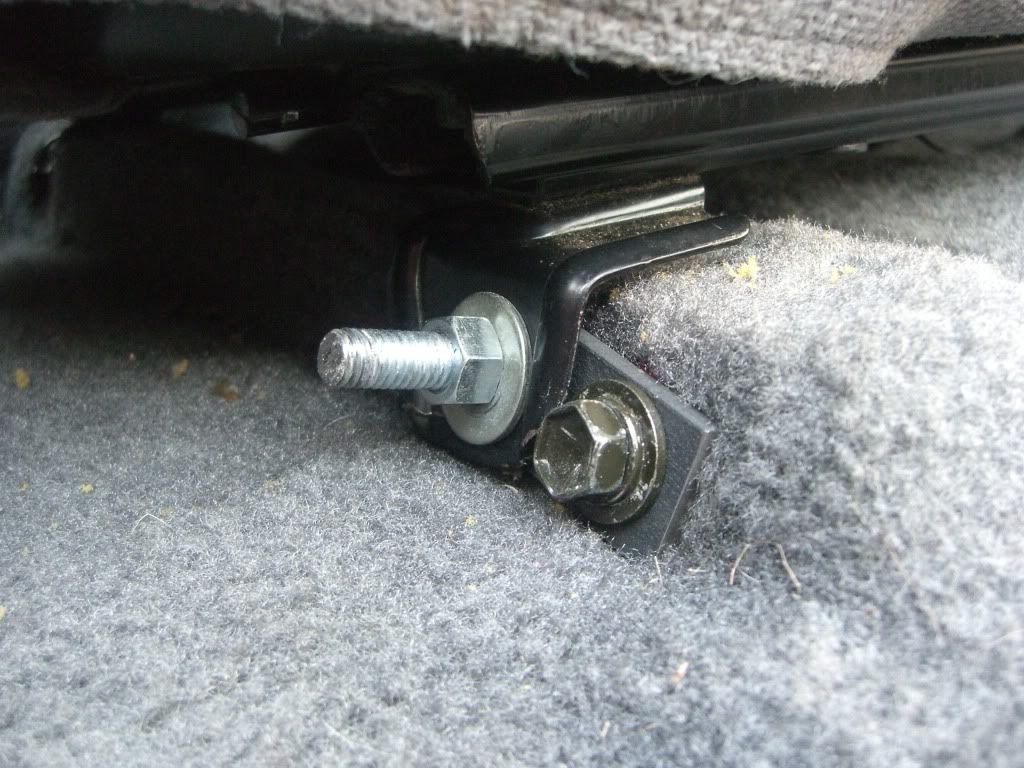
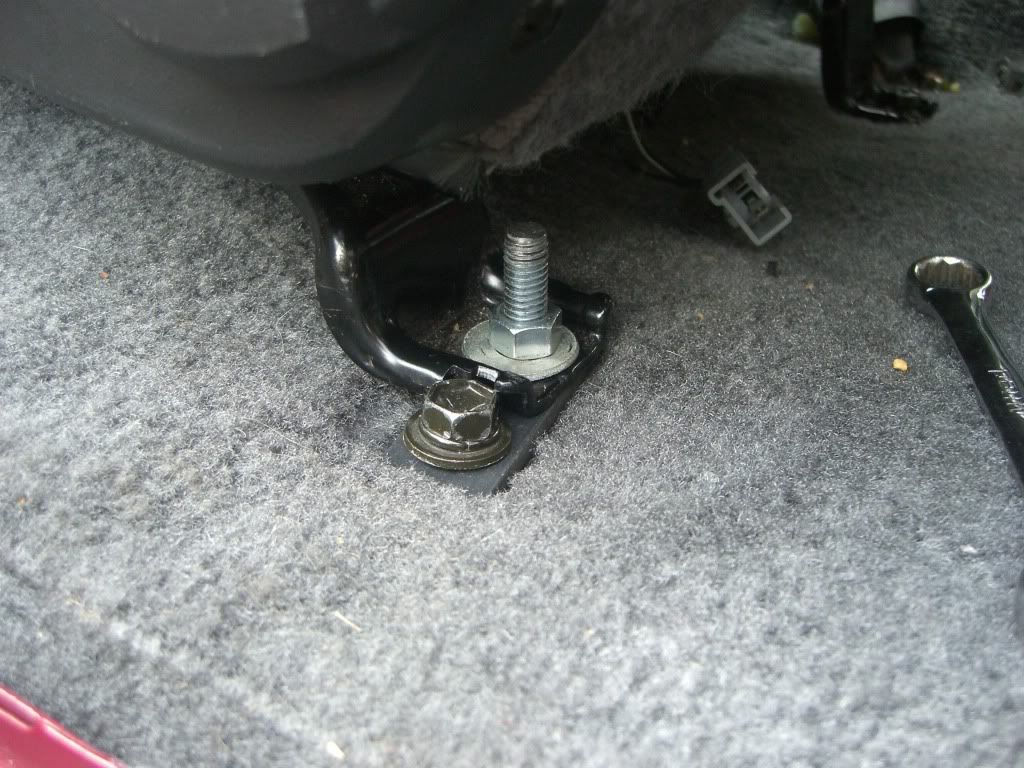
and they're out of the way:
now, for the handle. i had to extend it, so the first thing to do was cut it:
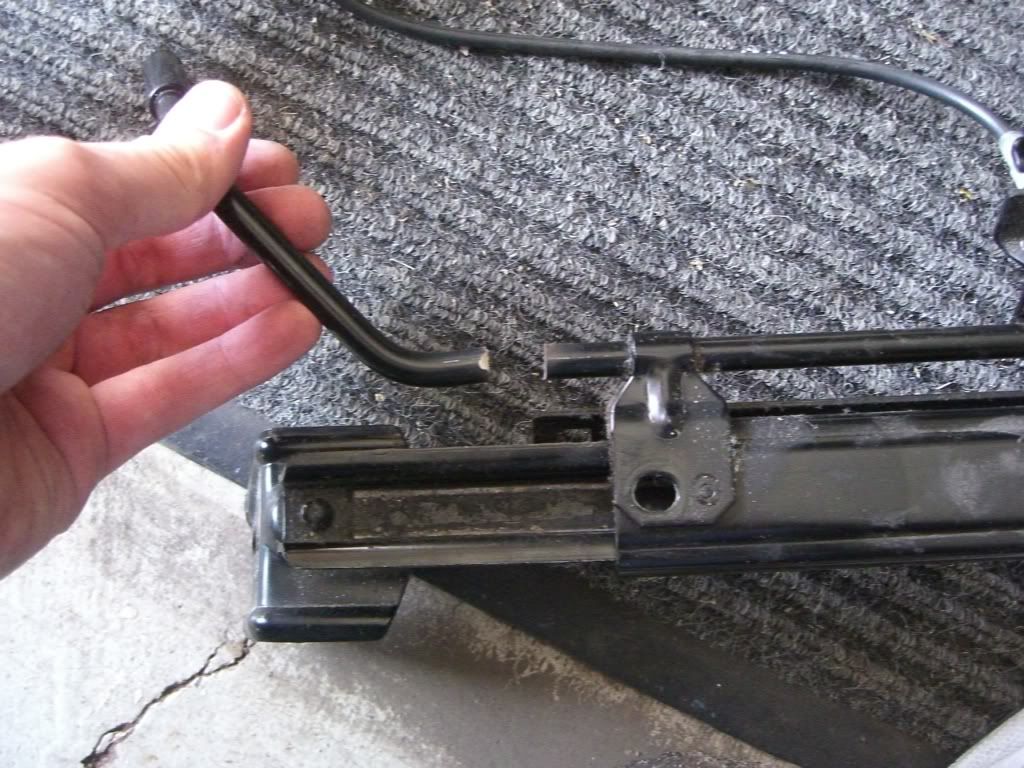
then i found some tube that just fit around the outside:
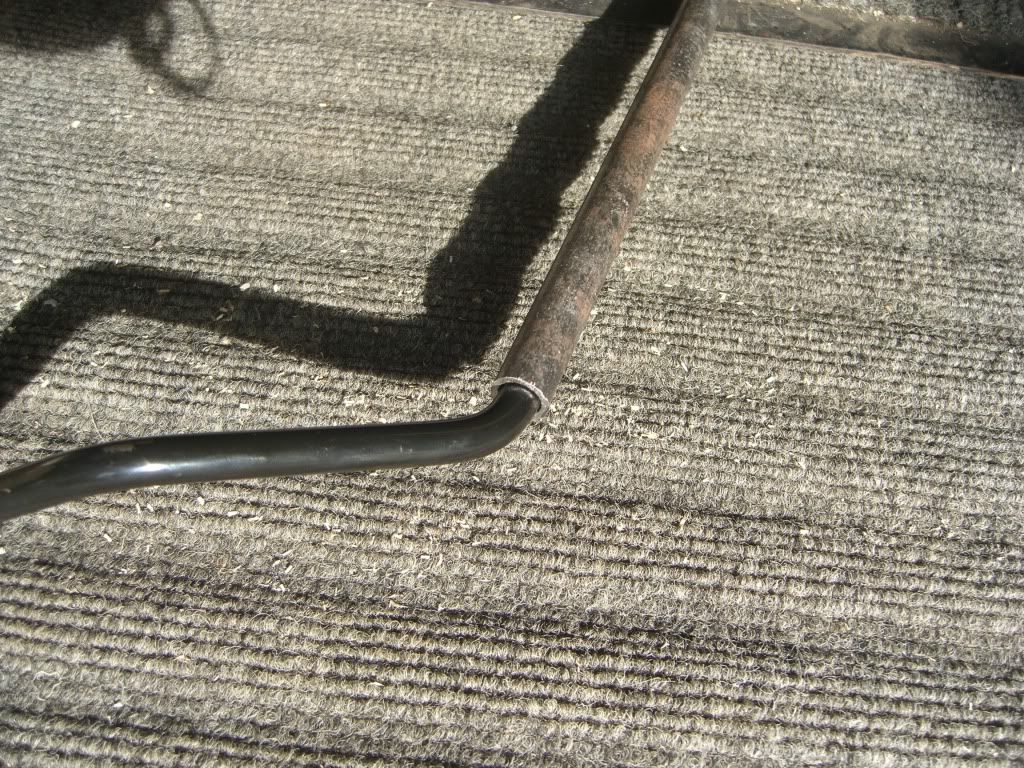
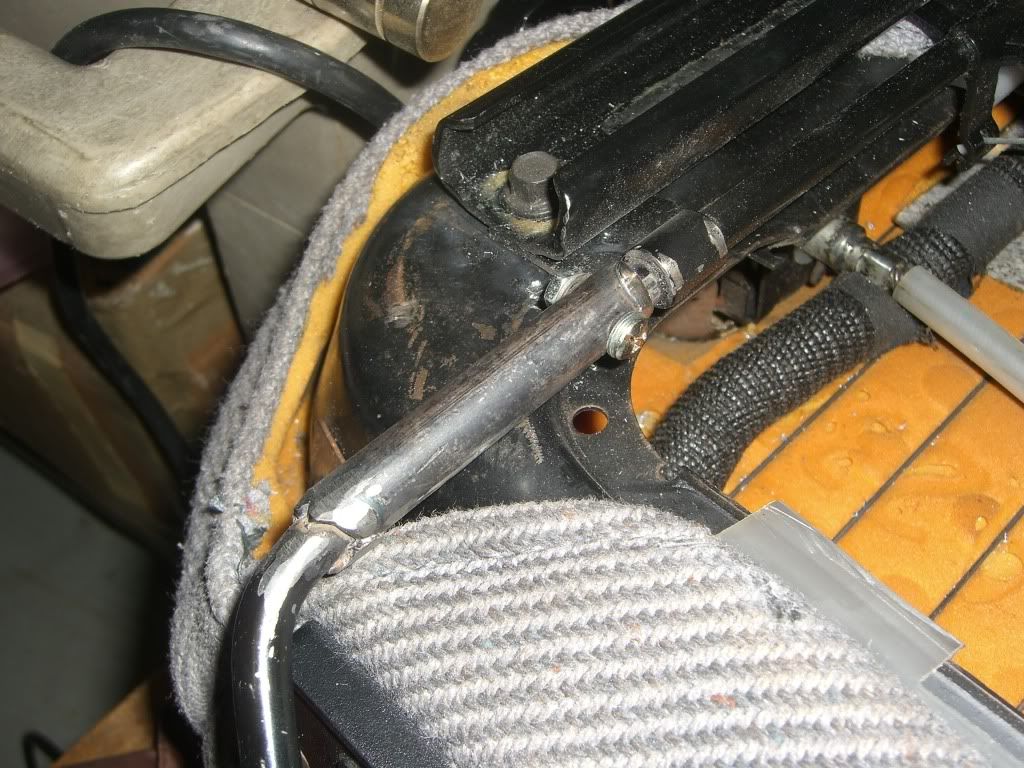
and welded a small piece on the handle side. this is before mounting it:
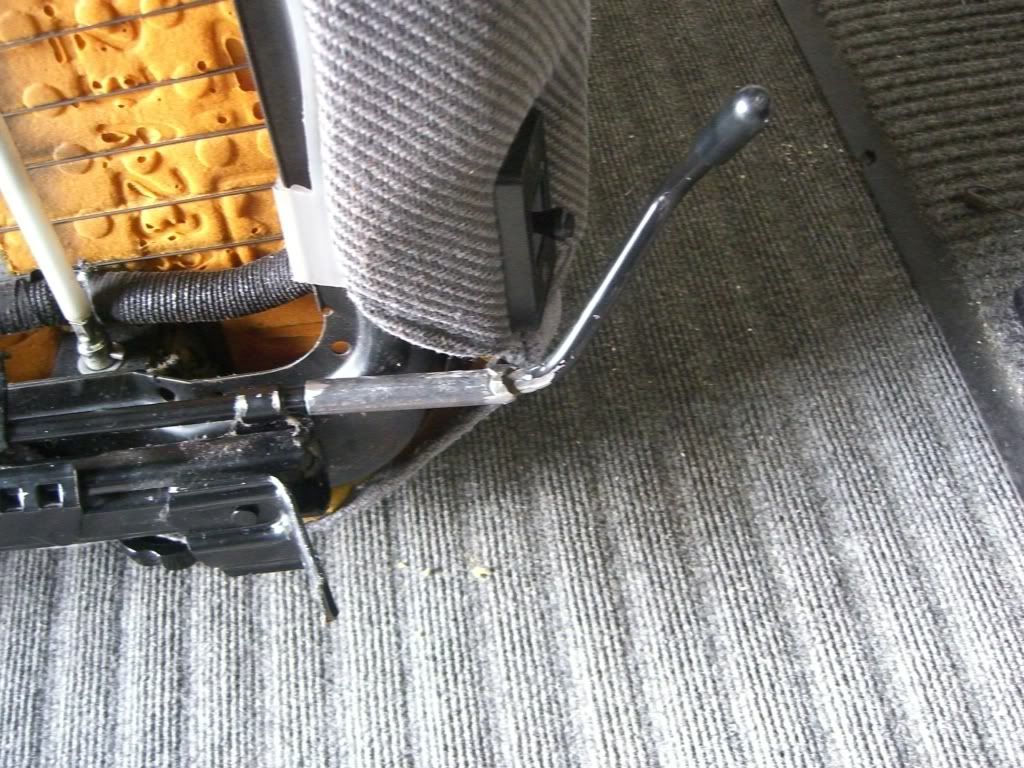
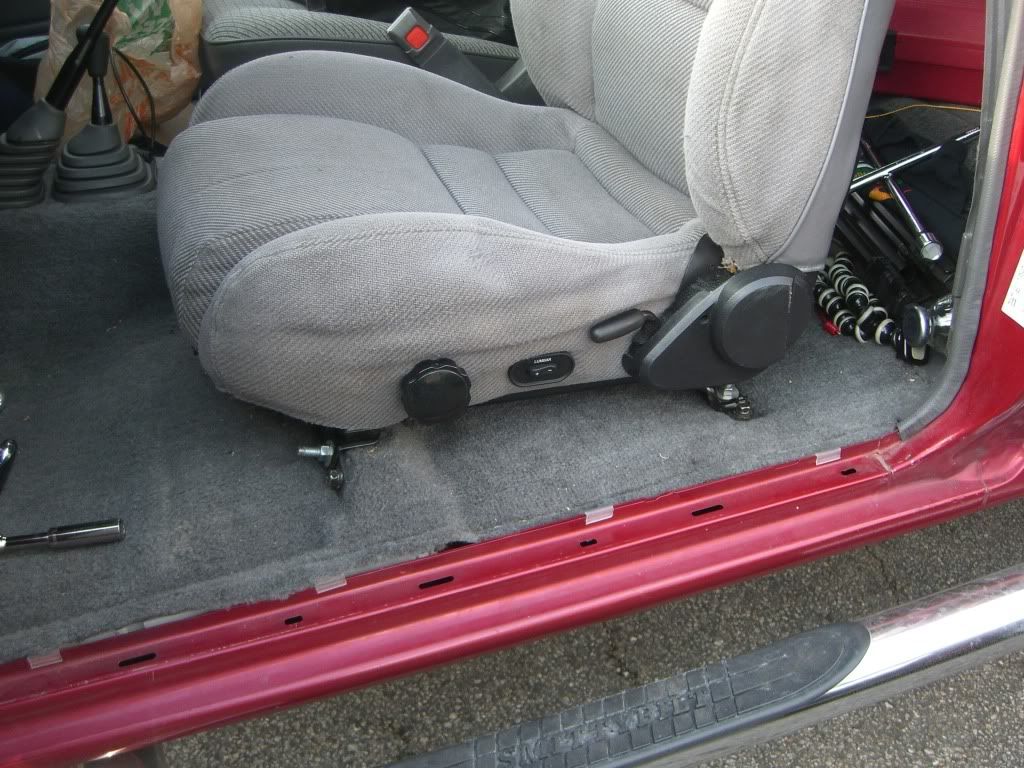
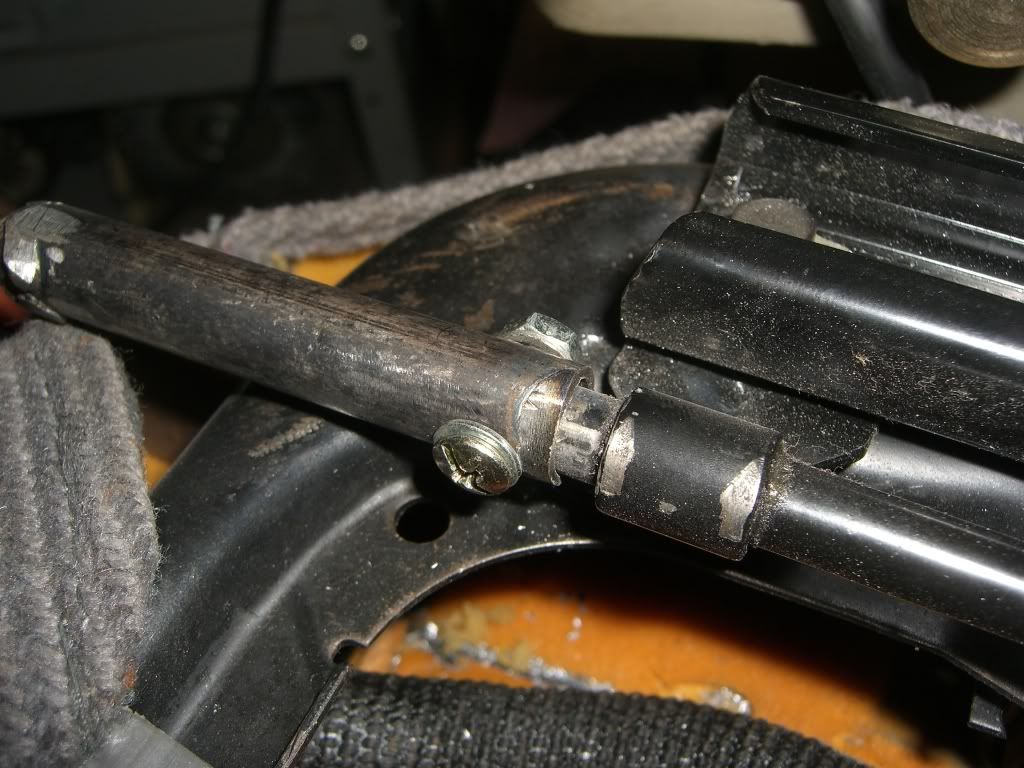
finally, a hole was drilled and a bolt inserted. that was the last step (besides re-installing the seat):
and the final product:
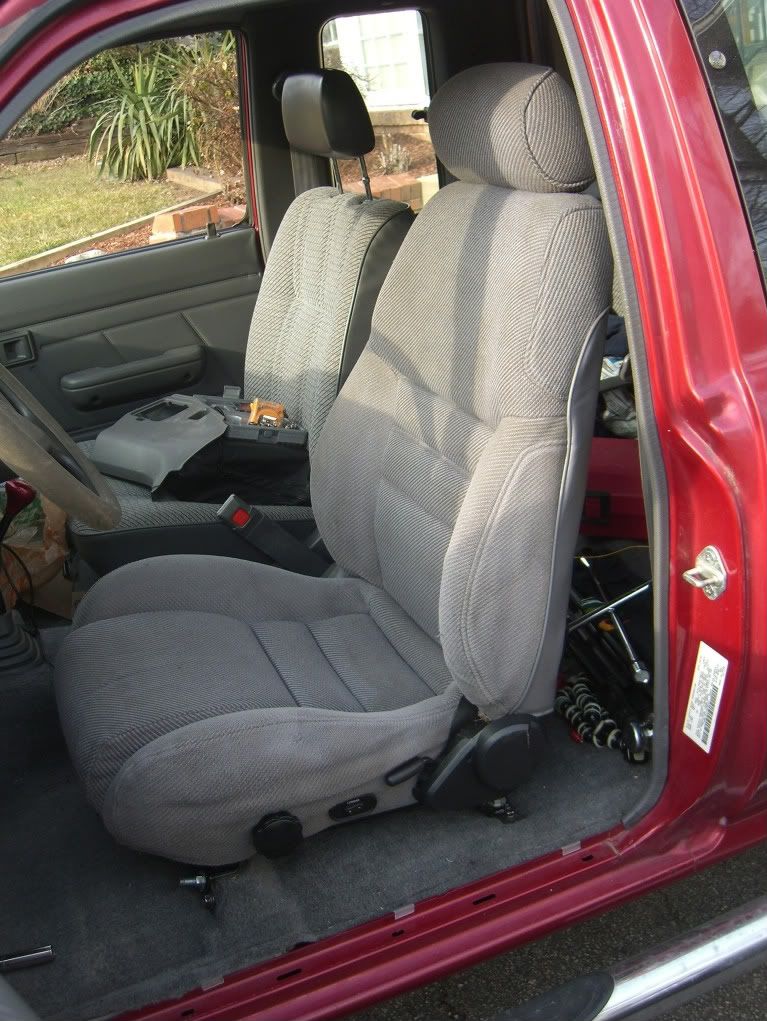
compared to:
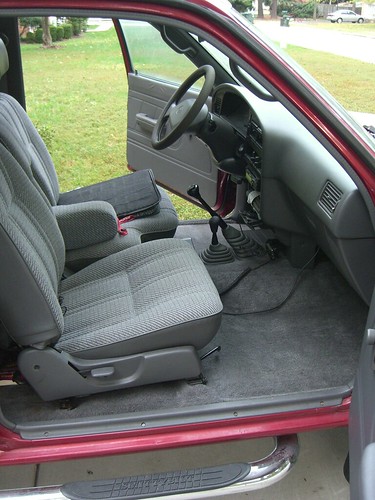
.
my original idea was to make my own transition bracket. ha! the mustang seat sat too high.
first i took the brackets off of both seats. the mustang seat:
here you can see the mustang bracket (back, with all the motors), the yota bracket (the pair of tracks), and the yota seat:
the mustang seat had holes that lined up almost perfectly. just needed to tap them:
so i did. i was surprised that they were metric bolts on the ford seats:
some minor enlargement of the hole was necessary:
i needed to extend the adjustment lever. more on that later:
here's the yota bracket on the ford seat:
and how all the holes lined up:
front left:
front right:
back left:
back right:
almost a direct fit. at least i didn't have to make anything too complex or heavy. the brackets that were made were tiny:
a square hole to accommodate the carriage bolt:
and how they're mounted:
they go on first, followed by the seat:
and they're out of the way:
now, for the handle. i had to extend it, so the first thing to do was cut it:
then i found some tube that just fit around the outside:
and welded a small piece on the handle side. this is before mounting it:
finally, a hole was drilled and a bolt inserted. that was the last step (besides re-installing the seat):
and the final product:
compared to:
.