
Fjtoymans 1994 extra cab build
 Sep 10, 2013 | 05:17 PM
#1

Thread Starter
Registered User
Joined: Sep 2013
Posts: 37
Likes: 0
Fjtoymans 1994 extra cab build
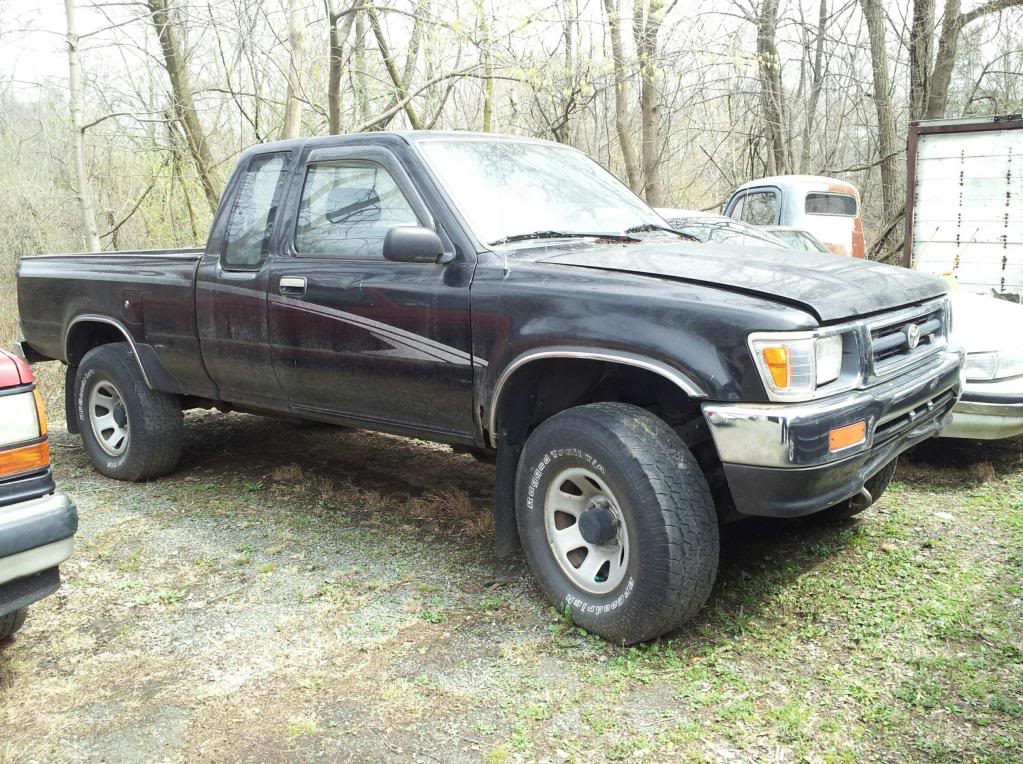
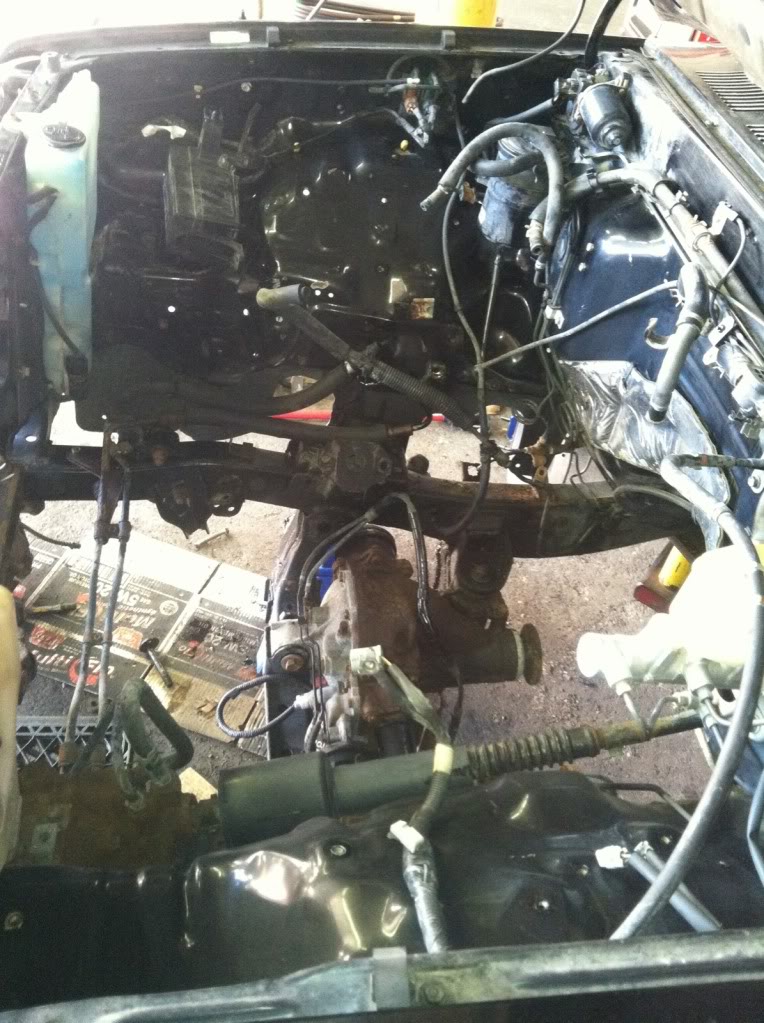
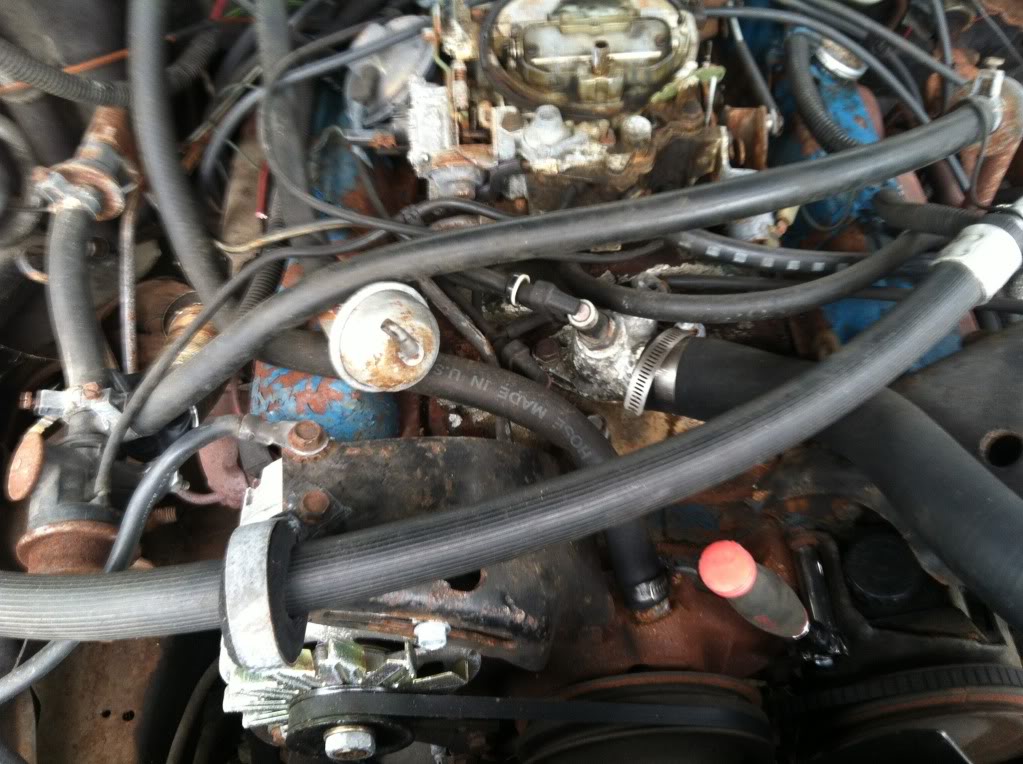
I recently purchased a 1994 exta-cab. 3.0 5spd 4x4. It was as the factory offered it. I bought it with the intention of a full build-up. It has 124k on it. It Had a bad head gasket . The motor was previously taken apart. And had some missing engine parts. And so the buildup starts . I replaced the motor with a rebuilt gm 4.3 with TPI, and a 700 r4 Trans. It is attached to a gear driven dual crawler case. I will post pics as the buildup has progressed .This is the starting pic of the day I picked it up.
Last edited by FJtoyman; Sep 11, 2013 at 03:02 PM.
 Sep 10, 2013 | 05:31 PM
#3
Thread Starter
Registered User
Joined: Sep 2013
Posts: 37
Likes: 0
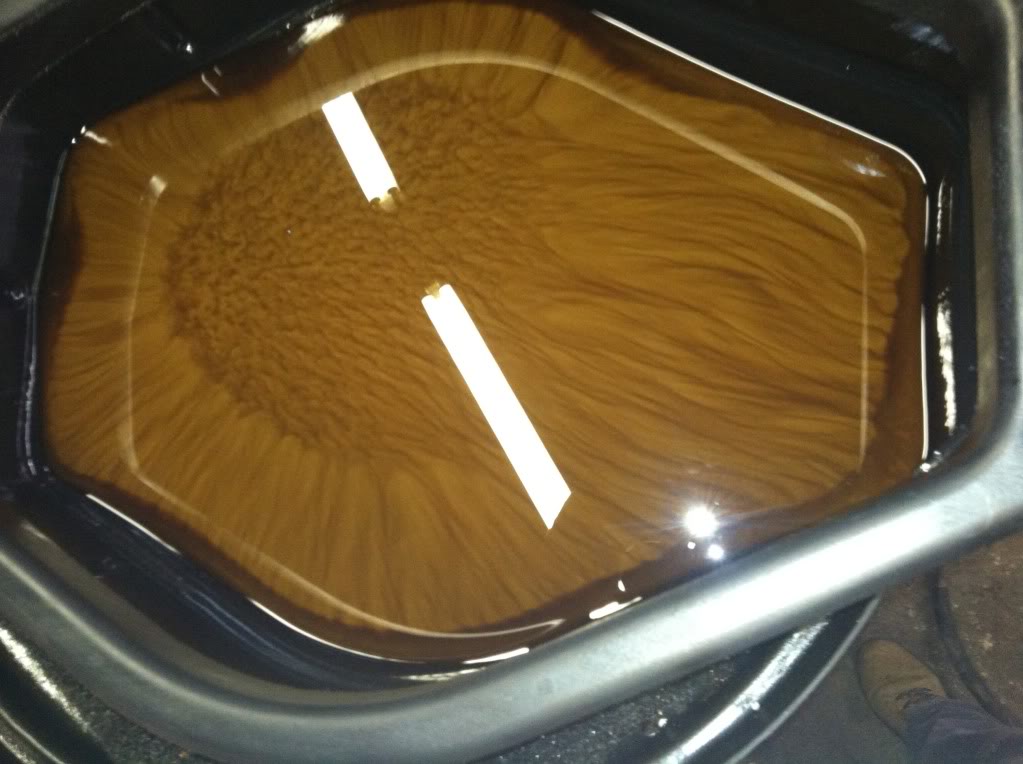
My buddy gave me the go ahead to use his shop to get this done. 1 week after acquisition, and the motor is outta here. Here's a pic of the oil. 2.5 gallons of milky mixture.
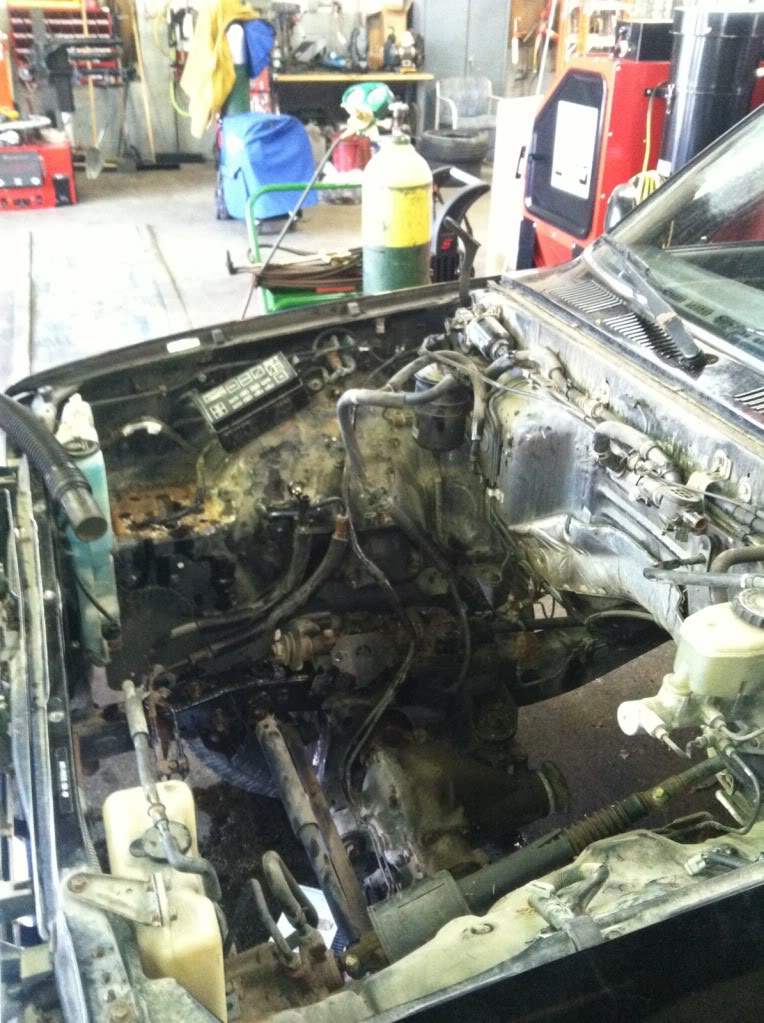
The engine bay cleaned up nicely.
It's now ready for a new heart.
The engine bay cleaned up nicely.
It's now ready for a new heart.
Sep 10, 2013 | 05:38 PM
#4
Thread Starter
Registered User
Joined: Sep 2013
Posts: 37
Likes: 0
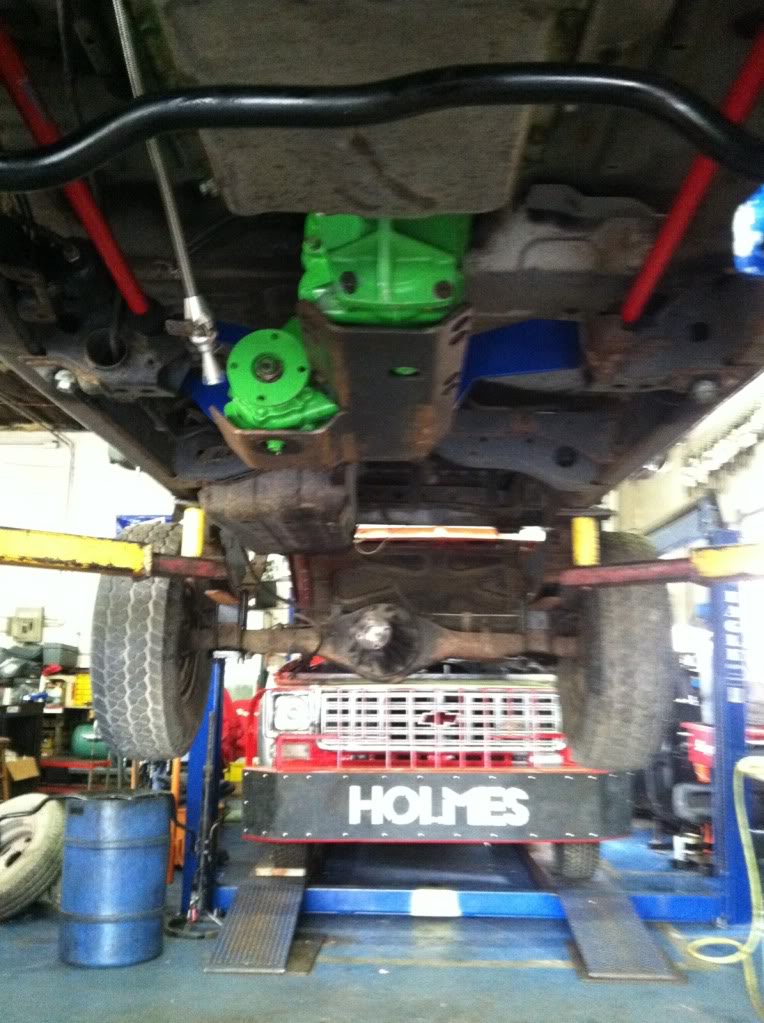
With a Chevy engine swap , I needed to install a suspension lift and a body lift.
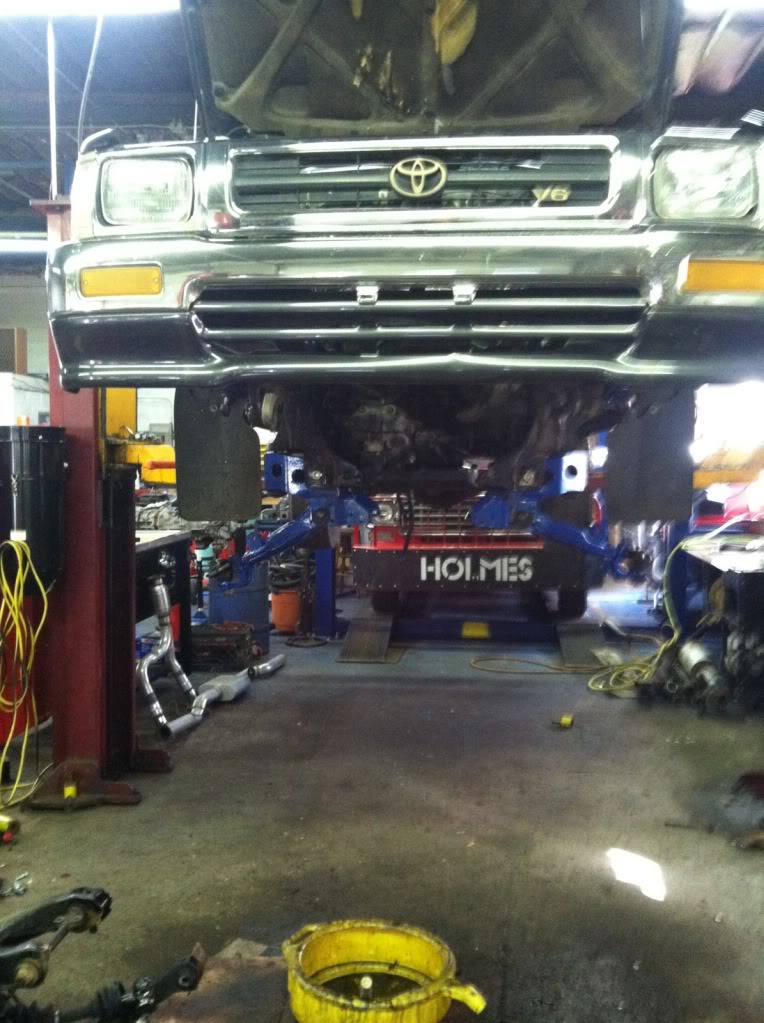
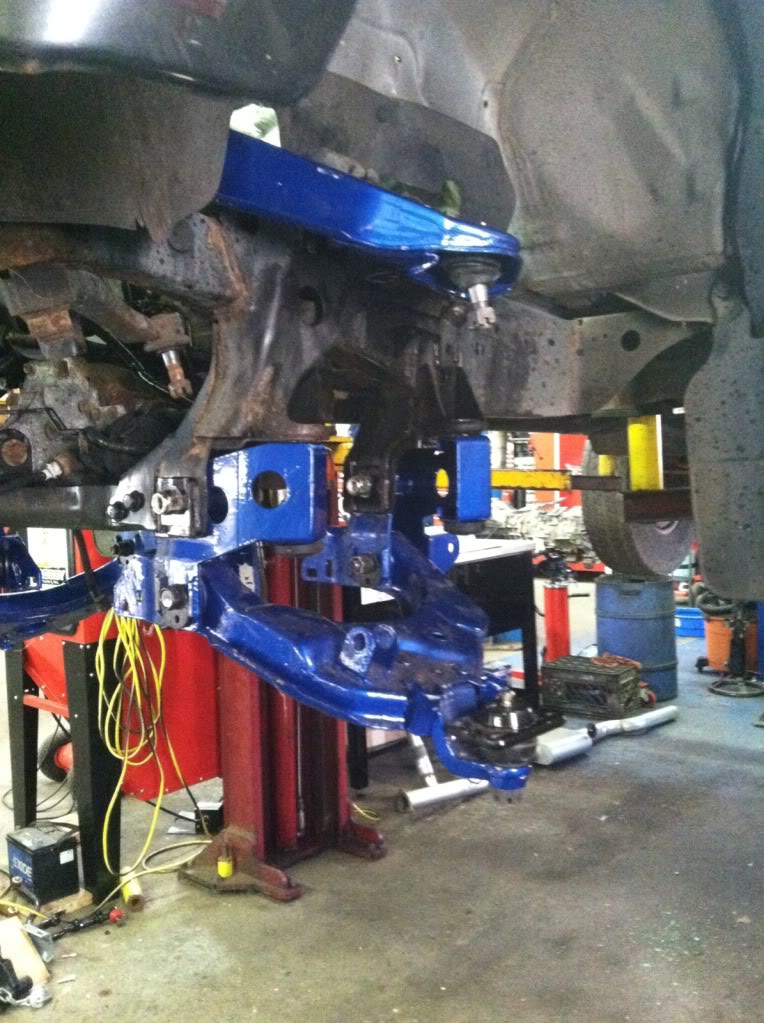
I had painted the components for the lift several years ago, as I was working on a 1989 4runner. Long story. Took the accumulated parts from it and went to town. I used everything from the 4 runner frame except the frame.

I had painted the components for the lift several years ago, as I was working on a 1989 4runner. Long story. Took the accumulated parts from it and went to town. I used everything from the 4 runner frame except the frame.


Trending Topics
Sep 11, 2013 | 04:52 PM
#8
Thread Starter
Registered User
Joined: Sep 2013
Posts: 37
Likes: 0
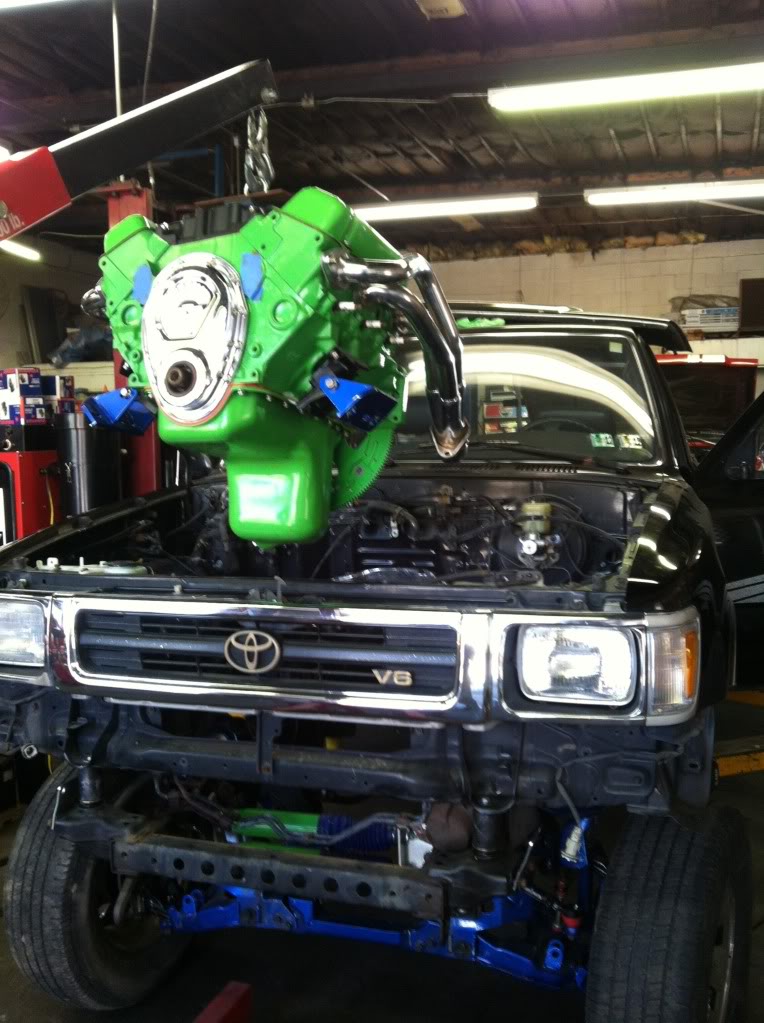
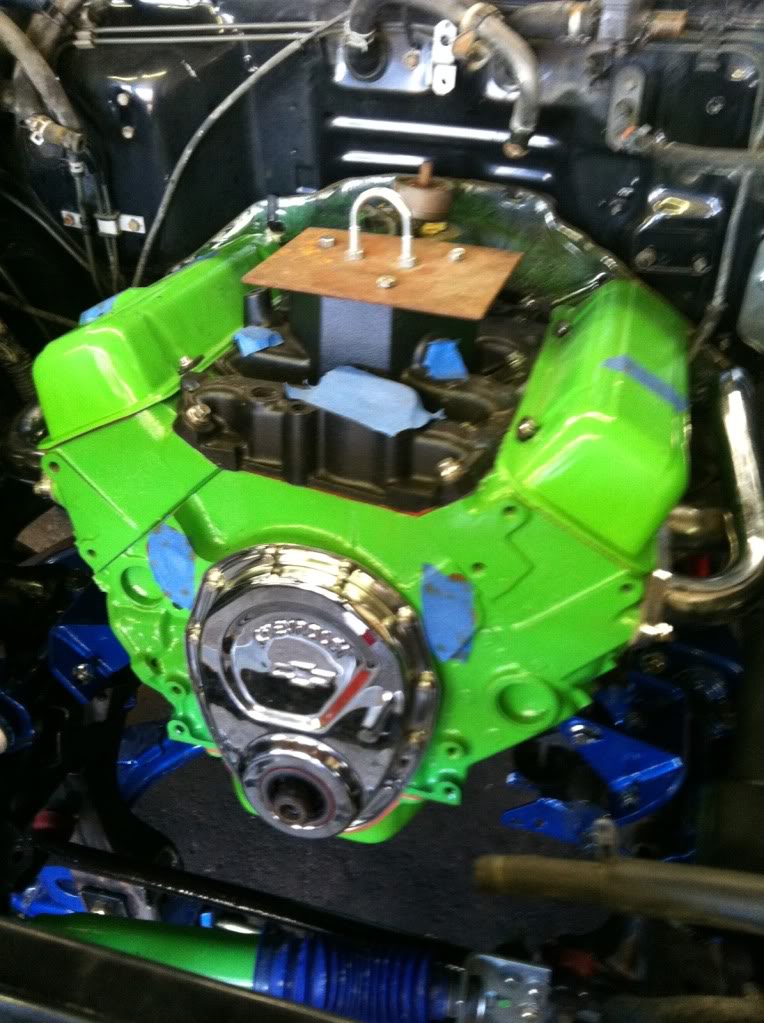
The engine was originally out of a 91 Chevy blazer. A trip to the local Trans guru to install the adaptor kit Transmission tails haft was in order. I needed to adapt the 700 r4 Trans to a gear drive transfer case. While I was there, I asked him about rebuilding my 4.3. He told me he had built one for his van, and wasn't sure if he was going to use it or get a new van. Long story short, I bought his long block. He told me it would produce 275 hp. $1600 bucks, I got the Trans rebuilt with a new torque converter and a newly built 4.3. Game on.
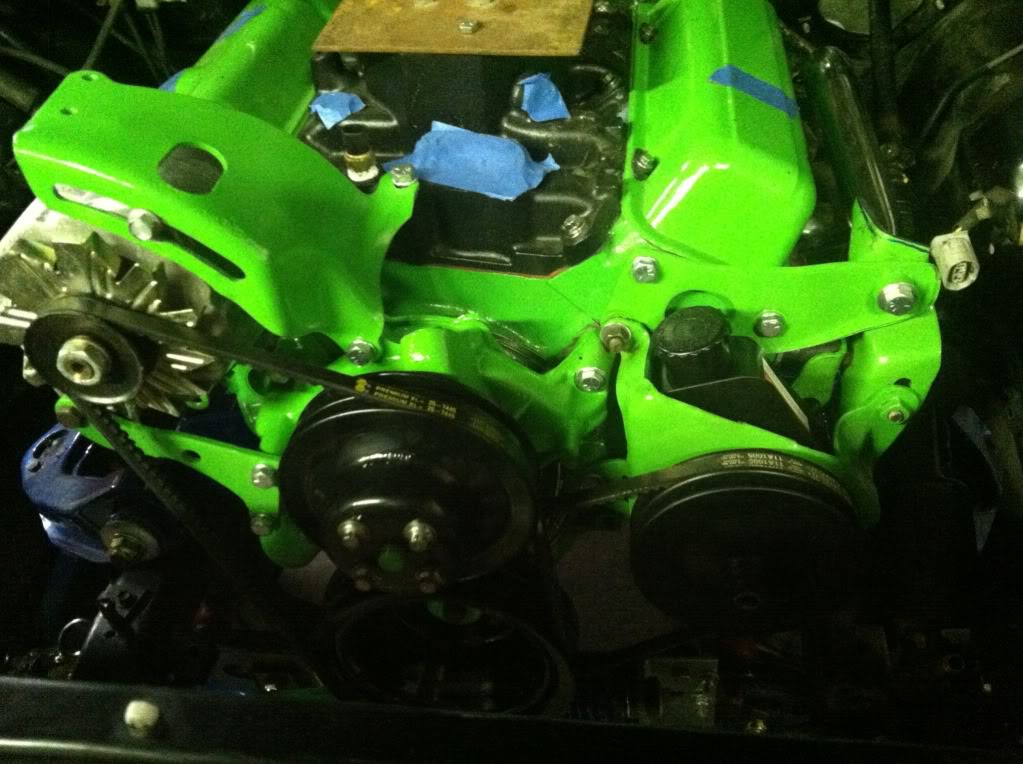
My 1994 has no A/C. So a trip to the local scrap yard and I got a set of pulleys and new alternator for $50.00.
A trip to my sandblaster and a fresh powdercoat( Eastwood ) and its looking super. No big cast brackets from the serpentine set up.
My 1994 has no A/C. So a trip to the local scrap yard and I got a set of pulleys and new alternator for $50.00.
A trip to my sandblaster and a fresh powdercoat( Eastwood ) and its looking super. No big cast brackets from the serpentine set up.
Last edited by FJtoyman; Sep 11, 2013 at 04:55 PM.
Sep 12, 2013 | 04:12 PM
#9
Thread Starter
Registered User
Joined: Sep 2013
Posts: 37
Likes: 0
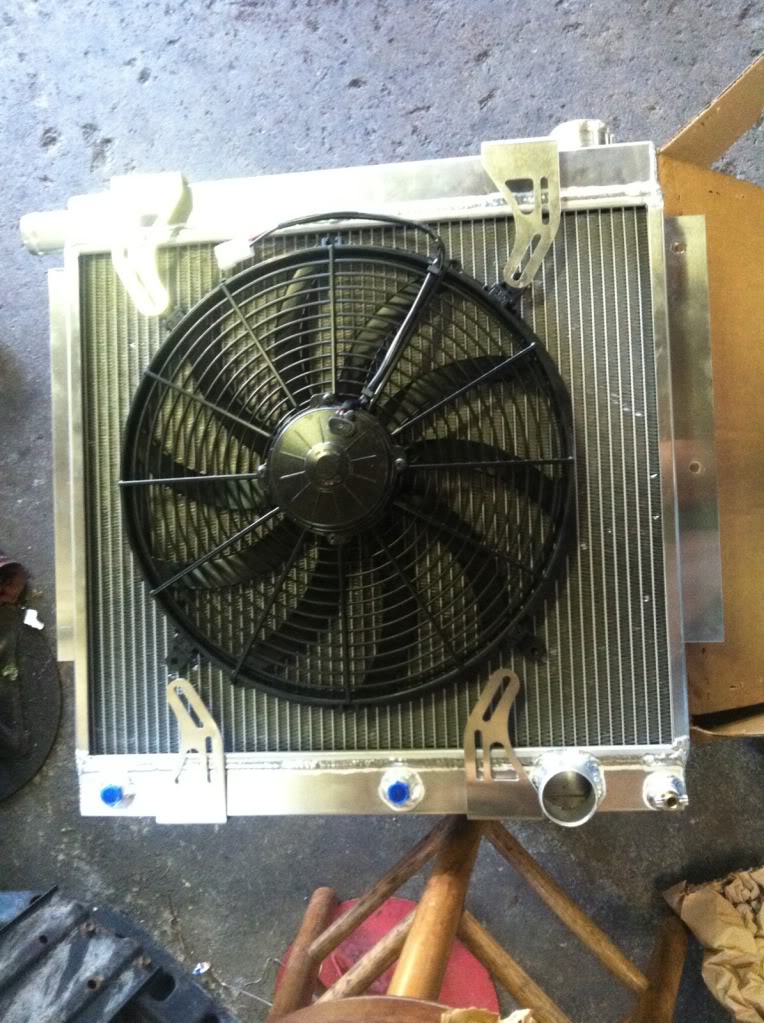
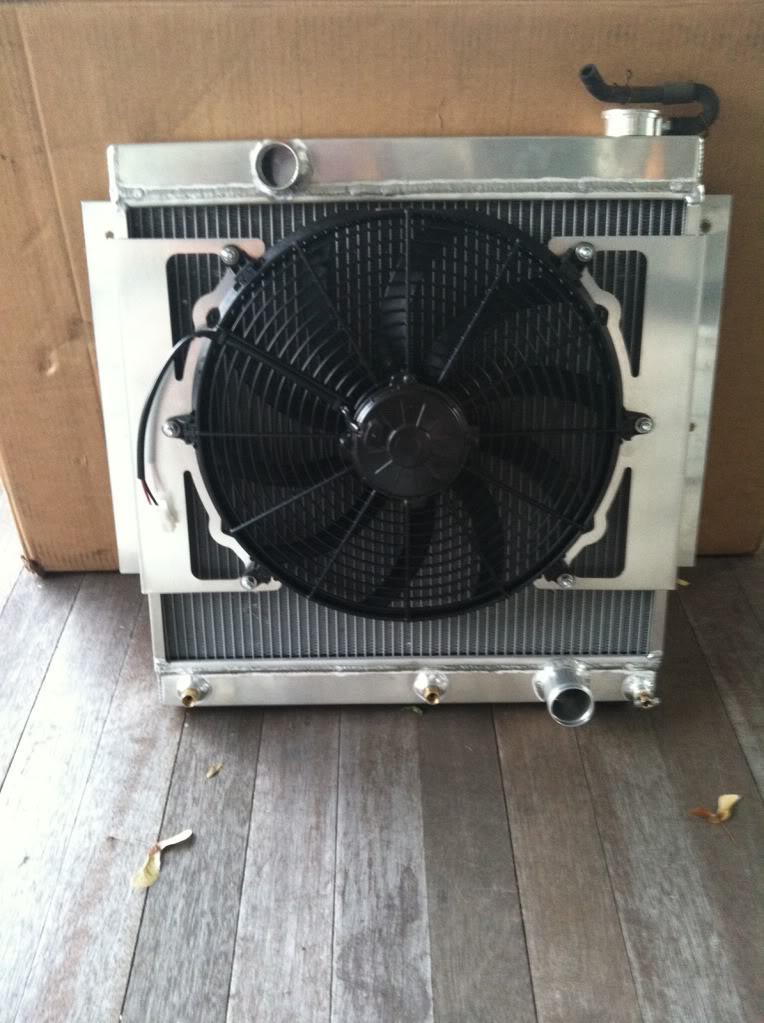
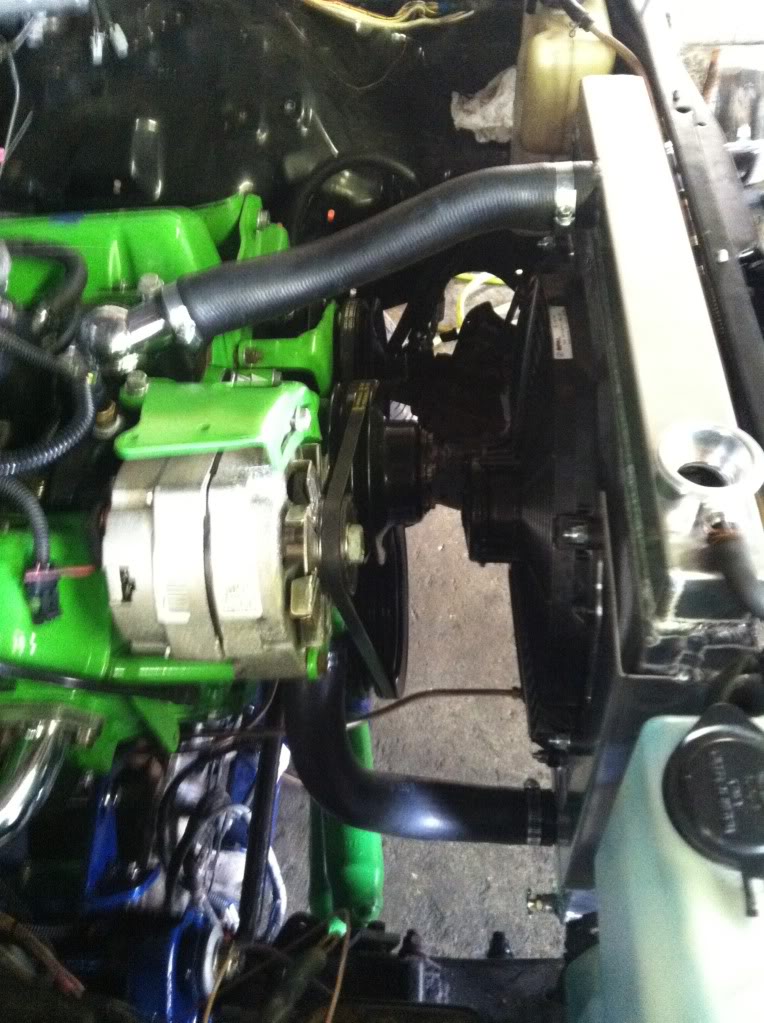
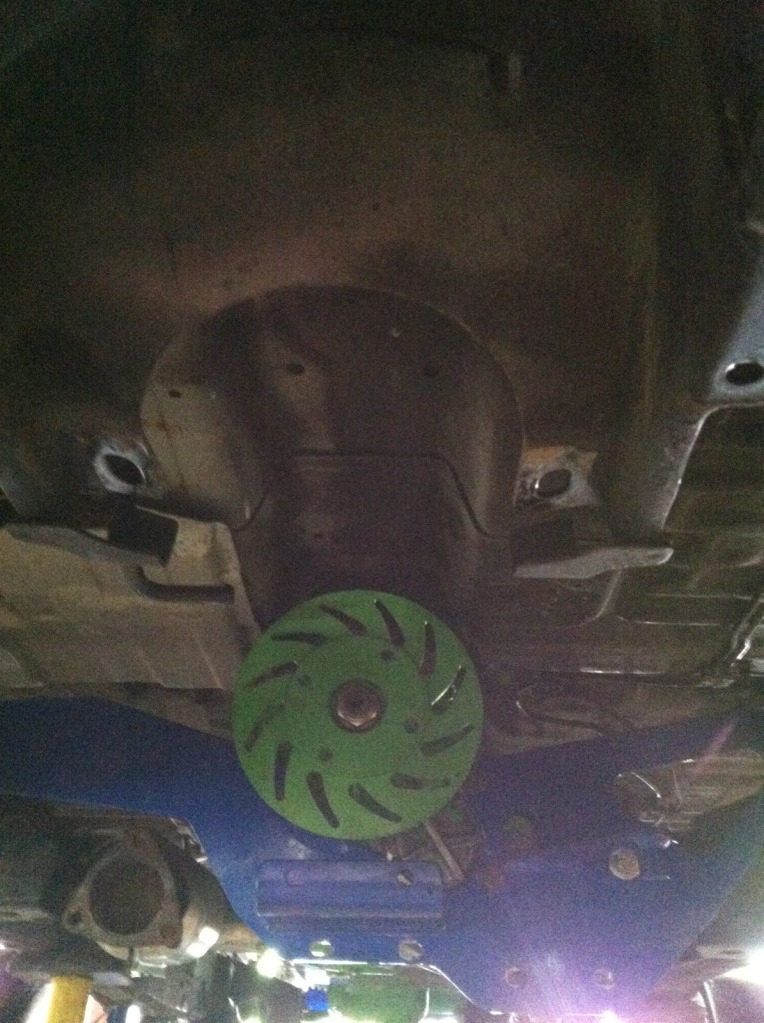
After the engine was installed , I needed to get a radiator. I called advanced adapters . I spoke to Matt. He was very helpful. I ordered an aluminum radiator with the Trans cooler built in. After I received it and fit it in place, I decided to do a electric fan. I also needed to customize this custom radiator a little more. I moved the top neck from the side to the rear and needed to get some custom brackets to fit the Spall fan.
Sep 13, 2013 | 03:59 PM
#11
Thread Starter
Registered User
Joined: Sep 2013
Posts: 37
Likes: 0
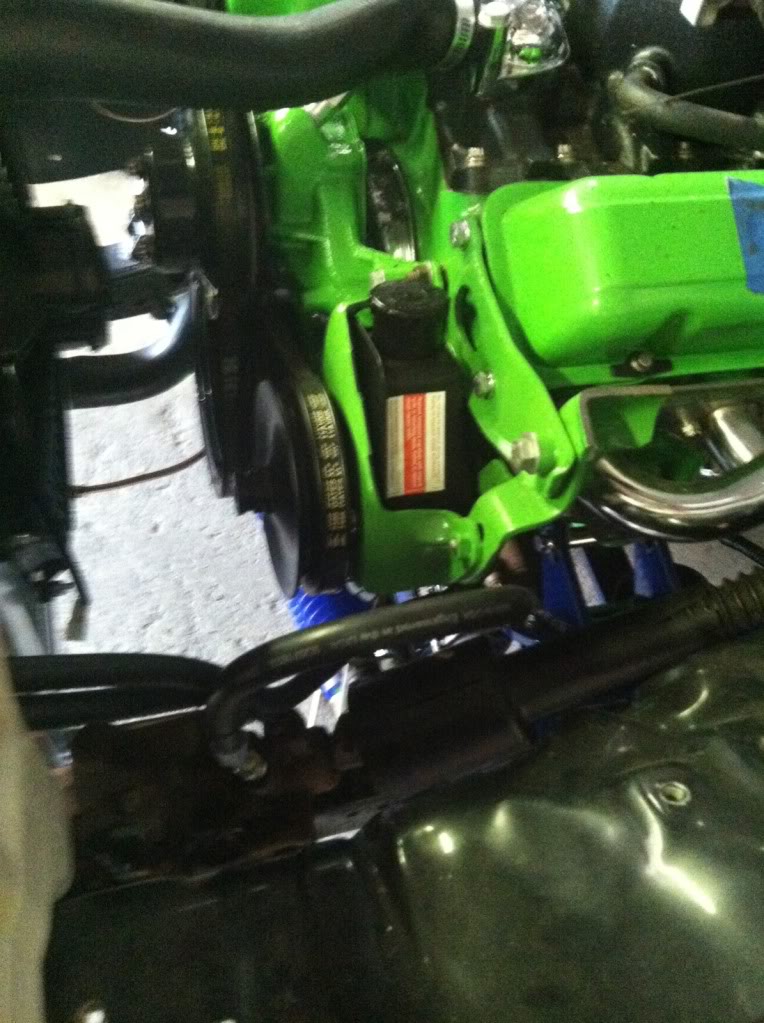
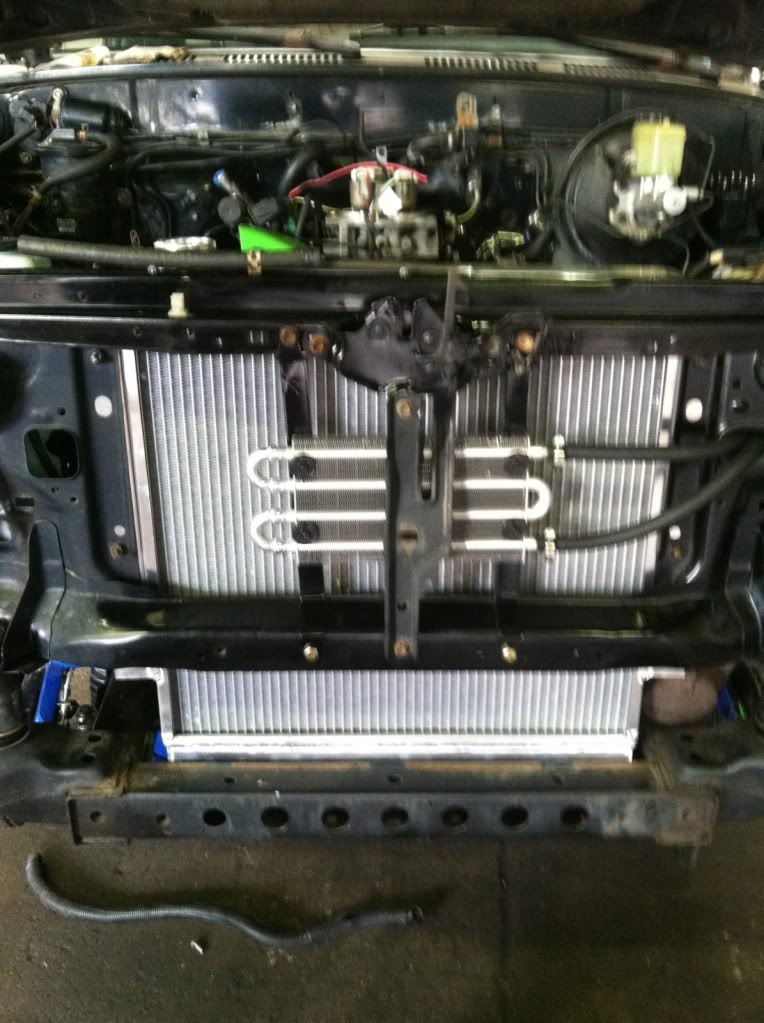
I kept the Chevy power steering pump. Had a custom pressure line made and added a cooler to the temp low. After making up some brackets, the install is complete.
Last edited by FJtoyman; Sep 13, 2013 at 04:00 PM.
Sep 13, 2013 | 04:12 PM
#12
Thread Starter
Registered User
Joined: Sep 2013
Posts: 37
Likes: 0
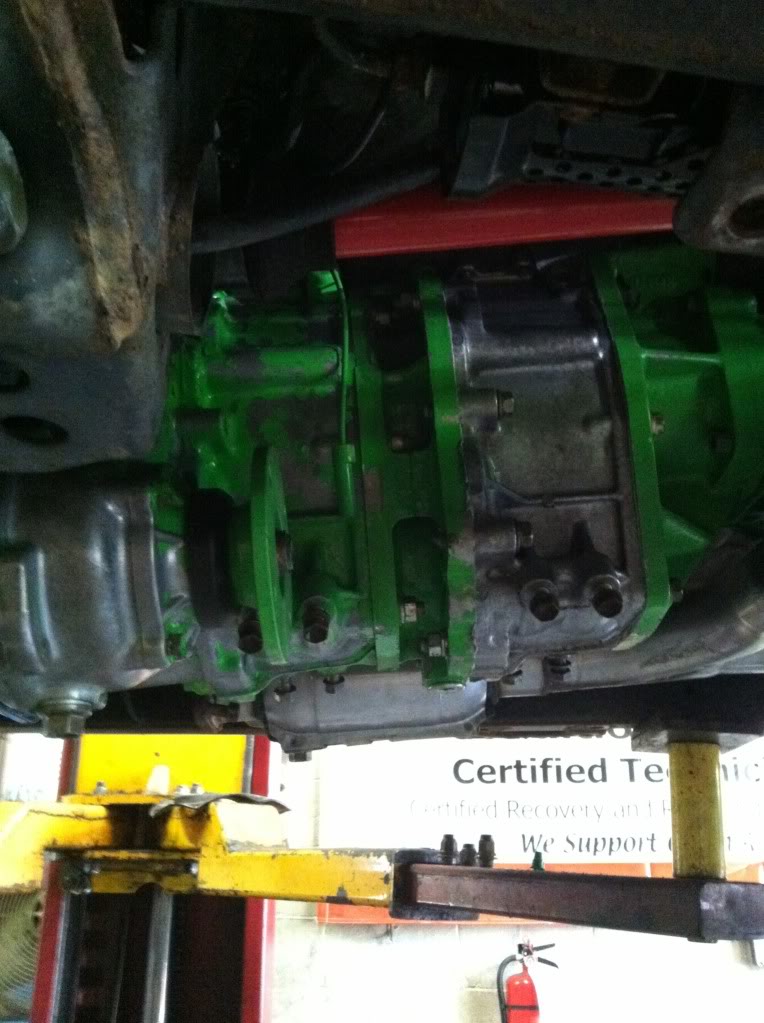
As you can see it the previous suspension pics, i kept themindependent suspension for now. I added a dual crawler box. The marlin coupler,worked like a dream. I actually added it for two reasons. First was I needed a way to move the transfer case mount back. The original mounts were a ways off. I purchased a All-Pro X-Member to take care of the rear mount and skid plate duty.it also incorporates a parking brake on the t-case. ( not shown) the second was lower gearing for the woods.
Sep 13, 2013 | 04:18 PM
#13
Thread Starter
Registered User
Joined: Sep 2013
Posts: 37
Likes: 0
Once the crossmember was installed, I needed to measure for a driveshaft. Now that that's done, I purchased Pro Comp MX4 shocks to ease the ride. I also added a set of 16x10 weld wheels, and Mickey Thompson Baja Claw 35x13.5- 16 bias plies.


Sep 13, 2013 | 04:24 PM
#14
Thread Starter
Registered User
Joined: Sep 2013
Posts: 37
Likes: 0
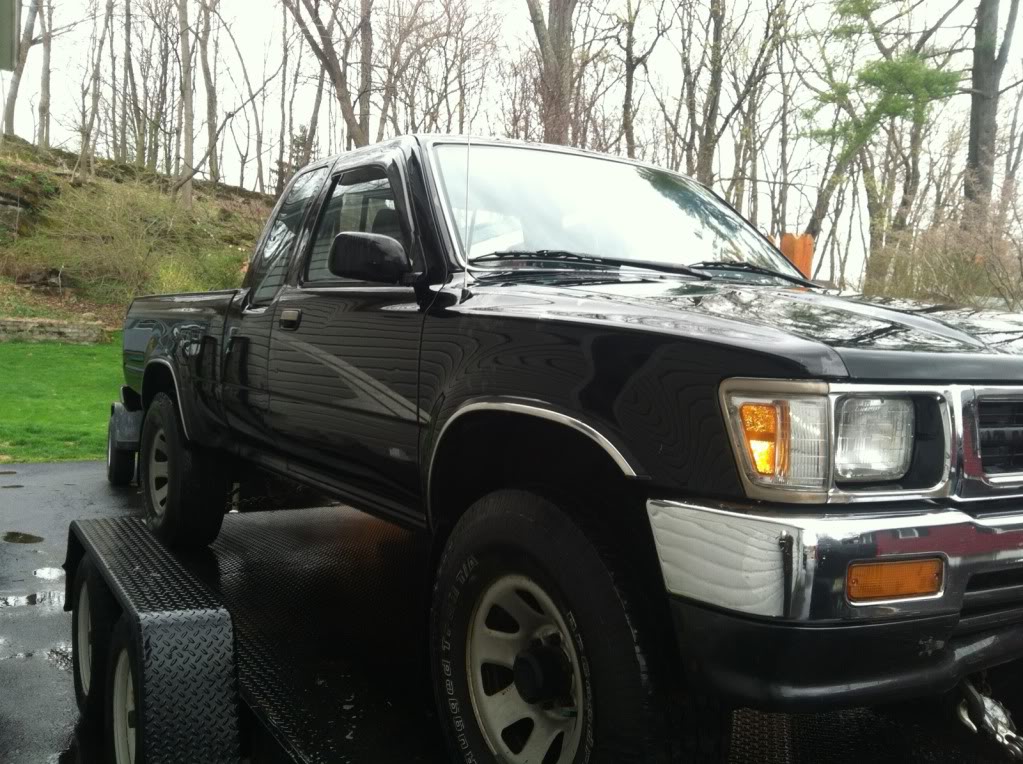
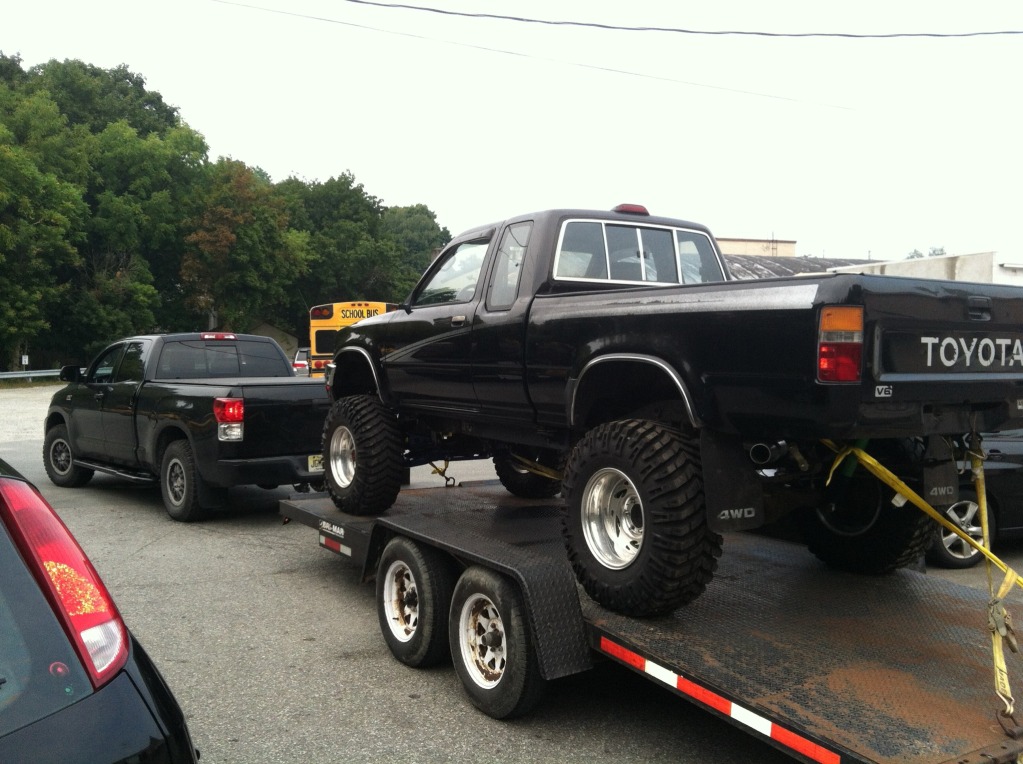
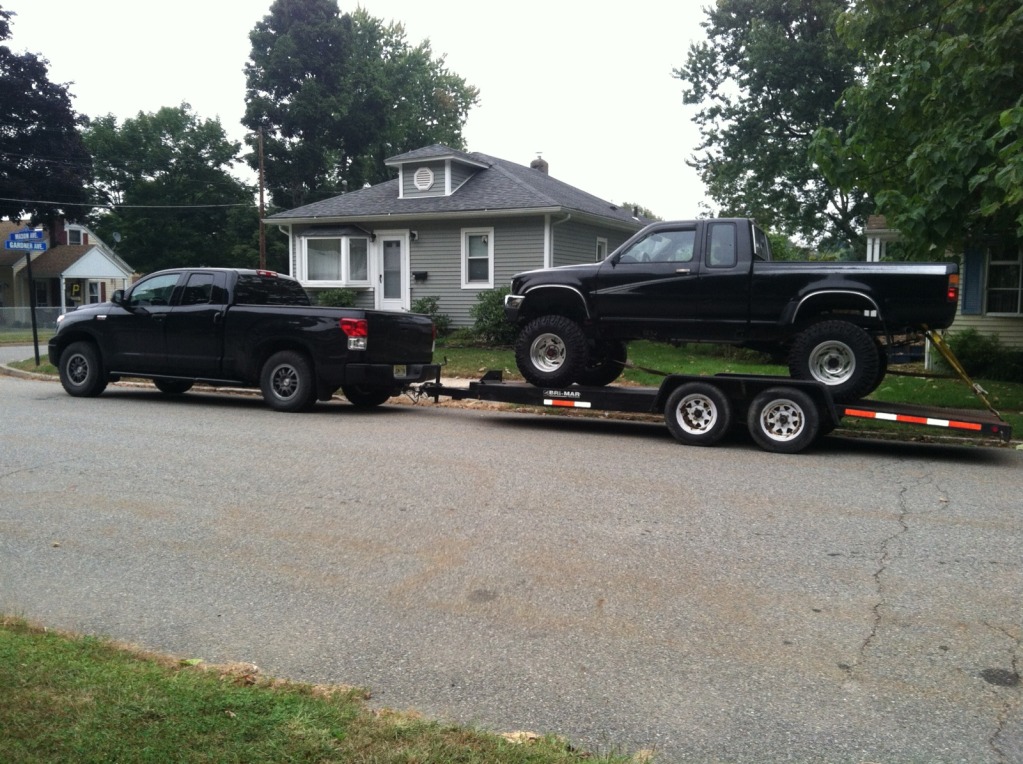
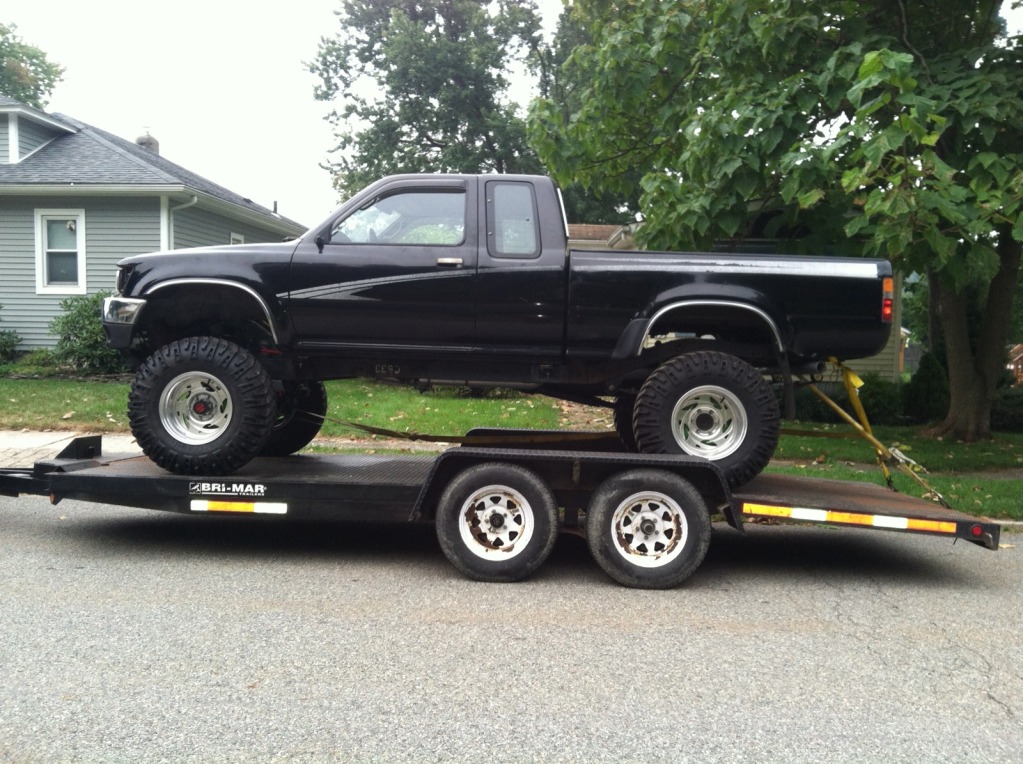
I'm finally done with 95 % of the build. I need to add a dual speed sensor. 1 for the Chevy computer to tell it how fast we're going, and 1 for the speedometer . The dash is electronic speedo and the case is cable drive. A few little odds and ends to tie up and on to the next project. Here's a few shots on the trailer as I'm headed to the alignment shop tomorrow .
Sep 13, 2013 | 08:19 PM
#15
Registered User
Joined: Jan 2011
Posts: 1,051
Likes: 0
From: Memphis, TN
Yes..as I'm reading it, I start liking something you're doing and wonder how it's gonna end up and then I keep scrolling and there it is! Haha, very quickly built from an Internet point of view. I love the colors and those tires, too.
Awesome build!
Awesome build!
Sep 14, 2013 | 04:01 PM
#16
Thread Starter
Registered User
Joined: Sep 2013
Posts: 37
Likes: 0
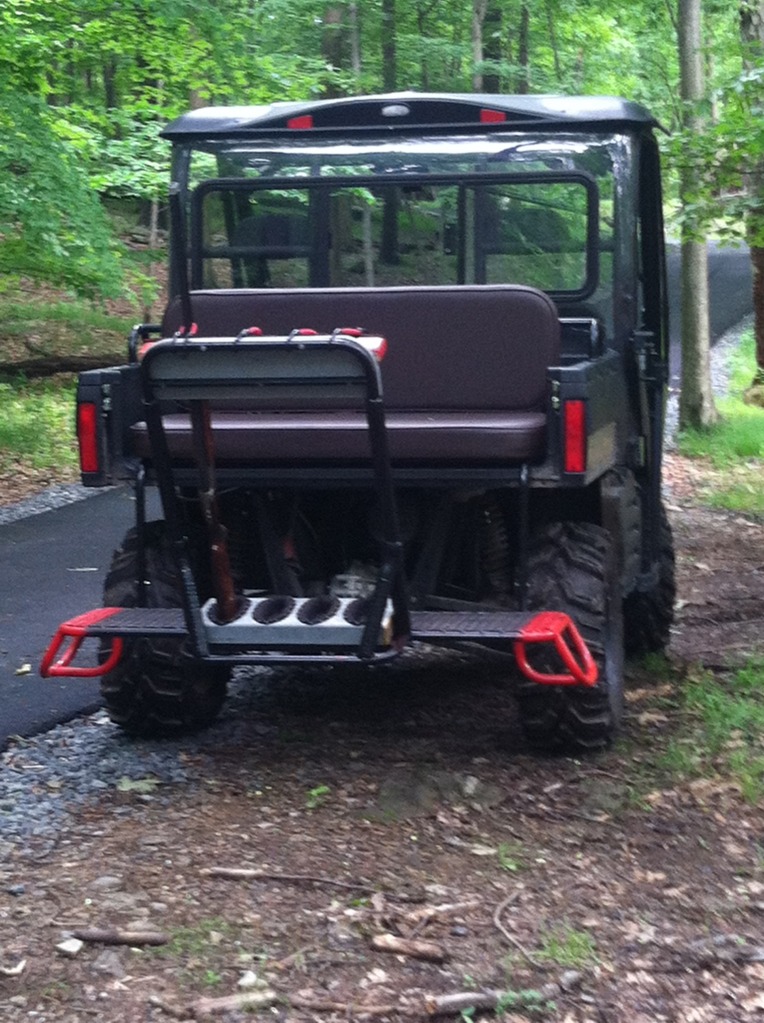
I bought this April 18th. Started tearing into it on the 25th. I worked on it 2 days a week. Plus I made a few other doodads. I made this seat /gun rack for a friend of mine.
I welded rim stiffeners for a FJ cruiser.

And a few sets of gusset end spindles for FJ cruiser/ 4 runner / Tacoma .

I am happy to see my dream come reality. Lots of work, lots of research, lots of money. But it's mine and its built, not bought.
I welded rim stiffeners for a FJ cruiser.
And a few sets of gusset end spindles for FJ cruiser/ 4 runner / Tacoma .
I am happy to see my dream come reality. Lots of work, lots of research, lots of money. But it's mine and its built, not bought.

Thread
Thread Starter
Forum
Replies
Last Post
Road Bull
86-95 Trucks & 4Runners
23
Oct 10, 2015 04:55 PM


