
cwapface's 1987 Pickup Restore Thread
 Sep 13, 2013 | 12:54 PM
#1

Thread Starter
Registered User
Joined: Jan 2013
Posts: 19
Likes: 0
cwapface's 1987 Pickup Restore Thread
This is a few years worth of pain and photos, condensed into forum format. Thanks to everyone that contributed their knowledge to a successful build!
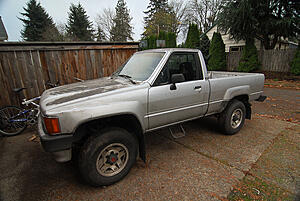
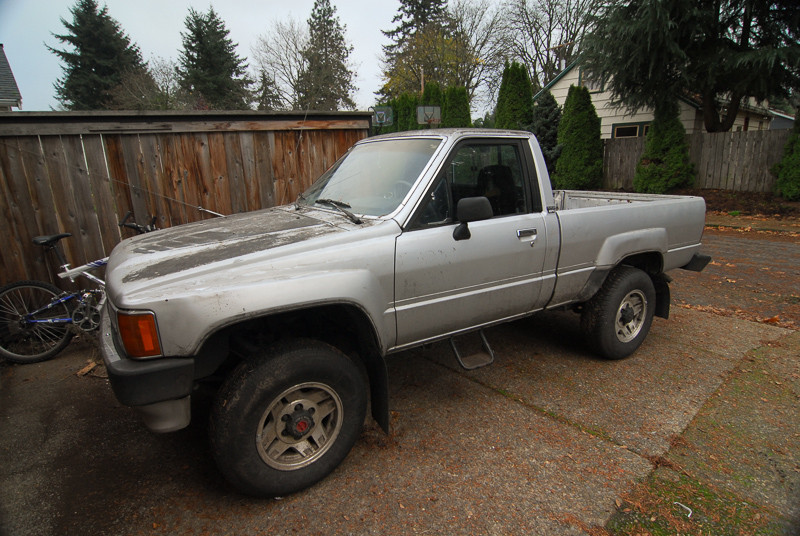
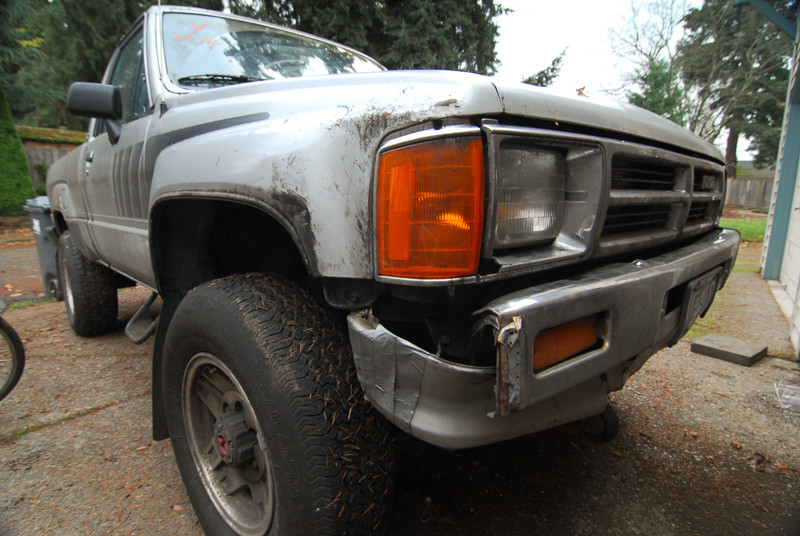
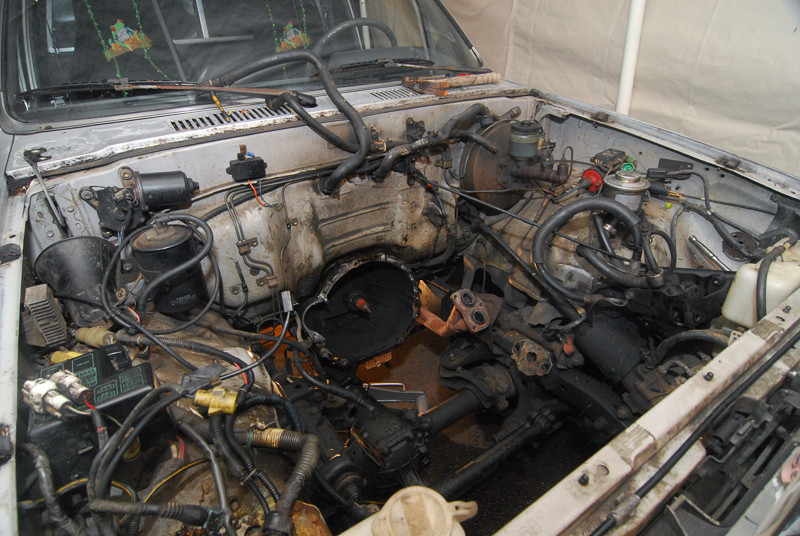
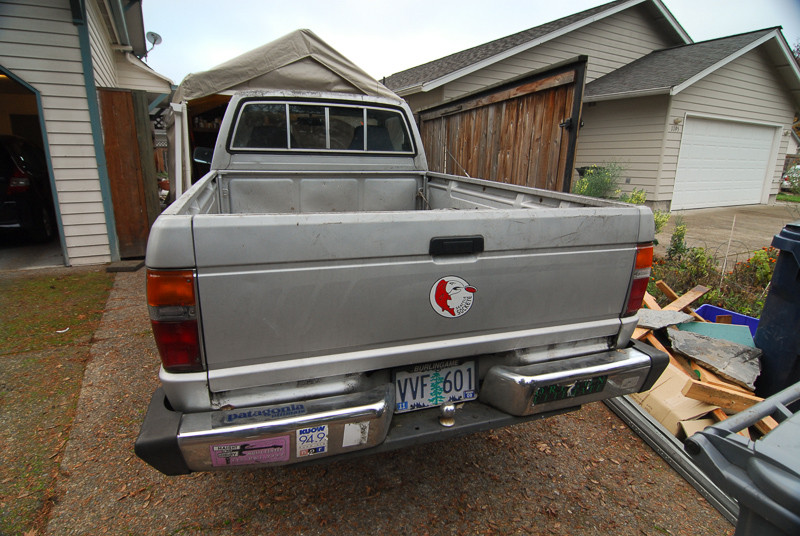
Hereafter chronicles the work that I have done on this truck, from 2008 to current where it is mere moments away from being completed. The story begins when my brother parked it under a tree in Seattle for 3 years without washing it. It wasn't in any kind of condition before that, but now the sap had eaten through the paint and to top it off, the infamous timing chain guide broke and the chain wore through the front cover, thereby allowing the cocktail mix of oil and water to occur. The truck was towed to me with a bad engine and 145k miles.
This is going to be super long with a lot of pictures, so hold on to your butts.


Go Sockeye!

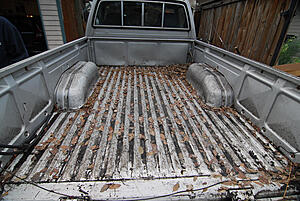
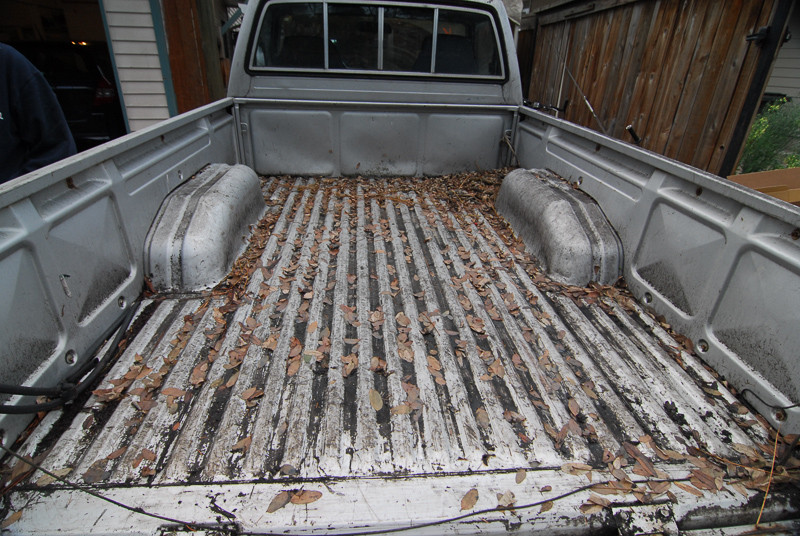
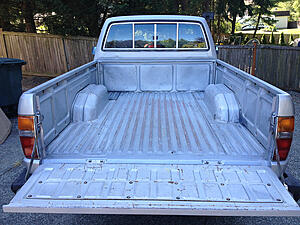
A few rust holes in the bed, I call them water drains
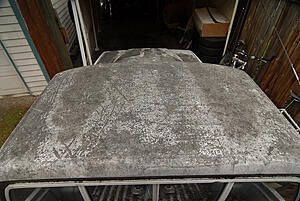

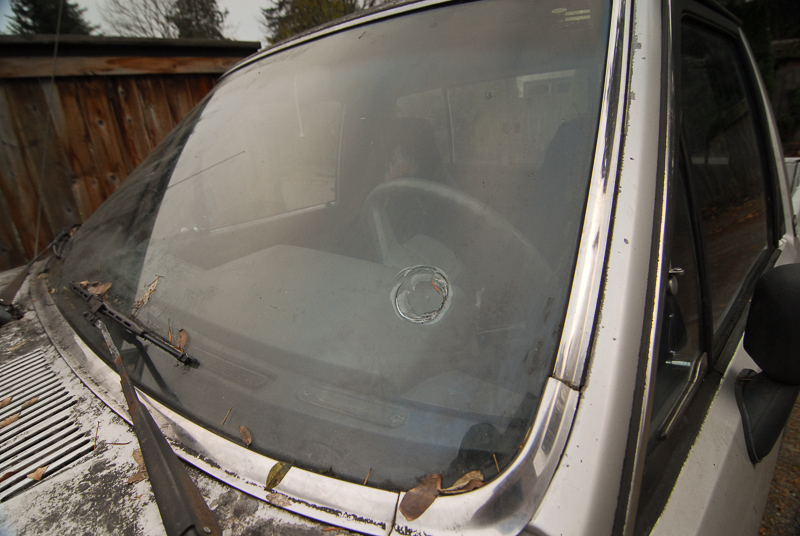
This might be the worst detailing 50/50 shot ever, I am using simple green and a scouring pad and its not getting everything off
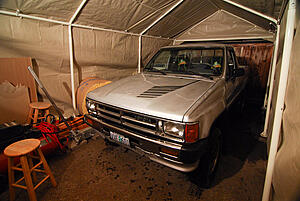
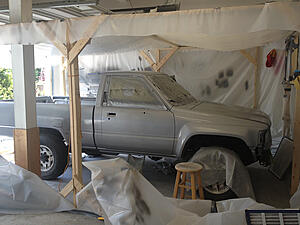
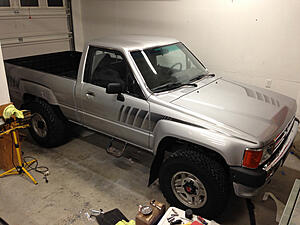
Moved into its new home. The paint looks good in the dark when its all wet
Hereafter chronicles the work that I have done on this truck, from 2008 to current where it is mere moments away from being completed. The story begins when my brother parked it under a tree in Seattle for 3 years without washing it. It wasn't in any kind of condition before that, but now the sap had eaten through the paint and to top it off, the infamous timing chain guide broke and the chain wore through the front cover, thereby allowing the cocktail mix of oil and water to occur. The truck was towed to me with a bad engine and 145k miles.
This is going to be super long with a lot of pictures, so hold on to your butts.


Go Sockeye!

A few rust holes in the bed, I call them water drains
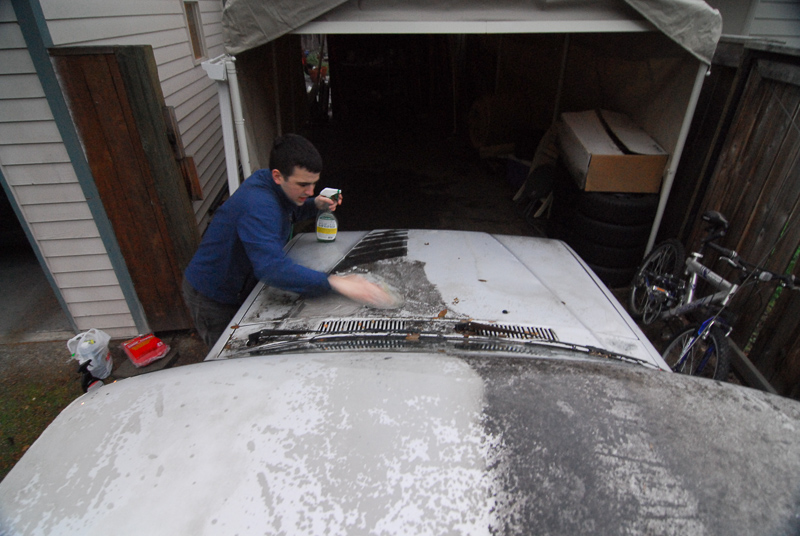
This might be the worst detailing 50/50 shot ever, I am using simple green and a scouring pad and its not getting everything off
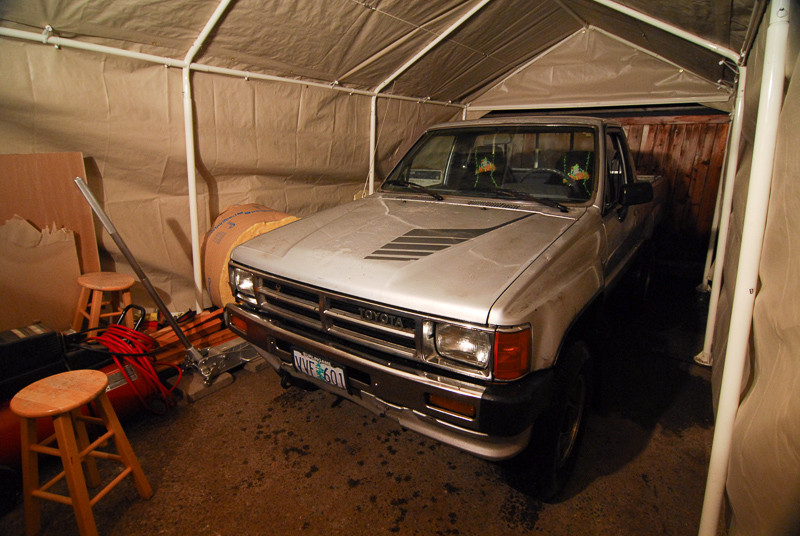
Moved into its new home. The paint looks good in the dark when its all wet
Sep 13, 2013 | 12:57 PM
#2
Thread Starter
Registered User
Joined: Jan 2013
Posts: 19
Likes: 0
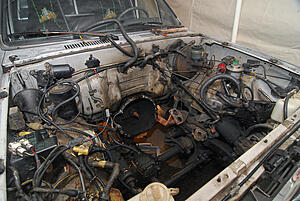
Know thy enemy.

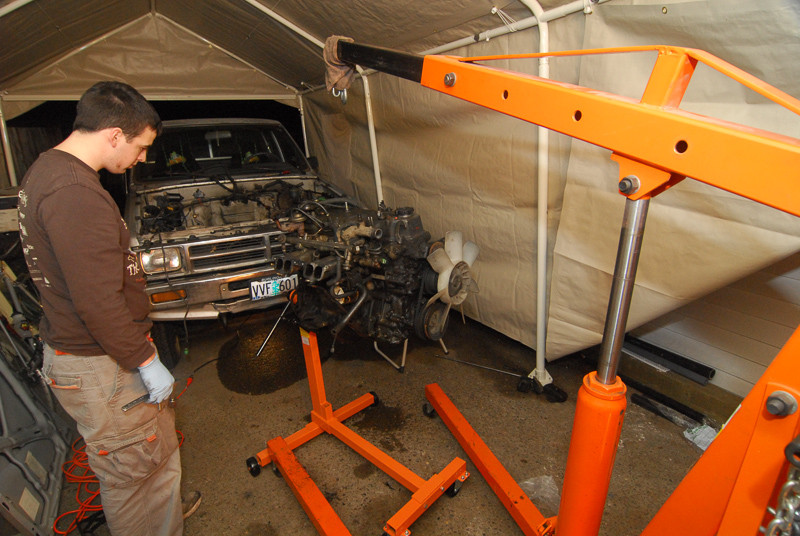
Poof its gone, I will spare you the repetitive photos of me removing a part, carefully storing the nuts and bolts in labeled ziplock bags, cleaning the part, and storing them on shelves. Spoiler alert, a lot of stuff gets lost and I get confused later on.

Now that is a tired old motor

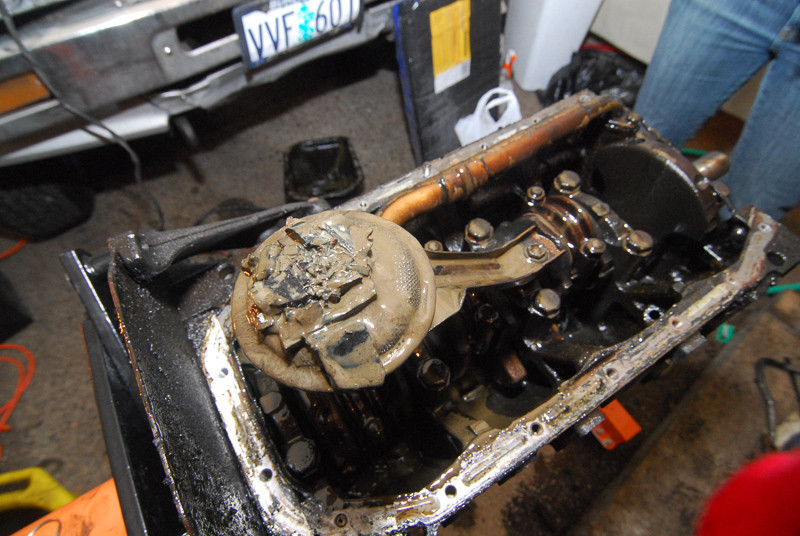
How gross is that, all the timing chain guide pieces in sludge
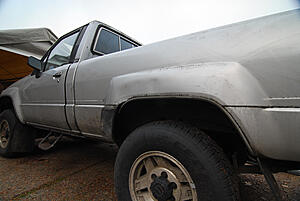
Look at that sweet corrosion on the wheels, I'll have to do something about that later

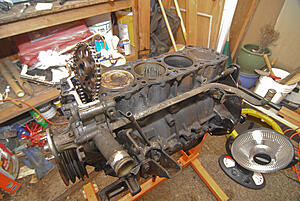
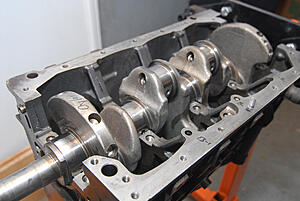
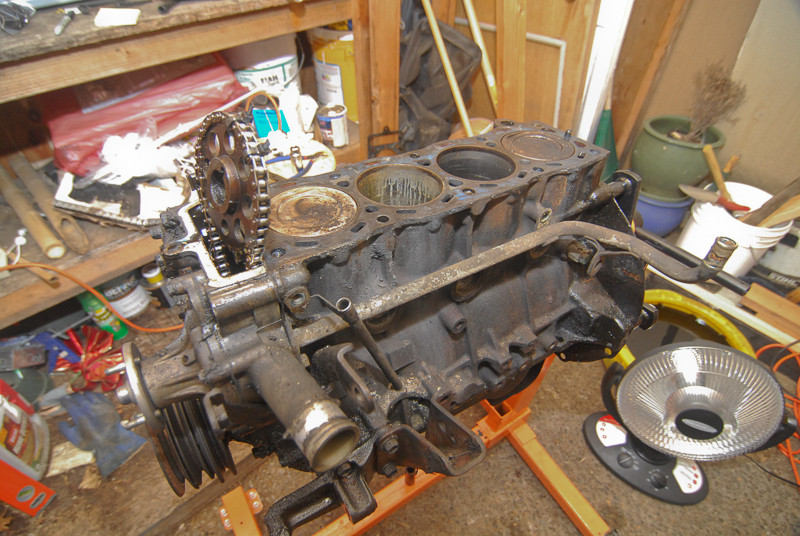
Back from the machine shop, all bored and milled and whatnot

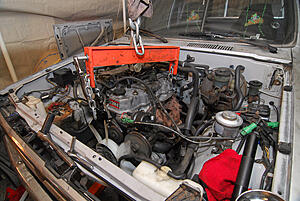
Dropping it in solo is easy with that leveler

Boom, done.
Or was it? I tried to start it and it made the horrible whirr of zero compression. I adjusted the valves and voila, started right up. Or did it? Well, it blew huge clouds of white smoke out the exhaust. Huge, neverending clouds. I contemplated setting fire to the truck, but someone online suggested that since the block and head have been milled, the locating pin is now too tall for the head to seat correctly. I disassembled everything in place, dremeled off half the pin, and holy smokes it ran great.
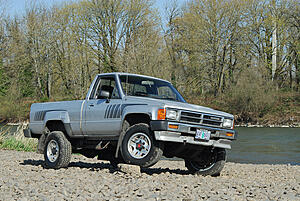
Flexing that IFS, baby
But wait, there's more! Having the truck run correctly wasn't enough, I wanted to do bodywork and paint and make it look nice again. I now know this is a terrible idea, but it seemed so smart at the time. In the next post, I fast forward to August 2012 where I put the truck under the cosmetic knife.

Poof its gone, I will spare you the repetitive photos of me removing a part, carefully storing the nuts and bolts in labeled ziplock bags, cleaning the part, and storing them on shelves. Spoiler alert, a lot of stuff gets lost and I get confused later on.
Now that is a tired old motor
How gross is that, all the timing chain guide pieces in sludge
Look at that sweet corrosion on the wheels, I'll have to do something about that later
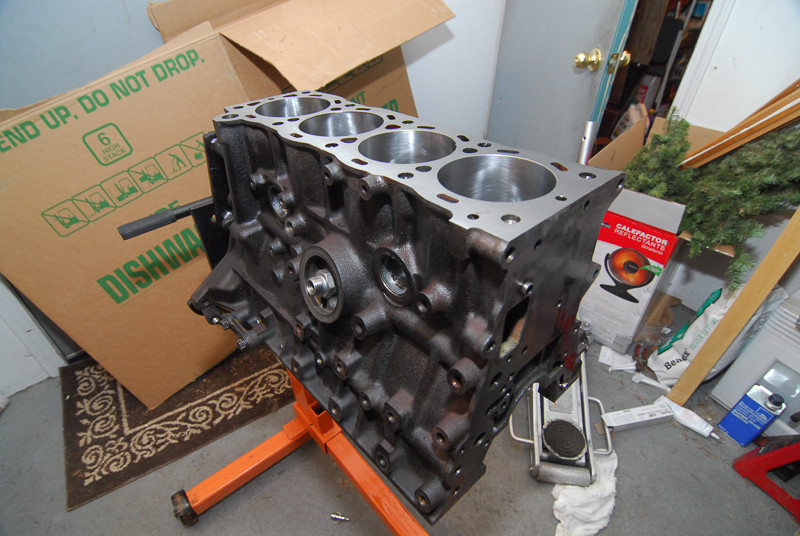
Back from the machine shop, all bored and milled and whatnot

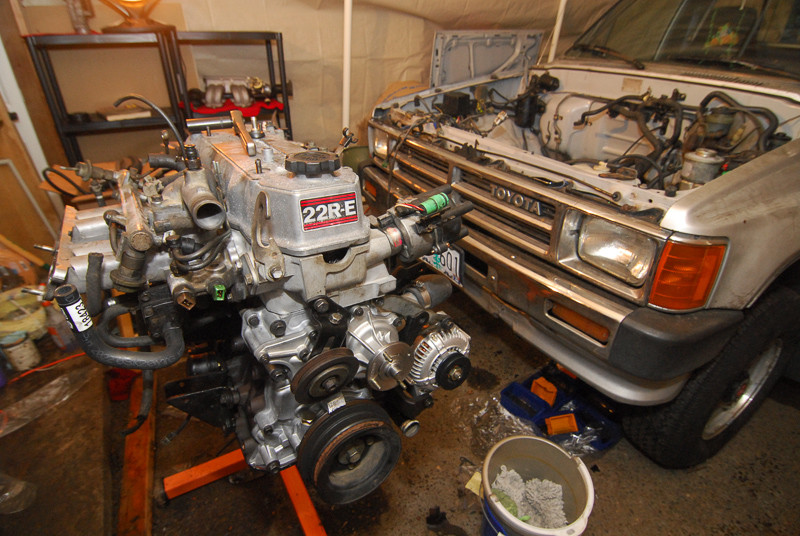

Dropping it in solo is easy with that leveler
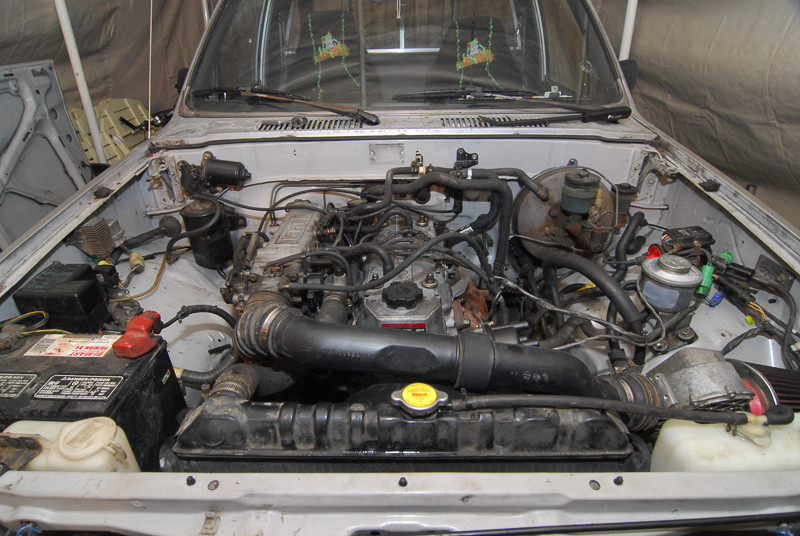
Boom, done.
Or was it? I tried to start it and it made the horrible whirr of zero compression. I adjusted the valves and voila, started right up. Or did it? Well, it blew huge clouds of white smoke out the exhaust. Huge, neverending clouds. I contemplated setting fire to the truck, but someone online suggested that since the block and head have been milled, the locating pin is now too tall for the head to seat correctly. I disassembled everything in place, dremeled off half the pin, and holy smokes it ran great.

Flexing that IFS, baby
But wait, there's more! Having the truck run correctly wasn't enough, I wanted to do bodywork and paint and make it look nice again. I now know this is a terrible idea, but it seemed so smart at the time. In the next post, I fast forward to August 2012 where I put the truck under the cosmetic knife.
Sep 13, 2013 | 01:01 PM
#3
Thread Starter
Registered User
Joined: Jan 2013
Posts: 19
Likes: 0
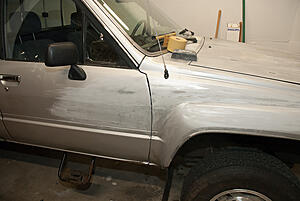
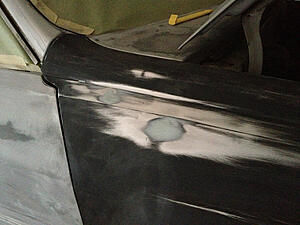
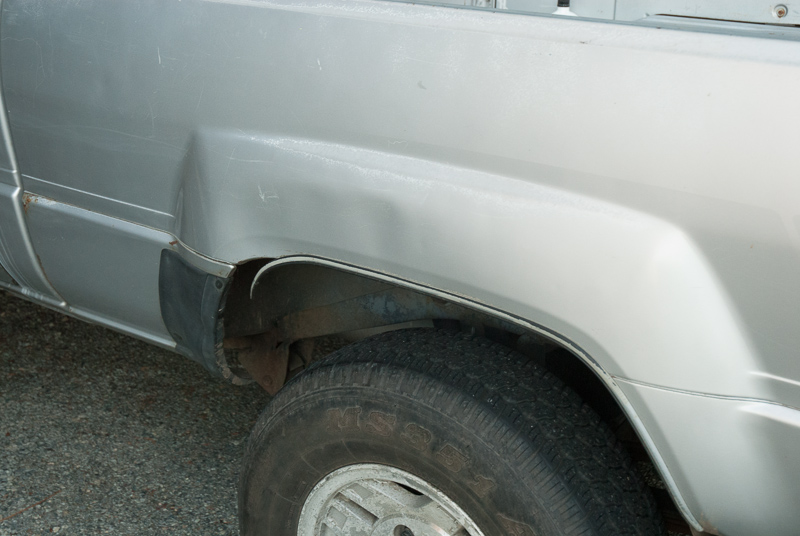
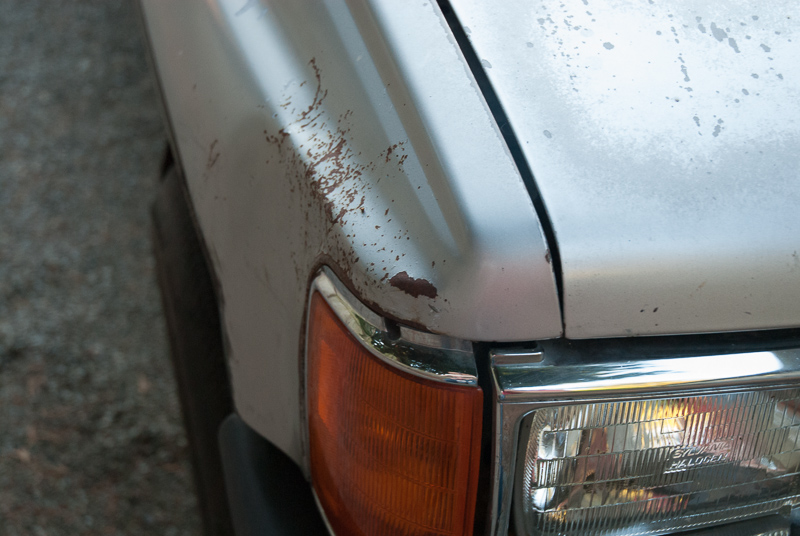
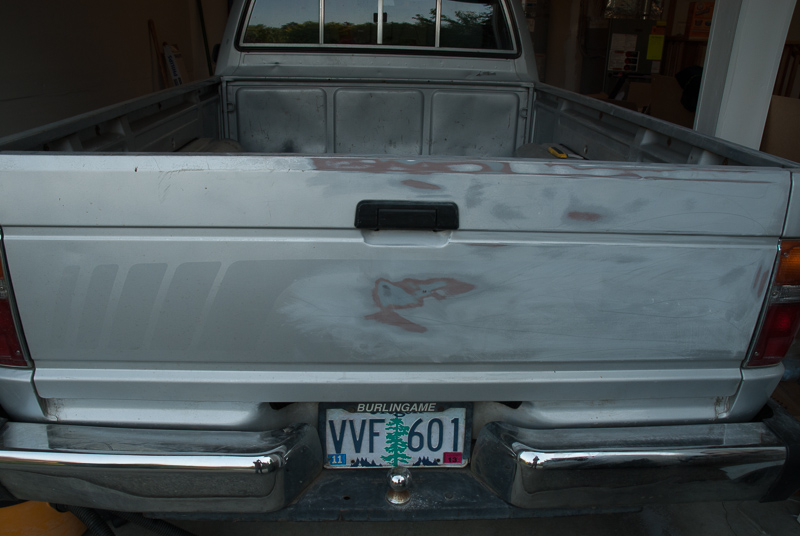
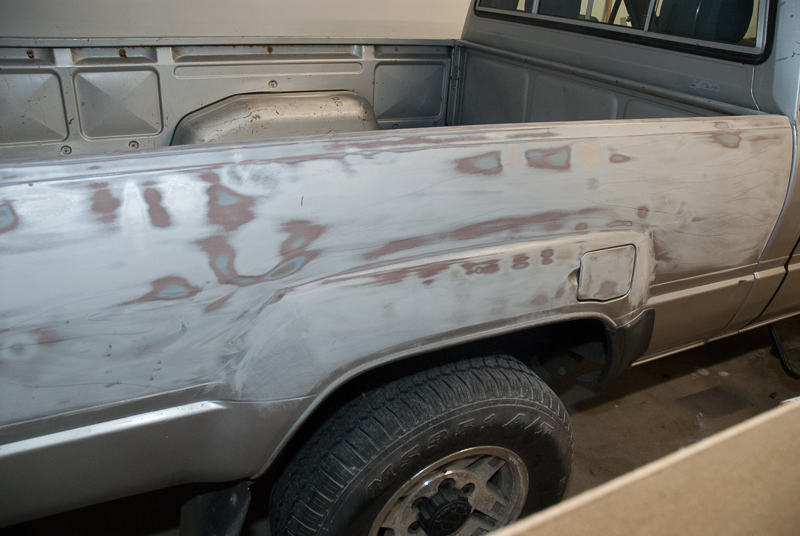
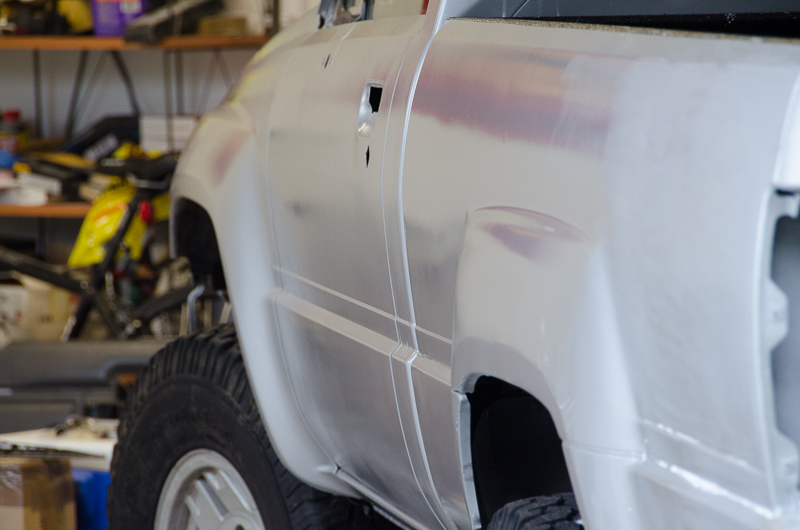
All of the panels have at least one unsightly dent, but here's the worst of the damage spots:
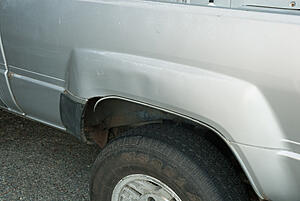
Thinking about attacking this with a hammer and body filler
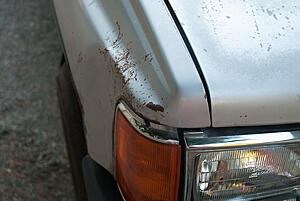
Too many tight compound curves, I'll have to think about this

This doesn't look fun, slide hammer maybe?
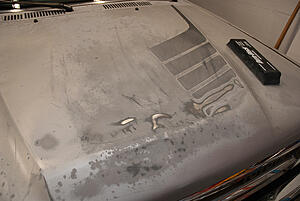
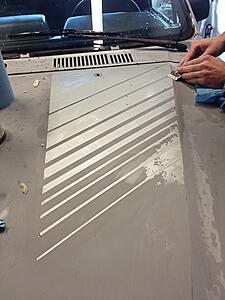
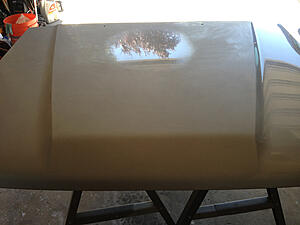
I put many hours into cleaning this hood up before realizing I can't get the dents out
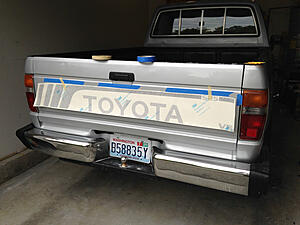
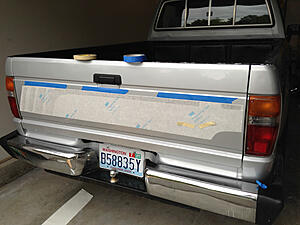
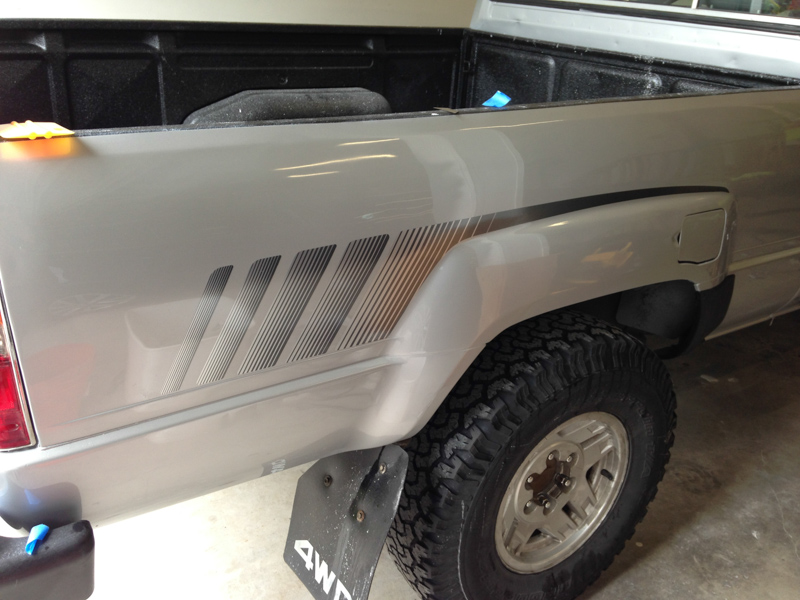
The 80's stripes have to come off, but they will definitely be going back on
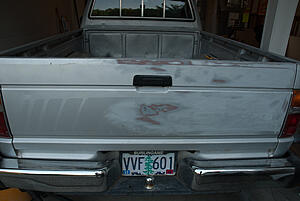
This is no fun
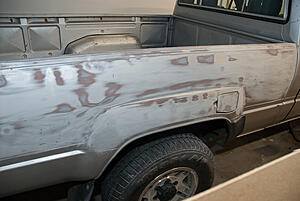
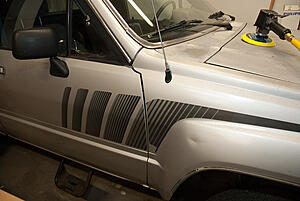
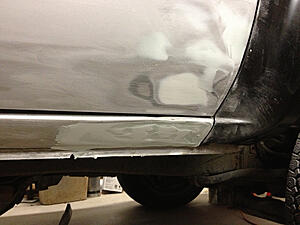
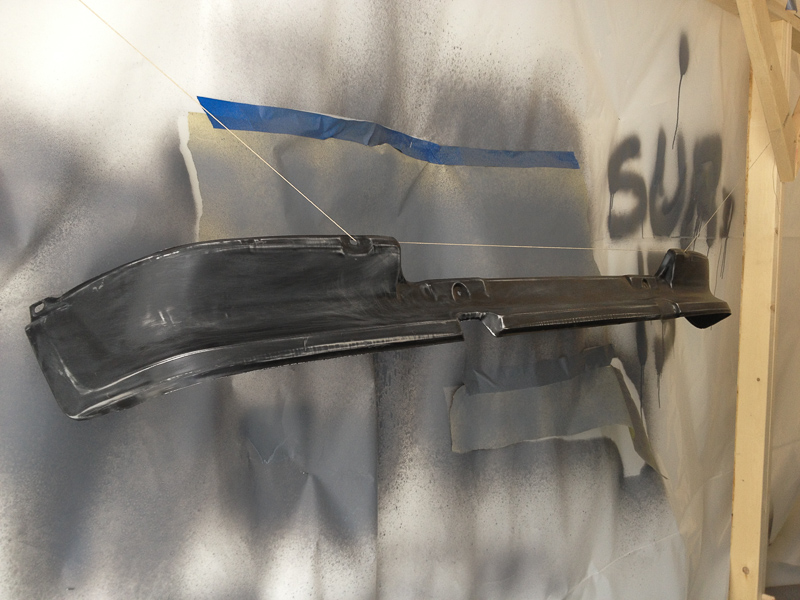
Wavy, wavy rear. I did it all by feel, but I probably should have sprayed primer on so I could see the obvious stuff in the wet reflections
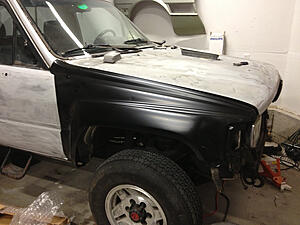
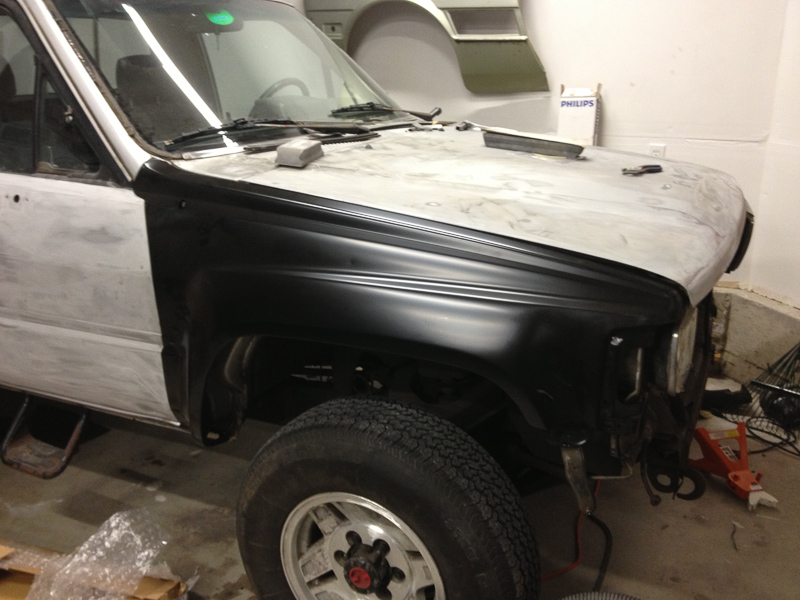
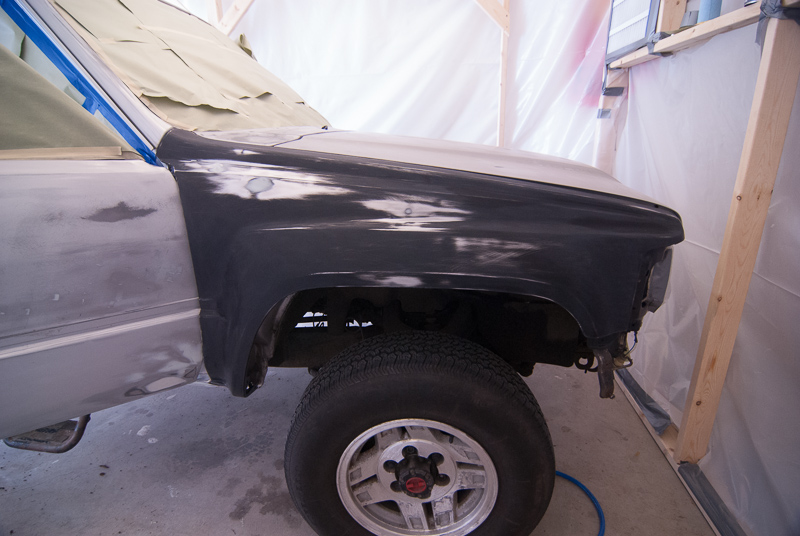
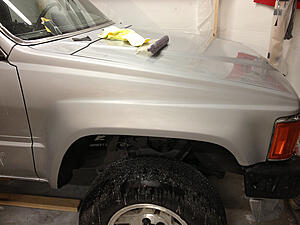
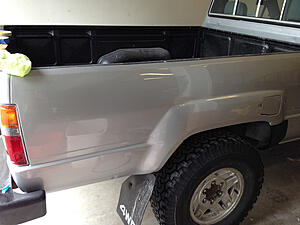
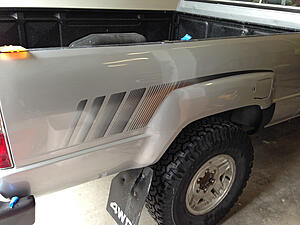
New OEM fender, thanks Amazon. The aftermarket one didn't fit worth a crap but the gaps on this look pretty good
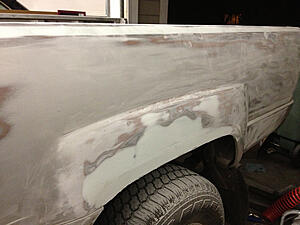
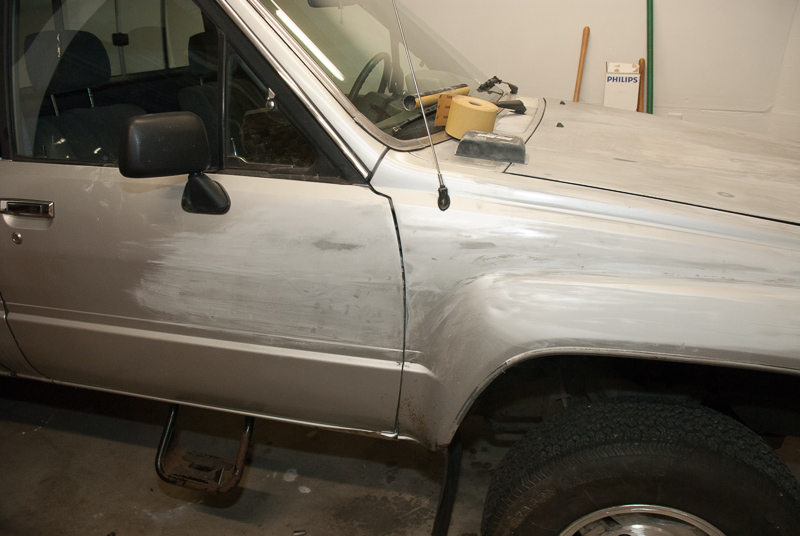
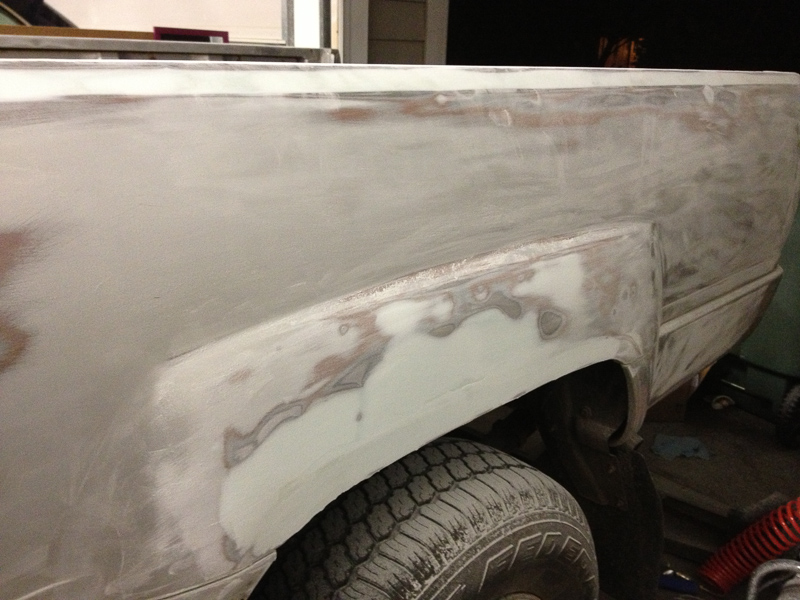
My hammer/bondo approach feels like it is working but I can't really tell if I am getting the right crease line in the fender lip. After 3 or 4 thin passes of filler, I think it might just work
Don't judge me, internet
Found another silver hood, and I am pretty good at taking off stickers by now
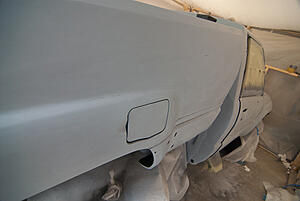
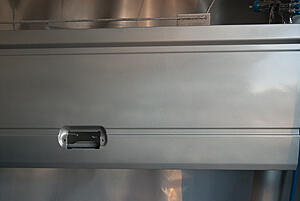
My first mod, filling the antenna hole

And the trap is set. If you ever find yourself in this situation and you are not a professional painter (and your paint booth has so little space), just stop what you are doing and get it to the bodyshop. Coming up next: the reasons why I say that
Thinking about attacking this with a hammer and body filler
Too many tight compound curves, I'll have to think about this

This doesn't look fun, slide hammer maybe?

I put many hours into cleaning this hood up before realizing I can't get the dents out
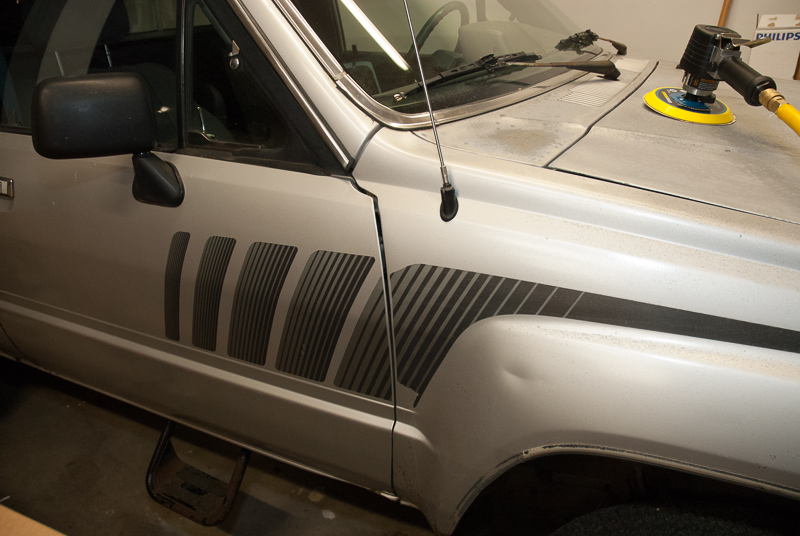
The 80's stripes have to come off, but they will definitely be going back on
This is no fun
Wavy, wavy rear. I did it all by feel, but I probably should have sprayed primer on so I could see the obvious stuff in the wet reflections
New OEM fender, thanks Amazon. The aftermarket one didn't fit worth a crap but the gaps on this look pretty good
My hammer/bondo approach feels like it is working but I can't really tell if I am getting the right crease line in the fender lip. After 3 or 4 thin passes of filler, I think it might just work

Don't judge me, internet

Found another silver hood, and I am pretty good at taking off stickers by now

My first mod, filling the antenna hole

And the trap is set. If you ever find yourself in this situation and you are not a professional painter (and your paint booth has so little space), just stop what you are doing and get it to the bodyshop. Coming up next: the reasons why I say that
Sep 13, 2013 | 01:02 PM
#4
Thread Starter
Registered User
Joined: Jan 2013
Posts: 19
Likes: 0
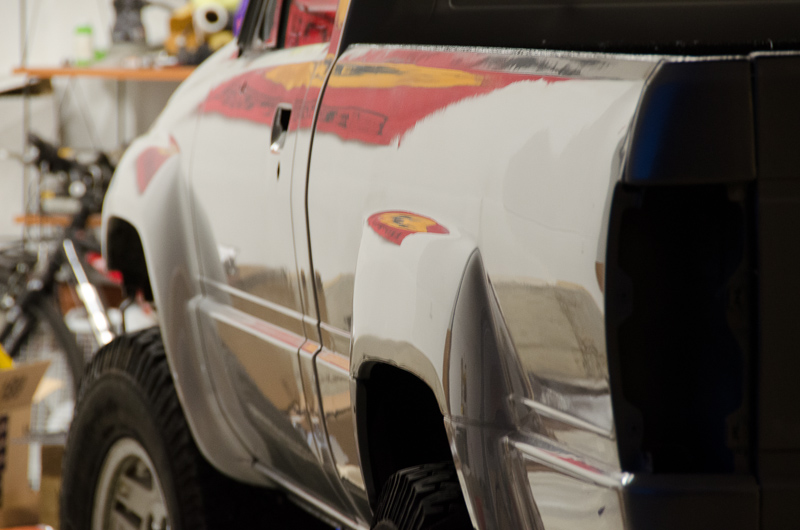
Its May 2013 now and the truck is as prepped as it is going to be. I've got the epoxy primer ready to go and I think I've got the paint gun all dialed in (hint: not even close). Only one way to find out if this is going to work

Everybody loves a good before/after, right
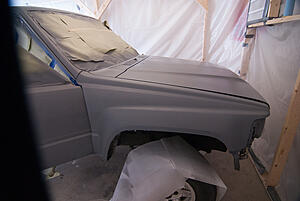
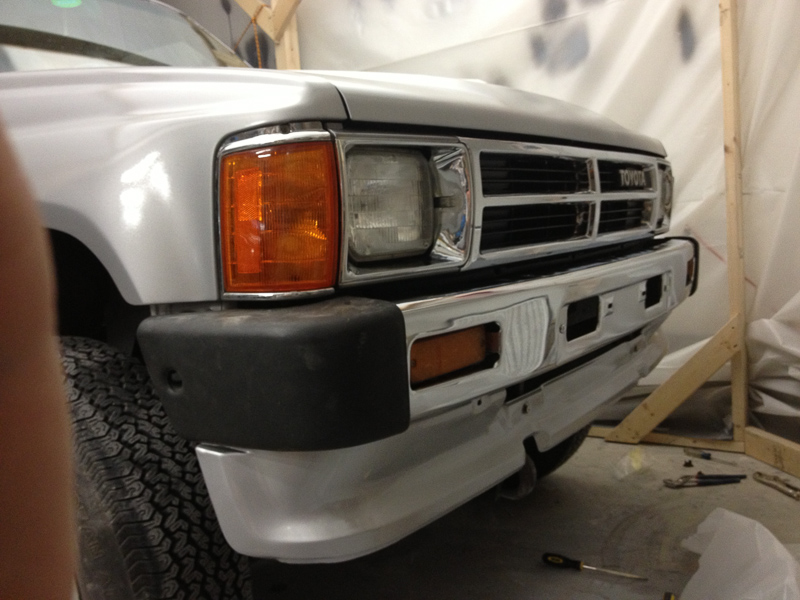
Its finally all one color!

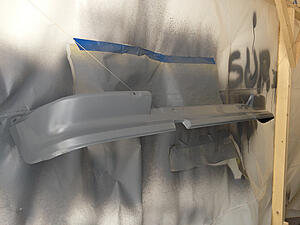
I think a gang tagged my paint booth. New front lip, thanks Amazon
This makes it look pretty good, but the pressure at the gun was way too low. Paint was basically splattering out and I didn't think anything of it, so it went on way too thick and I had to sand everything down. All you painters that know what you are doing, feel free to laugh now. It gets worse.
Here's the nitty gritty details of everything I did wrong, and hopefully someone will read this and not repeat it. The pain gun I used was rated at 13cfm @ 30 psi. What that doesn't mean is set your regulator so the gun sees 30psi, it means while you have the trigger pulled and air is flowing, it should see 30psi. Big difference there. To get that kind of flow, I needed to set my harbor freight compressor at ~100 psi, then after it went through the harbor freight fittings and a 3/8" hose, it would be 30psi at the gun. As soon as the tank gets below 100 psi, I have to wait for it to top off which takes forever. Found out the compressor is rated for 4cfm @ 90psi. Barf.
I tried swapping out compressors, and rented a wheelbarrow gas powered compressor rated at 10cfm @ 90psi. I still had to wait for it to catch up once in a while but it did much better. Then I swapped out the air fittings with Milton V-style hi-flo ones. Holy crap. I turned the regulator down to 60psi and still got better than 30psi at the gun, it was awesome. I didn't figure any of this out until the very end, so you can see the ill effects of not having a proper air supply.
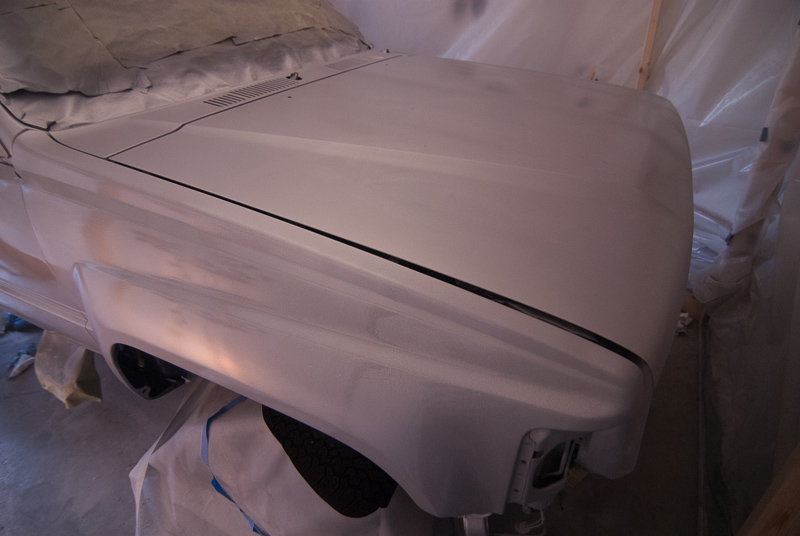
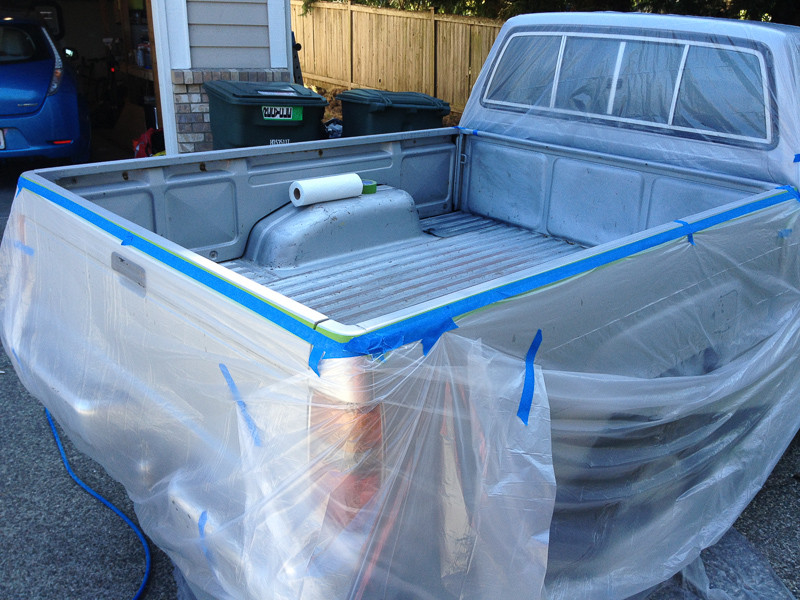
Ok, back to the pics. Epoxy primer has been sanded and its ready for 2k primer.

Lookin good, this wheelbarrow compressor really sped up progress.
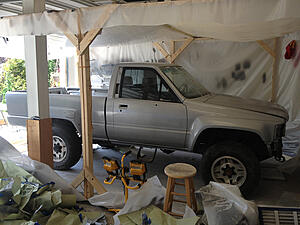
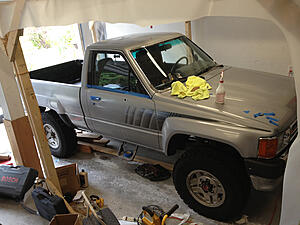
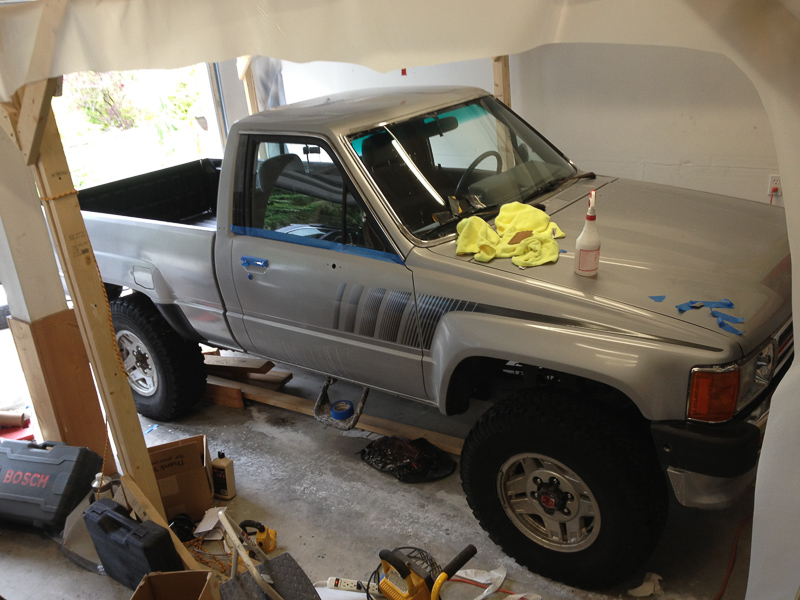
My janky, crowded setup so I could get the front of the bed and back of the cab too. If I could do it over again I wouldn't have bothered.
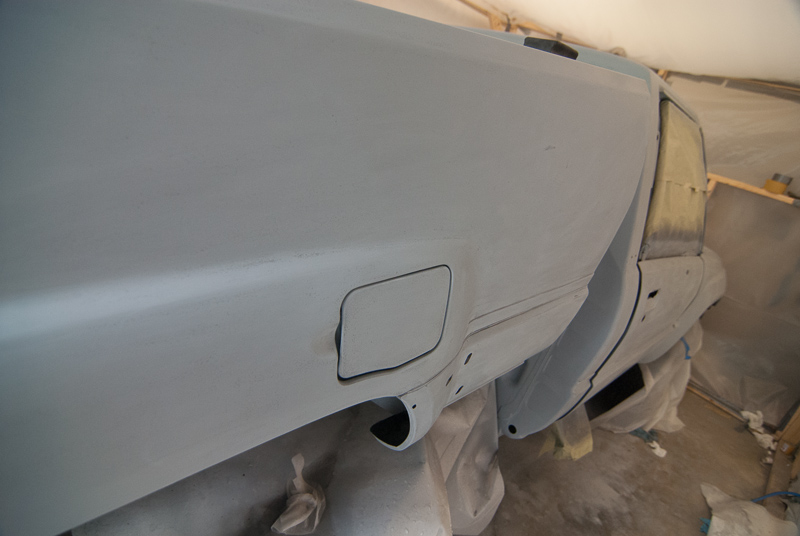
I found a few more spots that needed work and put more filler on, then another coat of primer.
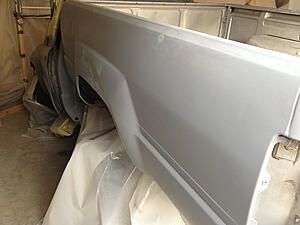
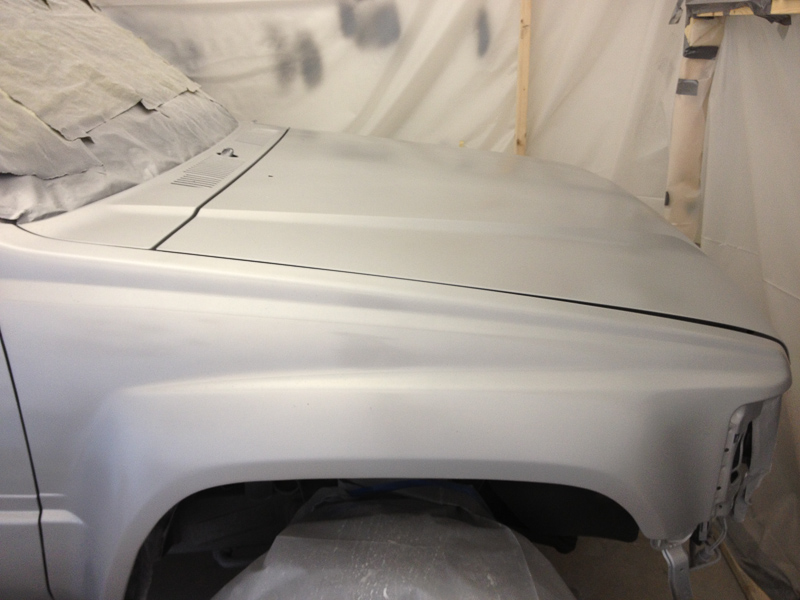
Almost ready for color

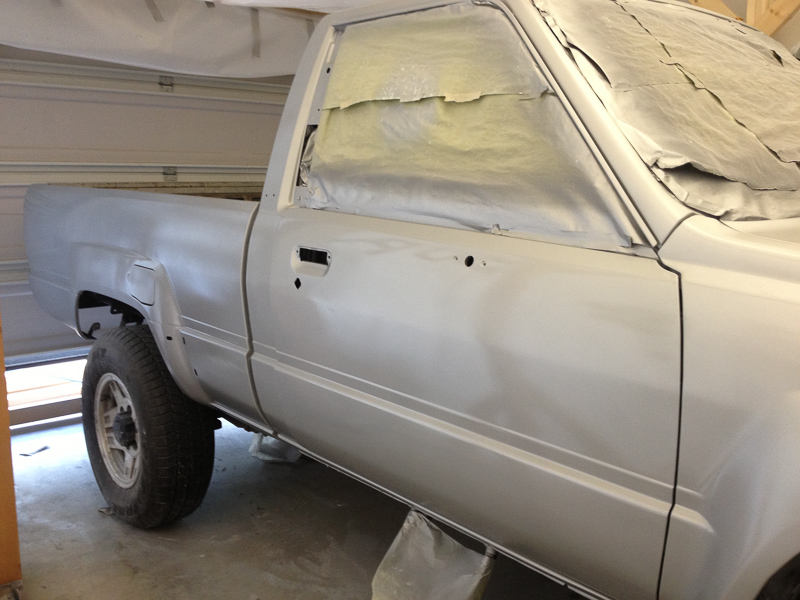
Silver Metallic, the bane of my existence. If I only would have known how difficult it is to get right...
Hmm that doesn't look too shabby

What isn't totally apparent from these pics but is hard to miss in person, is tiger stripes. That's what happens when you put nice, thick, wet coats on without backing off and misting or doing lighter coats. The spray is so heavy it makes all the metallic flakes sit a certain direction, Then when you do another pass it makes another flake pattern below it. Its a distinct light/dark stripe everywhere I messed up, and with my crappy lighting in the boot I didn't really notice it. I went ahead and applied 2 coats of clear, sealing in the badness. I did not have my happy face on that day.
Everybody loves a good before/after, right

Its finally all one color!
I think a gang tagged my paint booth. New front lip, thanks Amazon

This makes it look pretty good, but the pressure at the gun was way too low. Paint was basically splattering out and I didn't think anything of it, so it went on way too thick and I had to sand everything down. All you painters that know what you are doing, feel free to laugh now. It gets worse.
Here's the nitty gritty details of everything I did wrong, and hopefully someone will read this and not repeat it. The pain gun I used was rated at 13cfm @ 30 psi. What that doesn't mean is set your regulator so the gun sees 30psi, it means while you have the trigger pulled and air is flowing, it should see 30psi. Big difference there. To get that kind of flow, I needed to set my harbor freight compressor at ~100 psi, then after it went through the harbor freight fittings and a 3/8" hose, it would be 30psi at the gun. As soon as the tank gets below 100 psi, I have to wait for it to top off which takes forever. Found out the compressor is rated for 4cfm @ 90psi. Barf.
I tried swapping out compressors, and rented a wheelbarrow gas powered compressor rated at 10cfm @ 90psi. I still had to wait for it to catch up once in a while but it did much better. Then I swapped out the air fittings with Milton V-style hi-flo ones. Holy crap. I turned the regulator down to 60psi and still got better than 30psi at the gun, it was awesome. I didn't figure any of this out until the very end, so you can see the ill effects of not having a proper air supply.
Ok, back to the pics. Epoxy primer has been sanded and its ready for 2k primer.
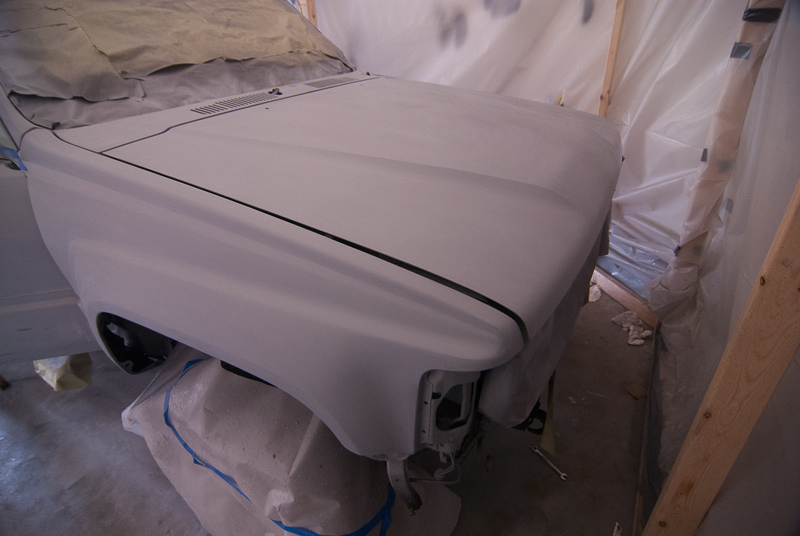
Lookin good, this wheelbarrow compressor really sped up progress.
My janky, crowded setup so I could get the front of the bed and back of the cab too. If I could do it over again I wouldn't have bothered.
I found a few more spots that needed work and put more filler on, then another coat of primer.
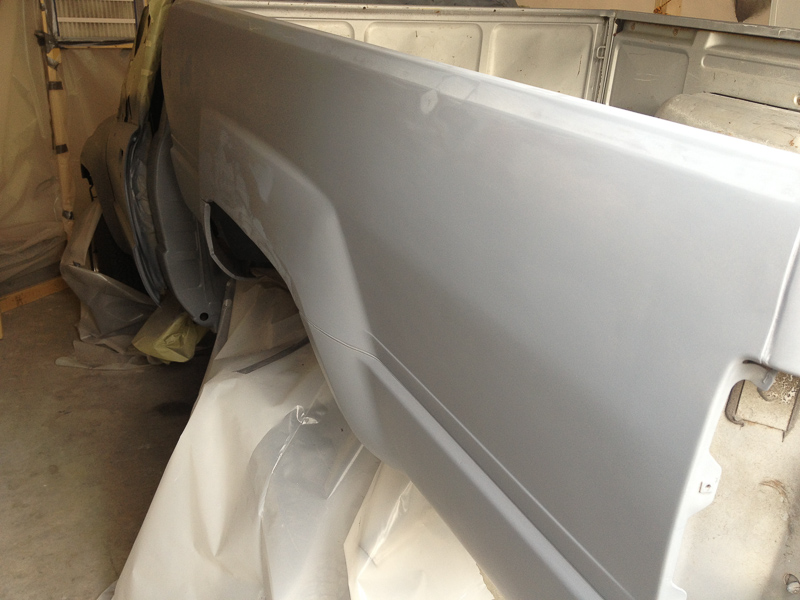
Almost ready for color
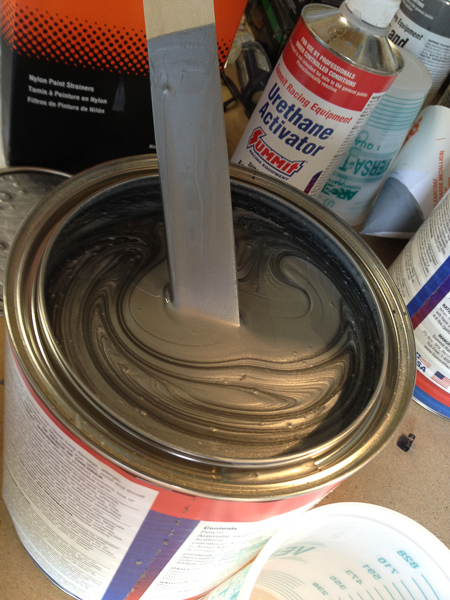
Silver Metallic, the bane of my existence. If I only would have known how difficult it is to get right...
Hmm that doesn't look too shabby
What isn't totally apparent from these pics but is hard to miss in person, is tiger stripes. That's what happens when you put nice, thick, wet coats on without backing off and misting or doing lighter coats. The spray is so heavy it makes all the metallic flakes sit a certain direction, Then when you do another pass it makes another flake pattern below it. Its a distinct light/dark stripe everywhere I messed up, and with my crappy lighting in the boot I didn't really notice it. I went ahead and applied 2 coats of clear, sealing in the badness. I did not have my happy face on that day.
Sep 13, 2013 | 01:02 PM
#5
Thread Starter
Registered User
Joined: Jan 2013
Posts: 19
Likes: 0
It was about this time that I picked up the hi-flow fittings and painting was way easier. I sanded the body back down to color with 600 grit, then laid on a medium wet coat of silver, then a lighter coat going in different directions, then a 3rd super light coat from about 2 feet away. The silver looked uniform and nice this time. I then put 2 coats of clear on (saw some solvent bubbles last time I put down 3 coats). I don't think I laid them down thick enough, or at the very least I should have gone back over it with another few coats. HINDSIGHT!!!!

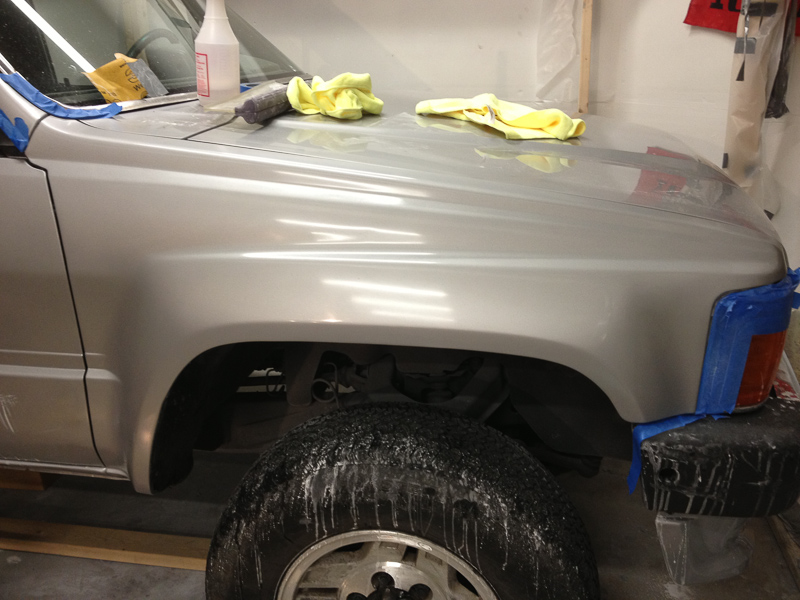
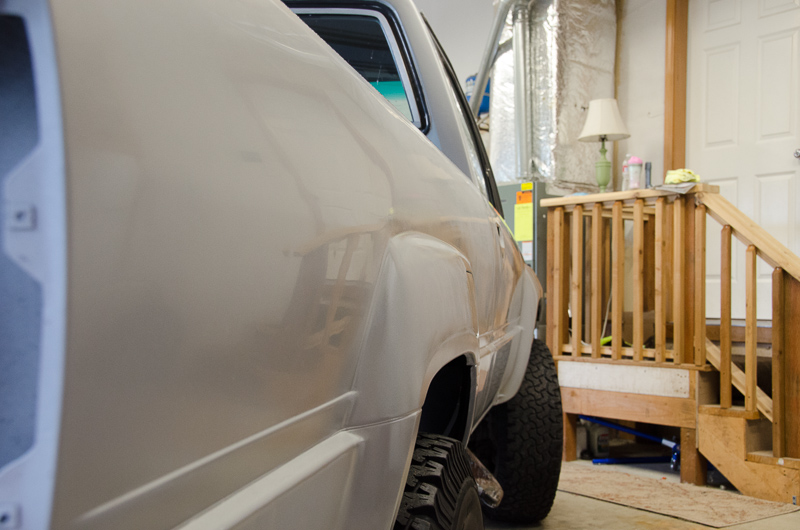
Now to do what I had been waiting 2 months to do, tear down the plastic and remove the masking. I convinced my wife I was on the home stretch here
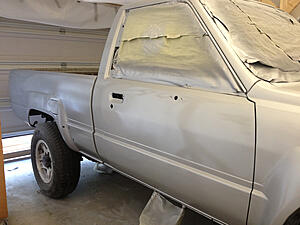
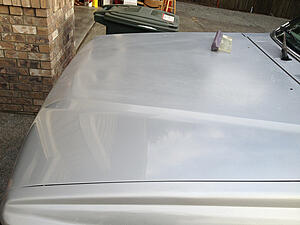
It looks like a truck again!
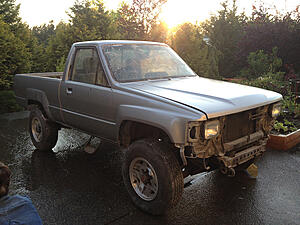
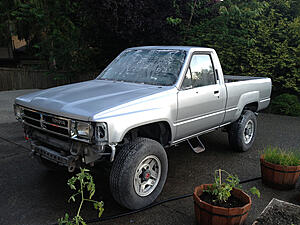
You can see the terrible clearcoat job, it should look wet and shiny. I figured I could polish it out, and boy was I right (and oh so wrong)
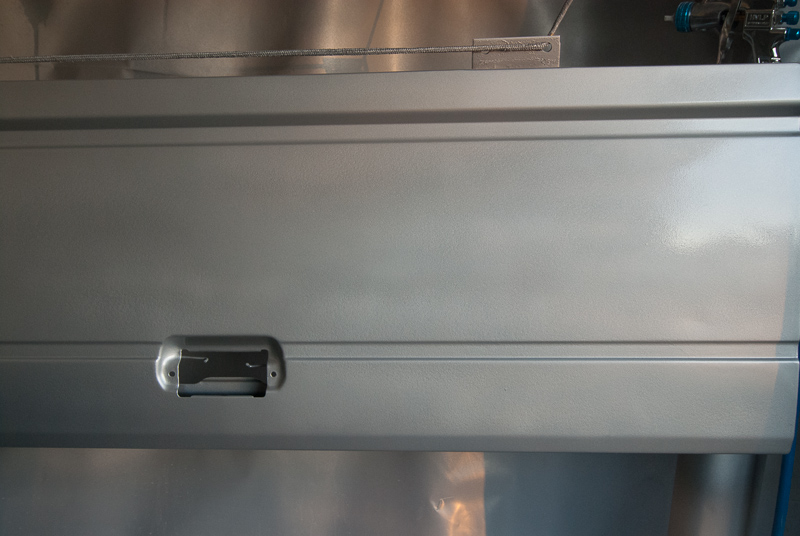
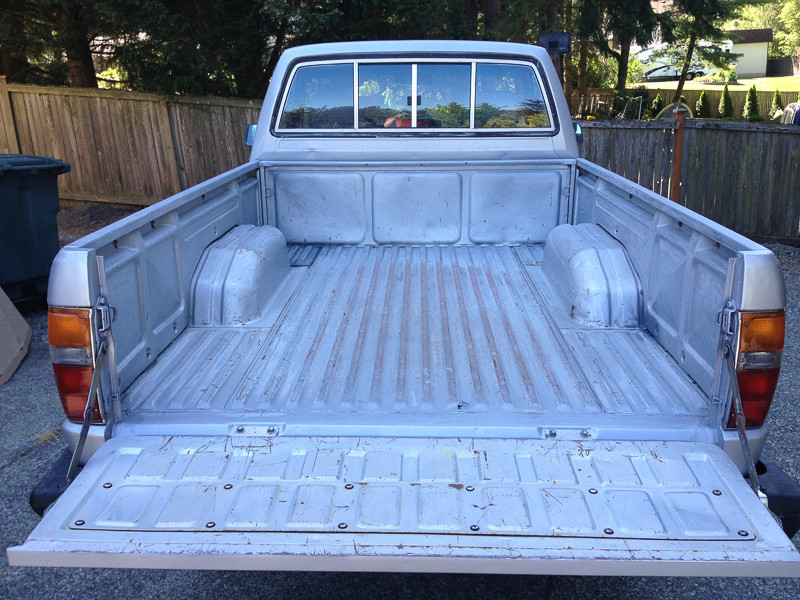
Now that the paint is dry I can do something about the awful looking truck bed. Yes it would be neat if I could restore it to factory fresh condition, but I am still going to use it to haul stuff and it is going to scratch up real quick. Bedliner it is

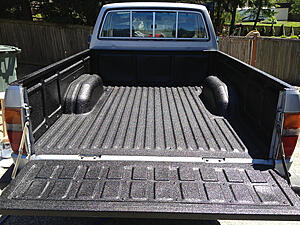
Easy!

Put on some fresh new chrome pieces, thanks Amazon. Seriously its almost as good as RockAuto for prices, but you get prime shipping and the awesome Amazon return policy for when they ship you a part that doesn't fit or is for the wrong model.

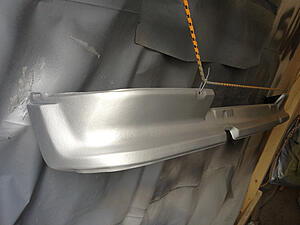
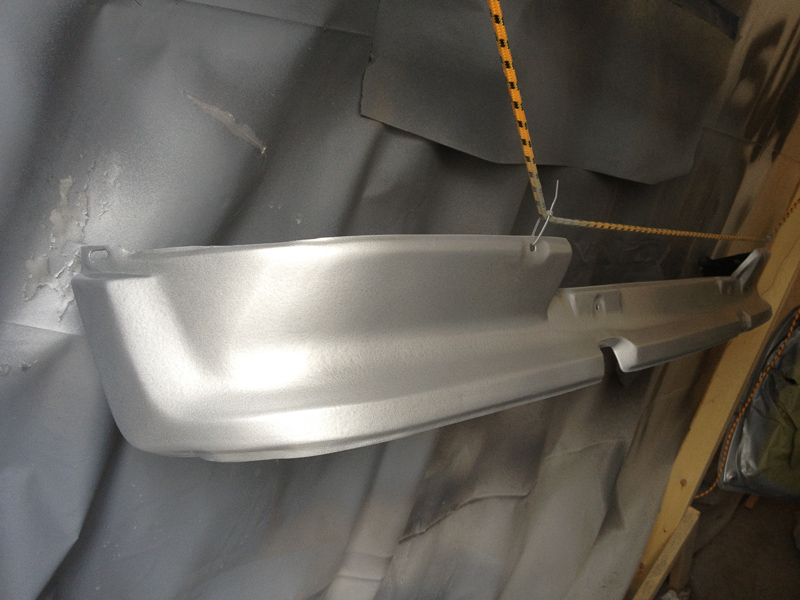
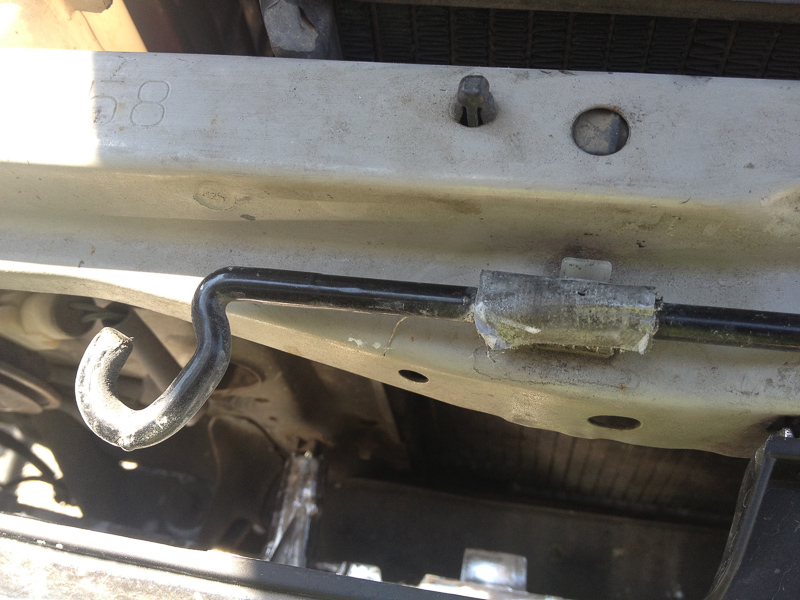
New OEM rock guard fender cover things in the rear
I did go a little overboard finding part numbers and ordering OEM replacements
Old and busted
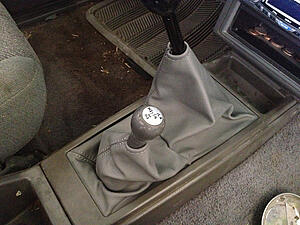
New hotness

Can't find shift boots from Toyota anymore, but eBay has them (PM me if you want a black one for free)
Now to do what I had been waiting 2 months to do, tear down the plastic and remove the masking. I convinced my wife I was on the home stretch here


It looks like a truck again!


You can see the terrible clearcoat job, it should look wet and shiny. I figured I could polish it out, and boy was I right (and oh so wrong)
Now that the paint is dry I can do something about the awful looking truck bed. Yes it would be neat if I could restore it to factory fresh condition, but I am still going to use it to haul stuff and it is going to scratch up real quick. Bedliner it is

Easy!
Put on some fresh new chrome pieces, thanks Amazon. Seriously its almost as good as RockAuto for prices, but you get prime shipping and the awesome Amazon return policy for when they ship you a part that doesn't fit or is for the wrong model.
New OEM rock guard fender cover things in the rear
I did go a little overboard finding part numbers and ordering OEM replacements
Old and busted
New hotness
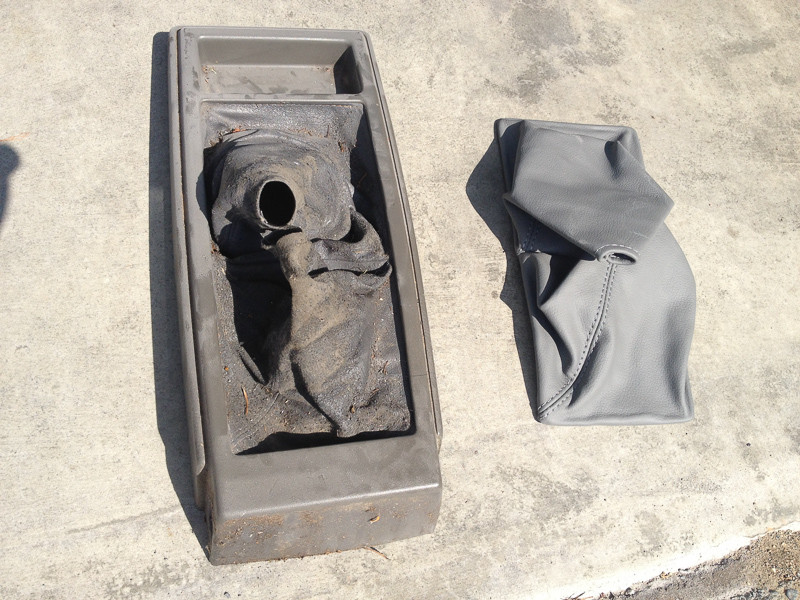
Can't find shift boots from Toyota anymore, but eBay has them (PM me if you want a black one for free)
 Sep 13, 2013 | 01:03 PM
#6
Thread Starter
Registered User
Joined: Jan 2013
Posts: 19
Likes: 0
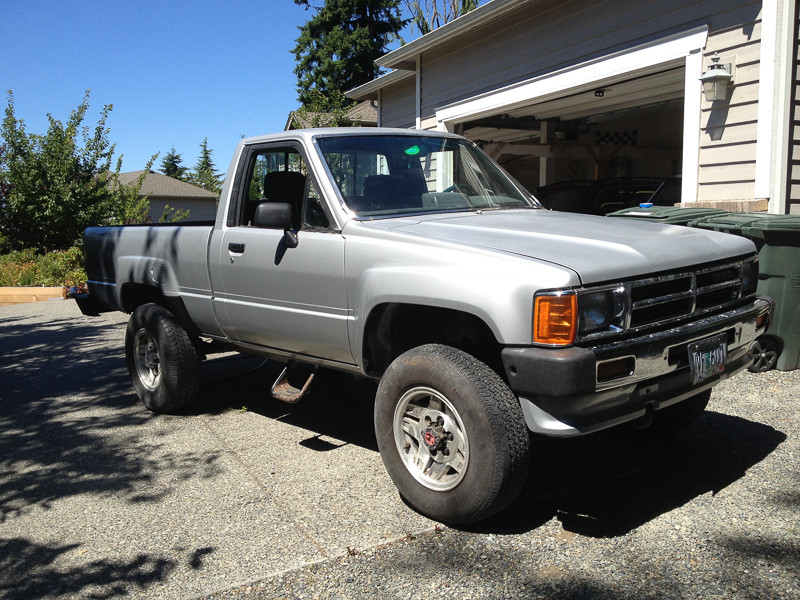
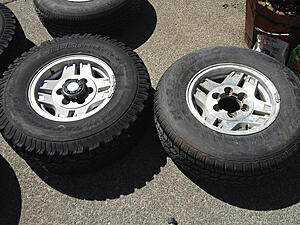
I was thinking of sending out the wheels for powdercoating, but craigslist provided a clean set of wheels with some 31's for cheaper. Sold
Anyway, back to the problem of polishing. I took a stab at sanding 1000/1500/2000 grit, followed by intensive polish, micro polish, and finishing glaze. It was a lot of work for a small area of the hood and one crappy picture
Second test was just sanding everything down to 1000 grit and then going straight to Meguiars M105 polish, which game almost identical results. This speaks to the quality of the polish and my ineptitude with detailing products
After sanding

All polished up
I had a workable solution, however I have no time to do it. The sanding goes so slow when you are trying to cut through deep orange peel and dust nibs, and to get all the pitting out takes forever and there is always the risk of burning through the super-thin clearcoat. Add to this that a lot of the surfaces are way too small and edgy for a machine to accelerate progress, it has to be done by hand. Thinking about outsourcing this.
In other news, these bad boys came in and the 80's are in full radicool effect.

I quickly finished one area so I could slap one on.
Badass.
While I ponder how to finish this stupid thing, I tore out the paint booth for good and cleaned up


Anyway, back to the problem of polishing. I took a stab at sanding 1000/1500/2000 grit, followed by intensive polish, micro polish, and finishing glaze. It was a lot of work for a small area of the hood and one crappy picture
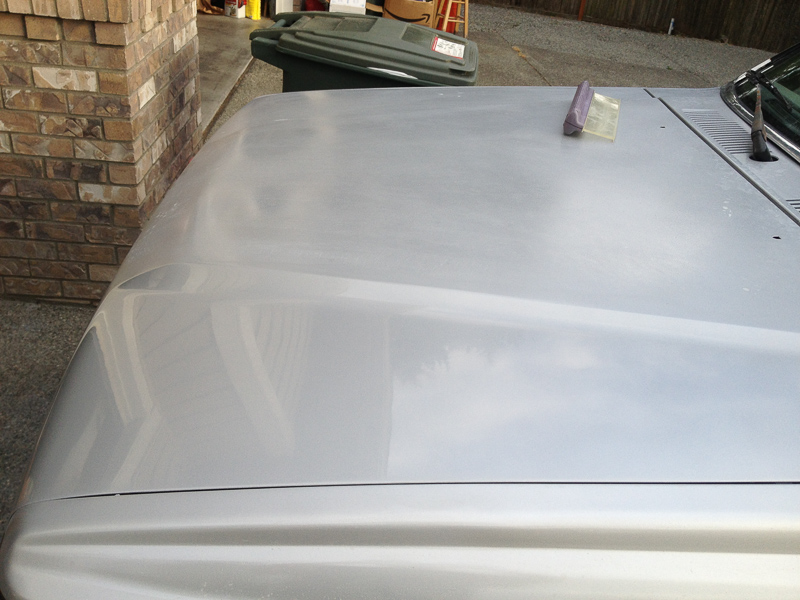
Second test was just sanding everything down to 1000 grit and then going straight to Meguiars M105 polish, which game almost identical results. This speaks to the quality of the polish and my ineptitude with detailing products


After sanding
All polished up
I had a workable solution, however I have no time to do it. The sanding goes so slow when you are trying to cut through deep orange peel and dust nibs, and to get all the pitting out takes forever and there is always the risk of burning through the super-thin clearcoat. Add to this that a lot of the surfaces are way too small and edgy for a machine to accelerate progress, it has to be done by hand. Thinking about outsourcing this.
In other news, these bad boys came in and the 80's are in full radicool effect.
I quickly finished one area so I could slap one on.
Badass.
While I ponder how to finish this stupid thing, I tore out the paint booth for good and cleaned up
 Sep 13, 2013 | 01:04 PM
#7
Thread Starter
Registered User
Joined: Jan 2013
Posts: 19
Likes: 0
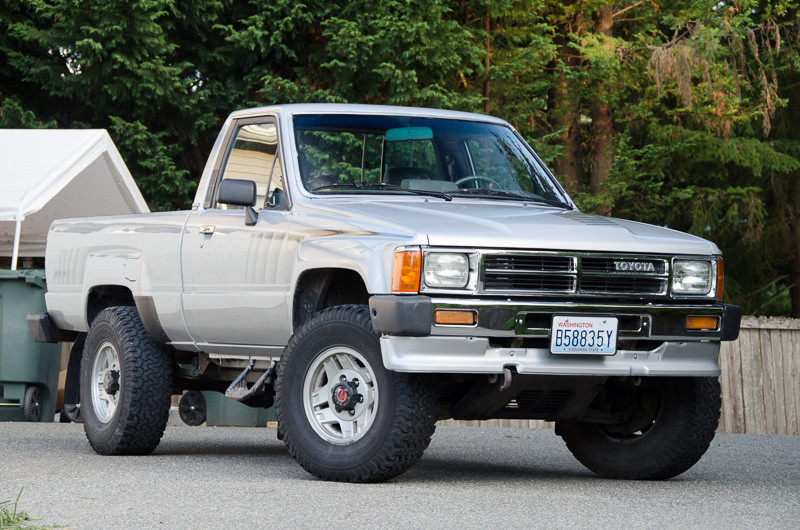
I made the call to stop working on it in my limited free time and call in a professional. This guy is an awesome detailer but had never wetsanded an entire car, let alone dealt with an amateur paint job like this. He kept at it like a champ though and 3 days later it is ready for the rest of the decals. All the glorious before/after shots follow
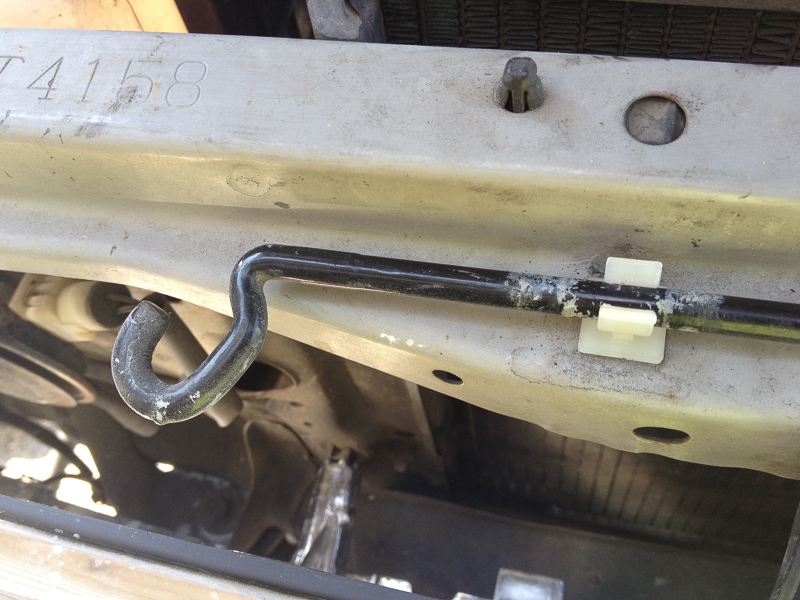
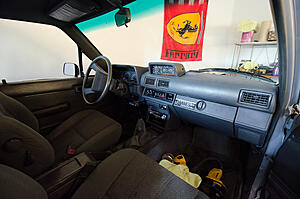
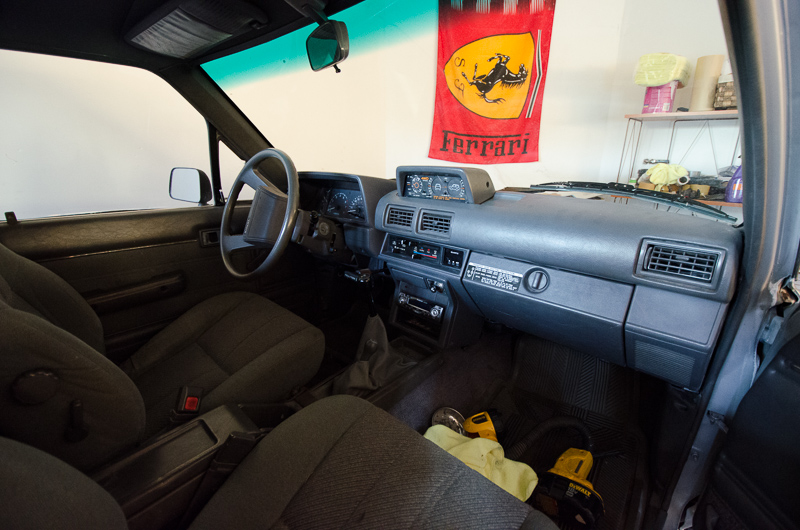
Forgot to add this one earlier, I picked up a sweet Clinometer and ripped out the dash twice to make the lighting work. Worth it
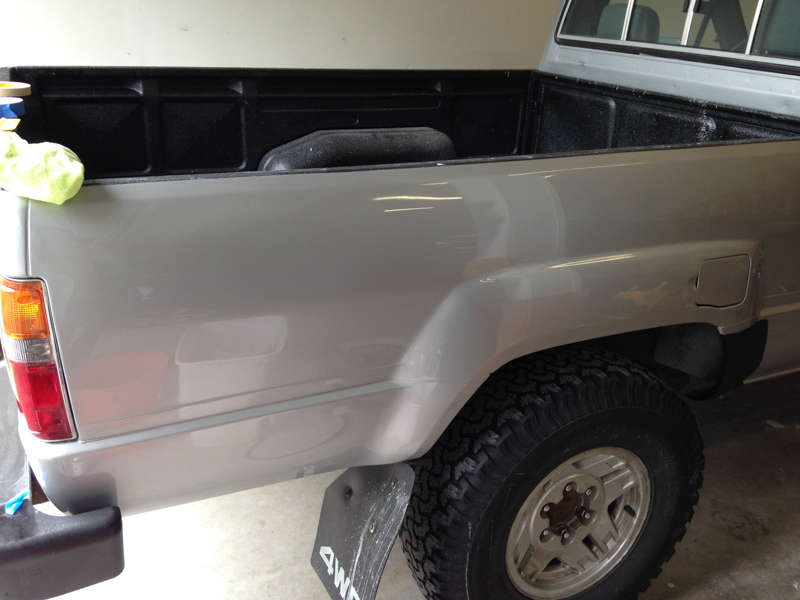
This is how the paint looked before sanding, its basically a matte finish


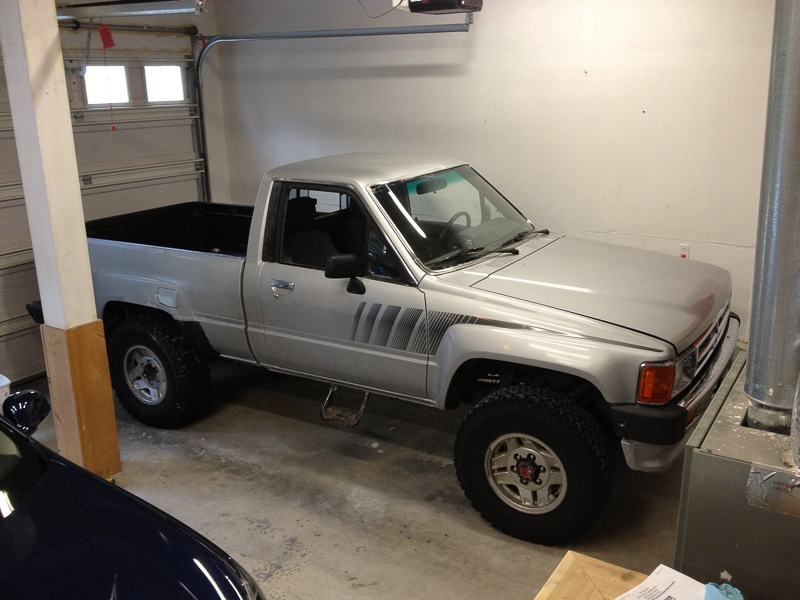
and after polishing:

Before:

After:
That was all done on Labor day, just waiting on me to man up and put some stickers on but I'm fearful of doing it by myself and getting it crooked
Forgot to add this one earlier, I picked up a sweet Clinometer and ripped out the dash twice to make the lighting work. Worth it
This is how the paint looked before sanding, its basically a matte finish
and after polishing:
Before:
After:
That was all done on Labor day, just waiting on me to man up and put some stickers on but I'm fearful of doing it by myself and getting it crooked
Trending Topics
Sep 13, 2013 | 01:05 PM
#8
Thread Starter
Registered User
Joined: Jan 2013
Posts: 19
Likes: 0
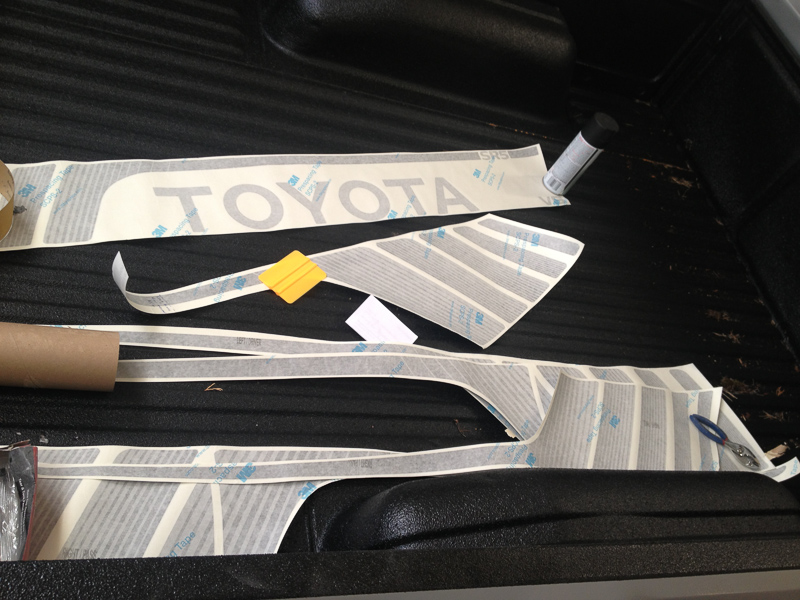
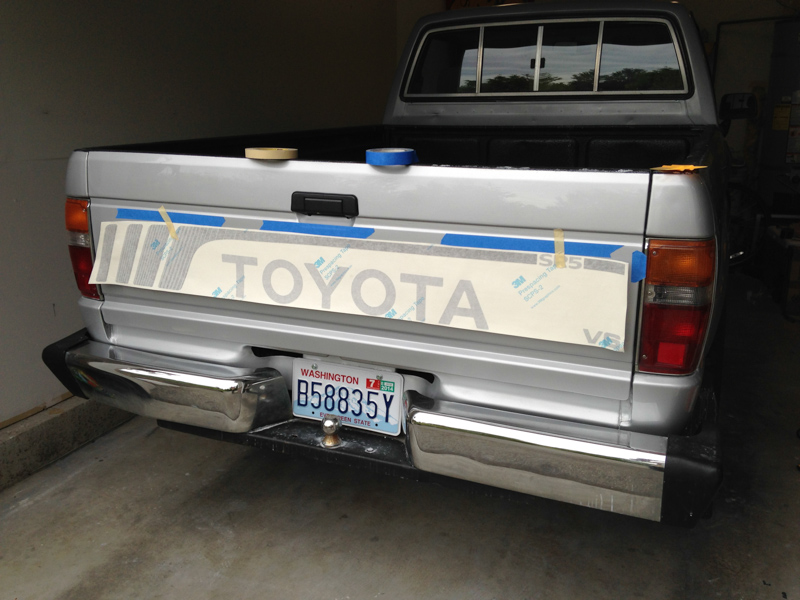
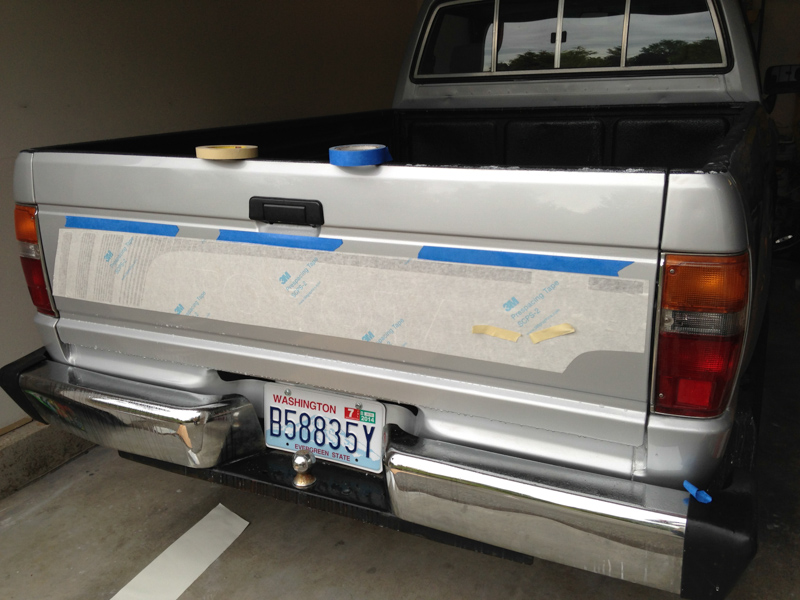
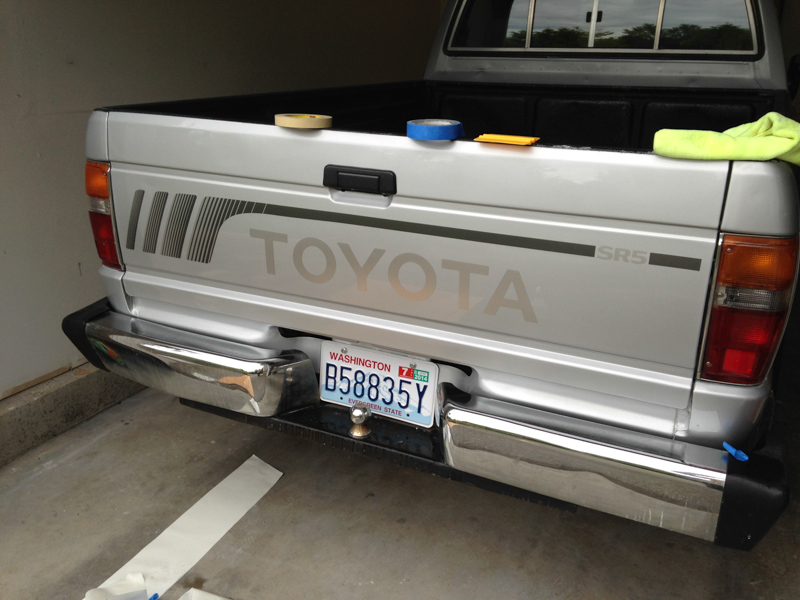
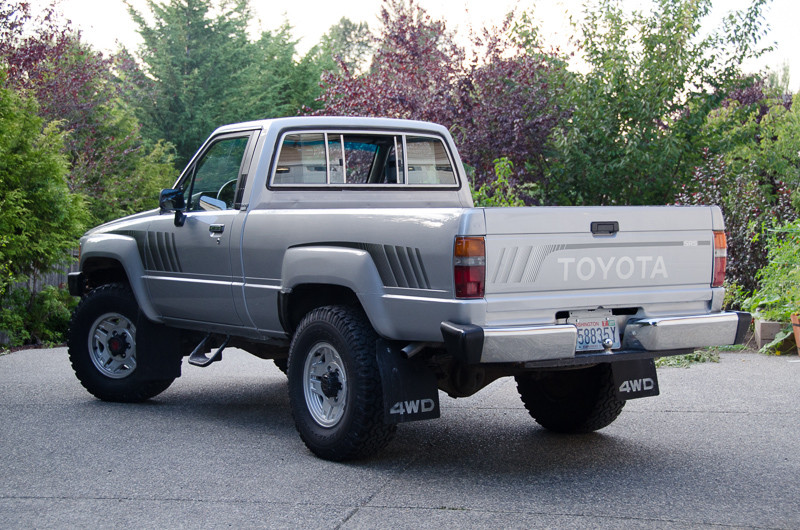
Here's my process for putting on the big decals - tape them on and adjust until they are positioned perfectly, then put blue tape guides up so you know where to align to, then spray it down with soapy water, slap it on, and scrape the bubbles out. Any one of these could have turned into a disaster, but it was easy enough to do this by myself with no experience

I didn't know the TOYOTA and SR5 parts came in reflective silver, and I'm still not sure I like it. I went back and compared to the remnants of the old sticker and it looks different

The tiny pic on the decal ordering site makes it seem like you are getting OEM replacements, but I think I just have to live with this. First world problems
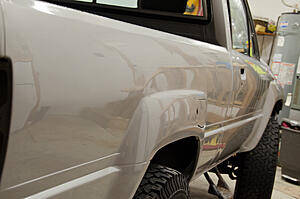
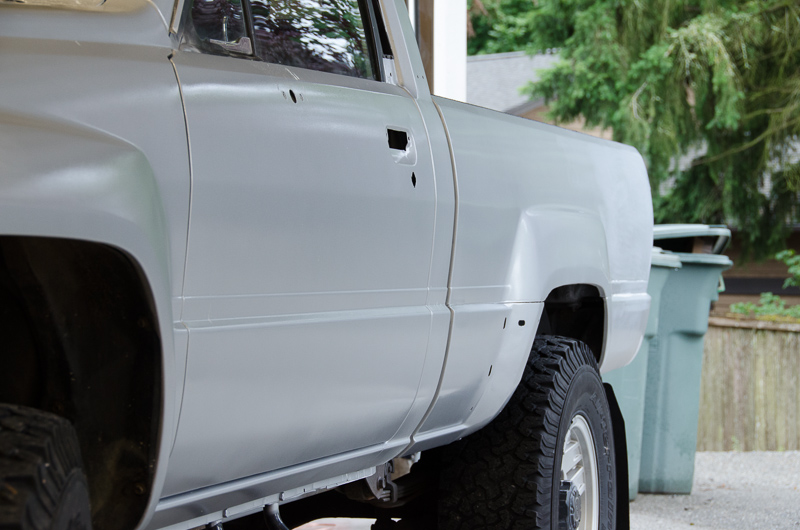
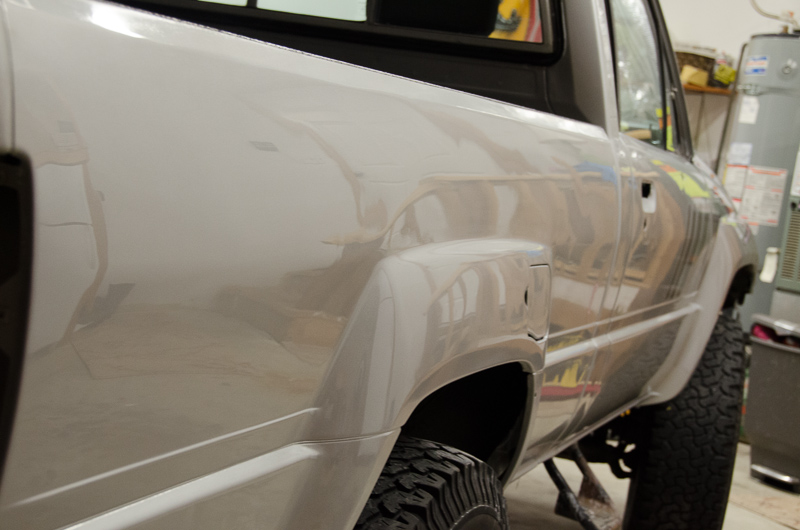
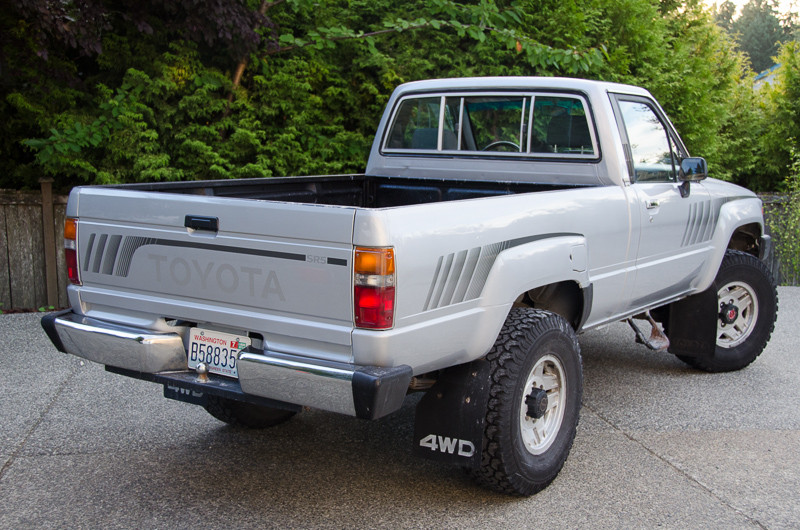
At least the sides look original and awesome. The hood was marked to be placed a lot nearer to the windshield, and you just cut off the excess sticker tail if that makes sense. I went back again and compared to where it was originally and it was a lot farther down.
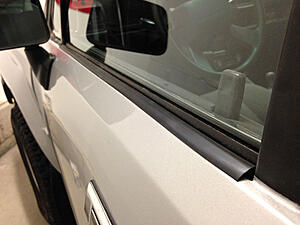
And here's the little things that matter, new OEM window seals to replace the rotted, crumbling ones

Just noticed the reflection in the door makes it look like I hit a post or something. Its the wall that bends in, I promise
I didn't know the TOYOTA and SR5 parts came in reflective silver, and I'm still not sure I like it. I went back and compared to the remnants of the old sticker and it looks different
The tiny pic on the decal ordering site makes it seem like you are getting OEM replacements, but I think I just have to live with this. First world problems
At least the sides look original and awesome. The hood was marked to be placed a lot nearer to the windshield, and you just cut off the excess sticker tail if that makes sense. I went back again and compared to where it was originally and it was a lot farther down.

And here's the little things that matter, new OEM window seals to replace the rotted, crumbling ones


Just noticed the reflection in the door makes it look like I hit a post or something. Its the wall that bends in, I promise
 Sep 13, 2013 | 02:51 PM
#10
From start to finish in one day? That is good.lol
You did an outstanding job and your truck looks great. Seeing one in a good clean stock condition is always nice and you doing it yourself is something you can be proud of. Would of like to seen it from start to finish, but you got the pics to show where it was and to where it is now and enjoyed seeing the transformation. You will soon forget about the sore arms from polishing out, that is alot of work. Driving helps relieve the sorness. You did GREAT!!!
You did an outstanding job and your truck looks great. Seeing one in a good clean stock condition is always nice and you doing it yourself is something you can be proud of. Would of like to seen it from start to finish, but you got the pics to show where it was and to where it is now and enjoyed seeing the transformation. You will soon forget about the sore arms from polishing out, that is alot of work. Driving helps relieve the sorness. You did GREAT!!!
Sep 13, 2013 | 08:35 PM
#11
Registered User
Joined: Jan 2011
Posts: 1,051
Likes: 0
From: Memphis, TN
Wow that was fantastic! I have a few questions, though.. What do you use for filler and what did you do for removing the stickers? I'm about at that point in my build..
Anyways, this was seriously worth the read.. It's so encouraging to see a not so hot truck getting turned around. Props to you!
Anyways, this was seriously worth the read.. It's so encouraging to see a not so hot truck getting turned around. Props to you!
Sep 15, 2013 | 06:03 AM
#12
Thread Starter
Registered User
Joined: Jan 2013
Posts: 19
Likes: 0
Thanks, I use Rage Xtreme for the body filler and it was really nice to work with. For the sticker removal I used a repeated process of razor blade, goo-gone, and scrubbing. I have since learned that there is a drill bit for rubbing off stickers, but I can't remember what it is called


Thread
Thread Starter
Forum
Replies
Last Post
RedRunner_87
95.5-2004 Tacomas & 96-2002 4Runners (Build-Up Section)
84
Jun 1, 2021 01:51 PM
tpd143
General Vehicle Related Topics (Non Year Related)
1
Jul 7, 2015 09:06 AM


