When you click on links to various merchants on this site and make a purchase, this can result in this site earning a commission. Affiliate programs and affiliations include, but are not limited to, the eBay Partner Network.
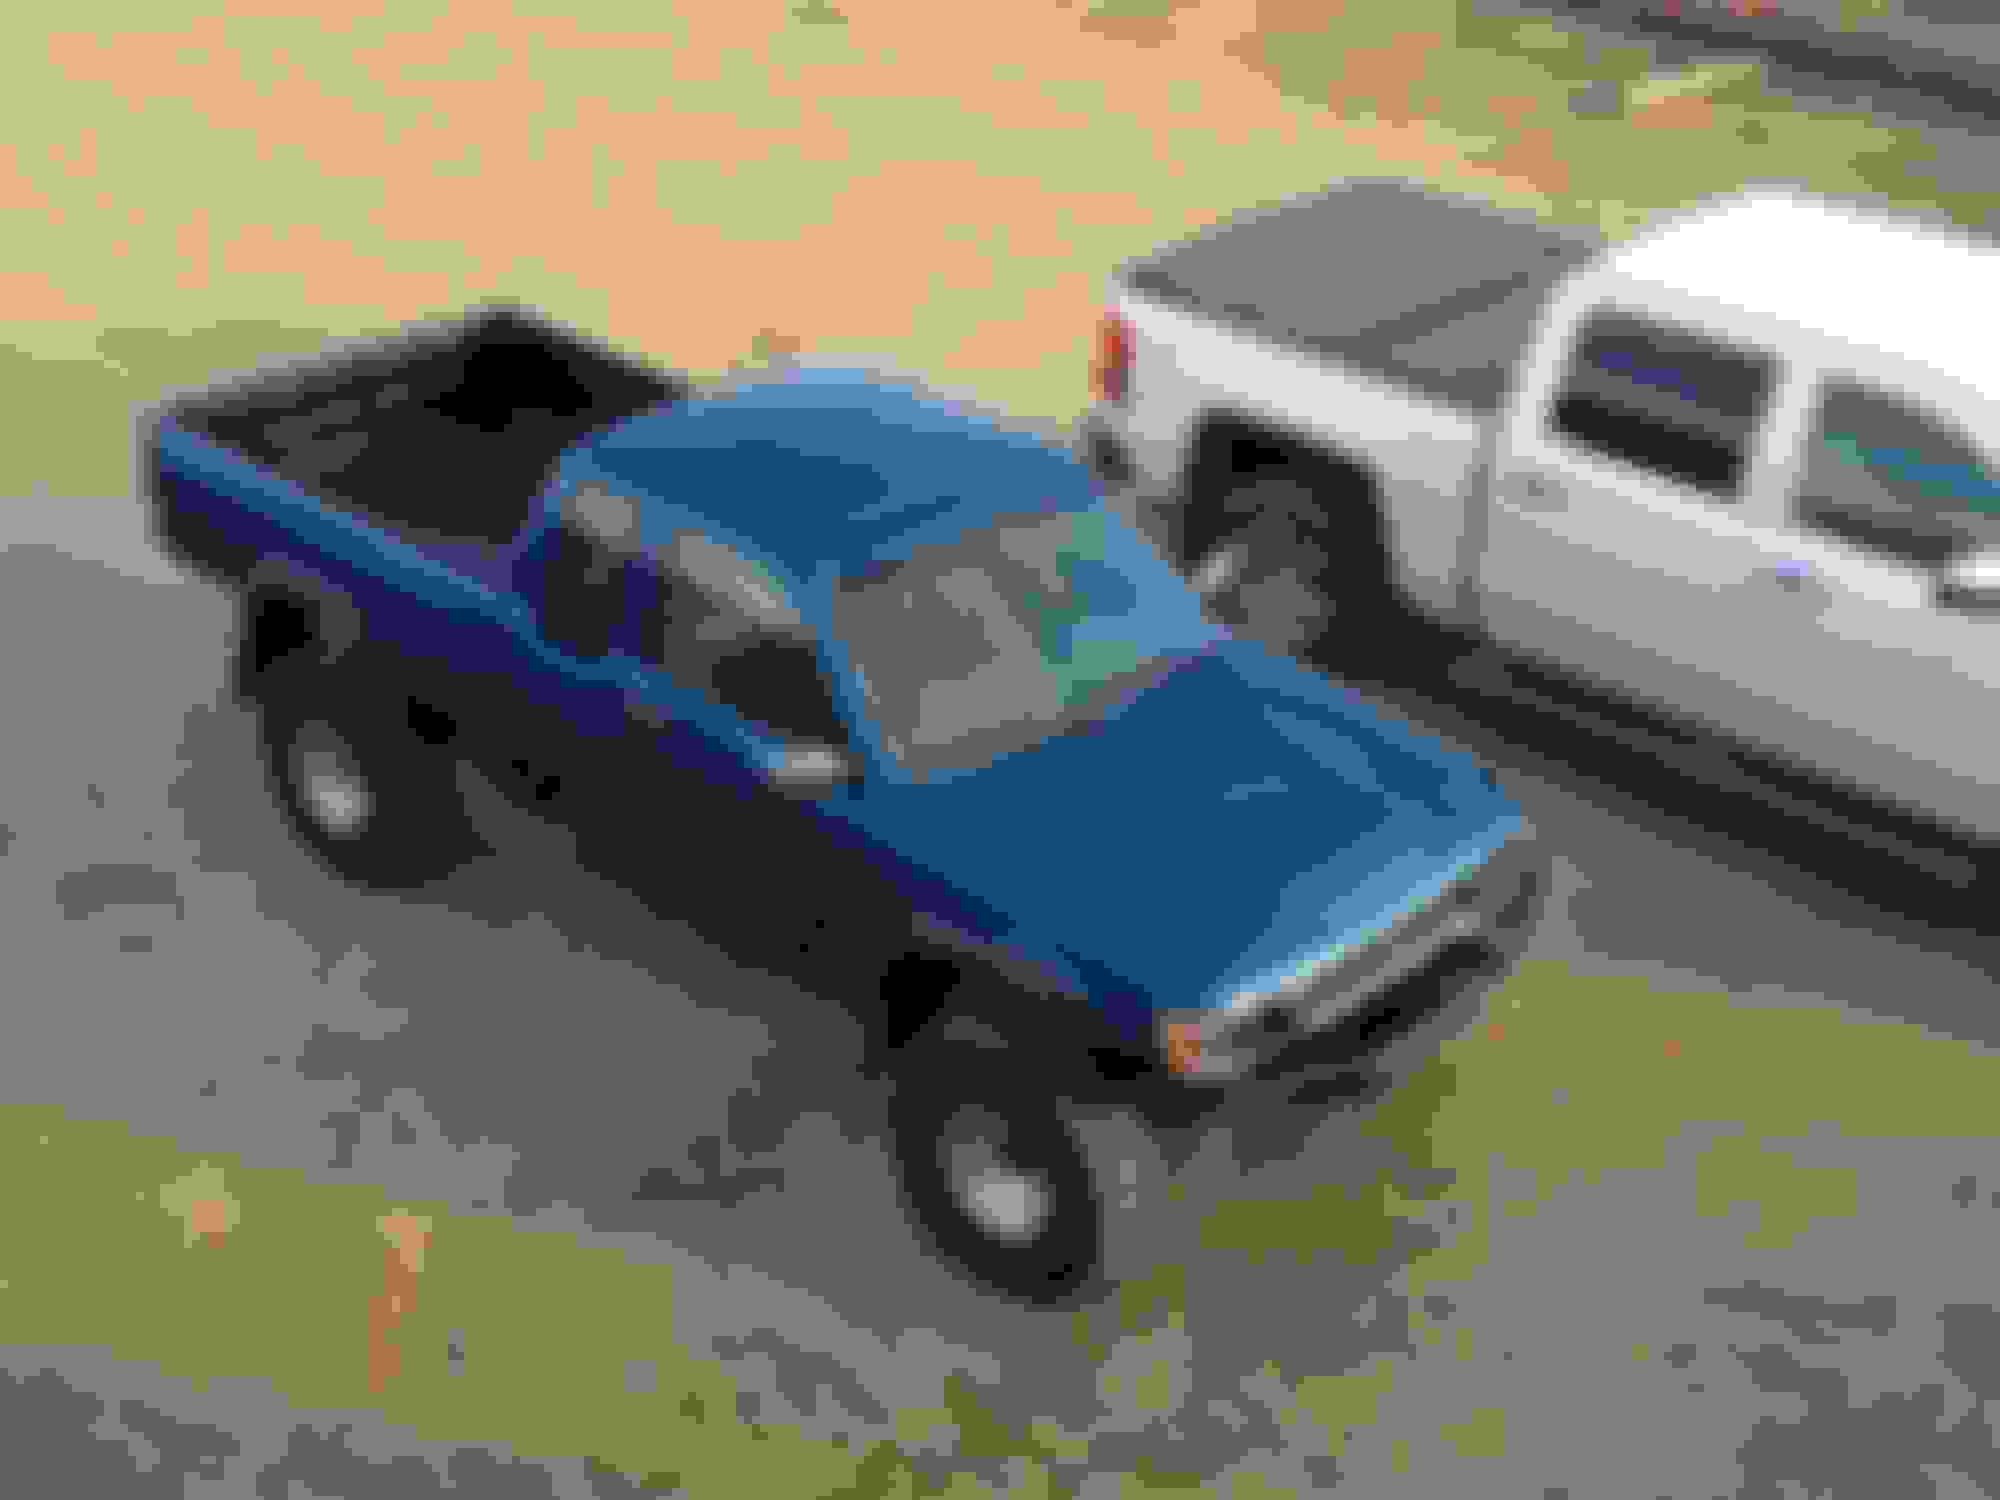
So I decided I would do a little thread on my 1981 pickup build. I had a 93 pickup that I sold last year and that was where the yota fever started.
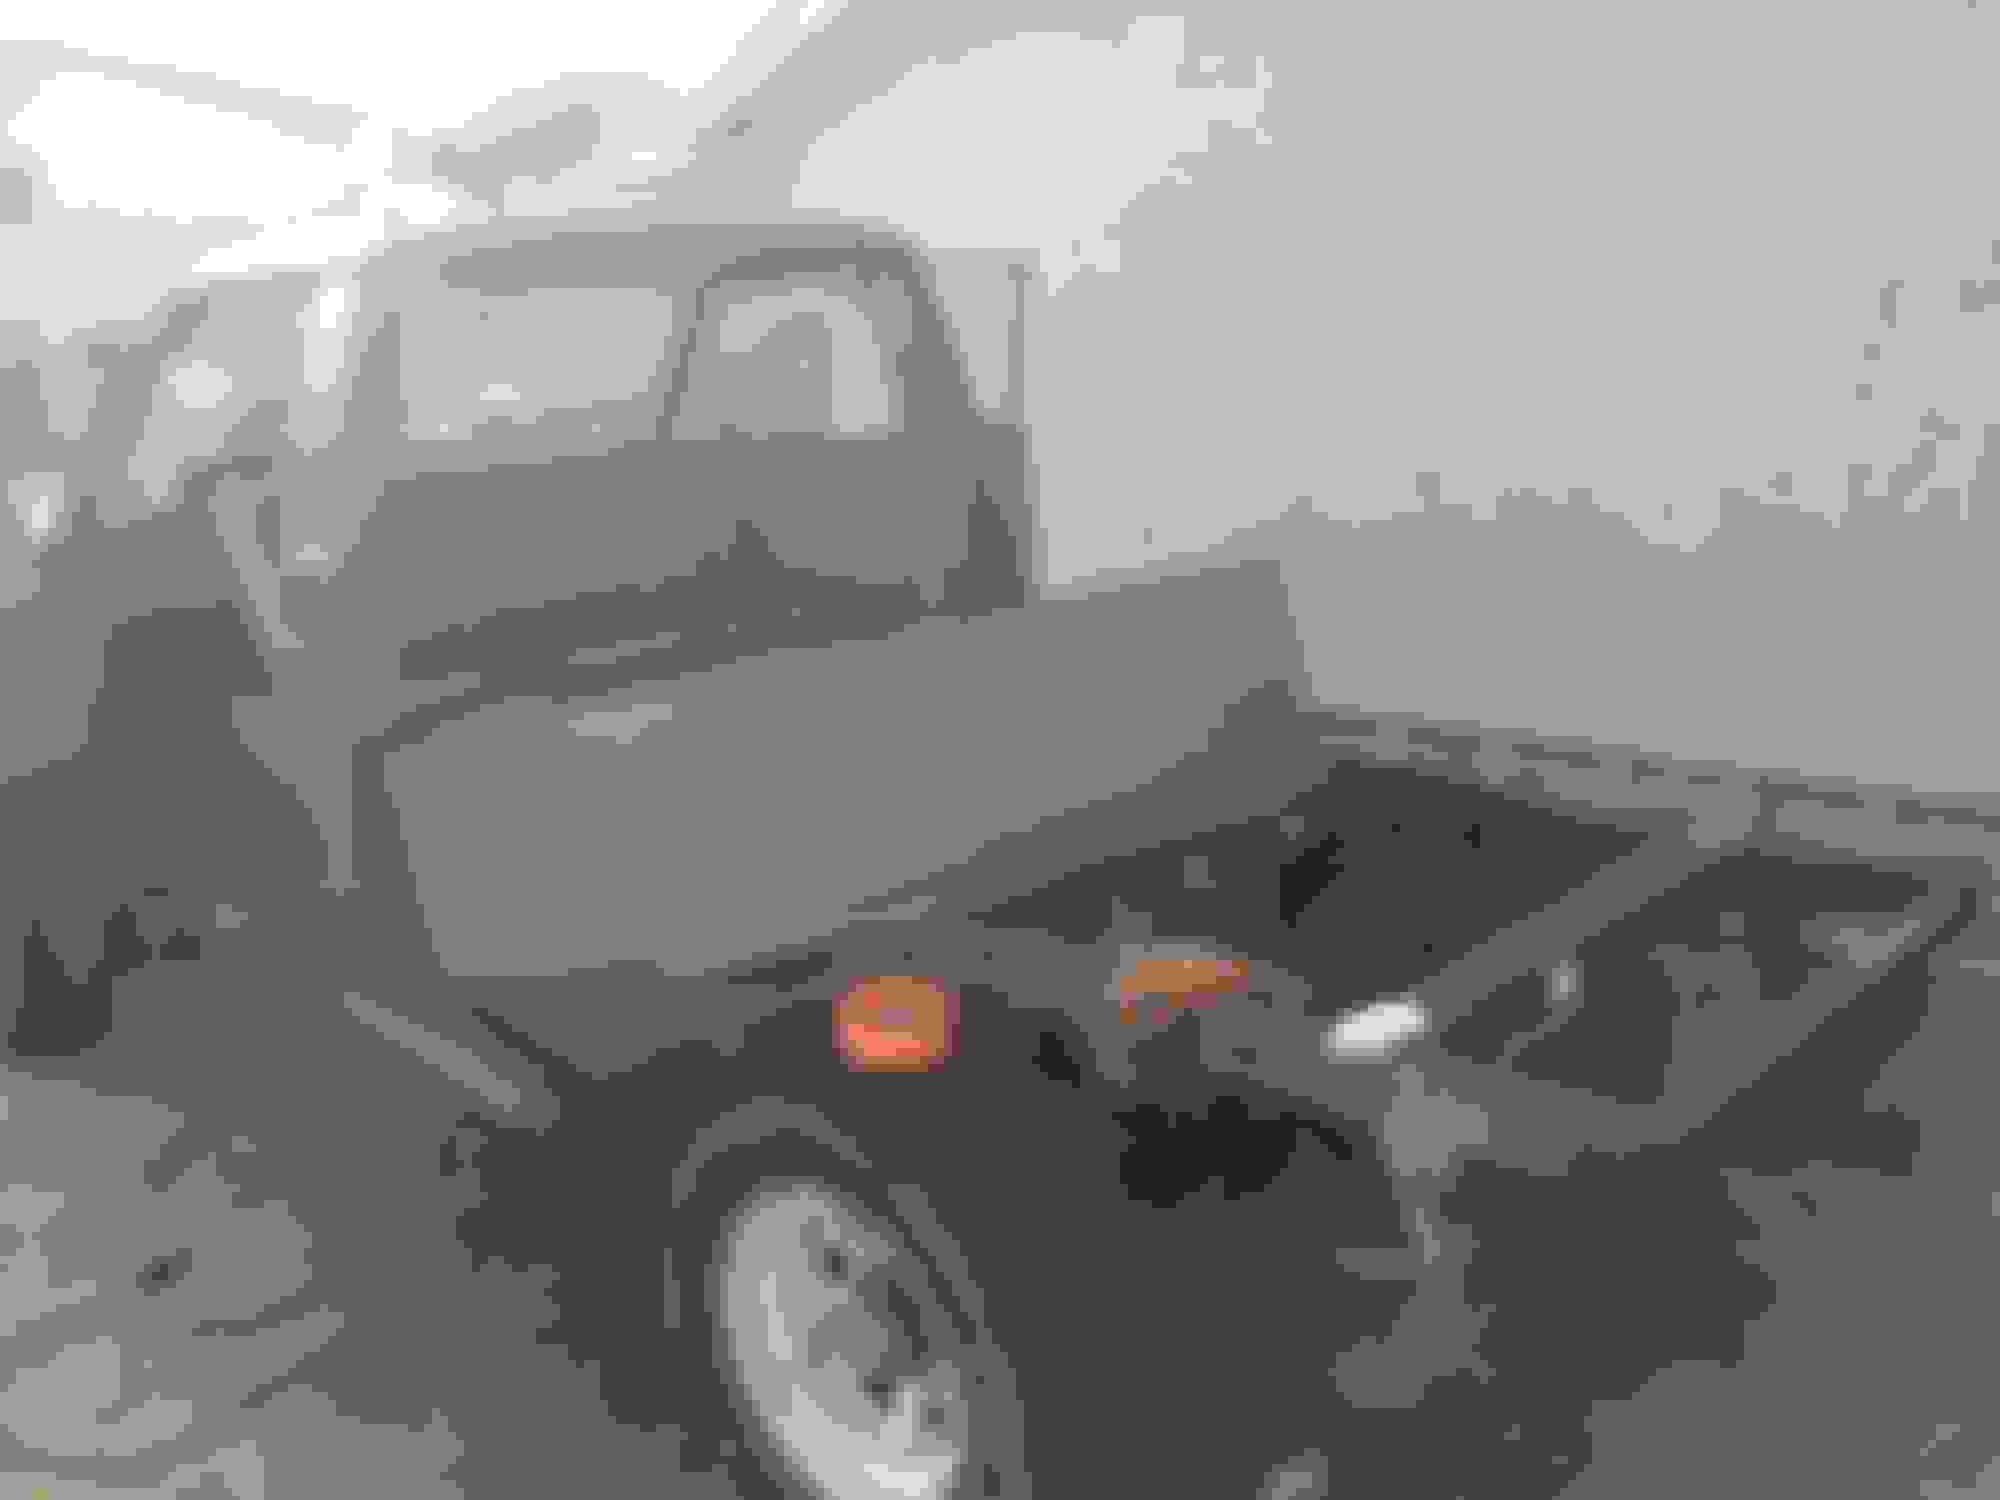
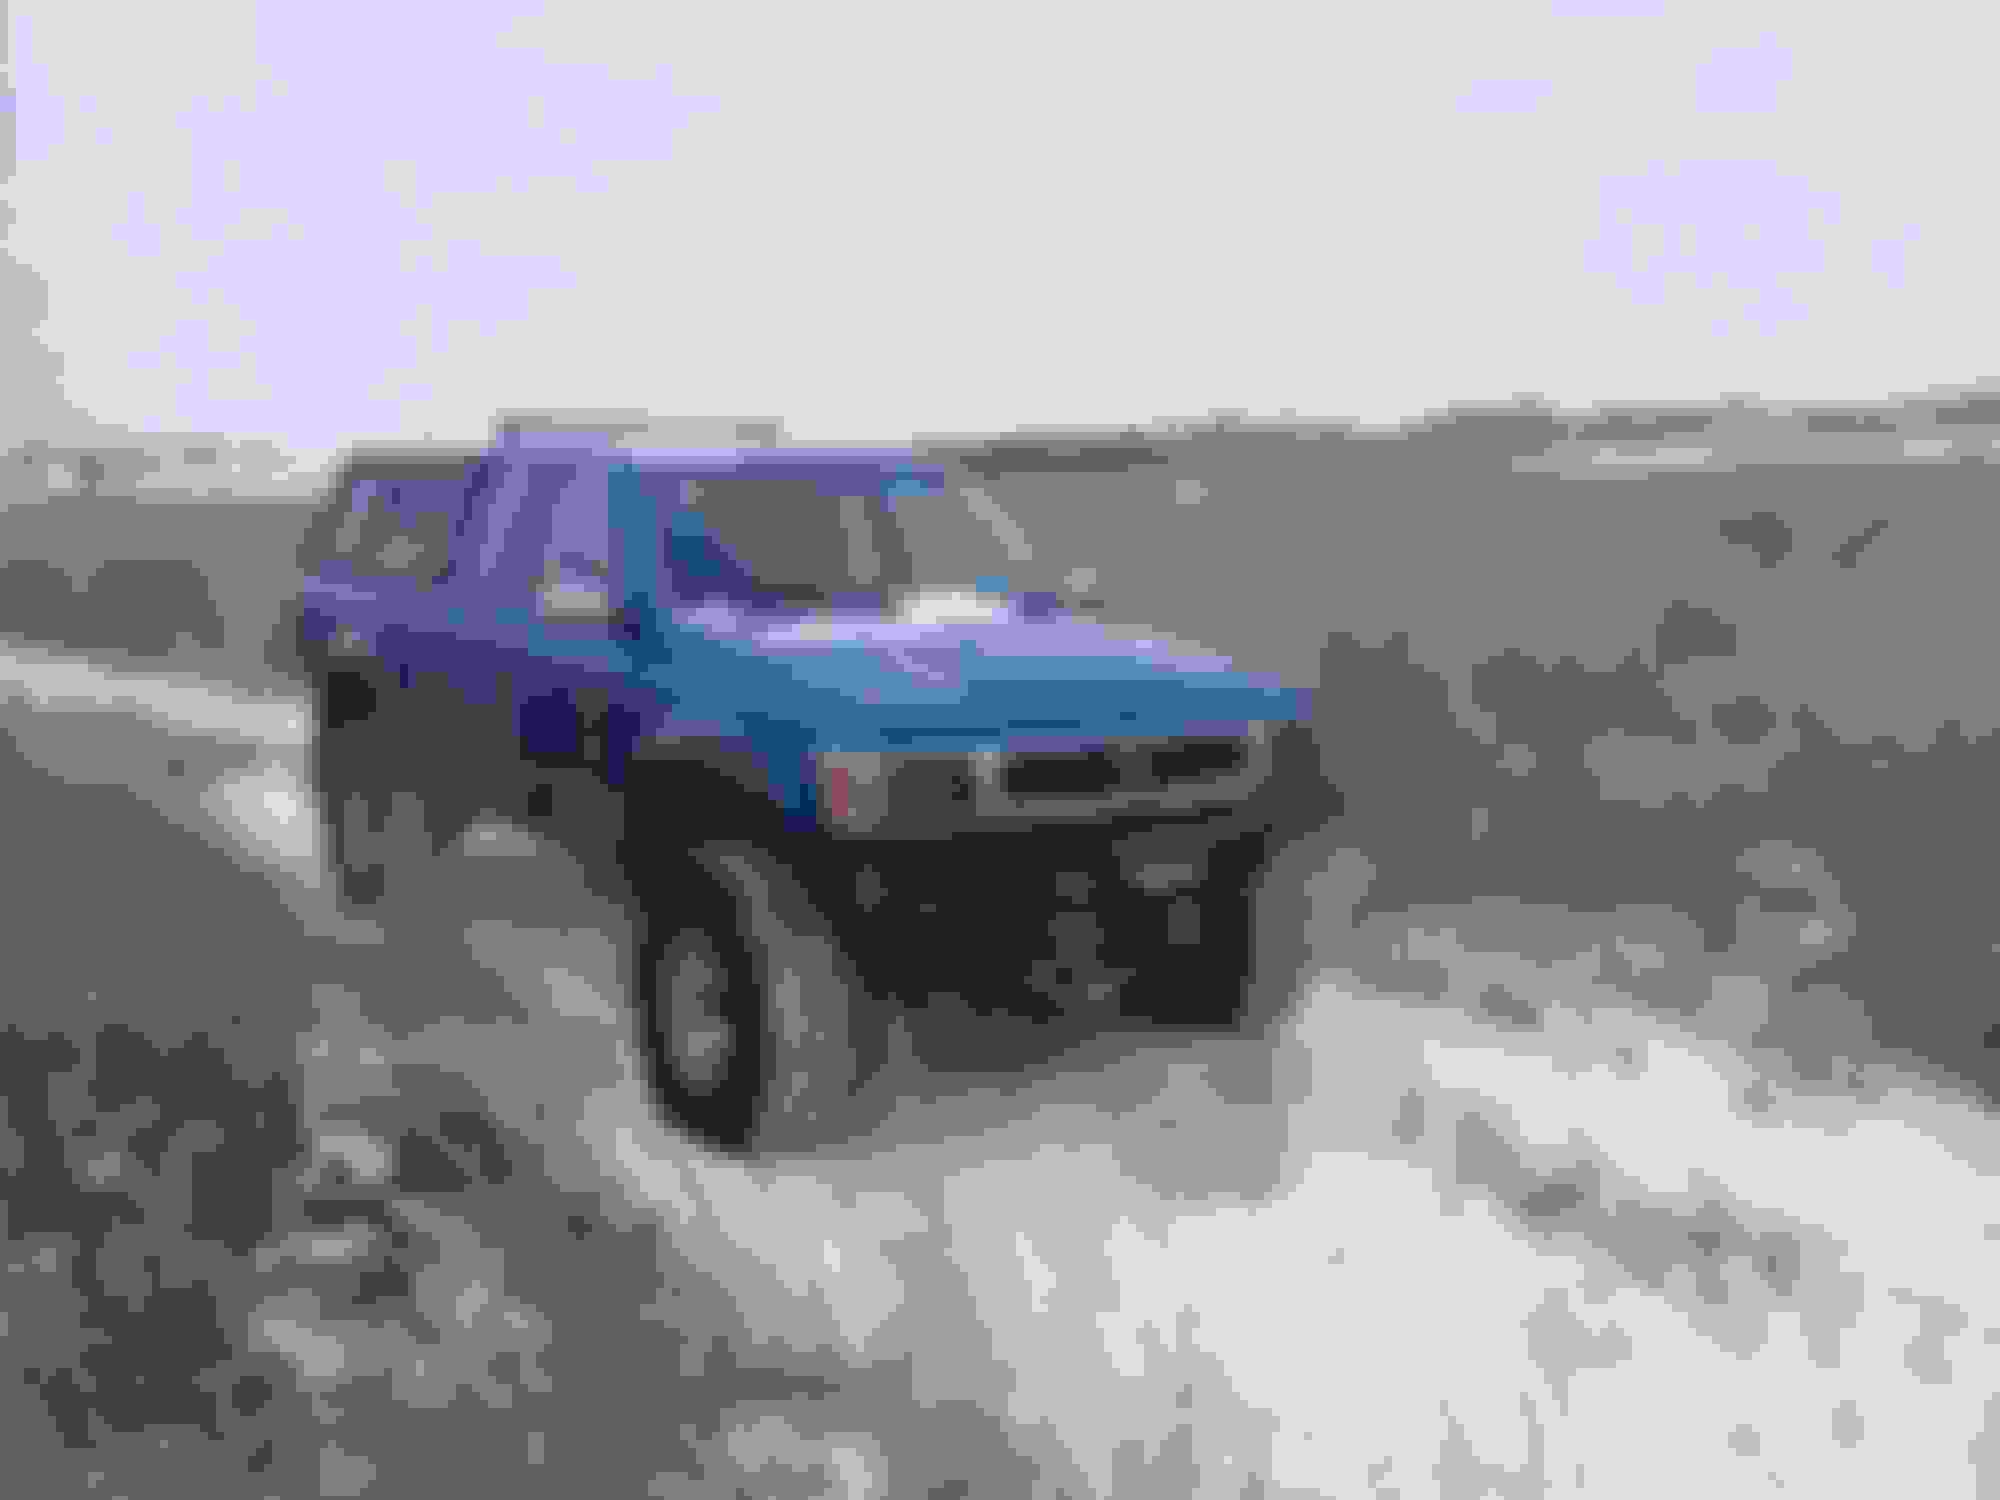
Ever since I sold it I have been looking for a new one. I came across this 81 and thought why not? (It's pretty hard to find any toyotas around here that are not totally rusted out.) so I picked it up for $2500. It's a 81 with a 22r 4 speed manual and 3.90 gears.
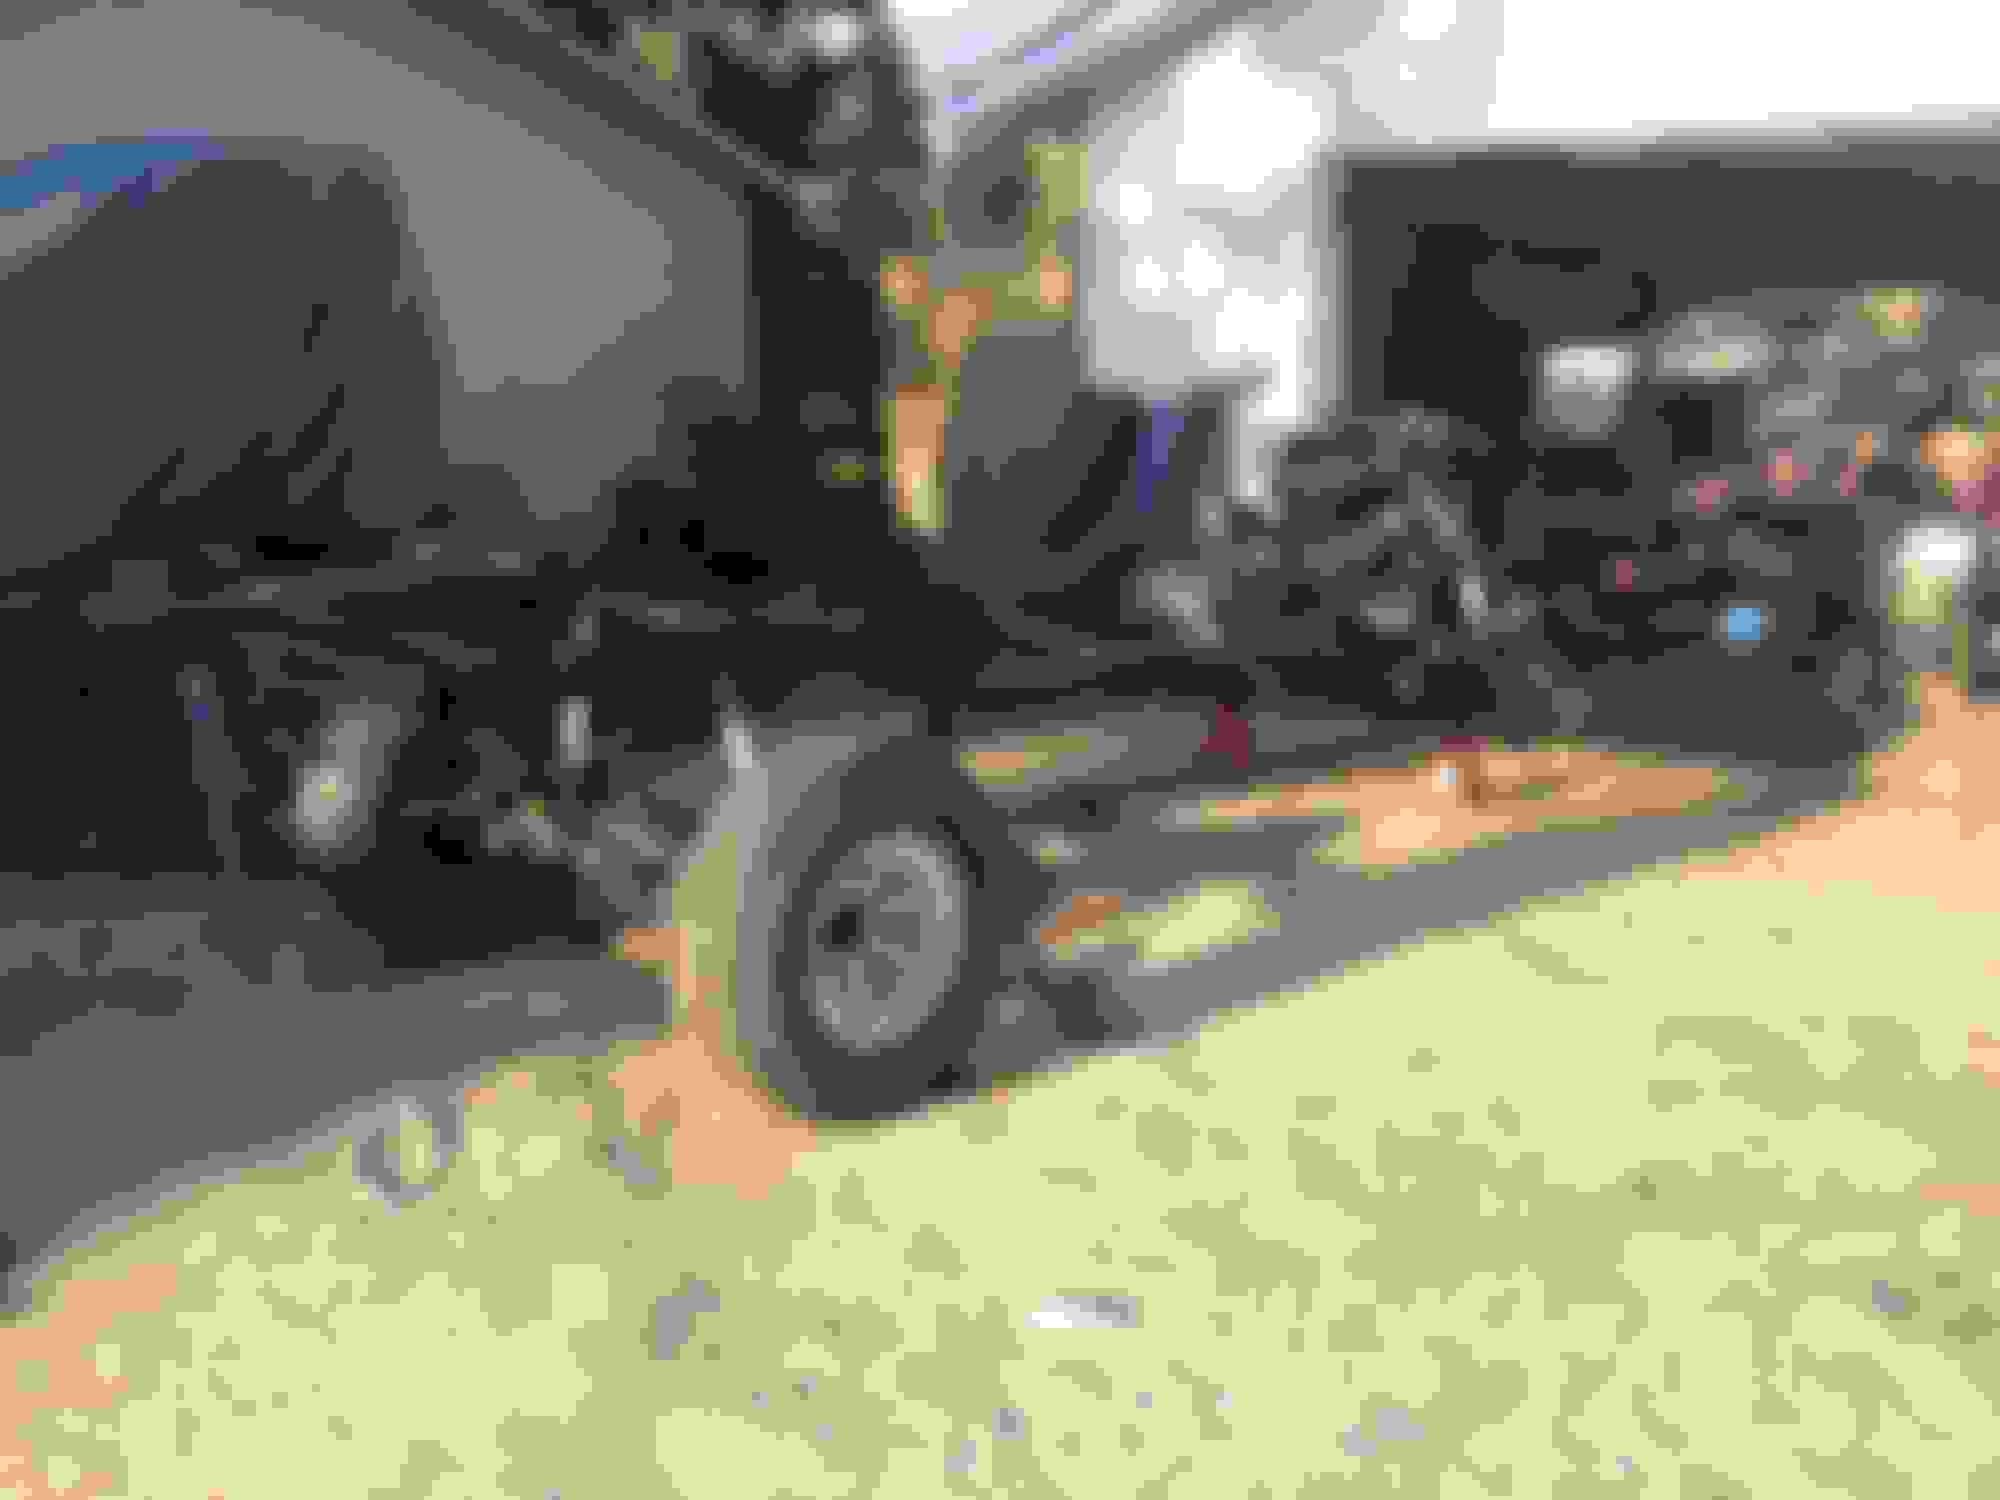
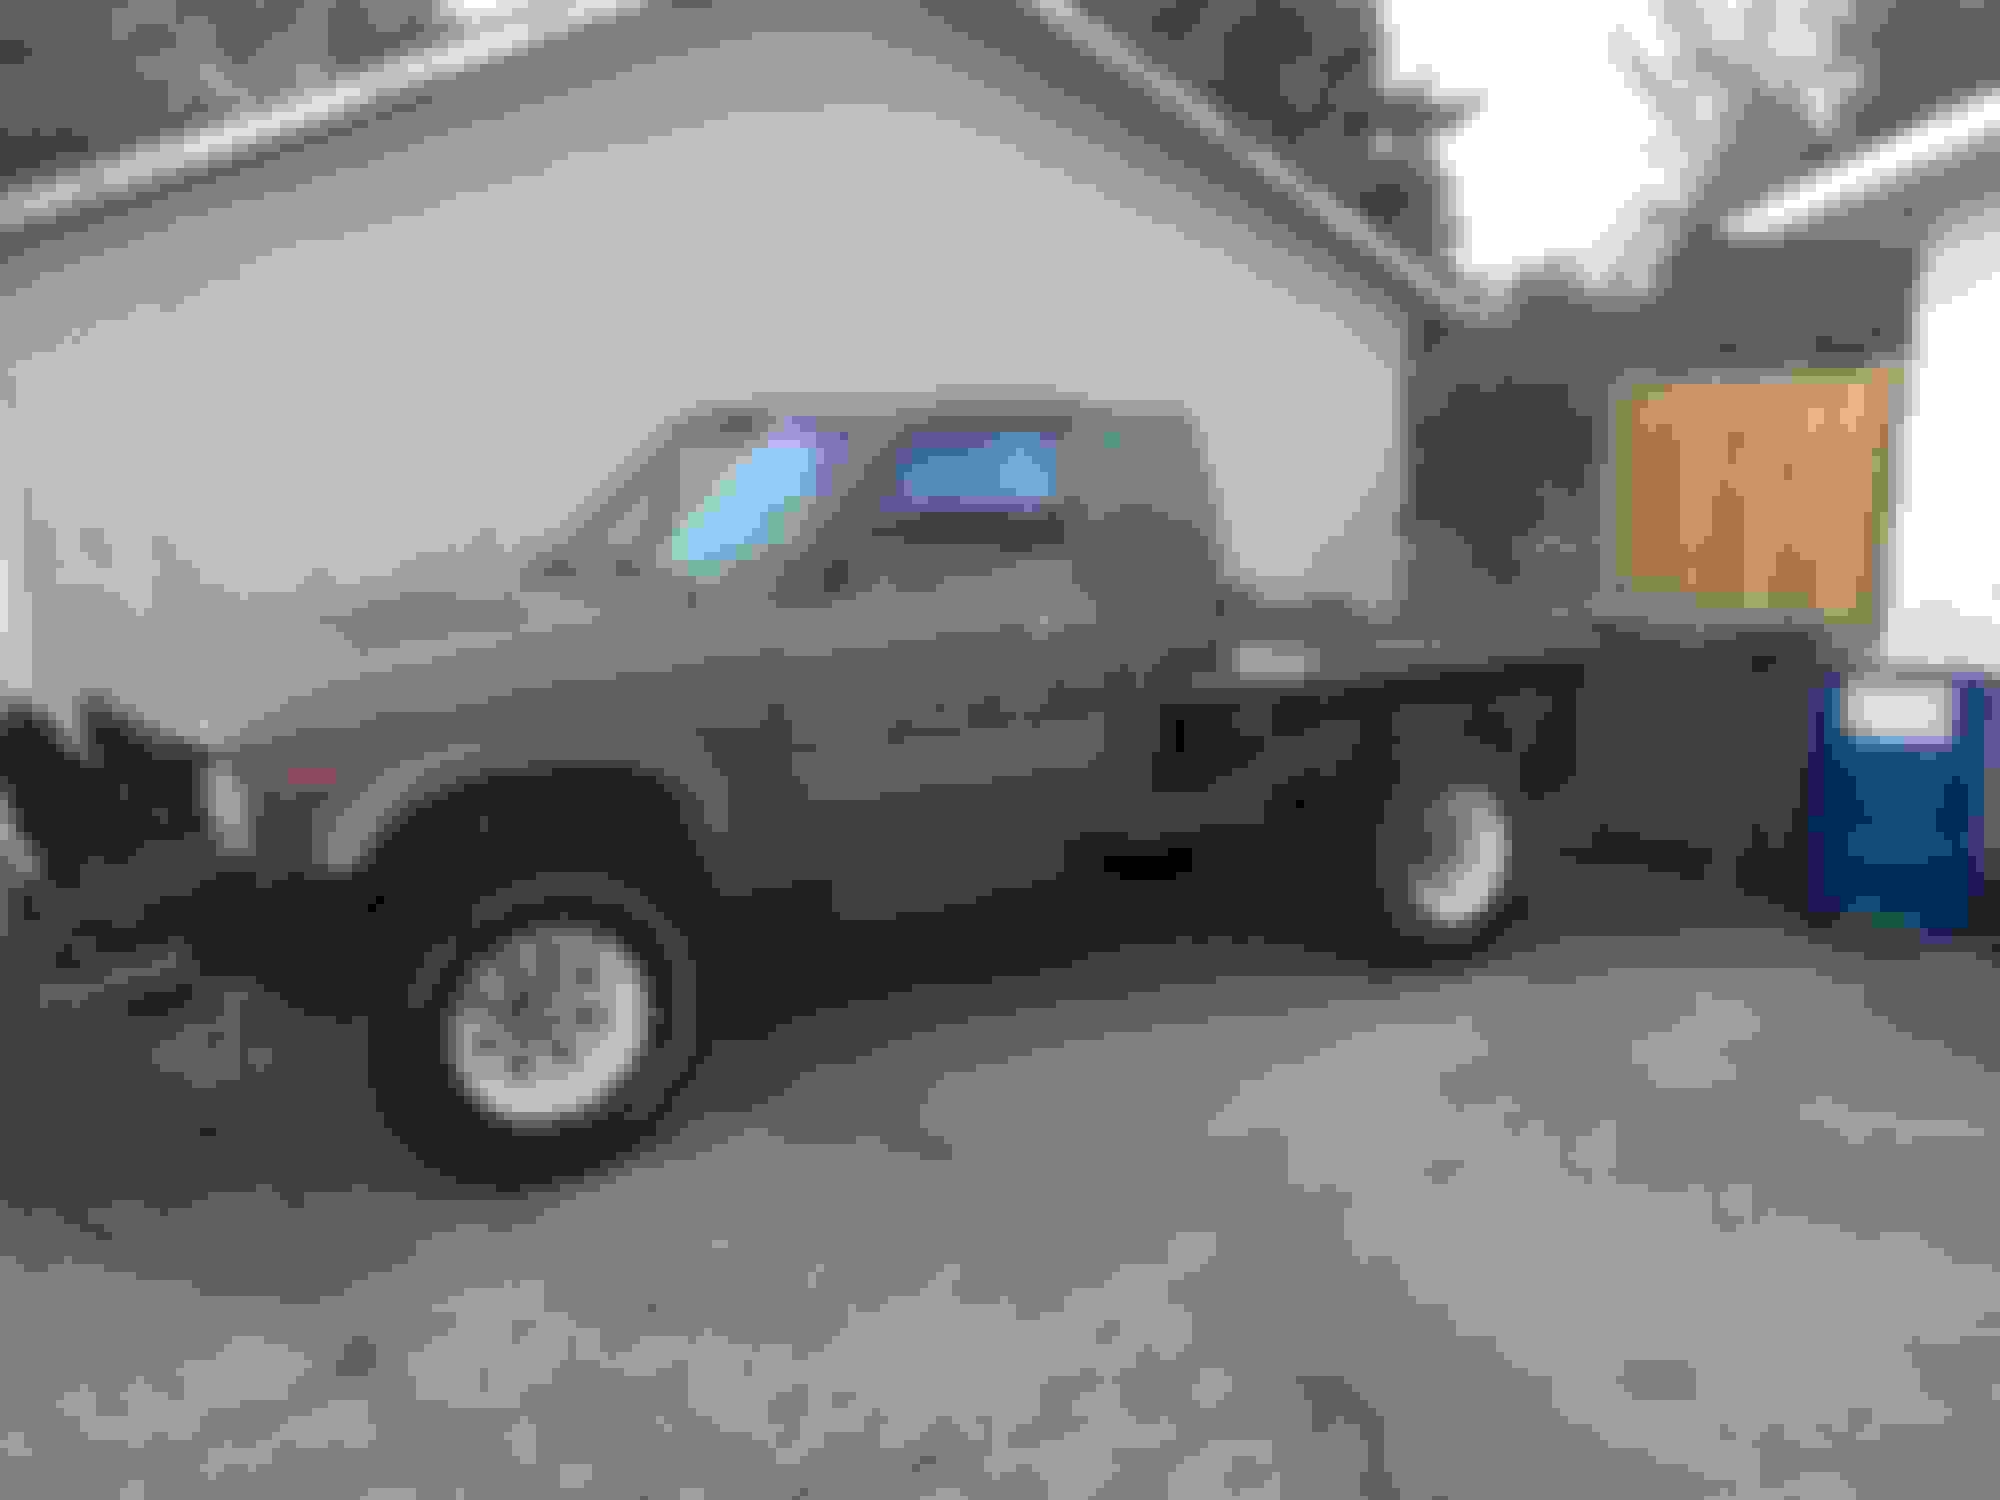
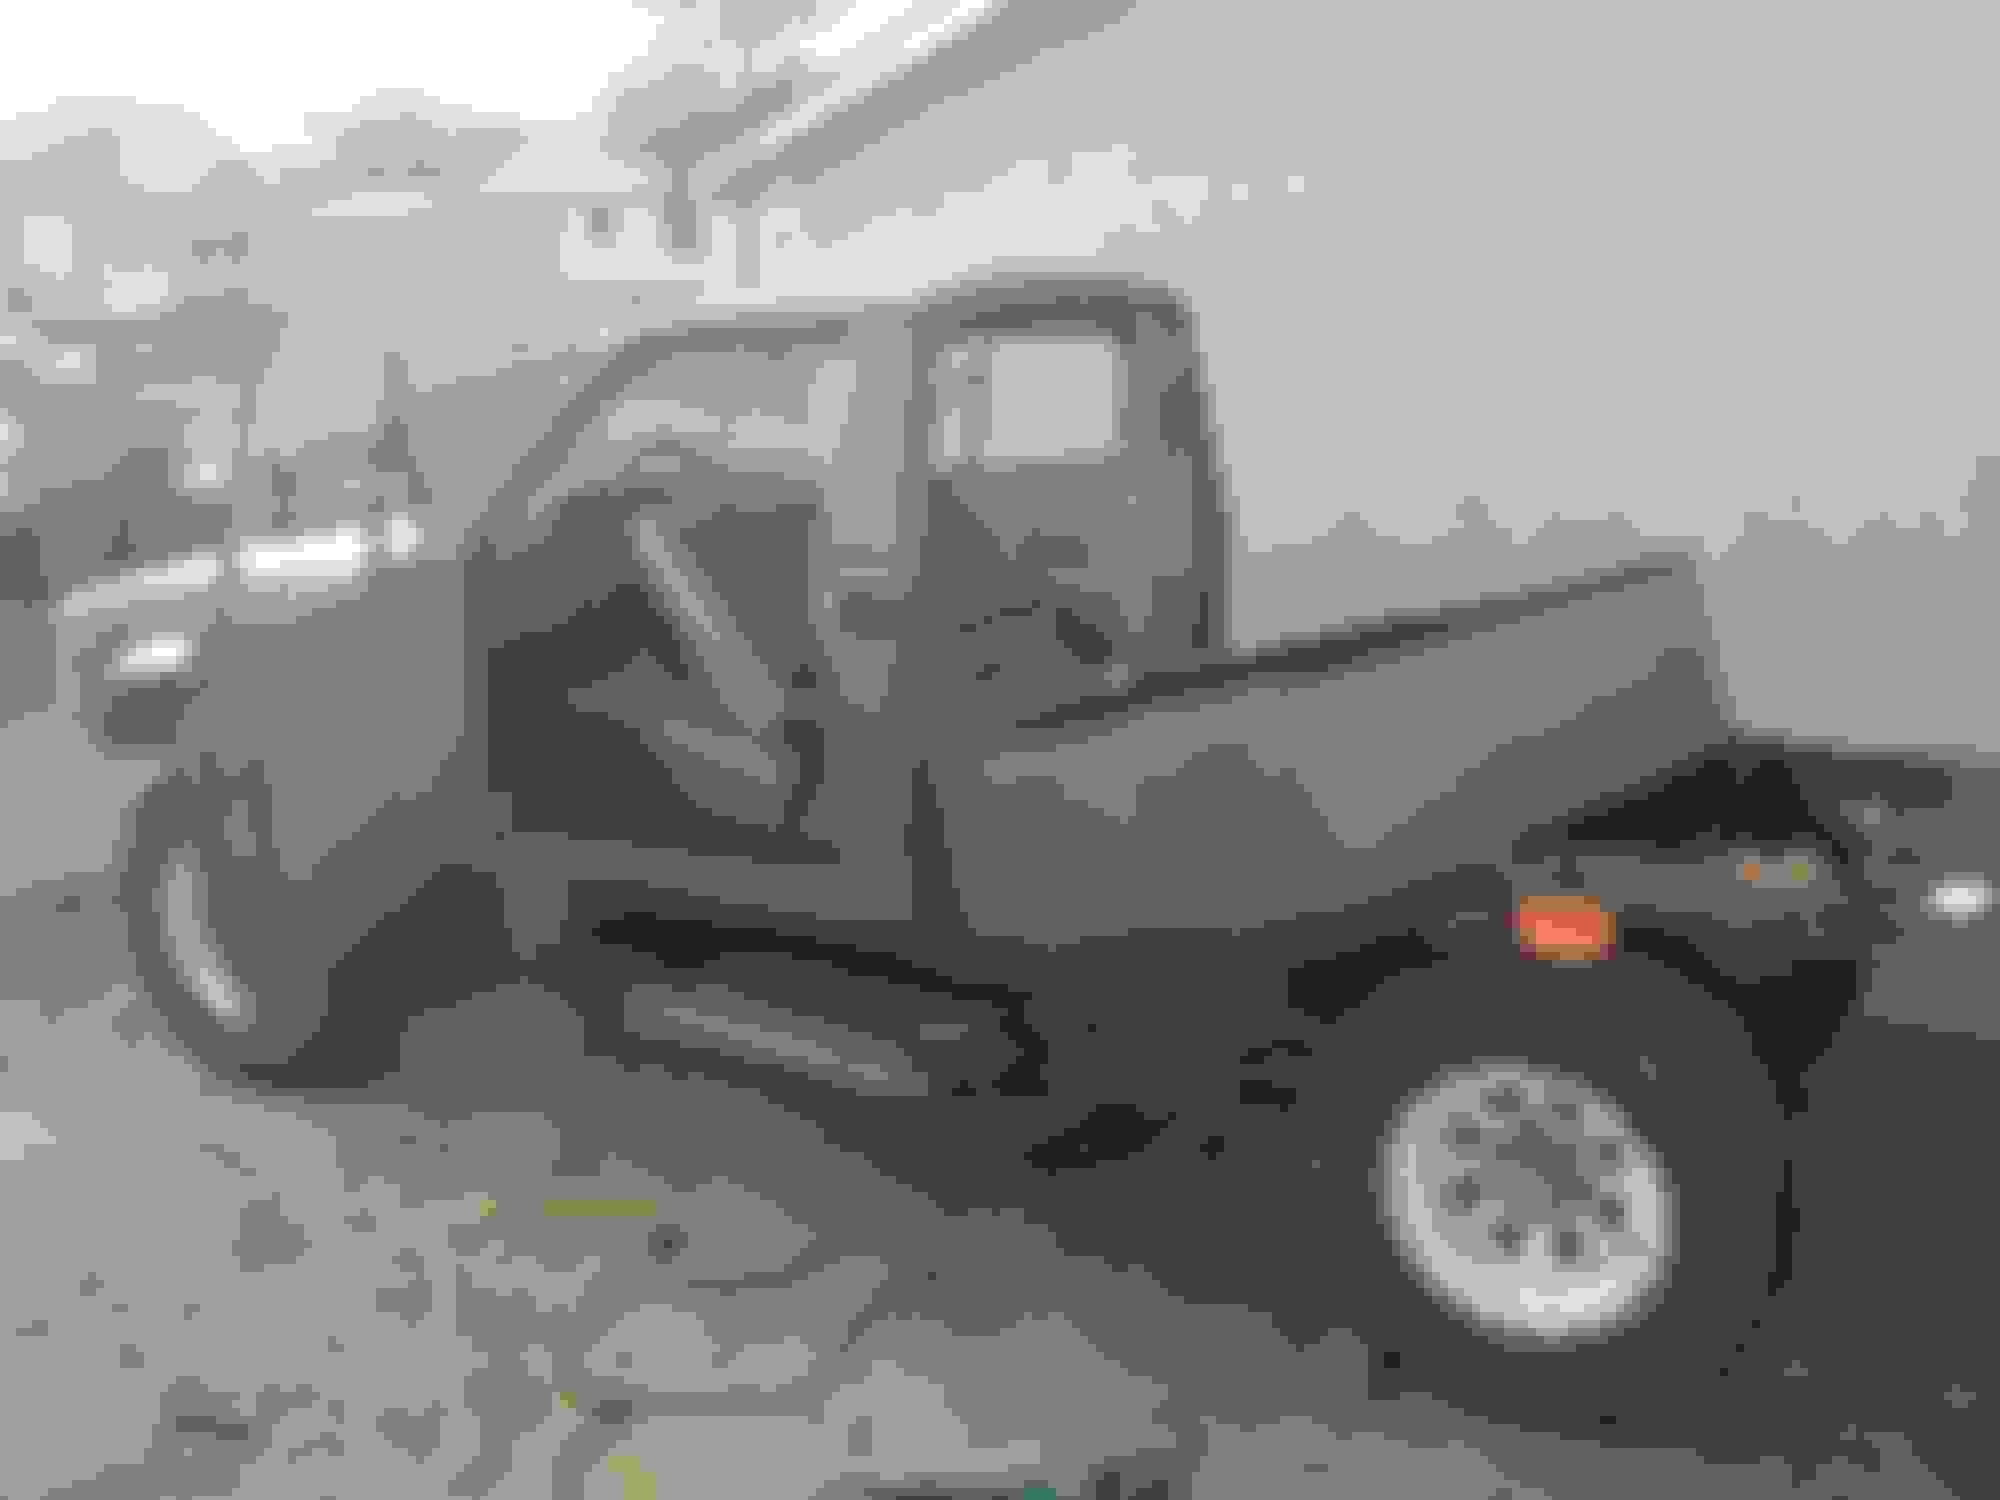
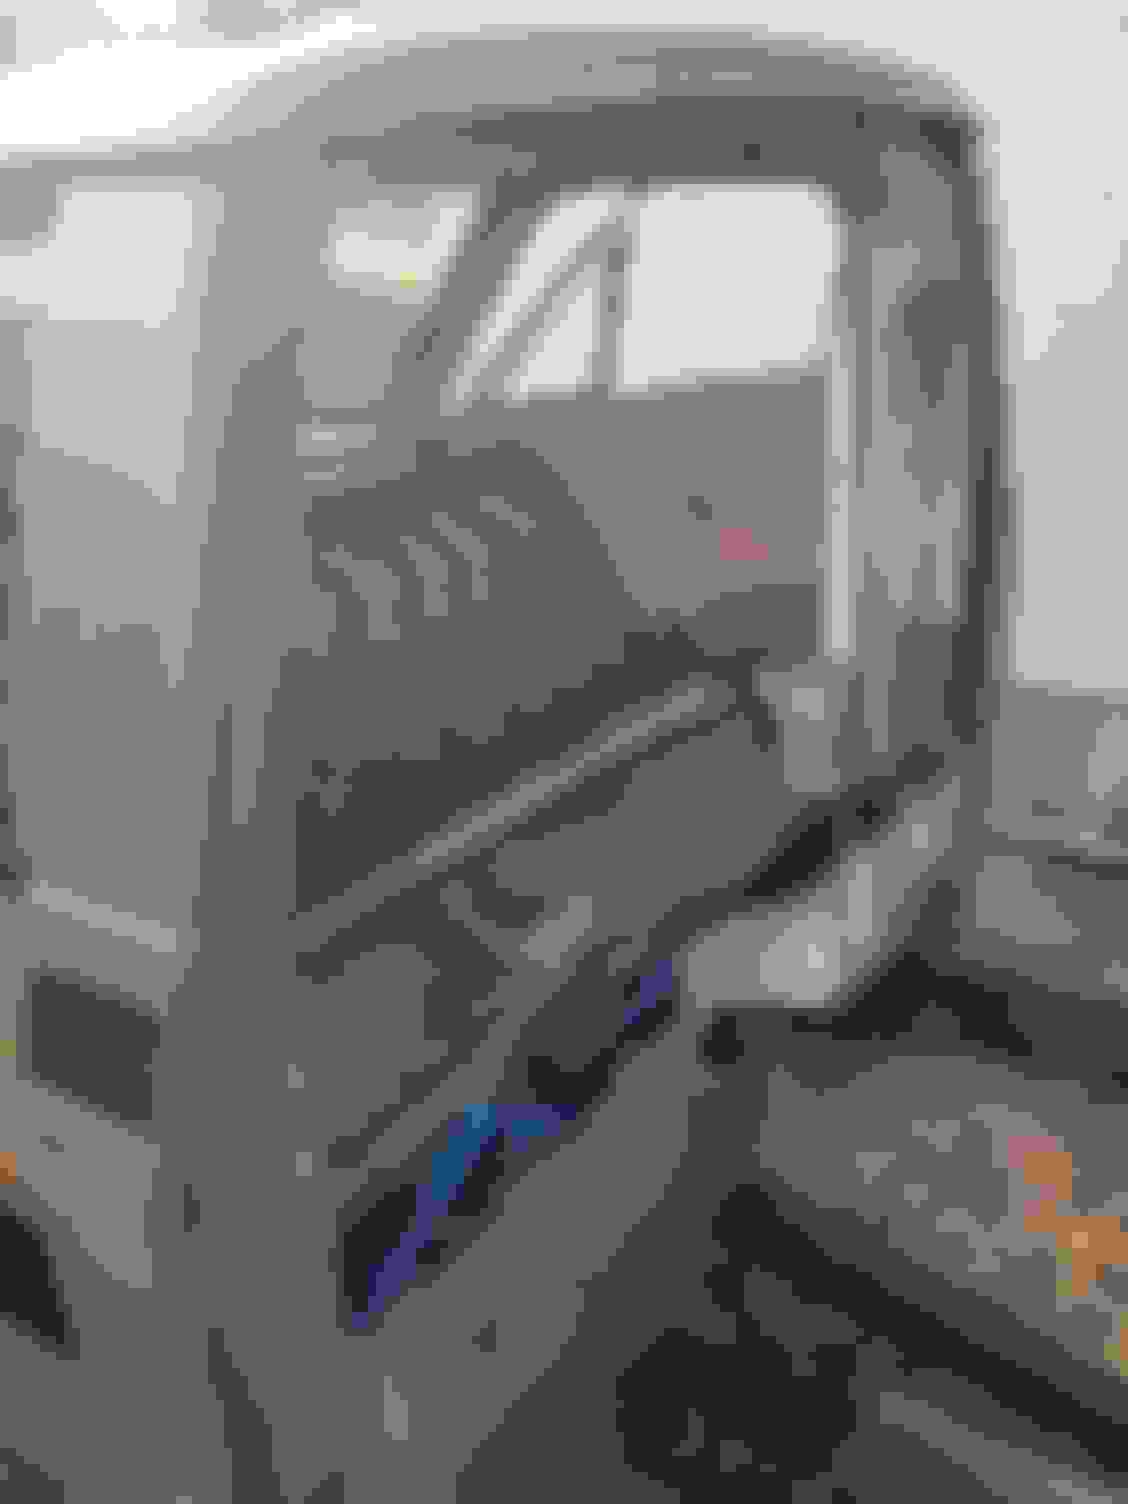
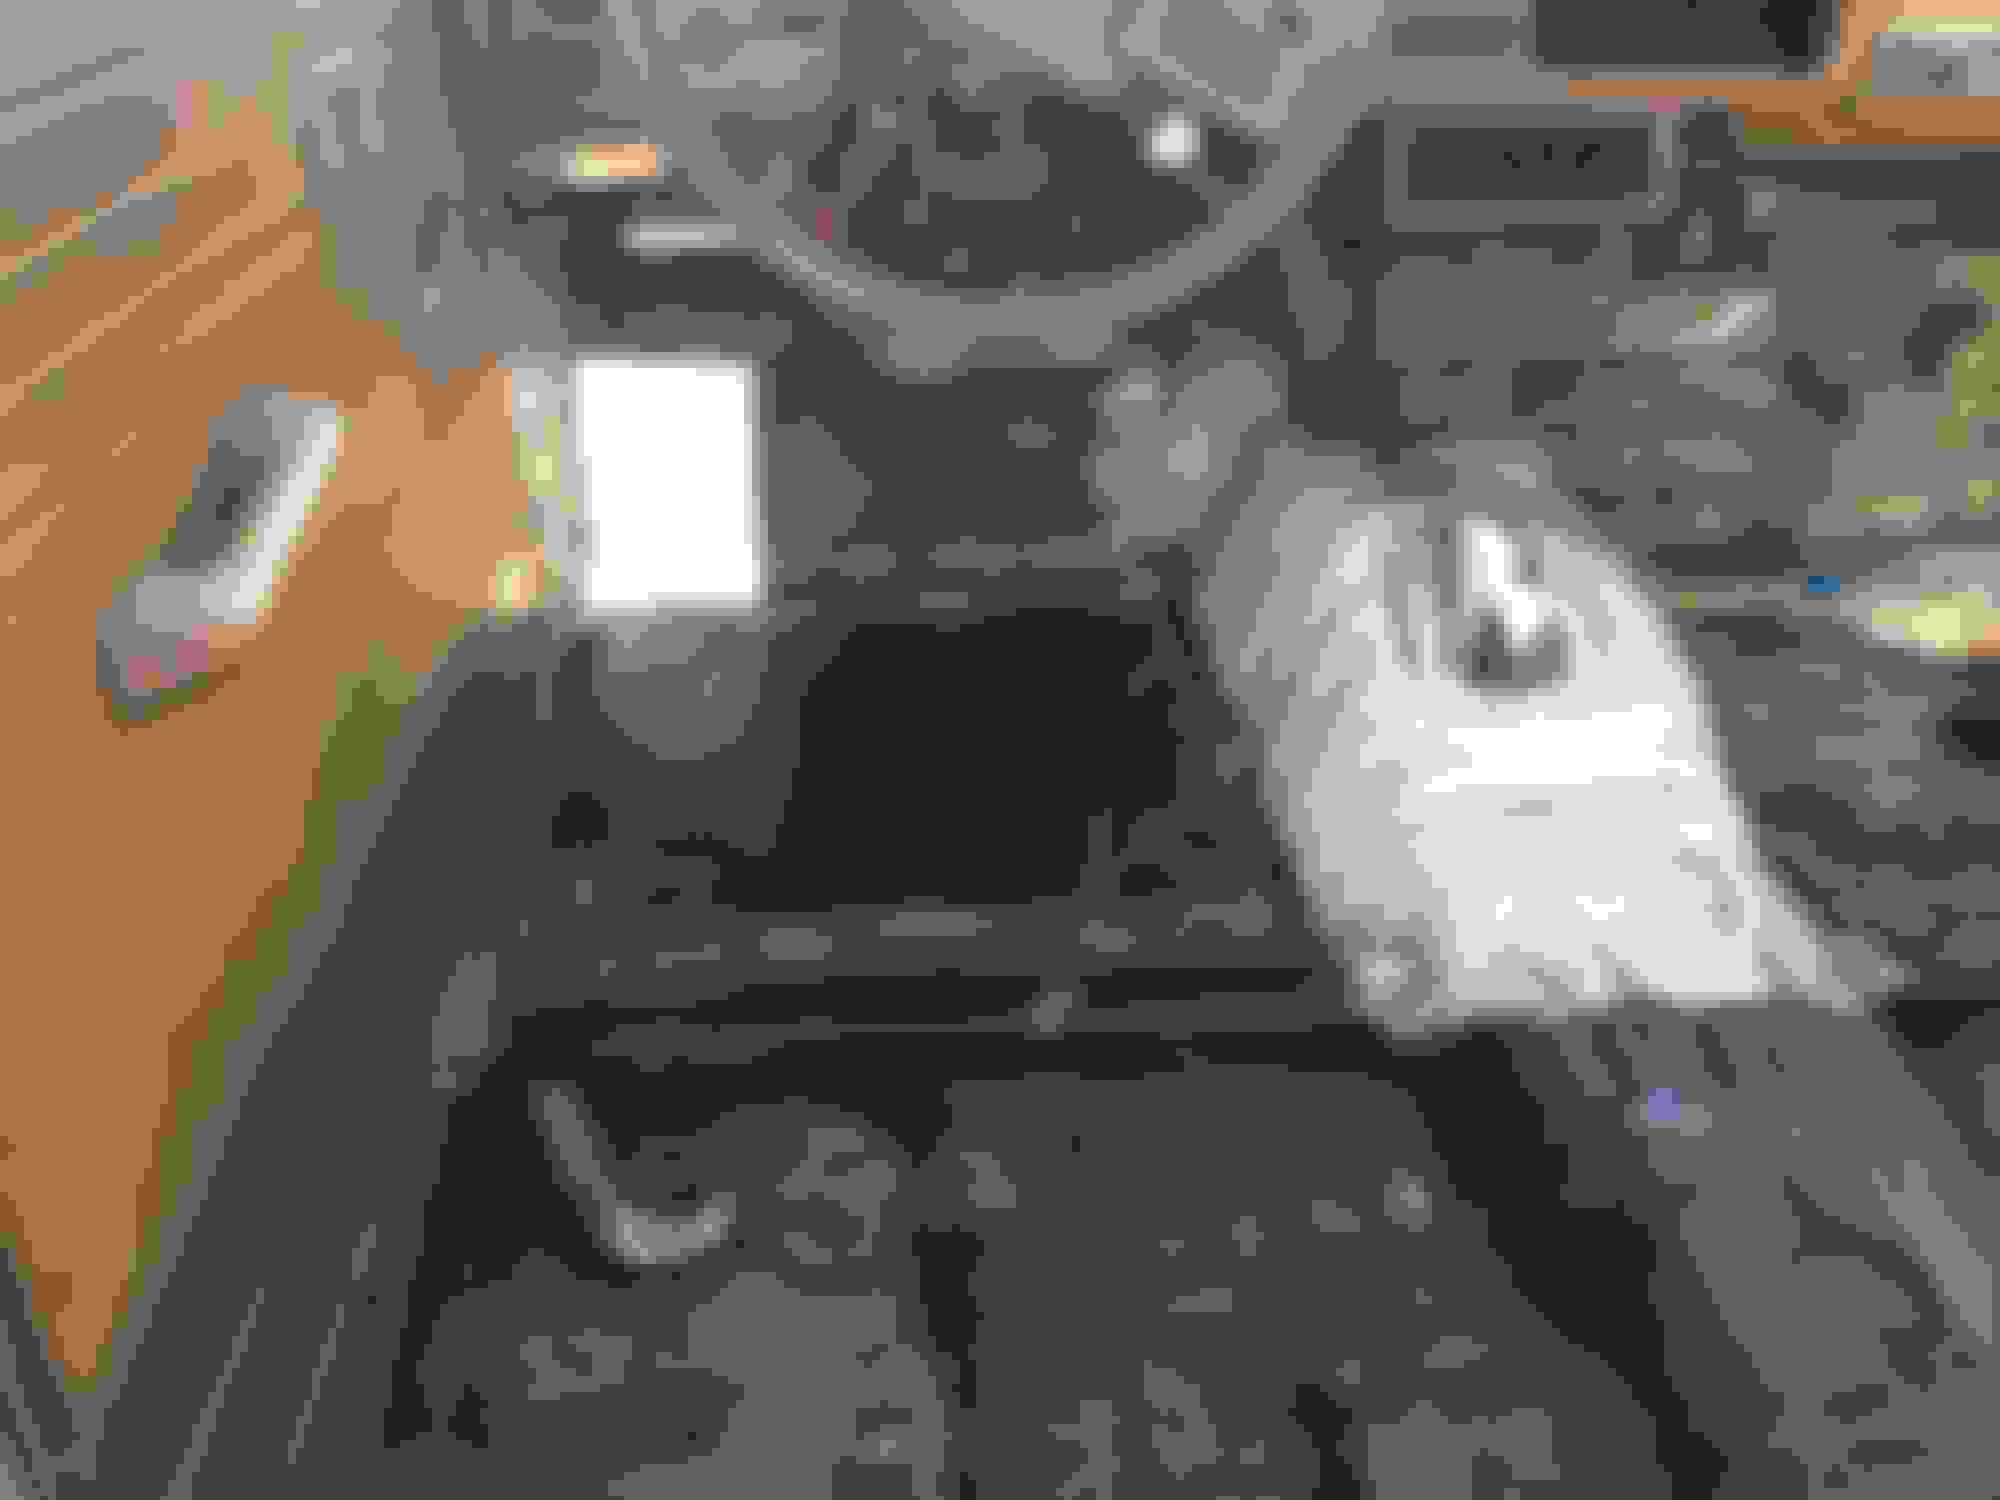
So it's in rough shape. The frame is rot out where the cab meets the bed on both sides. The floor bad by the can mounts it also gone. The PO also welded in an "extended can which I though might grow on me but it didn't.....
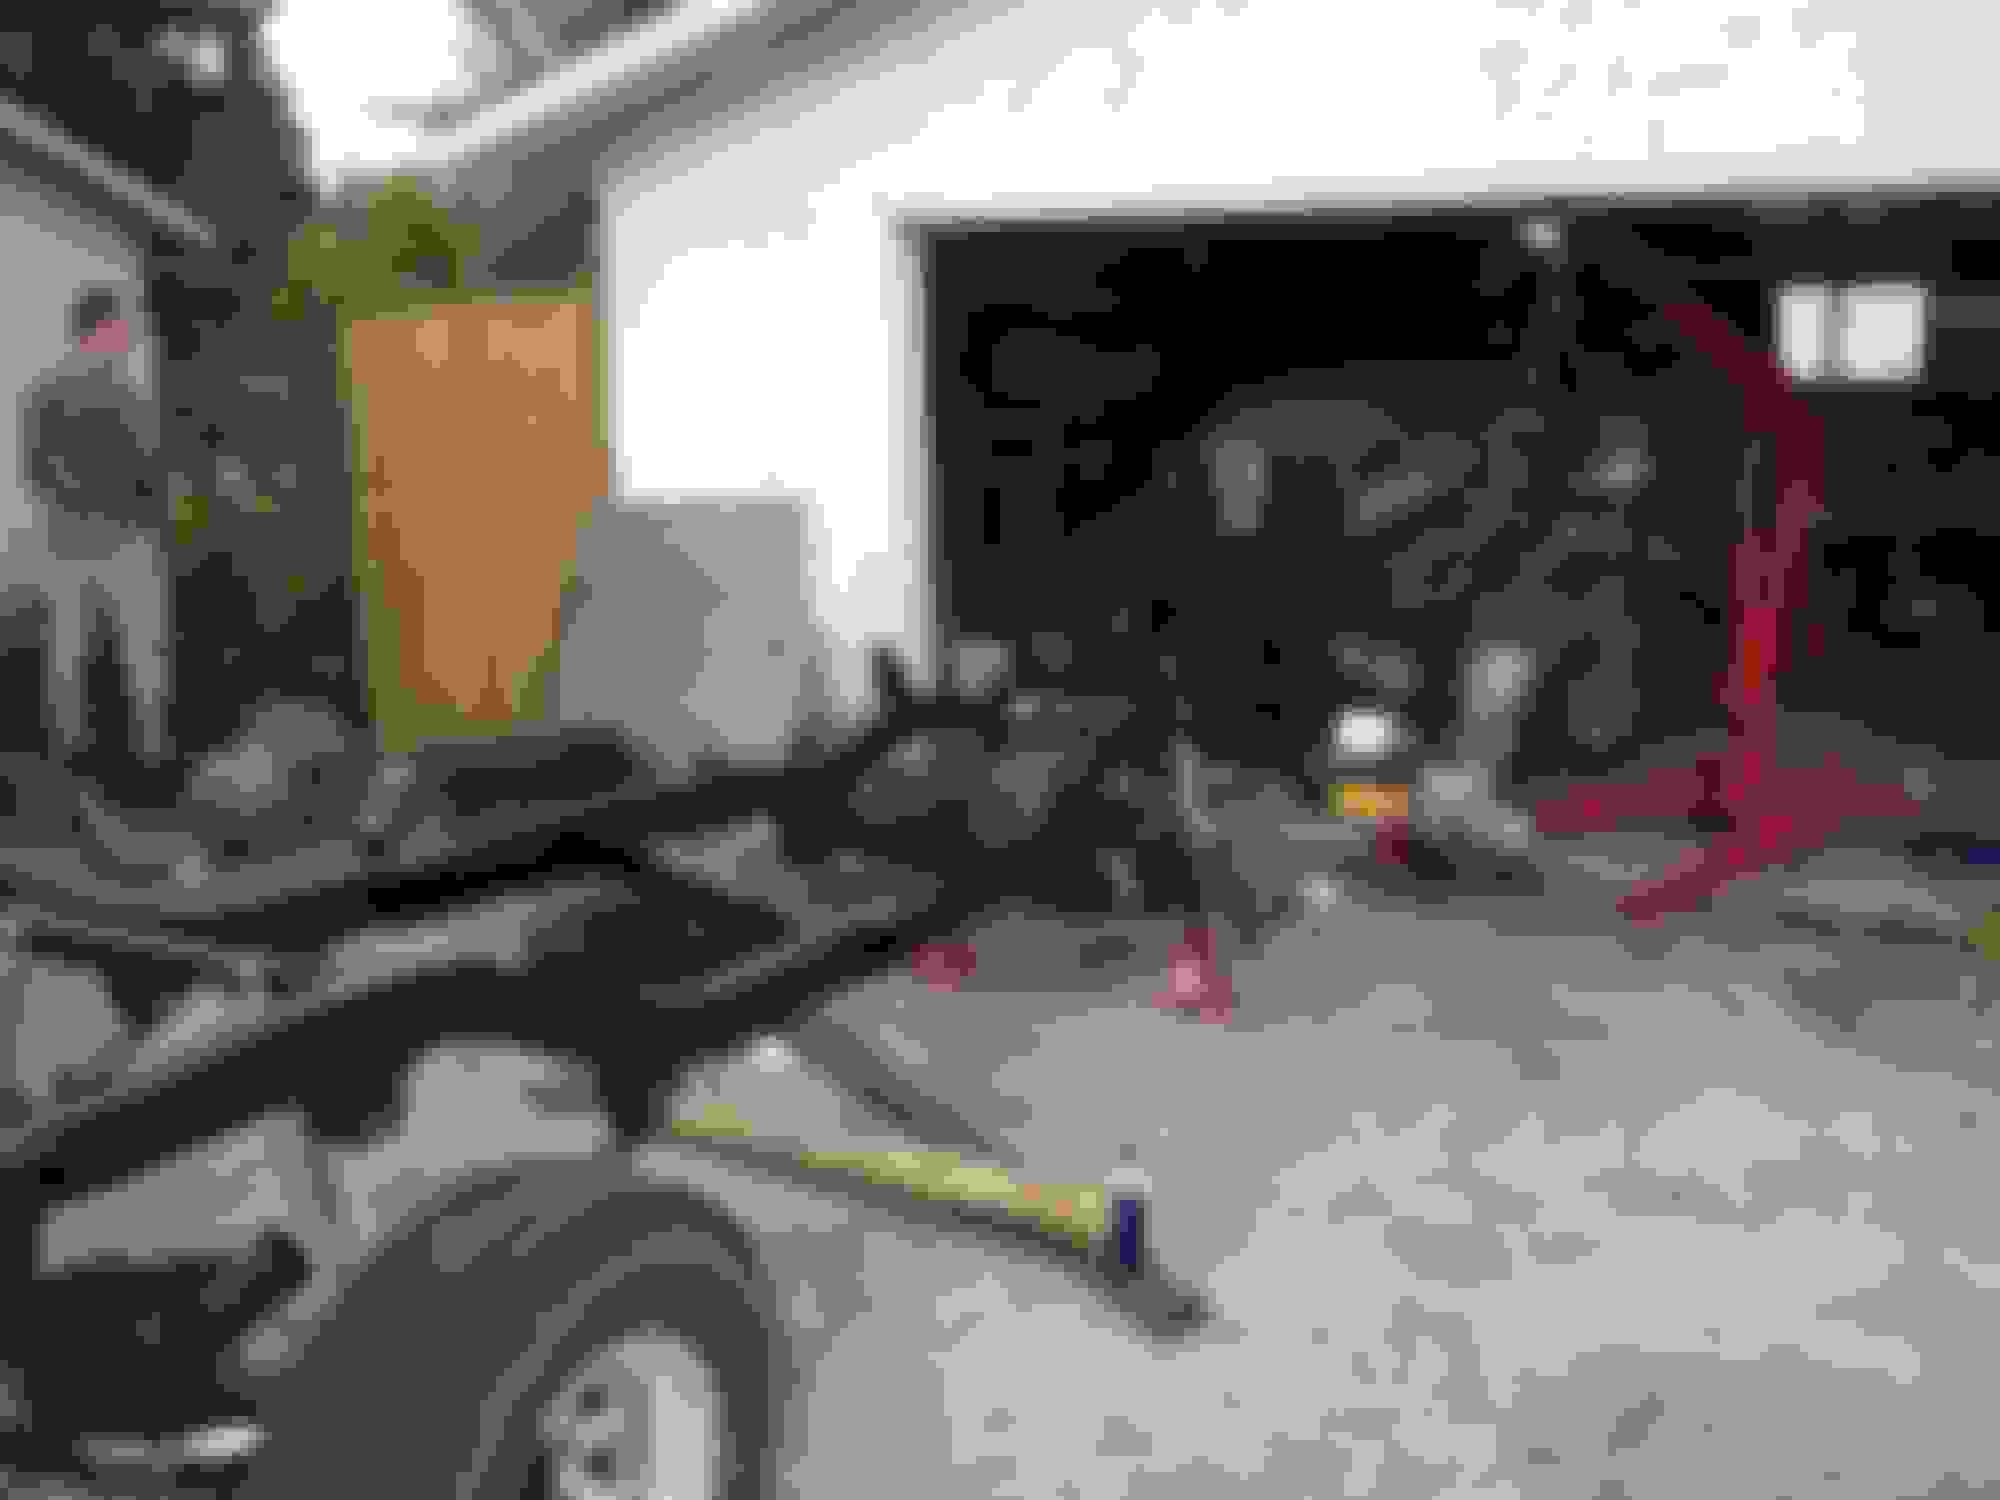
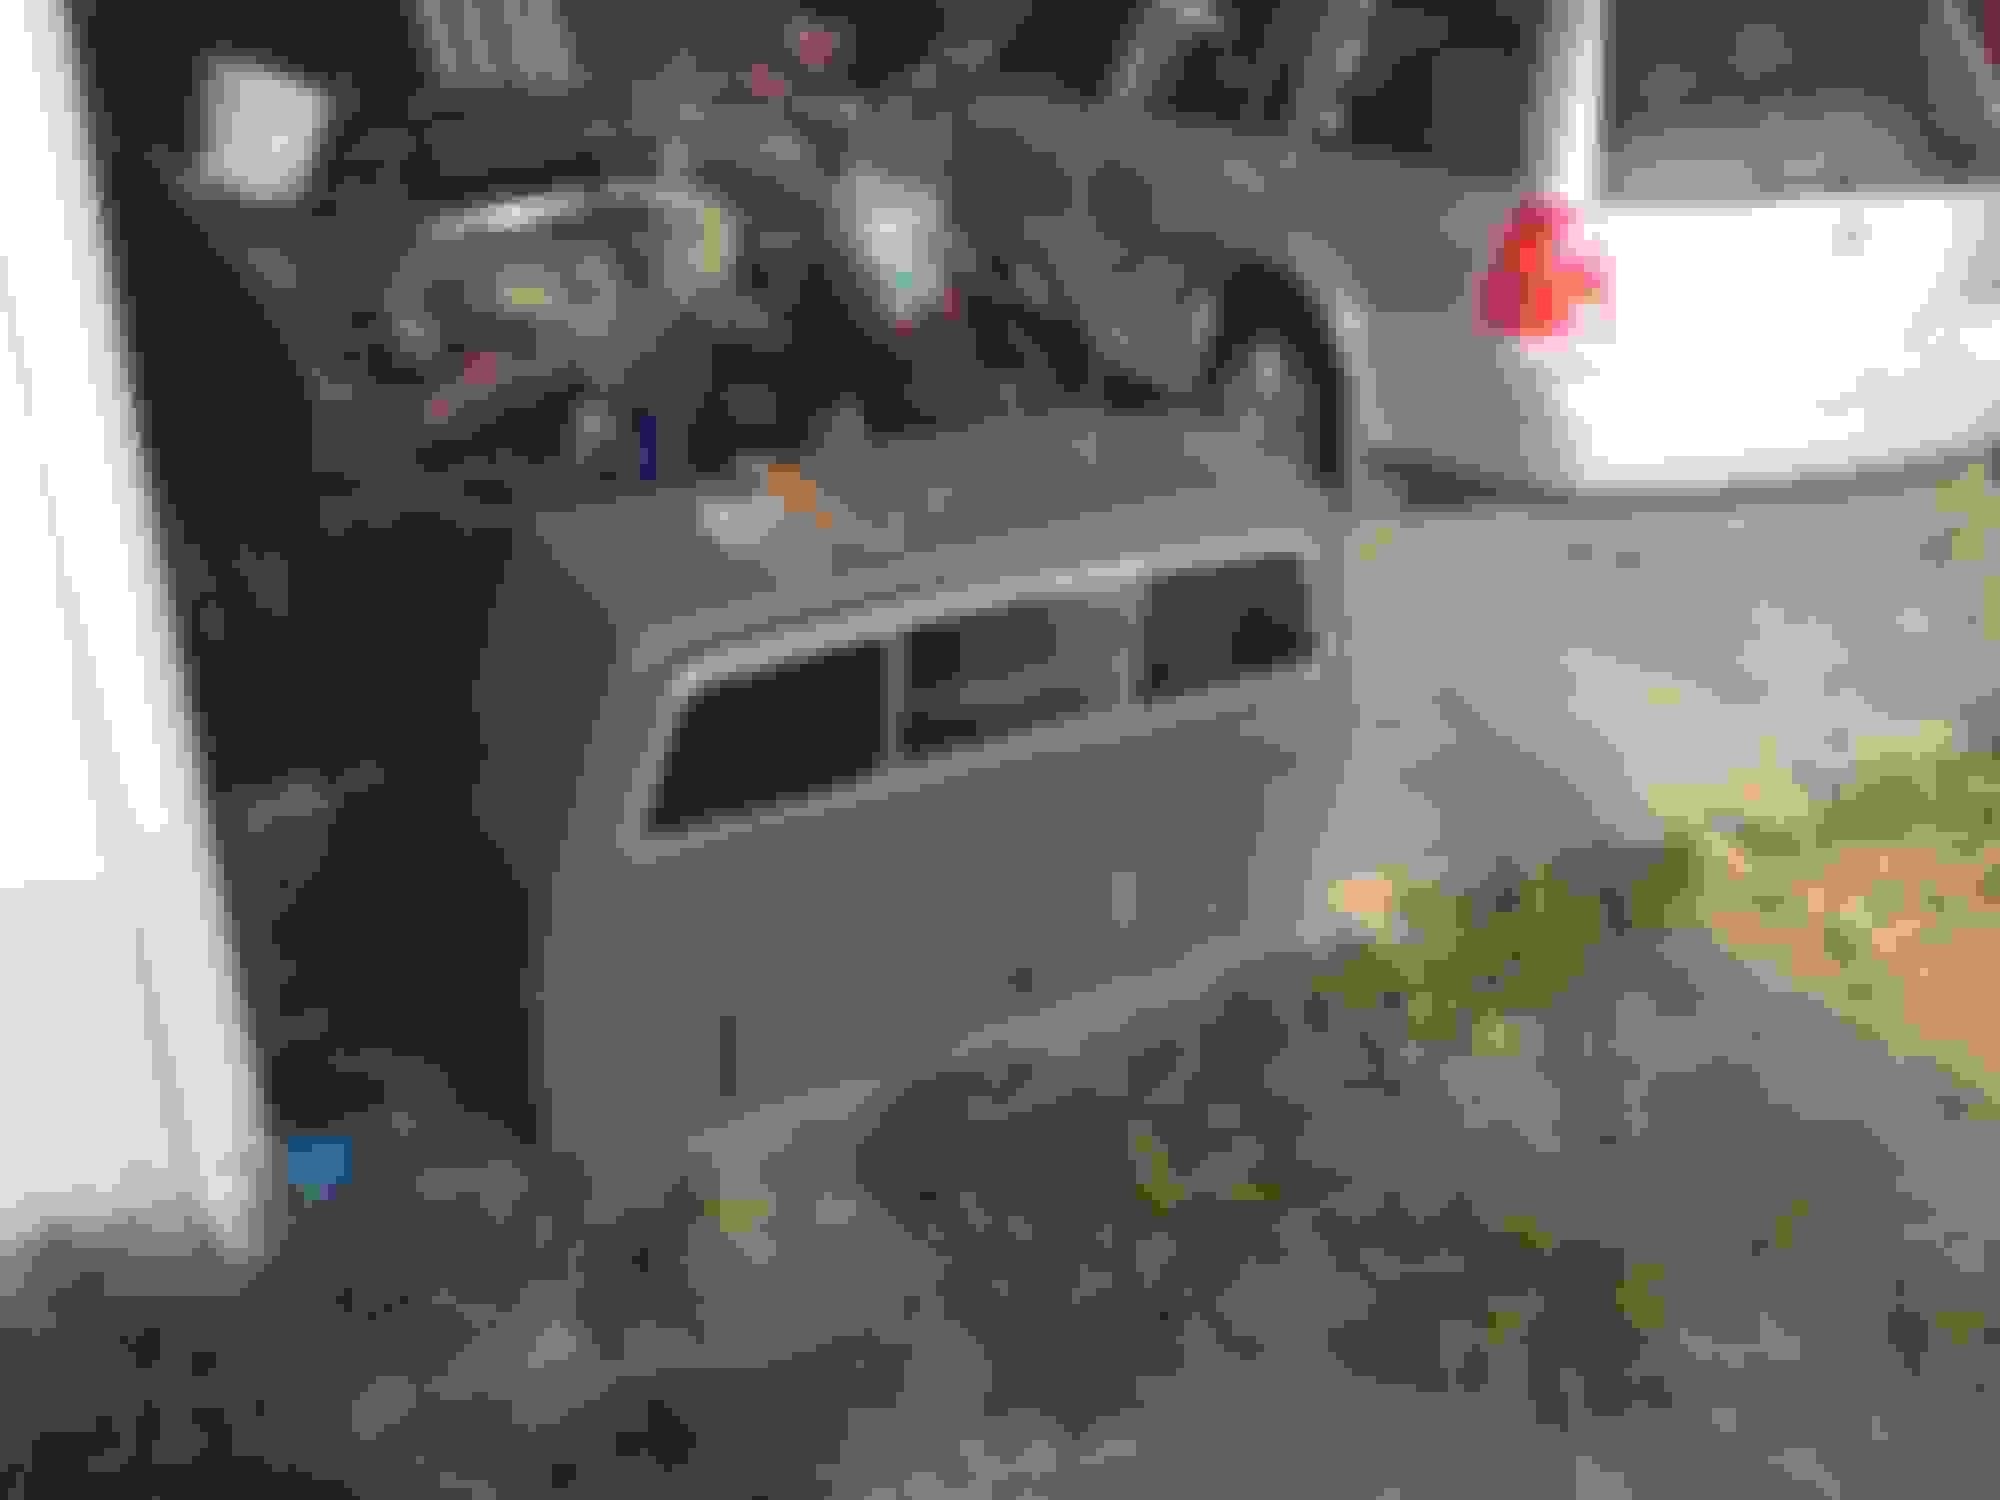
So that came off in a hurry. I planned on taking the back half off the extended part and welding it back on proper but there was gaps that were way to big. Now my plan is to get some 14 gauge steel and build a new back and cut a hole for the window. After I had that done I started disconnecting everything attaching the cab to the frame. Then off came the cab.
So I had picked up some 2"x4" .188 tubing to start rebuilding the back half of the frame but then I was just looking at the local classifieds when I came across a 83 frame!!!! Needless to say I called the guy and went right over to check it out. The frame is mint other then the obvious surface rust from being so old but nothing worse then that. The problem is that he is 1.5 hours away from me and I don't have a truck to haul it. So I am going back next week with my brother in law who has a trailer to pick it up. We ended up settling on $300 for the frame! So stoked.
Other then that I picked up some new tires for it... Got a sweet deal on some brand new 31x10.5R15 Goodyear wrangler duratracs.
I'm just going to keep picking away at it till one day it drives again haha
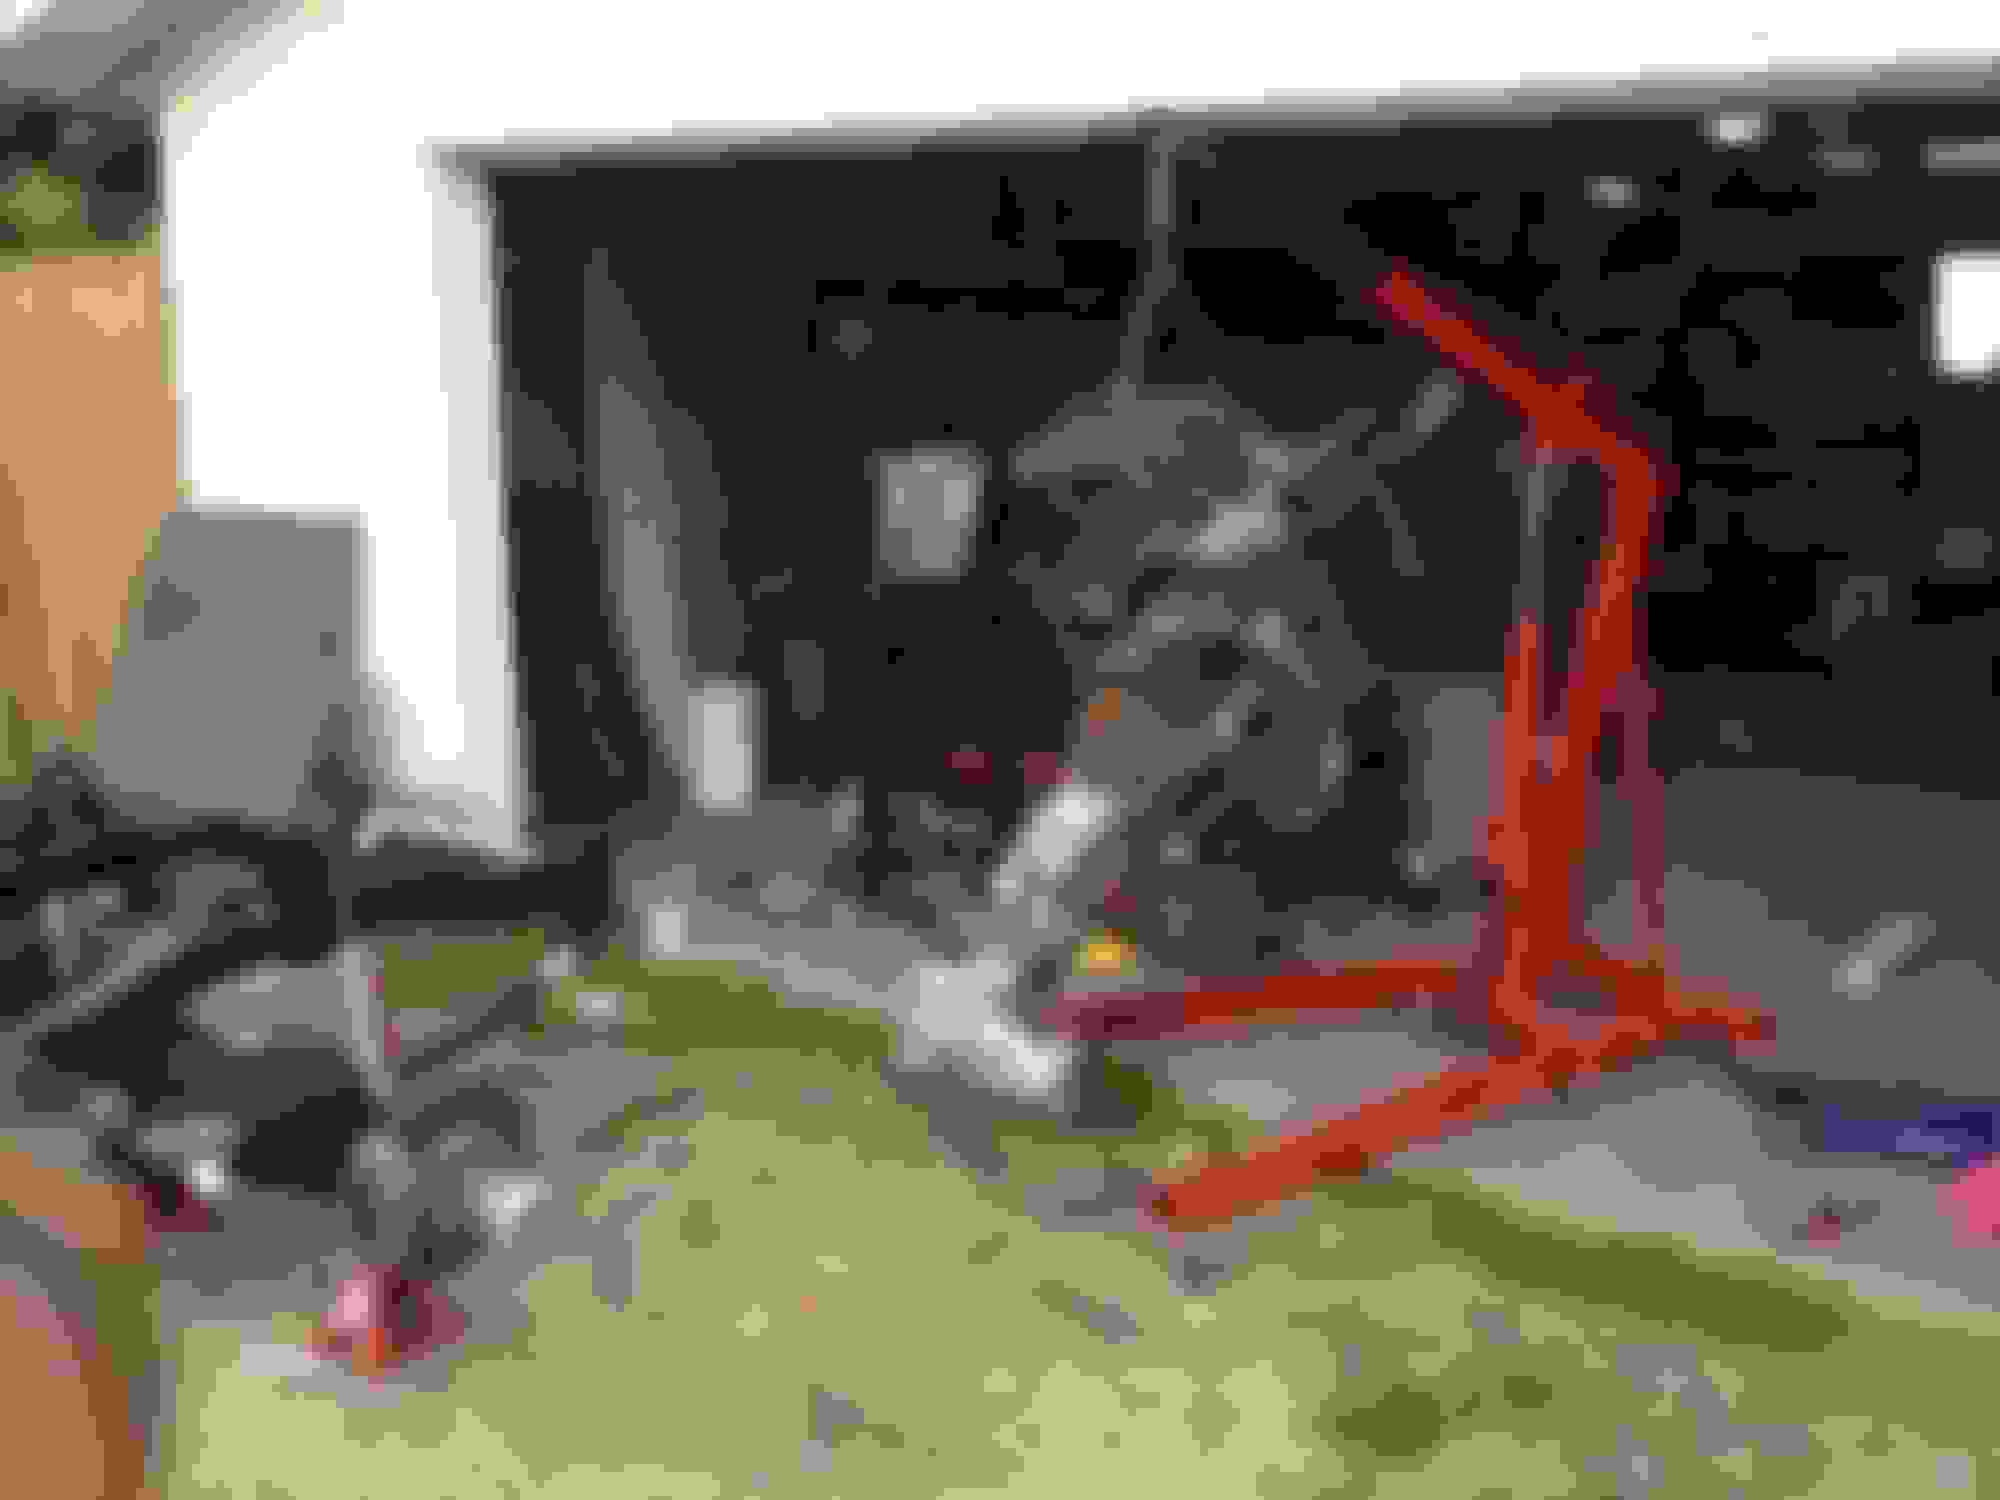
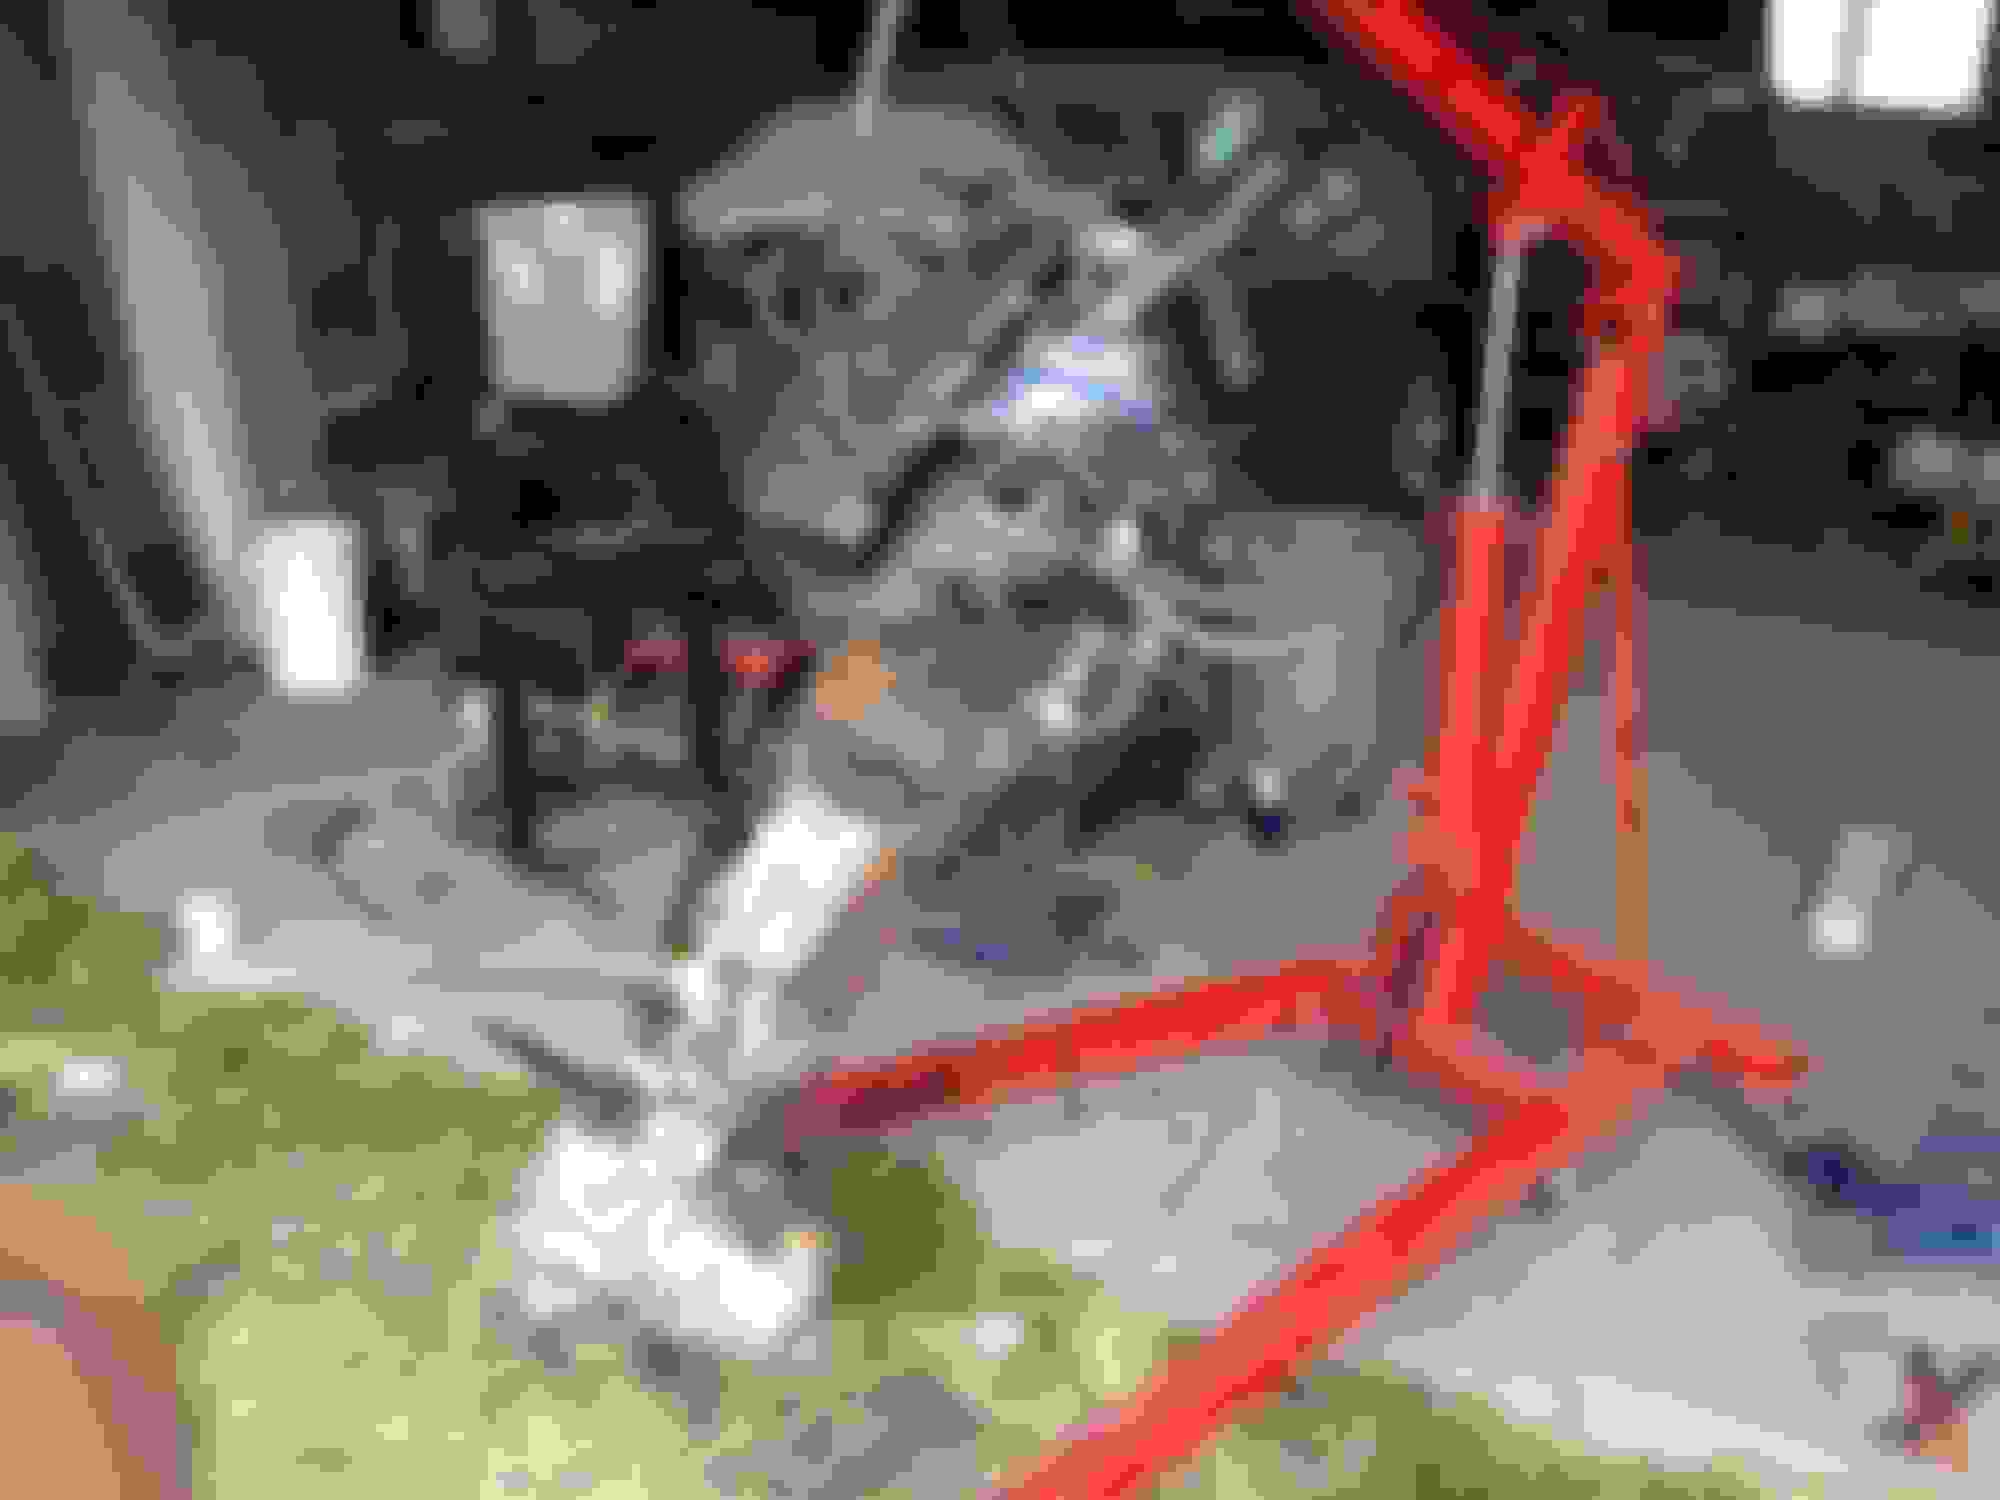
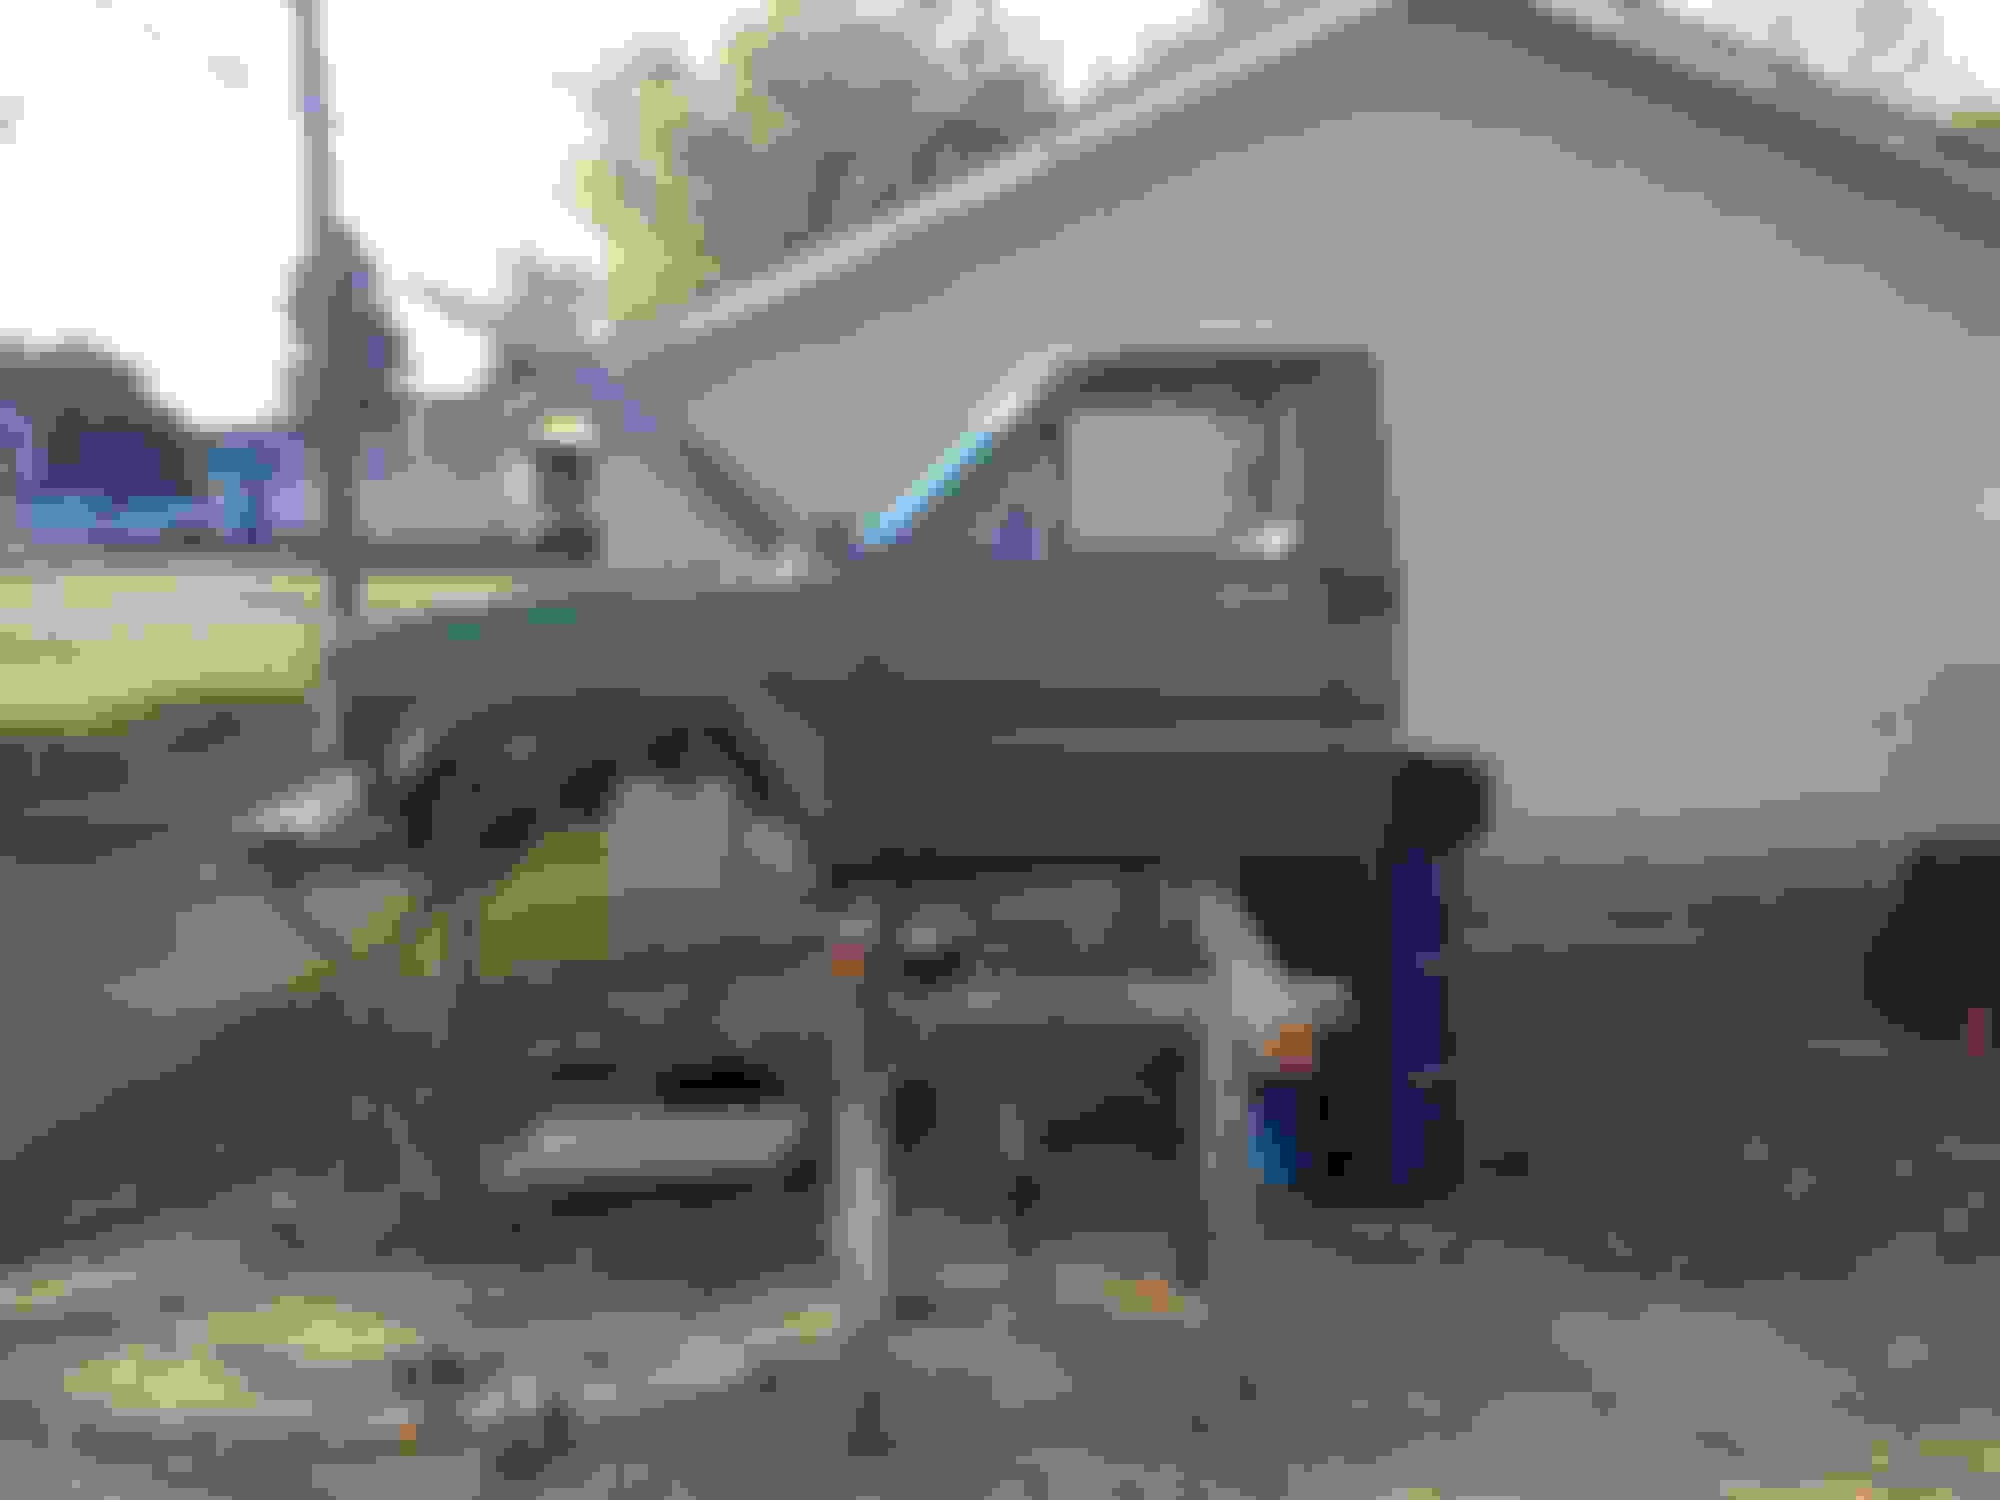
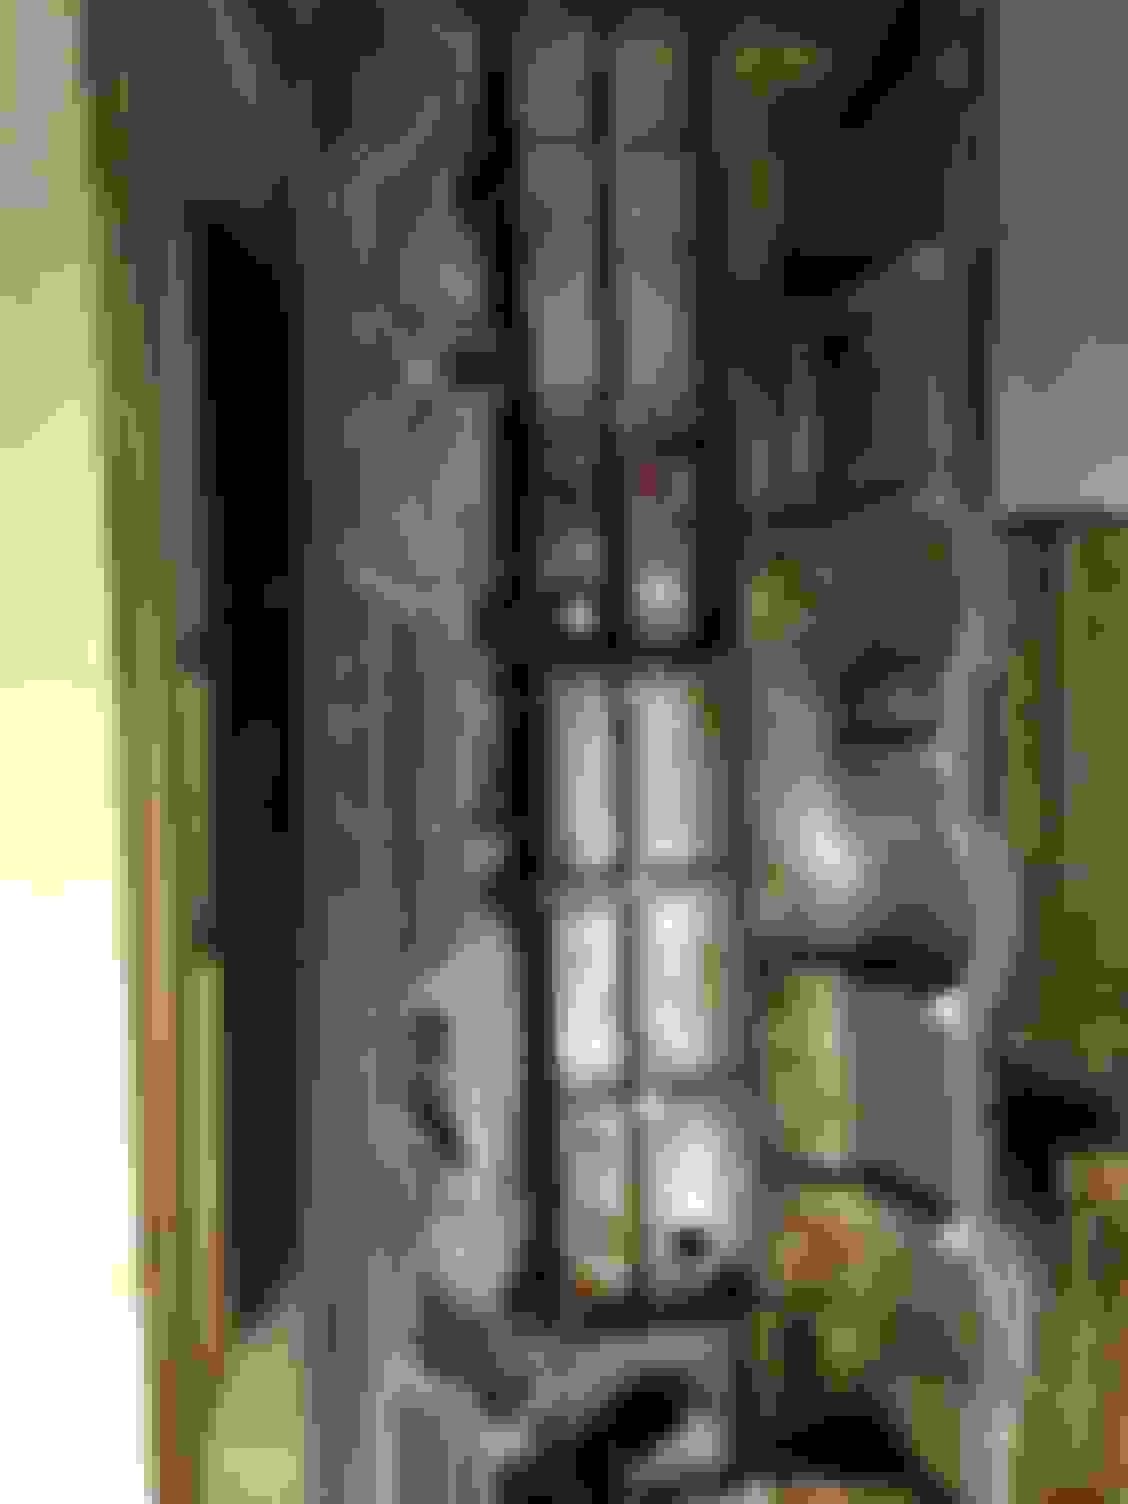
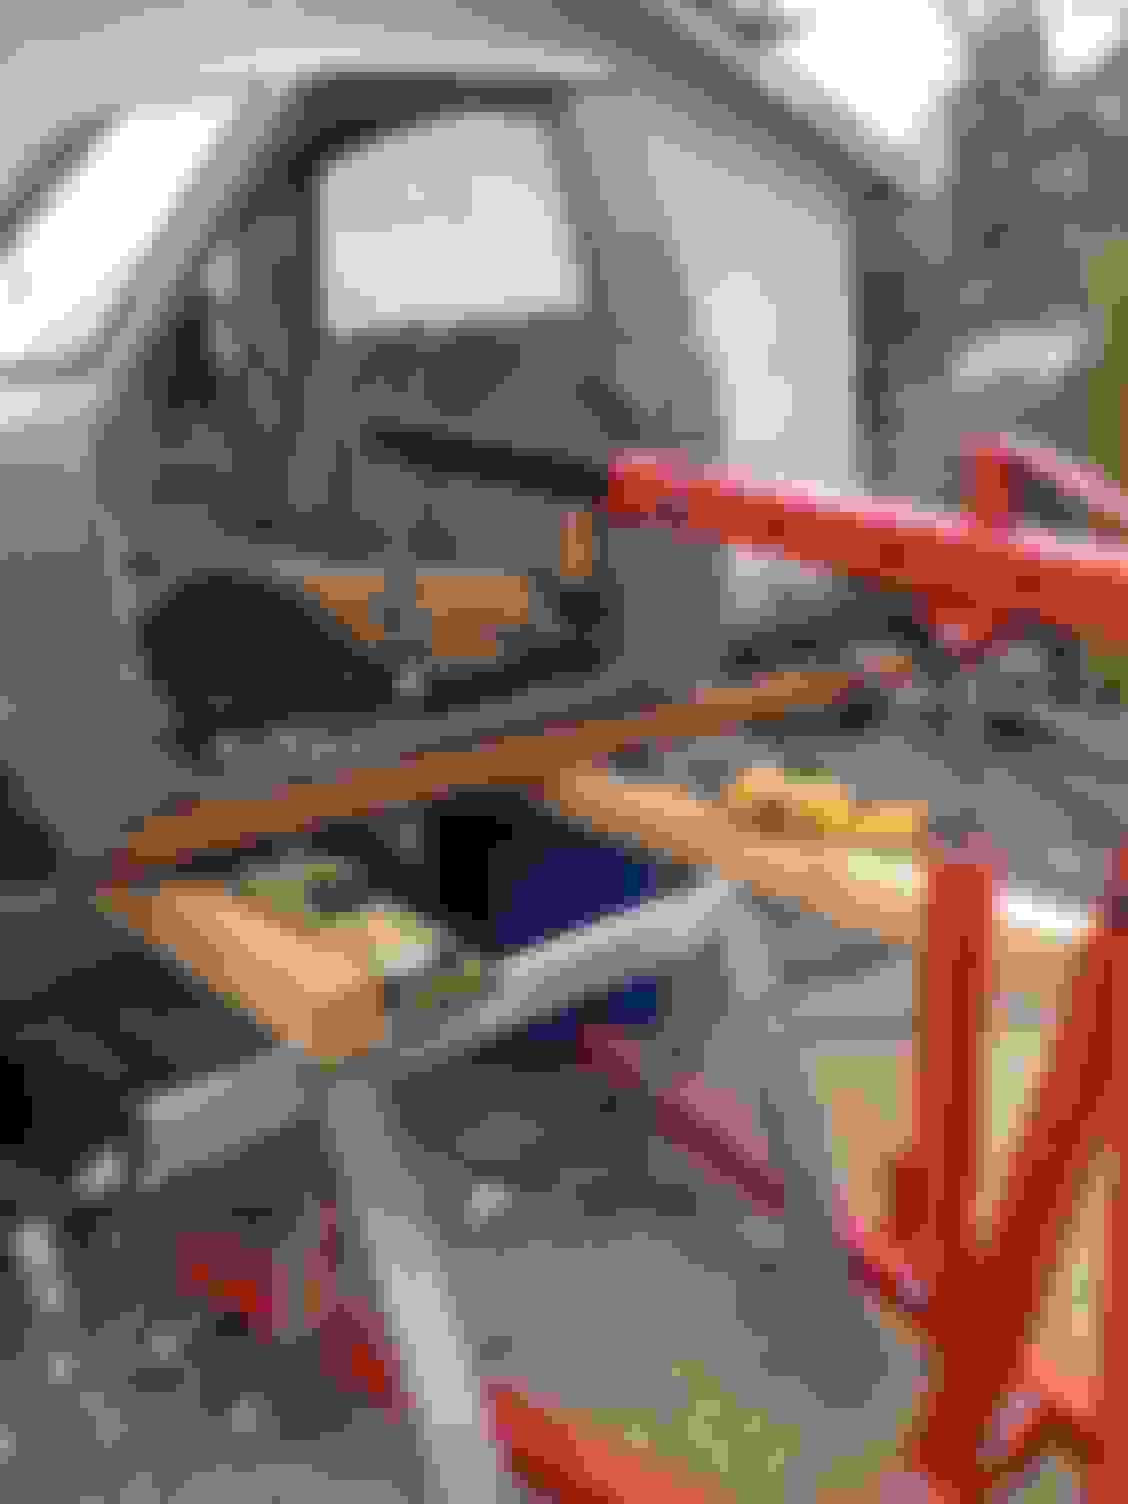
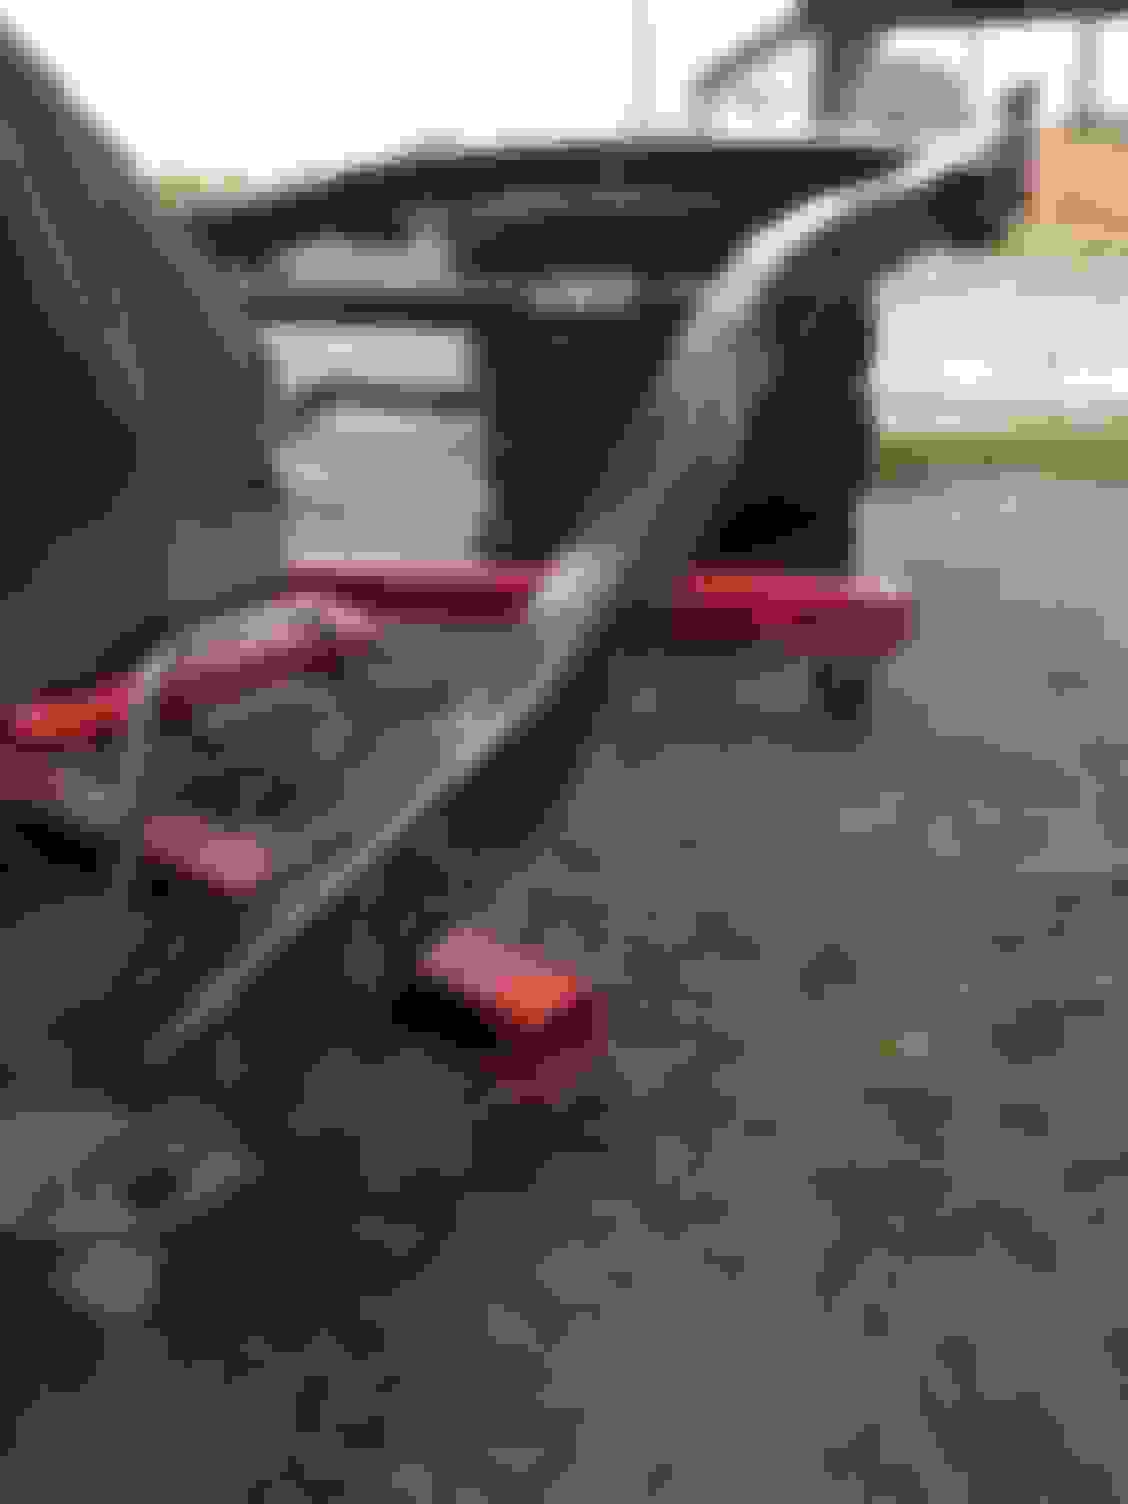
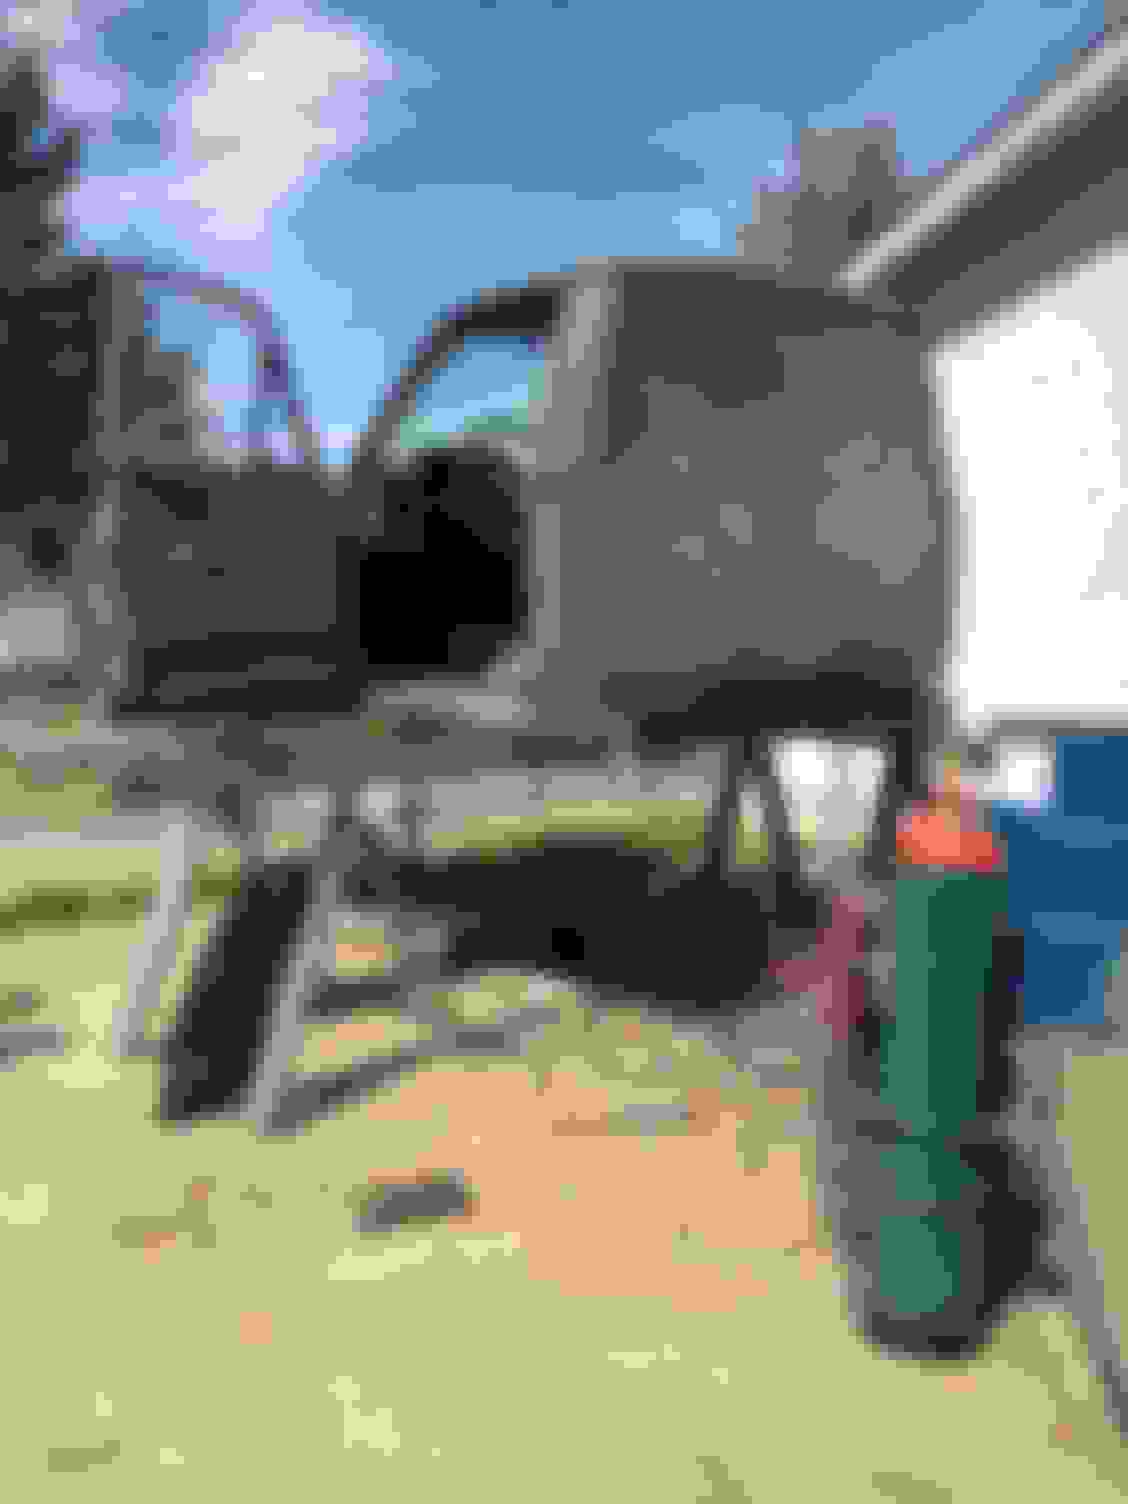
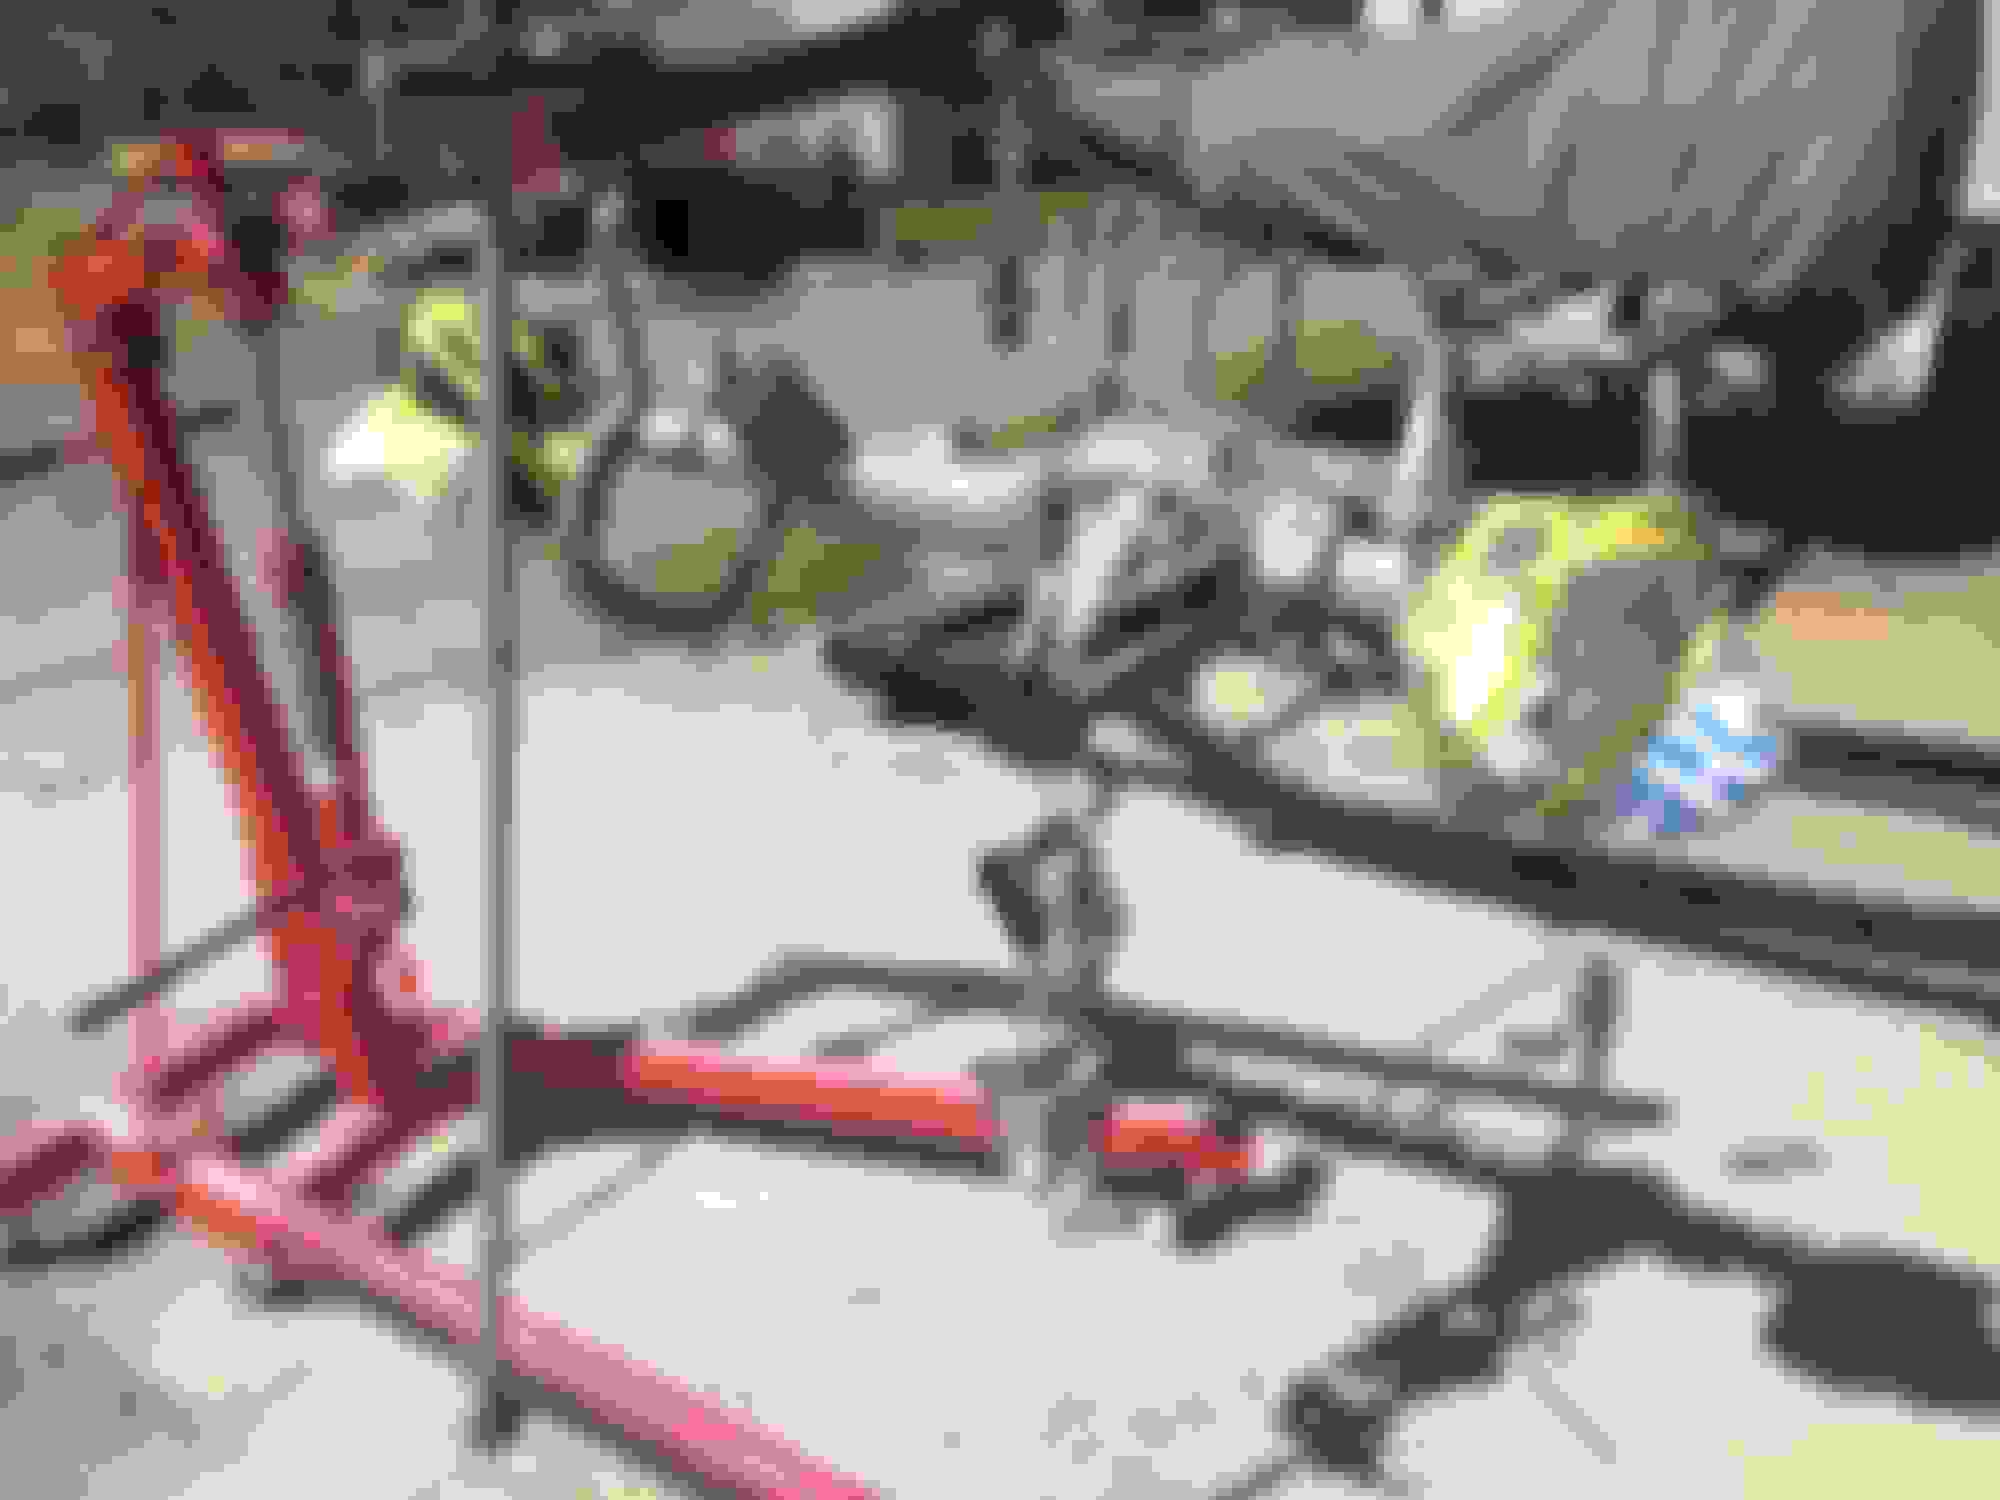
Saw horses to remove the cab... why the hell didn't I think of that?! I did it the hard way with ratchet straps and hooks in the ceiling, but then I again, I also did it 100% by myself:
Alright. I got a bunch of work done this weekend. I went to write this post last night and something happened with my phone and it quit halfway through, piss me off lol. So I'm going to try again.
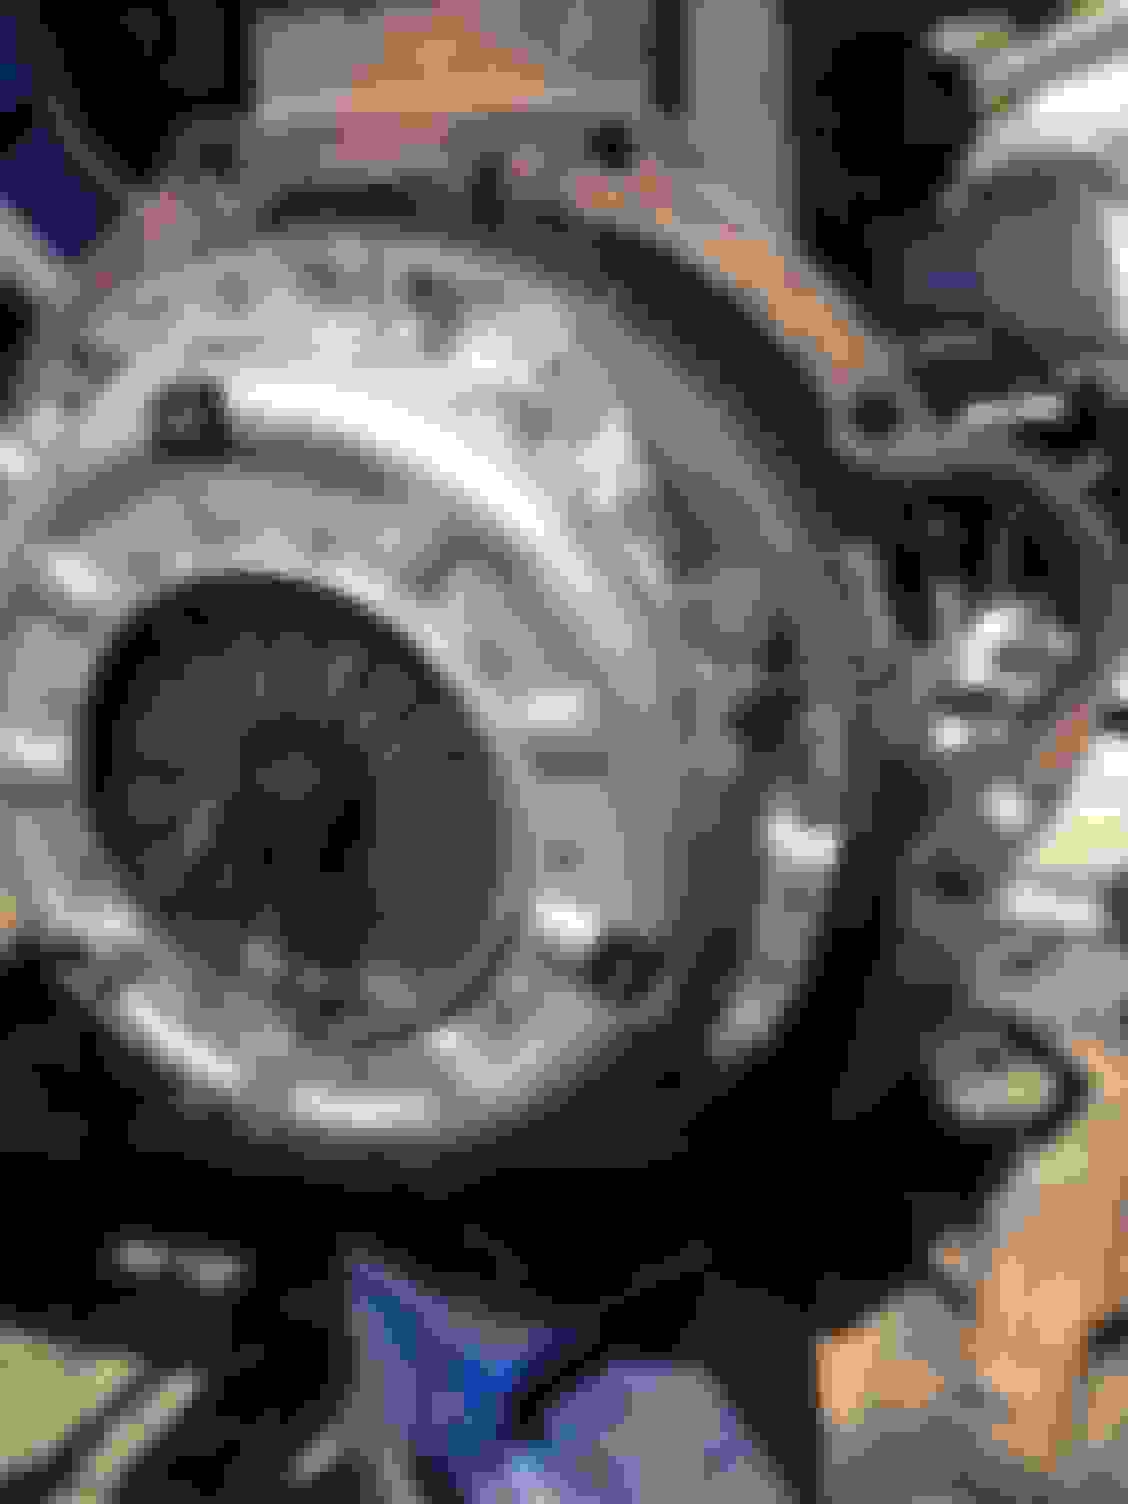
I spent pretty much all day Saturday jut cleaning up the engine/transmission/transfercase. They had soo much caked on gunk it wasn't even funny! I used spray nine, dawn soap and some heavy duty engine degreaser. The pressure washer did work but there was still some little spots I couldn't get off.... 100 miles an hour, no ones gonna know haha.
After a quick run to the parts store I started taking of the valve cover as I suspected the gasket was leaking and causing a lot of the oil accumulating on the engine. I took at off and gave it a really good clean and then gave it a real quick pain job with some endura ex-2c topcoat.
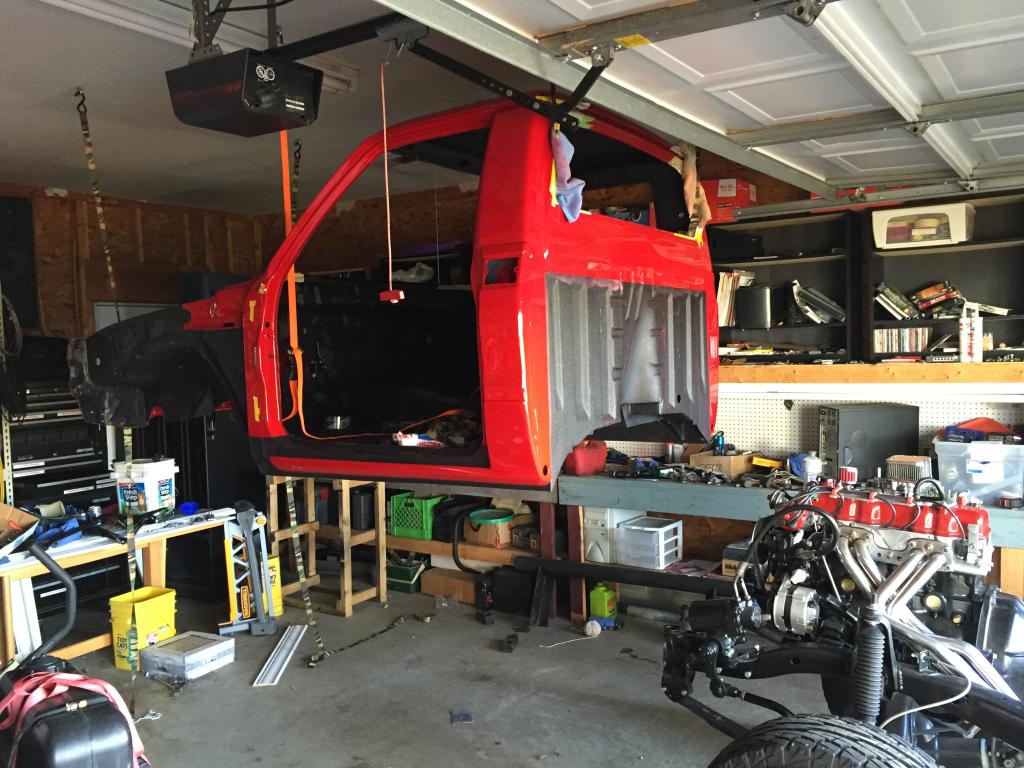
I then turned my attention to the cab. It is a very sad state of affairs lol. I need to replace the rockers, floor pan and whole back section of the cab with the window. I picked up some 3x3 tubing to build the rockers out of.
As I start to pick away at the truck I also start to realize how lacking my skills at fine body work are. I have done a fair bit of painting but as far as replacing body pieces I have done none. So a lot of the stuff is pretty rough around the edges but nothing a little of seam sealer can't hid...... Or maybe a lot of it.
This truck is also just meant to be a summer camping/wheeler truck so I'm not overly conceded about how it looks as long as it's solid.
I cut out most of the drivers side floor pan infront of the seat. I got a bit of it done when I ran out of gas for my welder. So I called it a day and packed it in for the weekend.
So that's that for now. I got my work cut out for me on this one. Gonna be a long trek to get it back on the road.
I've never seen someone do rockers like that. Pretty clever. Coat the inside of those puppies with some POR-15 and you'll never need to worry about them rotting through again.
Ya the only reason I though of it was because I was going to by a jeep Comanche once apon a time and his rockers were rotten out and that was what he was gonna do so I just stole his idea haha
Yeah. I've debated on the body work I'm going to do on my build-up. I really only care that the engine (drivetrain) runs "excellent", but as far as body work, I actually lean more towards the rusty rat rod, frankenstein look, that looks pieced together, than a pristine paint job. There is a lot of freedom in not worrying about someone hitting your doors, or scratching your paint. I had a truck once, that had street signs for floor panels. In fact, I was toying with doing some general rust repair and then shooting it with a snakeskin paint job like this:
Ya as long as the engine and drivetrain is solid then your good to go! My last toyota was so nice that I never wanted to take it out braise I didn't want to scratch it!... Pavement princess truck. This one will be getting beat up so body an paint won't last long. Haha street sign floor boards! That is genius! How would you even do a paint job like that?!
Spray on your dark base coat, then take a fish net, or some of that plastic mesh chicken fence from lowes (I make crawfish traps out of it), lay it over the base coat, and spray a lighter coat. Cut the fence into different patterns and spray at intervals. I've seen people do it on youtube and it doesn't look too hard.
I'm back and forth on it...I've got a long time before I need to worry about it though. It won't be a speedy build.
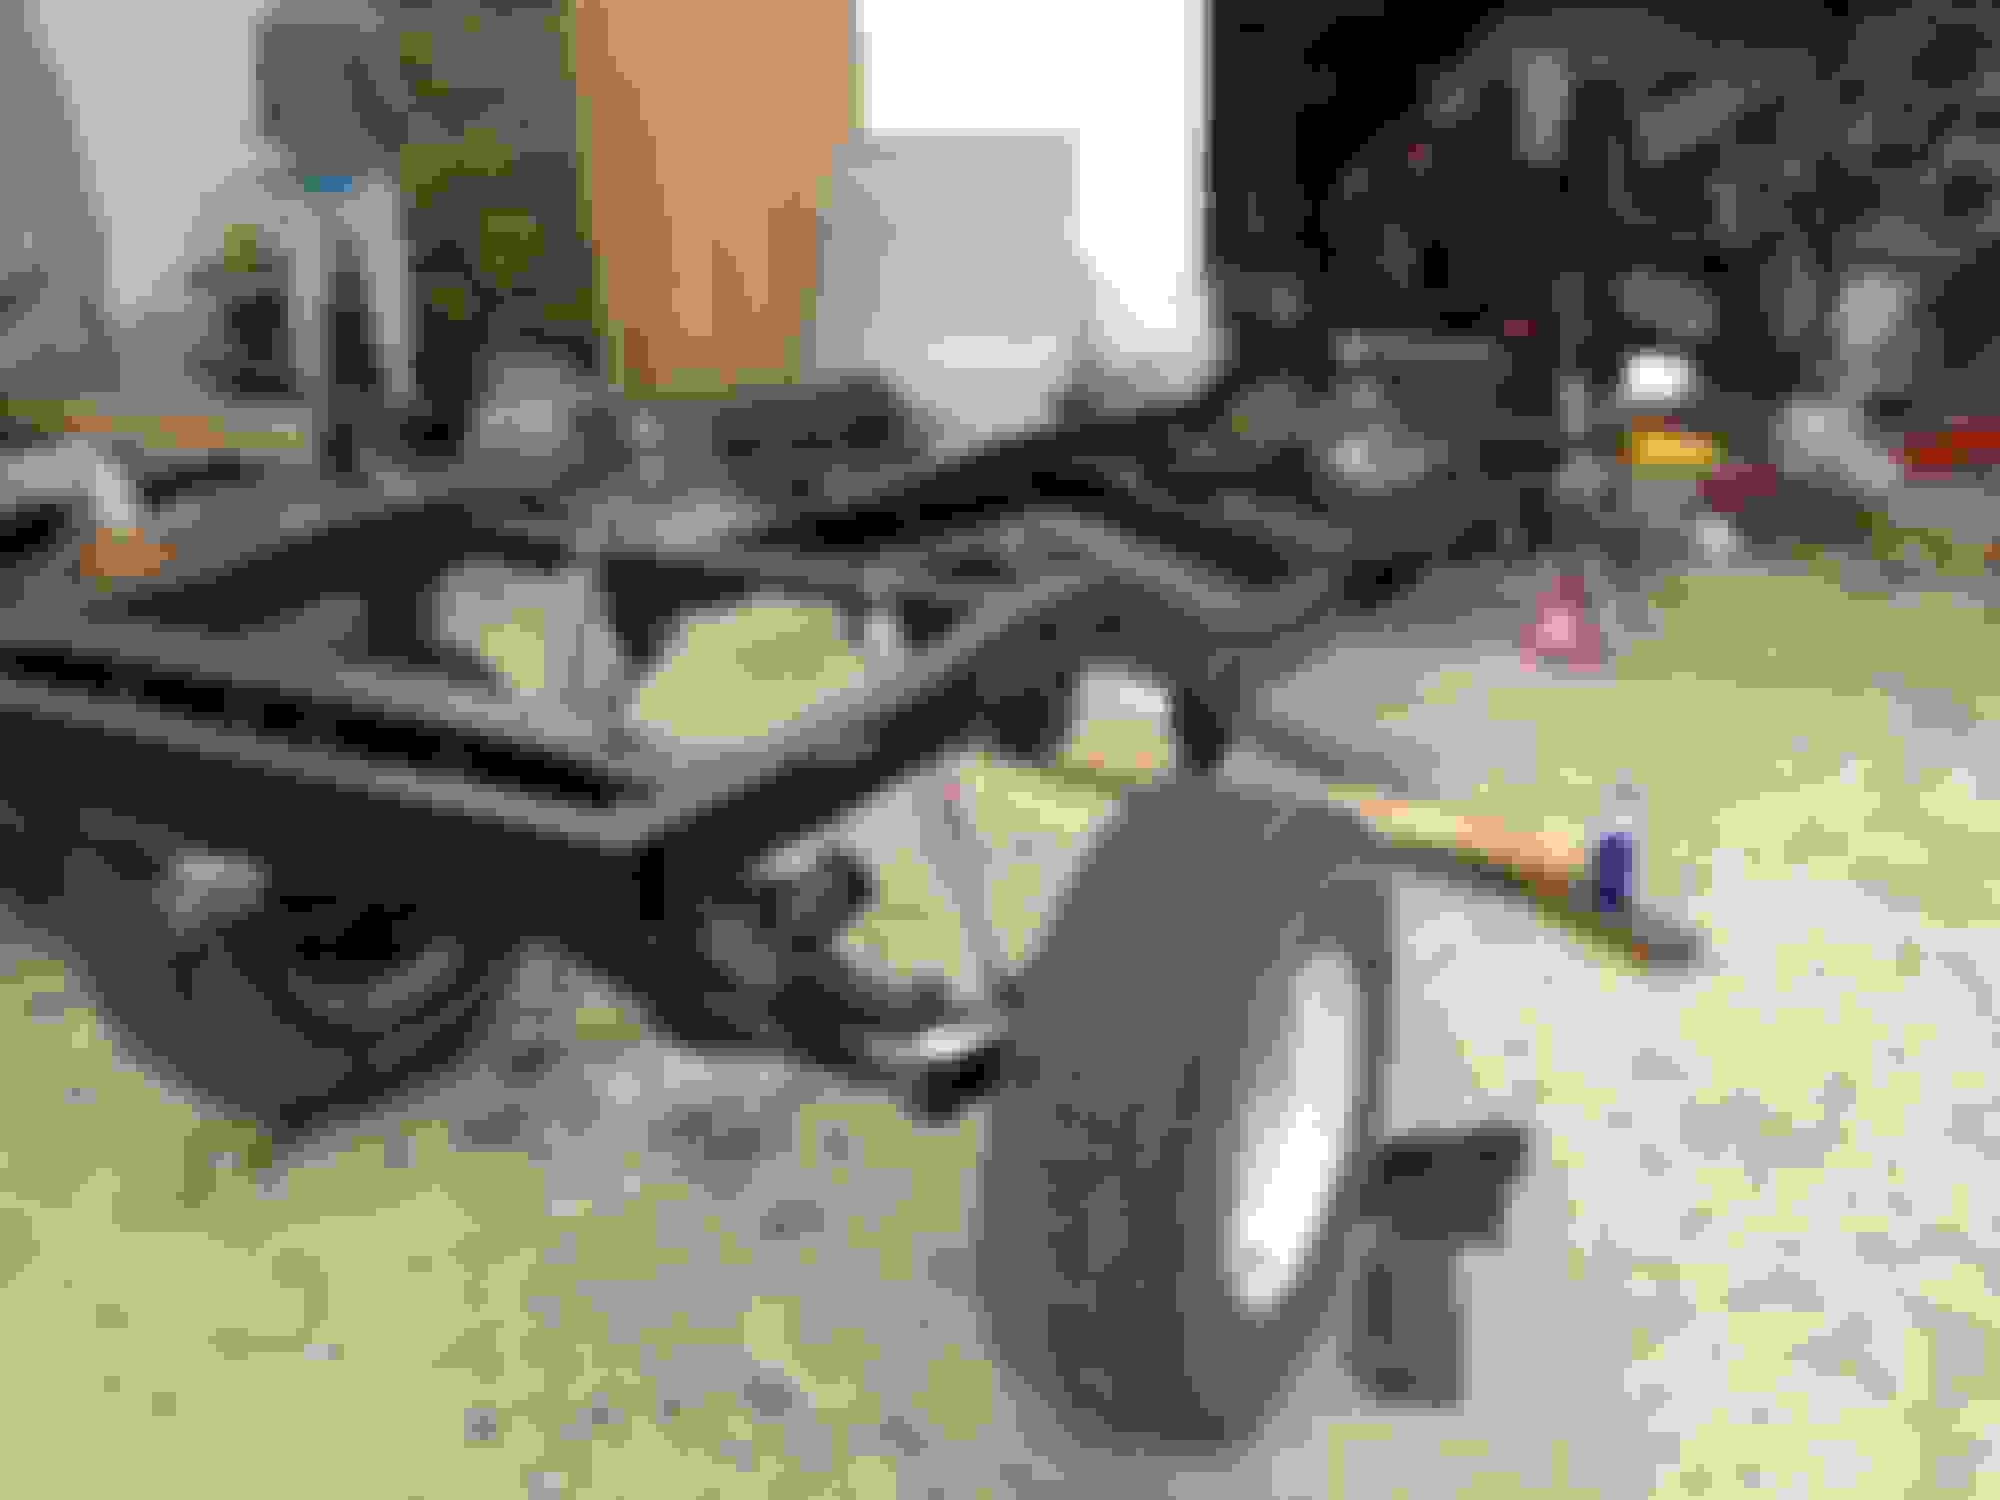
So I picked up my new to me frame the other day! Pretty stocked about finding one in good shape and so close to me.
Snagged it for $300 bucks!
So I decided that I would reinforce the area of the frame behind the cab where where my old frame what rotten out. I used 1/8" on the outside and 1/4" on tr inside. I had one of my friends over giving me a hand and he's a welder so I let him do most of the welding and I just finished some stuff up after he left.
After it was welded in I started to think about it and figured I probs should have put a bunch of plug welds in the middle of the plate instead of just a weld along the outside. Also should have covered the openings on the frame the got covered up by the plates so water and whatnot can't get inbetween the frame and the plate. But I guess hindsight is 20/20. So I'll just coat the inside of the frame real good with fluid film or oil.
Spend about 6 hours sandblasting with my little 20 gallon blaster to get it ready for paint. Also cut off about 8 inches of the back of the frame, right up to behind the shackle and welded a piece of 2"x6" tubing for a future rear bumper. I also welded a piece on the front with notches by the front shackles for my front bumper.
Then I have er a real good coat of endura in flat black that really isn't that flat hahaha. I was running a but low on paint so once I finished a went back over and gave any spots that weren't as thick as I wanted a quick blast with some rattle can rustolem :S I hate using rattle cab paint but had no choice.
And the frames ready for some new parts! It turned out real good other then painting right by all the sand from the blaster. Gotta work with what you have and there was only a few grains of sand in the paint.
All said and done with material for the frame and the frame it ended up right around $500. Not to shabby.
Alright, its been a while since I posted. Done a bunch of work on the truck since my last post.
I stripped the brakes off the rear axle and got it all ready for sandblasting. I sent the drums off to get turned instead of buying new ones in an attempt to save a bit of money.
Now in taking off the rear axle I saw that right under the saddles? don't know what they are call, but anyways the axle tubes on either side had quite a bit of deep rust and it was pretty deep. I came up with this fix for it.
I just did small stitches at a time, alternating sides to avoid warping the axle from heat.
I also replaced the the pinion seal as it was leaking really bad.
I am getting pretty sick of sandblasting at this point. Having sand in every pore of your body gets old real fast, but I don't want to scab out and not blast all the stuff I paint.
After it was blasted I mixed up some paint and had at er.
I also painted the drums with high temp caliper paint as the paint I use would just burn up under that kinda heat. Installed new wheel cylinders, shoes, most hardware and the turned drums.
I am pretty scatter brained so looking at the big hole in the back of my cab finally got to me. I picked up some 14 gauge steel to make a new back part of the cab. I traced and cut it out to fit and welded it in. Then I took the stock piece that holds the window in and trimmed it up and cut the hole in the 14 gauge to weld that in.
Its no piece of art but whateves. You work with what you got haha.
I got my clutch kit in the mail so I decided to throw that sucker in and get it out of the way.
While I was in that area I put in a new oil pan gasket.
Then I turned my attention to the the front axle. I pulled the steering arms off to be blasted and painted, then covered the knuckles as best I could to keep sand out. Also took apart the steering components and got them ready to paint too.
My rough country lift finally showed up. Aaaaand no front springs, piss off. So i got at the rear springs. New bushings all around and 3/4" bolts on the front side of the leafs.
Got the rear axle installed along with the shocks,
Then the front springs finally showed up!! got those installed, again with all new bushings and 3'4" bolt up front.
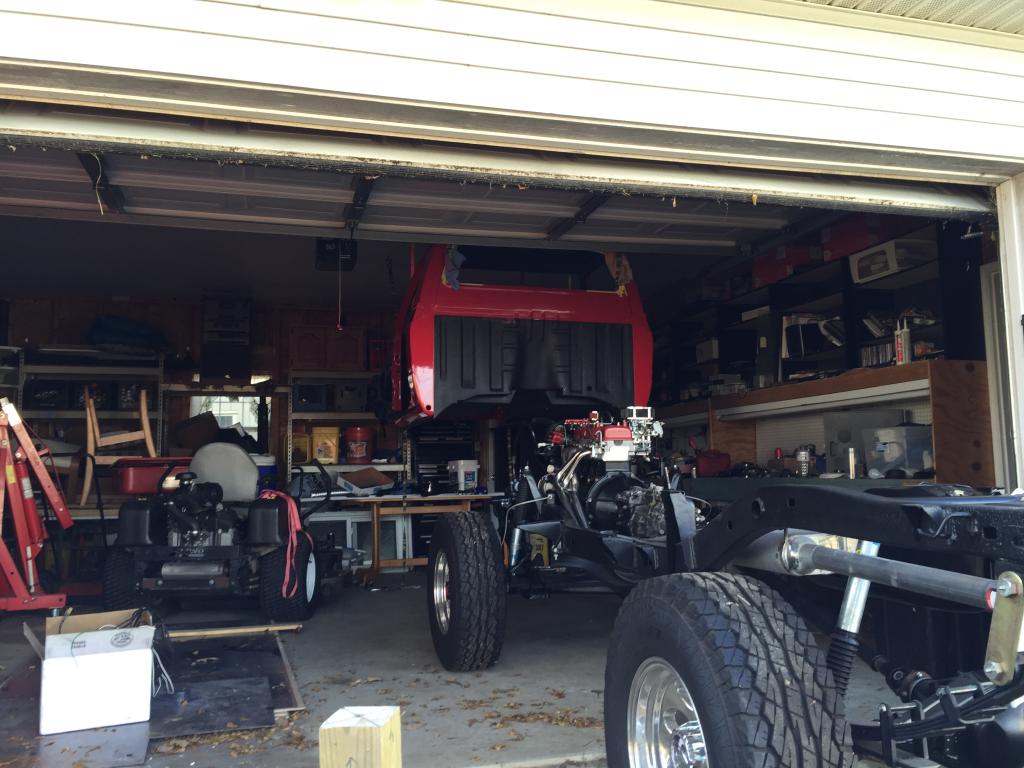
Buddy from across the street came over to help out and learn a bit. We got the front axle installed along with torque rod and shocks. He was also pretty keen on helping put the engine in so we ripped that off the old frame and plunked er on in.
(Ps dont mind him pissin in the corner haha. Outdoor washroom )
Also got the steering box and mount blasted and painted.
Couple more pics
Just today I finished rebuilding my passenger side knuckle.
Along with the rebuild kit I got new calipers, rotors, wheel studs, extended brake lines and hard lines.
I also just finished up redoing the hard lines that go to the rear axle and along the axle to the wheel cylinders. I used cupro nickle lines. soooooooo nice to work with. no bender needed, just use your hands.
Anyway, thats all I got for now! Ill update later once I get some more stuff done!
Saw horses to remove the cab... why the hell didn't I think of that?! I did it the hard way with ratchet straps and hooks in the ceiling, but then I again, I also did it 100% by myself:
You do good work, love the eye bolts in the rafters holding the cab up, a little sketchy but shows dedication! Lol. Yeah the extended cab would've been cool if it followed the body lines, looked dumb, I woulda ditched it too.

 Jul 15, 2015 | 08:23 PM


 In fact, I was toying with doing some general rust repair and then shooting it with a snakeskin paint job like this:


 )
)