
ChildrenOfBodom's 1987 4Runner Build Up Thread

 Dec 6, 2013 | 01:33 AM
#102
Thread Starter
Registered User
Joined: Jul 2009
Posts: 245
Likes: 0
From: Mission Viejo, CA
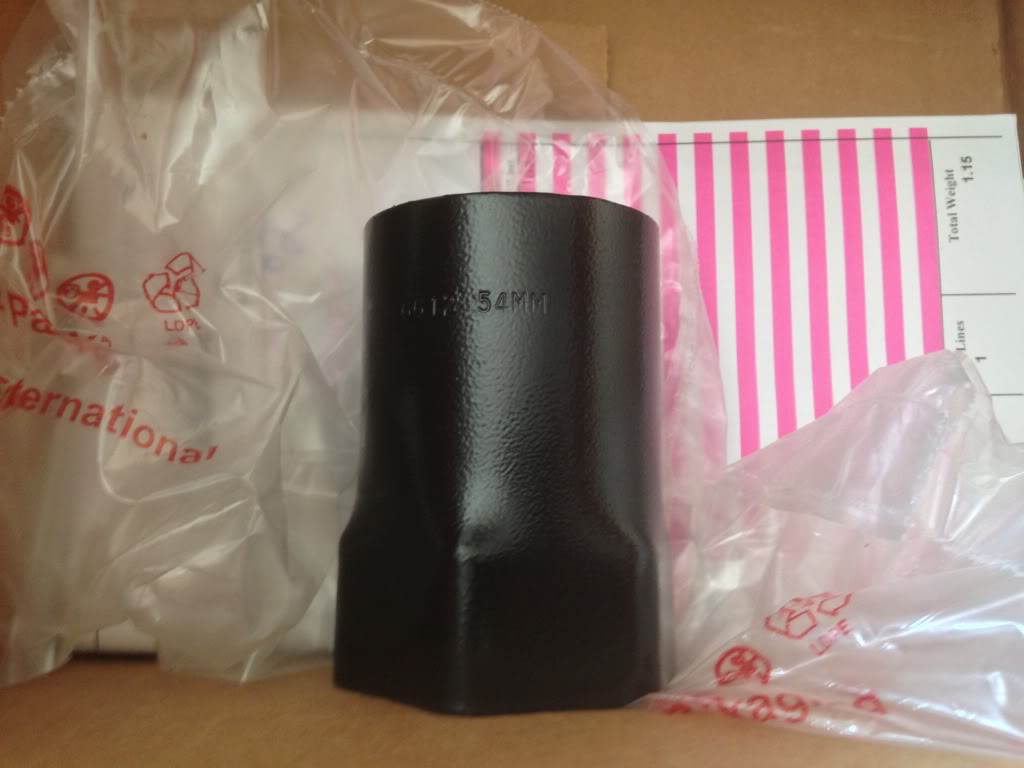
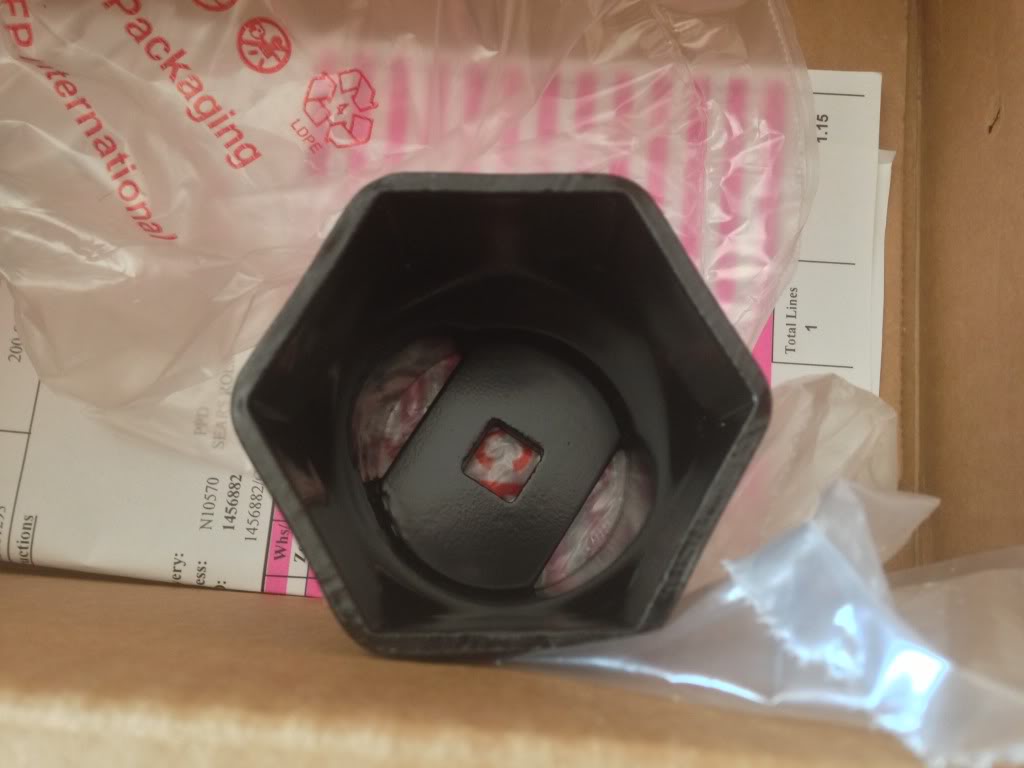
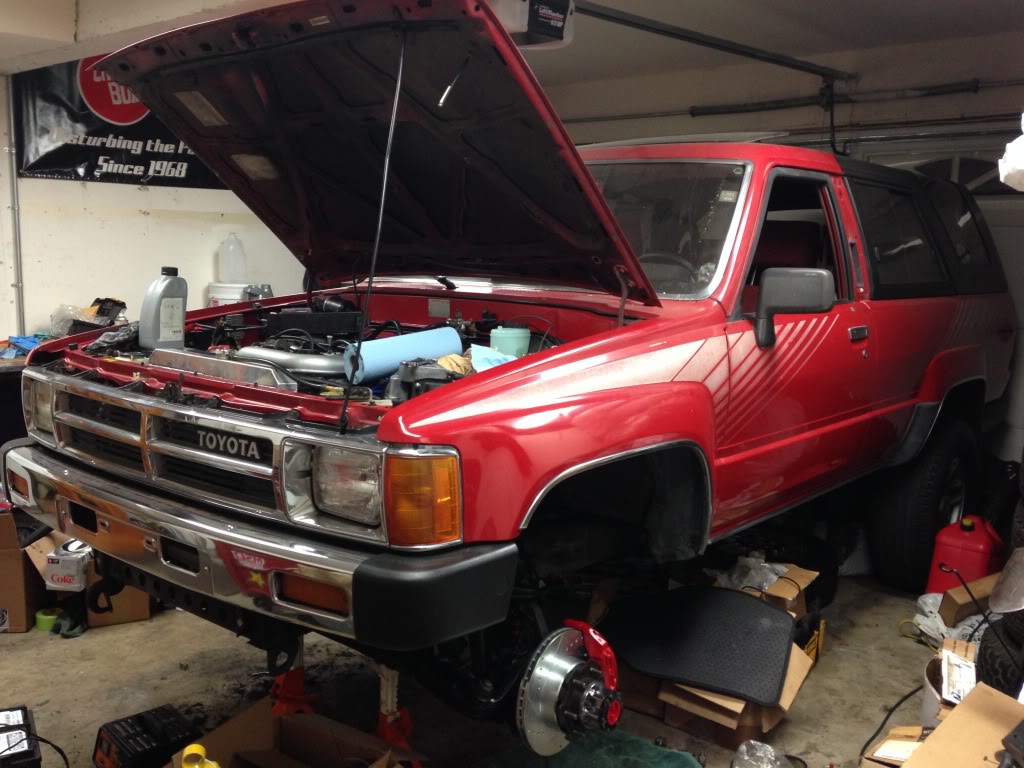
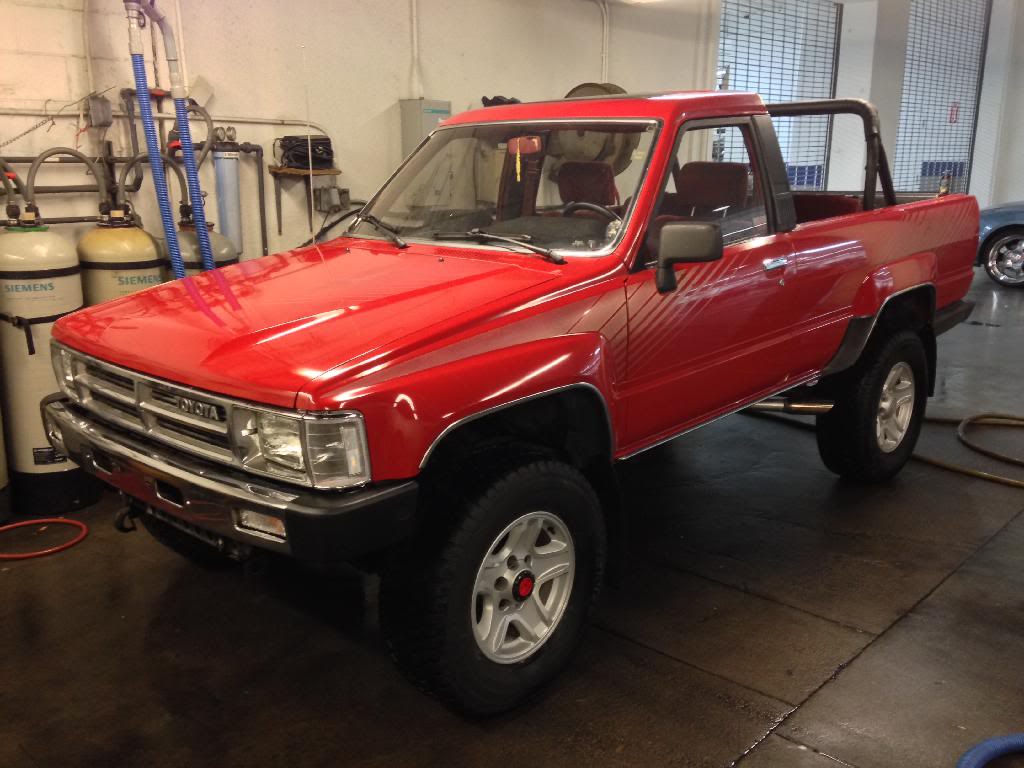
Finally received my 54mm socket. Huge is the only way to describe this thing. Only things left to order are front wheel bearings, inner and outer races, and a wheel bearing packer.

The pile! Soon
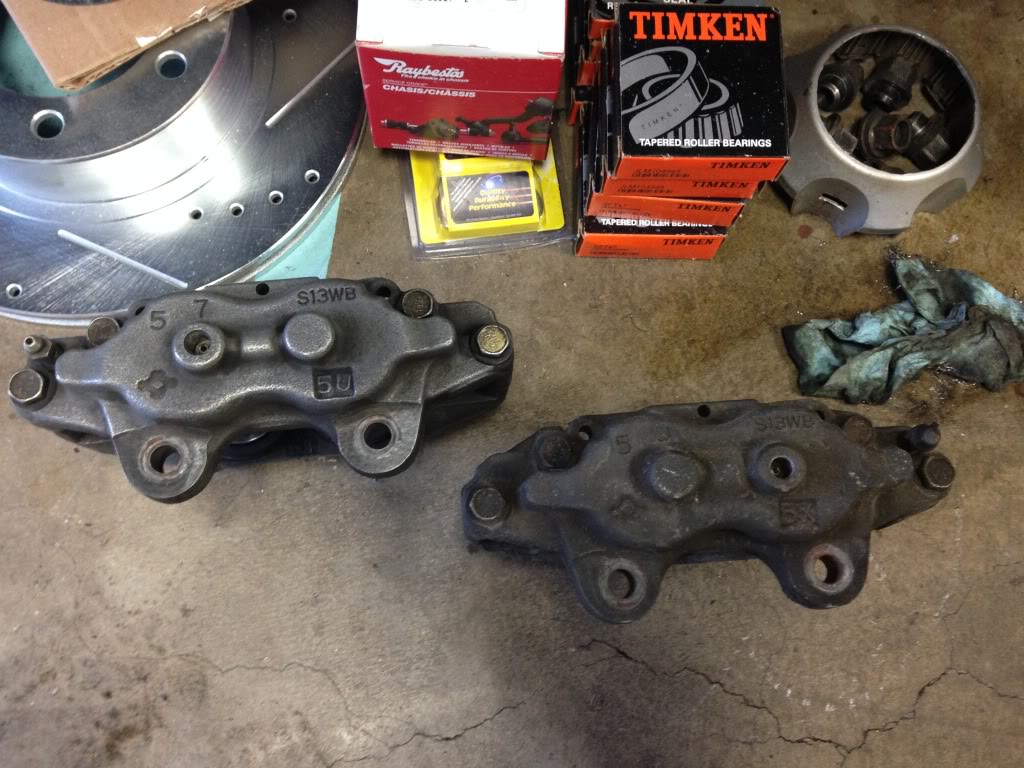
Left to right: Rear shocks, brake master and caliper clips, brake pads, rotors, 100 pack gloves, brake fluid (DOT 4), brake cleaner, energy suspension sway bar bushings, wheel bearing grease, lock ring pliers, VHT ceramic coating (silver), VHT red caliper paint, S13WB calipers, 54mm socket, front shocks, and steering stabilizer.

The pile! Soon
Left to right: Rear shocks, brake master and caliper clips, brake pads, rotors, 100 pack gloves, brake fluid (DOT 4), brake cleaner, energy suspension sway bar bushings, wheel bearing grease, lock ring pliers, VHT ceramic coating (silver), VHT red caliper paint, S13WB calipers, 54mm socket, front shocks, and steering stabilizer.
Dec 6, 2013 | 01:35 AM
#103
Thread Starter
Registered User
Joined: Jul 2009
Posts: 245
Likes: 0
From: Mission Viejo, CA
Ordered Timken front wheel bearings, races, and 2 wheel seals. Just under $80 for everything.
Duralast FA5040 idler arm and 4Crawler bronze bushings coming their way, too. Also about $80 worth.
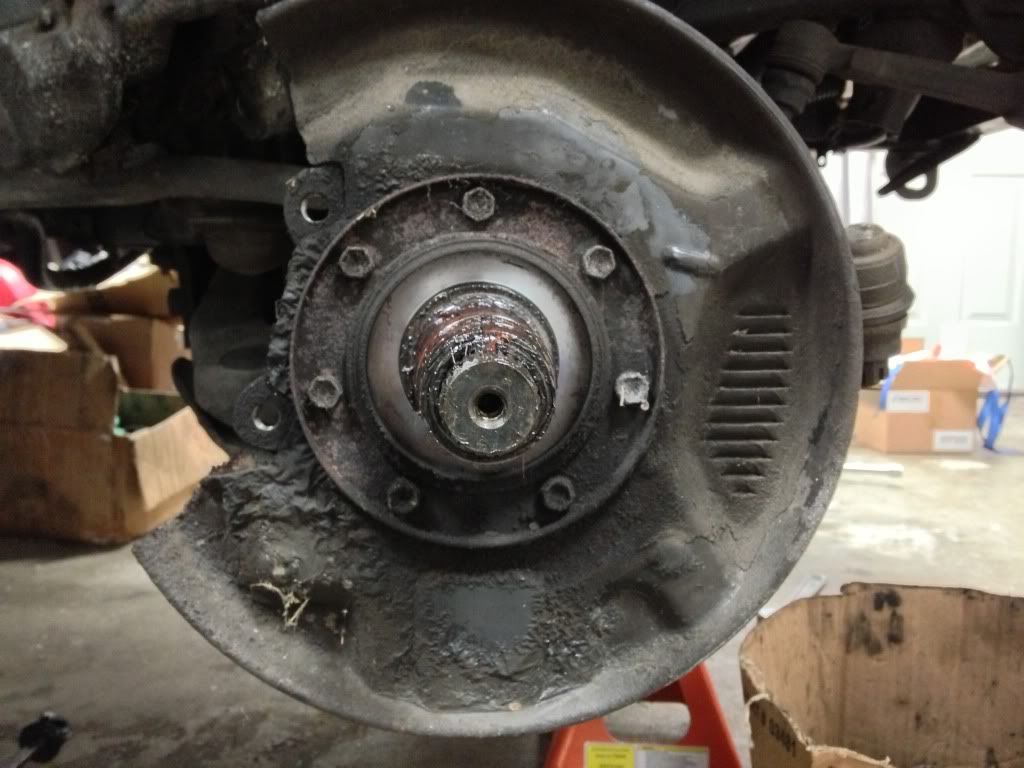
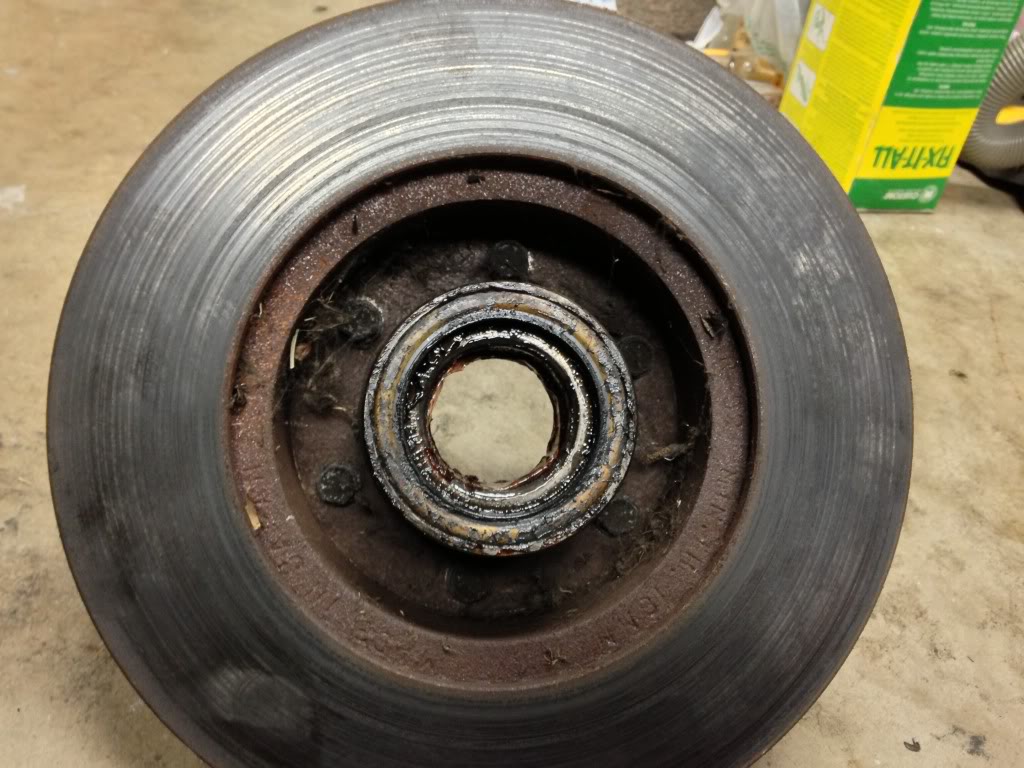
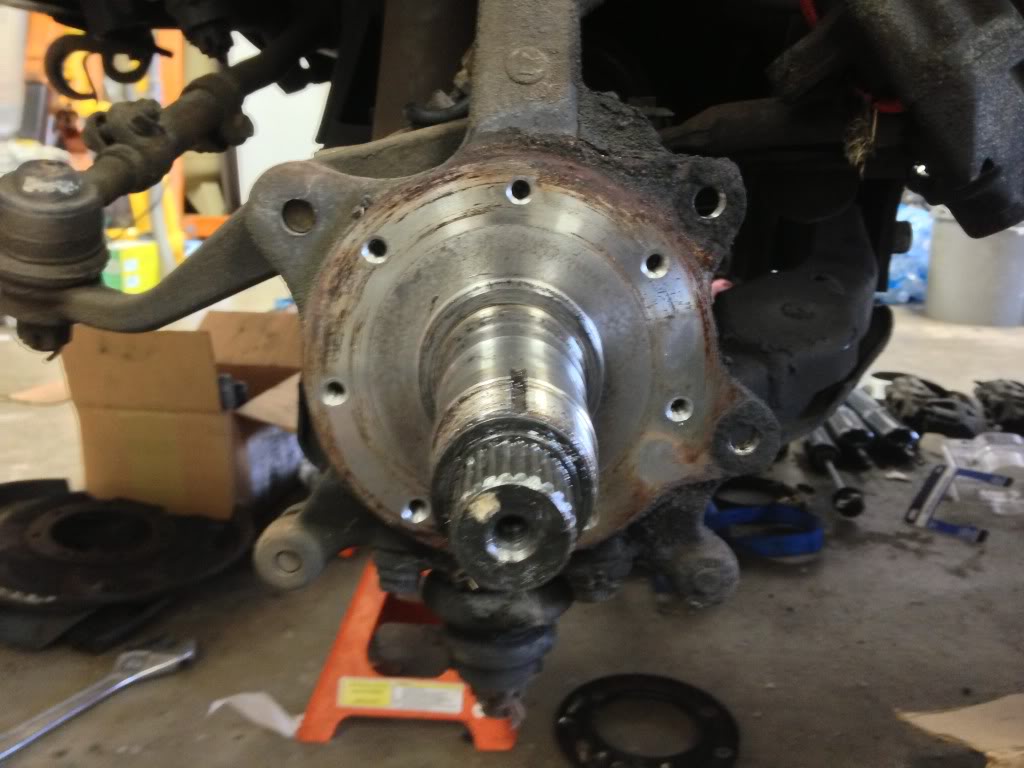
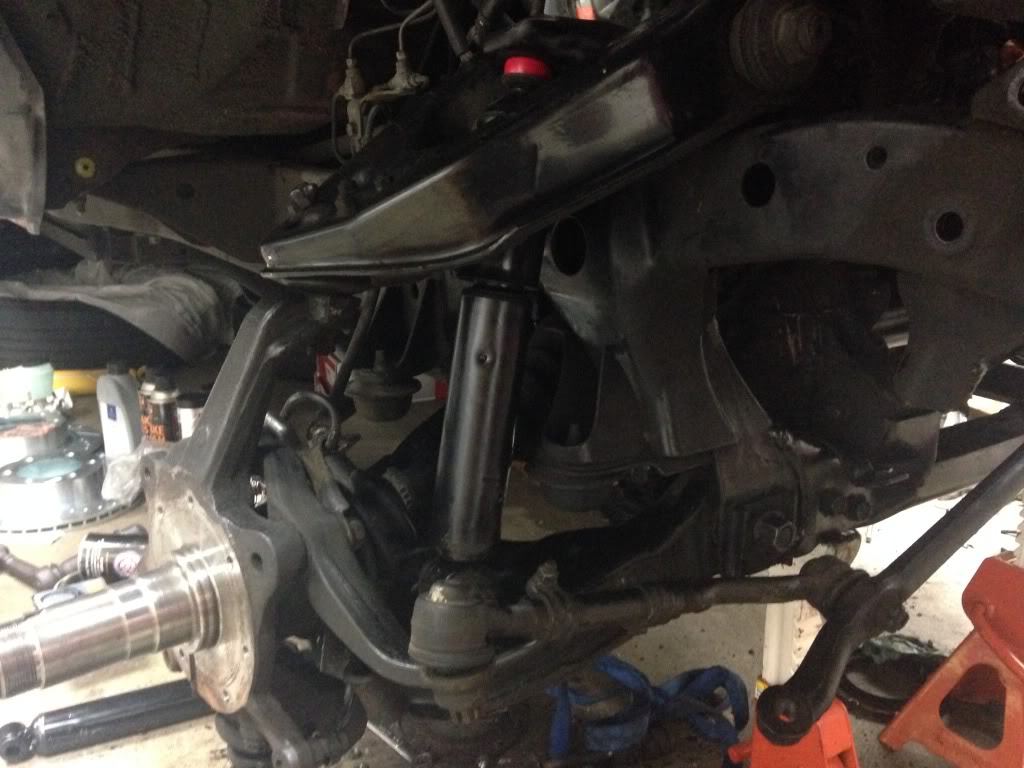
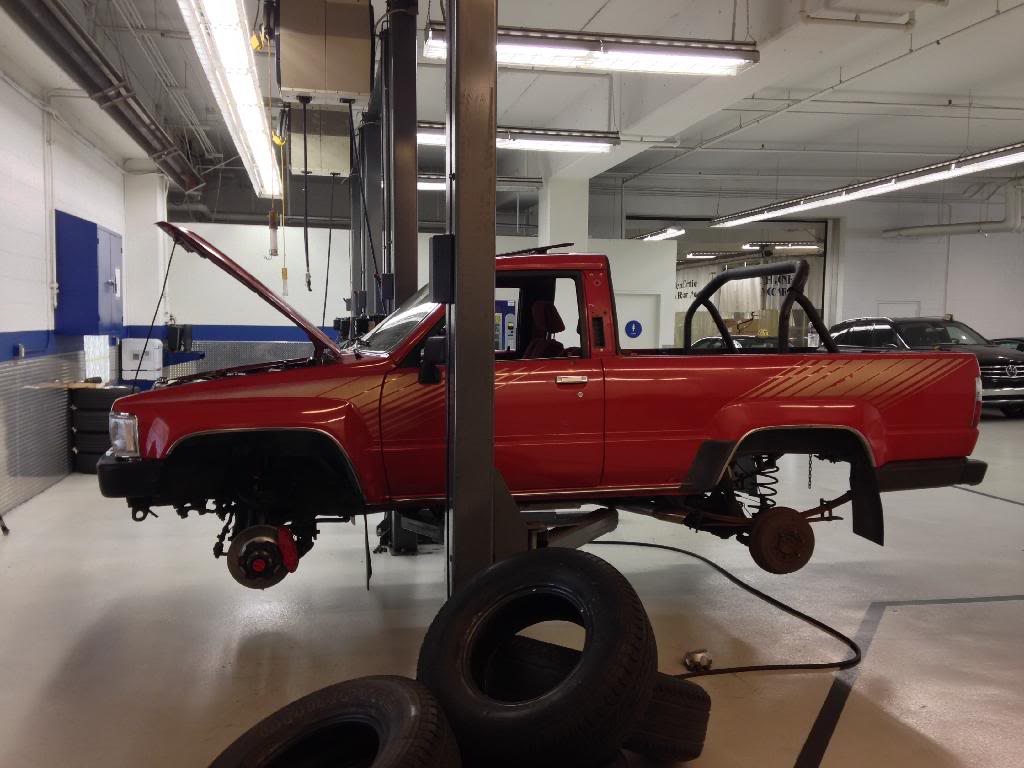
Had a little time to mess with it, figured I'd take off one side since I have the socket. The hardest part was getting the cone spacers to pop out. There was also a lot of silicone all over them, too.
Overall, it's not bad in there (to my surprise). Gotta do some extra cleaning and repainting before it all goes back together, it'll look pretty good.
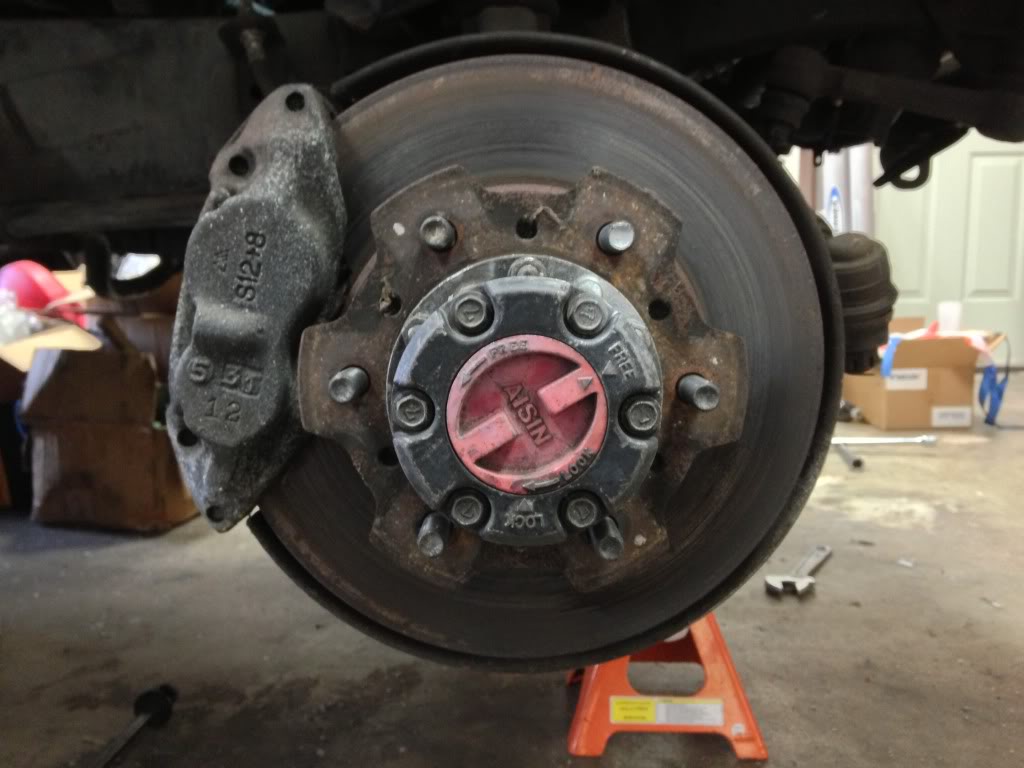
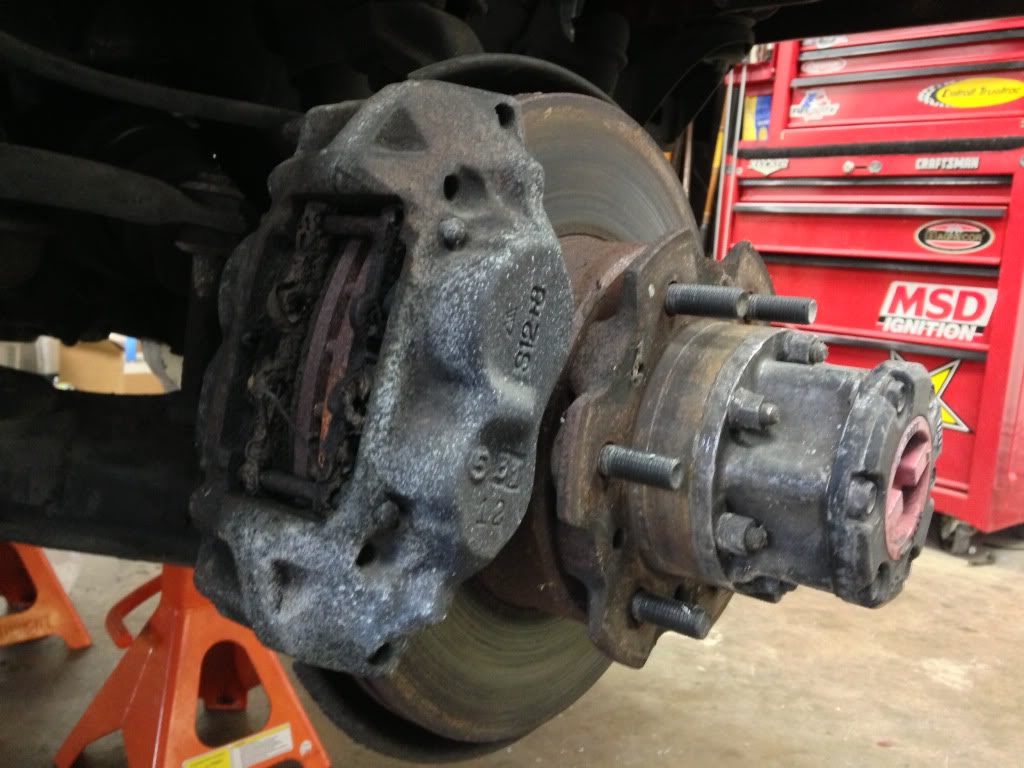
Take note of the nasty brake caliper.
Hub coming apart. Those cone spacers were pretty annoying. I wanted to use the air hammer, but it was far too late to use the compressor.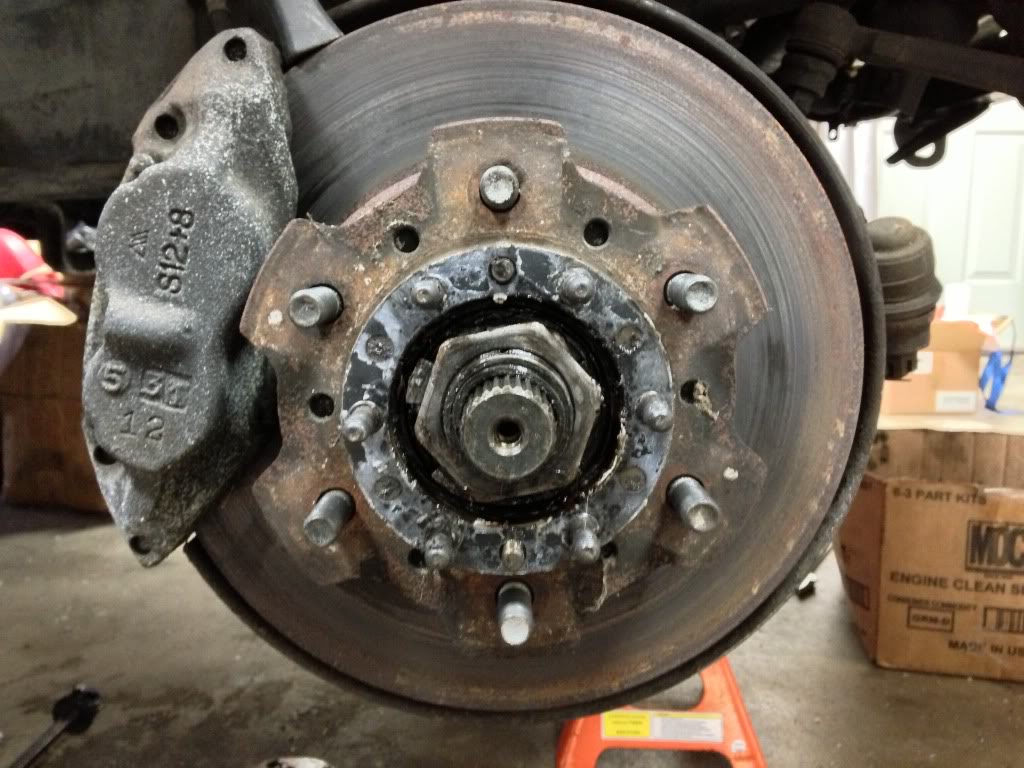
There was a black widow living in there, he ran into one of the vents in the rotor. The little bastard ran out when I took the rotor off the hub. I squashed his ass. :spider:
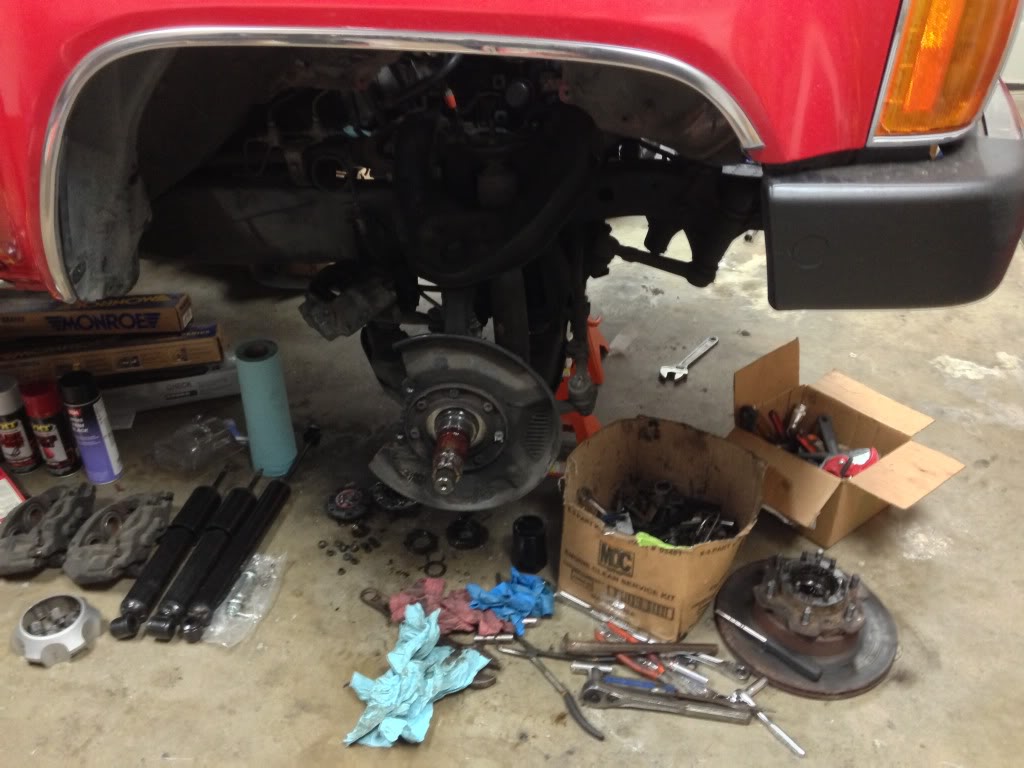
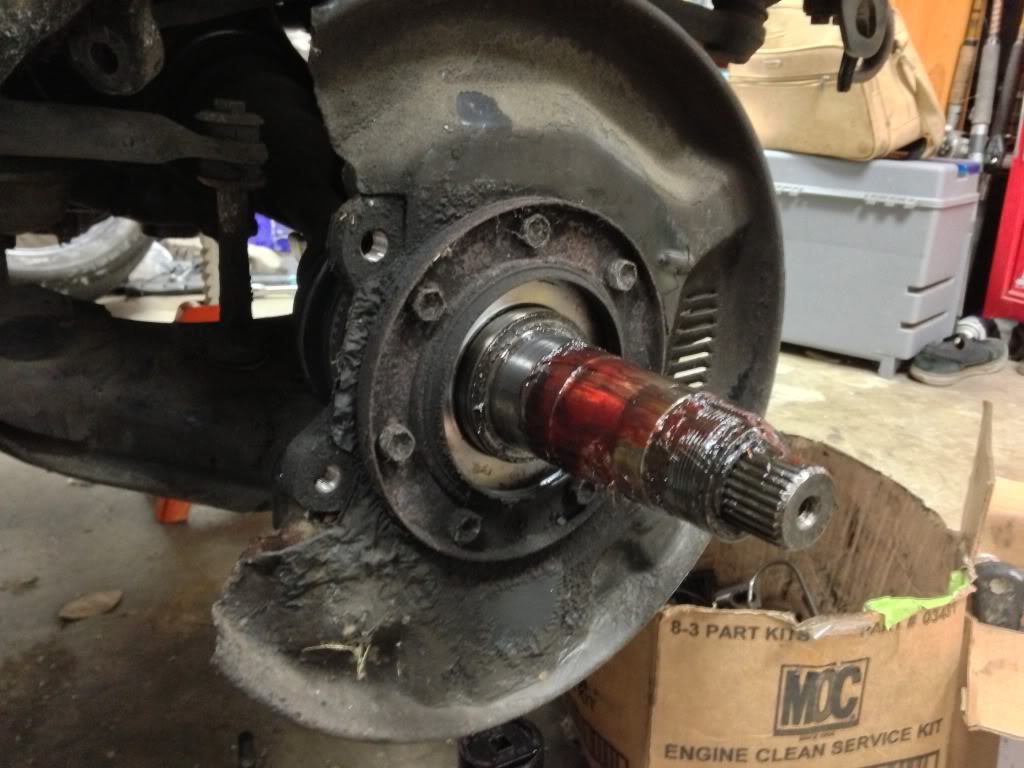
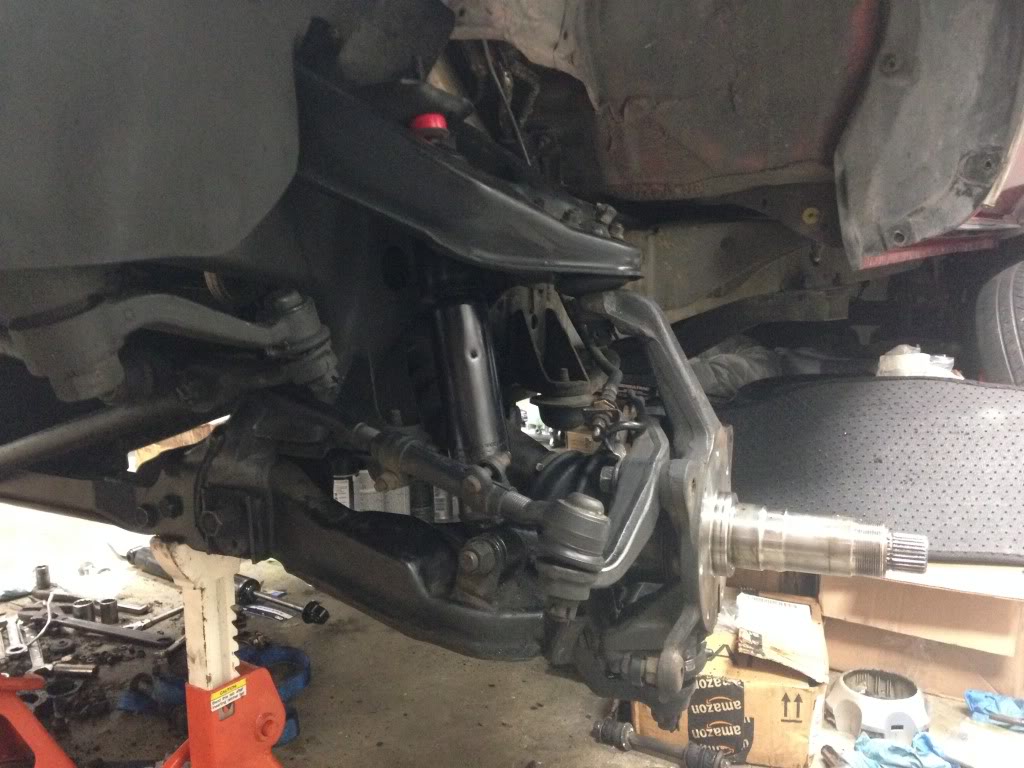
Going without the dust shields. They came off on the 3rd gen and I never looked back. Cleaned a ton of build up: bugs, webs, dirt, grime, etc.

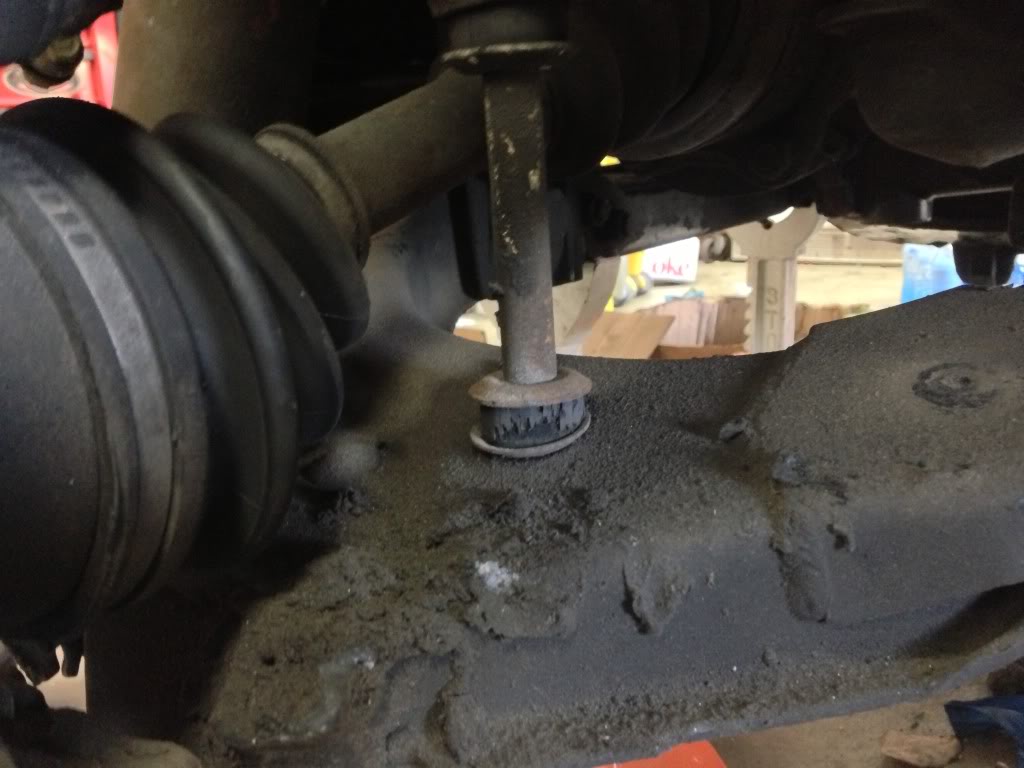
Basically the whole truck looks pretty darn good underneath all of the dirt. The lower shock bushing was completely shifted away from the little metal tube that once ran through it.


Comparison to the other side, that's how the other control arm looked before cleaning it
Bearing races are next. I've also gotta get the other side off and torn apart. The new bearings and races haven't come in the mail yet so there's time.

Duralast FA5040 idler arm and 4Crawler bronze bushings coming their way, too. Also about $80 worth.
Had a little time to mess with it, figured I'd take off one side since I have the socket. The hardest part was getting the cone spacers to pop out. There was also a lot of silicone all over them, too.
Overall, it's not bad in there (to my surprise). Gotta do some extra cleaning and repainting before it all goes back together, it'll look pretty good.
Take note of the nasty brake caliper.
Hub coming apart. Those cone spacers were pretty annoying. I wanted to use the air hammer, but it was far too late to use the compressor.
There was a black widow living in there, he ran into one of the vents in the rotor. The little bastard ran out when I took the rotor off the hub. I squashed his ass. :spider:
Going without the dust shields. They came off on the 3rd gen and I never looked back. Cleaned a ton of build up: bugs, webs, dirt, grime, etc.
Basically the whole truck looks pretty darn good underneath all of the dirt. The lower shock bushing was completely shifted away from the little metal tube that once ran through it.
Comparison to the other side, that's how the other control arm looked before cleaning it
Bearing races are next. I've also gotta get the other side off and torn apart. The new bearings and races haven't come in the mail yet so there's time.
Dec 6, 2013 | 01:38 AM
#104
Thread Starter
Registered User
Joined: Jul 2009
Posts: 245
Likes: 0
From: Mission Viejo, CA
GTA V came out... it was hard to pull away.
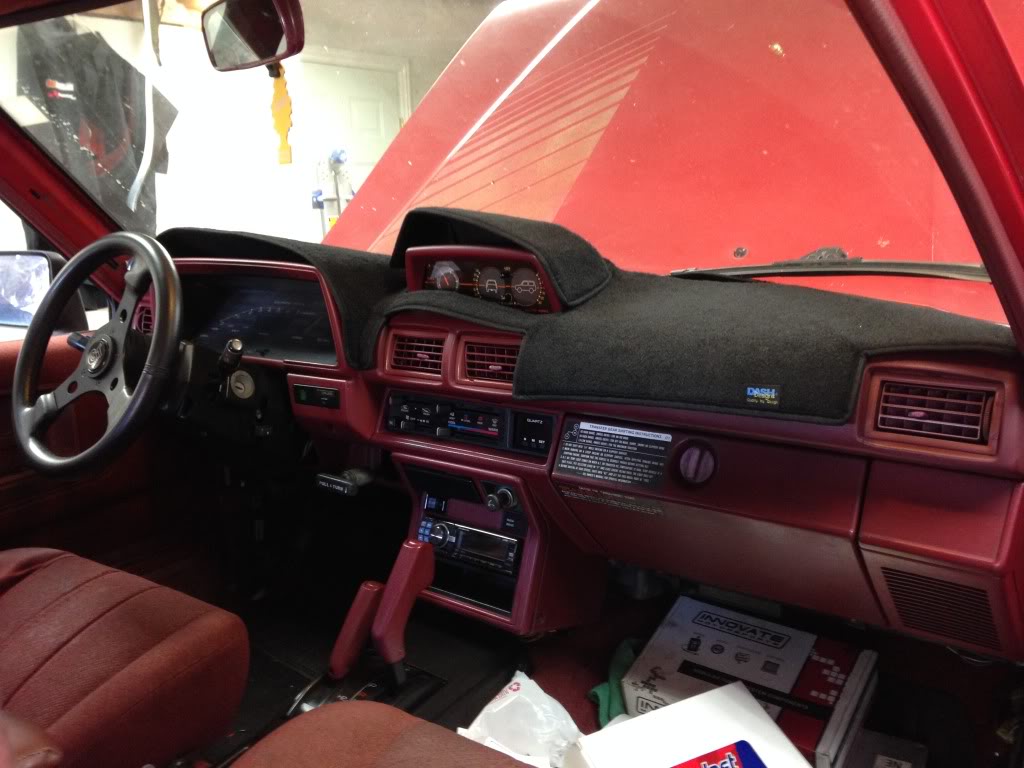
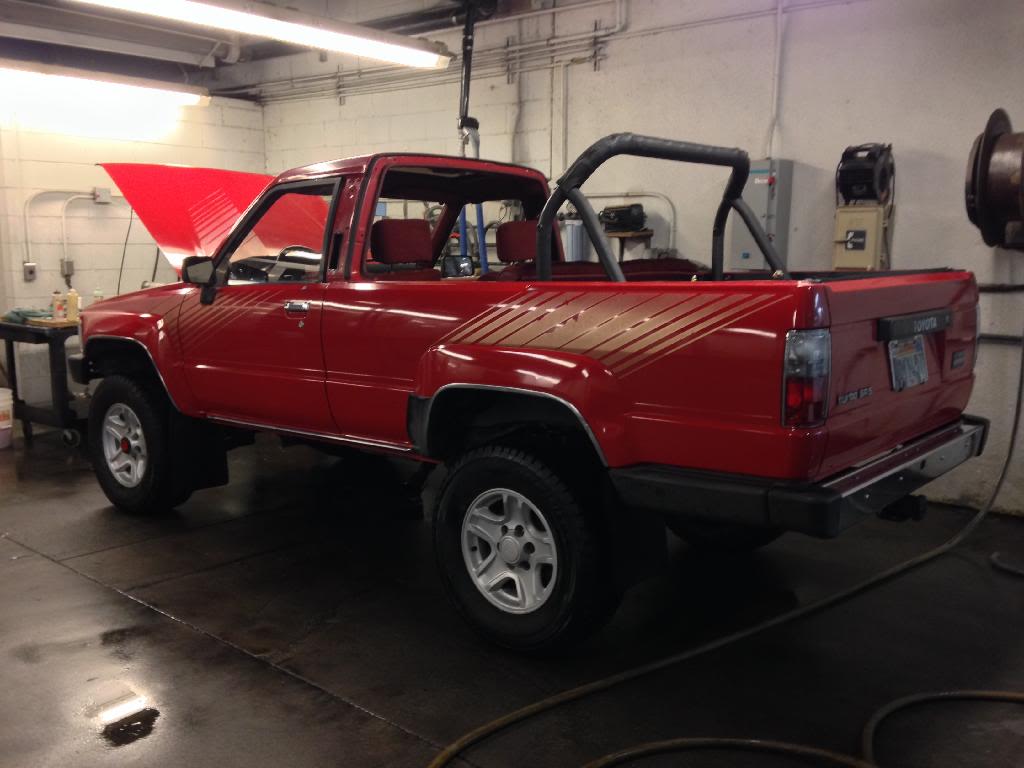
Dash cover. Misplaced my velcro for the time being, will update with an installed pic
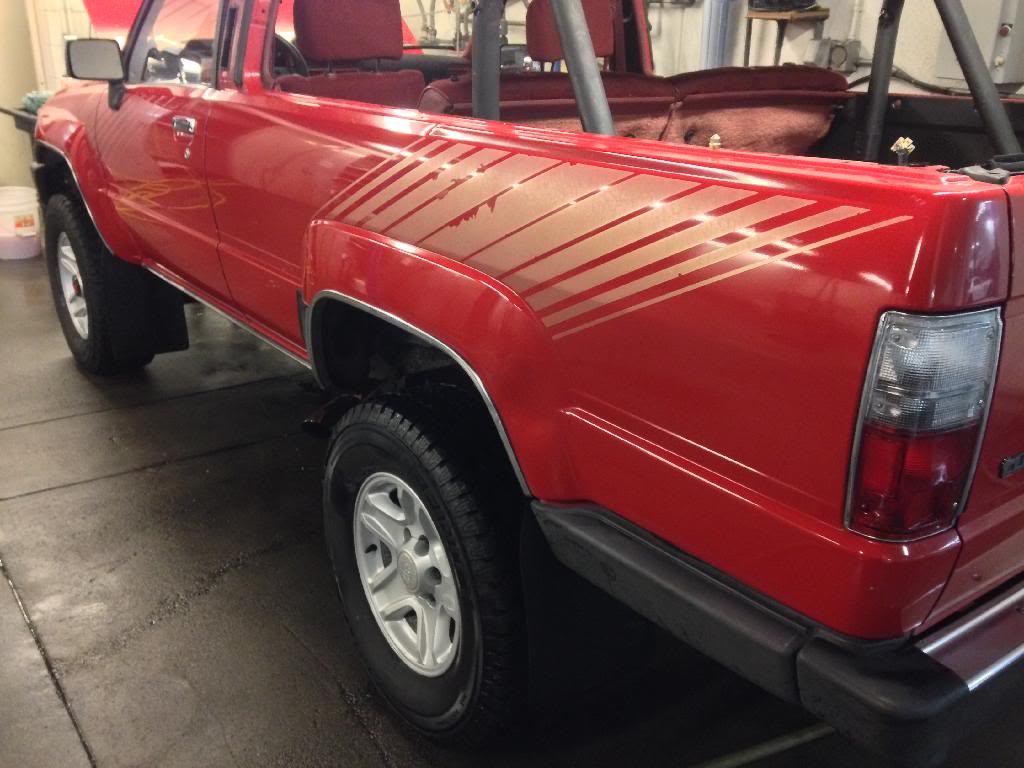
Started removing the old decals with a 4" rubber eraser wheel. The truck will need to be buffed afterwards, then new replacement decals from James Dean Creations will be ordered.

These decals were really cracked and stubborn, you can see the cracks in the paint fade.

Parts that came in:
Wheel bearings, races, and wheel seals

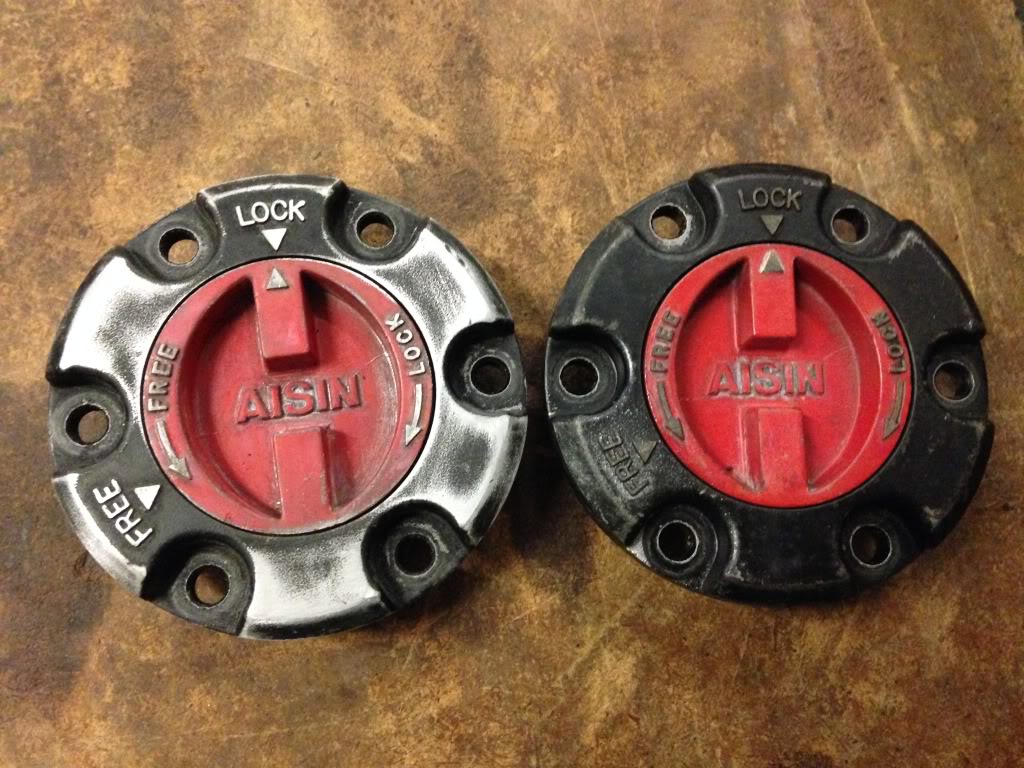
Locking hub seals

Duralast FA5040 Idler arm

4Crawler bronze idler arm bushings

Anyway I did some stuff
Other side apart. Before cleanup.

Dirt cleaned up:

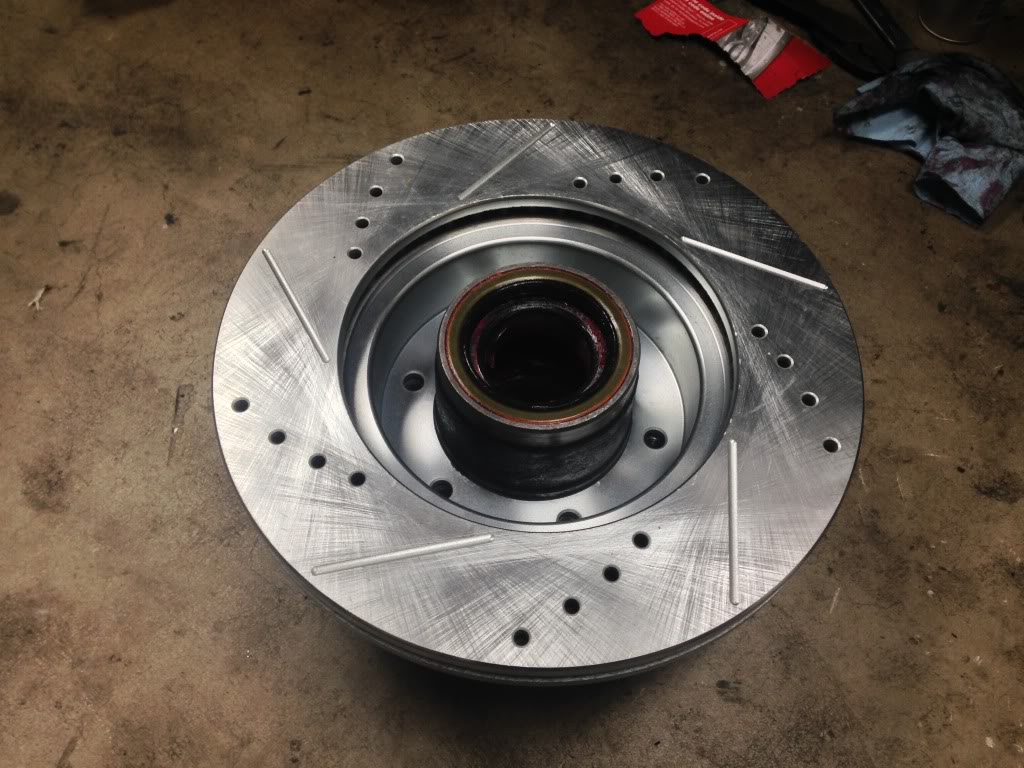
Hub clean and disassembled, races removed.
Clean VS dirty caliper
Both are painted
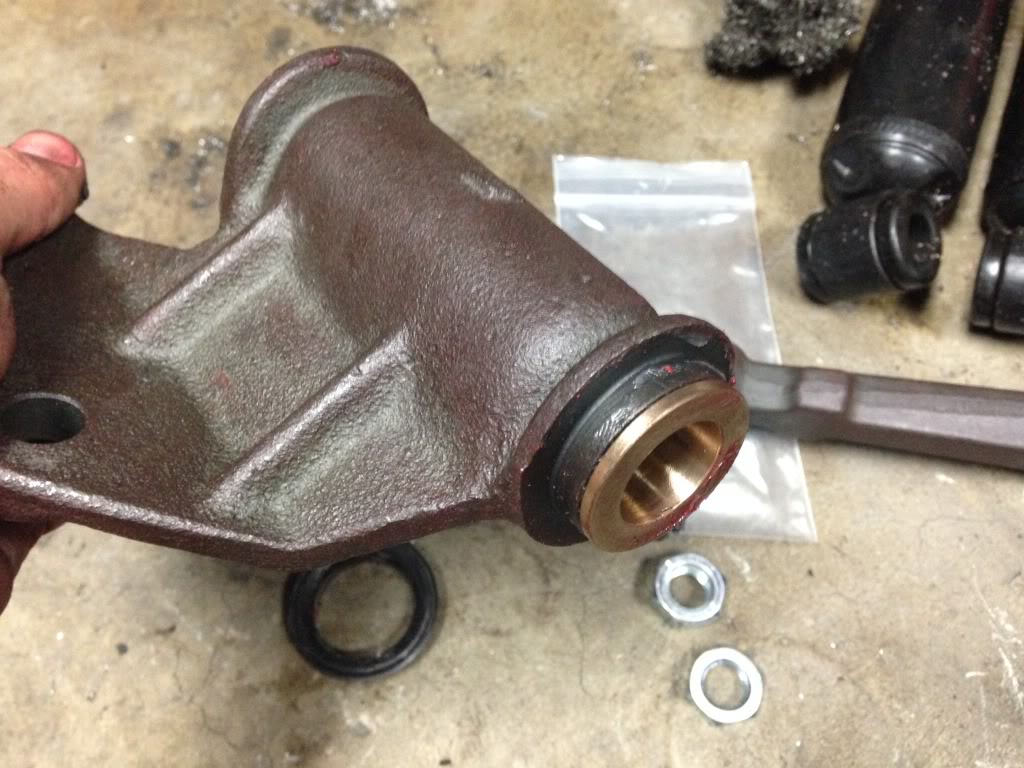
Took new idler arm apart, removed bushings:

New bronze bushings installed

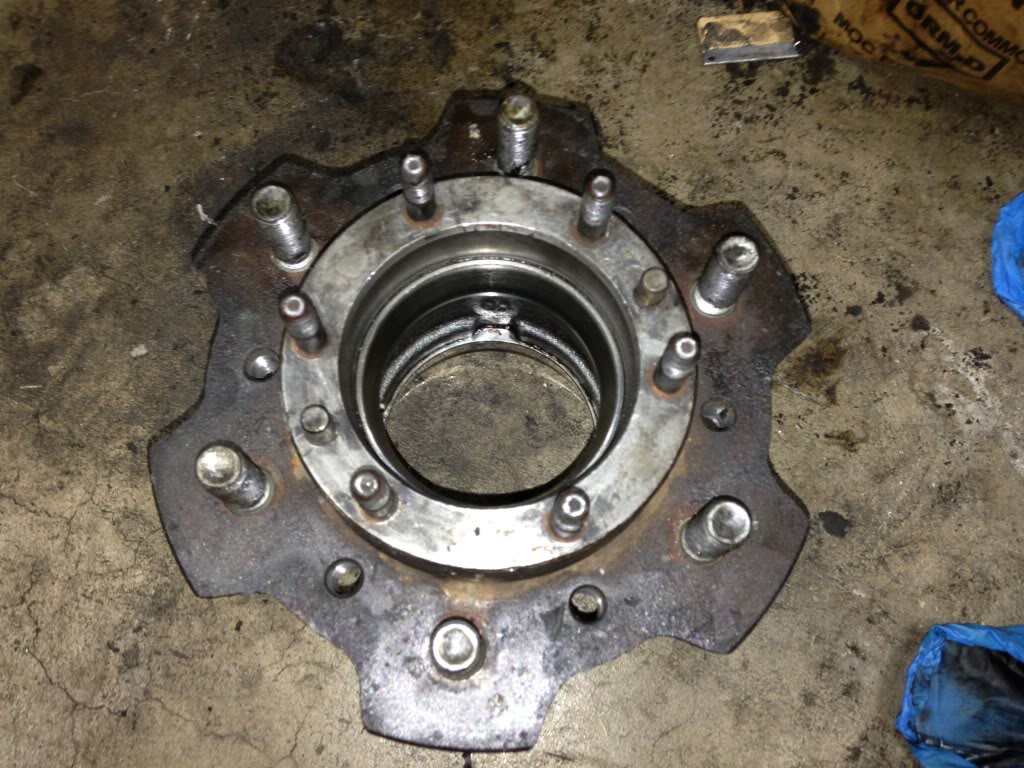
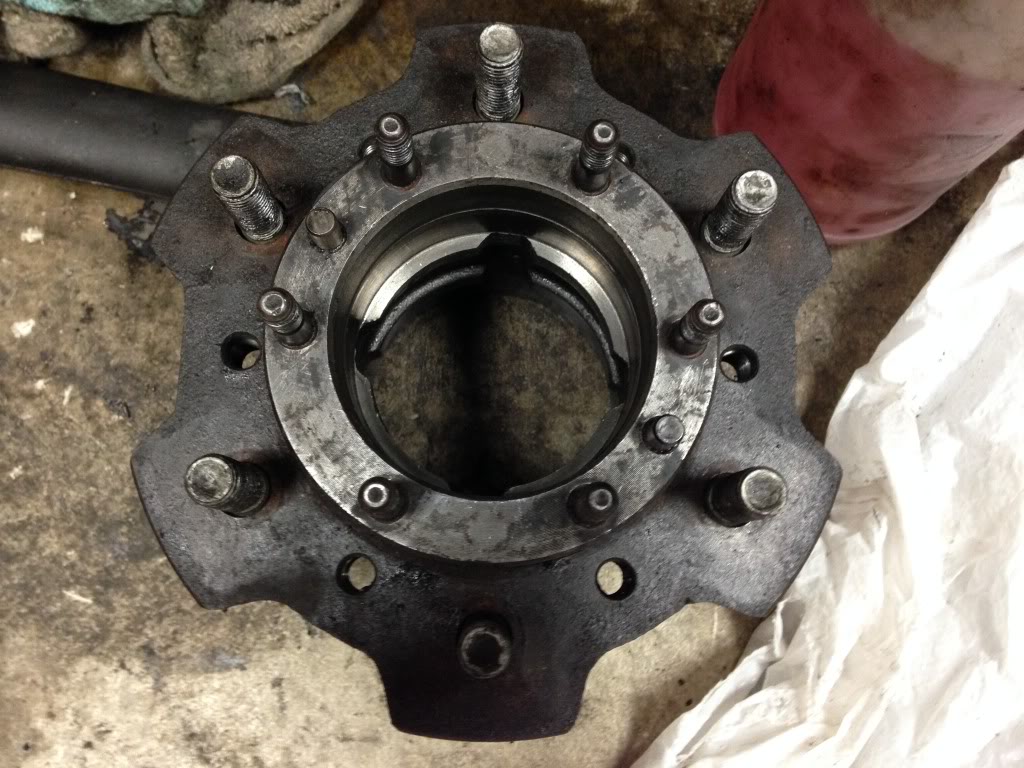
Back to the hubs. I encountered hub damage when I was attempting to remove the last of the four bearing races. The race was only able to come out about 1/2" before becoming lodged on several damaged spots where the wheel seal fits into.


I ordered a round file and rented a race/seal installer kit from AutoZone. I had to hammer the old race back into installed position, and file down the burr of the damaged spots. I followed up with 220 grit sandpaper to further smooth the edges.
The new Timken races are installed and properly seated inside the hubs.
(that's not damage on the left, some weird reflection)

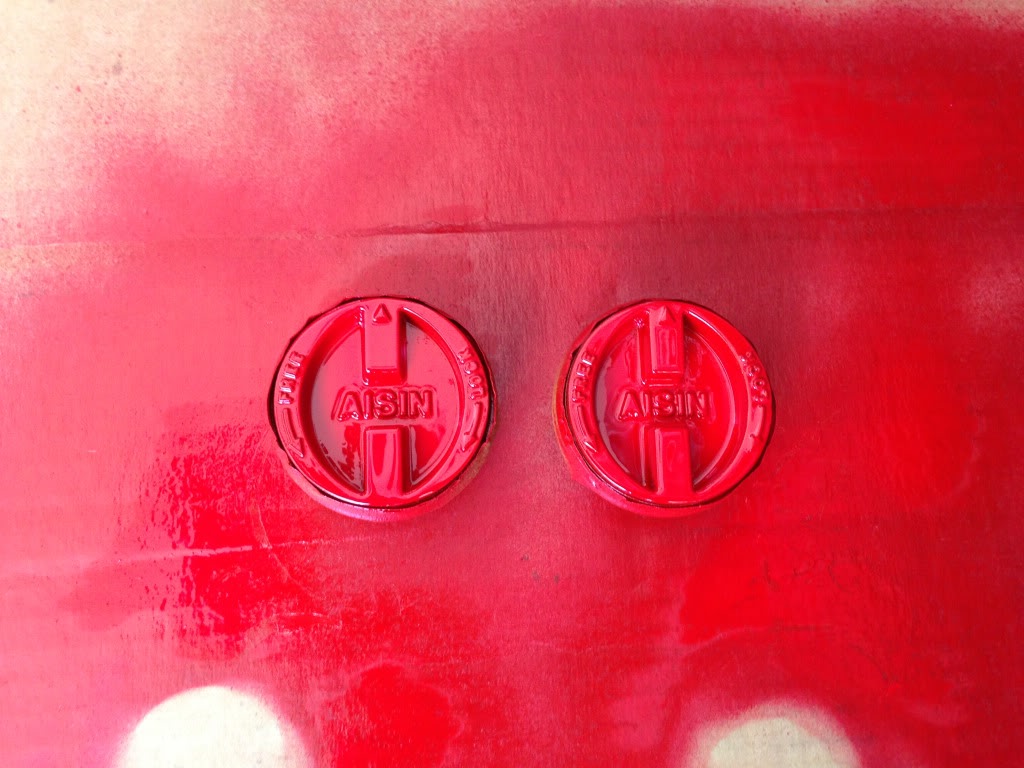
Then cleaned up the locking part of the hub, still haven't painted the dials.
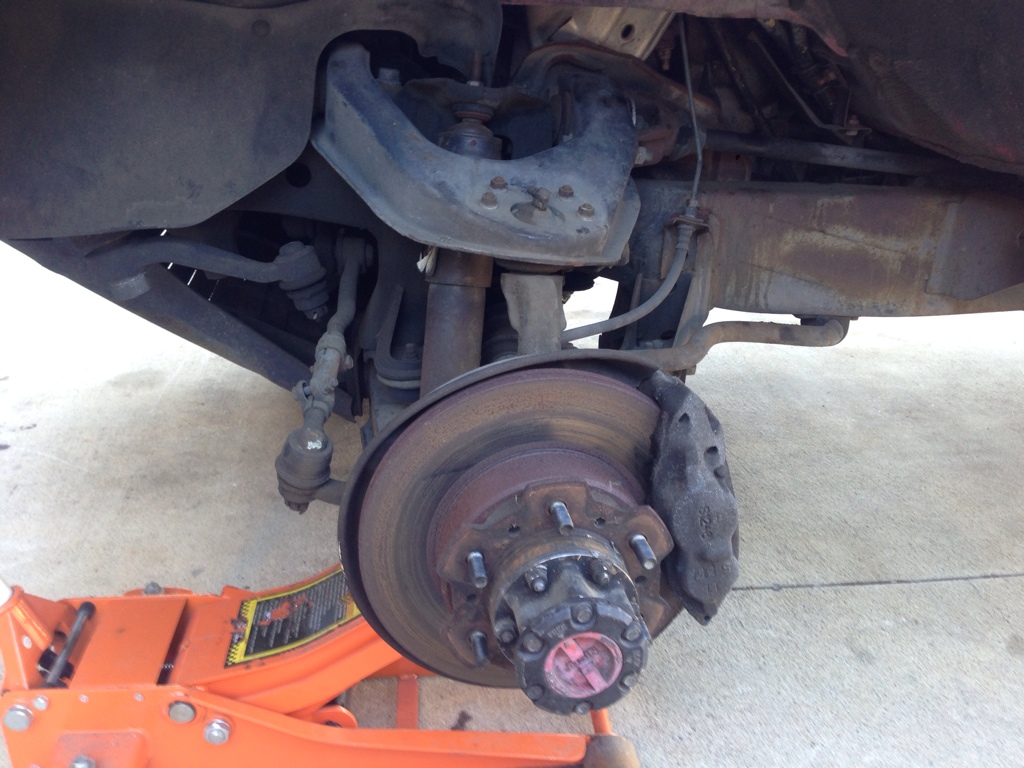
Tried to install my brakes and get the wheel bearings and all that installed
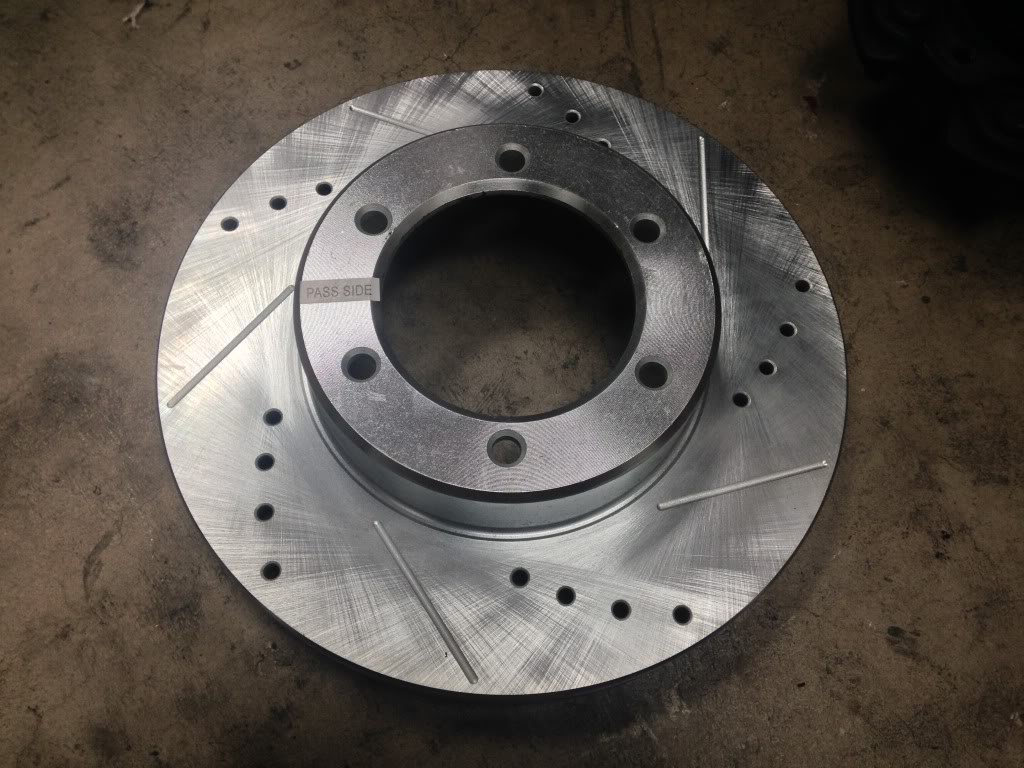
THE BRAKES WERE WRONG! Guys at Rock Auto send me brakes for a 3rd gen 4Runner!
New CORRECT set on it's way with a prepaid shipping label to send the old ones back.
Dash cover. Misplaced my velcro for the time being, will update with an installed pic
Started removing the old decals with a 4" rubber eraser wheel. The truck will need to be buffed afterwards, then new replacement decals from James Dean Creations will be ordered.
These decals were really cracked and stubborn, you can see the cracks in the paint fade.
Parts that came in:
Wheel bearings, races, and wheel seals
Locking hub seals
Duralast FA5040 Idler arm
4Crawler bronze idler arm bushings
Anyway I did some stuff
Other side apart. Before cleanup.
Dirt cleaned up:
Hub clean and disassembled, races removed.
Clean VS dirty caliper
Both are painted
Took new idler arm apart, removed bushings:
New bronze bushings installed
Back to the hubs. I encountered hub damage when I was attempting to remove the last of the four bearing races. The race was only able to come out about 1/2" before becoming lodged on several damaged spots where the wheel seal fits into.
I ordered a round file and rented a race/seal installer kit from AutoZone. I had to hammer the old race back into installed position, and file down the burr of the damaged spots. I followed up with 220 grit sandpaper to further smooth the edges.
The new Timken races are installed and properly seated inside the hubs.
(that's not damage on the left, some weird reflection)
Then cleaned up the locking part of the hub, still haven't painted the dials.
Tried to install my brakes and get the wheel bearings and all that installed
THE BRAKES WERE WRONG! Guys at Rock Auto send me brakes for a 3rd gen 4Runner!
New CORRECT set on it's way with a prepaid shipping label to send the old ones back.
Dec 6, 2013 | 01:41 AM
#105
Thread Starter
Registered User
Joined: Jul 2009
Posts: 245
Likes: 0
From: Mission Viejo, CA
Still waiting for brakes to come in... today I had a little time to get some things done. Starting to get pretty antsy waiting... I want to drive this thing already!
Removed the steering stabilizer, but the tie rod end side broke clean off. BFH doesn't really fit... I got a pickle fork. This picture means victory!
Installed front shocks. One of them didn't have the bushings so I just improvised with some extra Energy Suspension polyurethane end link bushings on both sides. I was short 2 bushings from the full set anyway, so this seemed like a reasonable use for them. To replace them, I ordered a 23mm sway bar and endlink bushing kit from EnergySuspensionParts.com.
Idler arm installed:

Flare nut wrench also came in the mail, was able to remove the calipers without rounding the nut edges any more than they already were.

Removed the steering stabilizer, but the tie rod end side broke clean off. BFH doesn't really fit... I got a pickle fork. This picture means victory!
Installed front shocks. One of them didn't have the bushings so I just improvised with some extra Energy Suspension polyurethane end link bushings on both sides. I was short 2 bushings from the full set anyway, so this seemed like a reasonable use for them. To replace them, I ordered a 23mm sway bar and endlink bushing kit from EnergySuspensionParts.com.
Idler arm installed:
Flare nut wrench also came in the mail, was able to remove the calipers without rounding the nut edges any more than they already were.
Dec 6, 2013 | 01:44 AM
#106
Thread Starter
Registered User
Joined: Jul 2009
Posts: 245
Likes: 0
From: Mission Viejo, CA
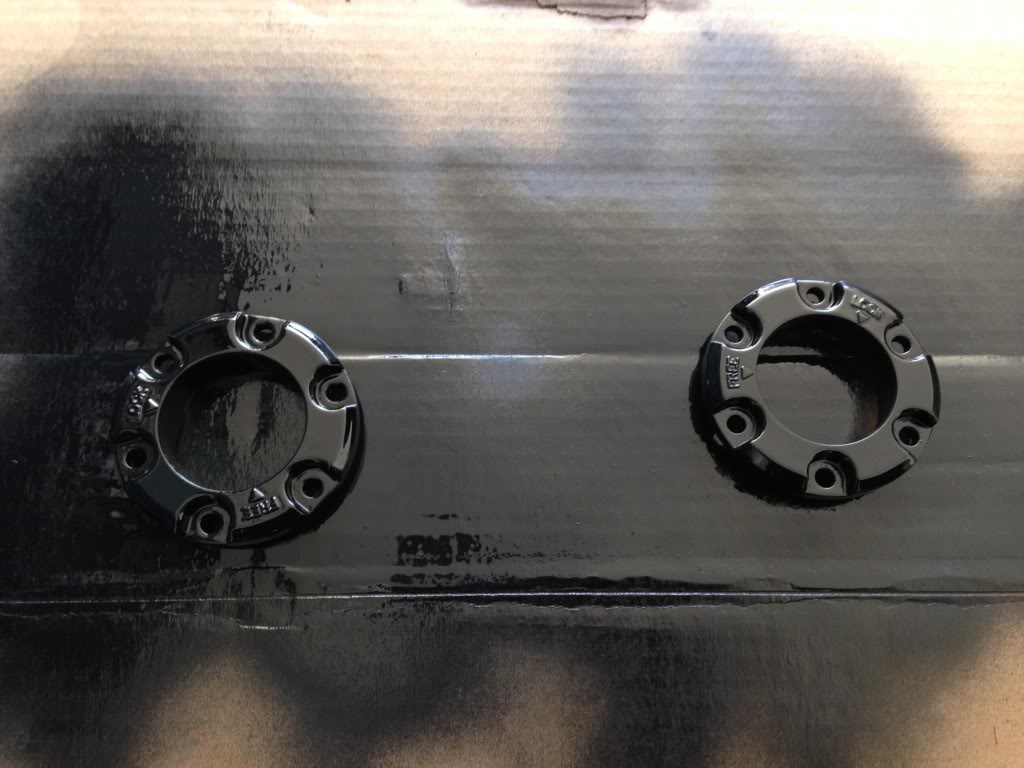
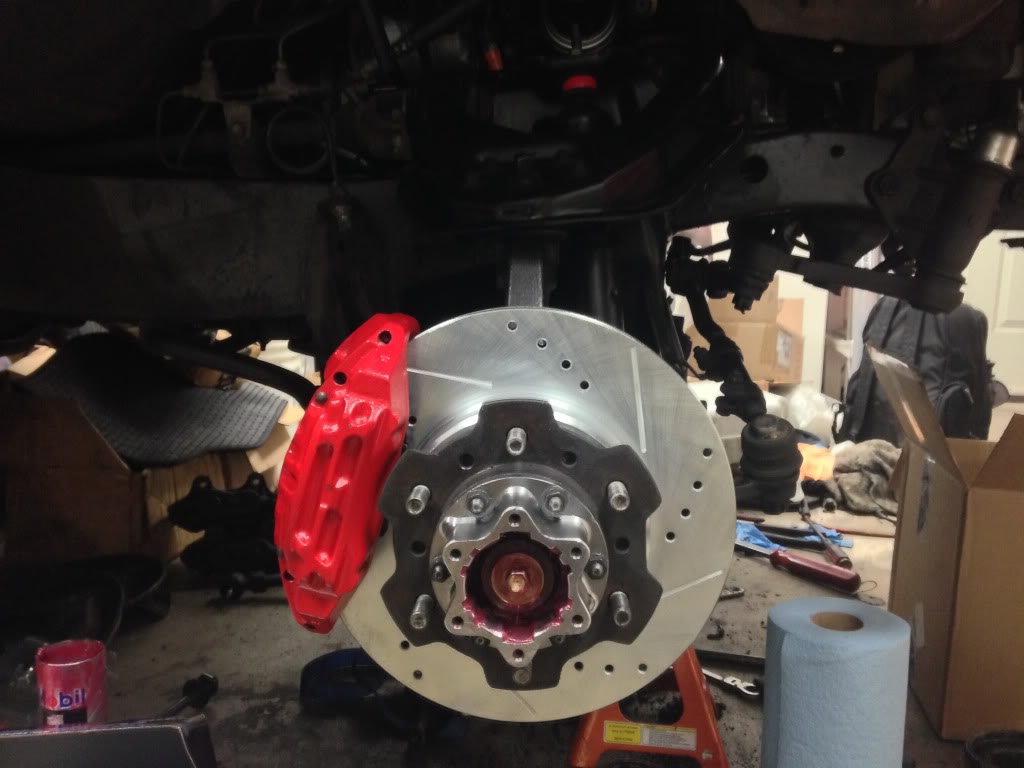
painted the dials. One sanded here, the other not yet
Duplicolor black engine enamel
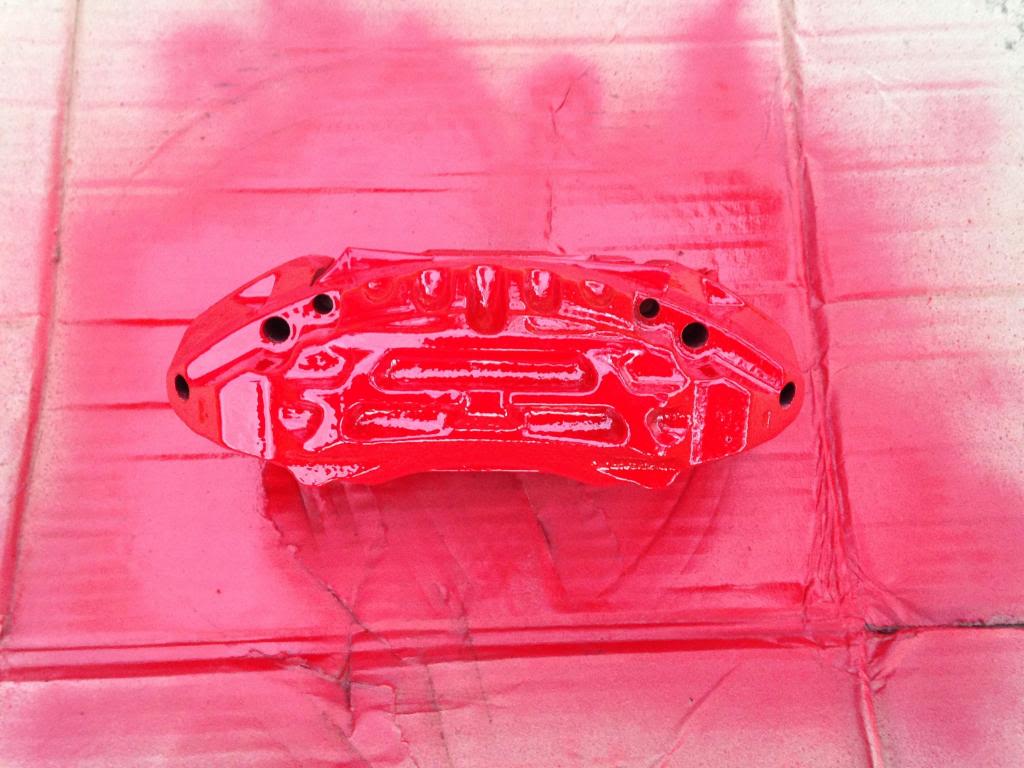
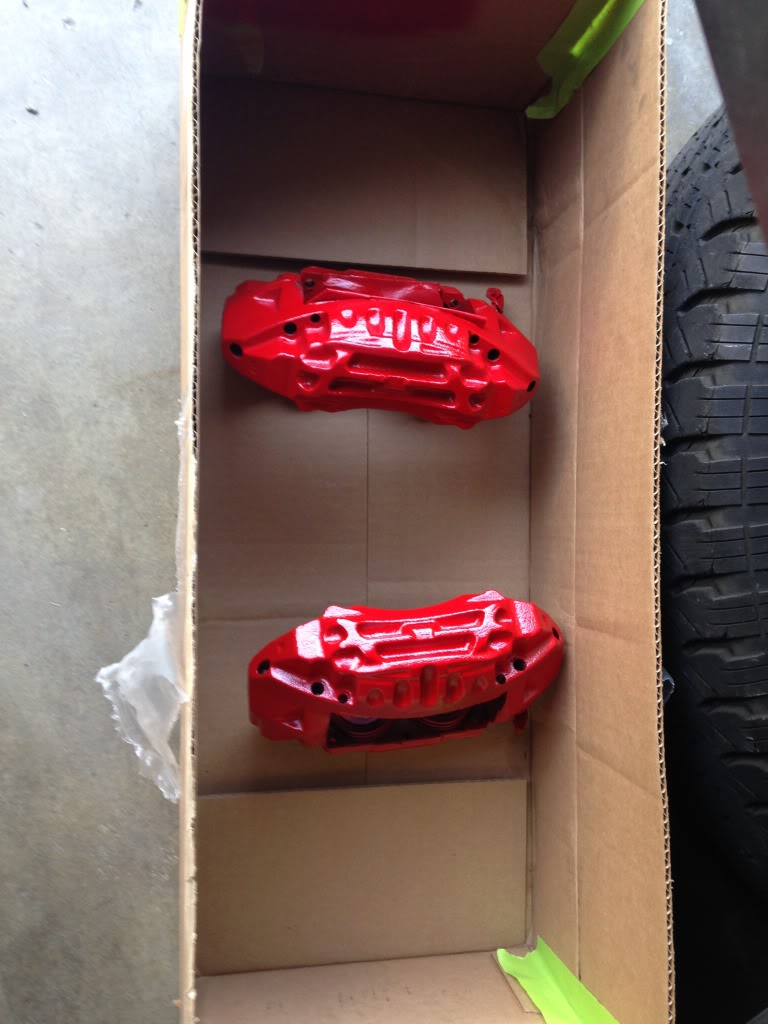
VHT red caliper paint
Done!


Right side is almost done. Here the bearings are packed and the hub seal installed.

Correct Rotor
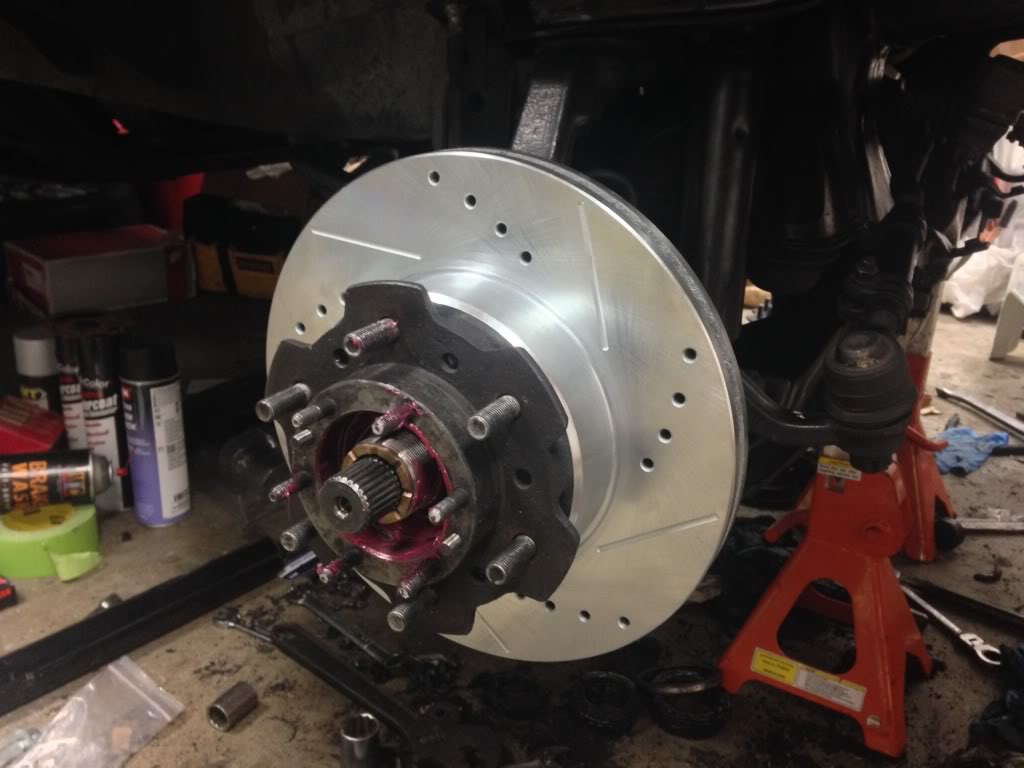
Almost done.
Dial assembled and installed.

Caught up with the other side
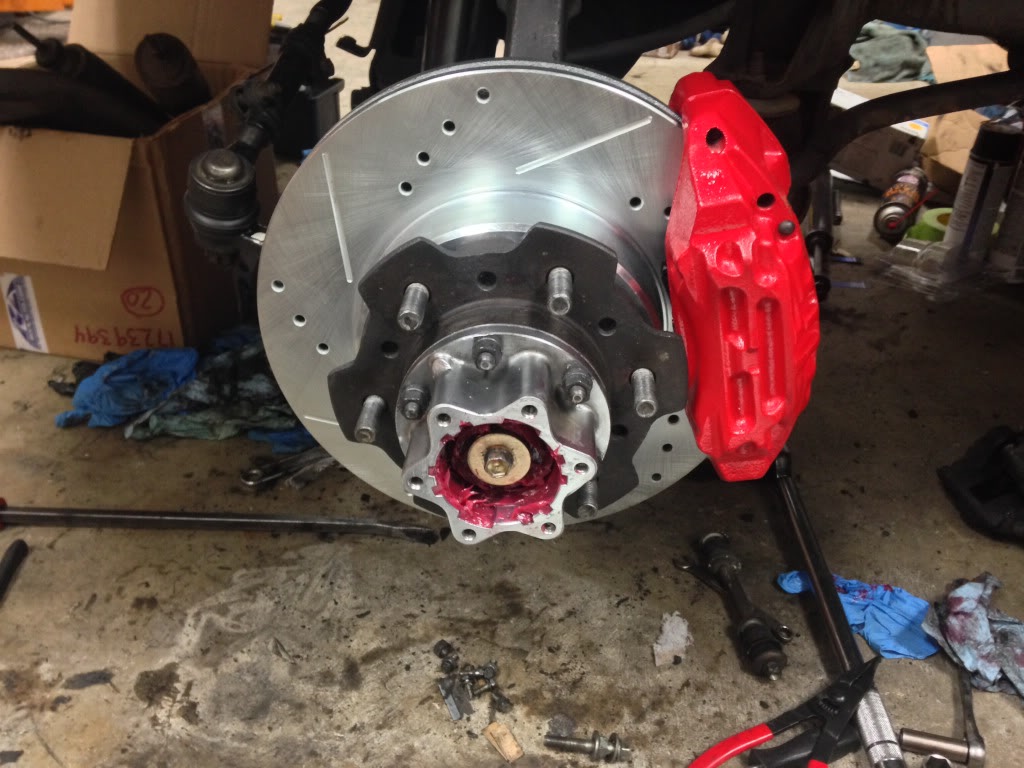
Compared to when I started:

I'll get the brake master installed and bled as soon as I can get the time.
until then, everything's installed. The sway bar bushings and steering stabilizer were the last things to go in.
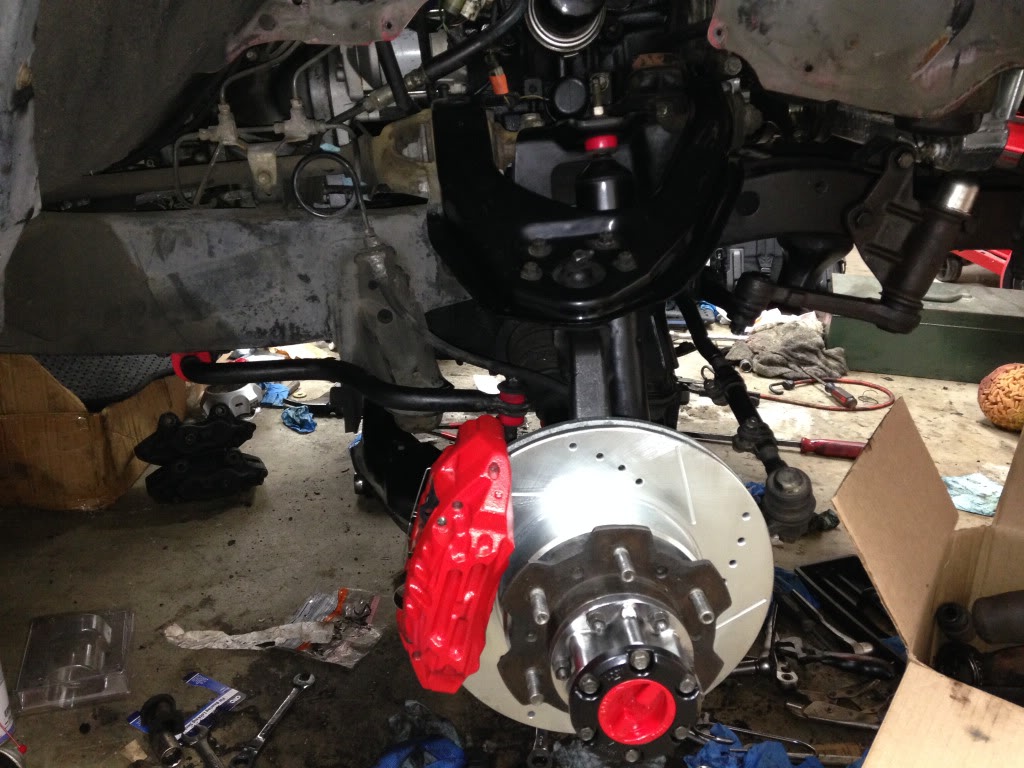
Dash cover also velcroed
Duplicolor black engine enamel
VHT red caliper paint
Done!
Right side is almost done. Here the bearings are packed and the hub seal installed.
Correct Rotor
Almost done.
Dial assembled and installed.
Caught up with the other side
Compared to when I started:
I'll get the brake master installed and bled as soon as I can get the time.
until then, everything's installed. The sway bar bushings and steering stabilizer were the last things to go in.
Dash cover also velcroed
Dec 6, 2013 | 01:45 AM
#107
Thread Starter
Registered User
Joined: Jul 2009
Posts: 245
Likes: 0
From: Mission Viejo, CA
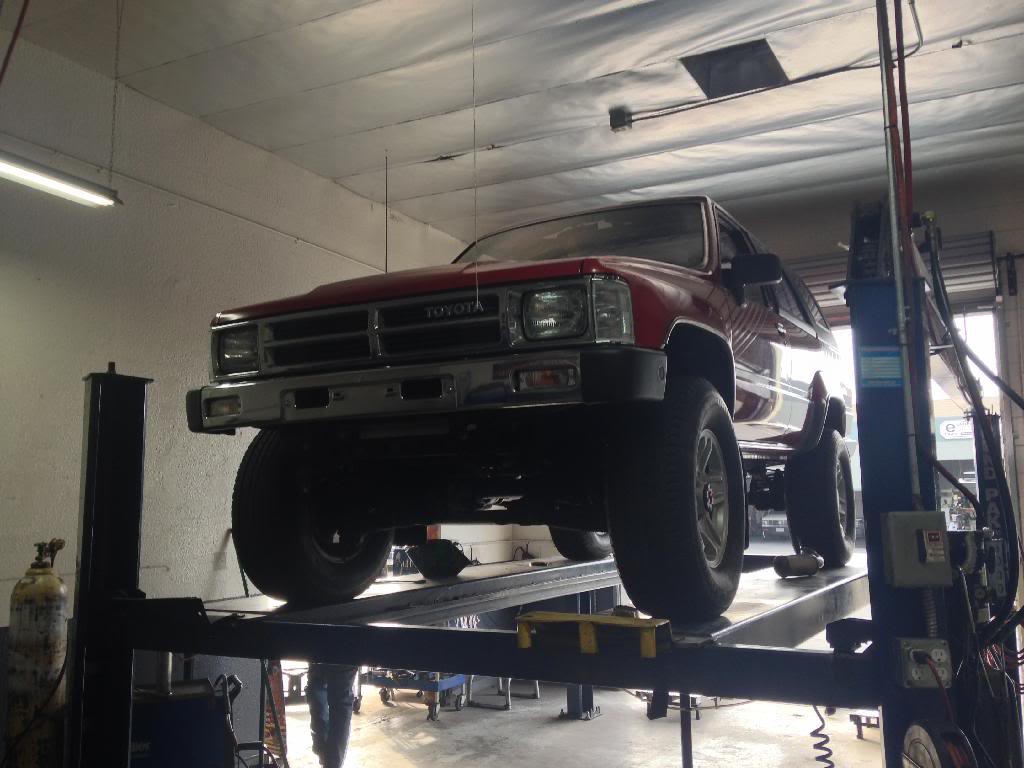
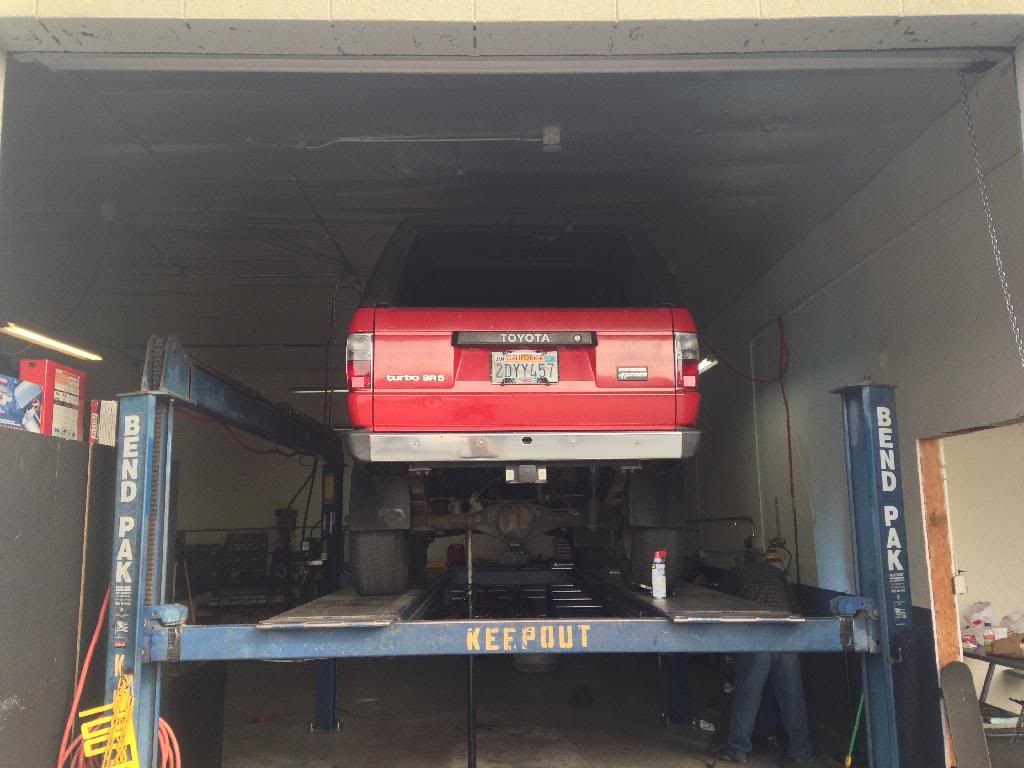
Installed the brake master
Test run, everythings good.
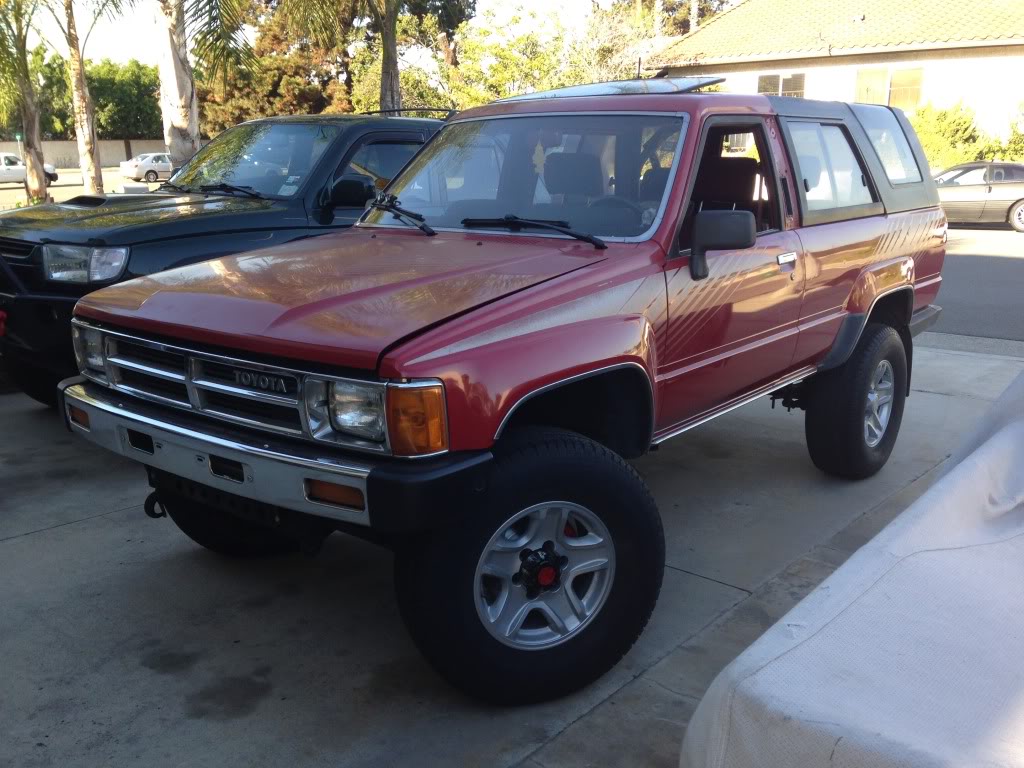
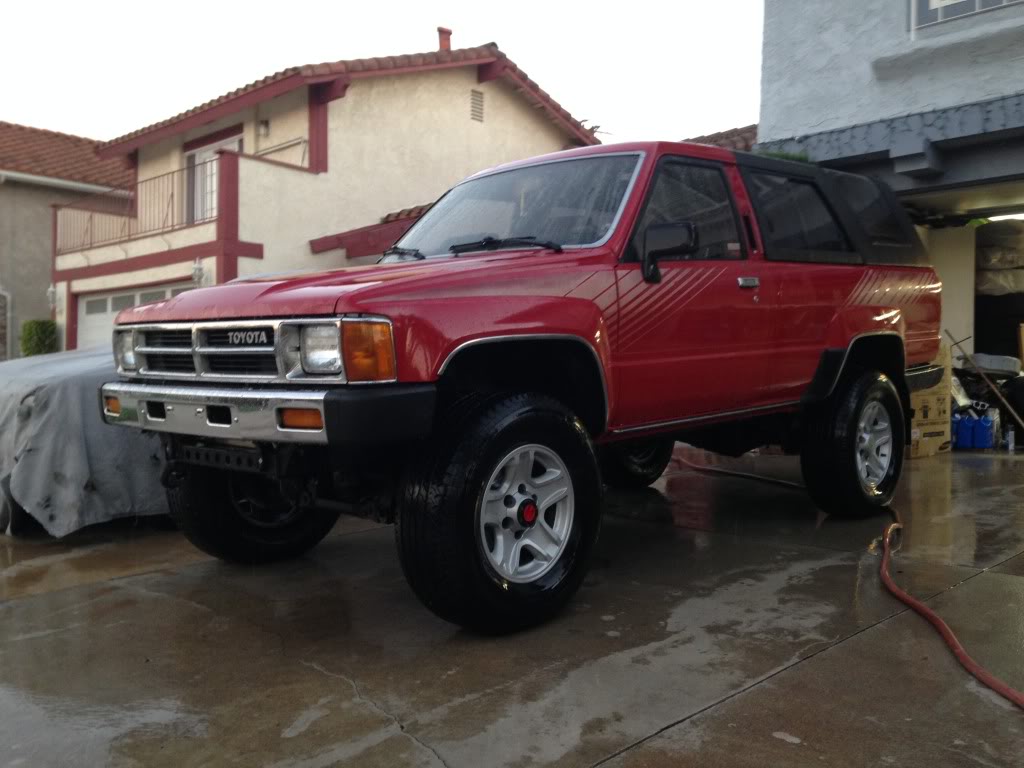
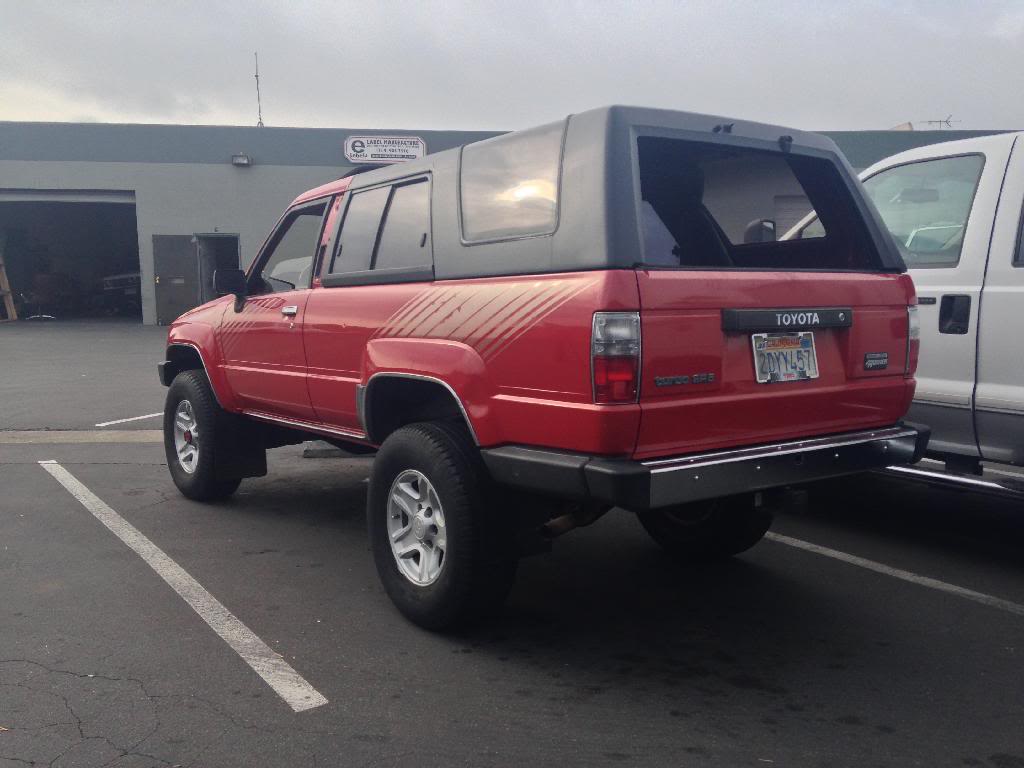
Gave it a wash
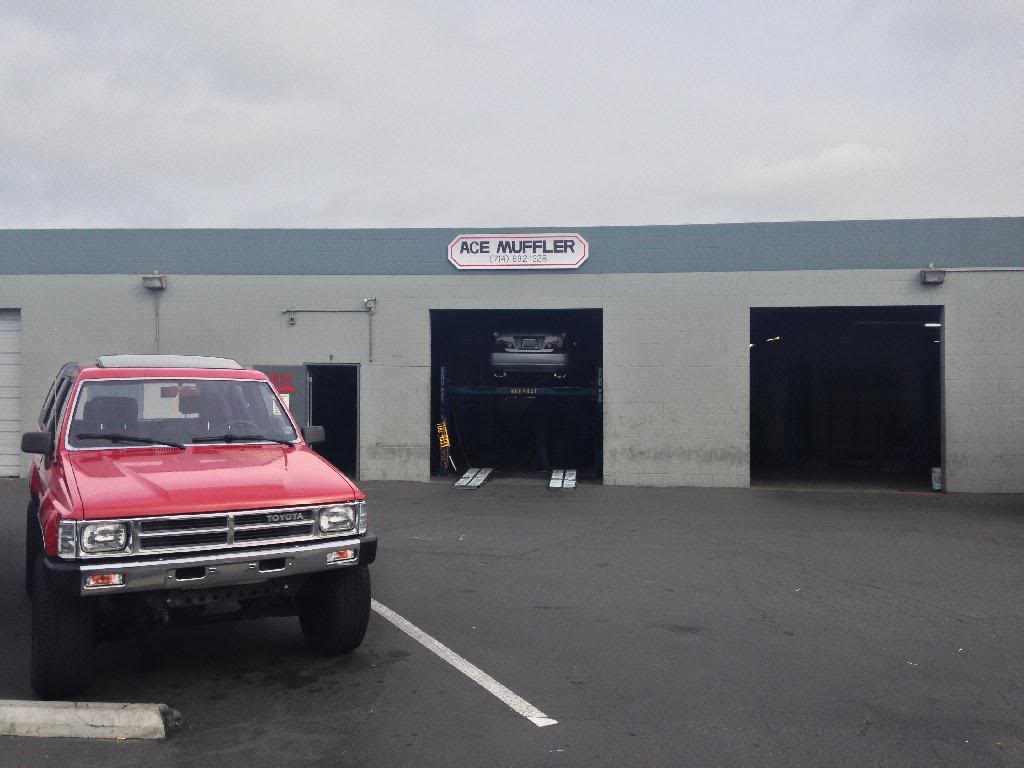
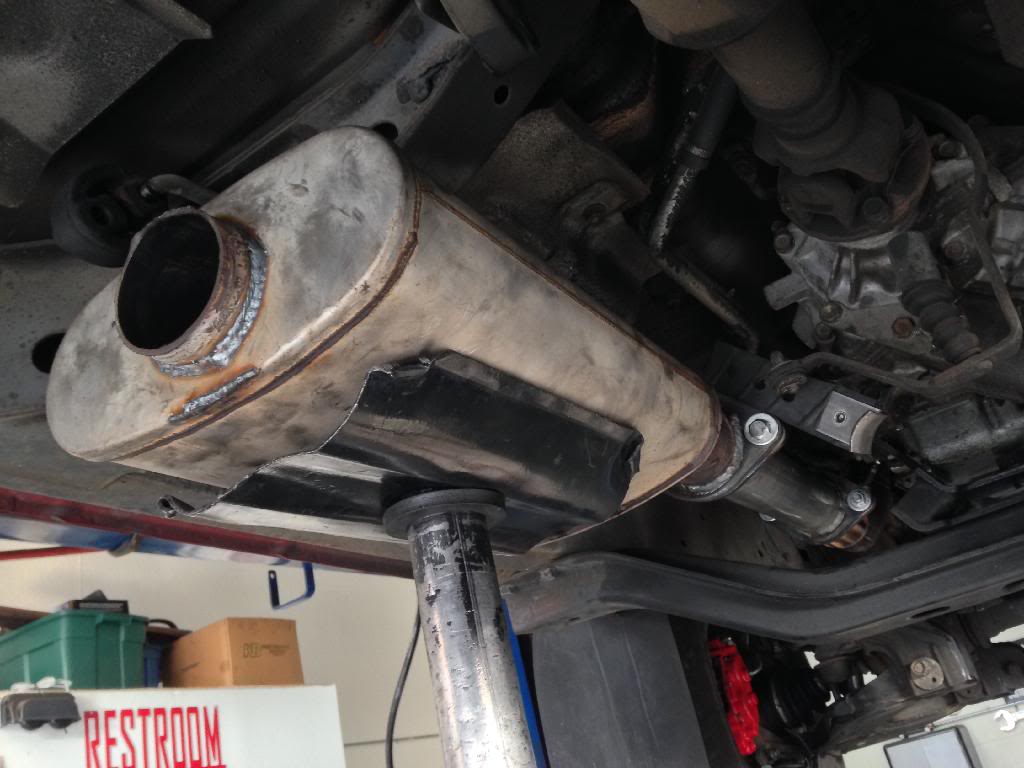
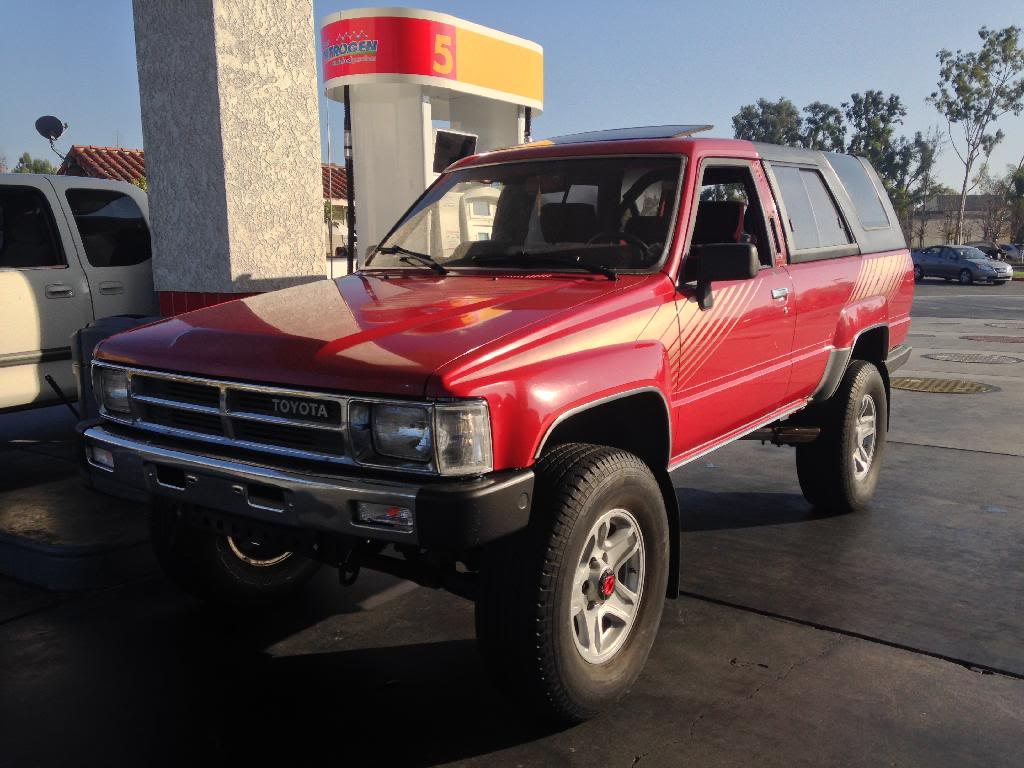
Installed the cat from my 3rd gen and drove to the smog station. Passed! Have to wait until January 18th to get it registered as operational though. If I pay registration now, it will only be good for two months, and then another payment is required. Lame.
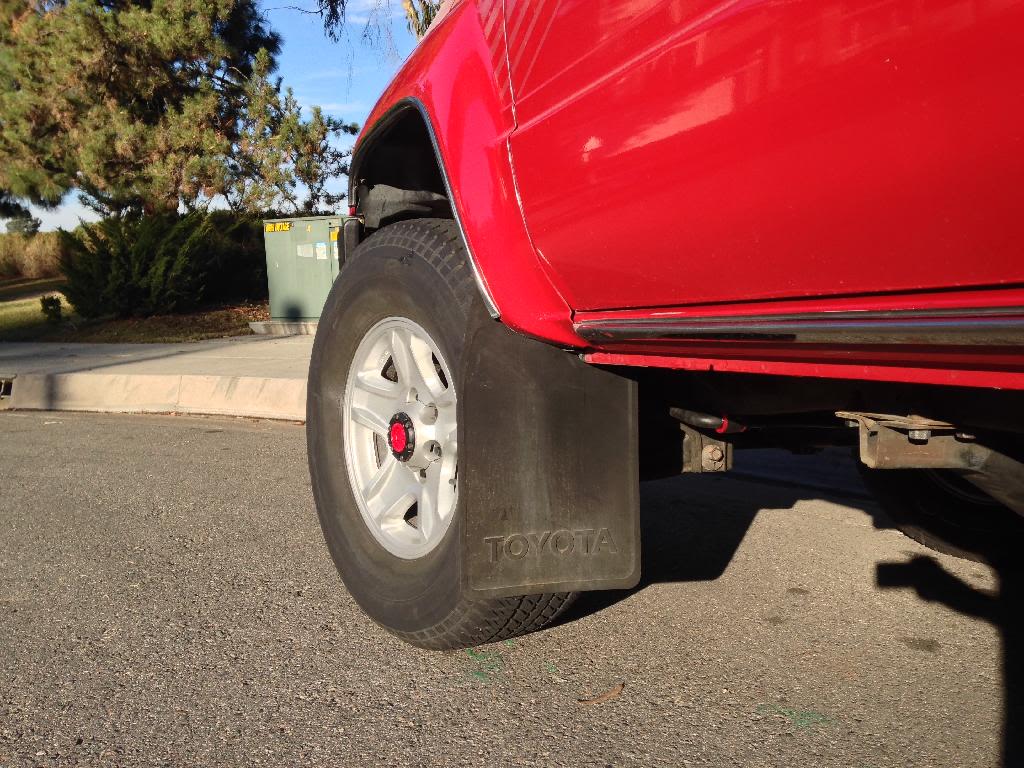
Front flaps.
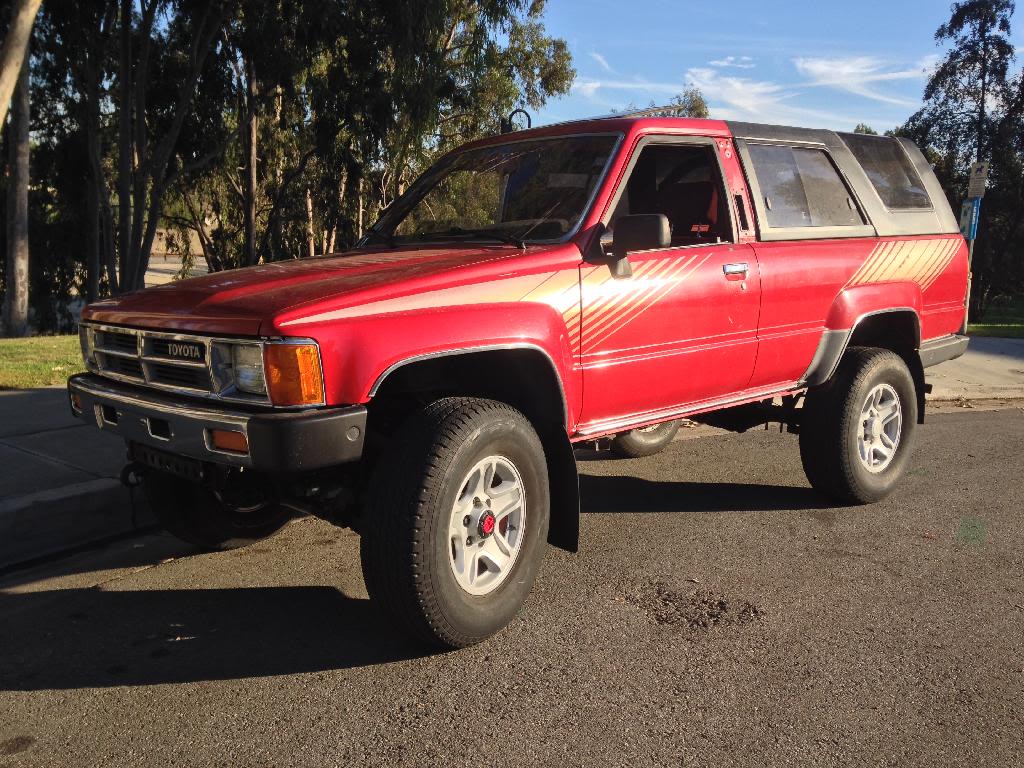
Test run, everythings good.
Gave it a wash
Installed the cat from my 3rd gen and drove to the smog station. Passed! Have to wait until January 18th to get it registered as operational though. If I pay registration now, it will only be good for two months, and then another payment is required. Lame.
Front flaps.
Dec 29, 2013 | 08:23 PM
#109
Thread Starter
Registered User
Joined: Jul 2009
Posts: 245
Likes: 0
From: Mission Viejo, CA
Yeah I have trouble remembering to update Yotatech... thanks
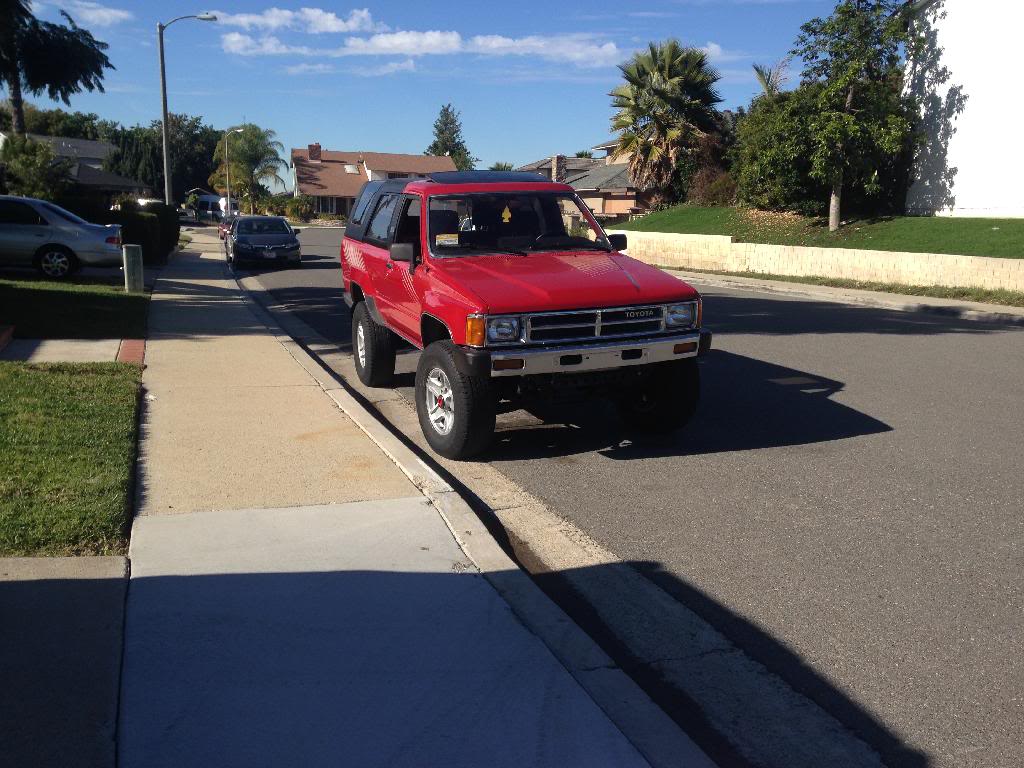
Still waiting for January... though I can't help but drive around neighborhoods with it.
Some pics to hold me over...
Took these stickers from my girlfriend's newly acquired 1999 Limited 2WD.
Still waiting for January... though I can't help but drive around neighborhoods with it.
Some pics to hold me over...
Took these stickers from my girlfriend's newly acquired 1999 Limited 2WD.
Dec 29, 2013 | 08:24 PM
#110
Thread Starter
Registered User
Joined: Jul 2009
Posts: 245
Likes: 0
From: Mission Viejo, CA
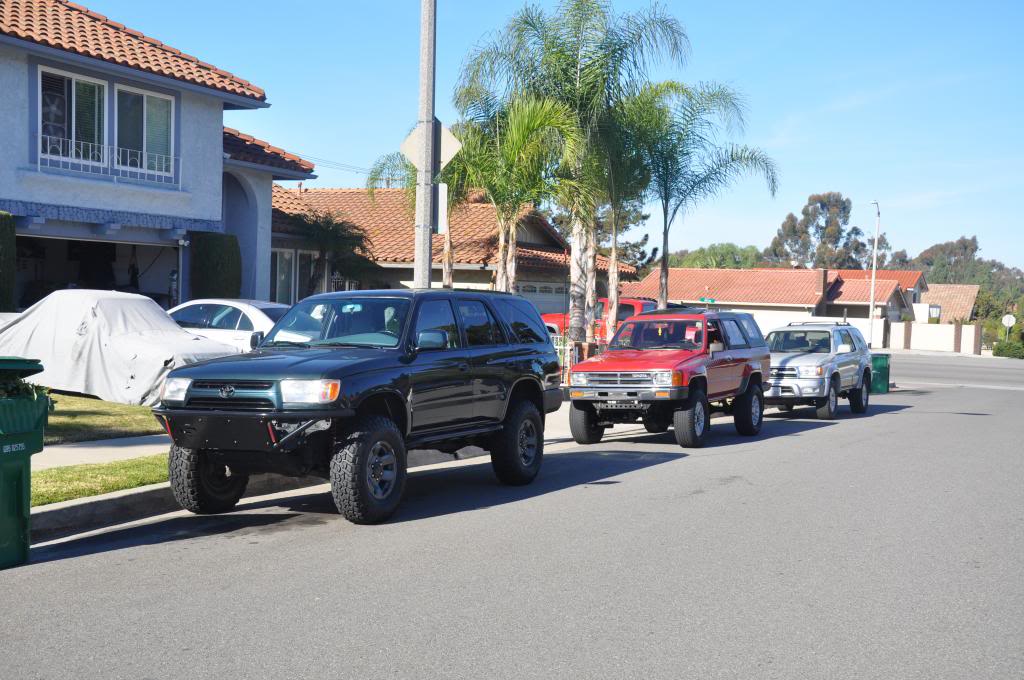
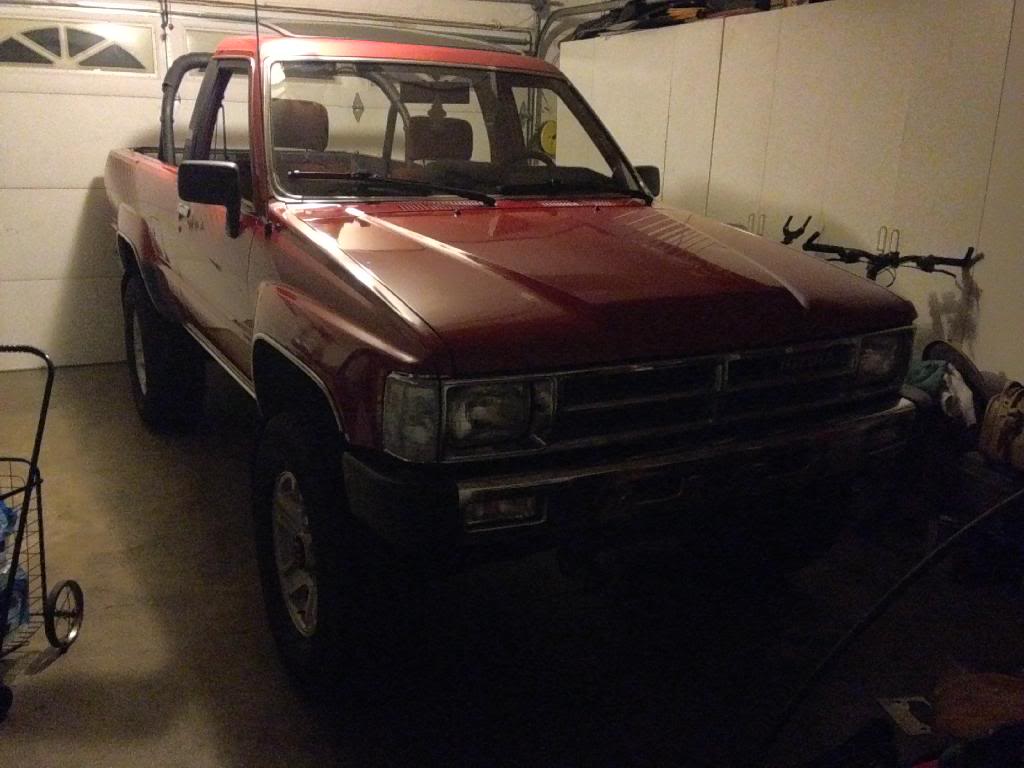
Got the 4 tires off of the other 3rd gen in my stable: COB's 99 Limited 2WD.
Estimated time of installation on 87 4Runner turbo: 1 month.
The wait continues - I'll just leave these here. These were taken moments before selling the Probe:
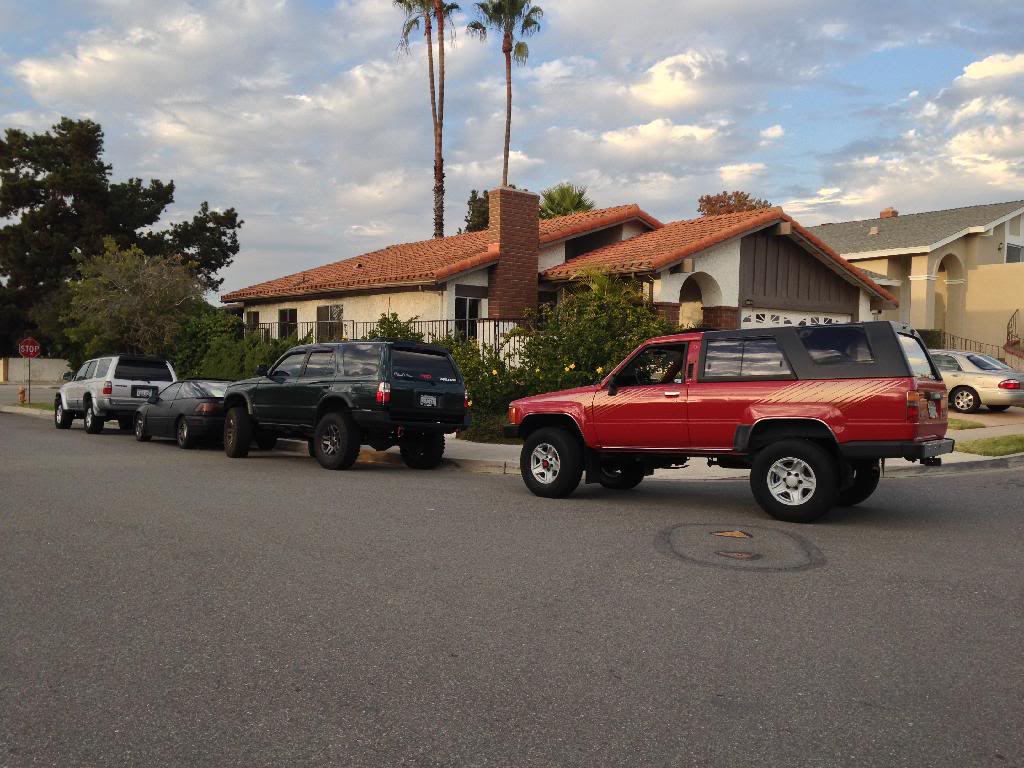
Estimated time of installation on 87 4Runner turbo: 1 month.
The wait continues - I'll just leave these here. These were taken moments before selling the Probe:
 Mar 2, 2014 | 10:38 AM
#112
Thread Starter
Registered User
Joined: Jul 2009
Posts: 245
Likes: 0
From: Mission Viejo, CA
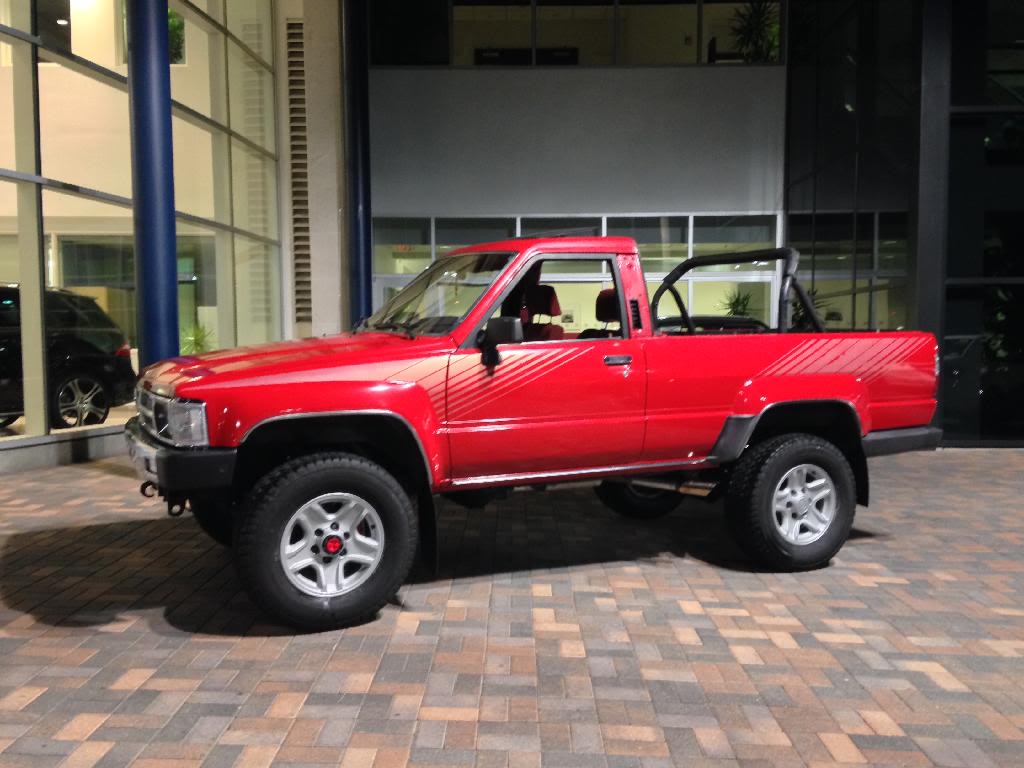
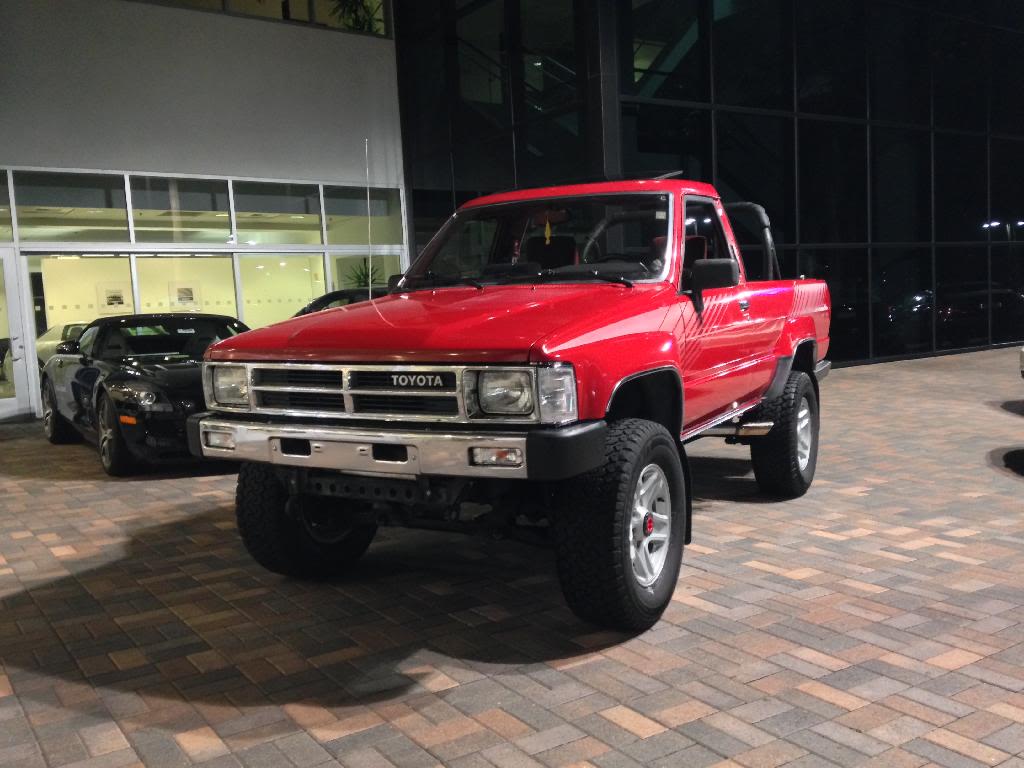
Thanks to my friend Connor for the high quality pics.
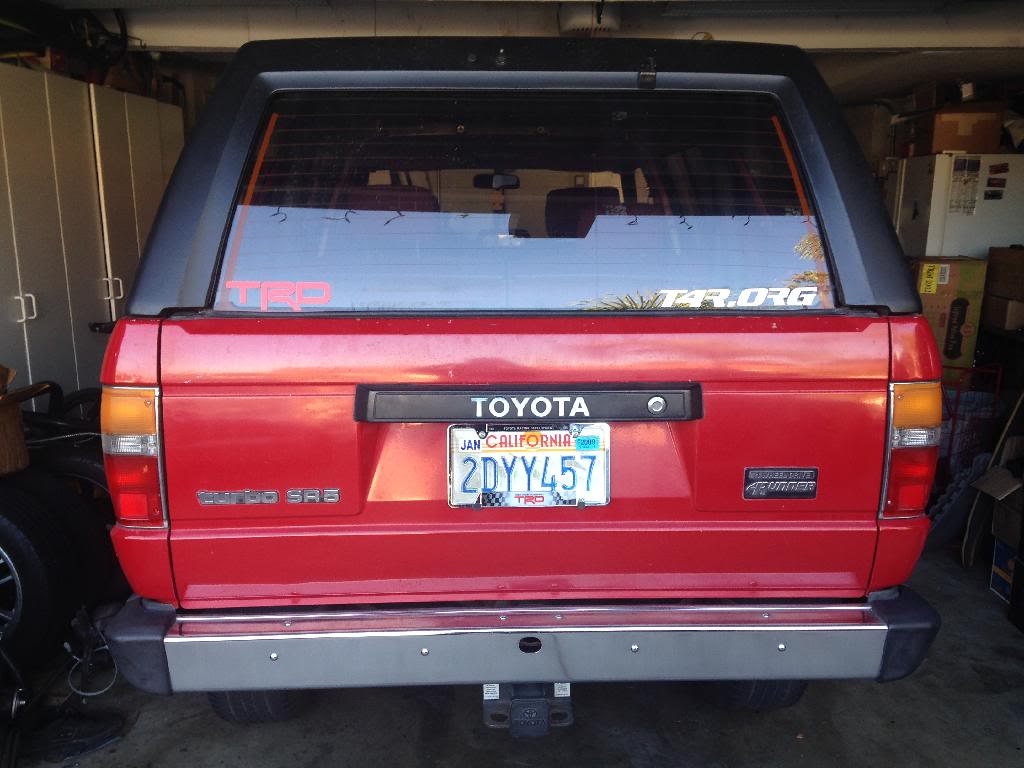
New lights also. Changed out the orange bulbs and lenses for clear ones.
New lights also. Changed out the orange bulbs and lenses for clear ones.
Mar 2, 2014 | 10:39 AM
#113
Thread Starter
Registered User
Joined: Jul 2009
Posts: 245
Likes: 0
From: Mission Viejo, CA
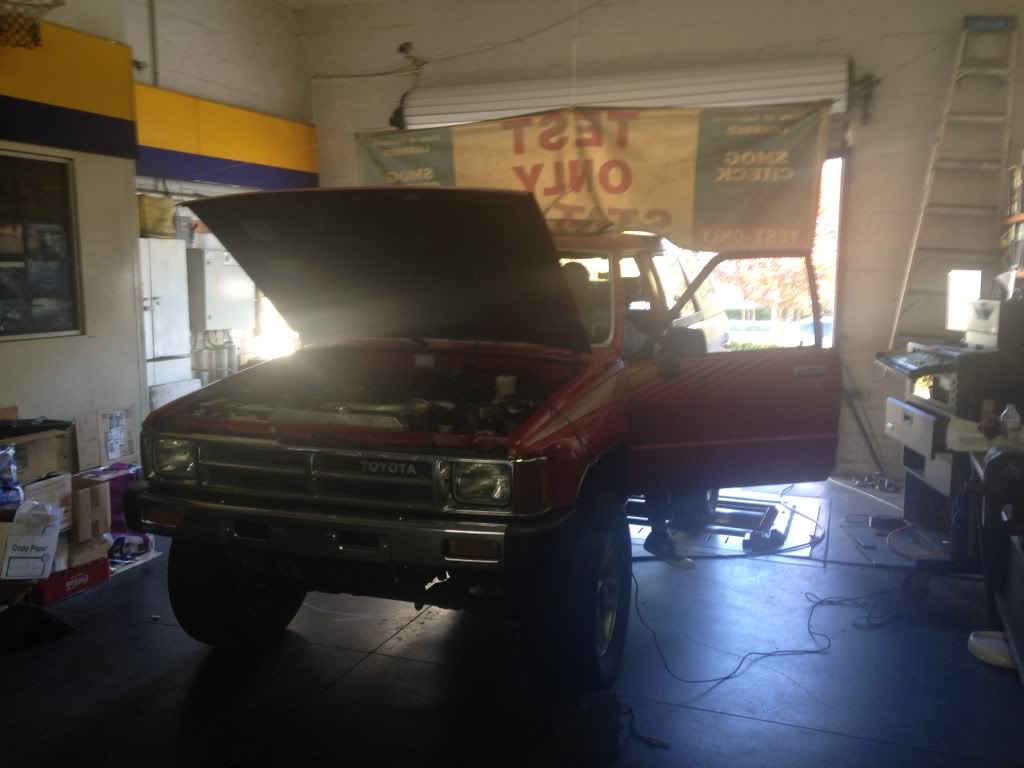
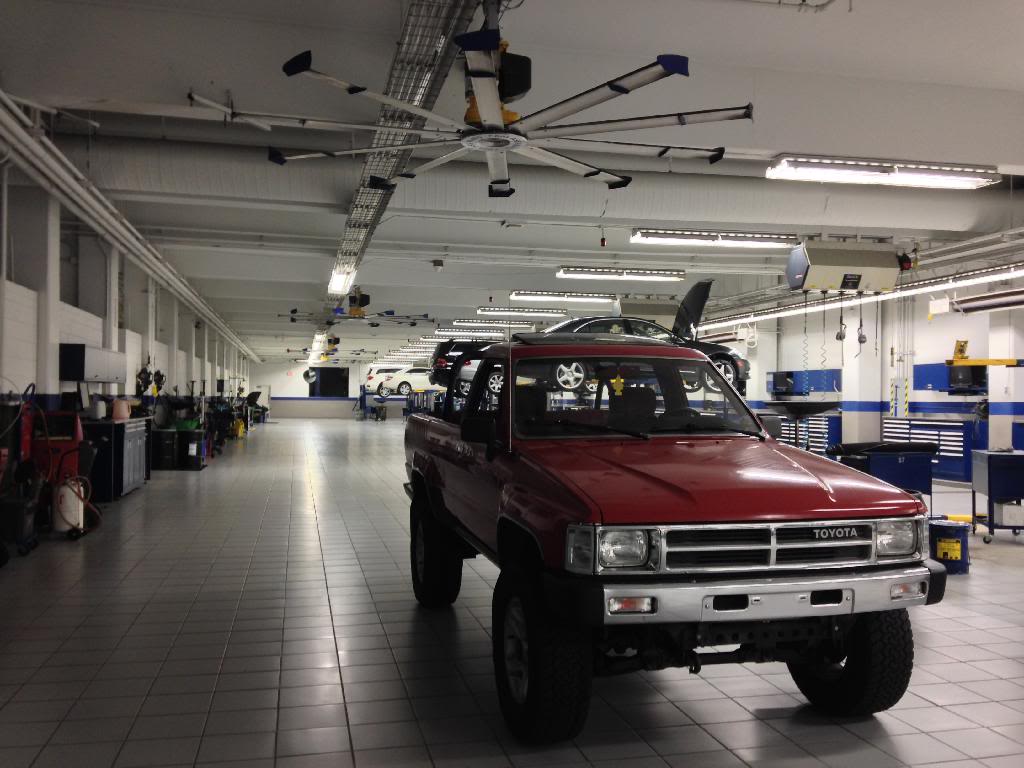
Back at the exhaust shop!

1st gens just look so damn good
Petrified remains
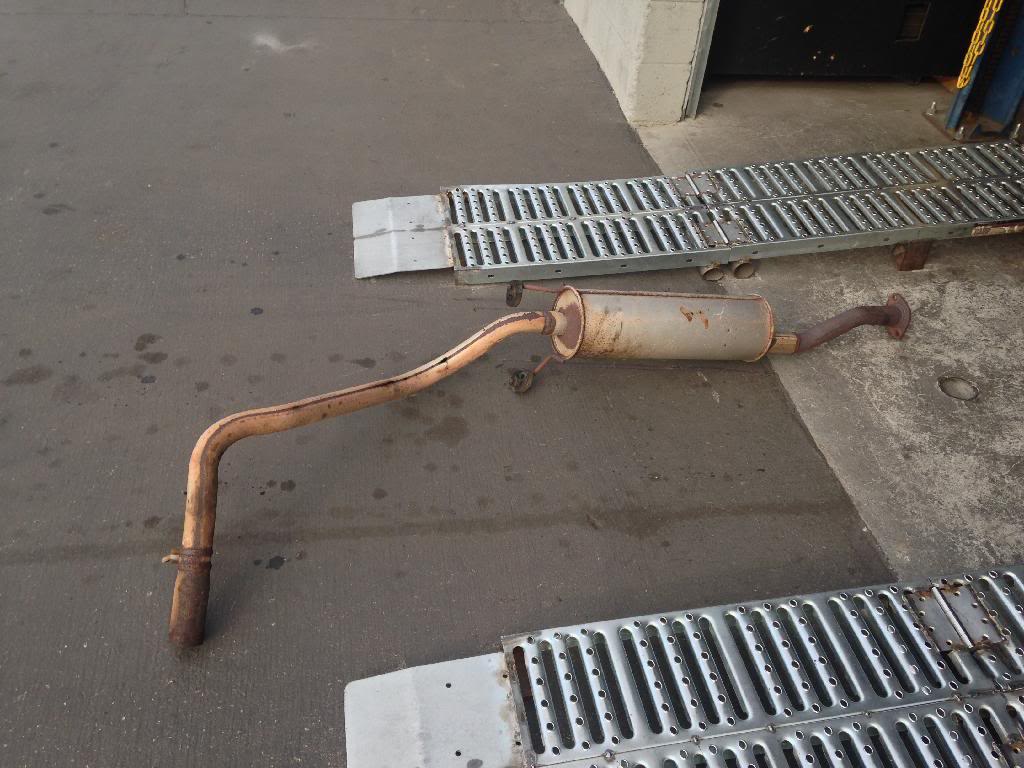
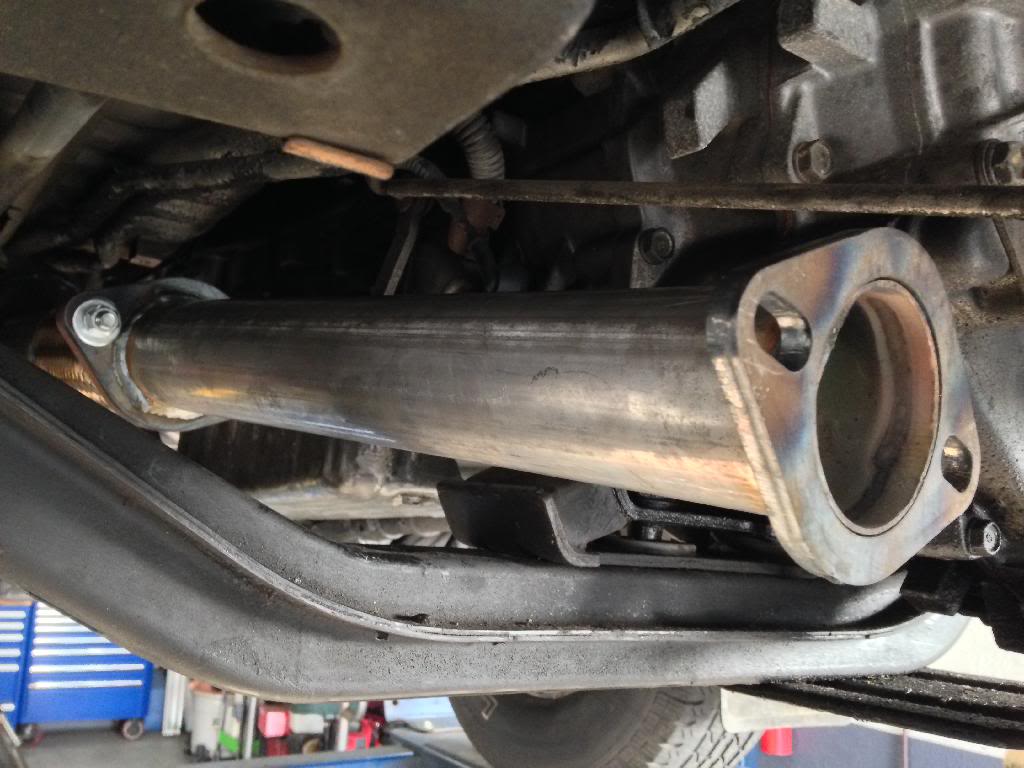
17.5" test pipe. Length matches my cat for smog time
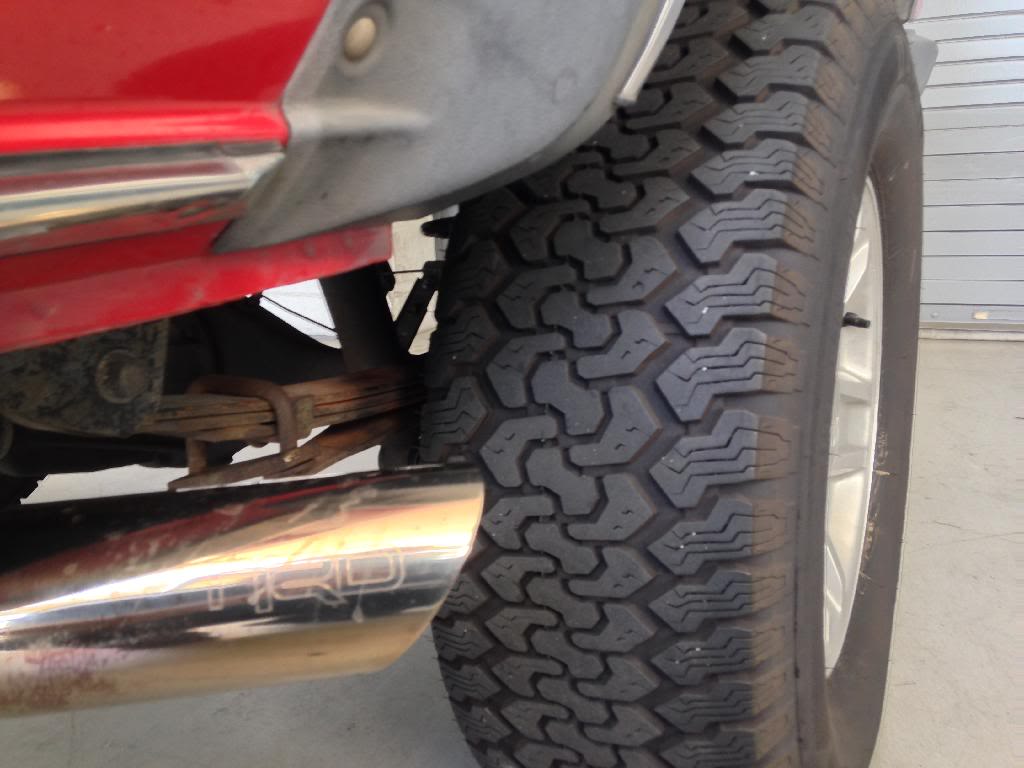
Followed by the Jardine that was on my 3rd gen.
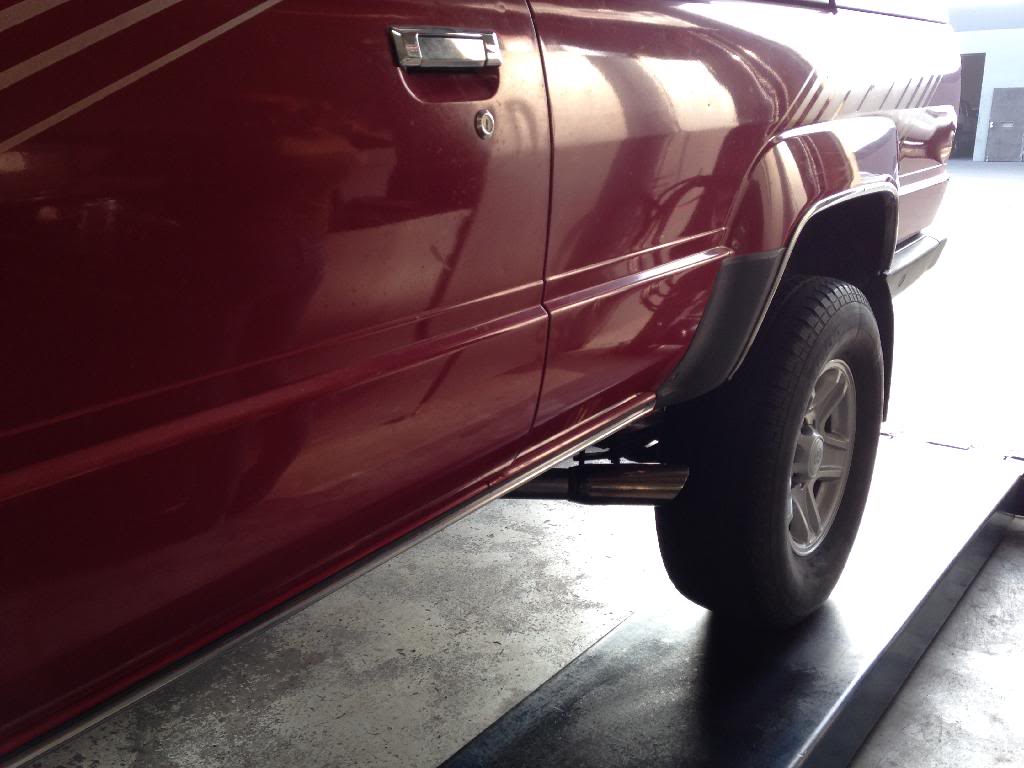
Side exit
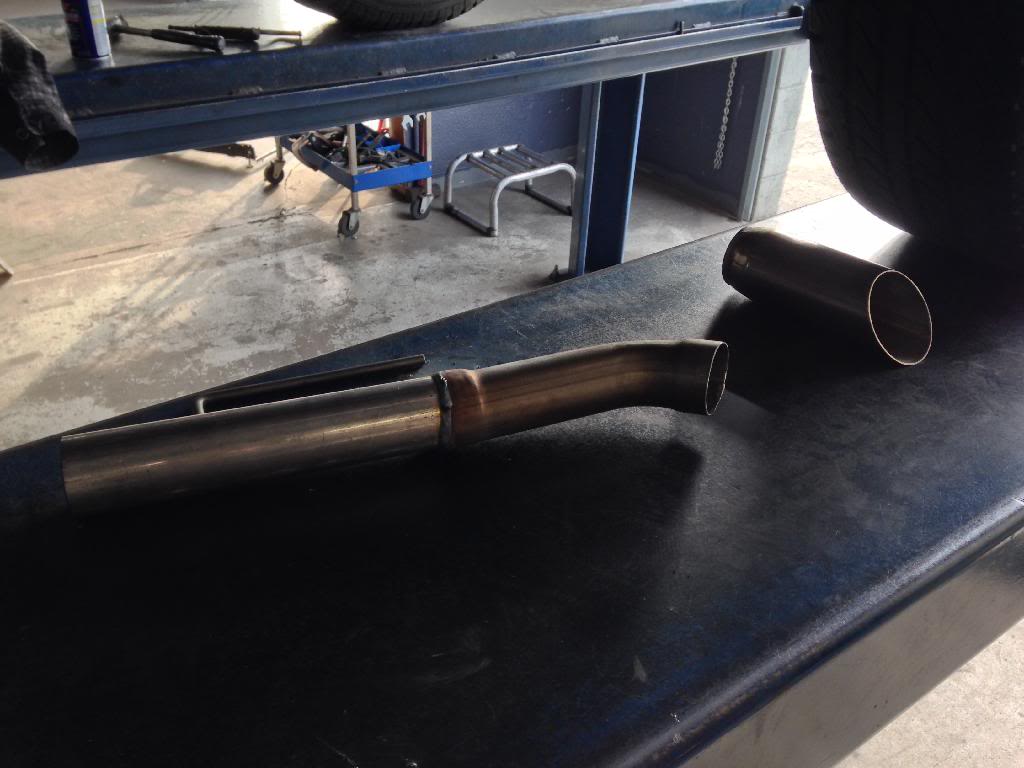
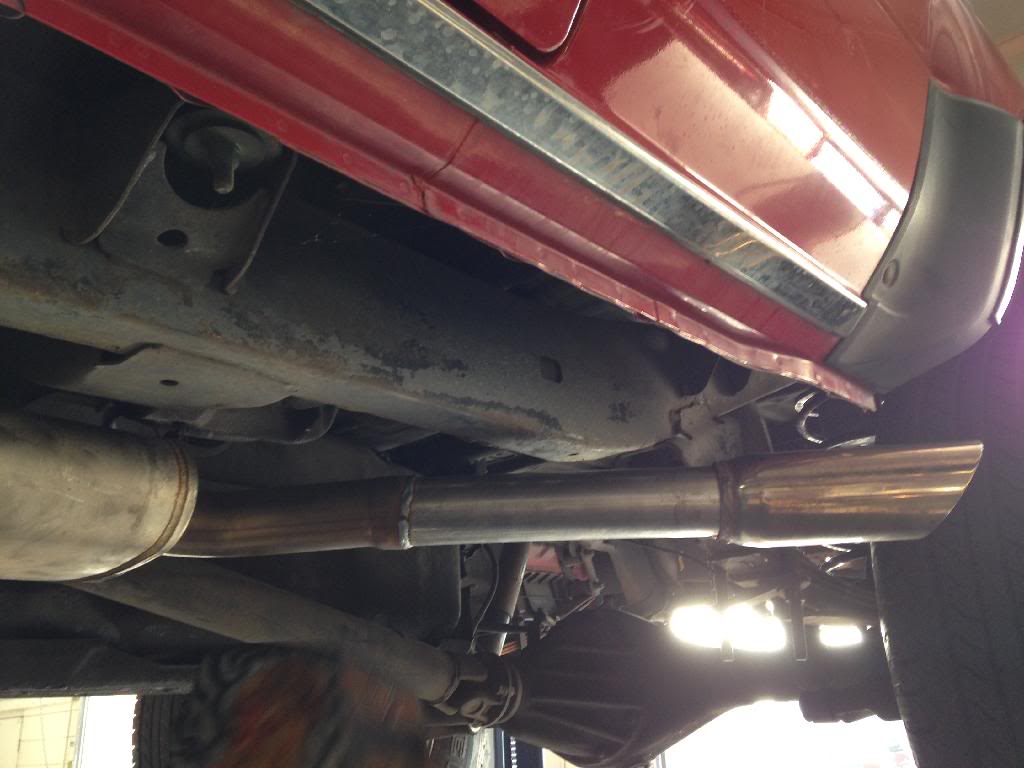
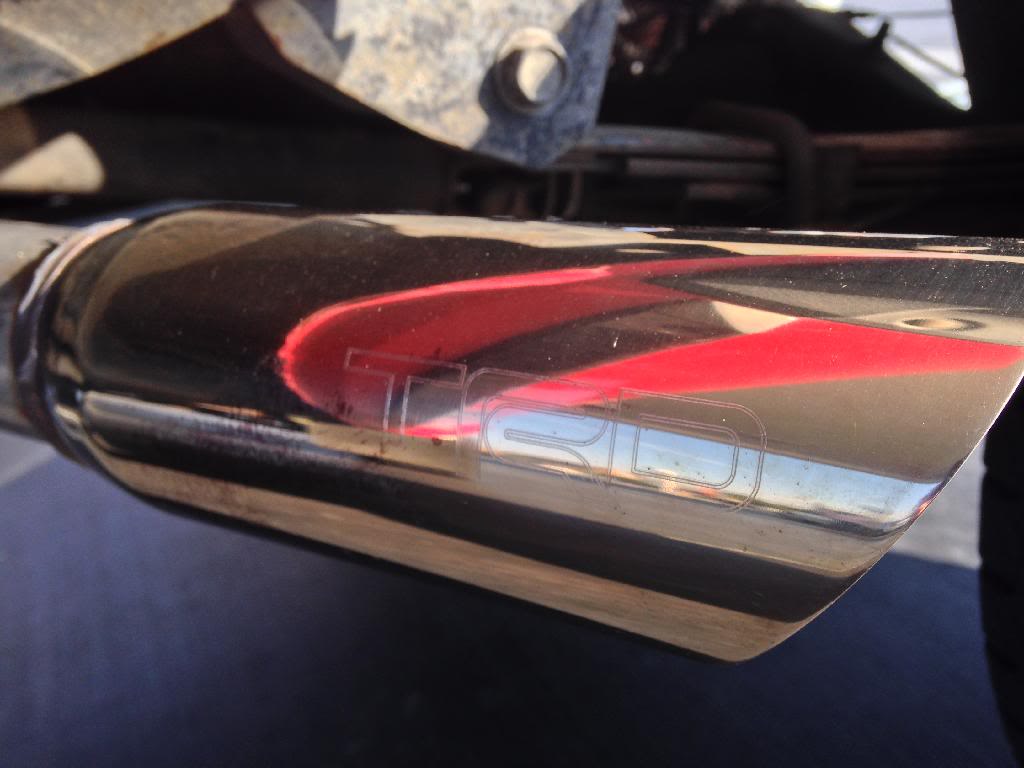
Tip from my 3rd gen's TRD catback

1st gens just look so damn good
Petrified remains
17.5" test pipe. Length matches my cat for smog time
Followed by the Jardine that was on my 3rd gen.
Side exit
Tip from my 3rd gen's TRD catback
Mar 2, 2014 | 10:42 AM
#114
Thread Starter
Registered User
Joined: Jul 2009
Posts: 245
Likes: 0
From: Mission Viejo, CA
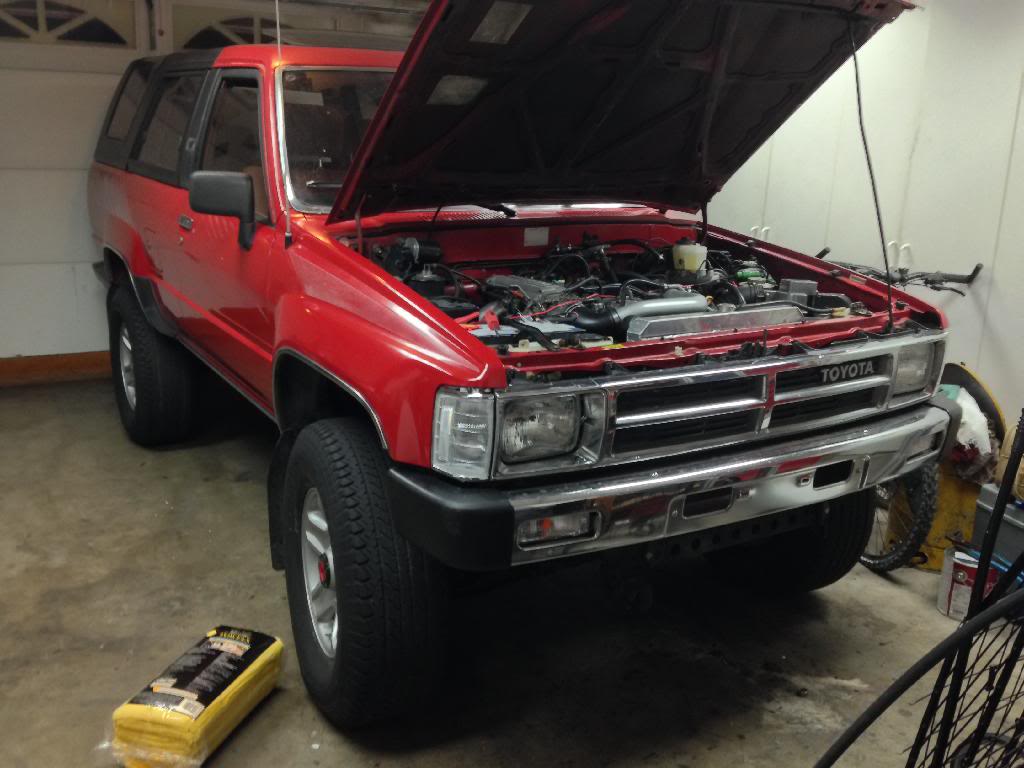
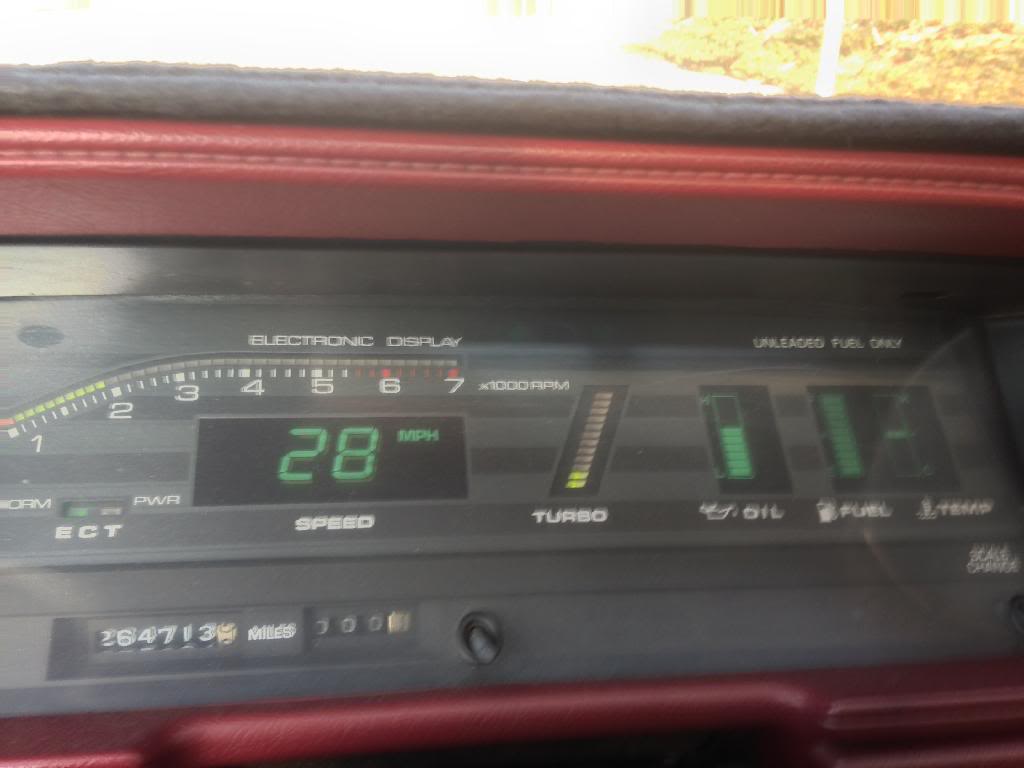
May 17, 2012. 264,584 miles on the ODO.
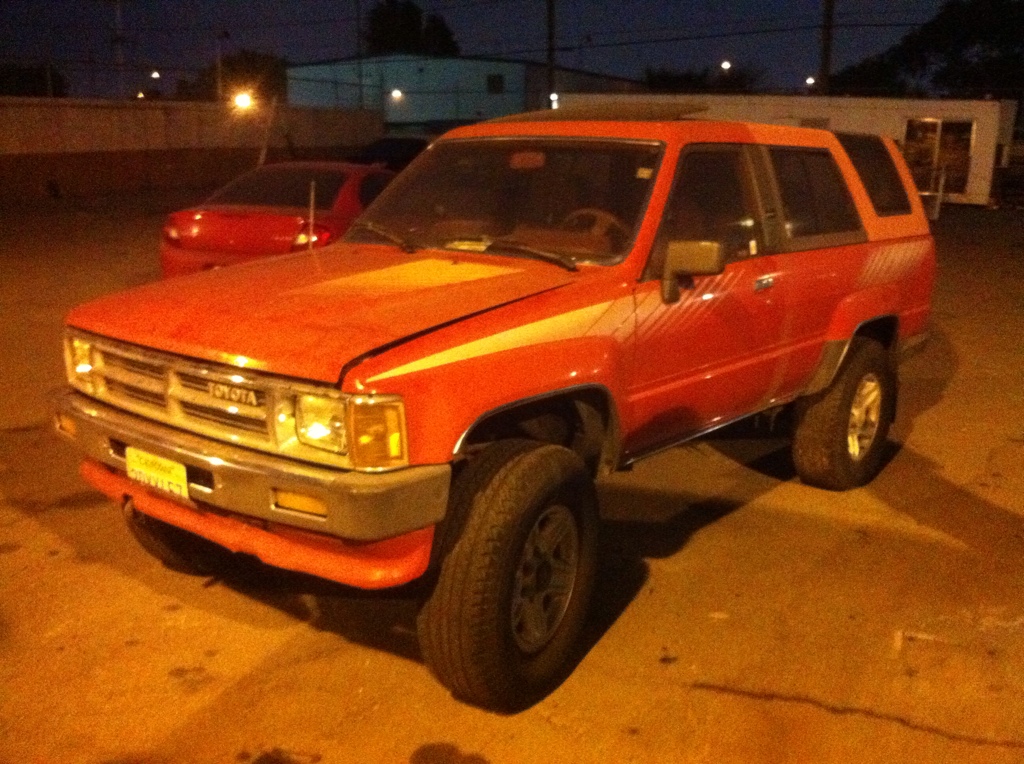
January 10, 2014: Big day... first full tank! 264,713... 112 miles on the new 22R-TE (installed at 264,601)
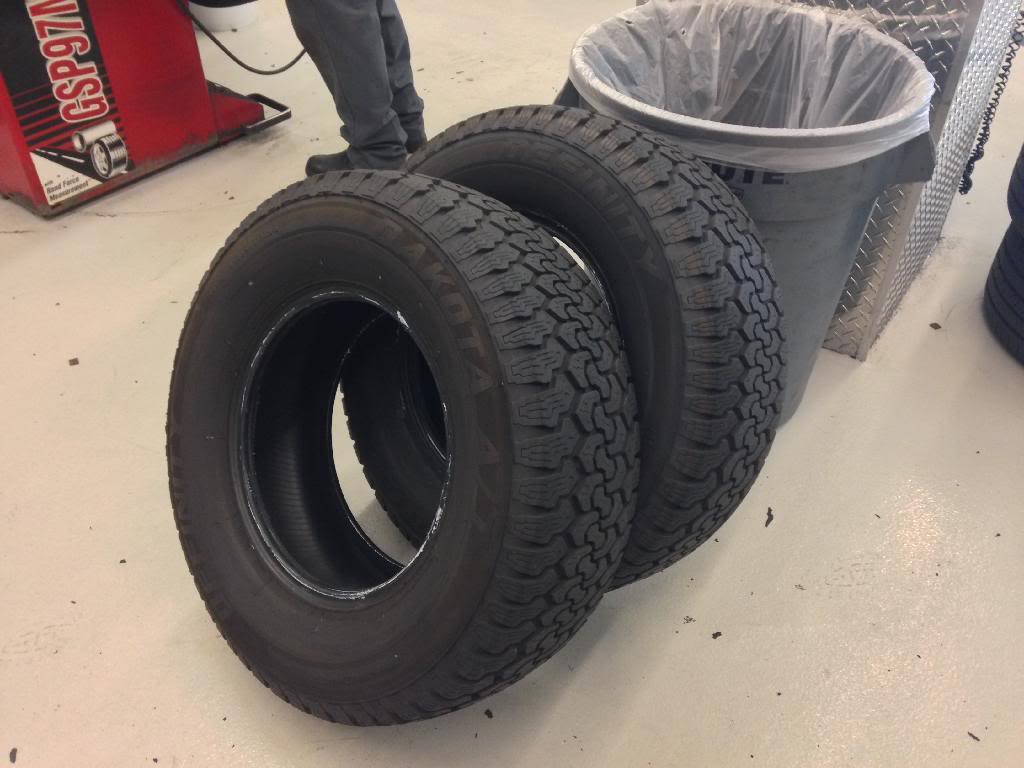
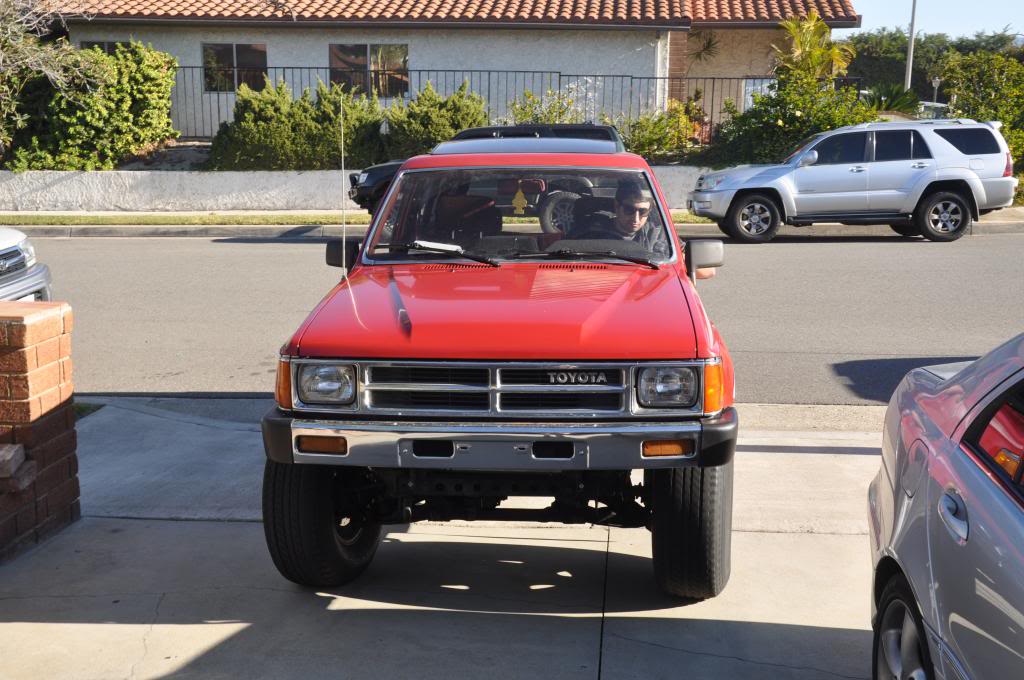
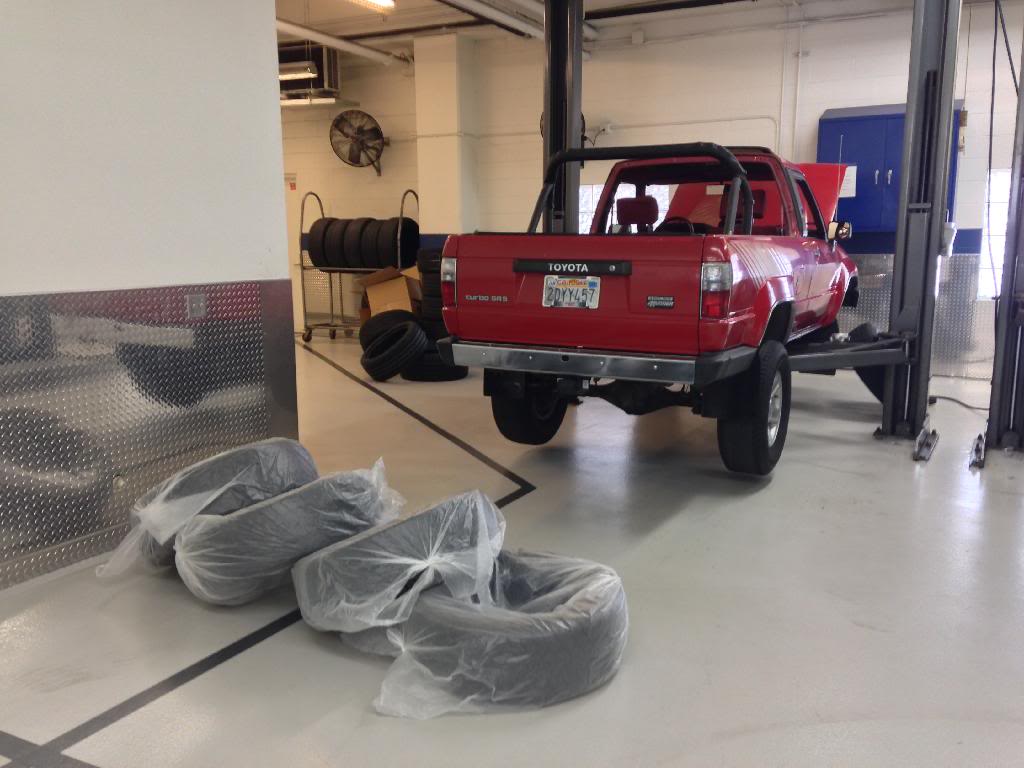
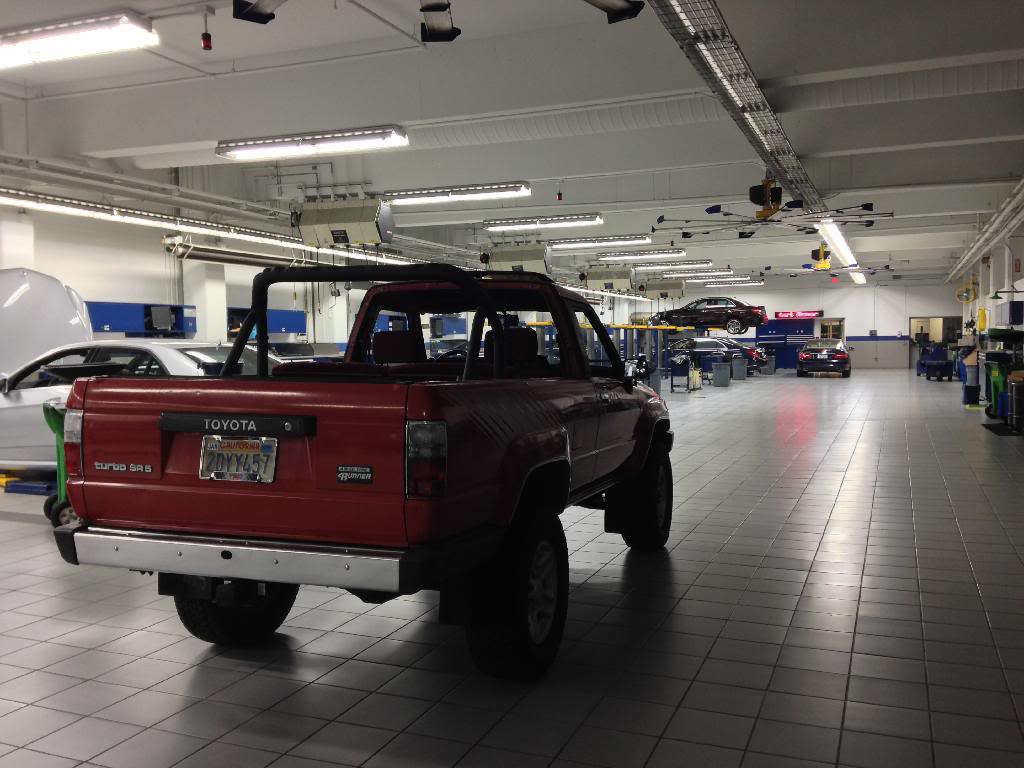
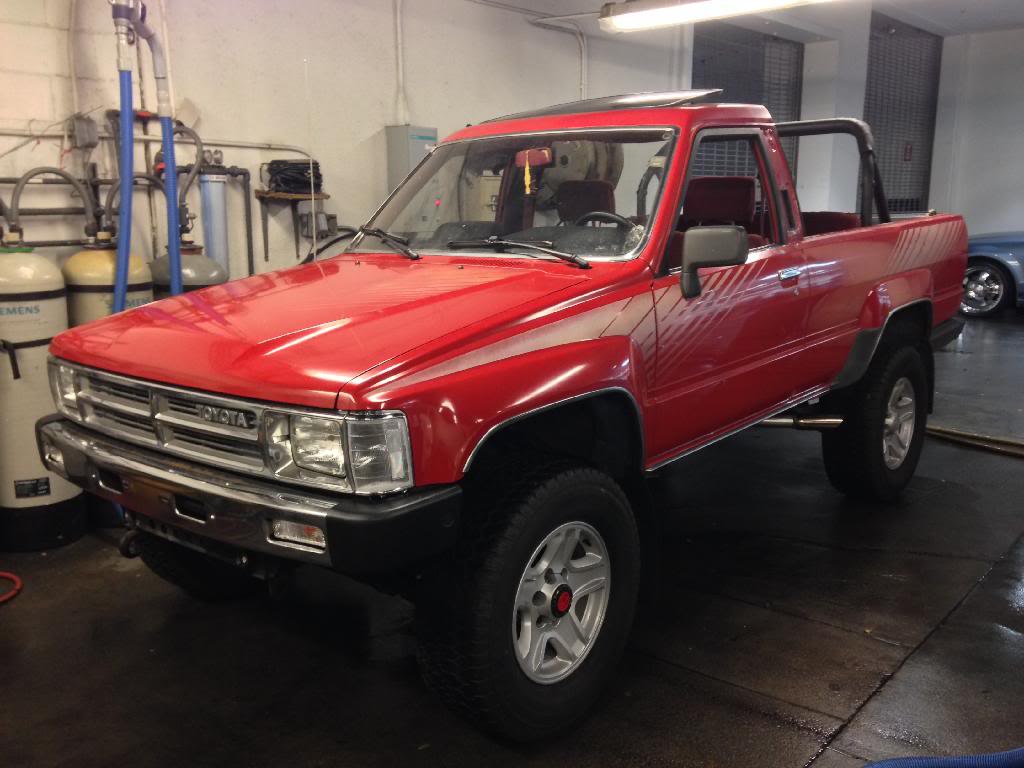
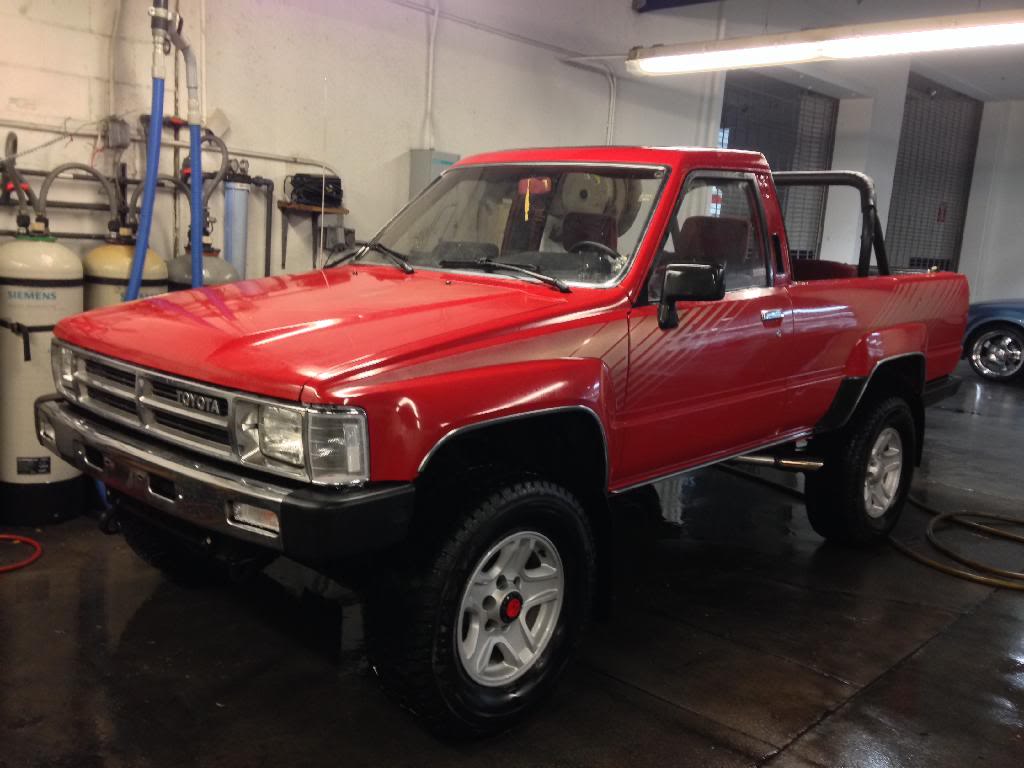
Today was the first time the turbo truck has ever been to my work since the day I towed it home. New tires have been installed.
Old tires... dated 2001 and cracked to all hell. Uniroyal Laredo 265/75/16. These are the same tires we use on the shuttle bus at work, not an exciting tire.
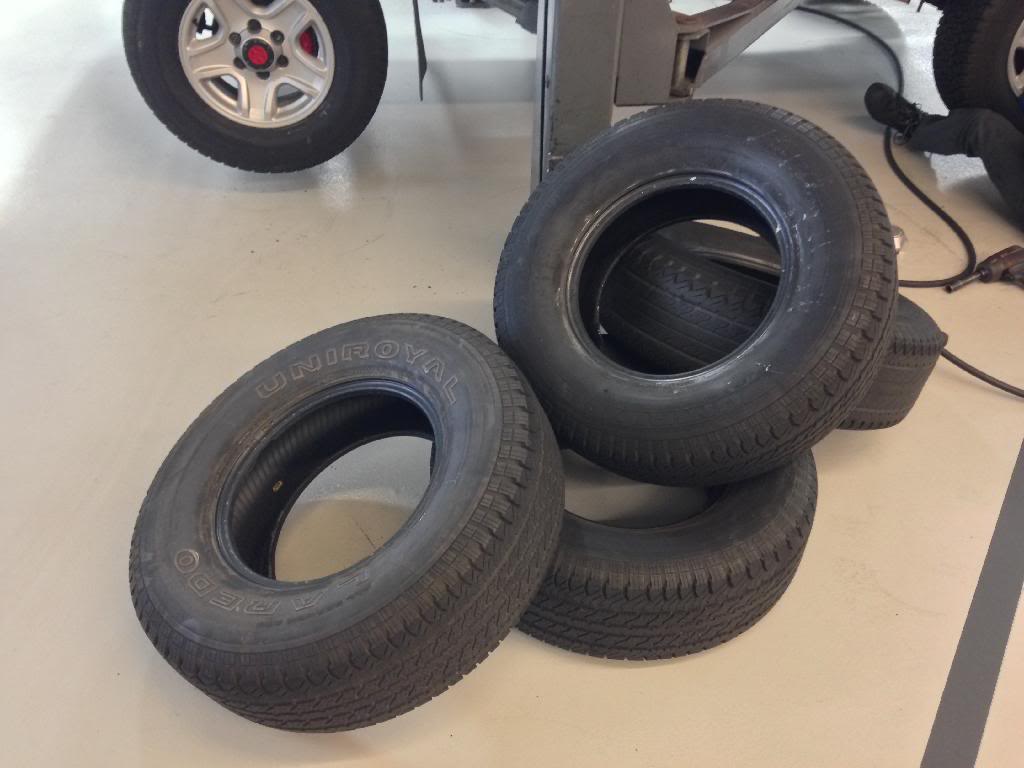
These tires are from the 2WD 3rd gen we have. Cheapo pep boys all terrains, Definity Dakota A/T 265/70/16. Made by cooper.

In the shop just sitting.
Later in the night, I had more time.
Clayed twice over with two different clays
Heavy compound
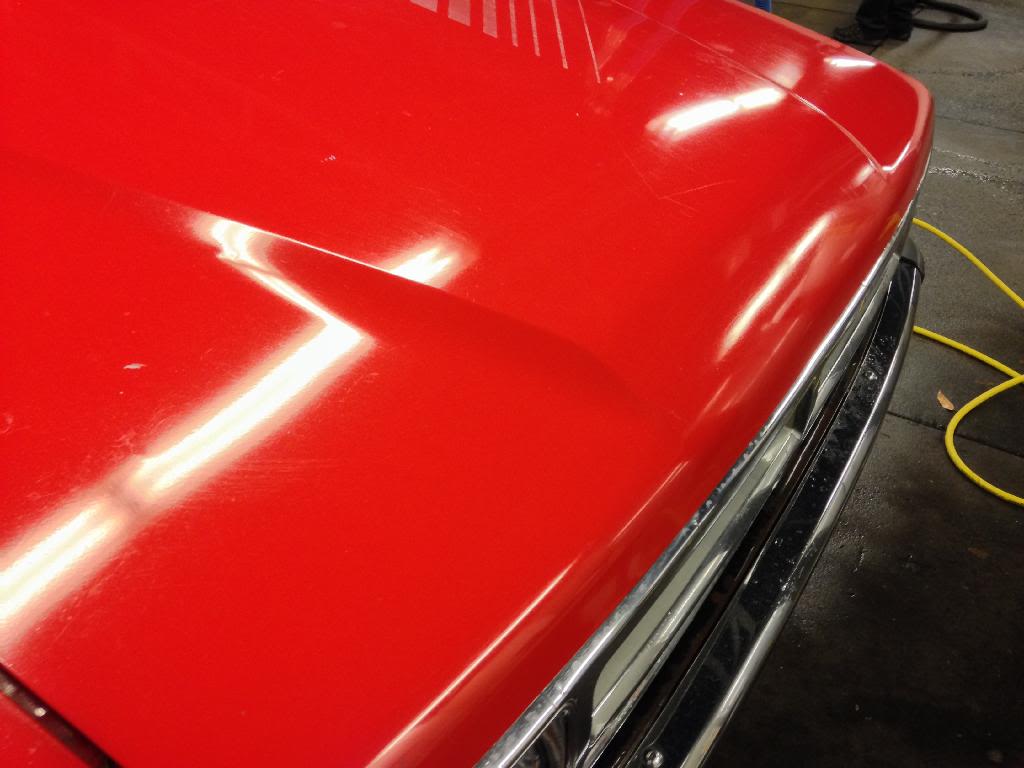
Medium compound and wax
I need to clean the bottom of the hood...
One side down... side two tomorrow.

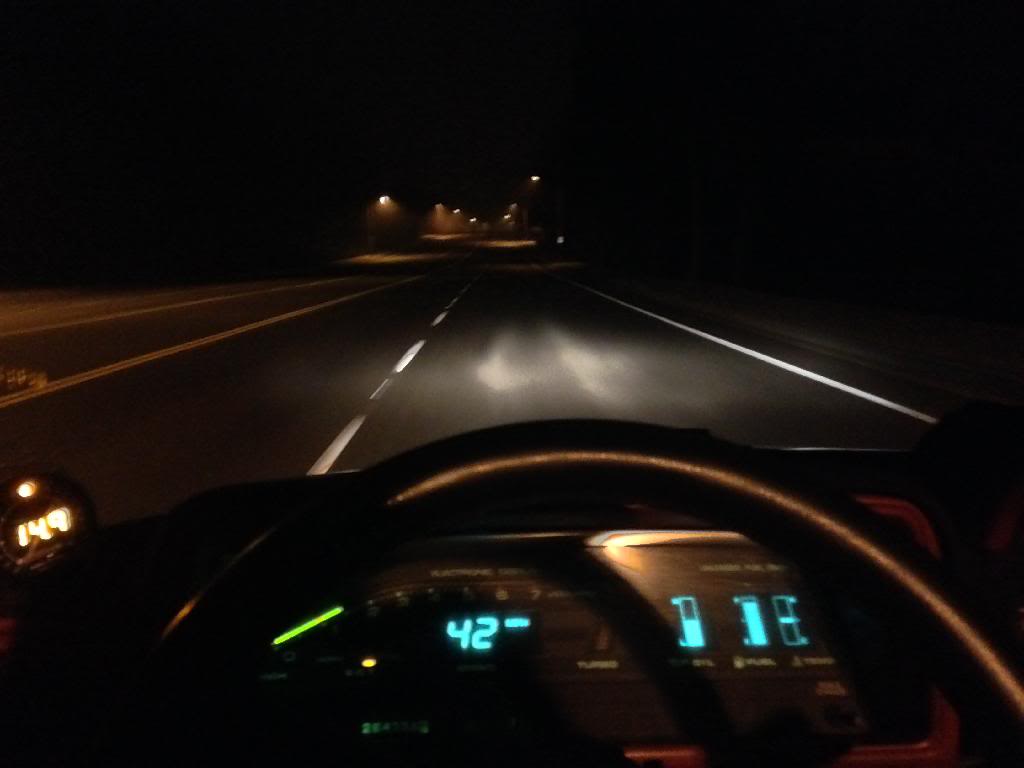
Cruising without the top before calling it a night
January 10, 2014: Big day... first full tank! 264,713... 112 miles on the new 22R-TE (installed at 264,601)
Today was the first time the turbo truck has ever been to my work since the day I towed it home. New tires have been installed.
Old tires... dated 2001 and cracked to all hell. Uniroyal Laredo 265/75/16. These are the same tires we use on the shuttle bus at work, not an exciting tire.
These tires are from the 2WD 3rd gen we have. Cheapo pep boys all terrains, Definity Dakota A/T 265/70/16. Made by cooper.
In the shop just sitting.
Later in the night, I had more time.
Clayed twice over with two different clays
Heavy compound
Medium compound and wax
I need to clean the bottom of the hood...
One side down... side two tomorrow.
Cruising without the top before calling it a night

 Mar 2, 2014 | 11:16 AM
#116
Thread Starter
Registered User
Joined: Jul 2009
Posts: 245
Likes: 0
From: Mission Viejo, CA
Good news regarding a Killer Toy Tops Bikini Top.
I spoke with Kirk about making me one with straps, as opposed to the usual strapless bikini.
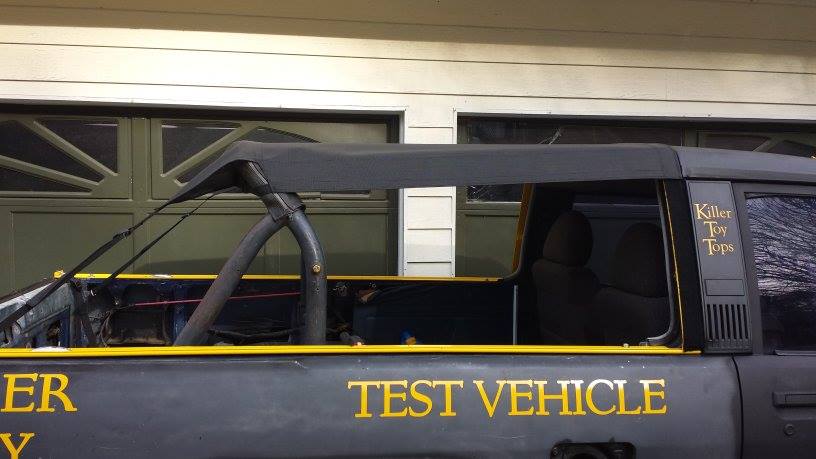

Killer Toy Tops Bikini Top is installed.


I spoke with Kirk about making me one with straps, as opposed to the usual strapless bikini.
Killer Toy Tops Bikini Top is installed.
Mar 2, 2014 | 11:18 AM
#117
Thread Starter
Registered User
Joined: Jul 2009
Posts: 245
Likes: 0
From: Mission Viejo, CA
Finished up with buffing, the roof was last... real purdy now.

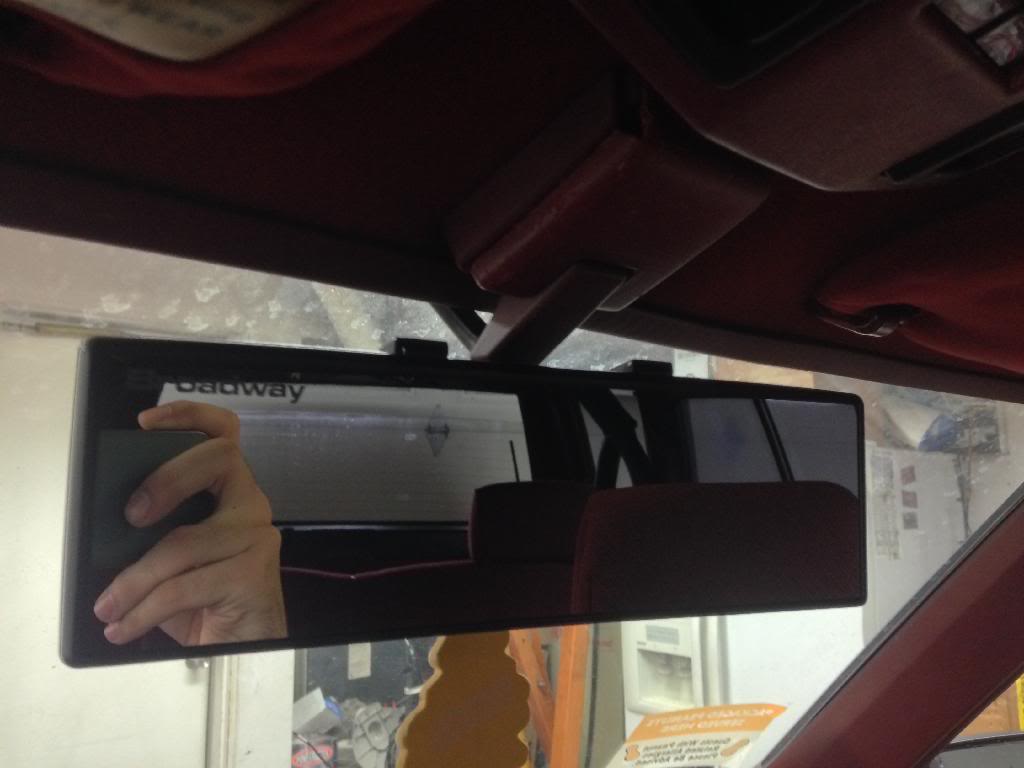
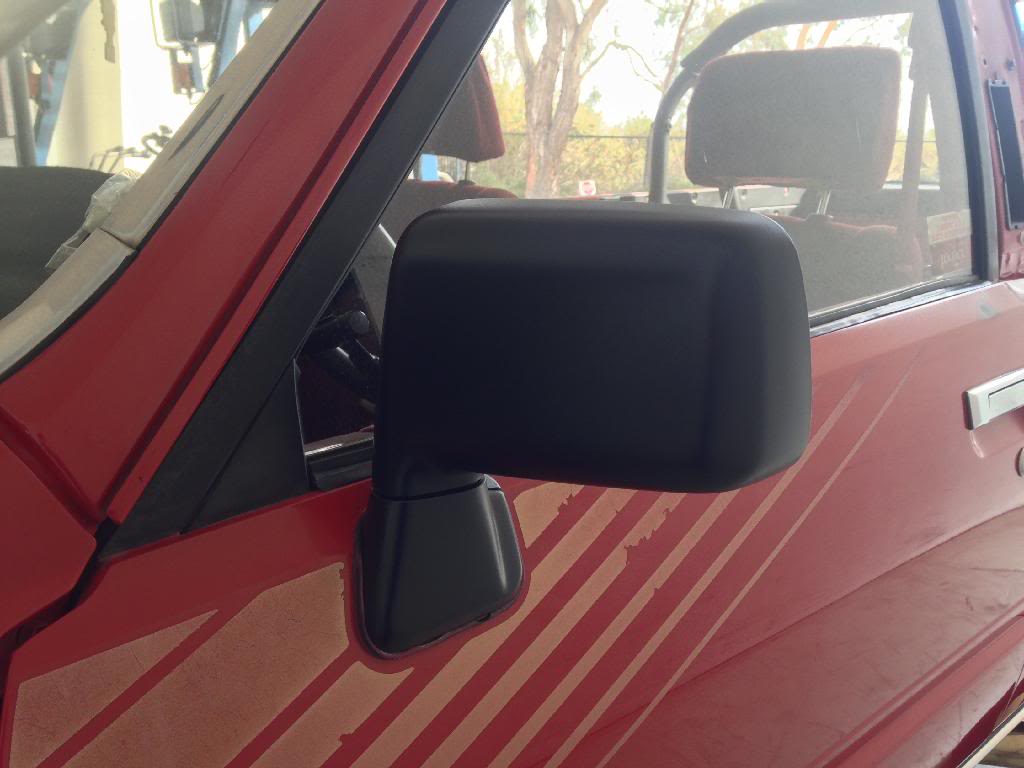
Pardon my deteriorated rear view mirror

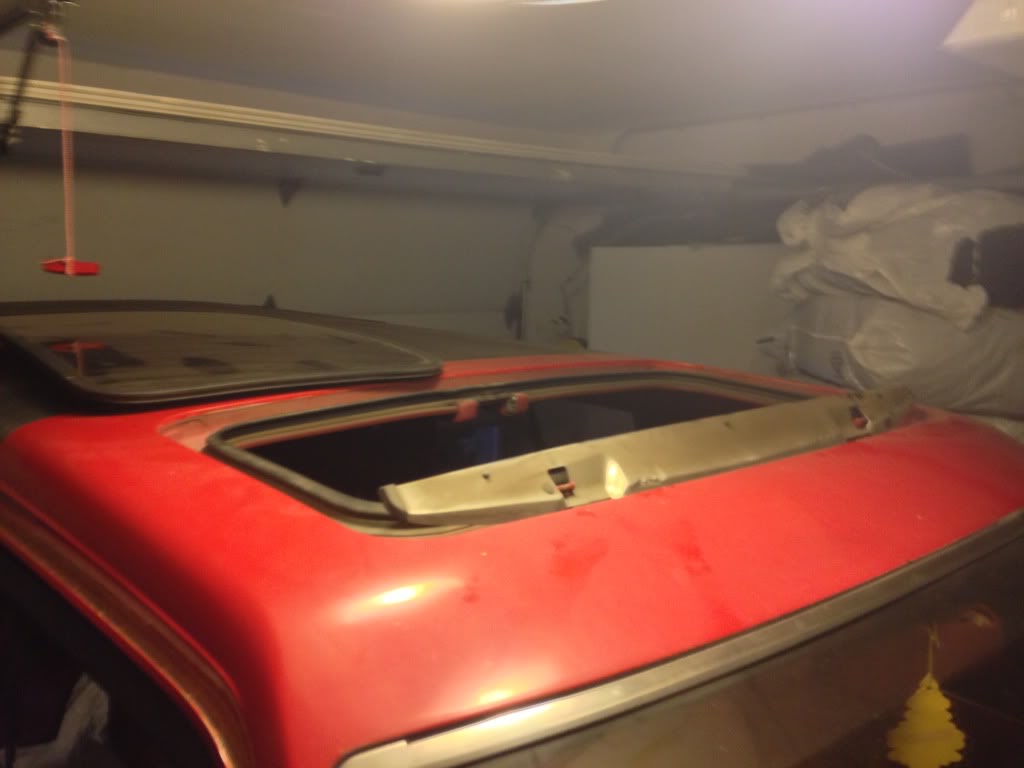
Cleaned the air deflector since the glass was out.

The new car prep/detail center is right next to the SLR lifts, they're different to accommodate the special carbon fiber bodies of the SLR. There's usually a few hanging around at a given time.

Pardon my deteriorated rear view mirror
Cleaned the air deflector since the glass was out.
The new car prep/detail center is right next to the SLR lifts, they're different to accommodate the special carbon fiber bodies of the SLR. There's usually a few hanging around at a given time.
Mar 2, 2014 | 11:19 AM
#118
Thread Starter
Registered User
Joined: Jul 2009
Posts: 245
Likes: 0
From: Mission Viejo, CA
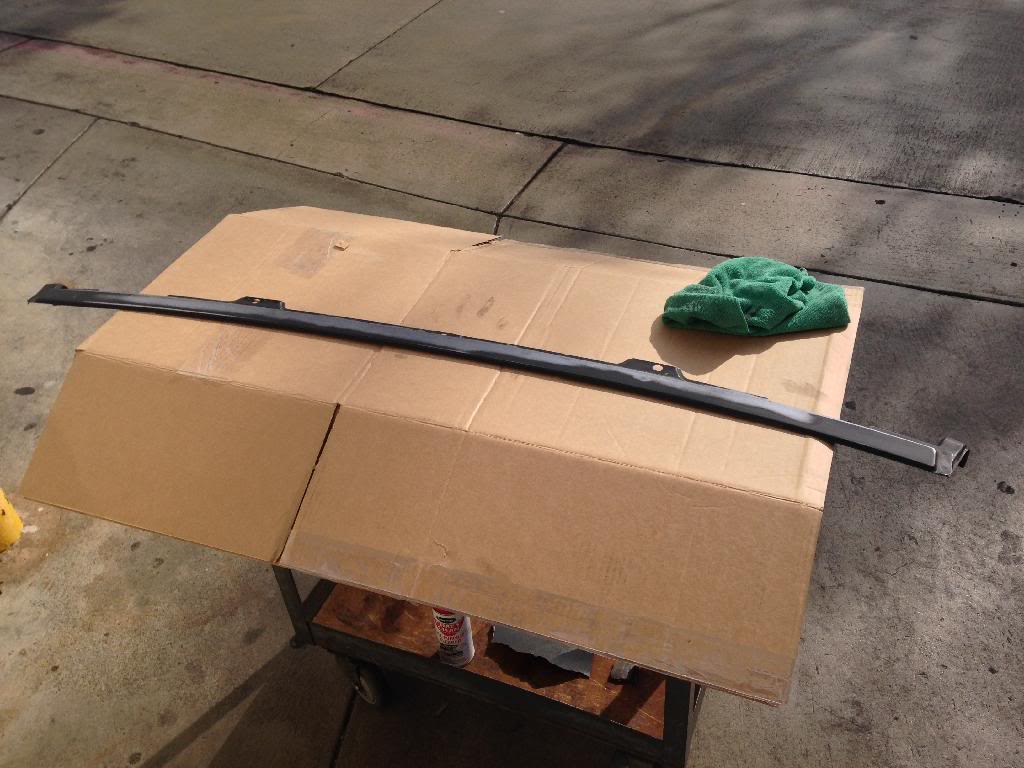
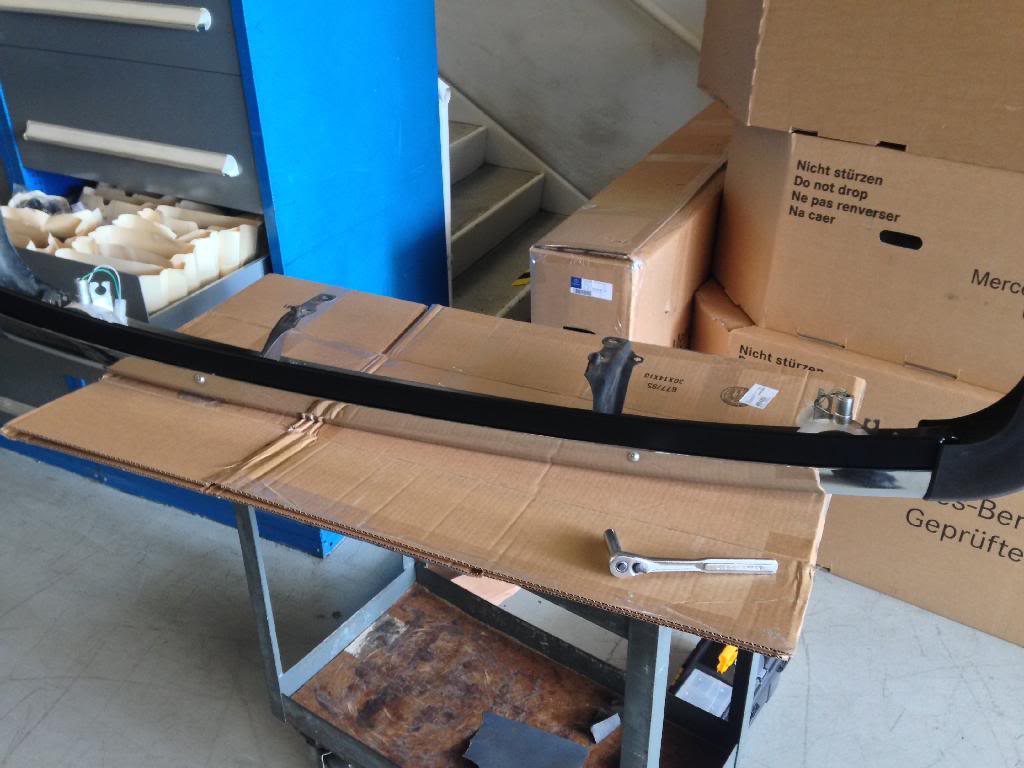
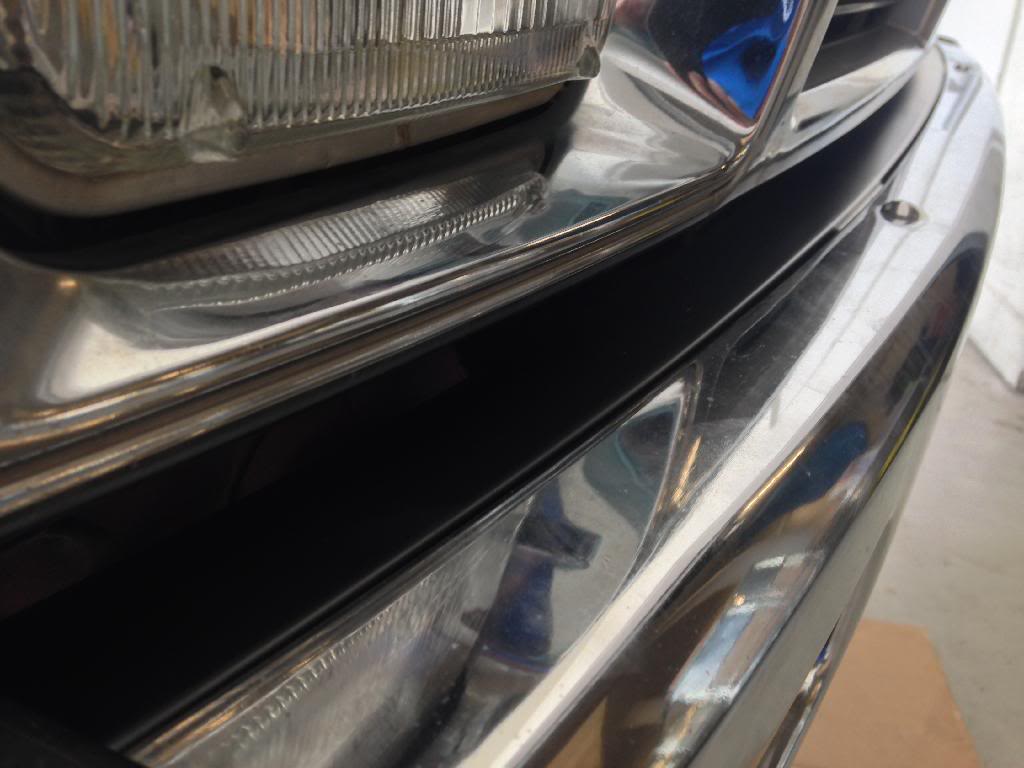
Painted the back bumper end caps today... you guessed it, SEM Trim Black to match the rest.


Grabbed some roof photos at work for the front page of this thread here... gotta keep the pics current.


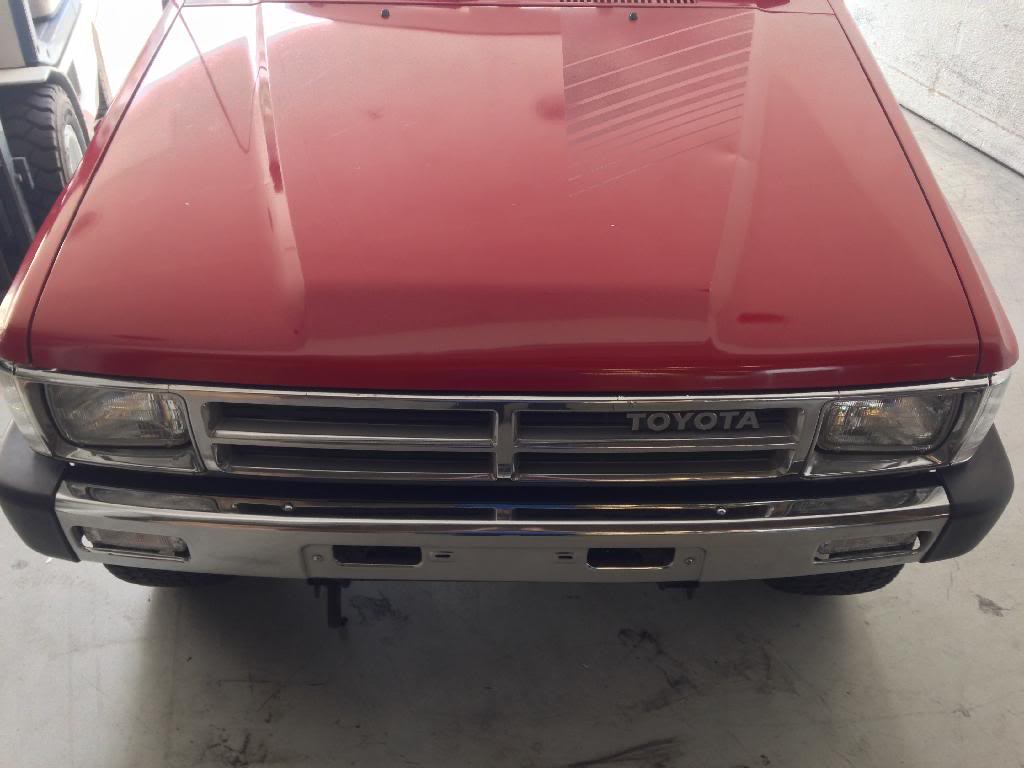
Got tags today. 2009 sticker covered by a 2015 sticker.

265k and counting

Grabbed some roof photos at work for the front page of this thread here... gotta keep the pics current.
Got tags today. 2009 sticker covered by a 2015 sticker.
265k and counting
Mar 2, 2014 | 11:22 AM
#119
Thread Starter
Registered User
Joined: Jul 2009
Posts: 245
Likes: 0
From: Mission Viejo, CA
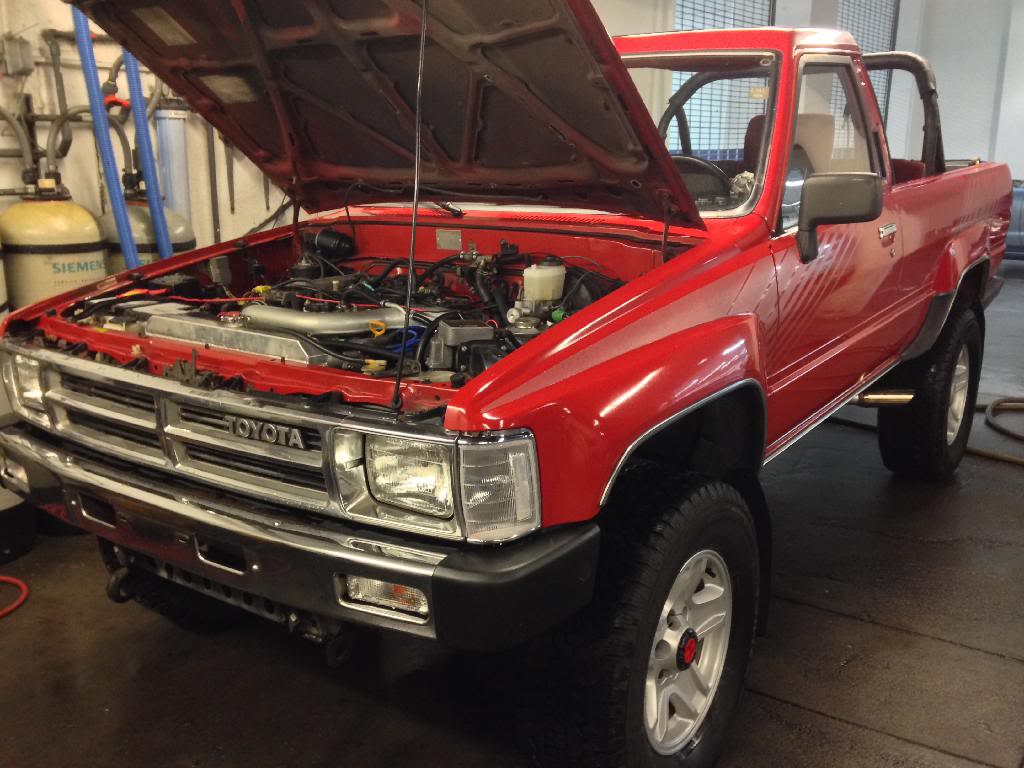
This is the first time I've ever had the chance to break in a brand new engine. Pretty cool feeling when you learn about all of the things break in entails.
I made my first mistake using synthetic oil for the initial break in, I should have put more thought into it, but alas, I made the mistake. Low miles though, and the motor seems to be running just fine.
Some high zinc break in oil to clean things up and get through the first couple oil changes. It was Saturday, most places were closed. My first choice would have been Joe Gibbs, but this worked out fine.

Ran the truck on this oil for 15 minutes at 2200 RPM, then kicked it up to 2700 for another 5 minutes before letting it idle. Signs of definite improvement afterwards, the rings appear to be seating just fine despite the initial synthetic fluids (increased throttle response, minimal oil consumption)

Now the truck is running 5W-30 Castrol Syntec conventional motor oil and a K&N HP-1002 filter. I'm going to go over the timing again later tonight when I can get my hands on the timing light I just acquired. Idling a teeny bit lean (14.7-15.2 on the wideband)
I made my first mistake using synthetic oil for the initial break in, I should have put more thought into it, but alas, I made the mistake. Low miles though, and the motor seems to be running just fine.
Some high zinc break in oil to clean things up and get through the first couple oil changes. It was Saturday, most places were closed. My first choice would have been Joe Gibbs, but this worked out fine.
Ran the truck on this oil for 15 minutes at 2200 RPM, then kicked it up to 2700 for another 5 minutes before letting it idle. Signs of definite improvement afterwards, the rings appear to be seating just fine despite the initial synthetic fluids (increased throttle response, minimal oil consumption)
Now the truck is running 5W-30 Castrol Syntec conventional motor oil and a K&N HP-1002 filter. I'm going to go over the timing again later tonight when I can get my hands on the timing light I just acquired. Idling a teeny bit lean (14.7-15.2 on the wideband)
Mar 2, 2014 | 11:29 AM
#120
Thread Starter
Registered User
Joined: Jul 2009
Posts: 245
Likes: 0
From: Mission Viejo, CA
Got the timing square on 5deg BTDC, the timing had been about 3 degrees advanced. She's running really good now, but now the wideband keeps throwing error code E2 for the oxygen sensor (damaged/none at all), even after continuous recalibration attempts. The calibration lasts for maybe a day, before the E2 comes back up. While calibrated, the readings appear normal. I went through the wiring and it seems solid, but perhaps I'll rewire the power source somewhere away from the ignition. Plan B is a new O2 sensor.
TruckPillars.com sells a great A-pillar gauge pod solution. I've done business with the owner, Jeff Moskovitz, in the past. Really good to work with, very smart and honest guy.
I got a 3 pillar pod and autometer boost/water gauges.

The vacuum is a bit off, the gasket between the halves of the intake manifold needs to be replaced. There's a teflon isolator gasket between the intake manifold and head, so I'll likely pick up some teflon isolator gaskets for the halves of the manifold and the throttle body.

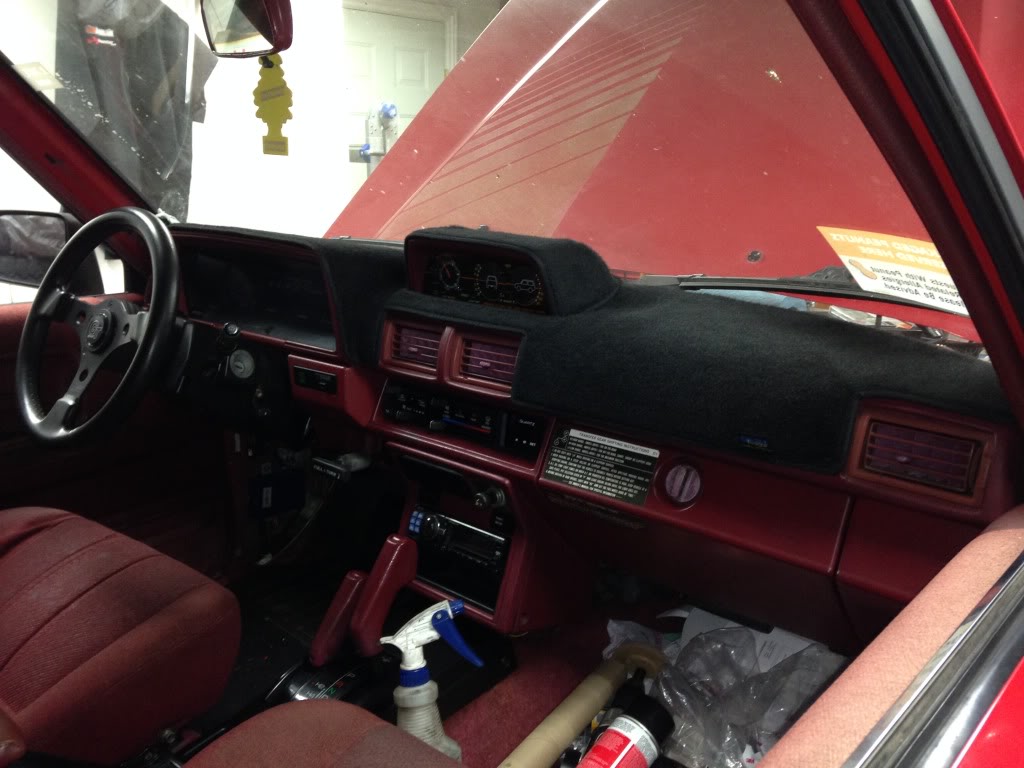
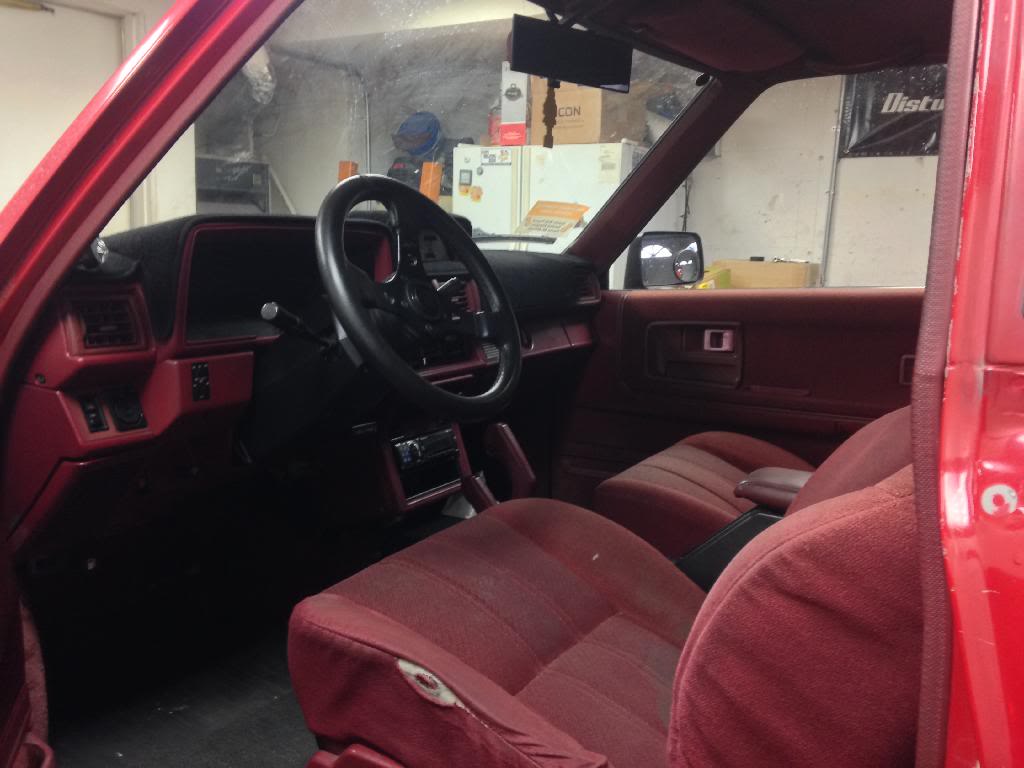
Then it was seat cover time... got some eBay cheapies for $40 front and rear. Sure look a lot better than red.


Fronts don't match the rears exactly, but they're black and still look much better.


TruckPillars.com sells a great A-pillar gauge pod solution. I've done business with the owner, Jeff Moskovitz, in the past. Really good to work with, very smart and honest guy.
I got a 3 pillar pod and autometer boost/water gauges.
The vacuum is a bit off, the gasket between the halves of the intake manifold needs to be replaced. There's a teflon isolator gasket between the intake manifold and head, so I'll likely pick up some teflon isolator gaskets for the halves of the manifold and the throttle body.
Then it was seat cover time... got some eBay cheapies for $40 front and rear. Sure look a lot better than red.
Fronts don't match the rears exactly, but they're black and still look much better.


