
BowhunterBen_93_pickup
 Apr 8, 2013 | 07:20 PM
#41

Thread Starter
Registered User
Joined: Mar 2012
Posts: 71
Likes: 0
From: North Idaho
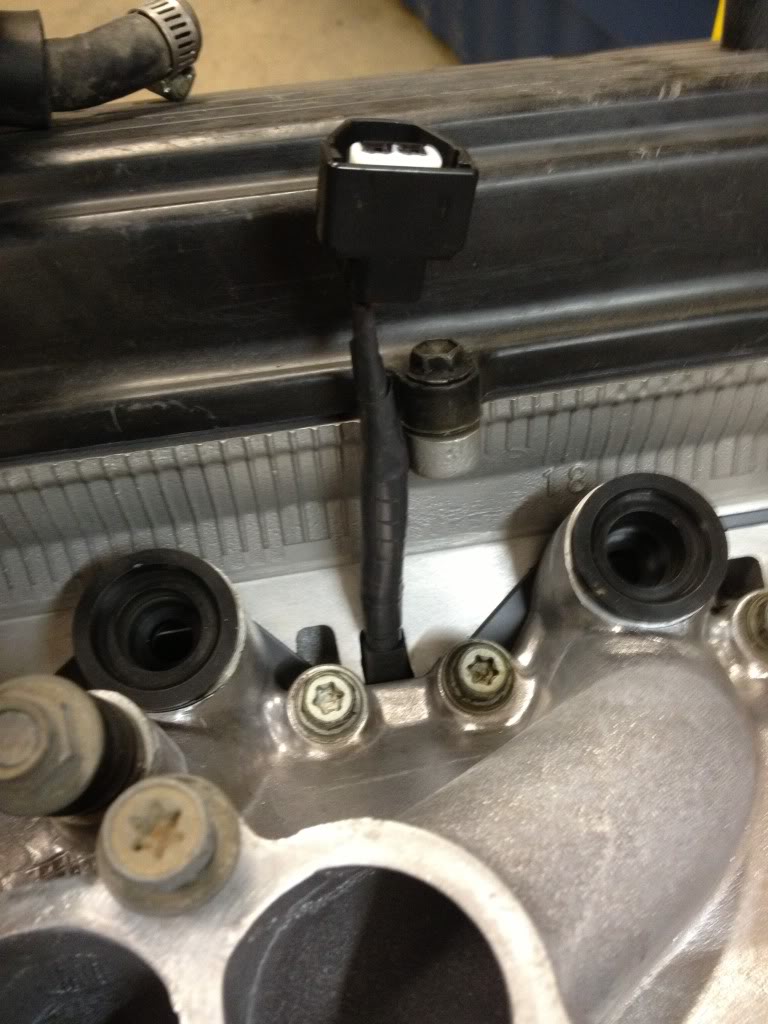
I have to go double check in the engine compartment before I can be certain but the previous owner had spliced some wire in to make it longer. Maybe he forgot to put it in the proper spot and was too lazy to do it right?
Apr 8, 2013 | 10:25 PM
#42
Registered User
Joined: Aug 2012
Posts: 8
Likes: 0
From: Sandpoint, ID
I really like how your build is coming along. Im anxious to see it done and driving again. I noticed you guys live in North Idaho. Im in Sandpoint actually and it would be sweet to go wheelin sometime!
May 1, 2013 | 09:02 PM
#44
Thread Starter
Registered User
Joined: Mar 2012
Posts: 71
Likes: 0
From: North Idaho
I haven't been able to get any time to work on the truck since I'm working out of town. But here is some things from a bit ago that I never shared.
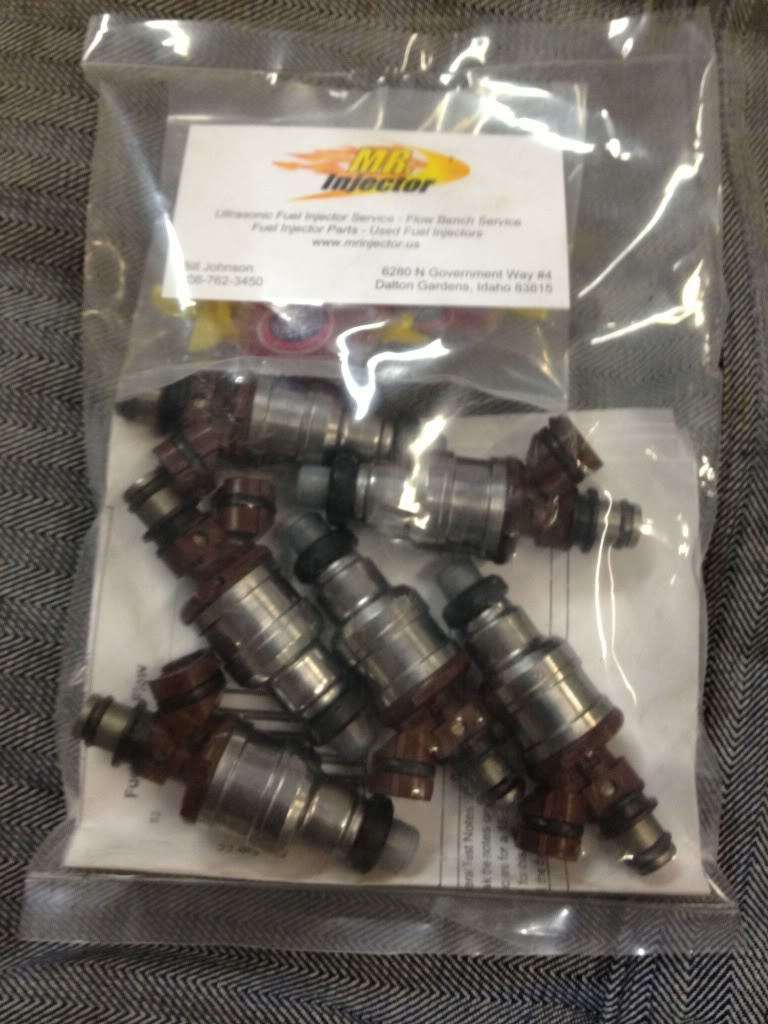
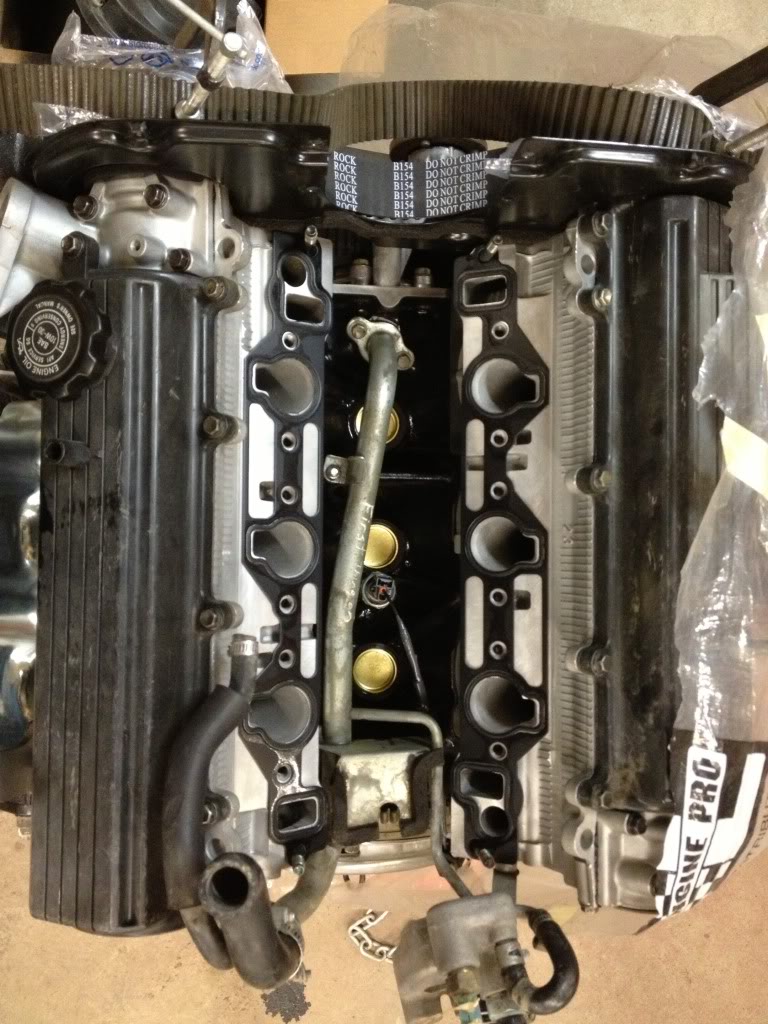
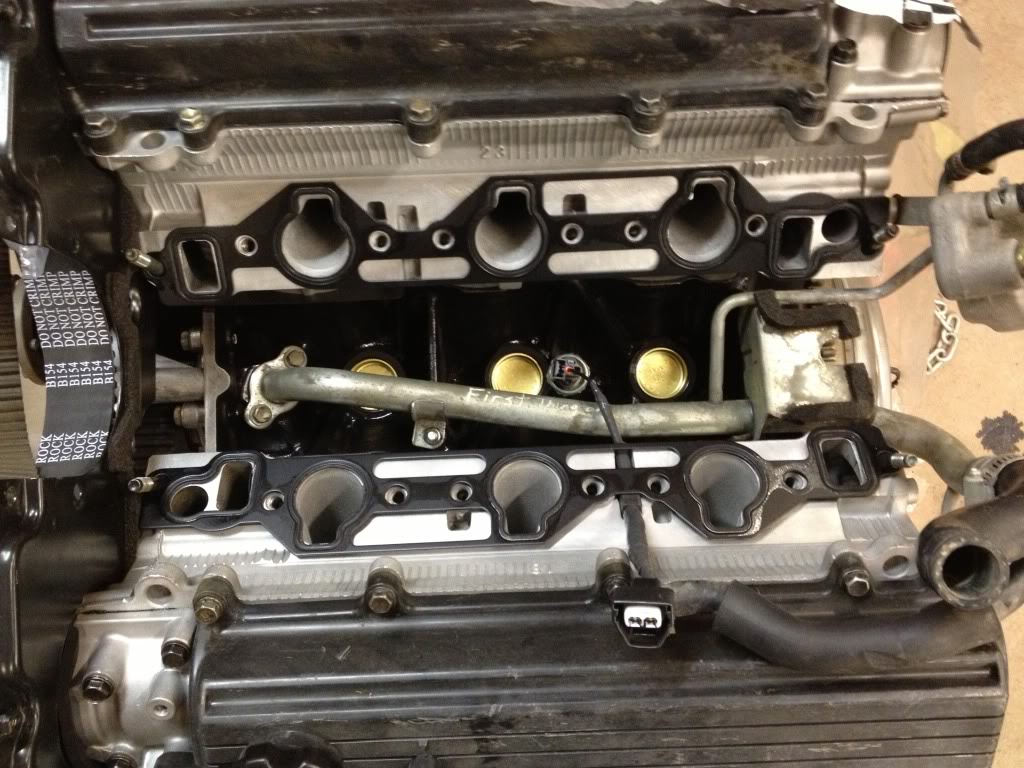
I painted up a few more parts.
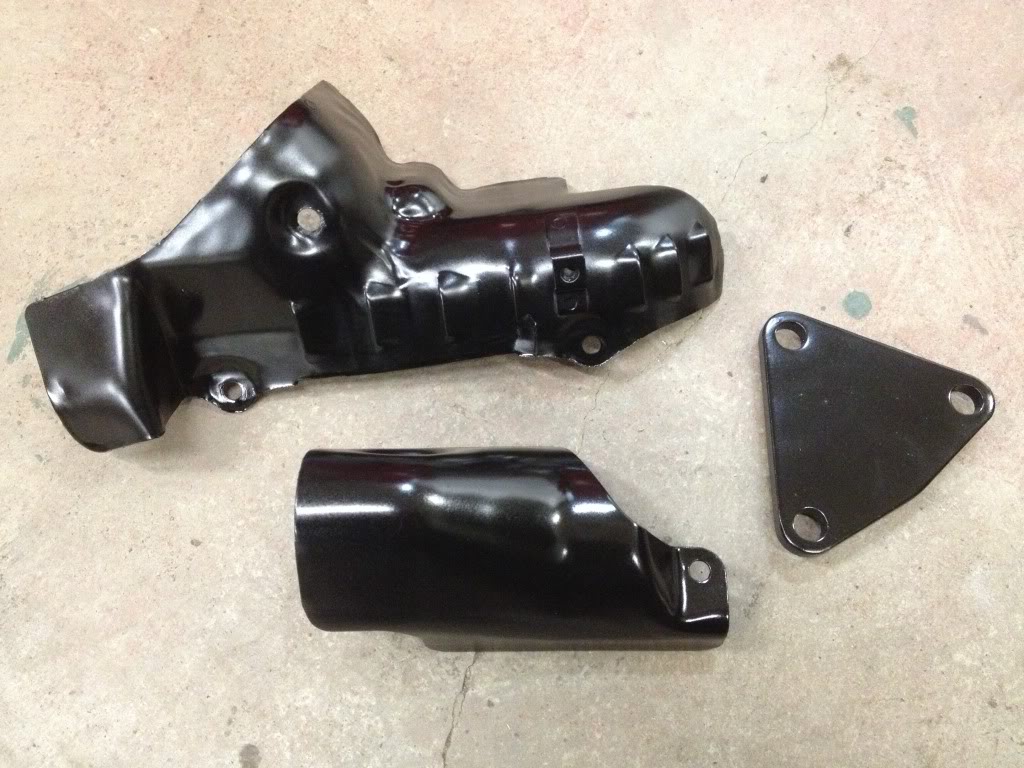
Here is my block off plate installed.
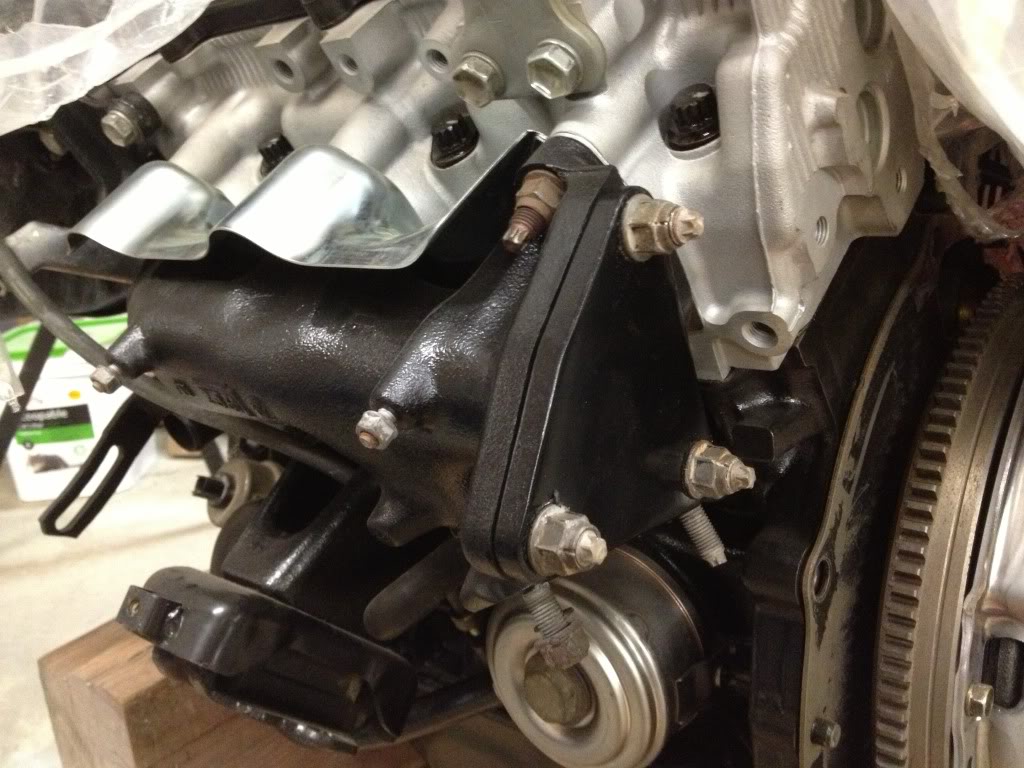
I still need to tear down my engine again and move that knock sensor wire
I painted up a few more parts.
Here is my block off plate installed.
I still need to tear down my engine again and move that knock sensor wire
 Jun 19, 2013 | 08:47 PM
#46
Thread Starter
Registered User
Joined: Mar 2012
Posts: 71
Likes: 0
From: North Idaho
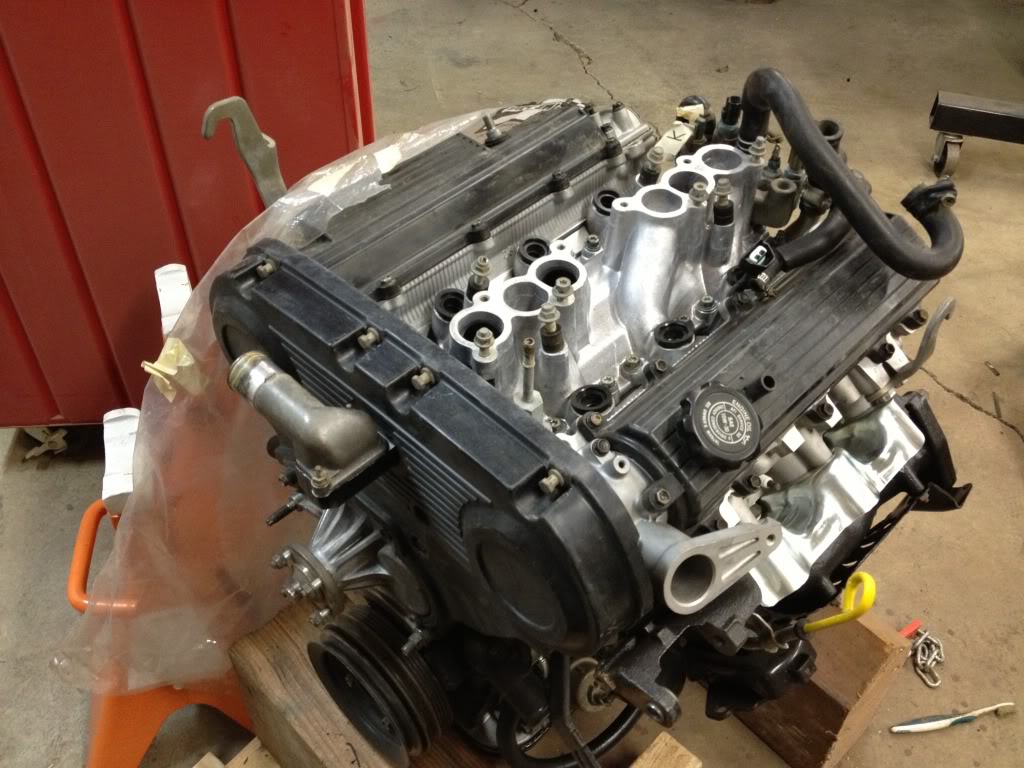
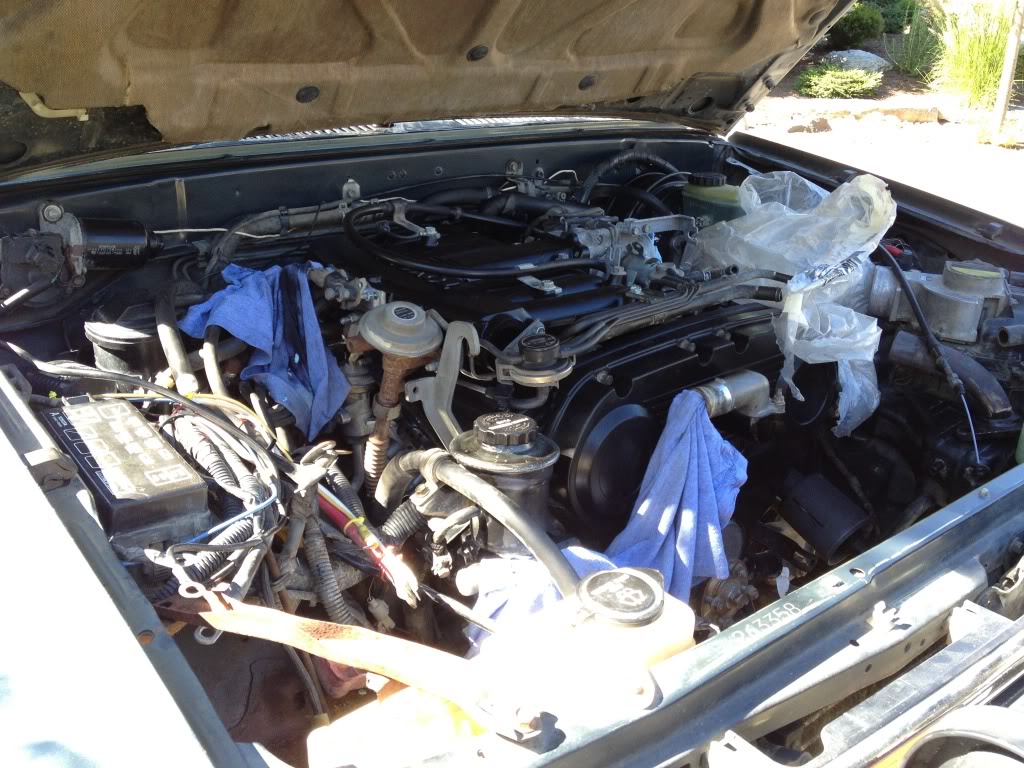
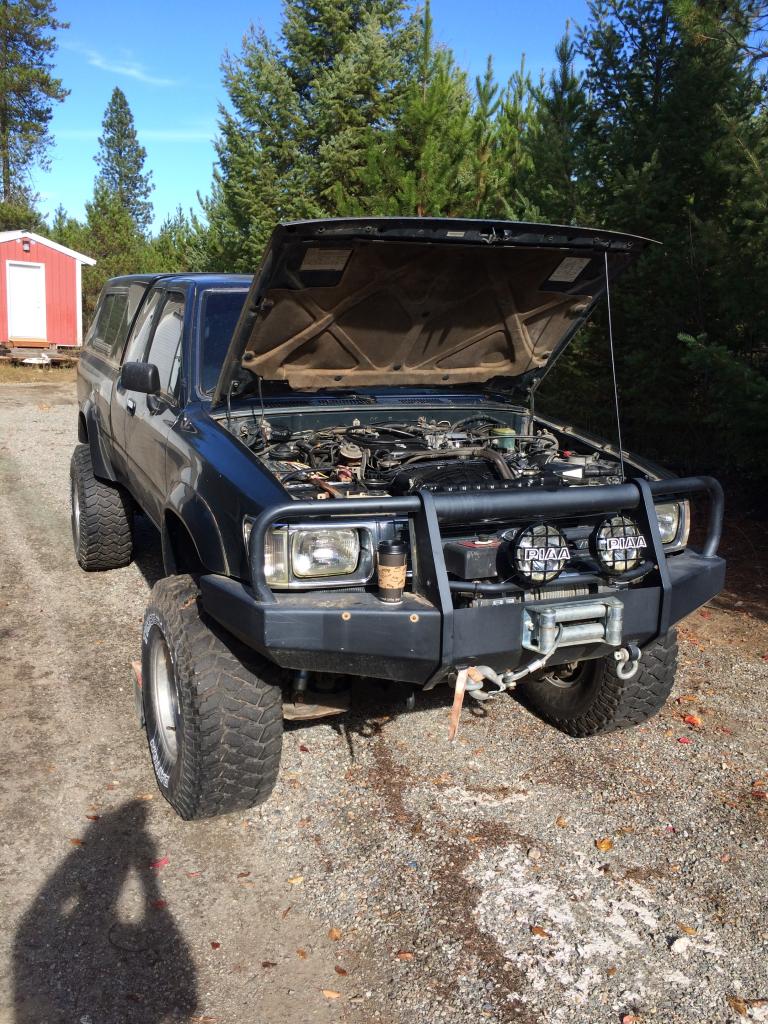
I finally got a few evenings to work on the truck...
First two evenings went to detailing in the engine compartment.
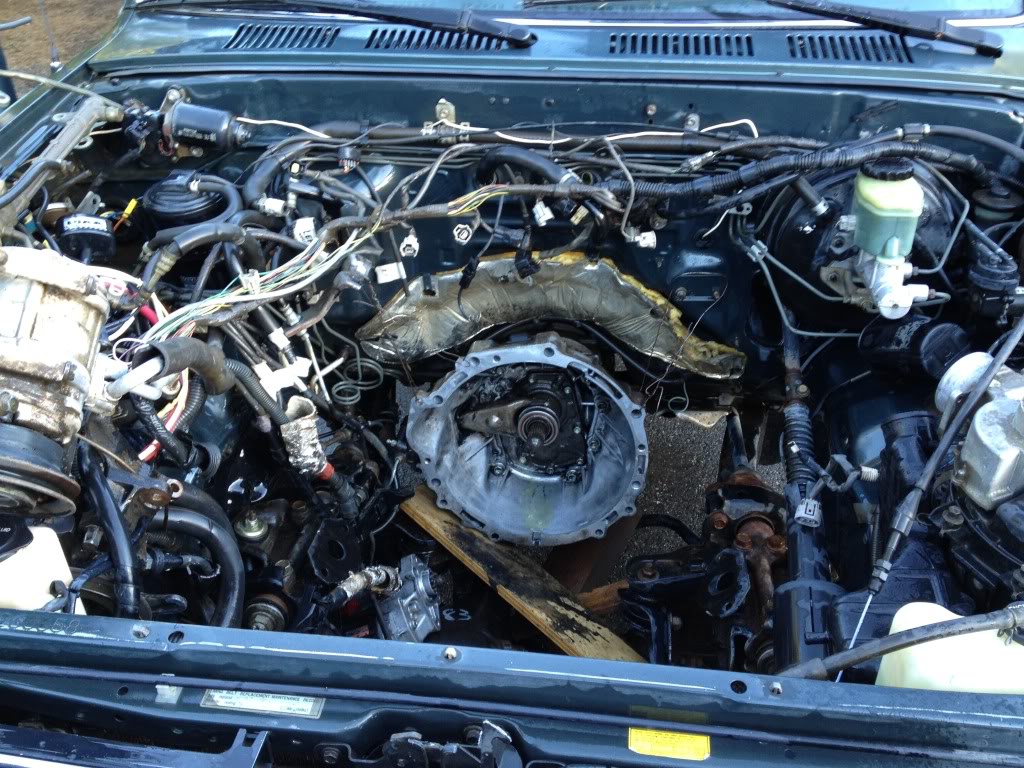
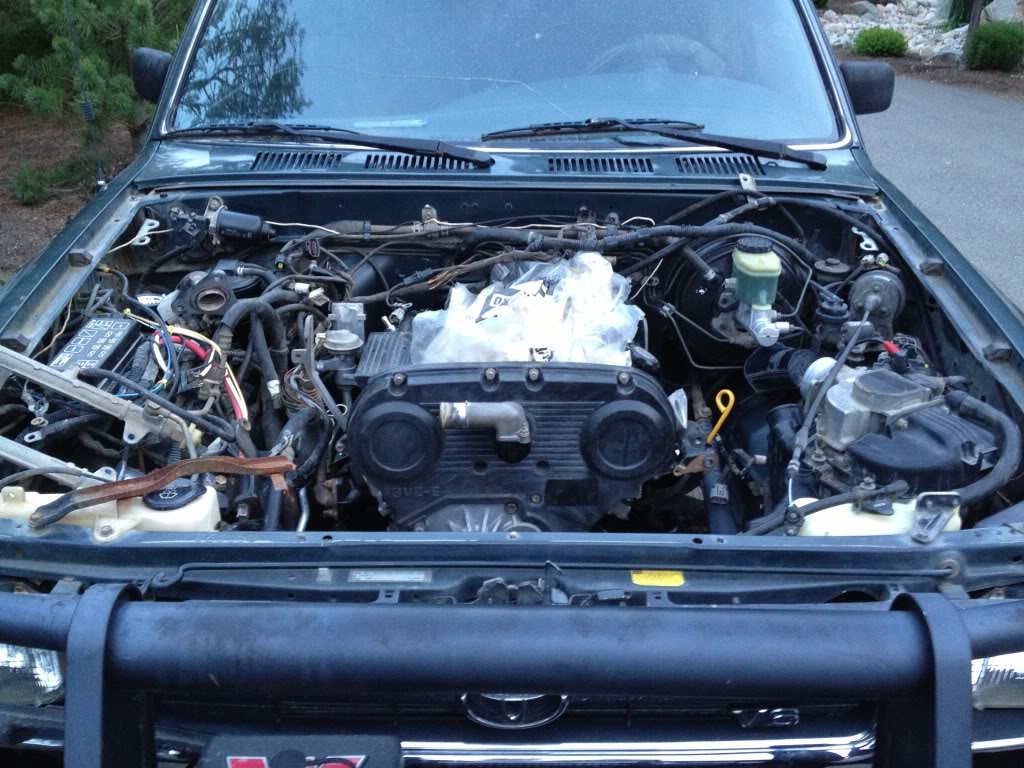
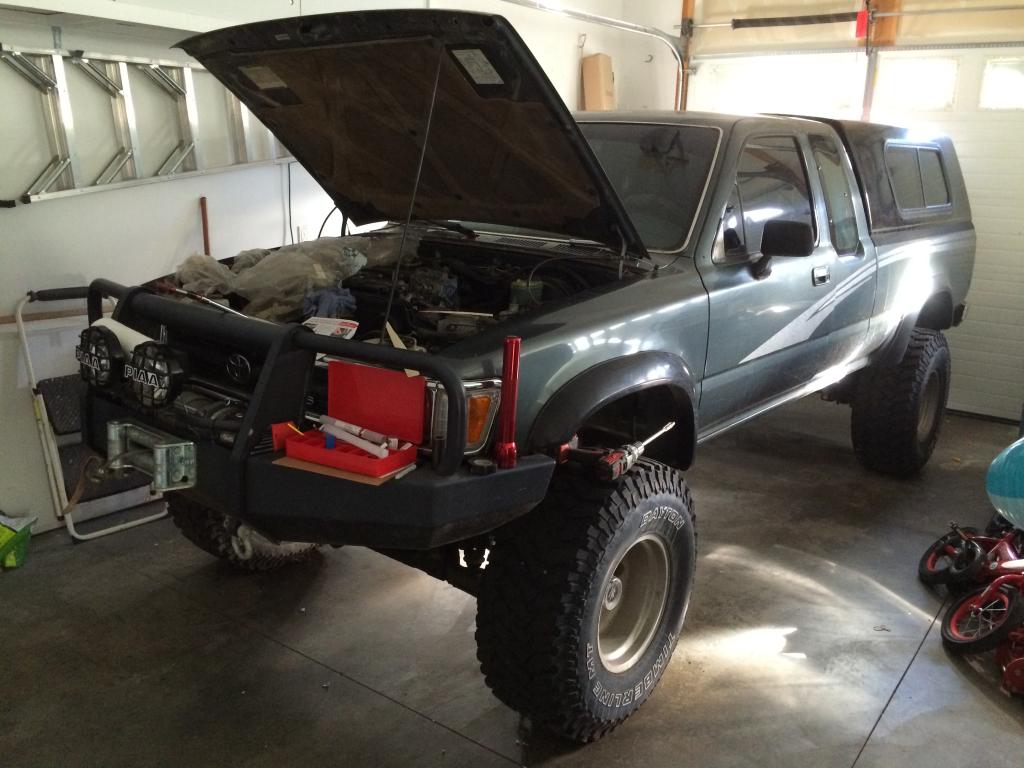
Then the final evening I had, I pulled the engine out of the shop and dropped it in the truck. I have four bolts holding it to the tranny and I need to take the wheels off yet to get the top ones in. The hardest part of installing the engine was getting the starter in the right spot. I dread having to ever change a starter on this engine. I had to have the engine lifted an inch or more and swung away from the starter to get it into place.
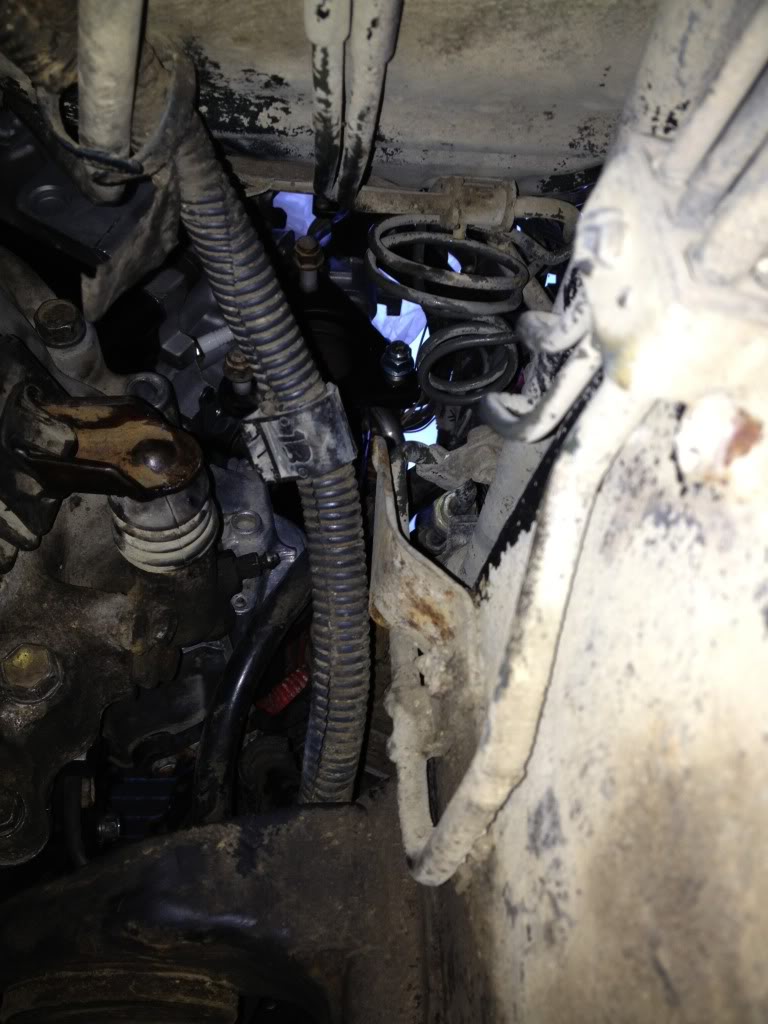
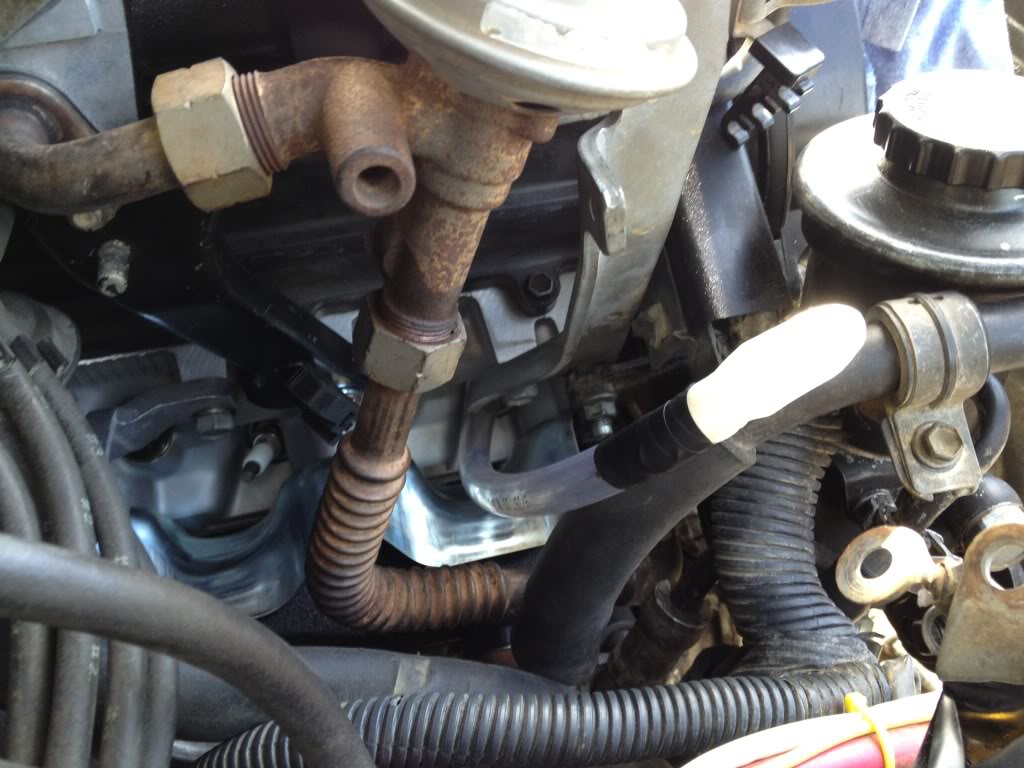
I'm a little concerned about the exhaust on the passenger side. It looks pretty tight at first glance, but since others have done it, I guess it should work. Here's the look from underneath.
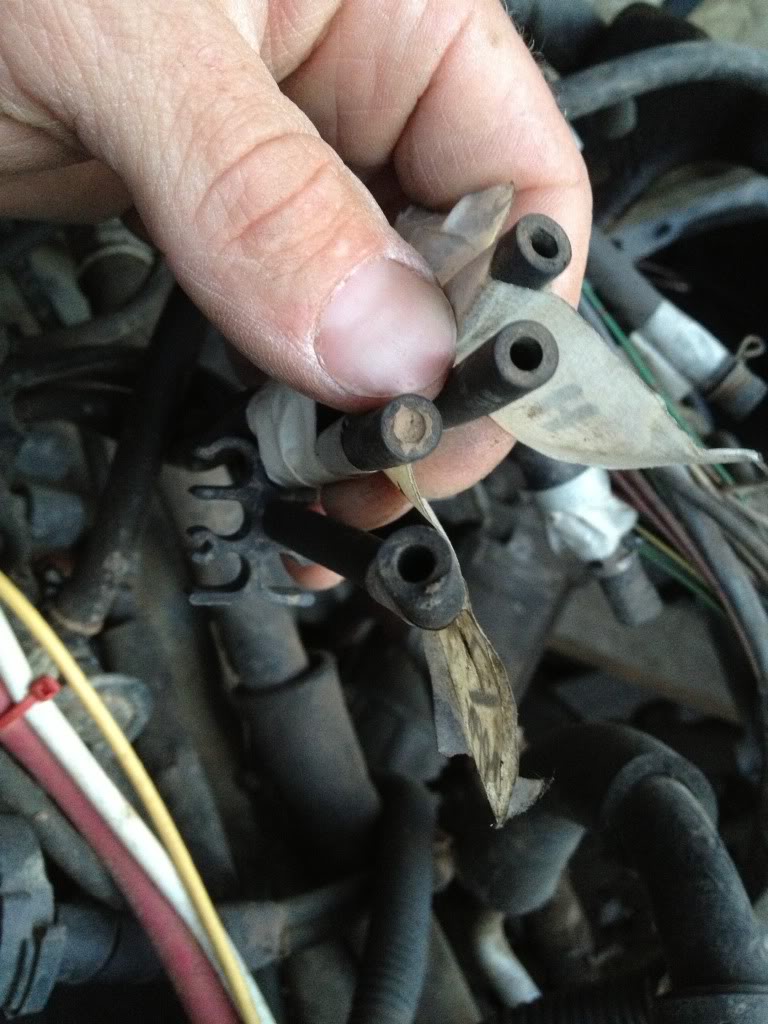
I also noticed that some little wasp like bugs made mud nests in a lot of my tubing in the engine compartment. Now I will have to blow everything out as I hook it up. Frustrating!
Hopefully I can start hooking things up before they make any more.
First two evenings went to detailing in the engine compartment.
Then the final evening I had, I pulled the engine out of the shop and dropped it in the truck. I have four bolts holding it to the tranny and I need to take the wheels off yet to get the top ones in. The hardest part of installing the engine was getting the starter in the right spot. I dread having to ever change a starter on this engine. I had to have the engine lifted an inch or more and swung away from the starter to get it into place.
I'm a little concerned about the exhaust on the passenger side. It looks pretty tight at first glance, but since others have done it, I guess it should work. Here's the look from underneath.
I also noticed that some little wasp like bugs made mud nests in a lot of my tubing in the engine compartment. Now I will have to blow everything out as I hook it up. Frustrating!
Hopefully I can start hooking things up before they make any more.
Last edited by BowhunterBen; Jun 19, 2013 at 08:48 PM.
 Jul 27, 2013 | 09:15 PM
#48
Thread Starter
Registered User
Joined: Mar 2012
Posts: 71
Likes: 0
From: North Idaho
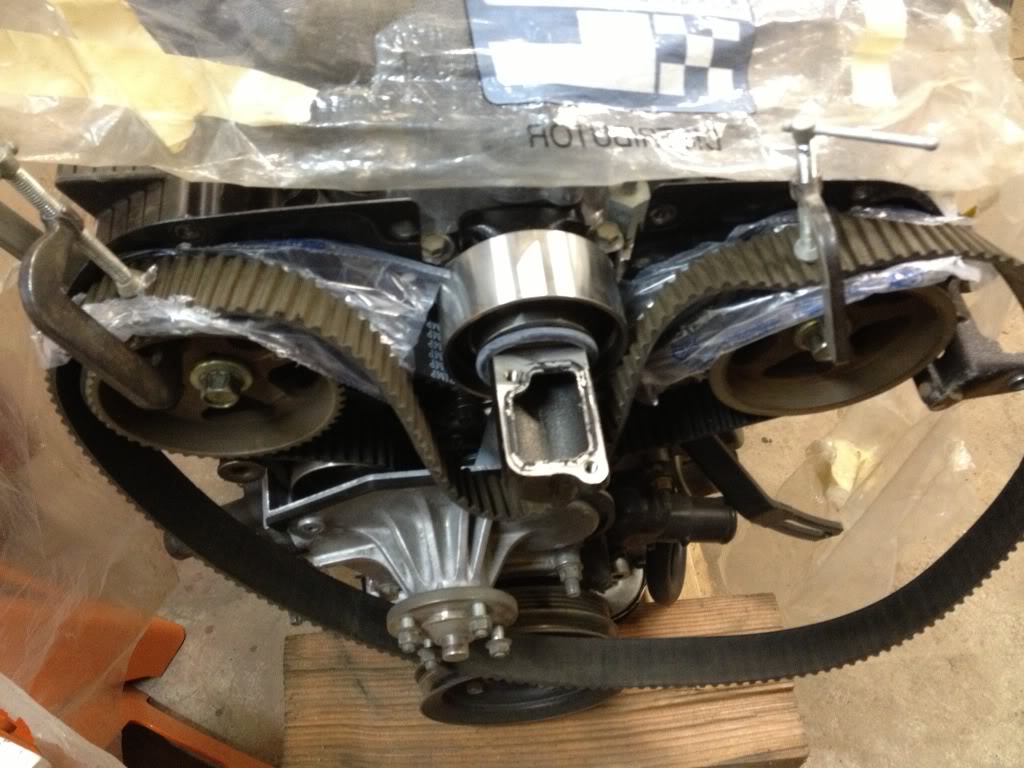
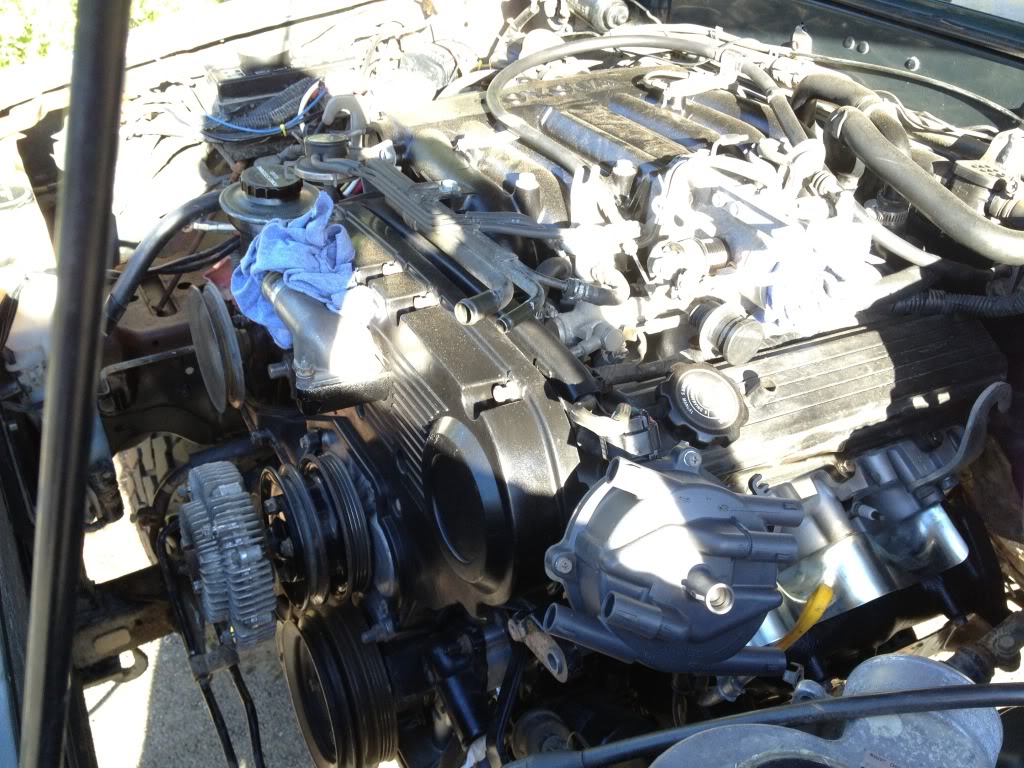
I am getting closer to finally finishing this engine replacement. I got the last of the vacuum lines hooked up and installed the alternator and the distributer. I put a new cap and rotor on the distributer. The spark plug hole on #1 cylinder is just out of reach so I built a hose with a latex glove finger taped to the end. Then as I turned over the motor with a wrench I could watch for compression in that cylinder. Worked like a charm. I also flushed the old green coolant out of my overflow bottle. Installed the fan clutch and pulleys. Now I just need to pick up some new belts.
Here is my compression tester...
Here is my compression tester...
Jul 4, 2014 | 05:20 PM
#49
Thread Starter
Registered User
Joined: Mar 2012
Posts: 71
Likes: 0
From: North Idaho
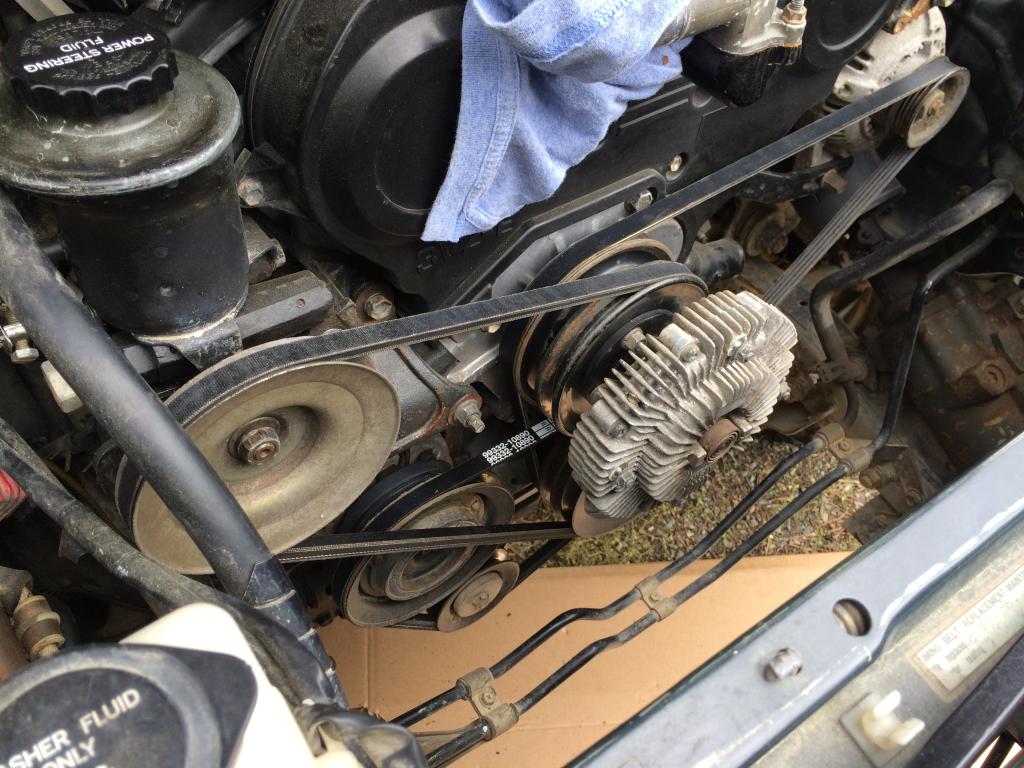
In case anyone noticed, I haven't worked on my truck in a year Due to major life changes, which sadly included divorce and selling the house. I bought a new house, which has a small garage for my projects! However, the house is a huge project and it is taking all the time that my job and kids don't. So, to celebrate the 4th of July, I worked on my truck  I got the belts on, I don't have a belt tension gauge so I'm a little worried I don't have them right but I hope I'm close.
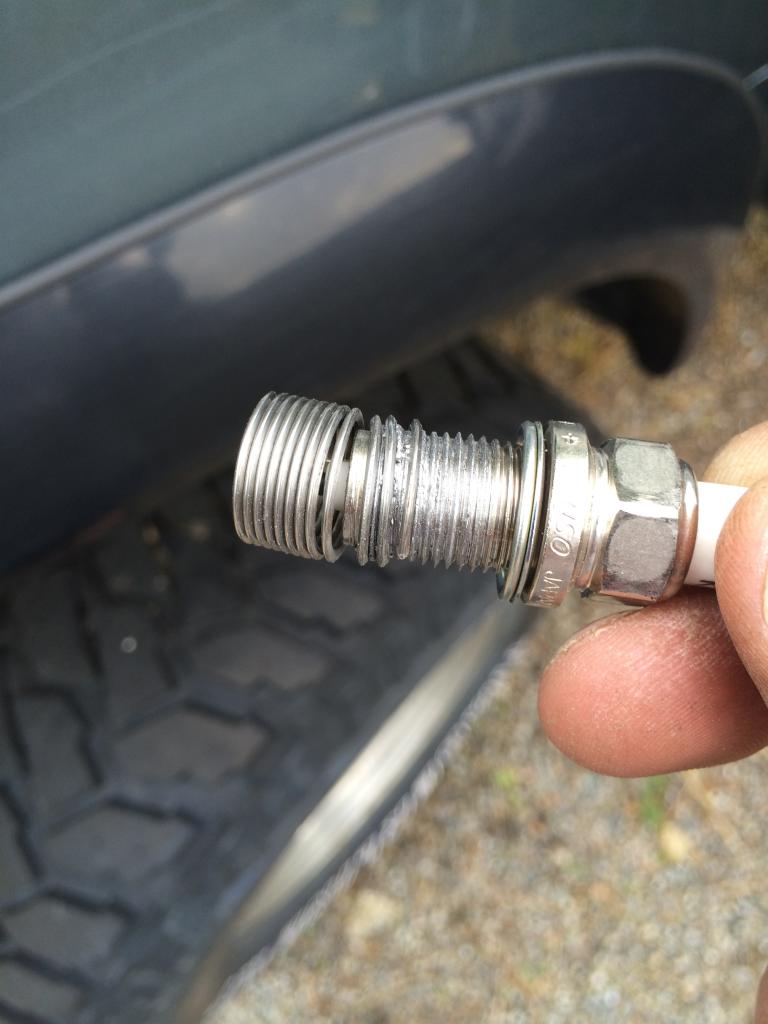
I went to install the spark plugs and 5 went in really smooth. Number 5 went in half way and got really hard to turn. I went in a bit more but it got really tight and I could still see it wasn't in far enough yet. I backed it out and it stuck when I was almost out, then it spun a helicoil out! Now what? I'm not very happy with the engine builder right now, but I hope it's not a major thing to fix. I really do NOT want to pull the head again!
Due to major life changes, which sadly included divorce and selling the house. I bought a new house, which has a small garage for my projects! However, the house is a huge project and it is taking all the time that my job and kids don't. So, to celebrate the 4th of July, I worked on my truck I got the belts on, I don't have a belt tension gauge so I'm a little worried I don't have them right but I hope I'm close.
I went to install the spark plugs and 5 went in really smooth. Number 5 went in half way and got really hard to turn. I went in a bit more but it got really tight and I could still see it wasn't in far enough yet. I backed it out and it stuck when I was almost out, then it spun a helicoil out! Now what? I'm not very happy with the engine builder right now, but I hope it's not a major thing to fix. I really do NOT want to pull the head again!

 Jul 4, 2014 | 11:01 PM
#50
Thread Starter
Registered User
Joined: Mar 2012
Posts: 71
Likes: 0
From: North Idaho
I miss-labeled that cylinder number... the bad one is actually #4. Thank God its not on #5! You can not even see the spark plug for #5, I had to install it by feel. I guess if any one was going to have an issue, the #4 is the easiest to access.
Jul 5, 2014 | 06:10 AM
#51
Registered User
Joined: Jan 2011
Posts: 1,051
Likes: 0
From: Memphis, TN
Life works out in the best and worst ways sometimes..
Have you tried contacting the engine builder yet about the busted threads? Considering the engine hasn't even been ran yet, it should be well within the warranty.
Good luck!
Have you tried contacting the engine builder yet about the busted threads? Considering the engine hasn't even been ran yet, it should be well within the warranty.
Good luck!
Jul 5, 2014 | 09:00 AM
#52
Thread Starter
Registered User
Joined: Mar 2012
Posts: 71
Likes: 0
From: North Idaho
I'm going to contact the engine builder on Monday and see what he wants to do about it. I guess it would have been easier if I had bought local... I guess sometimes you learn the hard way.
Jul 29, 2014 | 11:33 AM
#53
Thread Starter
Registered User
Joined: Mar 2012
Posts: 71
Likes: 0
From: North Idaho
Well I talked to the engine builder and he will fix it if I send him the head. I didn't want to pull it apart again, so I talked to a local guy and he said he won't use a helicoil since they always seem to come out. Now I am depressed! I guess I have to pull the head off again

 Oct 19, 2014 | 10:20 PM
#58
Thread Starter
Registered User
Joined: Mar 2012
Posts: 71
Likes: 0
From: North Idaho
So, after a couple late night work sessions, I finished the spark plug insert.
I was able to borrow a garage for this which was wonderful!
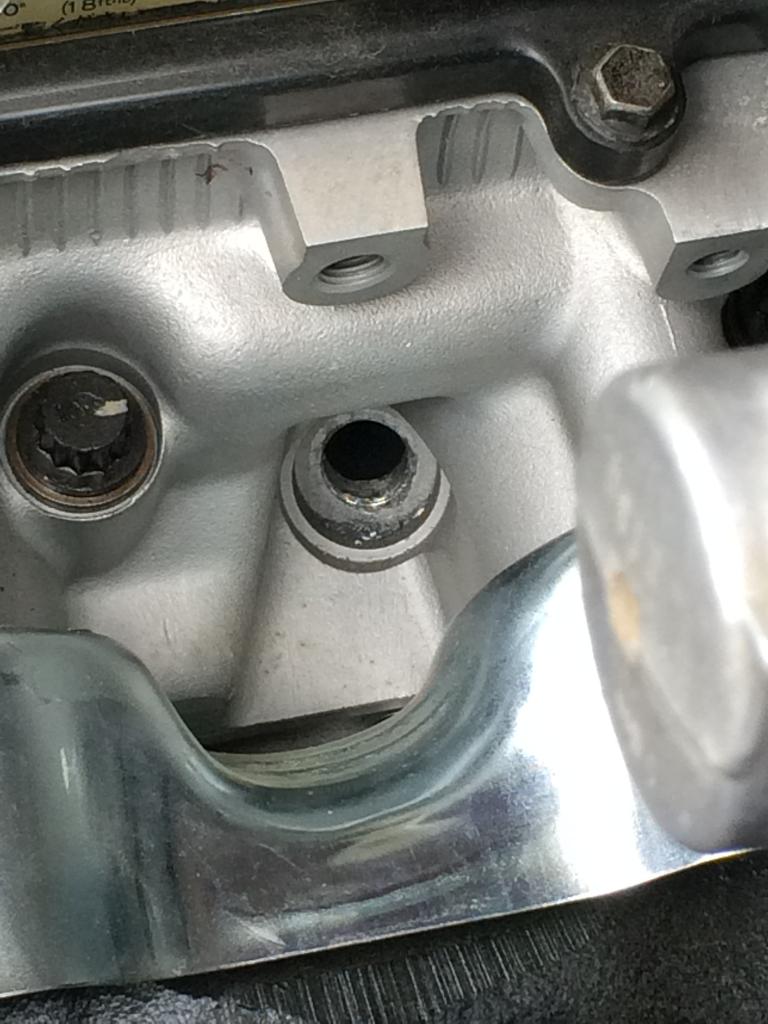
I drilled it out first. Make sure your piston isn't too close to the top before drilling, I had to rotate the engine to get it down.
It instructed me to use grease instead of the tapping fluid, since it was an "in frame" repair.
As you can see in the picture, I should have drilled part way and regreased the bit.
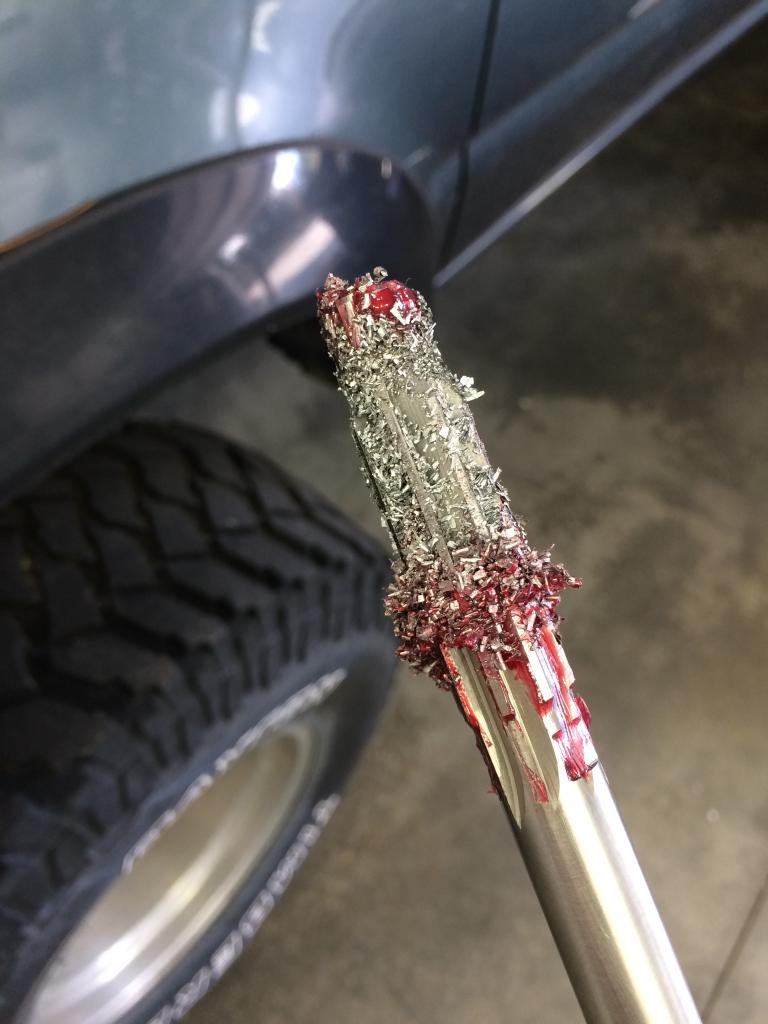
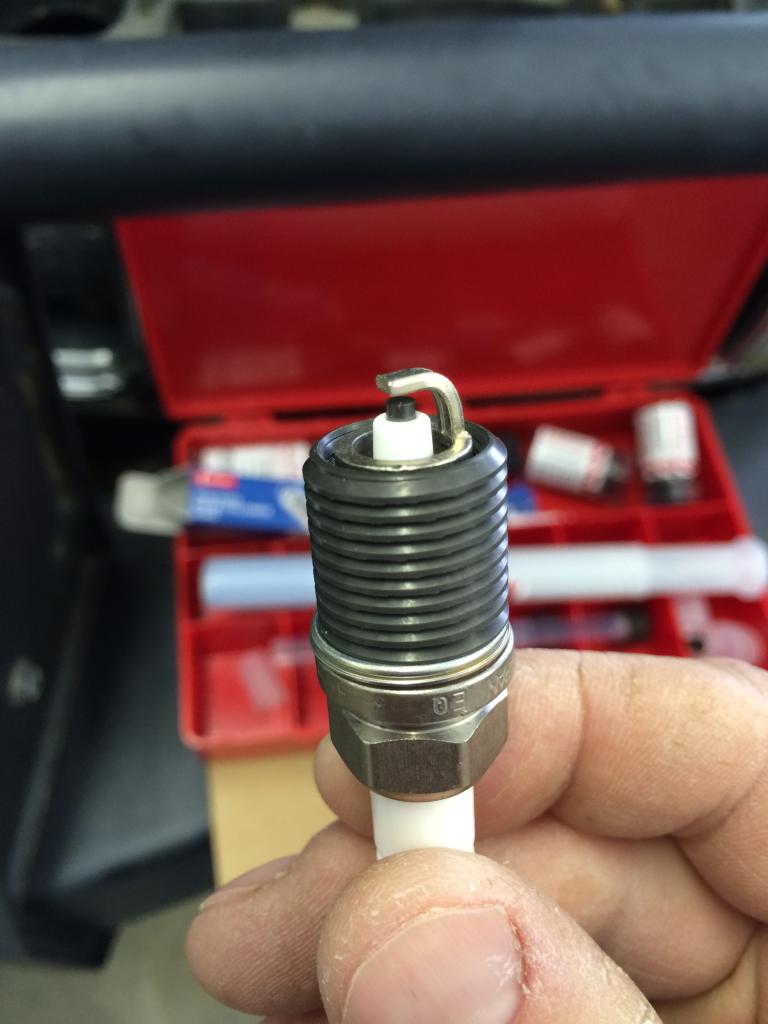
I test fit the insert on the plug prior to drilling and tapping.
The instructions also said to keep tapping in once started and not back and forth like usual. It worked but you can see it was partly dry by the end. I tapped it again after cleaning and regreasing the tap, just to help clean out the threads.
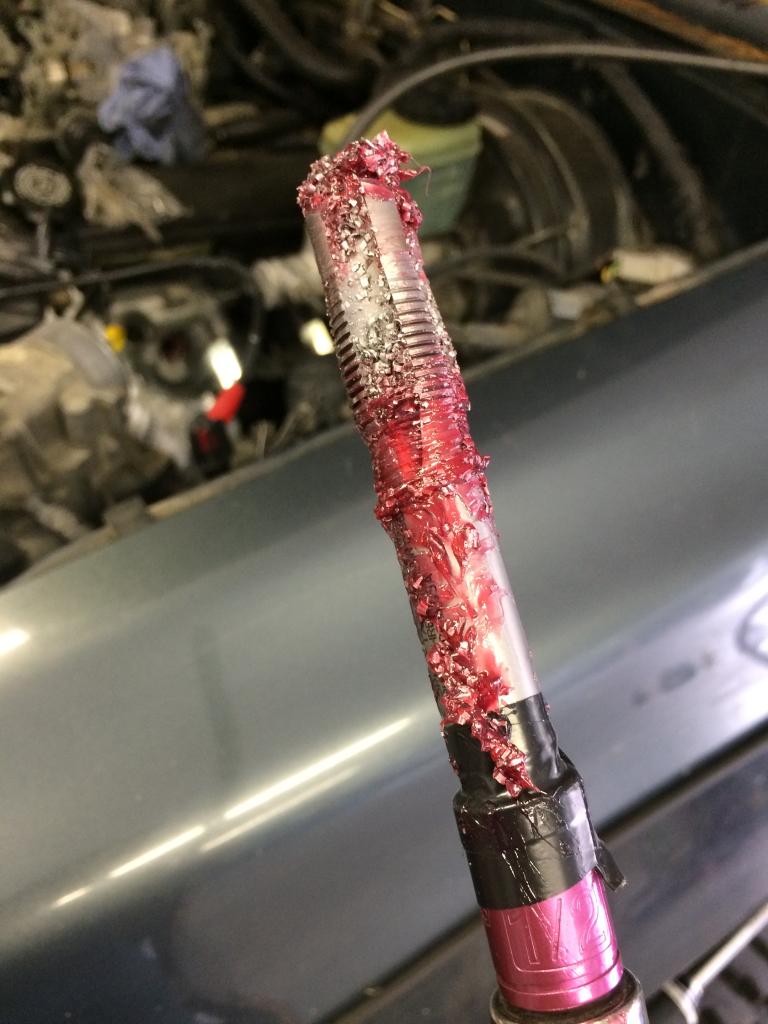
Then you have a greasy mess to clean up. I used little rolled up paper towels with brake cleaner to clean it. I blew air through a small hose stuck down into the cylinder to get the aluminum shavings out. I took my time and hopefully I got everything.
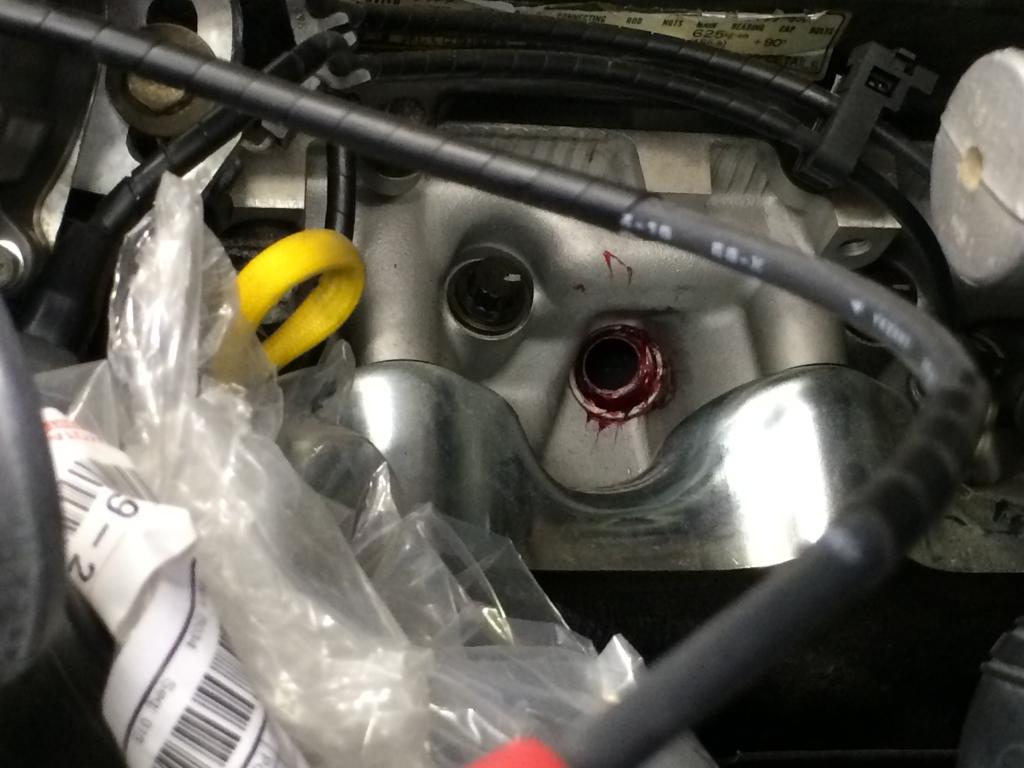
After cleaning...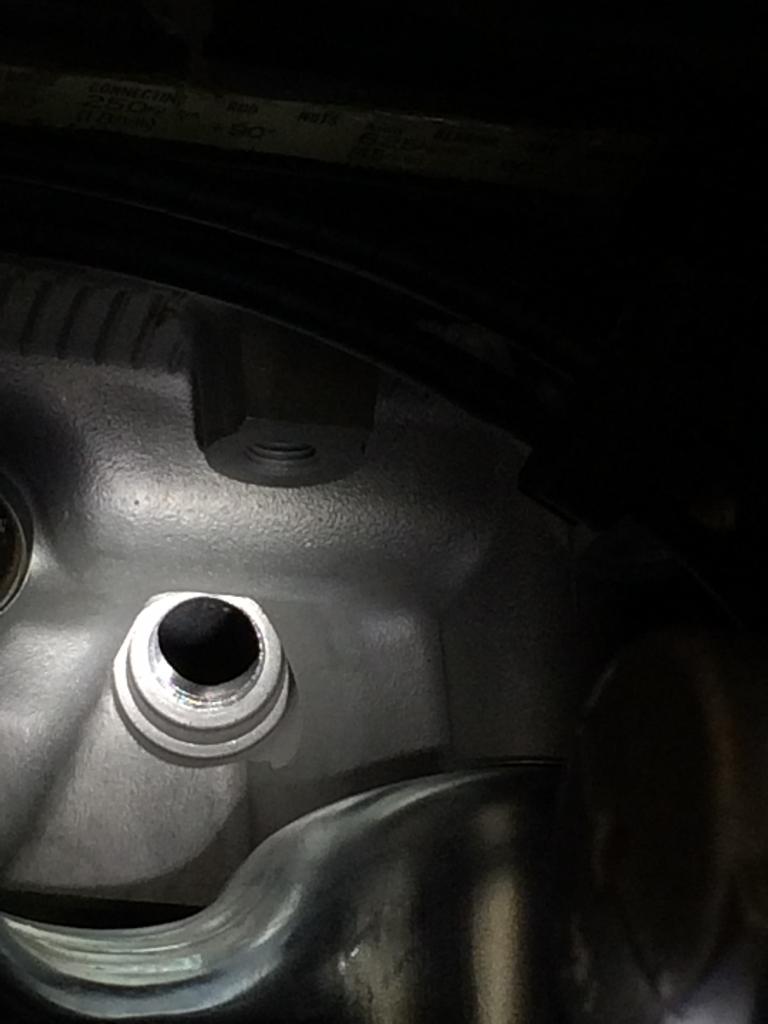
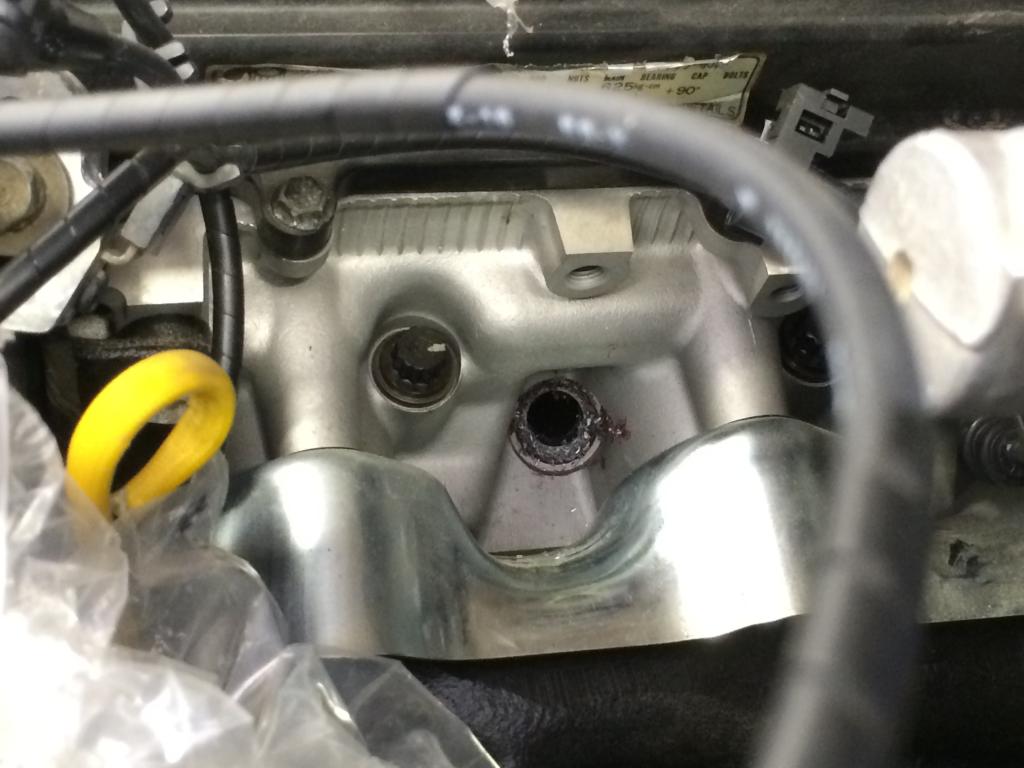
Insert installed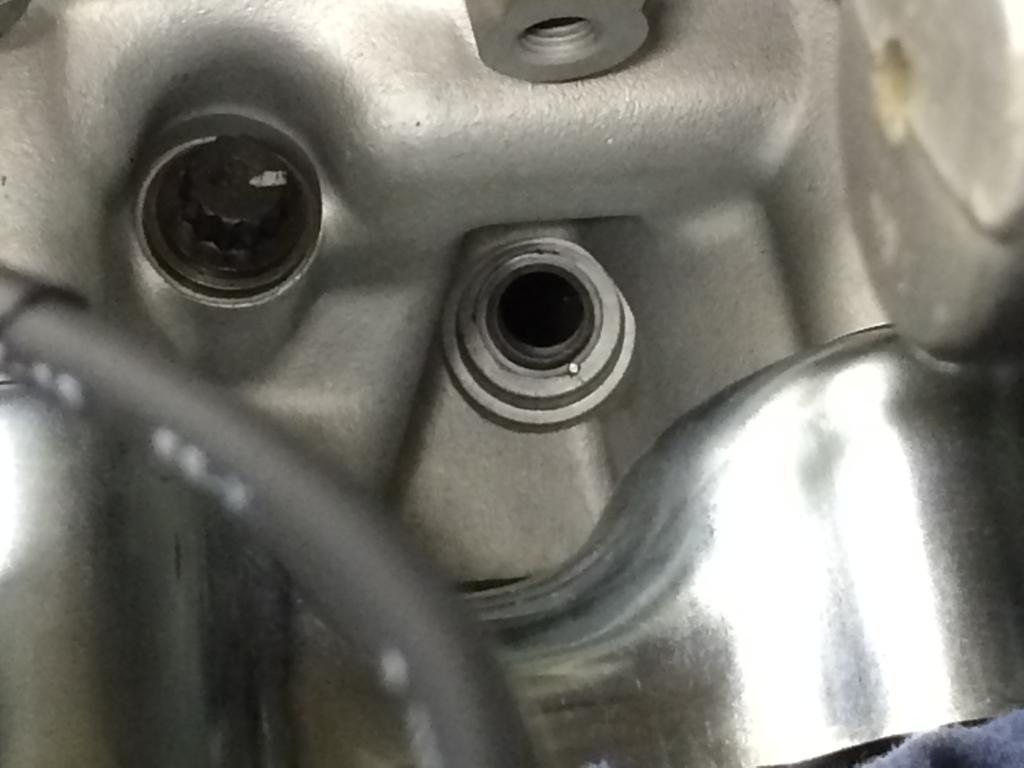
Happy happy happy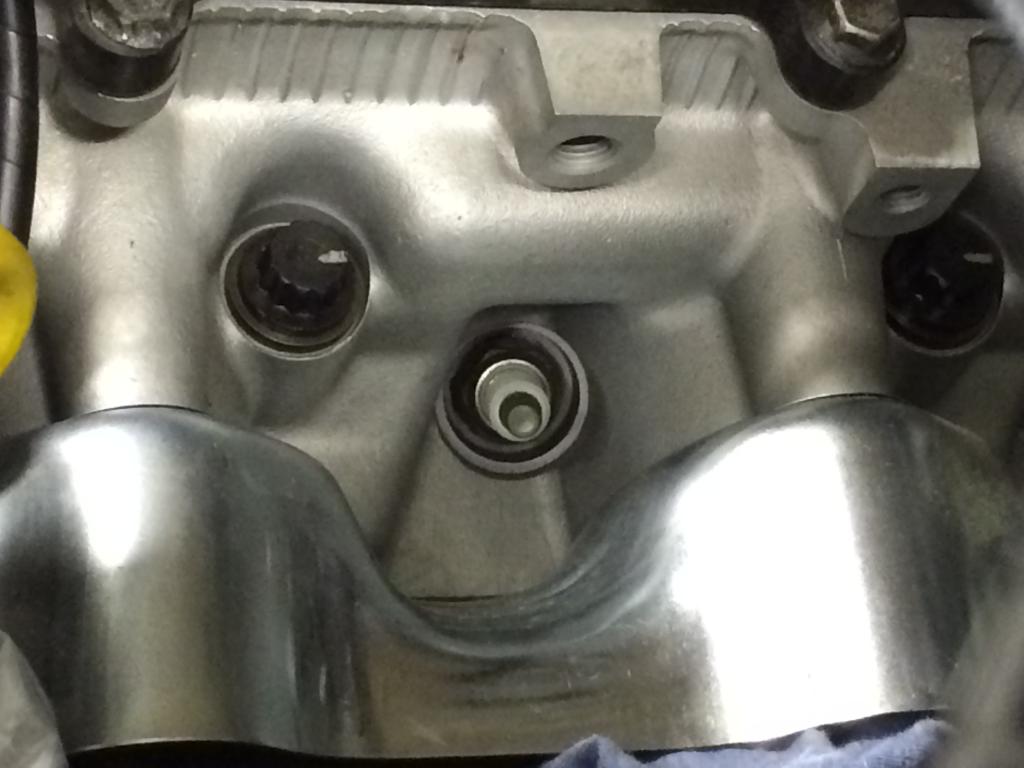
Then I installed the radiator, fan, air filter, air intake piping stuff, and the battery.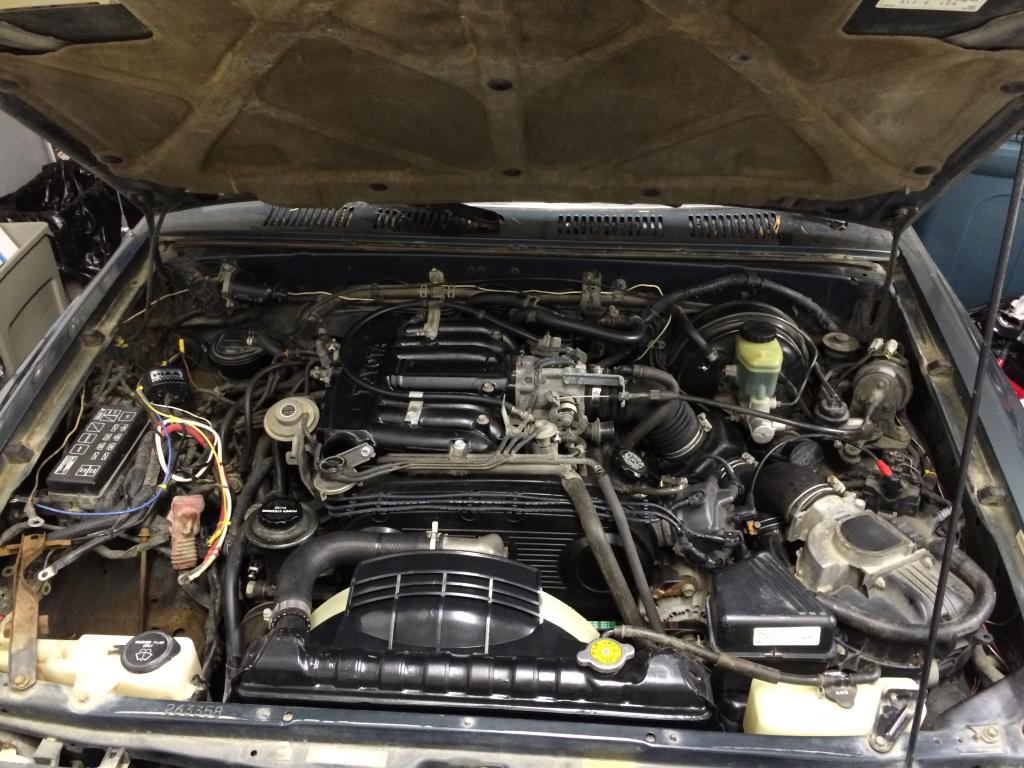
Then I had to watch YouTube videos and run to the store for a remote battery before I was able to figure out how to reset the car alarm so I could actually open the doors without hearing sirens.
I pulled the fuel filter out but I was hoping to use the fuel pump to pump the old gas out of the tank before I install the new one. I turned the key to on but the pump doesn't run, any ideas to run the pump?
I was able to borrow a garage for this which was wonderful!

I drilled it out first. Make sure your piston isn't too close to the top before drilling, I had to rotate the engine to get it down.
It instructed me to use grease instead of the tapping fluid, since it was an "in frame" repair.

As you can see in the picture, I should have drilled part way and regreased the bit.

I test fit the insert on the plug prior to drilling and tapping.

The instructions also said to keep tapping in once started and not back and forth like usual. It worked but you can see it was partly dry by the end. I tapped it again after cleaning and regreasing the tap, just to help clean out the threads.

Then you have a greasy mess to clean up. I used little rolled up paper towels with brake cleaner to clean it. I blew air through a small hose stuck down into the cylinder to get the aluminum shavings out. I took my time and hopefully I got everything.

After cleaning...

Insert installed

Happy happy happy

Then I installed the radiator, fan, air filter, air intake piping stuff, and the battery.

Then I had to watch YouTube videos and run to the store for a remote battery before I was able to figure out how to reset the car alarm so I could actually open the doors without hearing sirens.

I pulled the fuel filter out but I was hoping to use the fuel pump to pump the old gas out of the tank before I install the new one. I turned the key to on but the pump doesn't run, any ideas to run the pump?
Last edited by BowhunterBen; Oct 19, 2014 at 10:23 PM. Reason: Spelling error
Oct 21, 2014 | 10:15 PM
#60
Thread Starter
Registered User
Joined: Mar 2012
Posts: 71
Likes: 0
From: North Idaho
Thanks bone collector! I wasn't sure where to find that, but I figured out that its called a data link in the book. Worked very well. I'm still hoping to fire it up before the end of the month.
Last edited by BowhunterBen; Oct 21, 2014 at 10:16 PM. Reason: Unsupported characters


