betty. our 86 4runner
 Aug 26, 2014 | 11:38 PM
#42
I have seen a couple of motors throw a rod in about the same place as yours did. Did it give you any indications that it was getting ready to? I am just curious as to what may have caused that. Looking good on your build.
Aug 27, 2014 | 05:35 AM
#43
Thread Starter
Registered User
Joined: Jun 2013
Posts: 363
Likes: 0
From: kelowna BC
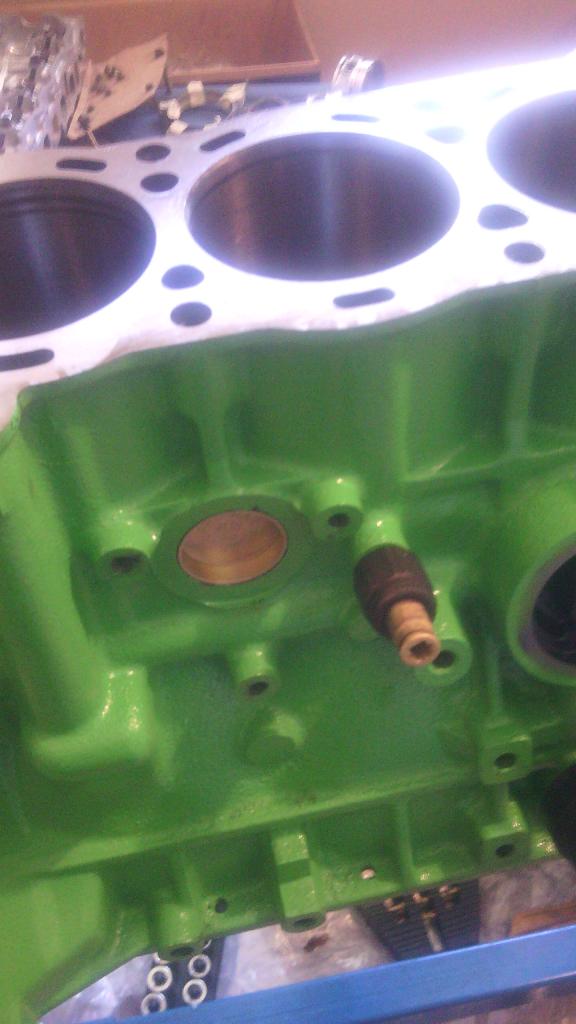
Bearing wear. Exhaust valves were pitted. The coolant ports were clogged and piston rings were gross. So just basic over heating. So basically just needed more love. Betty was feeling neglected so she threw a fit lol
Aug 27, 2014 | 09:54 PM
#44
Thread Starter
Registered User
Joined: Jun 2013
Posts: 363
Likes: 0
From: kelowna BC
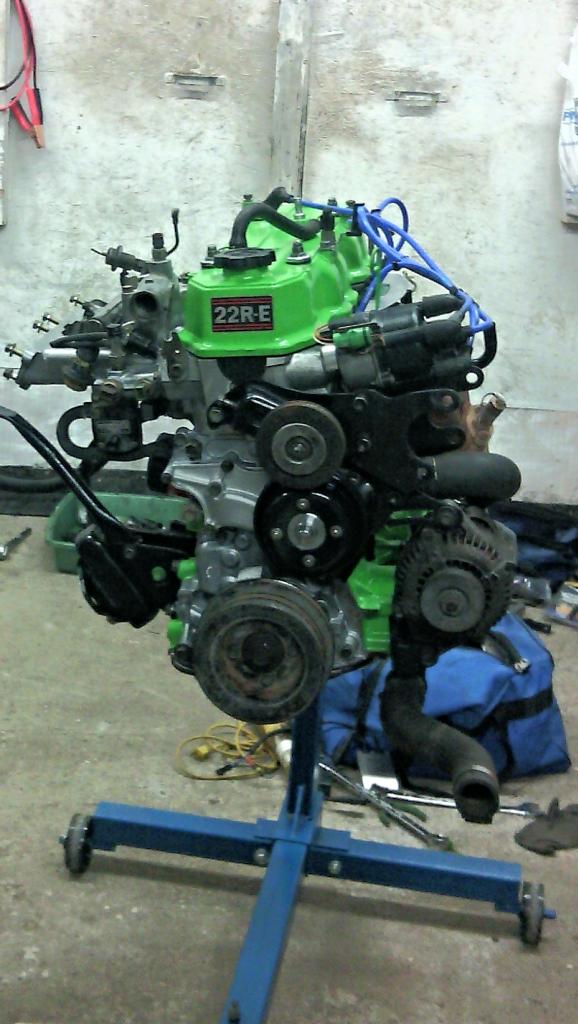
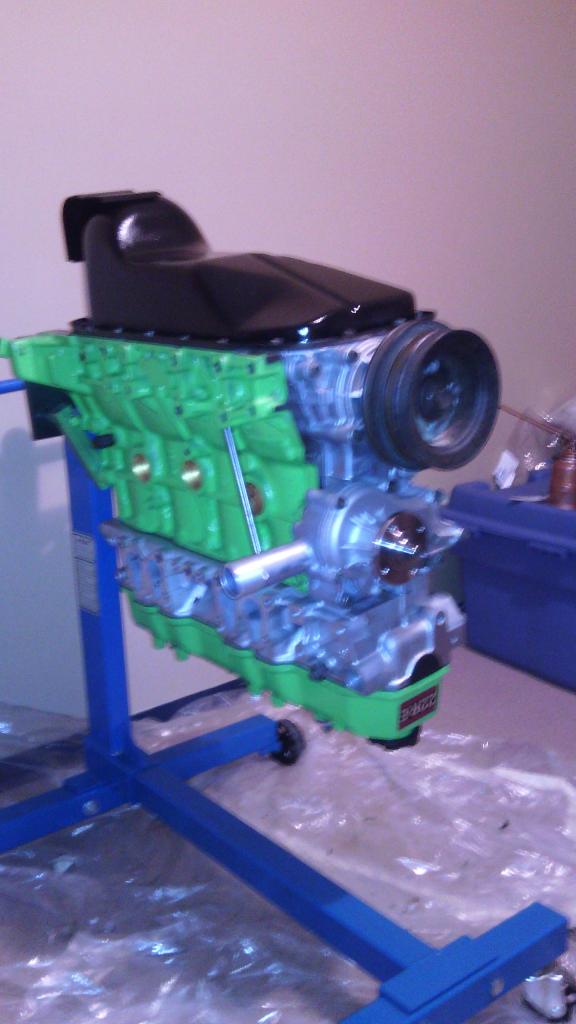
also the egr exhaust port runs through the block parallel to the 4th cylinder i think this helped with the overheating, that and the piston rods are really wimpy.
anywho.
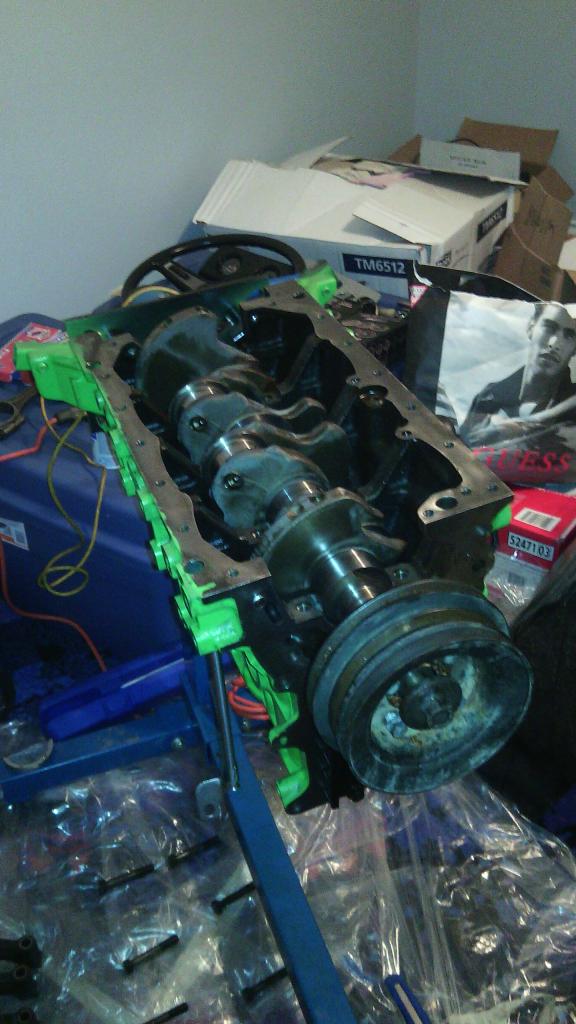
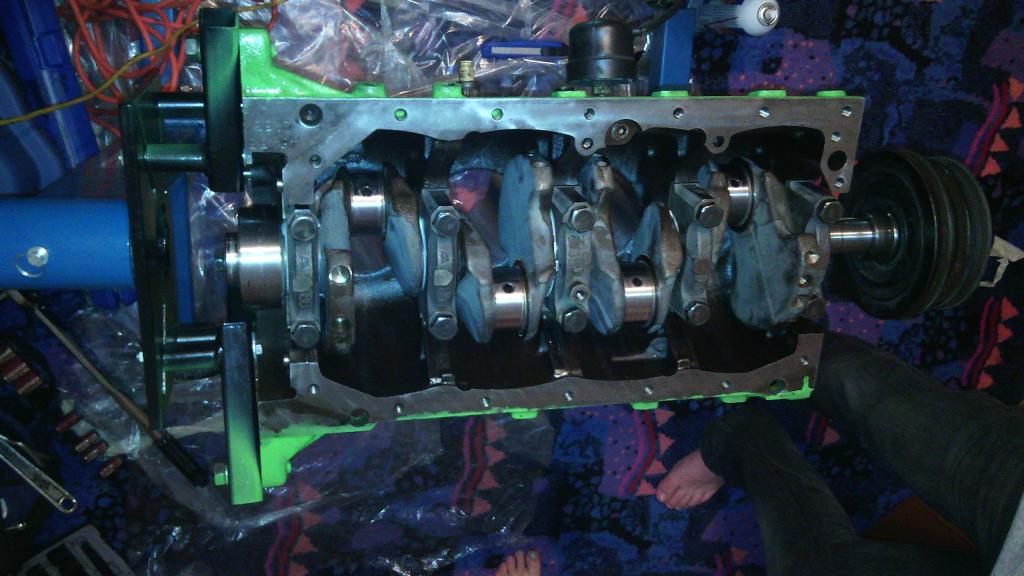
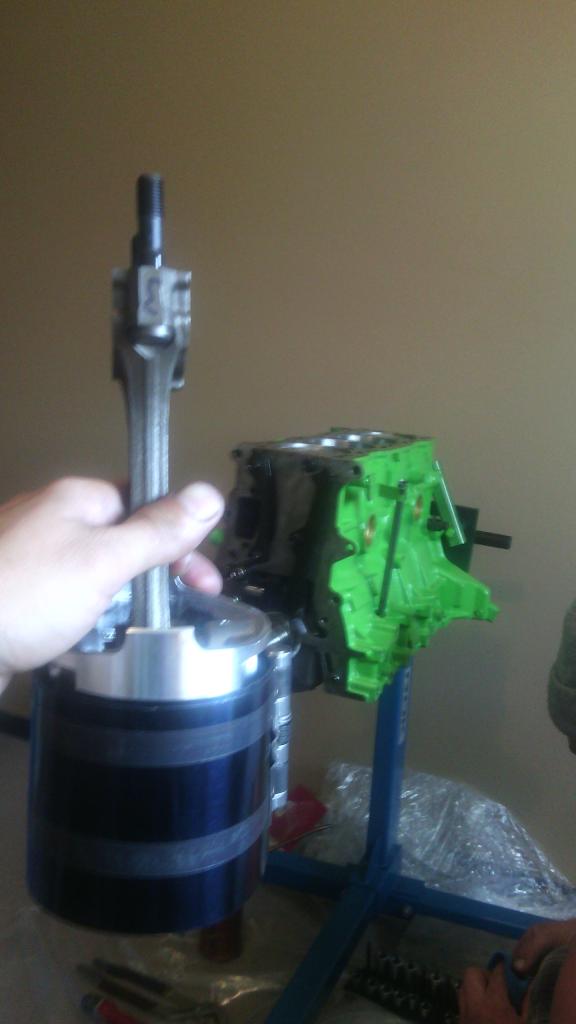
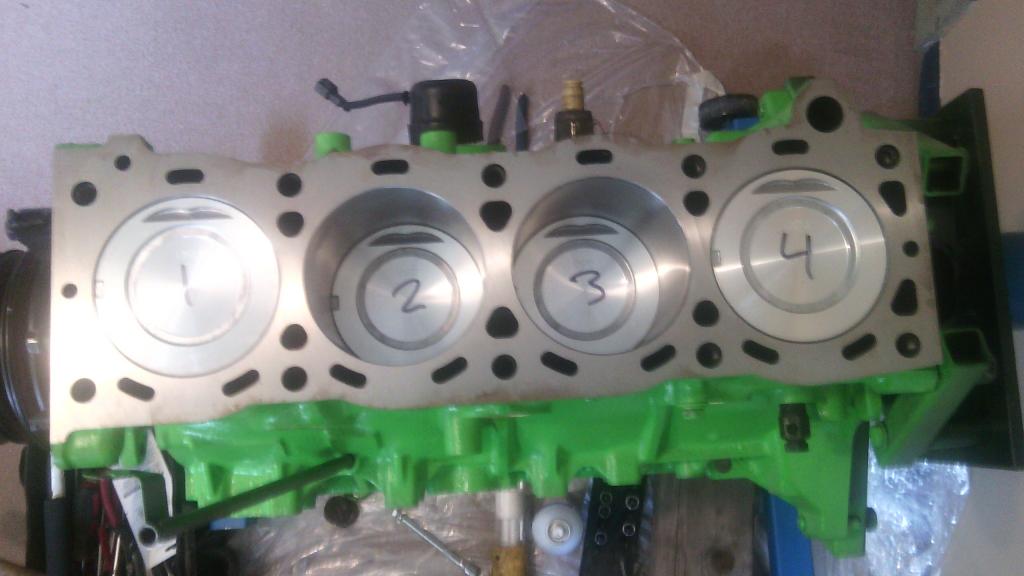
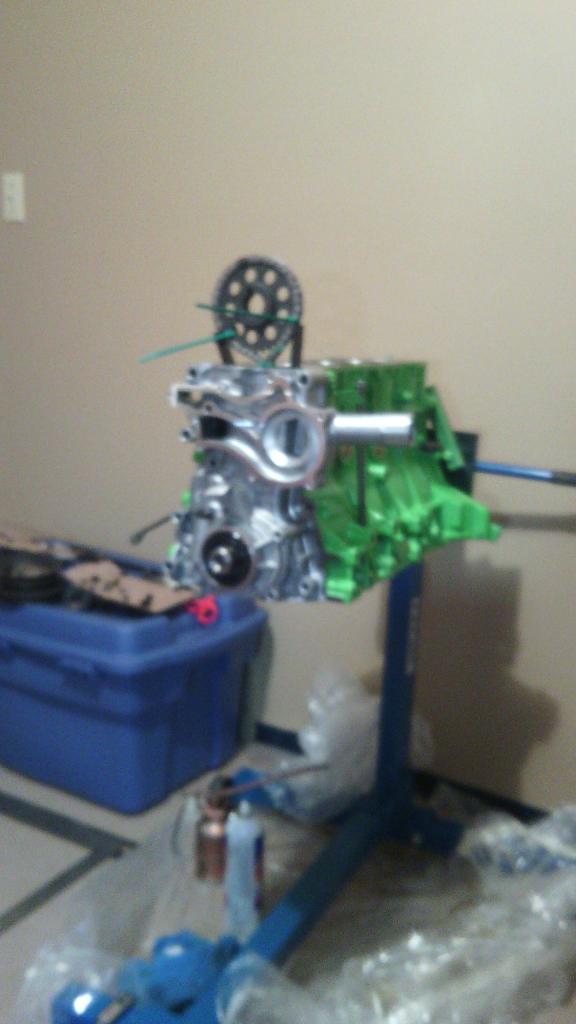
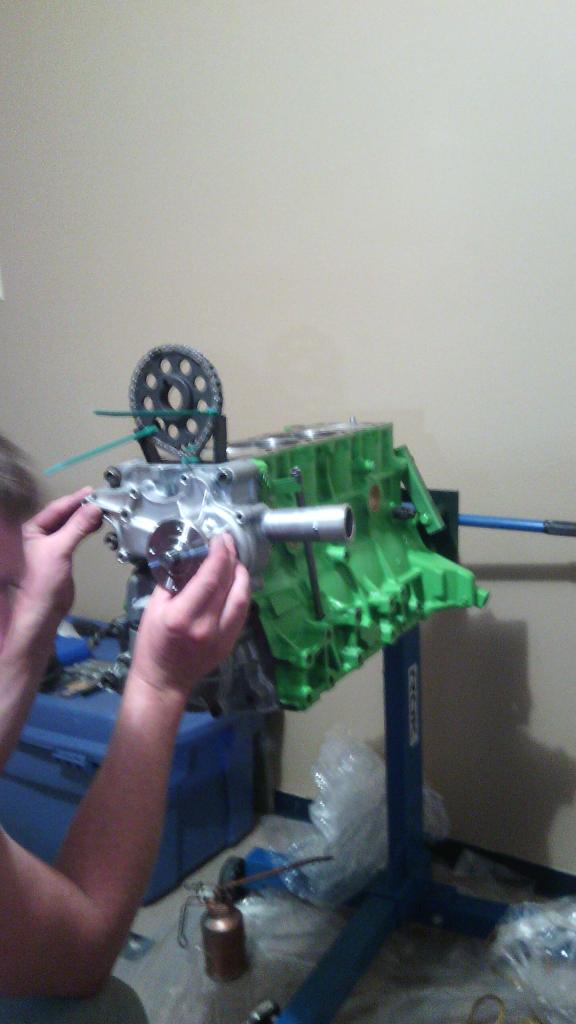
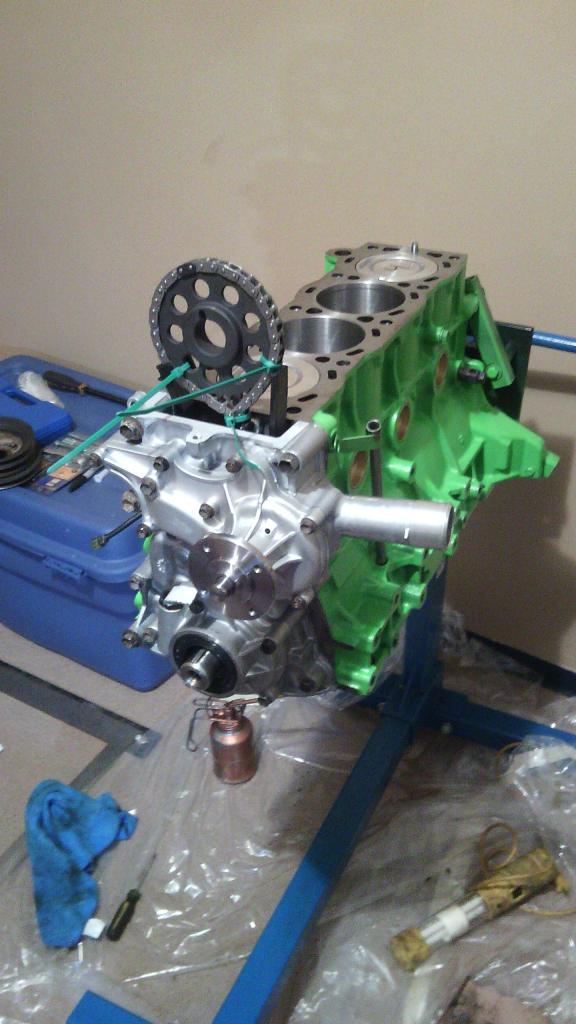
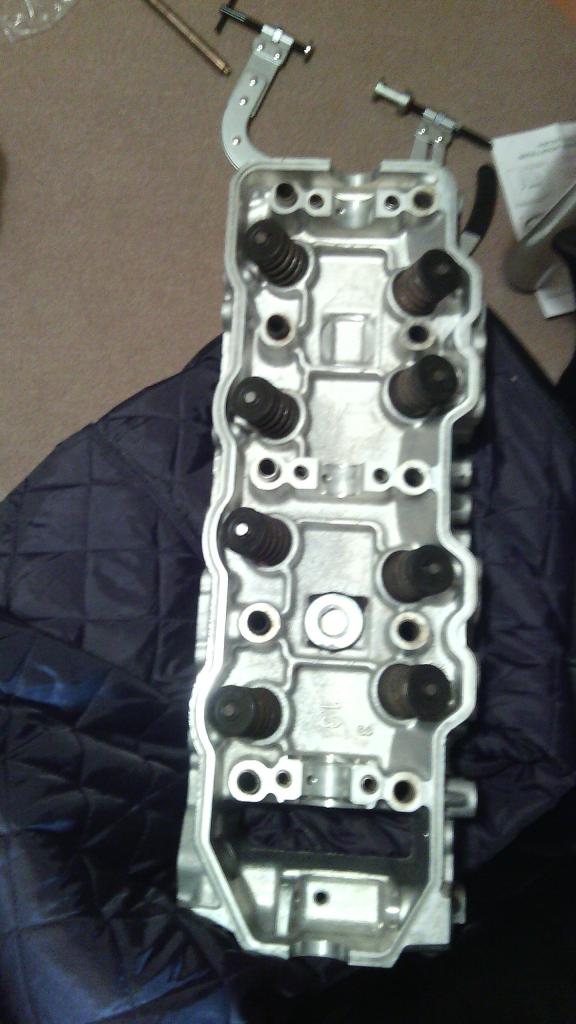
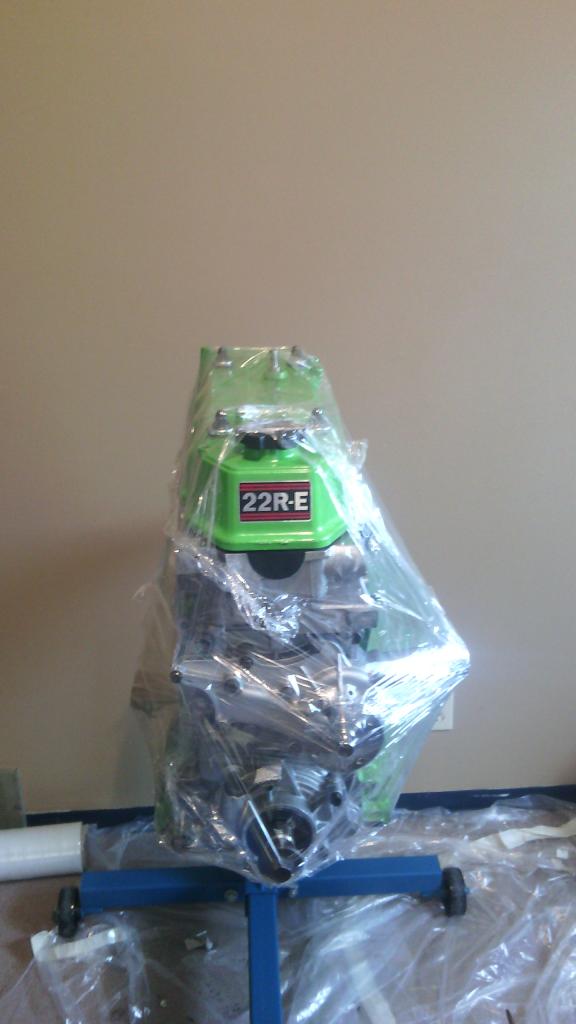
This medusa looking pos is the last step before putting anything back together. (since everything else is taken care of cause we ordered the master rebuild set from engnbldr)
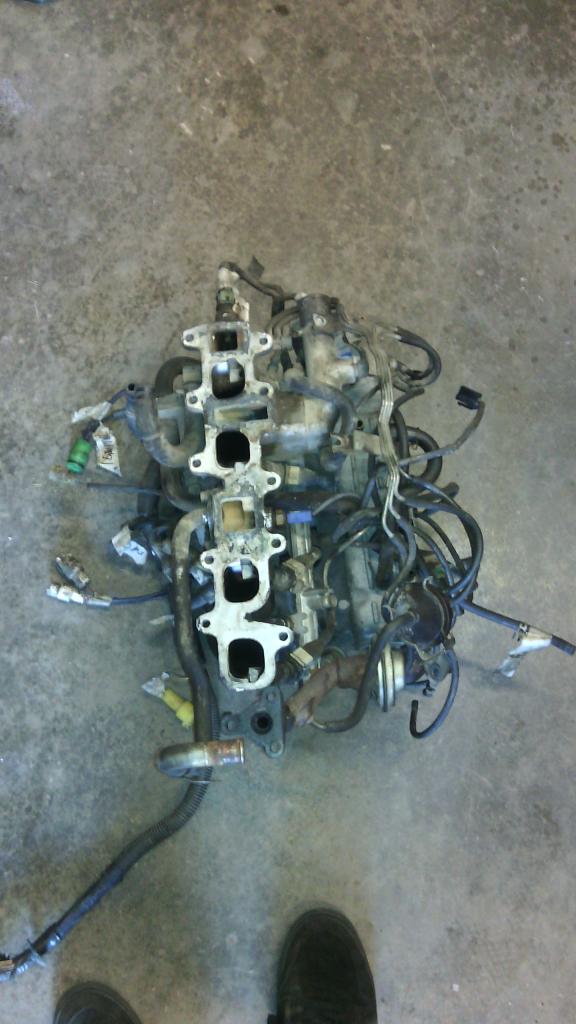
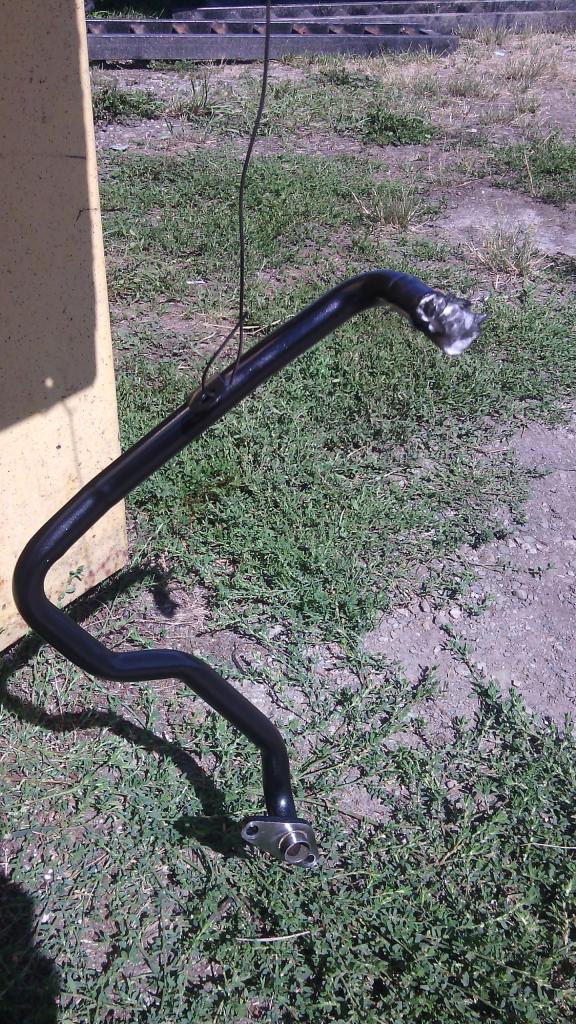
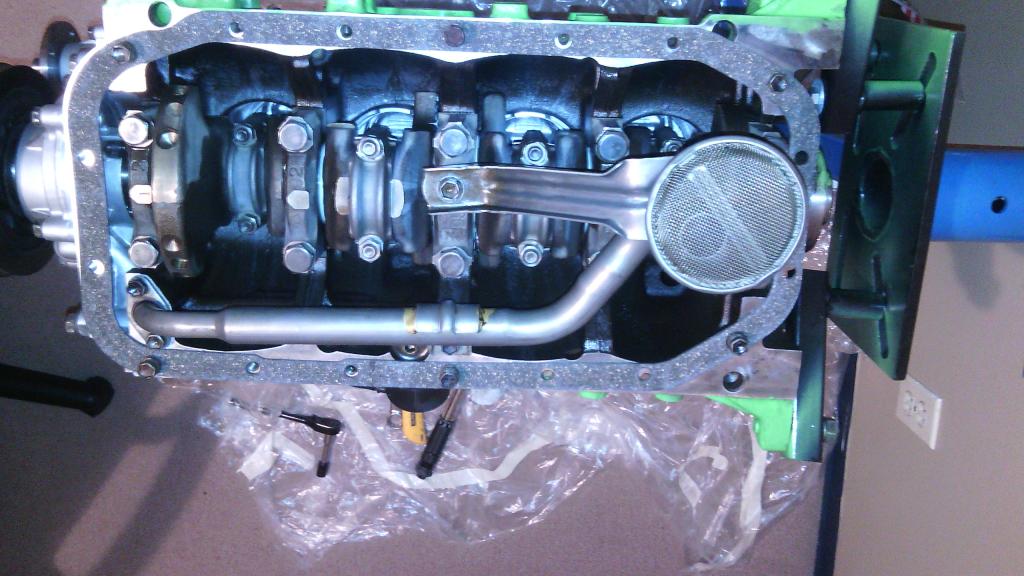
cleaned and moved a couple of things over, painted that funny hardline. it was soooo crusty... i also found the injector seals were pretty shiddy too.
anywho.
This medusa looking pos is the last step before putting anything back together. (since everything else is taken care of cause we ordered the master rebuild set from engnbldr)
cleaned and moved a couple of things over, painted that funny hardline. it was soooo crusty... i also found the injector seals were pretty shiddy too.
Aug 28, 2014 | 05:15 AM
#45
That whole system gets nasty with clogged lines. I take a brass tooth brush to the sensors to clean them up. The EGR is most likely clogged up. You probablay wont get the screw out with screw driver to get the pipe out of the EGR. I use a pair of vise grips to get it out. You can get the EGR functioning again. I put a block off plate between the Plenum and EGR tube to keep it from clogging up the system. You can remove the EGR, but blocking it keeps me from getting EGR codes.
Aug 28, 2014 | 06:34 PM
#48
Thread Starter
Registered User
Joined: Jun 2013
Posts: 363
Likes: 0
From: kelowna BC
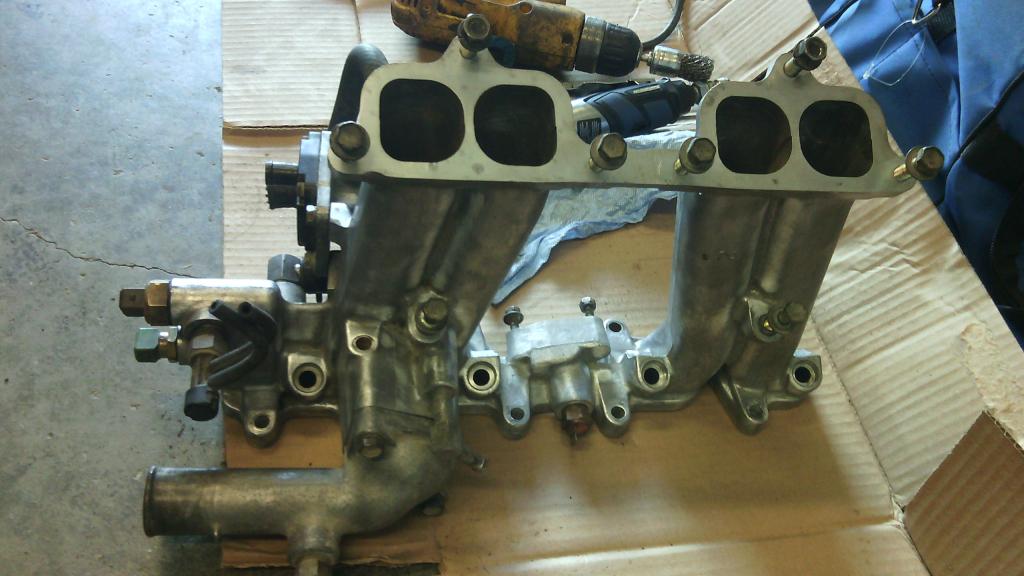
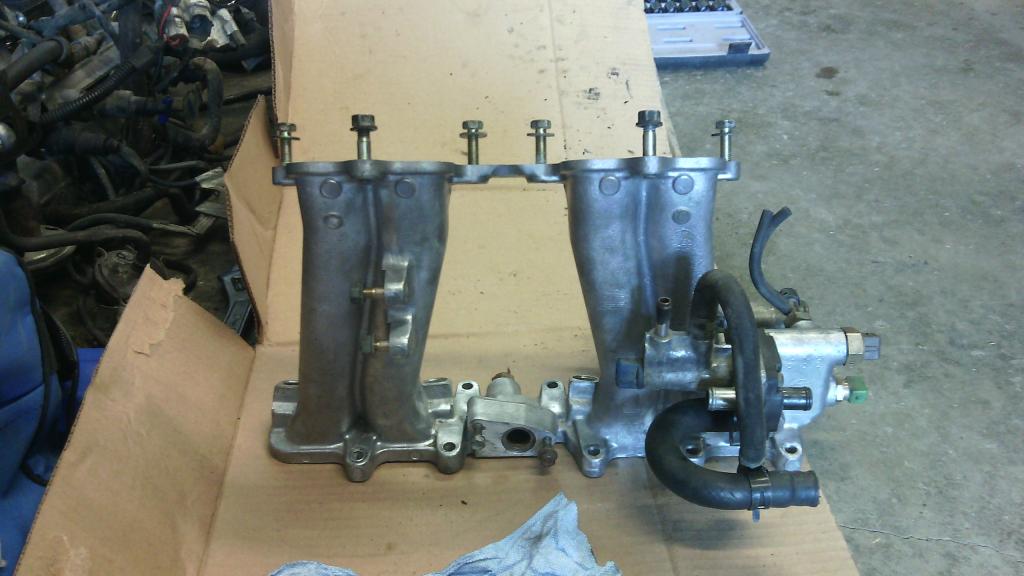
Not having my intake coated in black crud seems like it'll be good for the engine too. Why not just let the Cat do its job. don't they know second hand smoke is a silent killer lol.
Last edited by Yota; Aug 28, 2014 at 06:38 PM.
Sep 7, 2014 | 08:45 PM
#49
Thread Starter
Registered User
Joined: Jun 2013
Posts: 363
Likes: 0
From: kelowna BC
engnbldr master rebuild package showed up!!! christmas!!!!!!!!!!!! was really busy with work stuff this weekend and will be this week too. soo... after thats done with me and ben will start opening packages and taking pics and putting things together and taking more pics and fingers crossed putting the old girl back together again.


 Sep 8, 2014 | 07:06 PM
#52
Thread Starter
Registered User
Joined: Jun 2013
Posts: 363
Likes: 0
From: kelowna BC
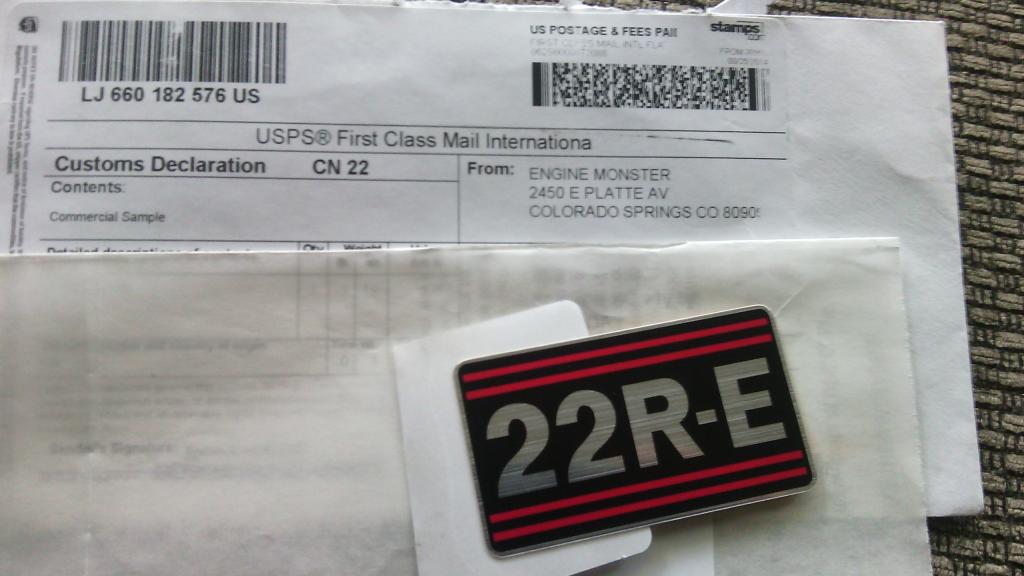
aprauto on ebay
http://www.ebay.com/itm/NEW-OEM-Toyota-Truck-22RE-Valve-Sticker-Decal-/380461027415?pt=Motors_Car_Truck_Parts_Accessories&hash=item58953e9057&vxp=mtr
cheap enough and good shipping price. got here in 10 days
http://www.ebay.com/itm/NEW-OEM-Toyota-Truck-22RE-Valve-Sticker-Decal-/380461027415?pt=Motors_Car_Truck_Parts_Accessories&hash=item58953e9057&vxp=mtr
cheap enough and good shipping price. got here in 10 days
Sep 8, 2014 | 07:24 PM
#54
Thread Starter
Registered User
Joined: Jun 2013
Posts: 363
Likes: 0
From: kelowna BC
no worries man i had tried to re stick on the old one i had but it had a bum corner and wouldnt flatten out. so i figured i might as well look. i dont mind one bit giving this guy more business. im stoked on the one i got.
Sep 9, 2014 | 04:13 AM
#55
I have been dragging my feet on getting one the last few years. I really need to just order one
Oct 6, 2014 | 04:03 PM
#56
Thread Starter
Registered User
Joined: Jun 2013
Posts: 363
Likes: 0
From: kelowna BC
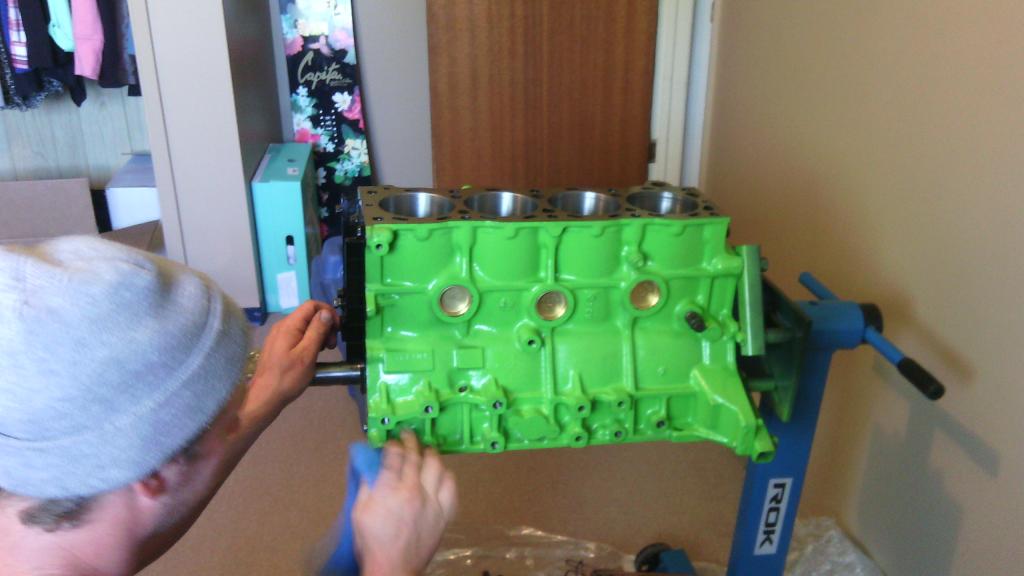
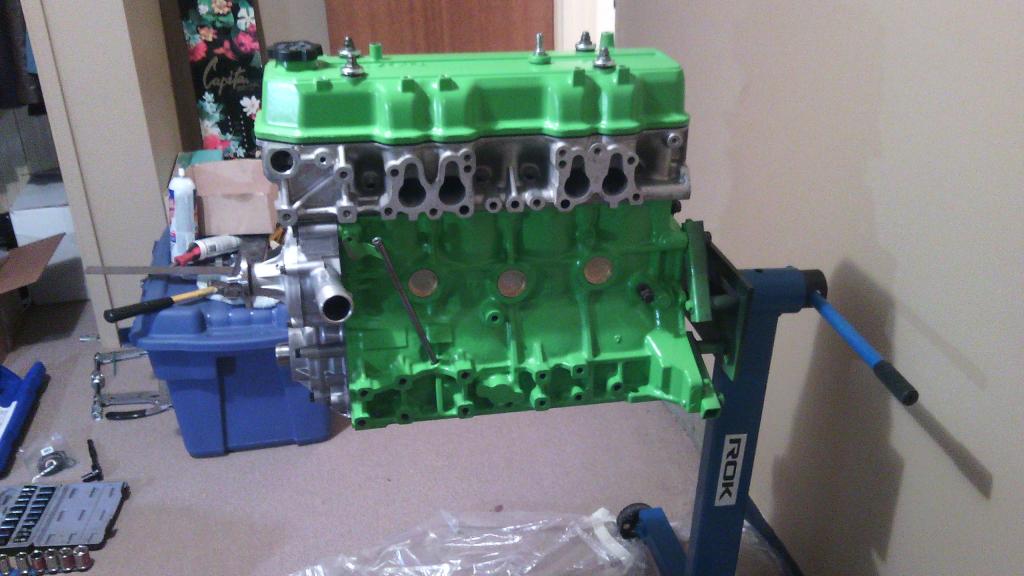
actually starting to put things back together.....
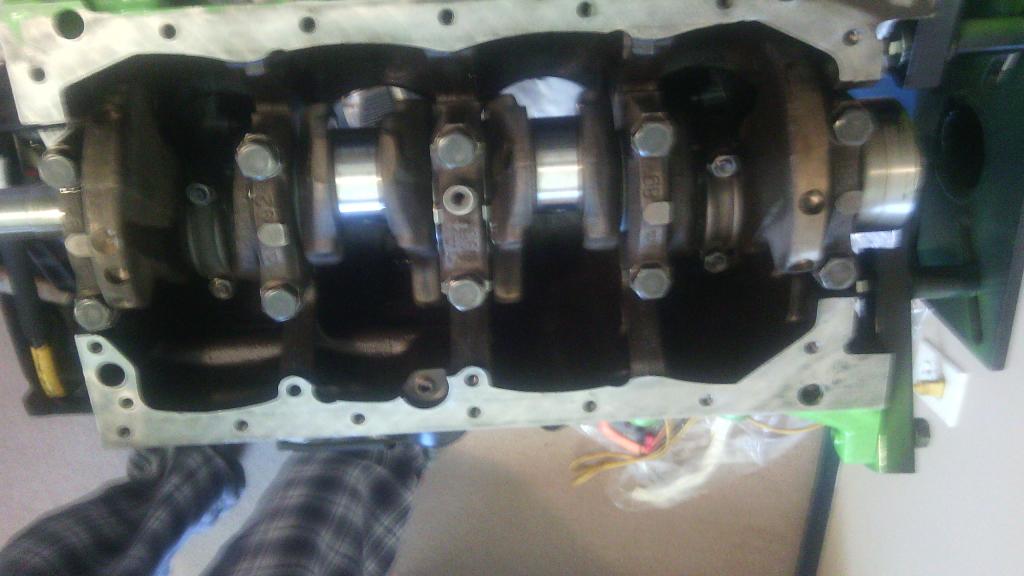
test fit and plastigauge went well, all within FSM spec
install grease woohoo!!!
main caps torqued
new frosties
more plastigauging and install. again. all within spec
piston #3 forgot to take first picture. meh.
ALL IN!!
New timing guides
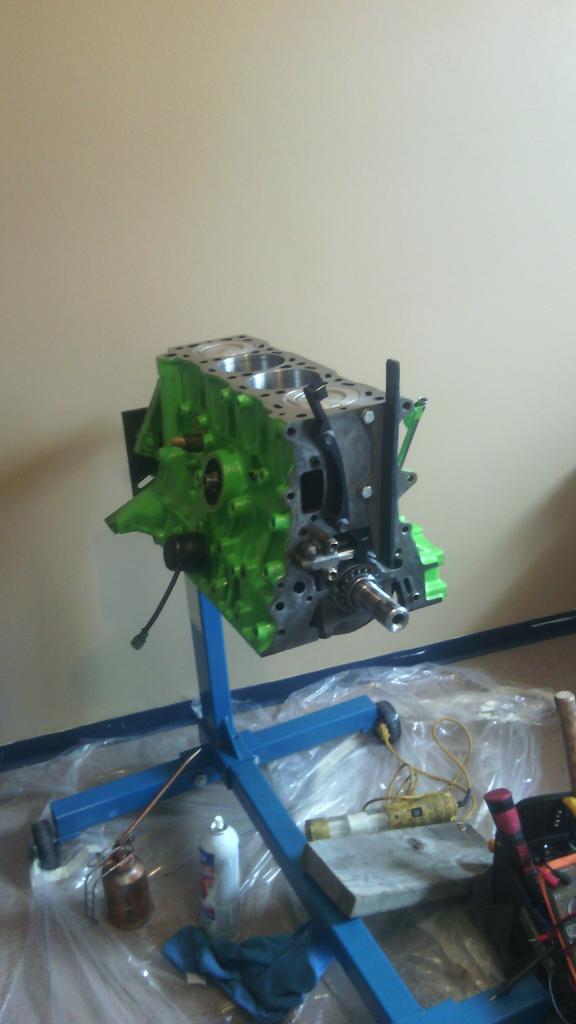
now we tested the timing cover and as we figured it was a little high. about a millimeter (eyeball) so back to the sanding block to shave it down and then the head and the fun stuff.
install grease woohoo!!!
main caps torqued
new frosties
more plastigauging and install. again. all within spec
piston #3 forgot to take first picture. meh.
ALL IN!!
New timing guides
now we tested the timing cover and as we figured it was a little high. about a millimeter (eyeball) so back to the sanding block to shave it down and then the head and the fun stuff.
Oct 8, 2014 | 07:09 AM
#57
Thread Starter
Registered User
Joined: Jun 2013
Posts: 363
Likes: 0
From: kelowna BC
head gasket time
more progress!!!!
timing chain on
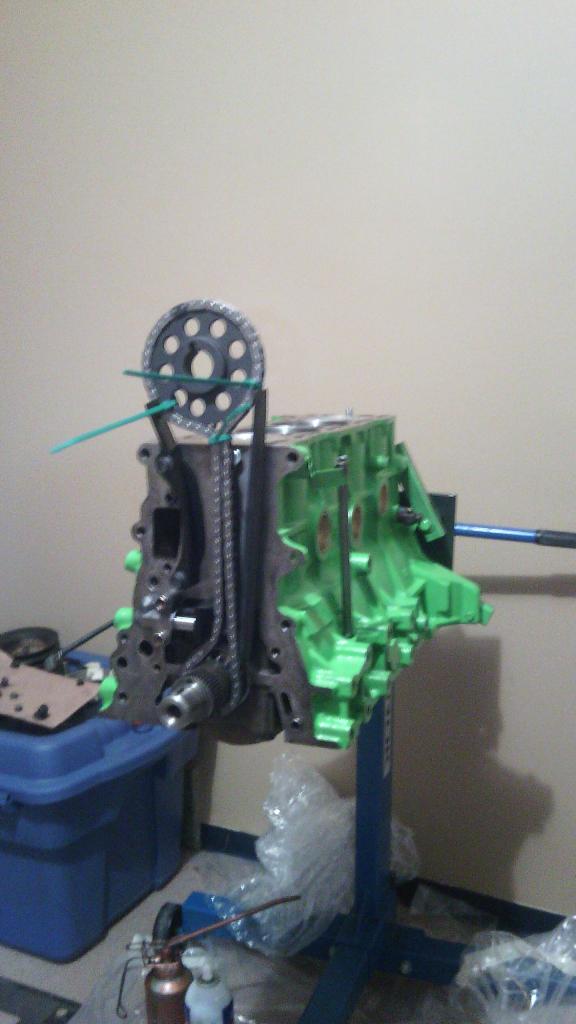
timing cover on
water pump
oil pump
valve spring compressor fun times.
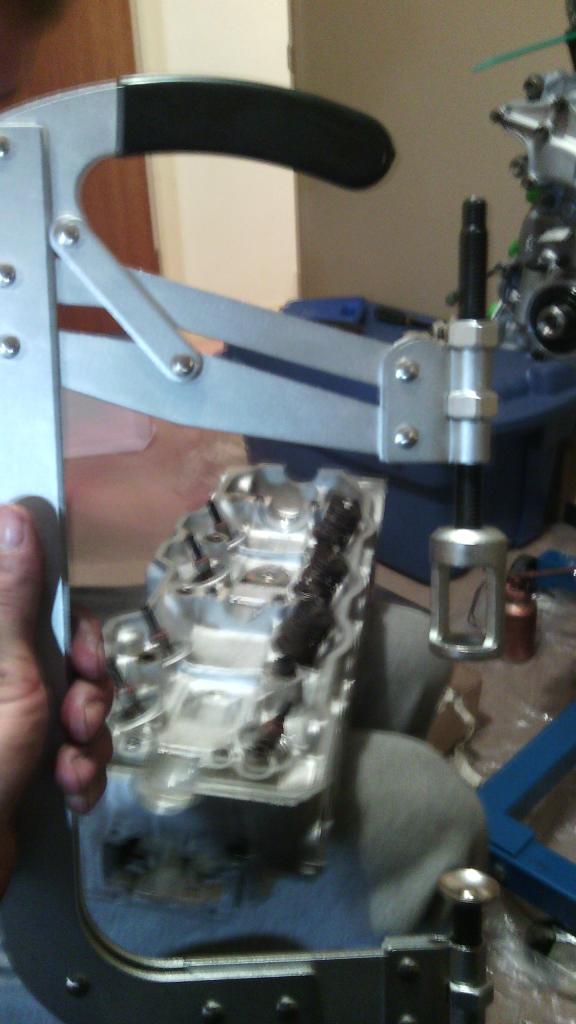
springs in. the last two were sooo easy. we got the compressor dialed. lol.
missed a couple pics, rocker assy and such. was too stoked. but this is a test fit of the valve cover.
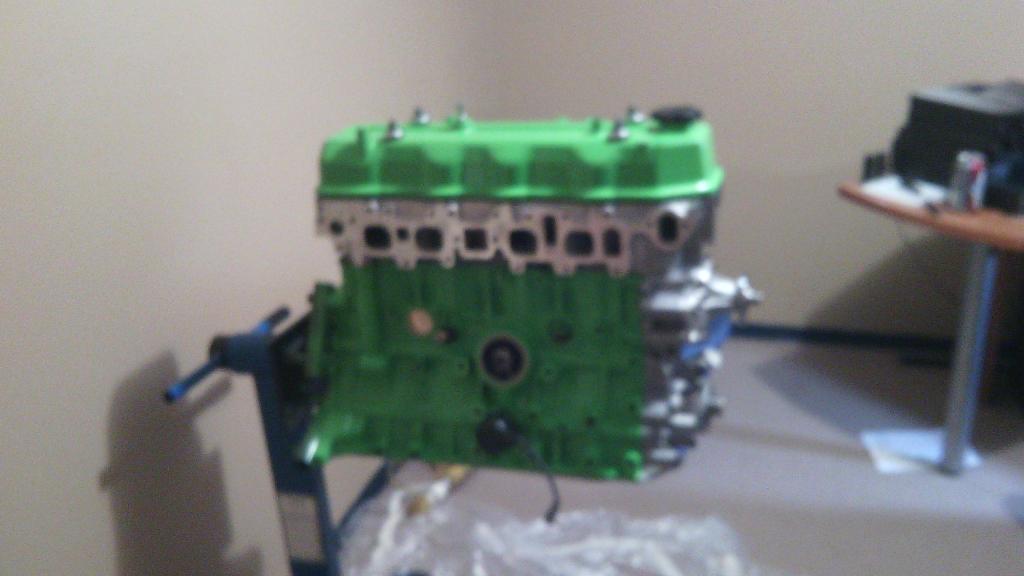
still need to get the cam sprocket on, and goop the black plugs in. then... should be go time. oh. new sparks and tappets soon too. then onto intake.
in lighter news. bens neighbor is selling her rig to us for 500
timing chain on
timing cover on
water pump
oil pump
valve spring compressor fun times.
springs in. the last two were sooo easy. we got the compressor dialed. lol.
missed a couple pics, rocker assy and such. was too stoked. but this is a test fit of the valve cover.
still need to get the cam sprocket on, and goop the black plugs in. then... should be go time. oh. new sparks and tappets soon too. then onto intake.
in lighter news. bens neighbor is selling her rig to us for 500
Last edited by Yota; Oct 8, 2014 at 07:12 AM.
Oct 16, 2014 | 07:17 AM
#58
Thread Starter
Registered User
Joined: Jun 2013
Posts: 363
Likes: 0
From: kelowna BC
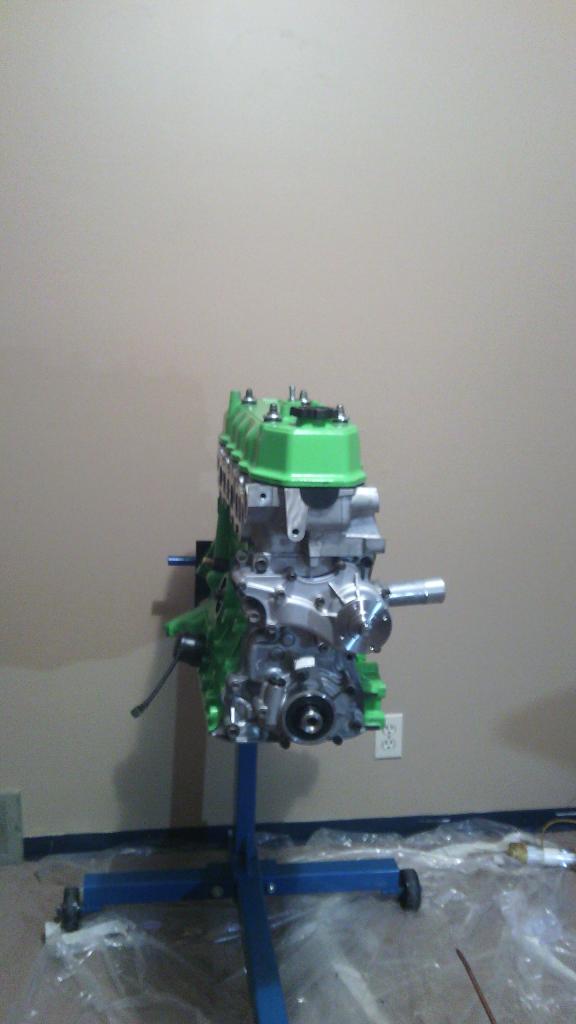
did this last week.
last night we finished putting the timing chain on and adjusted the valves(for now as im getting to tappets)
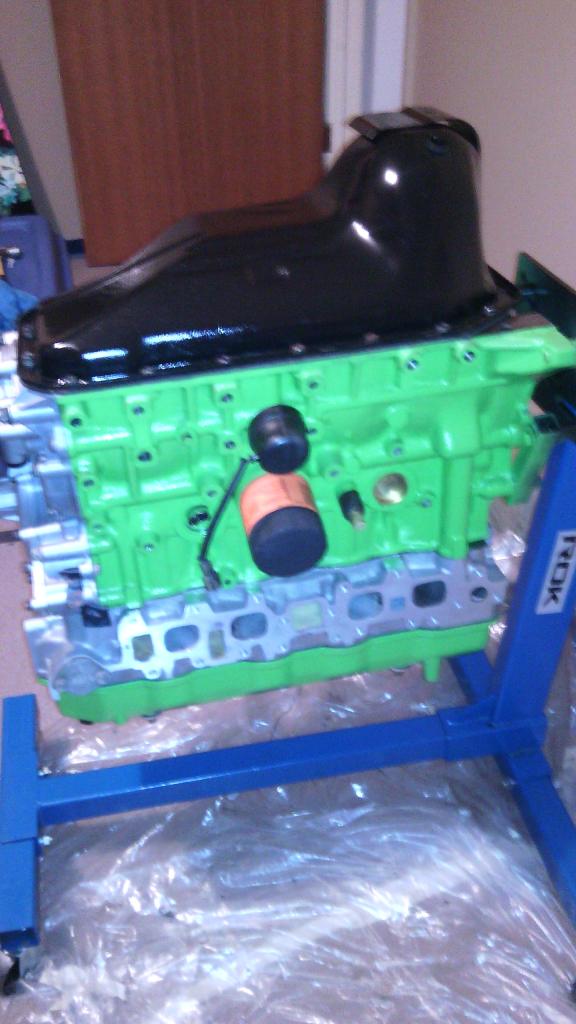
and i painted the oil pan black. (only scuffed it up a bit first so... its a little bumpy but it WILL be facing the road....)

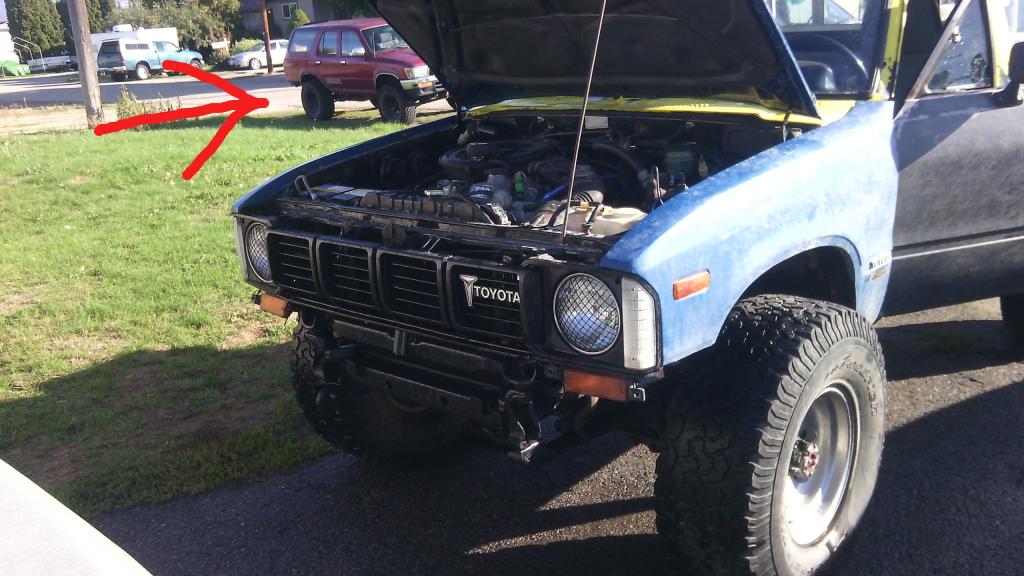
so the neighbors took the general grabbers off of the red runner and put on some generic wornout walmart specials and still want 500 for it... kinda annoyed but kinda might still do it.
last night we finished putting the timing chain on and adjusted the valves(for now as im getting to tappets)
and i painted the oil pan black. (only scuffed it up a bit first so... its a little bumpy but it WILL be facing the road....)
so the neighbors took the general grabbers off of the red runner and put on some generic wornout walmart specials and still want 500 for it... kinda annoyed but kinda might still do it.
Oct 19, 2014 | 10:44 PM
#59
Thread Starter
Registered User
Joined: Jun 2013
Posts: 363
Likes: 0
From: kelowna BC
new spark plugs, added pulleys and brackets and coolant lines and alt and dist and ex mani, lower intake and... things. intake and tb are in the solvent tank for now. once scubbed and painted those will go on, get new tappets and... resurface the flywheel and... new throwout bearing. then next weekend is button her up and drive off into the sunset....