86-95 Trucks & 4Runners (Build-Up Section) Post your build-ups here

Back from the Dead - Rolled 1989 Pickup Rebuild

Old 10-15-2016, 01:51 PM
  #1  
Registered User
Thread Starter
 
ianjadkins's Avatar
 
Join Date: Oct 2016
Posts: 131
Likes: 0
Received 0 Likes on 0 Posts
Back from the Dead - Rolled 1989 Pickup Rebuild

This is just a little motivator for people to remind us that not ever truck has to end its life at the wreckers!

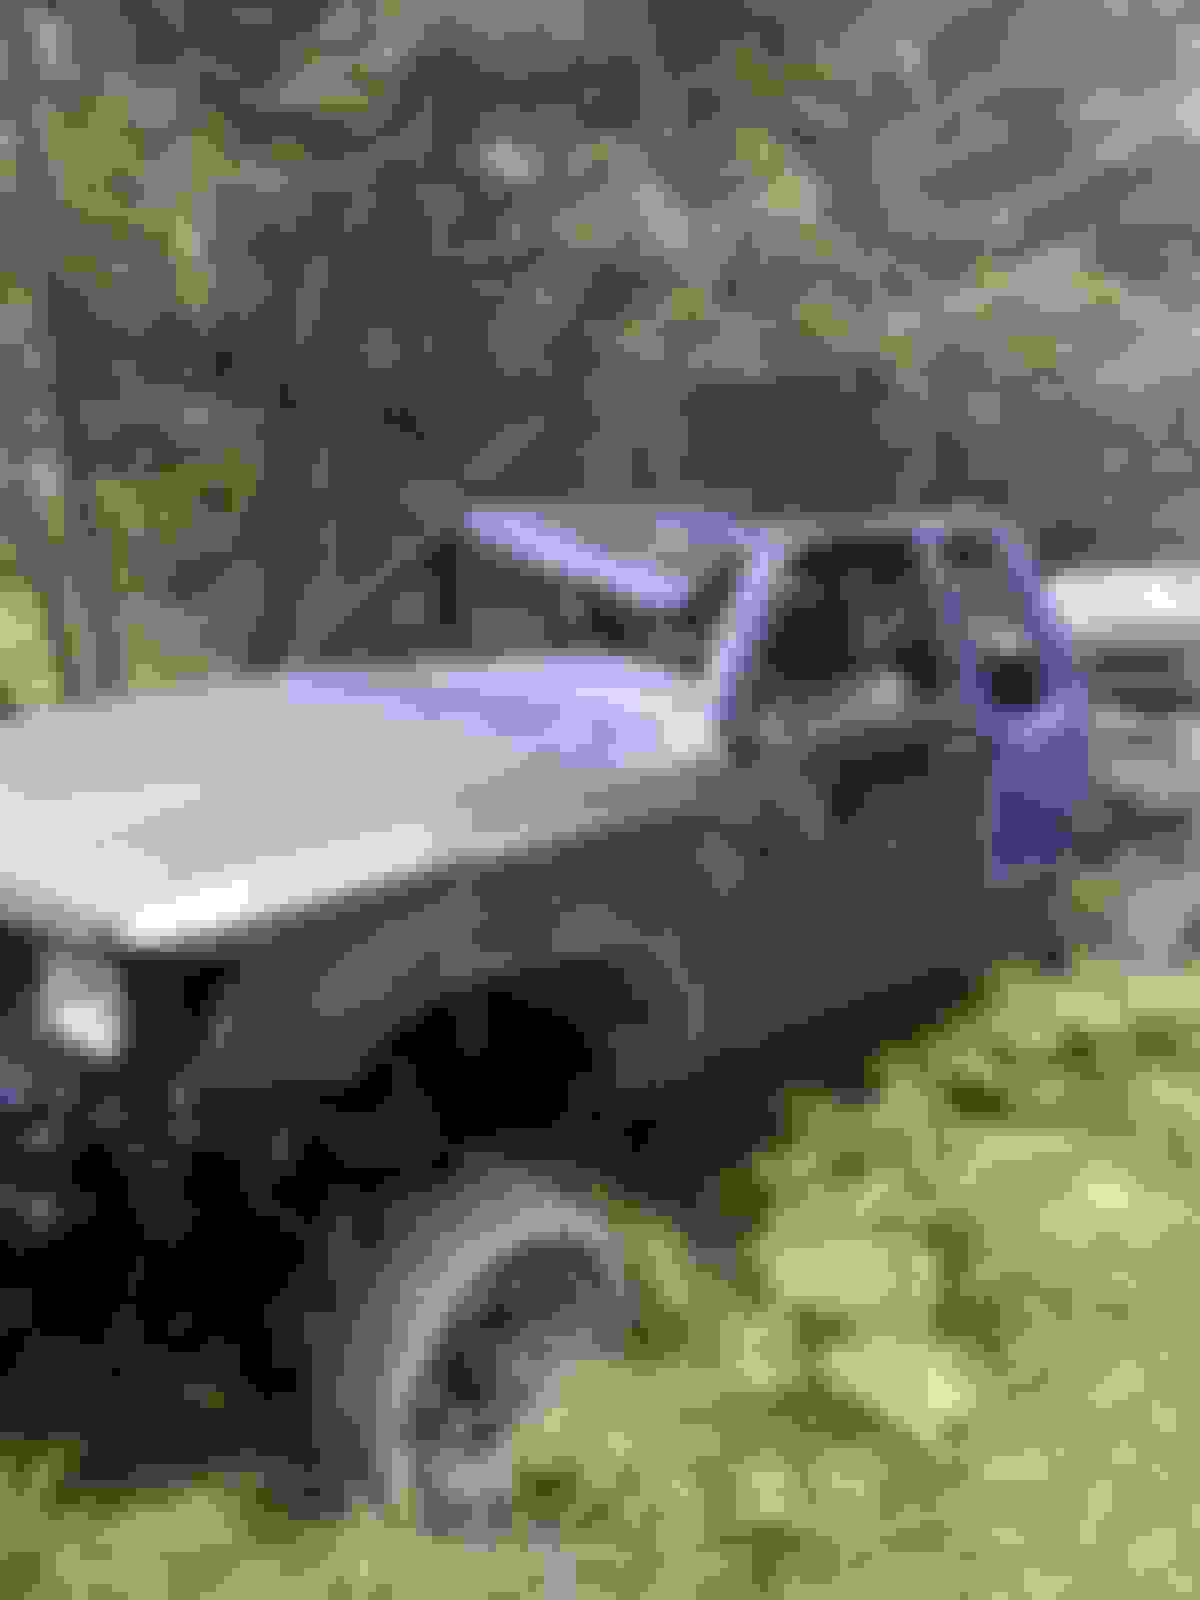
I bought a 1989 Extended Cab 4x4 3VZE 5 speed base model that had been rolled. The PO had installed a Pro-Comp stage 2 4" lift, a 3" body lift, 5.29 gears, and a horrible front bumper. The cab was rusted out, but the drive train was worth saving, and the box surprisingly survived the roll and will work for the mean time.


Old 10-15-2016, 01:58 PM
  #2  
Registered User
Thread Starter
 
ianjadkins's Avatar
 
Join Date: Oct 2016
Posts: 131
Likes: 0
Received 0 Likes on 0 Posts
I found a 1990 2wd SR5 3VZE 5spd at the local wrecker, it had all options except A/C (that will come soon). This 2wd had a blue interior as well, and it had 90% of the items I needed. The cab had been hit in the front, so a new front clip would be needed, but there was no rust on the rockers. And minimal on the cab, just a bit on the drivers door.


Old 10-15-2016, 02:07 PM
  #3  
Registered User
Thread Starter
 
ianjadkins's Avatar
 
Join Date: Oct 2016
Posts: 131
Likes: 0
Received 0 Likes on 0 Posts
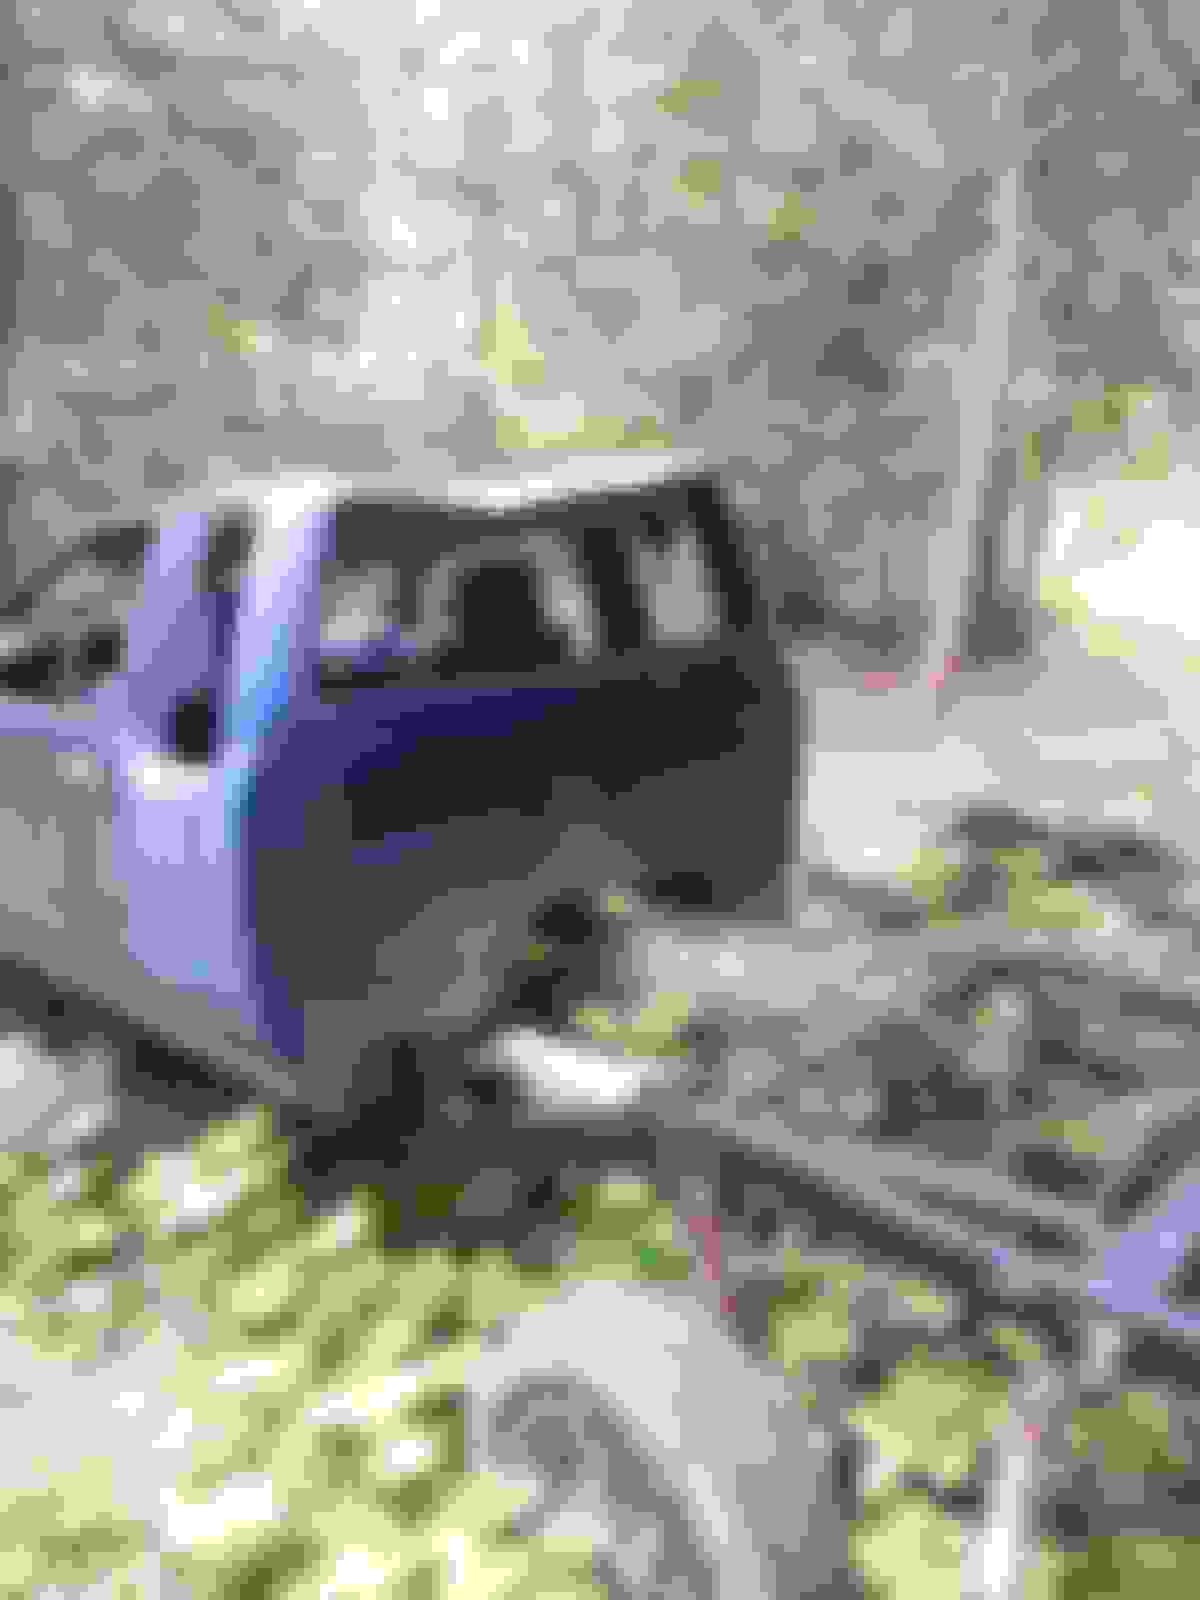
The cab went on, and I wanted to keep all the SR5 goodies like cruise, power doors, locks, windows, etc, so I used the entire truck harness, engine harness, etc from the 2wd. All was there except of course the 4wd light which I will add later, and a sensor in the engine didn't have a plug to go to it. All is now hooked up and working fine. I didn't put the body life back in, that would have been tooo tall. I have a set of Sway-a-way torsion bars to still go in, and if i want more lift, I have a set of 1.5" BJ spacers if needed.


Last edited by ianjadkins; 10-15-2016 at 02:18 PM.
Old 10-15-2016, 02:09 PM
  #4  
Registered User
Thread Starter
 
ianjadkins's Avatar
 
Join Date: Oct 2016
Posts: 131
Likes: 0
Received 0 Likes on 0 Posts
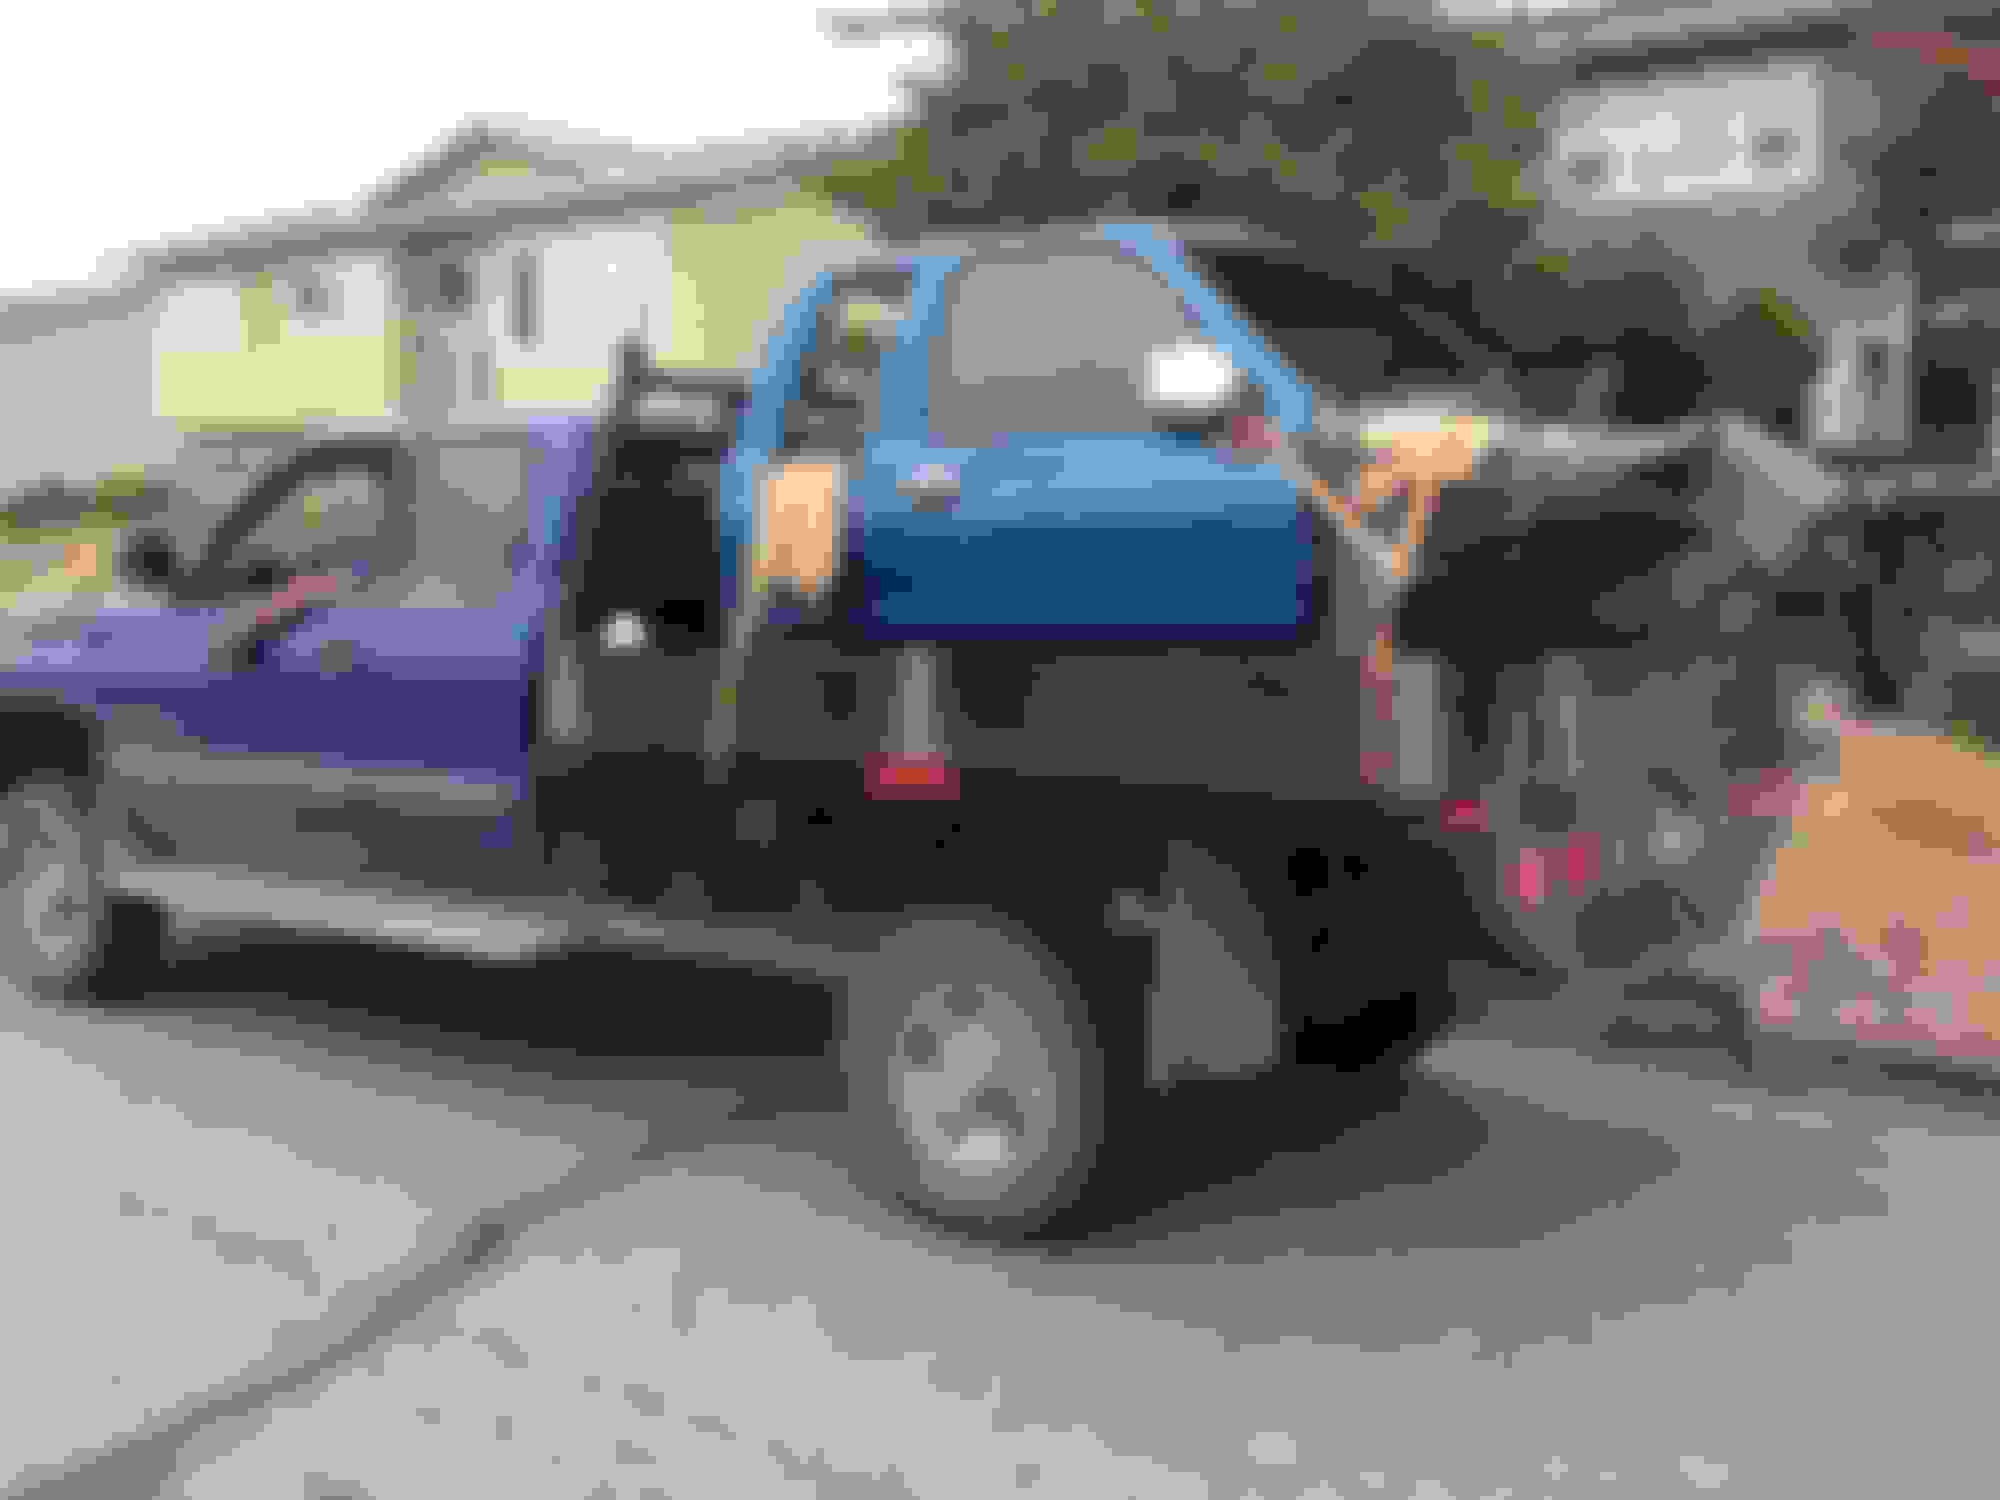
Now, to, fix the front clip. I cut a front clip off a 1991 4Runner at the wrecker. Cut all the spot welds, prepped and installed it. Also threw on a set of 4Runner power mirrors I got at the wrecker as well. The bumper is ugly, but it sure is nice to stand on!


Old 10-15-2016, 02:12 PM
  #5  
Registered User
Thread Starter
 
ianjadkins's Avatar
 
Join Date: Oct 2016
Posts: 131
Likes: 0
Received 0 Likes on 0 Posts
Fenders and hood on before welding to make sure all lined up. I found out the hood hinges are bent from the roll and the hood sits crooked, so the next trip to the wreckers and I will get some straight ones. Front bumper and valance from the same 91 4Rinner as the clip. Grill from the rolled 1989 pickup.
Old 10-15-2016, 02:16 PM
  #6  
Registered User
Thread Starter
 
ianjadkins's Avatar
 
Join Date: Oct 2016
Posts: 131
Likes: 0
Received 0 Likes on 0 Posts
Today, I cut out a windshield from a 1994 4Runner at the wreckers, and installed it in my truck. $90 total for windshield, clip kit, urethane, and glass cleaner and prep. Not bad, fingers crossed for no leaks!
Old 10-16-2016, 05:27 AM
  #7  
Registered User
 
92ehatch's Avatar
 
Join Date: Jan 2015
Location: Hendersonville NC
Posts: 652
Likes: 0
Received 0 Likes on 0 Posts
Good work so far, should be a nice one
Old 10-18-2016, 07:03 AM
  #8  
Registered User
 
shoes138's Avatar
 
Join Date: Nov 2006
Location: Pflugerville, TX
Posts: 553
Likes: 0
Received 0 Likes on 0 Posts
you didnt happen to grab that 2wd tranny did you?
Old 10-18-2016, 07:18 PM
  #9  
Registered User
Thread Starter
 
ianjadkins's Avatar
 
Join Date: Oct 2016
Posts: 131
Likes: 0
Received 0 Likes on 0 Posts
Thanks 92ehatch, long way to go but having fun with this build. No shoes138 sorry.
Old 10-19-2016, 10:02 AM
  #10  
Registered User
 
Nervo19's Avatar
 
Join Date: Jun 2010
Location: Virginia
Posts: 1,438
Received 93 Likes on 65 Posts
Keep this updated. You have impressive skills. How much do you have invested at this point?
Old 10-19-2016, 12:02 PM
  #11  
Registered User
 
jakey poo's Avatar
 
Join Date: Jan 2015
Location: Gaston, OR
Posts: 960
Received 147 Likes on 105 Posts
Great work so far! I can't wait to see the finished product!
Old 10-19-2016, 05:20 PM
  #12  
Registered User
Thread Starter
 
ianjadkins's Avatar
 
Join Date: Oct 2016
Posts: 131
Likes: 0
Received 0 Likes on 0 Posts
So far about $800. Just found this though...


Old 10-19-2016, 05:22 PM
  #13  
Registered User
Thread Starter
 
ianjadkins's Avatar
 
Join Date: Oct 2016
Posts: 131
Likes: 0
Received 0 Likes on 0 Posts
Looks like $600 for a new set of 5.29 ring and pinion and a master rebuild kit is in my future. So the build price just went up. Tires are going to have to wait I guess.
Looks like pinion nut backed off causing this wreck. I think I better pull the rear and make sure the set is correct before it grenades as well....

Last edited by ianjadkins; 10-19-2016 at 05:25 PM.
Old 11-08-2016, 07:36 AM
  #14  
Registered User
Thread Starter
 
ianjadkins's Avatar
 
Join Date: Oct 2016
Posts: 131
Likes: 0
Received 0 Likes on 0 Posts


Got a set of factory Tacoma 16's with studded 265/75R16 for winter. Clickity clickity clickity. Wheels need a good cleaning and paint next spring.
Old 11-08-2016, 07:44 AM
  #15  
Registered User
Thread Starter
 
ianjadkins's Avatar
 
Join Date: Oct 2016
Posts: 131
Likes: 0
Received 0 Likes on 0 Posts
So I have run the truck a few times, sorted out the high idle issue, and driven around the block to get a feel for any issues, noises bangs etc. Decided it was a good day to change the oil once I warmed it up.


Who wants a milkshake. I hope is that since this truck has been sitting for 2 years through the hot summer and snow covered winter that this is condensation. The dipstick was clean oil when I first pulled it. The PO did the timing set and water pump, and speaking to him (my brother) the engine never showed any signs of A head gasket issue. But I will drive it, do a compression check on each cylinder, and pressure test the cooling system to be sure. Time will tell as I will be driving this multi coloured beast in the next few weeks.
Old 11-10-2016, 07:04 AM
  #16  
Registered User
Thread Starter
 
ianjadkins's Avatar
 
Join Date: Oct 2016
Posts: 131
Likes: 0
Received 0 Likes on 0 Posts

Ordered a longer rear shackle today to get rid of the saggy bum look. Guess the rear springs must only be 2" or 3". They don't quite match the front Pro Comp 4" lift.

Pics to come soon.
Old 11-10-2016, 02:54 PM
  #17  
Registered User
 
jakey poo's Avatar
 
Join Date: Jan 2015
Location: Gaston, OR
Posts: 960
Received 147 Likes on 105 Posts
Looks better with the longer shackles, I wonder if the rears were designed to be ran with lift blocks too
Old 11-10-2016, 03:40 PM
  #18  
Registered User
Thread Starter
 
ianjadkins's Avatar
 
Join Date: Oct 2016
Posts: 131
Likes: 0
Received 0 Likes on 0 Posts

Shackle installed. Sits much better. But I sure wish I knew more about these springs. The Center pin is pretty far forward and the axle is not centred. I have to take out a small shim that is in place so I will see what I can do about this.
Old 11-10-2016, 04:57 PM
  #19  
Super Moderator
Staff
iTrader: (1)
 
Terrys87's Avatar
 
Join Date: Aug 2008
Location: Anderson Missouri
Posts: 11,788
Likes: 0
Received 21 Likes on 19 Posts
Great to see you bringing this truck back to life. I always enjoy watching a good tear down and rebuild.
Old 11-11-2016, 03:43 PM
  #20  
Fossilized
Staff
iTrader: (6)
 
dropzone's Avatar
 
Join Date: Oct 2005
Location: PNW
Posts: 19,771
Received 448 Likes on 293 Posts
Originally Posted by ianjadkins
I was scared you were gonna keep that big front zombie plow
Build is looking good, budgetwise not bad

Thread Tools
Search this Thread
Quick Reply: Back from the Dead - Rolled 1989 Pickup Rebuild


All times are GMT -8. The time now is 02:27 PM.