When you click on links to various merchants on this site and make a purchase, this can result in this site earning a commission. Affiliate programs and affiliations include, but are not limited to, the eBay Partner Network.
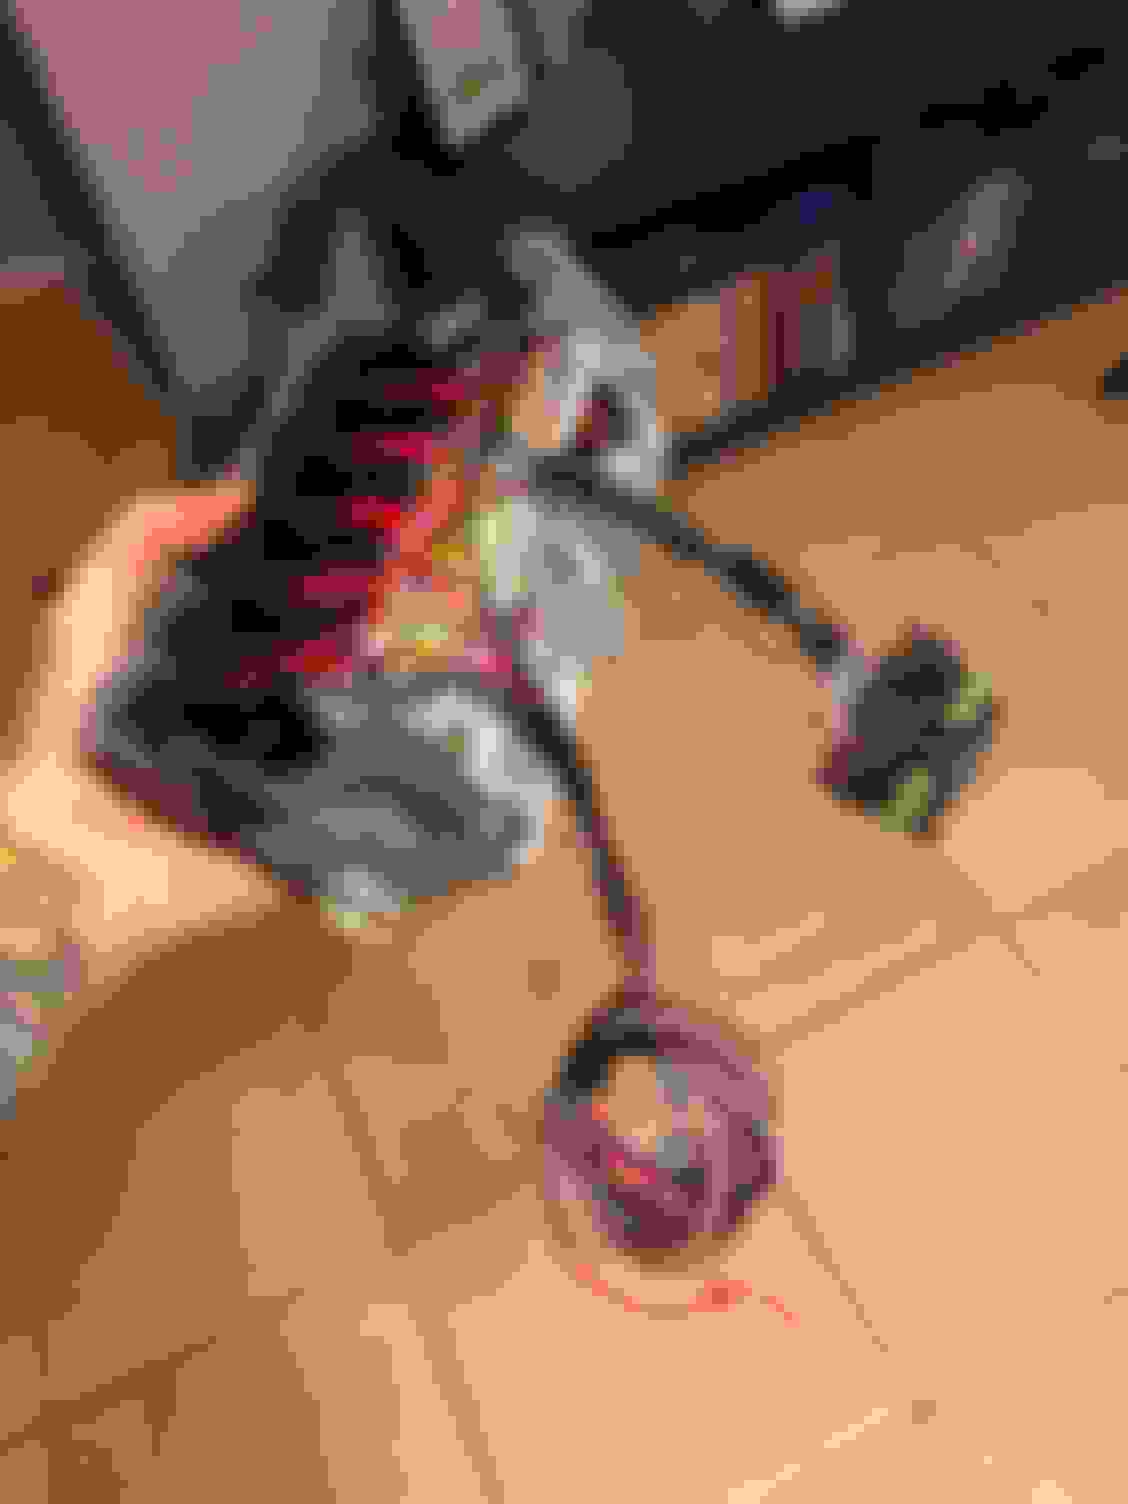
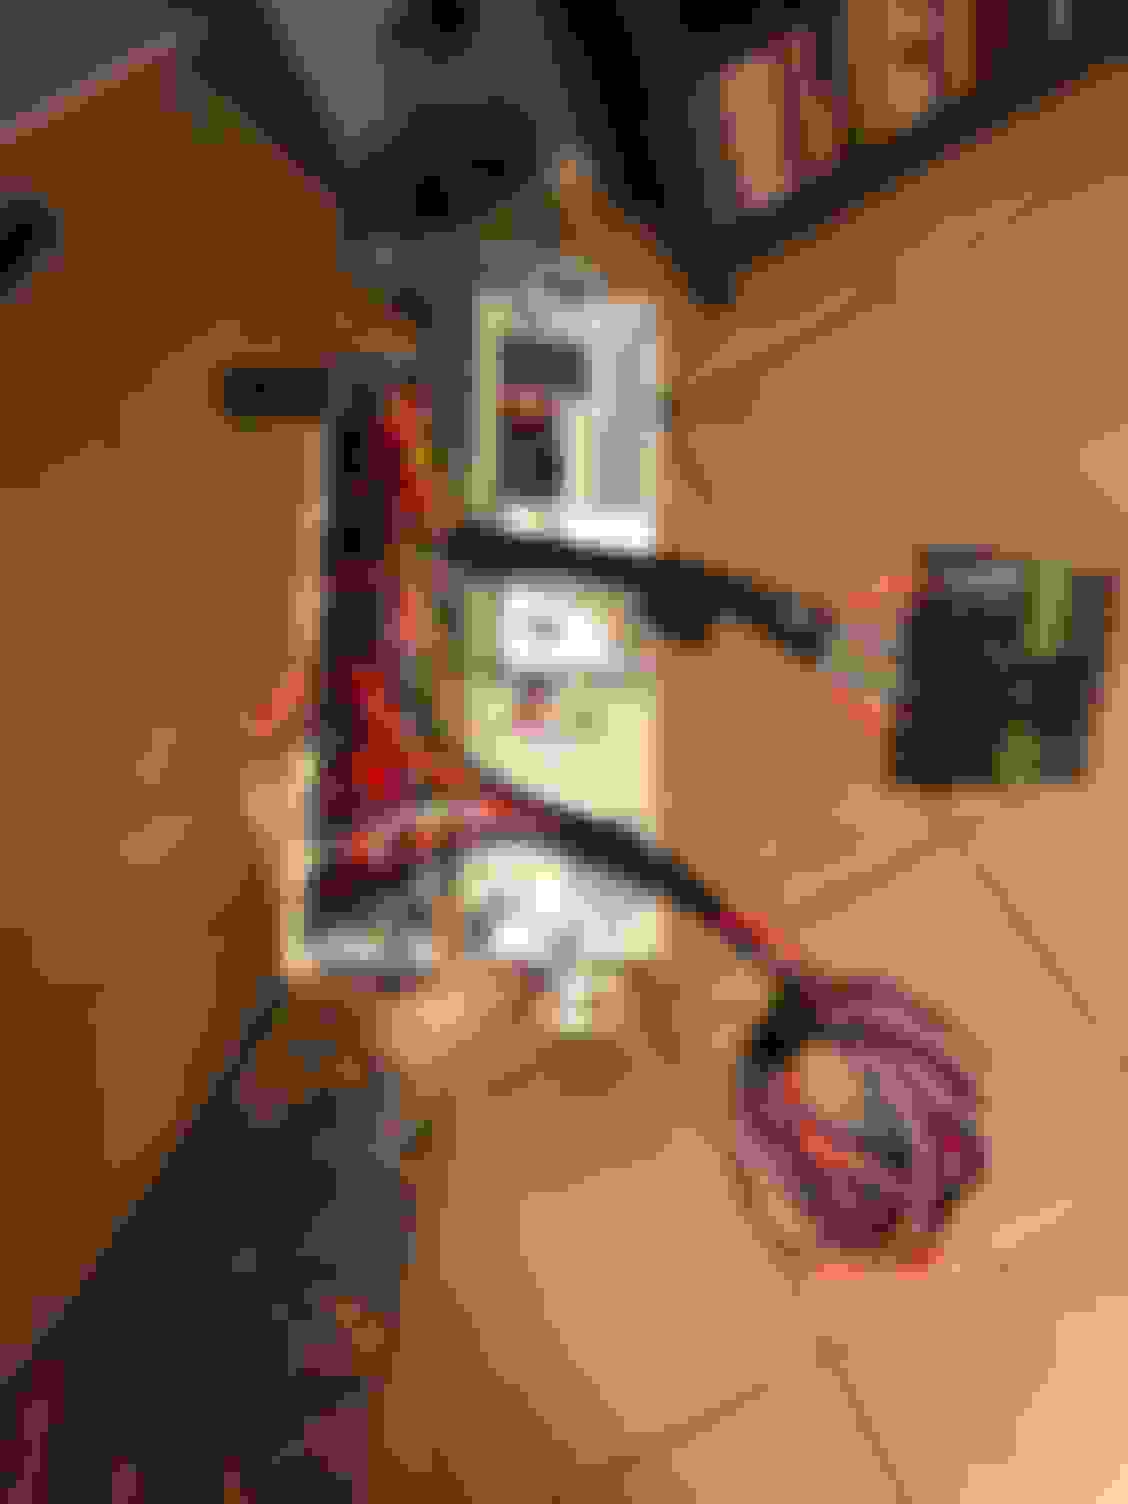
Ran the wiring for my rear Harrop E-Locker today. I still have to install my relay bank and run control wiring to my switches. I take my time to do any wiring be it small or large projects. I took the wiring that came with the locker, put expandable sleeving over that, and then wire loom over that. Before running it I checked continuity to make sure that the connector was made up correct and it passed. I wanted the locker wire to be secure and less prone to damage so I ran it up and along the E-Brake. I was able to feed it through the frame channel in front of the gas tank bringing it over to the left side of the truck. From there it runs up the panels under the drivers seat up the the brake booster area. Sorry the pictures aren�t the best
I also installed my URD Rear 02 Simultor. I ordered it months ago but finally got around to plugging it in. It is attached to the rear O2 sensor and I have the module mounted in the trays that run from from under the driver
I got more wiring done for my switch panel. I still have more to do. The weather pack connector you see contains all the wires that activate relays in my relay panel plus one fused wire for my USB port on the panel. The rolled up wiring consists of wires for led backlighting, power to activate the relays, and grounds.
Ill finish that wiring when I get the wires fed through the firewall. My locker switches will have a safety switch on my gauge pillar so i don�t activate my lockers at high speed
After two months of extremely long hours at work I am finally able to work on my truck again. First thing I did was add my new bean bag cooler and foot vent from a first gen 4Runner. This was super easy to do.
So I finally ran all my wires for my busman relay box. I ran a new hole through the firewall. All my relay wires are going through this hole.
This is my Locker safety switch. So nobody engages them while going down the highway
Very slick man. I was looking to do the same Bussman relay setup. Doesn't matter now cuz it looks like you did a great job, but for others there's a good write-up on Tacoma world: https://www.tacomaworld.com/threads/...-block.399454/
Question - where'd you get the switch panel? or did you source the switches individually? Also, did you have to trim or clearance the dash plastic at all to make it fit?
Hey thanks for the link. I actually saw that link before. I did the cost break down and minimum order of some of the components for the switch build up and time it would take to build it and I just decided it be cheaper for me to buy from somebody. The panel I got was very well done. I can�t complain.
I got the switch panel from Paranoid Fabrication. It�s for a 2nd gen Tacoma. I had to do a little cutting of the bracket to fit my dash supports but I didn�t modify the dash at all or the trim piece.
I got all the switches off the link on paranoid fabrications website. Except for the USB charger which I got from Waytek. I believe i posted the links earlier in this thread.
The next round of parts for the next upgrade are in.
I am going to do a Rear-Up-Front swap. Old man emu rear springs up front, bilstien shocks, new shock hoops, cross-over steering, IFS steering box, U-bolt flip kit, boomerang shackles,
Did a quick upgrade the interior. I�ve seen lots of people use these LED kits so I decided to give it a try. I also have the set for the gauge cluster but haven�t installed it.
Dang no way man you're beatin me to all the mods haha. I'm in an 85 as well (wish I could say it was supercharged too though) and I'm also looking to do the high steer conversion, hoops, hanger, longer springs yada yada after I finish this cab swap. I literally have those boomerang shackles in hand too haha. But anyway, I can't remember if you're already running the Old Man Emu suspension but the rear springs are pretty dang stiff. I'm on their 2" lift heavy load spring rate right now and it's not a very forgiving ride unless I'm really loaded up and aired down. I don't doubt you've thought it all through and I guess you've got the heavier engine up front which would compensate but just figured I'd give you a heads up the OME rears pretty stiff.
But yeah, kudos to you man, that should be a fun mod regardless. Really dig your work so far, its been a really fun thread to follow lately. Good luck and keep it coming. Keep an eye out for my cab swap build thread coming soon. Aloha


 Feb 24, 2019 | 04:58 AM