When you click on links to various merchants on this site and make a purchase, this can result in this site earning a commission. Affiliate programs and affiliations include, but are not limited to, the eBay Partner Network.
I just got pictures from Zuk over at gearinstalls.com. My V6 rear and front high-pinion diffs are ready. 4.88s and harrop electric lockers front and rear.
Been following the thread.
(a) awesome build.
(b) Where did you find that switch bracket setup? Online, pulled from a junk yard?
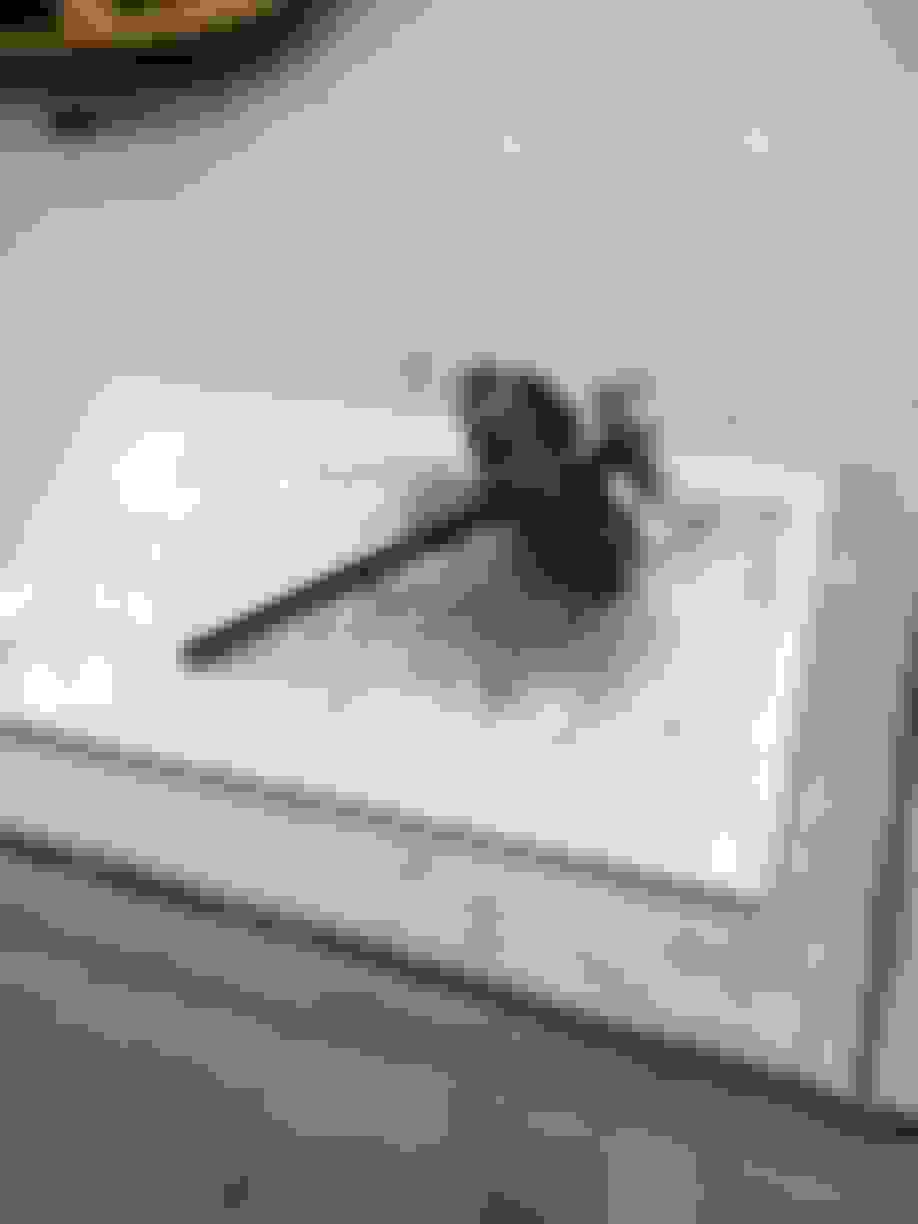
Thank you sir! I appreciate that. I got the switch bracket from Paranoid Fabircations - 1st gen Tacoma bracket. You have to modify it a little to work but it isn't hard. I then bought the switches from SWITCHES and the USB from HERE
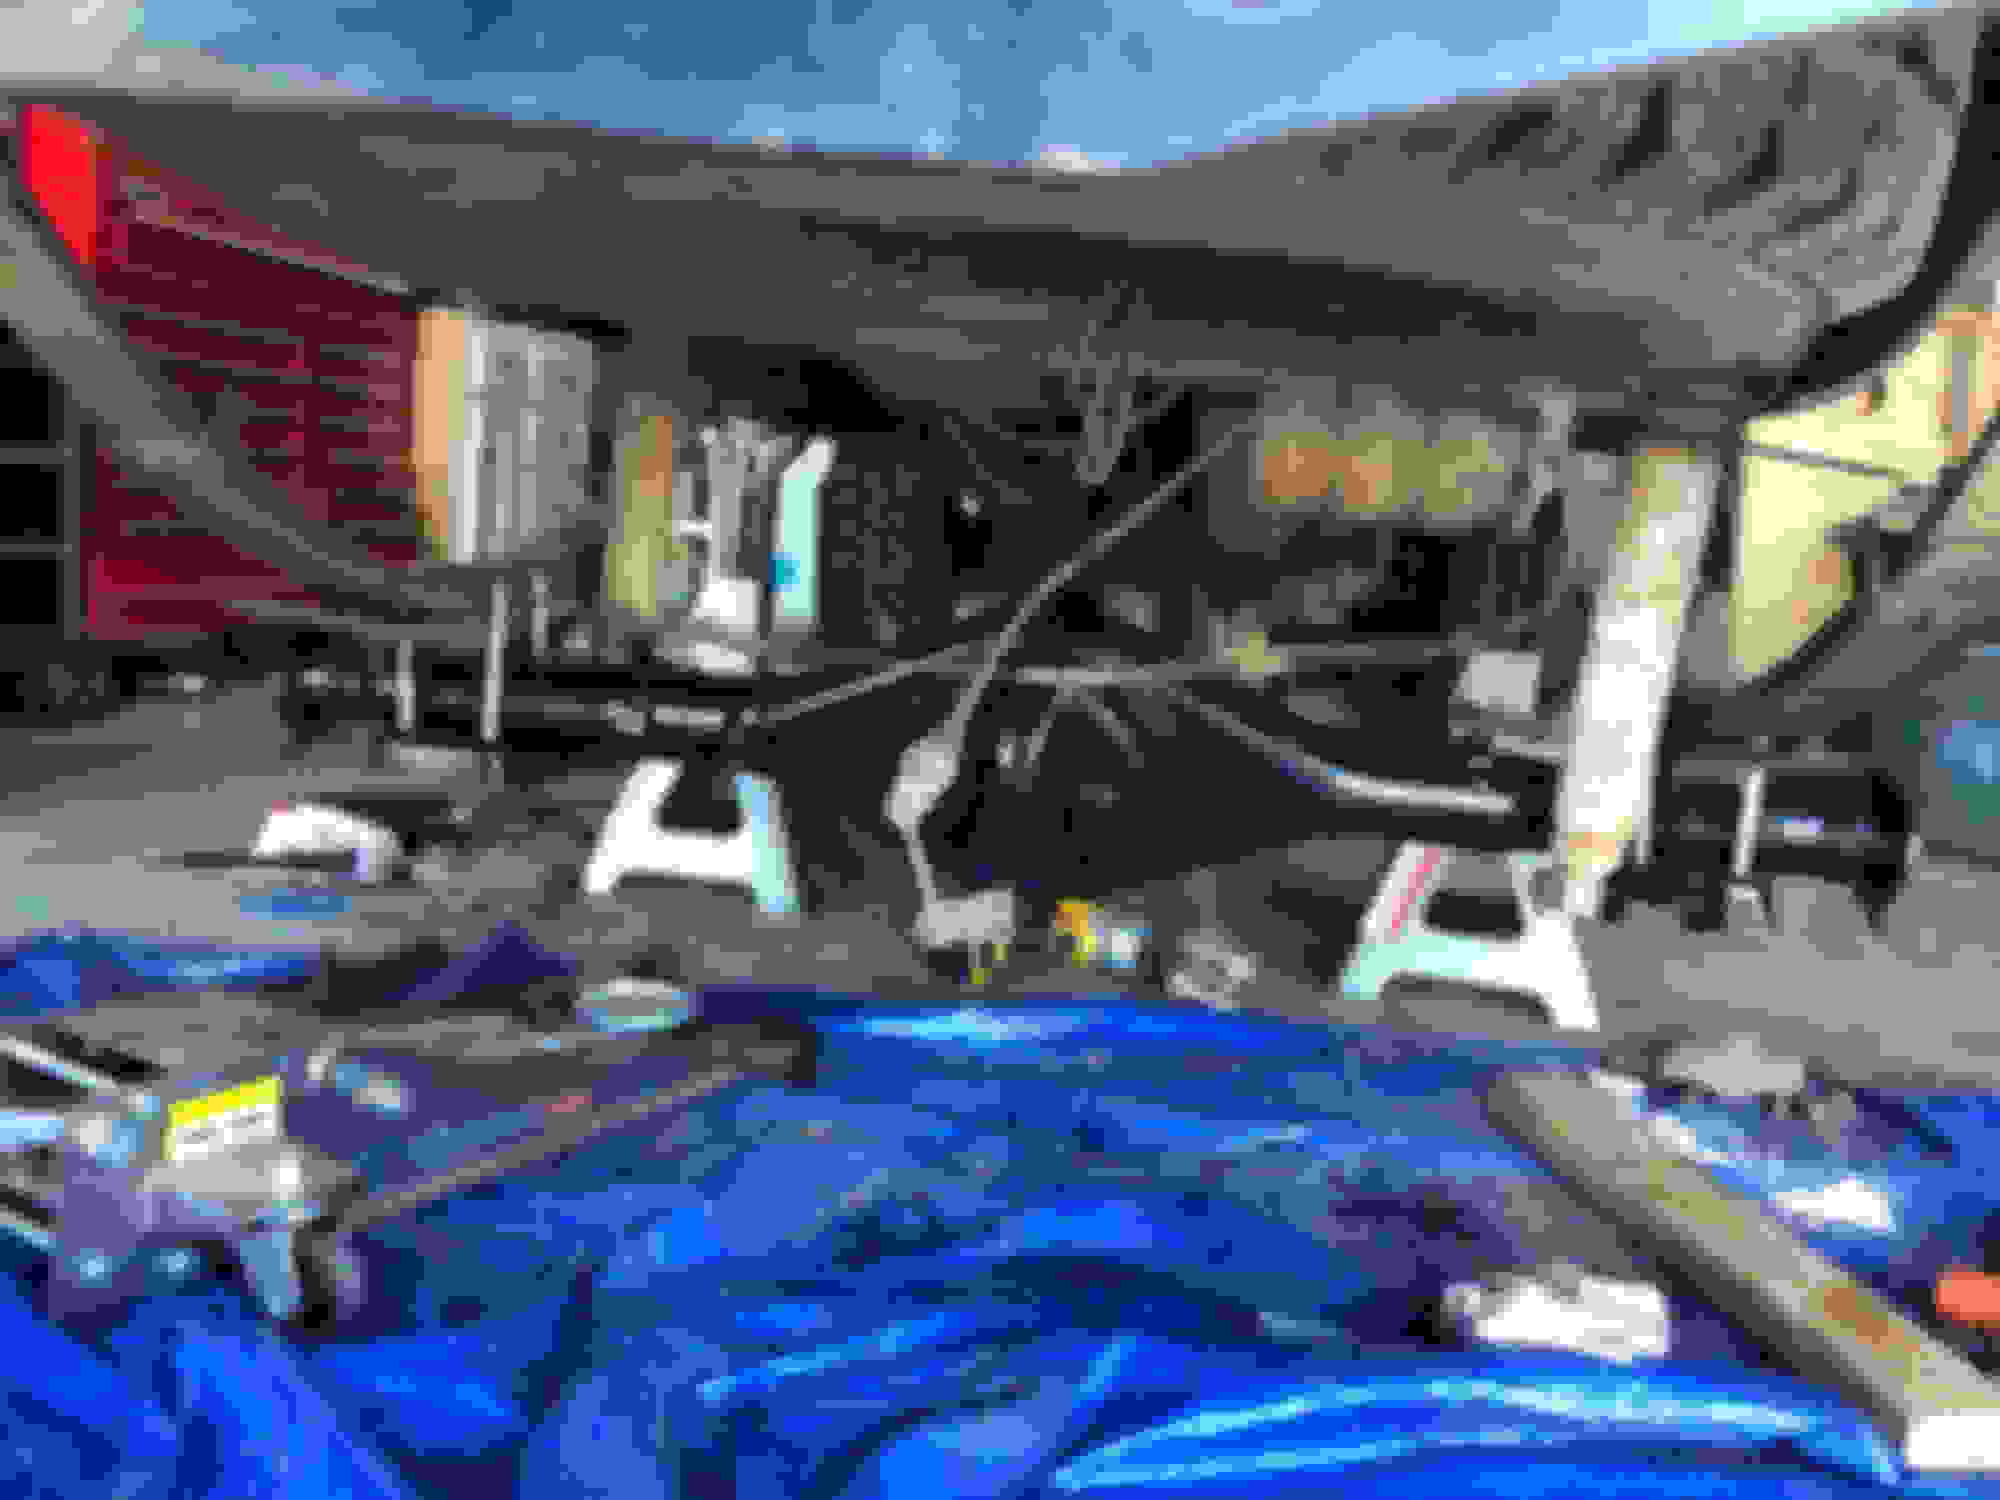
I have started rebuilding my new rear axle after I received all my parts. So expect a lot more pictures of the build coming up. Right now I haven't done too much but I have painted my rear drums and I am cleaning up the rear axle housing to be painted. I tore the axles apart. Since I don't have a press I did the poor mans method. Hitting it against plywood till they came apart.
From the marks on that plywood I can see it took a lot of blows to get the bearing off, your shoulders must be sore. I tried the poor man's method and gave up. Ended up buying the tool for pressing them off.
From the marks on that plywood I can see it took a lot of blows to get the bearing off, your shoulders must be sore.
Ha ha, well the 1st one took many, many blows. The 2nd axle came off after only a few. My shoulder's aren't horrible. My hands what took the majority of the force. I was wearing 2 pairs of very heavy gloves and my hands felt like jello for a few hours afterwards.
The axle housing is all painted. After cleaning up the axle the best I could I painted with flat black primer, and used a glossy black can over that. I was going to powder coat the housing but since 4 - Link is possibly in the future I didn't want to waste money doing that quite yet. I did quite a few layers of paint on the housing with a few extra on the bottom where rocks will be sure to ding and dent it. It has some imperfections but it's nothing I am going to worry about.
I also got my IFS Hub swap parts in as well. I am just waiting for the calipers and the rotors.
This weekend I will finally have time do the rear end portion of my upgrades. I don't really know how many people are watching my thread but I'll try to take more pictures as I move forward.
Out with the old
In with the new. This is the 92' Toyota axle housing that has been painted.
Installed the Marlin Eco Seals
Threw a little paint on the brake drums to keep them looking clean and stop some rust.
Differential installed. Harrop E-Locker. 4.88 Nitro Gears. Marlin Triple Drilled flange.
Side by side comparison.
Left is stock. Right is with new axle
Last edited by yellowtoytruck; Dec 24, 2018 at 09:15 PM.
Since I got front and rear electric lockers now I felt that I should have an OEM Sticker from a Tacoma. I know this was not at all necessary but it's the little things like thing that make me laugh.
Stock Brake Master Cylinder vs Upgraded T100 Brake Booster and Land Cruiser Master Cylinder.
Measuring the stock push rod distance ( Don't know if that is the official name ) to make sure the new booster is adjusted properly
New Master Cylinder and Brake Booster installed. Was able to find a master cylinder plug for the master cylinder and I cut the plug from the stock master and soldered them together. Had to bend the front brake line a little to make it fit correctly but I seemed to get it bent fine without looking to horrible with just my hands.
I also painted the master cylinder and the brake booster before installing it. Didn't have to do that just decided to because I had the paint and the time.
Last edited by yellowtoytruck; Jan 10, 2019 at 06:02 PM.
Reason: Adding more information
During my front end rebuild I am adding Tacoma brakes and rotors and using IFS hubs to extend the front end 3" overall without having to use spacers. This is what I did to change out the bearings races.
I removed the old ones with a brass drift. Cleaned up the internals of the hub and in preparation for the new races. I put a light coat of bearing grease on the races to help them go in.
I bought this Bearing and Race Installation kit off amazon for 30 bucks to help with the process and was surprised with the quality and how fast it sped up the process. I recommended buying one if you can.
Put it on the race and smacked it with a hammer tell it was seated.
When the races cocked one side or the other I hit and old race that I ground 15/1000th of an inch off to straighten it out then put the race took back on it.
Mocked up the spindles, back plate eliminators, and front range brake mounting bracket.
I read that is suggested to flip the dust shield upside down to still use it with the front range kit. After test fitting the hub with bearings on the spindle I found that the dust shield was too tight at this location. So I took it apart and I am going to put it in this order
Some people using the front range kit seem not to use the hub seal but I think that since Toyota put it there I am going to try to use it. I had to use Tin snips to cut it a little so it would clear the backing plate eliminator bracket. I will keep you updated how it works out.
Took the hubs completed apart to clean them up and put some new grease over everything. After doing some inspections and looking at the components I decided nothing needed to be replaced. So I cleaned it up, painted the dial red and the outside ring black. Put it all back together.
So the truck is done and is in the break in period. I didn't realize that I didn't take that many pictures while doing the front end work but I will try to update on everything that happened and the lessons that I learned doing it.
First issue that I ran into before getting the truck back on the road was that the new dual-diaphragm booster from the T100 was hitting the steering shaft. I had done this swap before in another truck and did not have any issues with it but maybe I got a different model booster. So I had to tear the master cylinder and booster back off to fix it. Luckily it wasn't really in the way by too much and it was mostly this lip that was going around the back end of the booster. To remedy this I simply took some tin snips and cut it off. I put it back on and it still had a small amount of interference. So I took it back off again and his the spot with a hammer a few times. Tried it again and no clearance issues. It didn't really deform the booster at all and I am not really worried about it ruining the functionality of the booster. So I put it back on.
You can clearly see how it was scraping
The lip cut off.
And the final picture of the master cylinder mounted back on the brake booster. You can also see the factory plug spliced into the new master cylinder level switch.
And now the progress that happened without pictures ( try to use your imagination )
I got the knuckles on with no issues. I used 0.020 shims on the upper and lower knuckle pads which gave me 15lbs of knuckle bearing preload.
While completely assembling one of the front end sides I found out that the brake bracket order was making the caliper hit the rotor. This was aggravating because it caused me to have to take the hub back off and bearings to re-order the components. I tried it one more order and had the same results. I took some time and scoured the internet for what order this FROR bracket should be in (mind you this was over the weekend where FROR was closed so I couldn't call them). I also called a guy down here I met through a 4Runner group who had done the same swap. I came to the conclusion that I could ditch the backing plate eliminator and the hub seal if needed. I took it back apart and redid the order and everything mounted fine. Well kind of. I could not get the caliper mounting bolts to go in in the front of the rotor due to interference with the steering components. So my next option was to move the brake bracket to the rear of the rotor like these Toyota's did stock. Well by doing the new brake mounting bracket interfered with the old stock brake mounting hole and bracket. I called my friend again and said to remedy this I could either cut the stock mounting off or swap the knuckles from left to right. Well, you could call me lazy, but since I had both knuckles on the truck, completely filled with grease and with the correct shims in. I did not want to take the time to redo everything so I cut the brackets off. A sawzall and a grinder later the the brakes are mounted fine and the tires are back on.
My next issue came when it came to bleed the brakes. I had a friend come and help bleed the brakes. I started in the back left and when my buddy went to press the pressure up all the fluid started draining from the front right. Come to find out that the brake caliper had a bad seal so all the fluid was leaking out of there. I was dead in the water at this point. Had to buy a new caliper. Installed that and I bled them and got the truck running and driving. Well driving down the road but my brake pedal felt softer and the back brakes kept locking up while the fronts barely seemed to grab. I bled the brakes a few more times thinking that I didn't get all the air out with similar issues. I reached out on this forum ( Link to troubleshoot thread ) and people suggested the LSPV was bad or needed bled, some people on a Facebook group suggested I had the master cylinder hooked up incorrectly, and others suggested the brake booster adjustment rod was the wrong length causing the issues. I tried running my truck with the LSPV all the way up and all the way down with similar issues. Bled everything again. Same issue. Swapped back to the original brake booster. Same issue.
I took the time to sit back and calm down and think. I came to the realization that since I had to put the calipers to the back of the rotor they are now upside down. Since the are upside down the bleeder valve was now at the lowest point of the caliper, not the highest. So I swapped the left and right caliper and the problem went away. Now I am finally back to driving and everything is going great so far.
I took the first day to just take the gf on rides around the neighborhood. I would drive for about 10 minutes going around 20-25MPH and then let the diff cool down. I did that a few times then started around town. I probably put down 50 miles before I brought her on the highway. So far I so good. No issues. The thing I was worried most about was death wobble after doing so much work on the front end.. So far I haven't had it so I hope it stays that way.
Last edited by yellowtoytruck; Jan 22, 2019 at 11:39 AM.


 Nov 29, 2018 | 10:37 PM