
Outsane's 1984 4Runner Build Thread
 Sep 4, 2012 | 06:24 PM
#421
Thread Starter
Registered User

Joined: Jun 2006
Posts: 2,711
Likes: 4
From: San Diego
I used acura TL springs.. and I have a lift... there is an extensive ZUK thread some where...
I had a crack in my aftermarket header... so over the weekend I swapped it out for stock... It does seem to be chocked a bit, especially at higher rpms.. but it is quieter..
I had a crack in my aftermarket header... so over the weekend I swapped it out for stock... It does seem to be chocked a bit, especially at higher rpms.. but it is quieter..
Sep 7, 2012 | 07:32 AM
#422
Registered User
Joined: Jul 2012
Posts: 752
Likes: 2
From: Austin, TX
I was doing a Google image search for Zuk Mod to show a friend what it is, and your 4Runner came up. I saw the thumbnail and thought, "I've never parked my truck there..."
I didn't realize our Runner's looked so similar at first glance. Of course, I'm jealous of the SAS on yours, among other things.
I didn't realize our Runner's looked so similar at first glance. Of course, I'm jealous of the SAS on yours, among other things.
Sep 8, 2012 | 01:34 PM
#424
Registered User
Joined: Jul 2012
Posts: 4
Likes: 0
From: Montreal city
What?!?....no...i mean yes.... i do believe we had this conversation already, lets not jeopardize future safety measures! Besides, i'm reducing my carbon footprint by recycling/repurposing a vehicle 20+ years old. .....it goes something like this....
example:
me(addict):i need brakes on the 4Wallet, and i'm going to put bigger t-100 anchors on her so that when you drive it you feel more confident in the pedal and stopping power. They are a little more $$ then stock, but you and the boy are worth every dime.
Sugar(the girl): Toyotas are great, why are you changing the original design
Me: because over the past 20 years leaps and bounds have been made to make vehicles safer, and because Yotatech is such a family driven community, i discovered that many guys are putting better brakes on their vehicles to keep their loved ones safer.
Sugar: Is that why you are welding all that steel around the truck(points at sliders and bumpers)
Me: Absolutely!
Sugar: well thats great, but why put the effort into a 20plus year old vehicle, lets just buy a newer one, that is already safer?
Me resisting the urge to scream bloody heck)Because we are being responsible humans and reducing our carbon footprint by recycling, just like you do in the house.
Sugar: Really?(Rolls eyes)
Me:If we buy a new car, this one goes in the trash, and polutes as it rots...which is a great point, honey, we need to convert the runner to a newer clean burning diesel like the rest of the world is running. Plus better MPG, and that means a cleaner world
Sugar: (eyes glazing over)...well she needs a paint-job!
Me: exactly, you can choose the color and idea...
something like that...think safe!
example:
me(addict):i need brakes on the 4Wallet, and i'm going to put bigger t-100 anchors on her so that when you drive it you feel more confident in the pedal and stopping power. They are a little more $$ then stock, but you and the boy are worth every dime.
Sugar(the girl): Toyotas are great, why are you changing the original design
Me: because over the past 20 years leaps and bounds have been made to make vehicles safer, and because Yotatech is such a family driven community, i discovered that many guys are putting better brakes on their vehicles to keep their loved ones safer.
Sugar: Is that why you are welding all that steel around the truck(points at sliders and bumpers)
Me: Absolutely!
Sugar: well thats great, but why put the effort into a 20plus year old vehicle, lets just buy a newer one, that is already safer?
Me
resisting the urge to scream bloody heck)Because we are being responsible humans and reducing our carbon footprint by recycling, just like you do in the house. Sugar: Really?(Rolls eyes)
Me:If we buy a new car, this one goes in the trash, and polutes as it rots...which is a great point, honey, we need to convert the runner to a newer clean burning diesel like the rest of the world is running. Plus better MPG, and that means a cleaner world
Sugar: (eyes glazing over)...well she needs a paint-job!
Me: exactly, you can choose the color and idea...
something like that...think safe!
Sep 17, 2012 | 12:32 AM
#426
Seen where you mentioned the Acura springs and went to the first page to start scanning where you did it and seen where you had it listed. Thanks, it makes it quick and easy to find. You got some other things I will be looking at. I think it was Chefs thread where I was talking about different springs and didnt know of the Acuras. You are doing great work and great info.
Oct 15, 2012 | 10:07 AM
#427
Thread Starter
Registered User
Joined: Jun 2006
Posts: 2,711
Likes: 4
From: San Diego
Thanks Terry
Seems to be an uphill battle lately.
I have had two headers break, stock and my aftermarket..
I have a nasty shake, that I think is related to my tires. I tried swapping back in my stock diff to see if it made it go away.. no dice..
I just bought at a 8 in Tuffy off Ebay for about half price... and been testing out Motorola TK30 blueTooth kit.
Last edited by Outsane; Oct 15, 2012 at 10:36 AM.
Oct 22, 2012 | 10:34 AM
#428
Thread Starter
Registered User
Joined: Jun 2006
Posts: 2,711
Likes: 4
From: San Diego
Soft Installed Tuffy 8" from an early bronco... barely fits...
replaced the front u-joint.. .it was giving alot of vibration issues..
I also put back on the aftermarket header and thinking about putting a 8" flext pipe so I con't crack it again.
replaced the front u-joint.. .it was giving alot of vibration issues..
I also put back on the aftermarket header and thinking about putting a 8" flext pipe so I con't crack it again.
Oct 24, 2012 | 12:44 PM
#429
Registered User
iTrader: (2)
Joined: Dec 2009
Posts: 2,159
Likes: 7
From: Pleasanton, CA - SF Bay Area
Sorry about all the bad luck! I looked at the 8" Tuffy but I think it's just too darn big. I installed the 6.5" version this summer and LOVE it. Below is my write up from the "what did you do to your rig today" thread, with photos.
-Phil
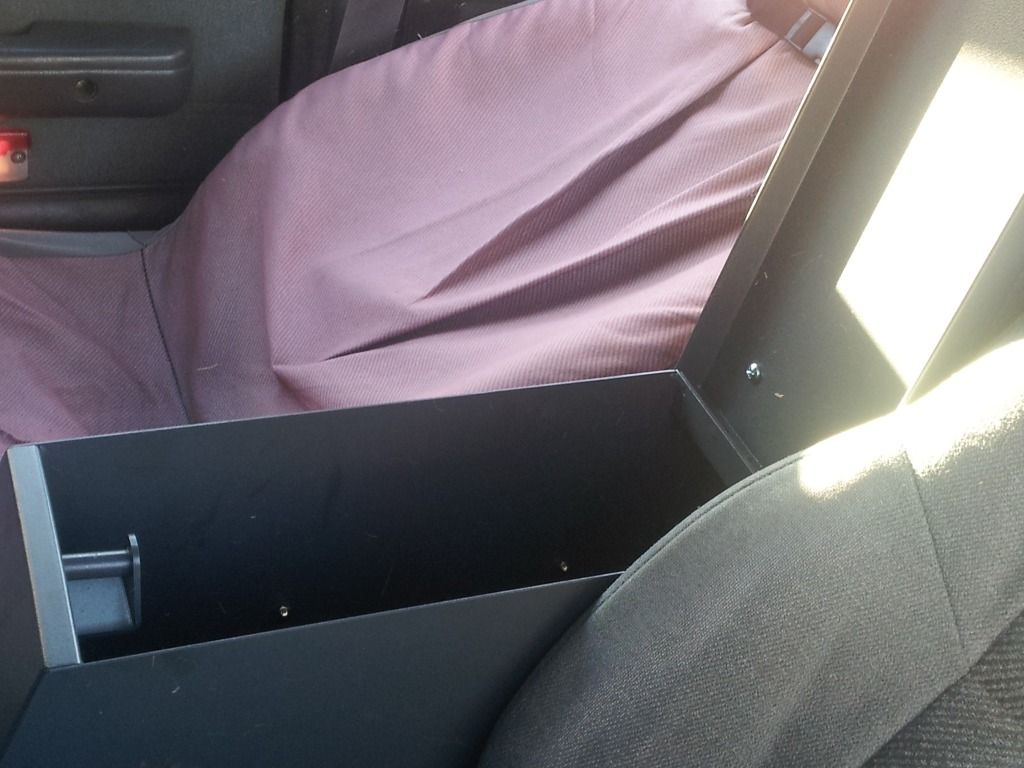
I've had this thing since January and just in March installed it loosely with one bolt and a nylon locknut (when I got under it this weekend, the nut just came off - great timing!). The thing was sitting in the console location, but wobbled all over the place and was no more secure than a paper bag. I've been meaning to get to this forever and finally did. I also wanted to mount the cupholders, have enough room for my transfer case shifter to work, and to fold down the rear seats of the 4runner - it FITS!
The console, in its loosely attached form, didn't have the front 2 cupholders instealled yet. I attached them this weekend, and then made a cutout template for the bottom of the console using a carboard box. I used a sharpie and a punch to mark the holes. I then lined up the template on the tunnel, held it in place with the front bolt that I'd already used, and placed the console on top, sliding it back as far as I could to make room for the shifter and still be able to fold seats down. Then, I used the punch to mark how far back from the first hole to go. I simply measured the distance between the front 2 holes (old and new), and then added that distance to the 2 rear holes, punched and drilled. Now, I did take the template and a tape measure under the truck, using the first hole as a guide, and measured to ensure I would not drill anything I shouldn't (like brake lines....). I got DAMN lucky and missed the brakelines by about 1/4" (maybe less!).
All in all, very happy with it - it's in there solid (I added some wider washers to distribute the hold down force some more inside the console -it doesn't wobble at all now)
Couple notes:
1) The provided seatbelt holders won't work - they don't line up. But, this is so snug I don't think your belt receptacles are going anywhere!
2) The edges of the cupholder assembly are sharp on the corners...I may later file them down so they don't devour my seats.
Here are some photos:
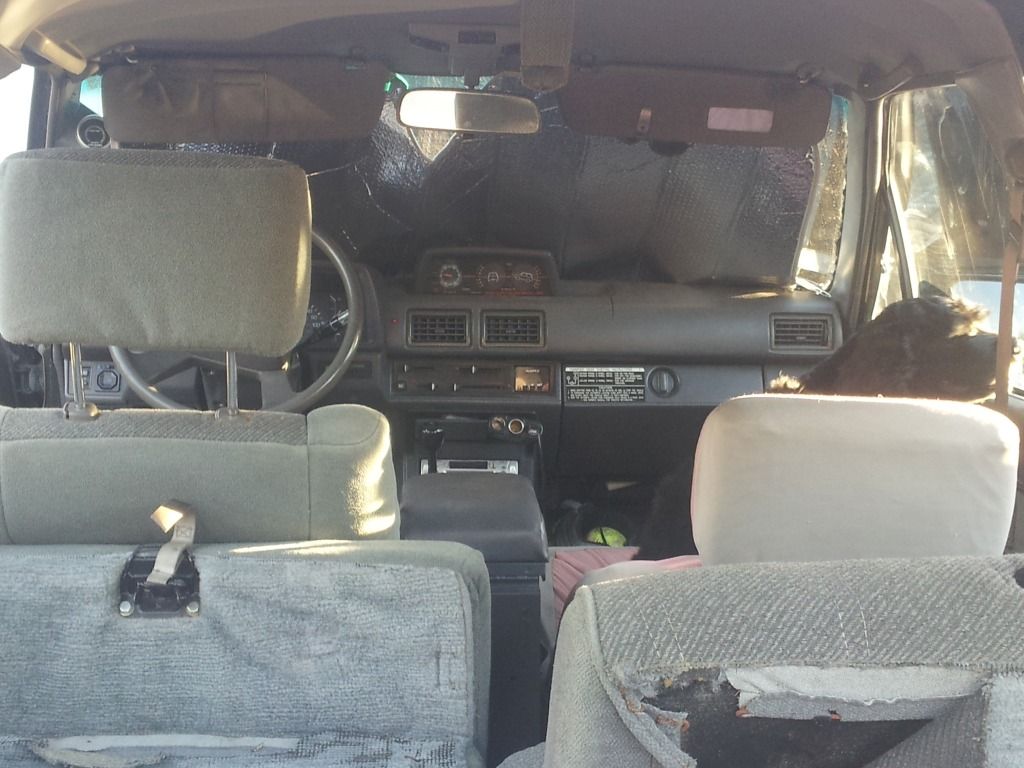
Cupholders CLEAR the shifter!
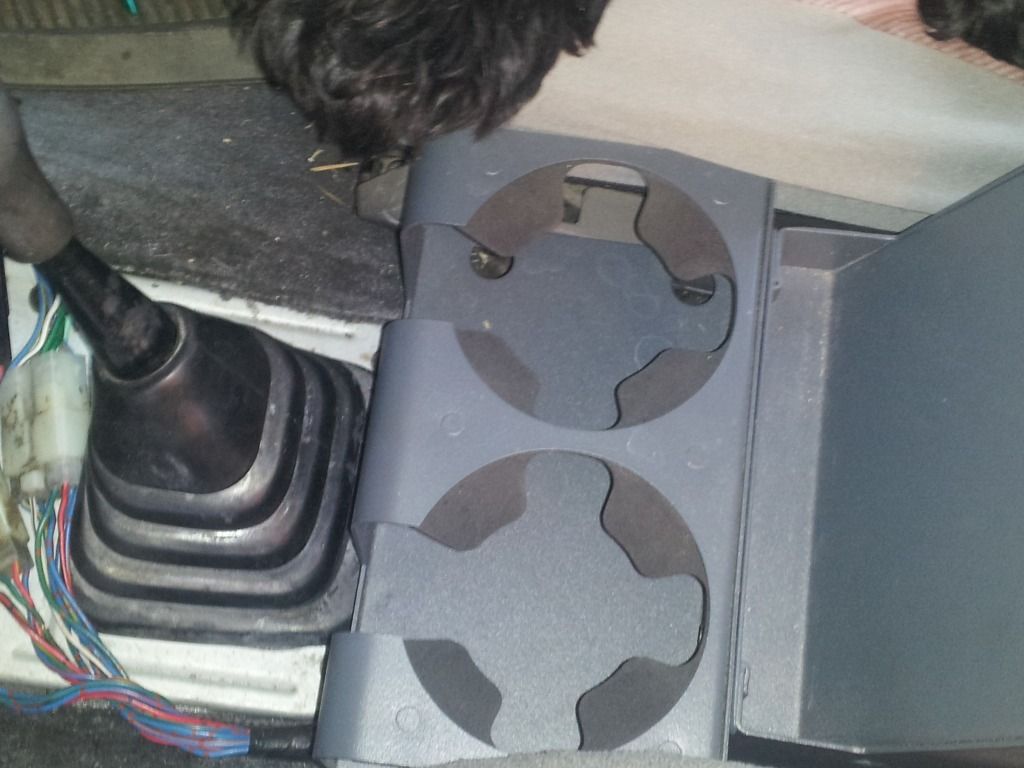
Fits nice and snug:
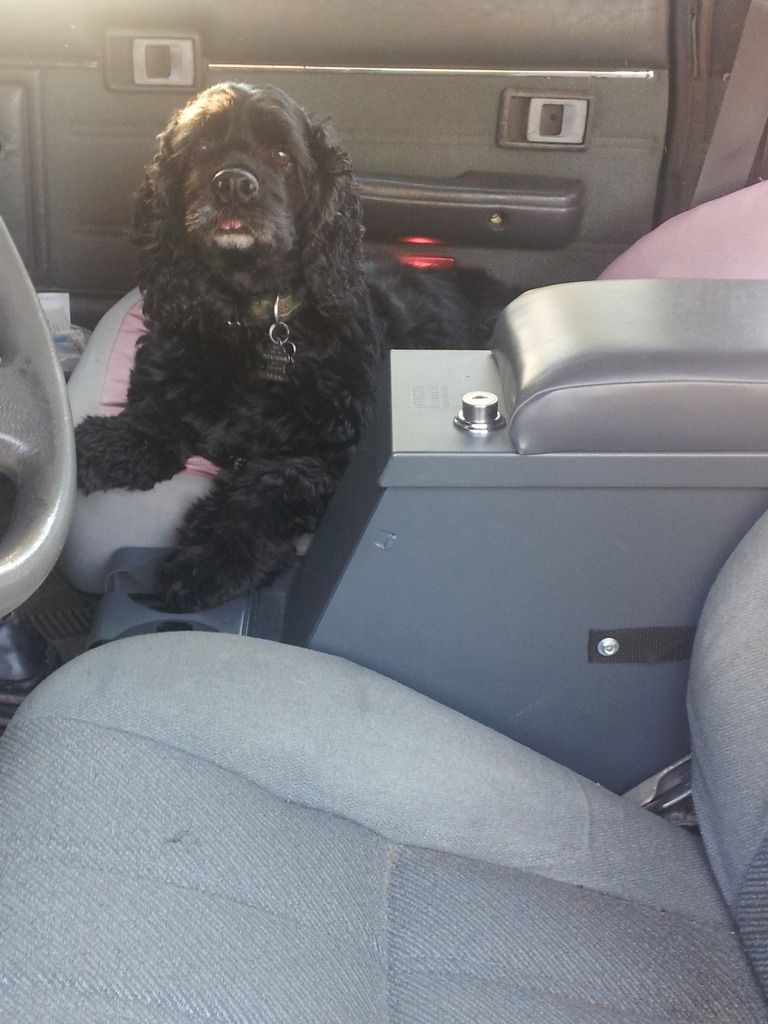
Dog-approved!
And, yes, the seats fold down:
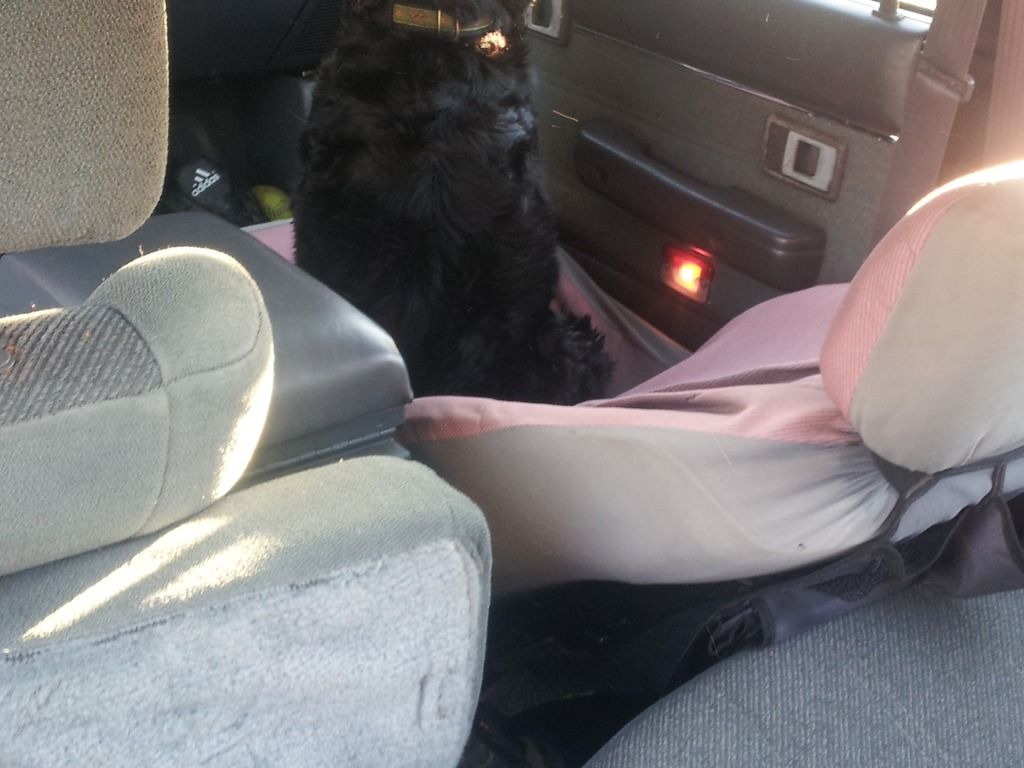
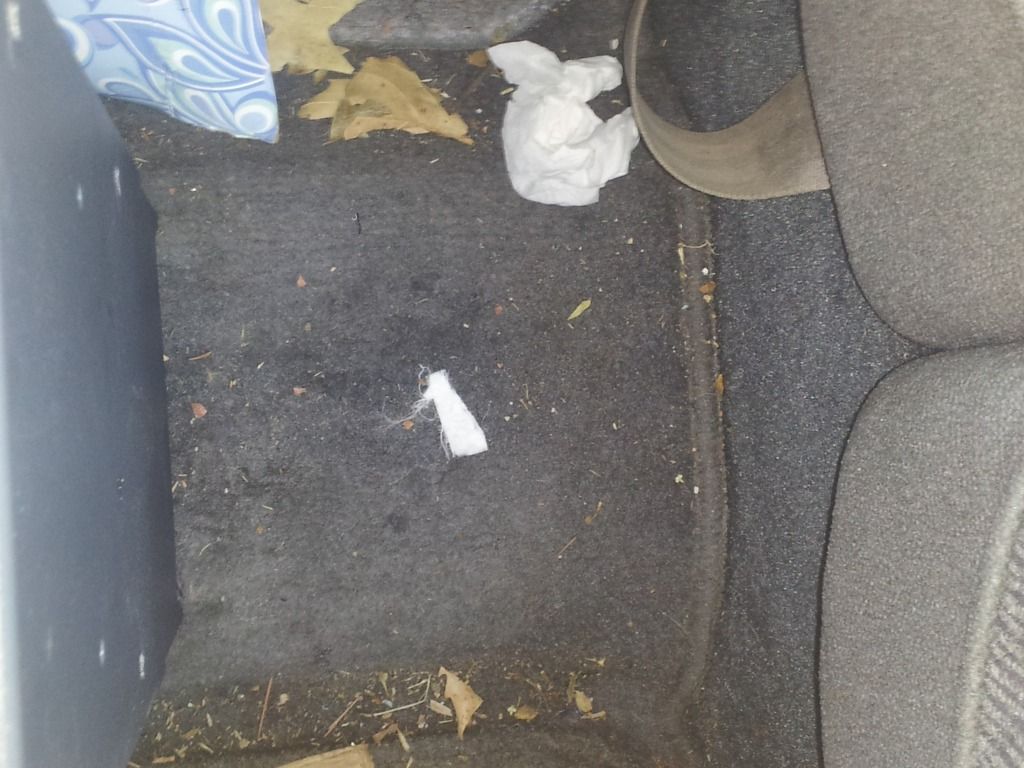
The Space behind the console:
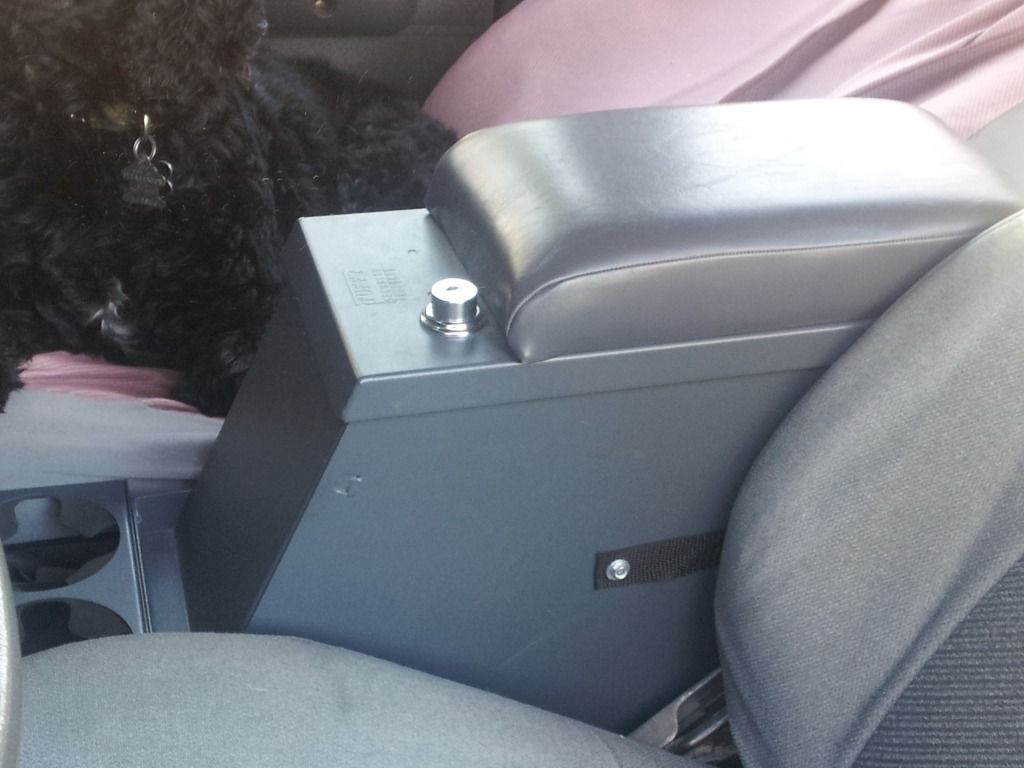
Open for business! That's not weaka$$ lock mechanism!
View from the back (Yes, it's a little taller than the OEM one but really padded):
Bolts & washers (I used my own for the front, single bolt, since the provided one was too short; I added the larger washers as well to make it hold down better):
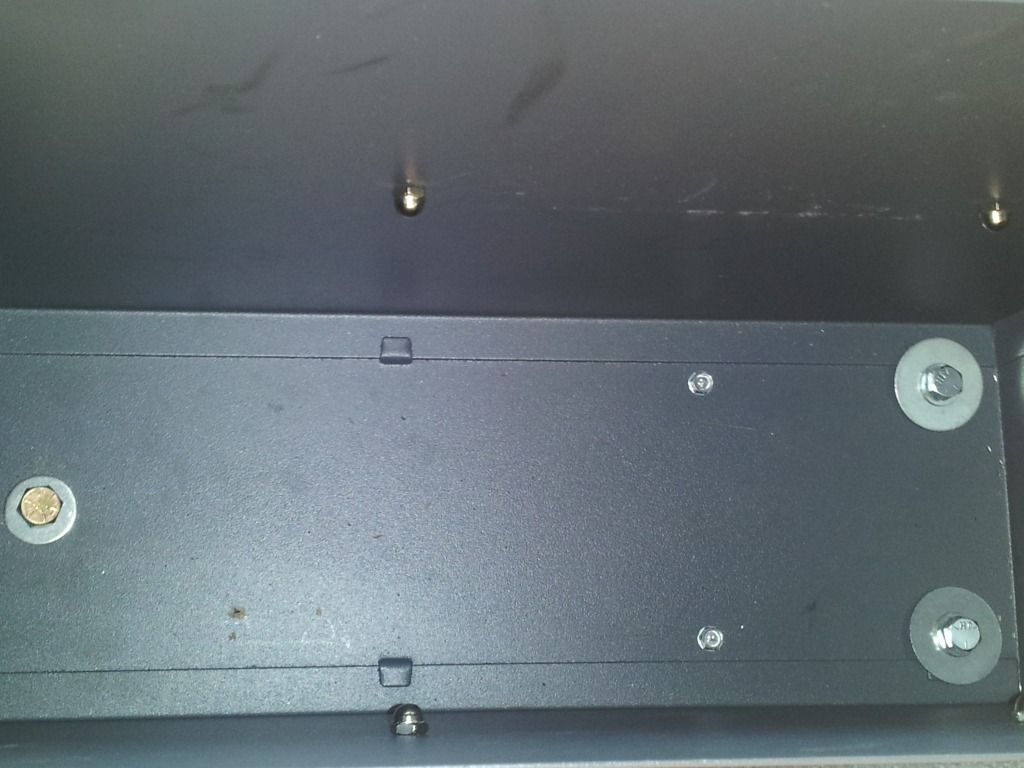
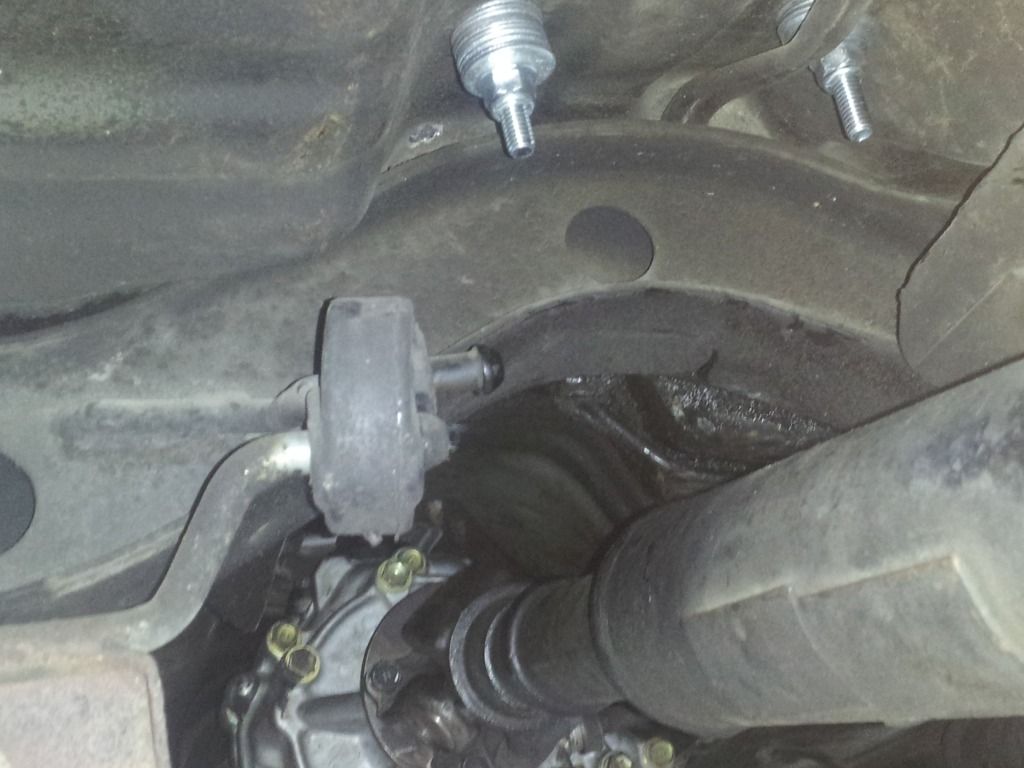
Underneath the 2 rear bolts; taken from behind the T case, looking toward front of truck (I had to use a stack of washers as a spacer, since the threads on the long bolts didn't go as need as I needed for a flush fit - this kit is made for JEEPs):
Where the front bolt mounts...JUST the right size I had on hand):

This is where I JUST missed the brakeline when drilling through....WHEW!):

Now I can focus on new things like my V6 caliper upgrade and Chevy springs that I've had for 11 months
-Phil
I've had this thing since January and just in March installed it loosely with one bolt and a nylon locknut (when I got under it this weekend, the nut just came off - great timing!). The thing was sitting in the console location, but wobbled all over the place and was no more secure than a paper bag. I've been meaning to get to this forever and finally did. I also wanted to mount the cupholders, have enough room for my transfer case shifter to work, and to fold down the rear seats of the 4runner - it FITS!
The console, in its loosely attached form, didn't have the front 2 cupholders instealled yet. I attached them this weekend, and then made a cutout template for the bottom of the console using a carboard box. I used a sharpie and a punch to mark the holes. I then lined up the template on the tunnel, held it in place with the front bolt that I'd already used, and placed the console on top, sliding it back as far as I could to make room for the shifter and still be able to fold seats down. Then, I used the punch to mark how far back from the first hole to go. I simply measured the distance between the front 2 holes (old and new), and then added that distance to the 2 rear holes, punched and drilled. Now, I did take the template and a tape measure under the truck, using the first hole as a guide, and measured to ensure I would not drill anything I shouldn't (like brake lines....). I got DAMN lucky and missed the brakelines by about 1/4" (maybe less!).
All in all, very happy with it - it's in there solid (I added some wider washers to distribute the hold down force some more inside the console -it doesn't wobble at all now)
Couple notes:
1) The provided seatbelt holders won't work - they don't line up. But, this is so snug I don't think your belt receptacles are going anywhere!
2) The edges of the cupholder assembly are sharp on the corners...I may later file them down so they don't devour my seats.
Here are some photos:
Cupholders CLEAR the shifter!
Fits nice and snug:
Dog-approved!
And, yes, the seats fold down:
The Space behind the console:
Open for business! That's not weaka$$ lock mechanism!
View from the back (Yes, it's a little taller than the OEM one but really padded):
Bolts & washers (I used my own for the front, single bolt, since the provided one was too short; I added the larger washers as well to make it hold down better):
Underneath the 2 rear bolts; taken from behind the T case, looking toward front of truck (I had to use a stack of washers as a spacer, since the threads on the long bolts didn't go as need as I needed for a flush fit - this kit is made for JEEPs):
Where the front bolt mounts...JUST the right size I had on hand):
This is where I JUST missed the brakeline when drilling through....WHEW!):
Now I can focus on new things like my V6 caliper upgrade and Chevy springs that I've had for 11 months
Oct 24, 2012 | 01:54 PM
#430
Thread Starter
Registered User
Joined: Jun 2006
Posts: 2,711
Likes: 4
From: San Diego
Thanks Phil for the info.
Your post was one that pushed me to keep looking for a center console, I found this one used for half price so I thought I would give it a shot...
With the 8" wide you get the area to lock down a stereo/HAM/CB.
hope fully it all works out
Your post was one that pushed me to keep looking for a center console, I found this one used for half price so I thought I would give it a shot...
With the 8" wide you get the area to lock down a stereo/HAM/CB.
hope fully it all works out
 Feb 8, 2013 | 11:31 AM
#434
Registered User
Joined: Jul 2012
Posts: 752
Likes: 2
From: Austin, TX
Where's that emblem going?
I've been thinking of redoing the badge on the B-pillar with a metal plate.
[update]
Aaaaand I just found the thread where YOU mention the same thing.
https://www.yotatech.com/forums/f116...24/index2.html
Looks good!
I've been thinking of redoing the badge on the B-pillar with a metal plate.
[update]
Aaaaand I just found the thread where YOU mention the same thing.
https://www.yotatech.com/forums/f116...24/index2.html
Looks good!
Last edited by Ocell; Feb 8, 2013 at 11:42 AM.
 Feb 11, 2013 | 12:12 AM
#438
That looks great. With a little imagination there are all kinds of different plates you could make. For the EFI models, you might could make some to help personalize the Plenums or where the 4Runner badge goes on the tail gate. It will be awhile but could you do anything like that?
I wonder about making a "4Runner" for the faded B pillars that might could be glued right on top? Just thinking out loud.
I wonder about making a "4Runner" for the faded B pillars that might could be glued right on top? Just thinking out loud.
Feb 11, 2013 | 04:51 AM
#439
Registered User
Joined: Jul 2012
Posts: 752
Likes: 2
From: Austin, TX
Feb 11, 2013 | 07:03 AM
#440
Thread Starter
Registered User
Joined: Jun 2006
Posts: 2,711
Likes: 4
From: San Diego

this should be easier to read
That looks great. With a little imagination there are all kinds of different plates you could make. For the EFI models, you might could make some to help personalize the Plenums or where the 4Runner badge goes on the tail gate. It will be awhile but could you do anything like that?
Terry and Ocell,
I have been working on the artwork for the B-pillars, just needs some cleaning up..
Last edited by Outsane; Feb 11, 2013 at 07:43 AM.


