When you click on links to various merchants on this site and make a purchase, this can result in this site earning a commission. Affiliate programs and affiliations include, but are not limited to, the eBay Partner Network.
I have a 88 4runner with 3VZE engine... I don't know if I have blown head gaskets or not so I am seeking advice.... Ok, I got this truck from my dad a few months ago. The truck has been sitting in his backyard for about a year. I drove the truck home but as I was getting off the freeway I noticed I was losing power then the truck shut off... I pulled over let the truck cool. Once it did it started up again but now when I clutch pedal down it lost power and shut off again... Luckily I was next to a circle k so I pushed the truck in and parked it... I took the radiator cap off and added water.... Come to find out the lower radiator hose busted... I replaced it since there was an AutoZone across the street... Once change and with additional water added to the radiator I crank it over and tons of water rushed out the exhaust... I got a tow home... The next day I checked the spark plugs for wetness. The only spark plug of the 4th cylinder had wetness but it smelled like fuel. So I dried it off reinstalled it and it started up with the clutch cancel button enabled of course and with a lil effort and it started. Every time I pushed the clutch in it bogged down and shut off... Then I noticed smoke coming out of the valve cover so I decided to change the valve cover gaskets once I took off the valve covers I noticed milky residue under the drivers side valve cover but not the passengers side.... When I drained the oil from the pan the oil was black as hell but no milky or tan color showed in oil what so ever... Now, since I removed the air intake manifold I accidentally broke the fuel line that went to the fuel rail to the air intake manifold... I'm gonna be heading to the junk yard to find another but before I do I need to find out of I need to change the head gaskets... Did I mention there was oil inside the air intake manifold. But that could have been due to waaaaay to much oil in the motor... White Smoke was coming out of the tailpipe but I'm guessing that was also to due to much oil.... Please I need Help because I don't want to spend unnecessary money because I'm broker than broke... Please no suggestions of swapping motors because I do not have the money for that crap. Lol
Glad to see you posting several of the steps of the rebuild. I will refer others to it for information on how to go about it. Sure some newbies will appreciate the work you put into your postings.
so yesterday I was able to get some more done. I installed the LC Engineering kit to block off emissions, complete with 11 bolt water plate. Also installed the intake manifold, weber carb (32/26 DGAV) and fuel pump.
So during this build (re-build) I have seen multiple signs that I am not the first person to open this baby up since 1983. For one, almost all of the bolts that held on the front cover were the wrong size, which was a total PITA (someone obviously replaced the timing chain) and another thing I noticed is that someone installed a weber 32/36 which is a nice treat ... after a bunch of elbow grease and a couple cans of carb cleaner I am finding that the carb is in really good condition.
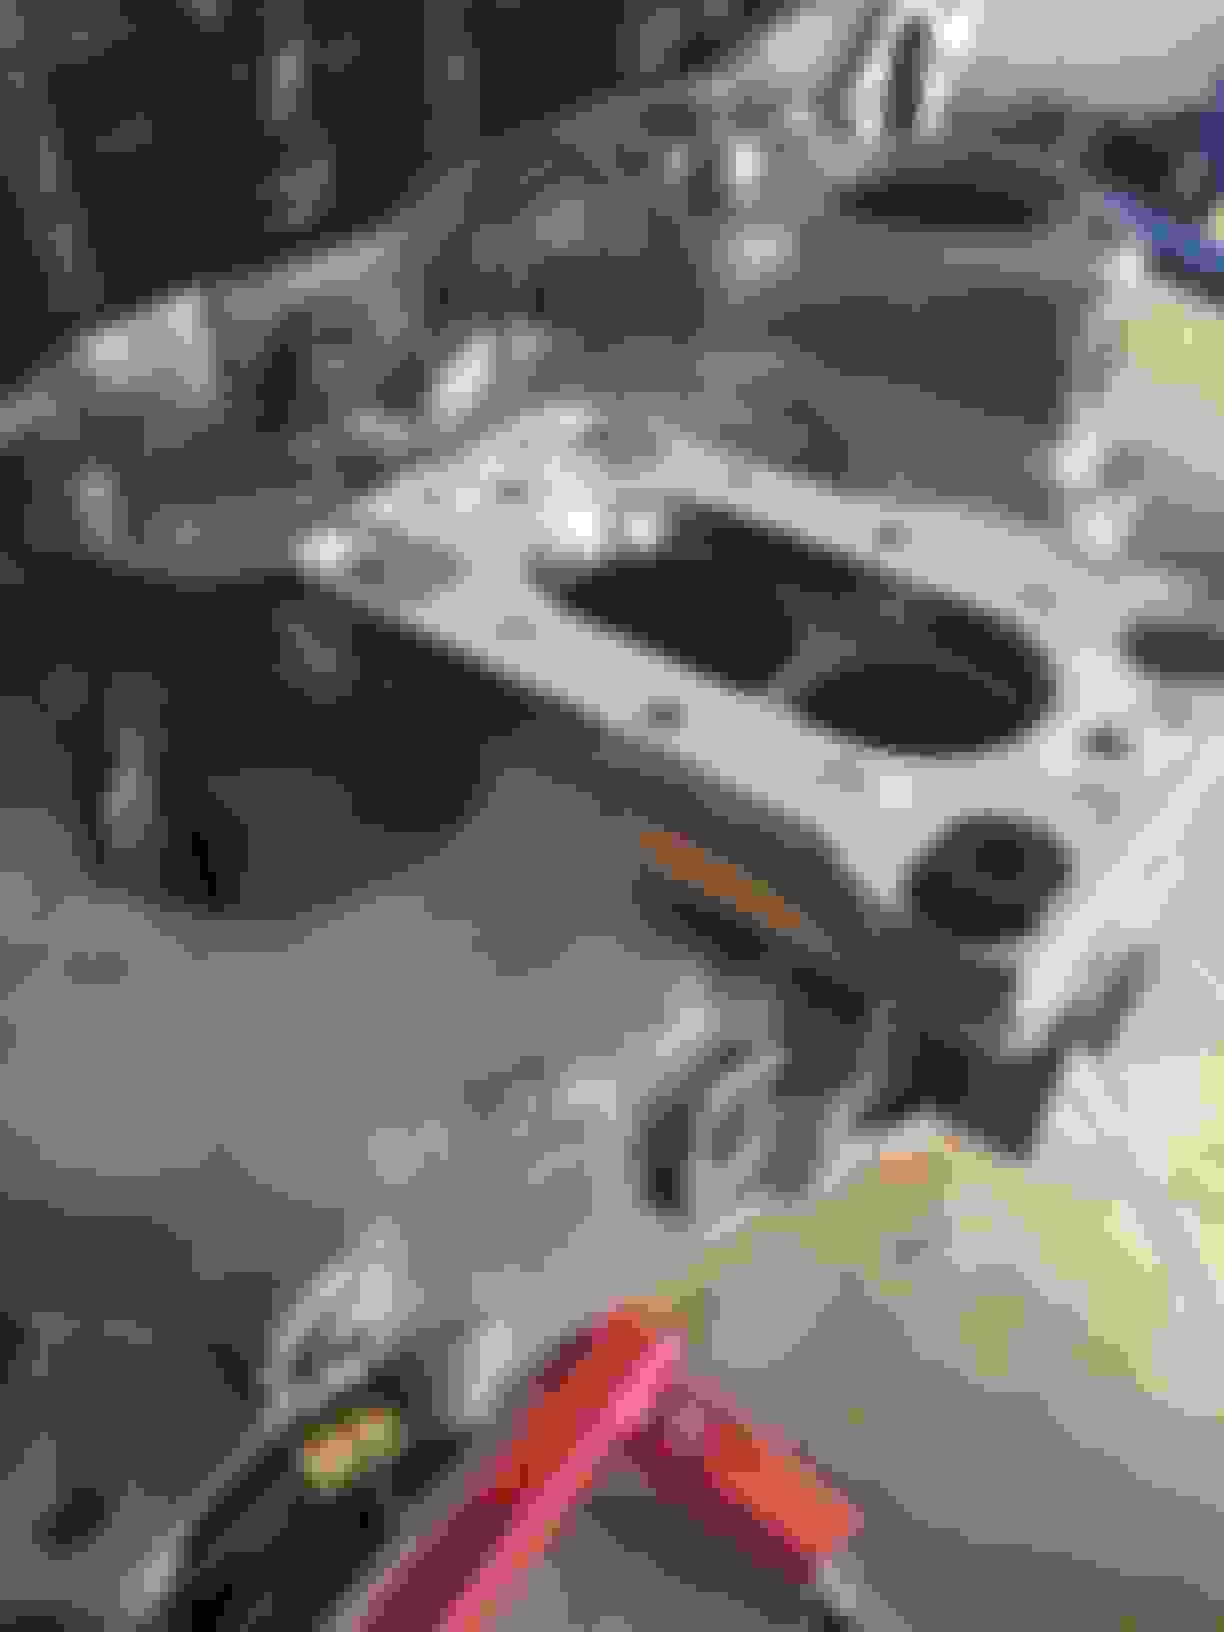
adapter plate with carb
in this picture below I ended up replacing the block-off plate (circled in yellow) with the stock plate that has the hose barb (not shown). My plan is to get manifold vacuum for PCV, from here.
So now that I have the carb cleaned up and mounted solid, I am going to modify the fuel bowl vent so that this baby will climb all angles without stalling out.
So the issue is that the stock placement of the fuel bowl vent allows for fuel to dump in to the air horn when the vehicle is a extreme angles. In turn, this causes the engine to stall out. I am going to relocate the fuel vent so that we can route the dumped fuel elsewhere.
1. drill a hole at circle yellow to create a new vent. These carbs have that port conveniently blocked off from the factory. We are going to repurpose it!
2. fill the stock fuel vent with JB Weld to plug it at circle red. this isn't as easy as it sounds. use more black than white. do not use 50/50 as the instructions say or it will be too runny.
3. insert a hose barb so that the fuel can be vented out green arrow. the hose barb you see is not from the factory, I just happen to have one that fits perfectly!
been awhile since I have been able to work on the truck. I did get the carb put back together and installed on the intake.
I spent 4 hours yesterday and 3 hours this morning and this is what I got done:
adjusted valve lash
installed fuel regulator and set to 3psi
disassembled power steering pump and installed seal kit
installed accessory brackets, power steering pump idler pulley assembly
installed alternator (I decided to go with Delco-Remey 1 wire)
installed lower rad hose pipe assembly
installed motor mounts
painted valve cover (while it was drying, my son ambushed me with a water cannon and now there is little bubbles all in the clear coat --- pretty frustrated about that)
installed distributor and set up initial timing
installed spark plugs
well its been a couple weeks since I posted... here is a current update of tasks complete
motor mounts installed
flywheel turned and installed
new pilot bearing
new clutch installed
front and back drivelines removed
transmission removed from truck
new throw-out bearing
transmission stabbed (my plan is to go back in as one assembly. has anyone done this?)
block to transmission brackets installed
94 IFS steering box rebuilt/seal kit installed (I did not tap, at this point I am not planning for Hydro-assist)
inner fender trimmed out
stock shock towers cut out
upper bump stop cut off frame
torque arm bracket removed
TG IFS mount kit installed
94 IFS steering box installed
Steering shaft set up and installed
its raining this weekend so don't know how much more I will get done.
OK, so... I got the engine/transmission installed recently. I did install as a complete assembly. I cut the top center of the core support and welded back after installation.

 Aug 22, 2015 | 10:05 PM


 (someone obviously replaced the timing chain) and another thing I noticed is that someone installed a weber 32/36 which is a nice treat
  ... after a bunch of elbow grease and a couple cans of carb cleaner I am finding that the carb is in really good condition.


 )
)