When you click on links to various merchants on this site and make a purchase, this can result in this site earning a commission. Affiliate programs and affiliations include, but are not limited to, the eBay Partner Network.
Install the lower main bearings in to the rest of the main bearing caps 1,2,4,5. Install bearing caps over crank journals and install main bearing cap bolts. hand tighten all bearing cap bolts and then slightly snug the bolts with a 1/2 ratchet with 3/4 socket.
torque the main bearing cap bolts to 76 ft lbs in the following order
Keep us posted, I have yet to rebuild the bottom end of my 22r, and this has already been informative, I was also curious as to where you get your parts from, anyways, it is looking good.
Today I had some time to finish the lower end so here we go...
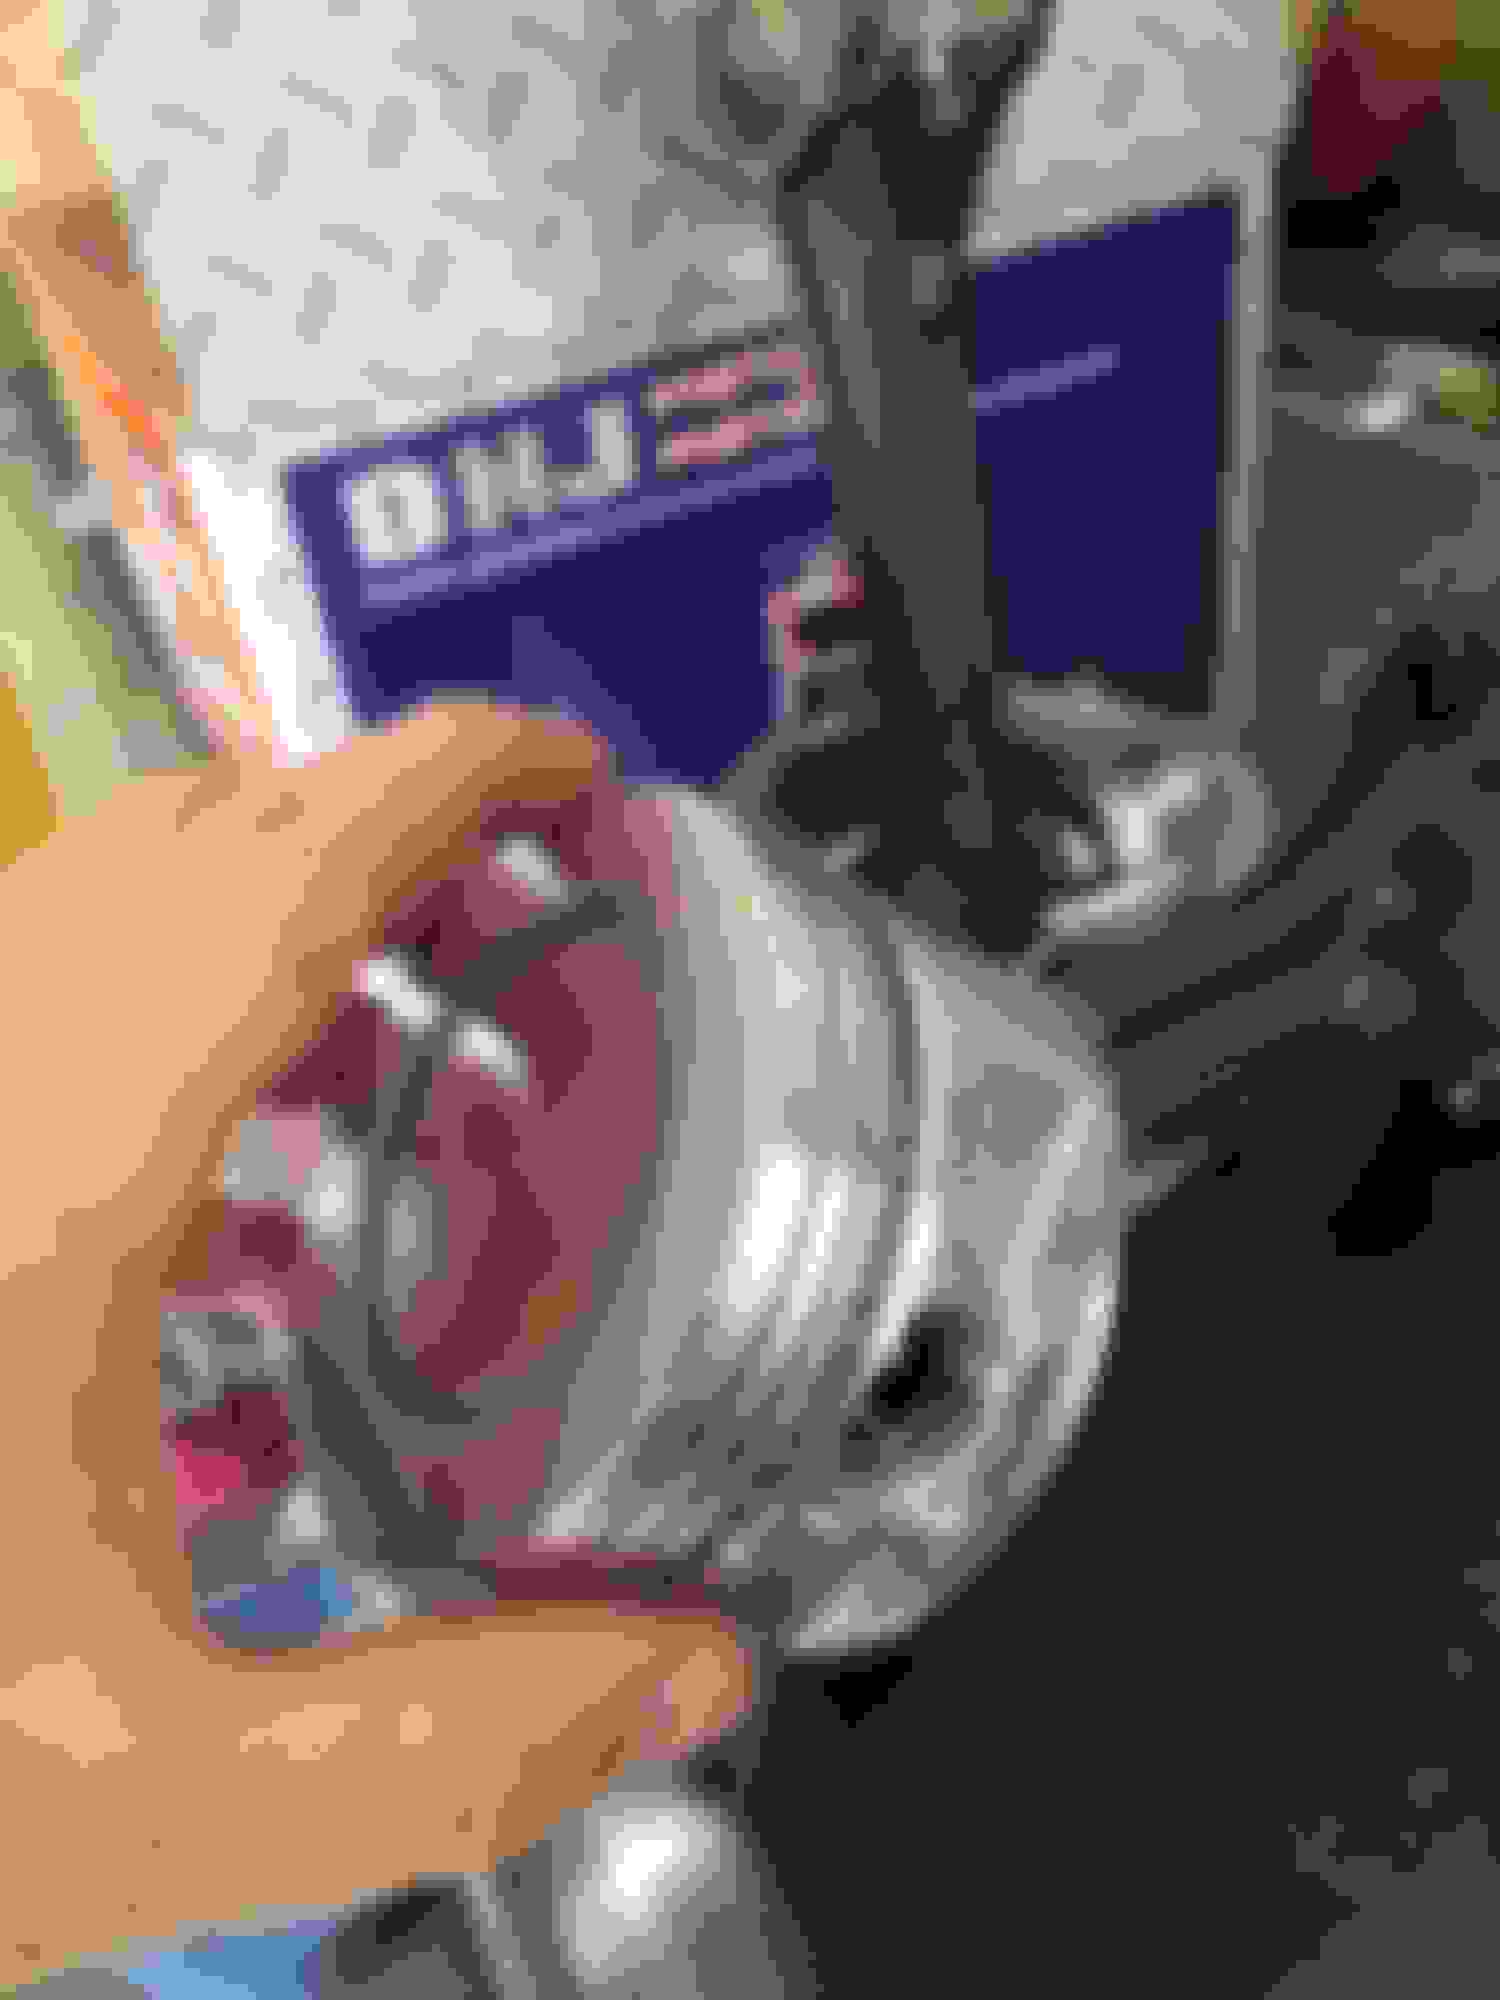
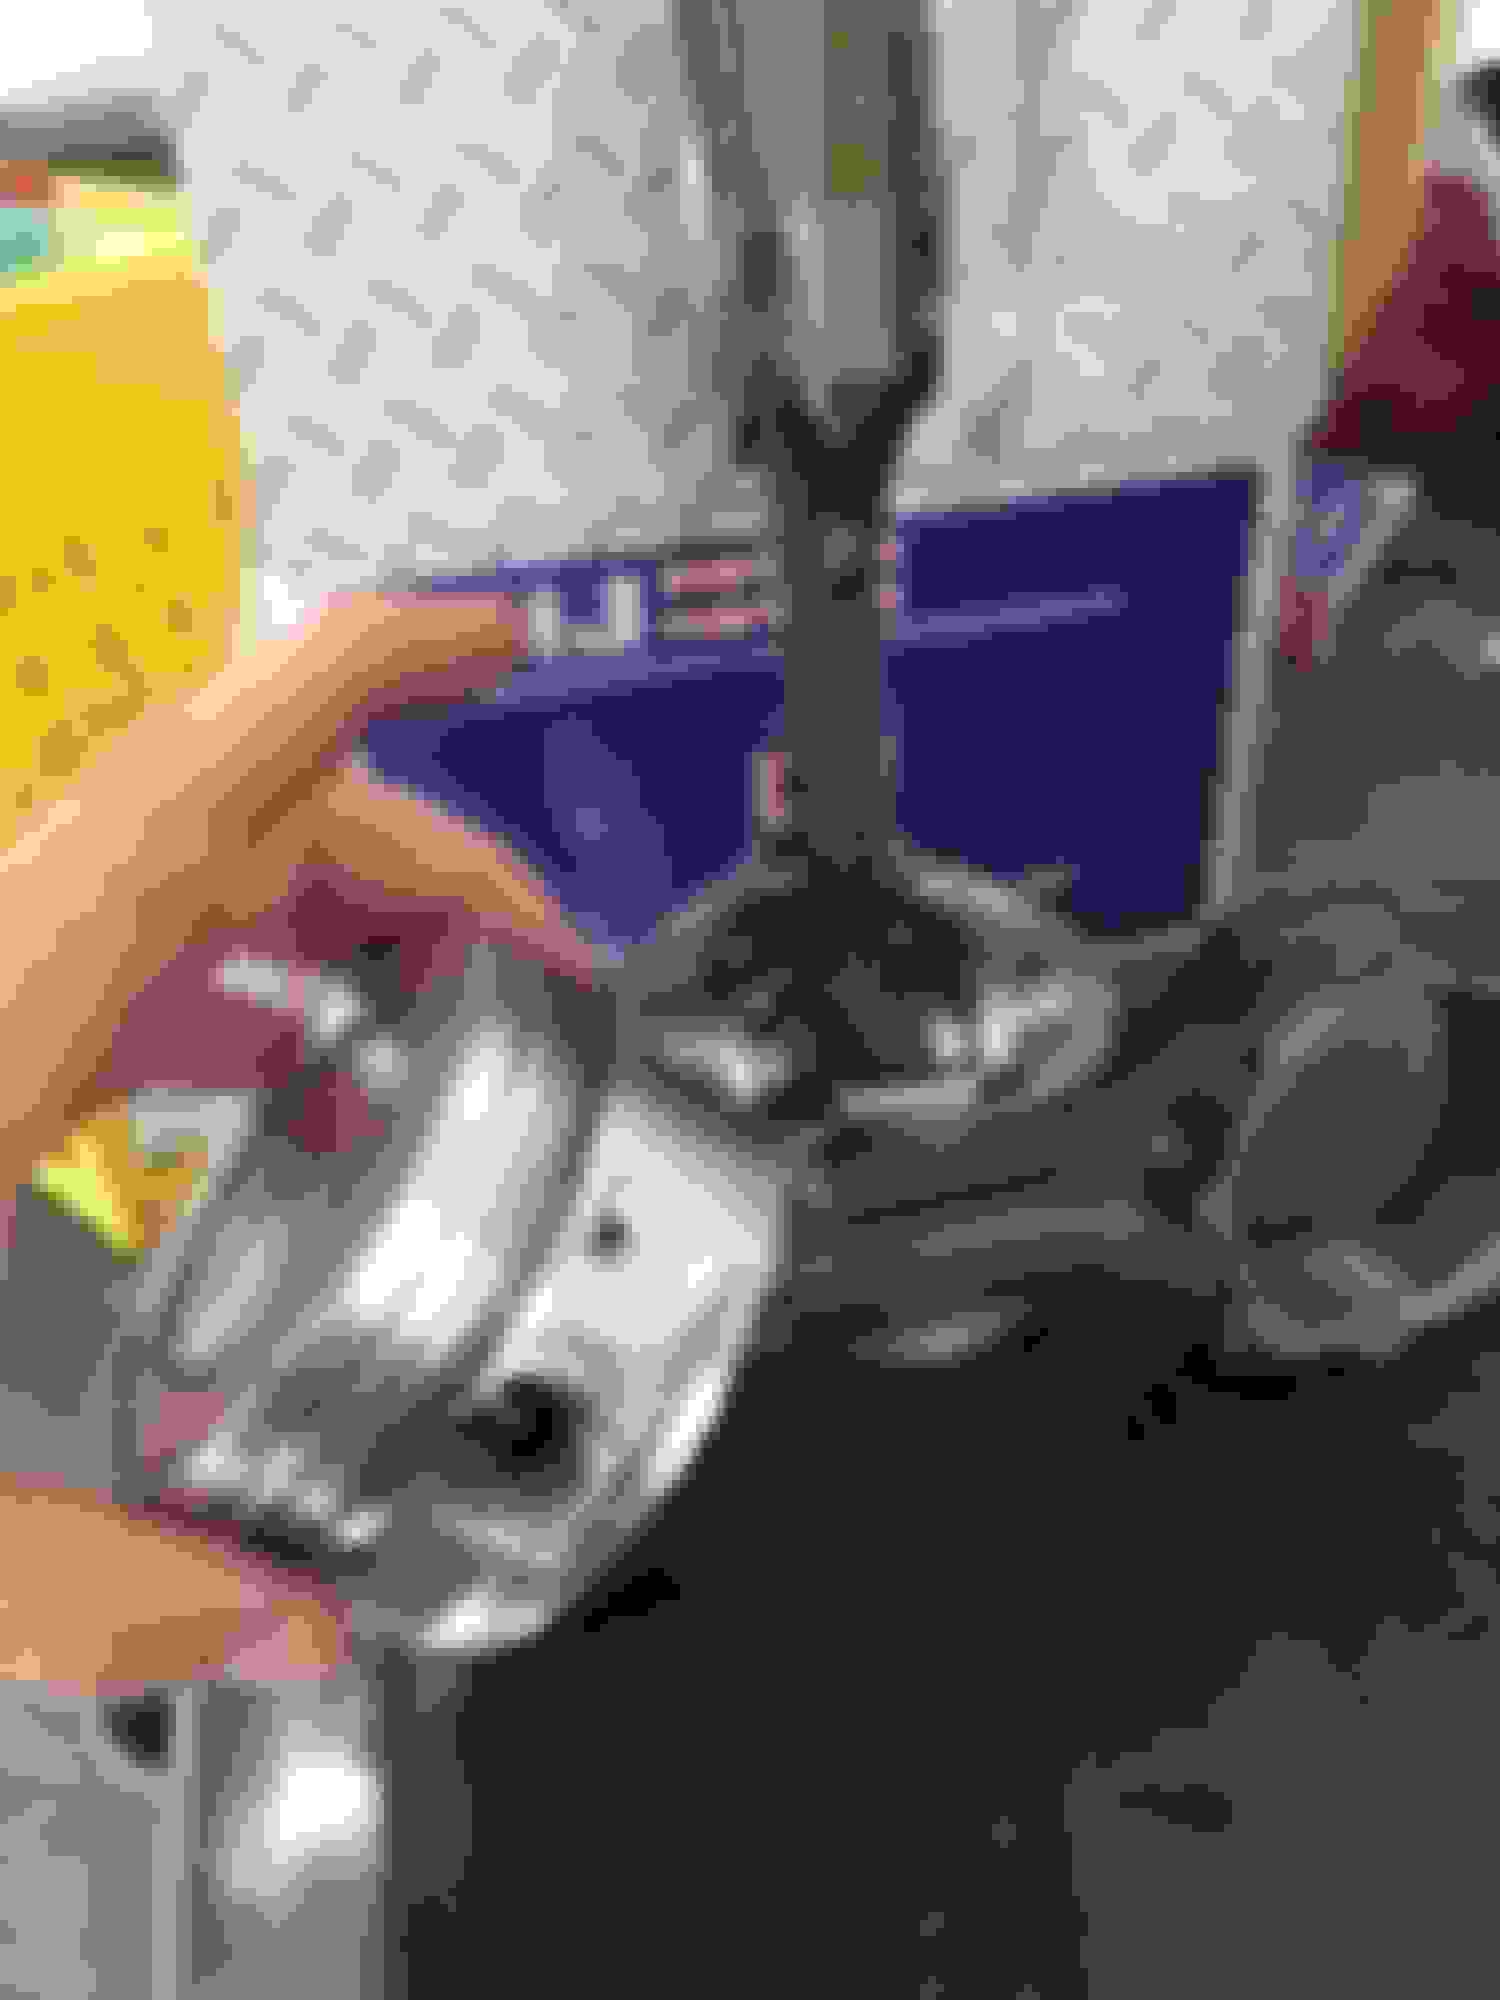
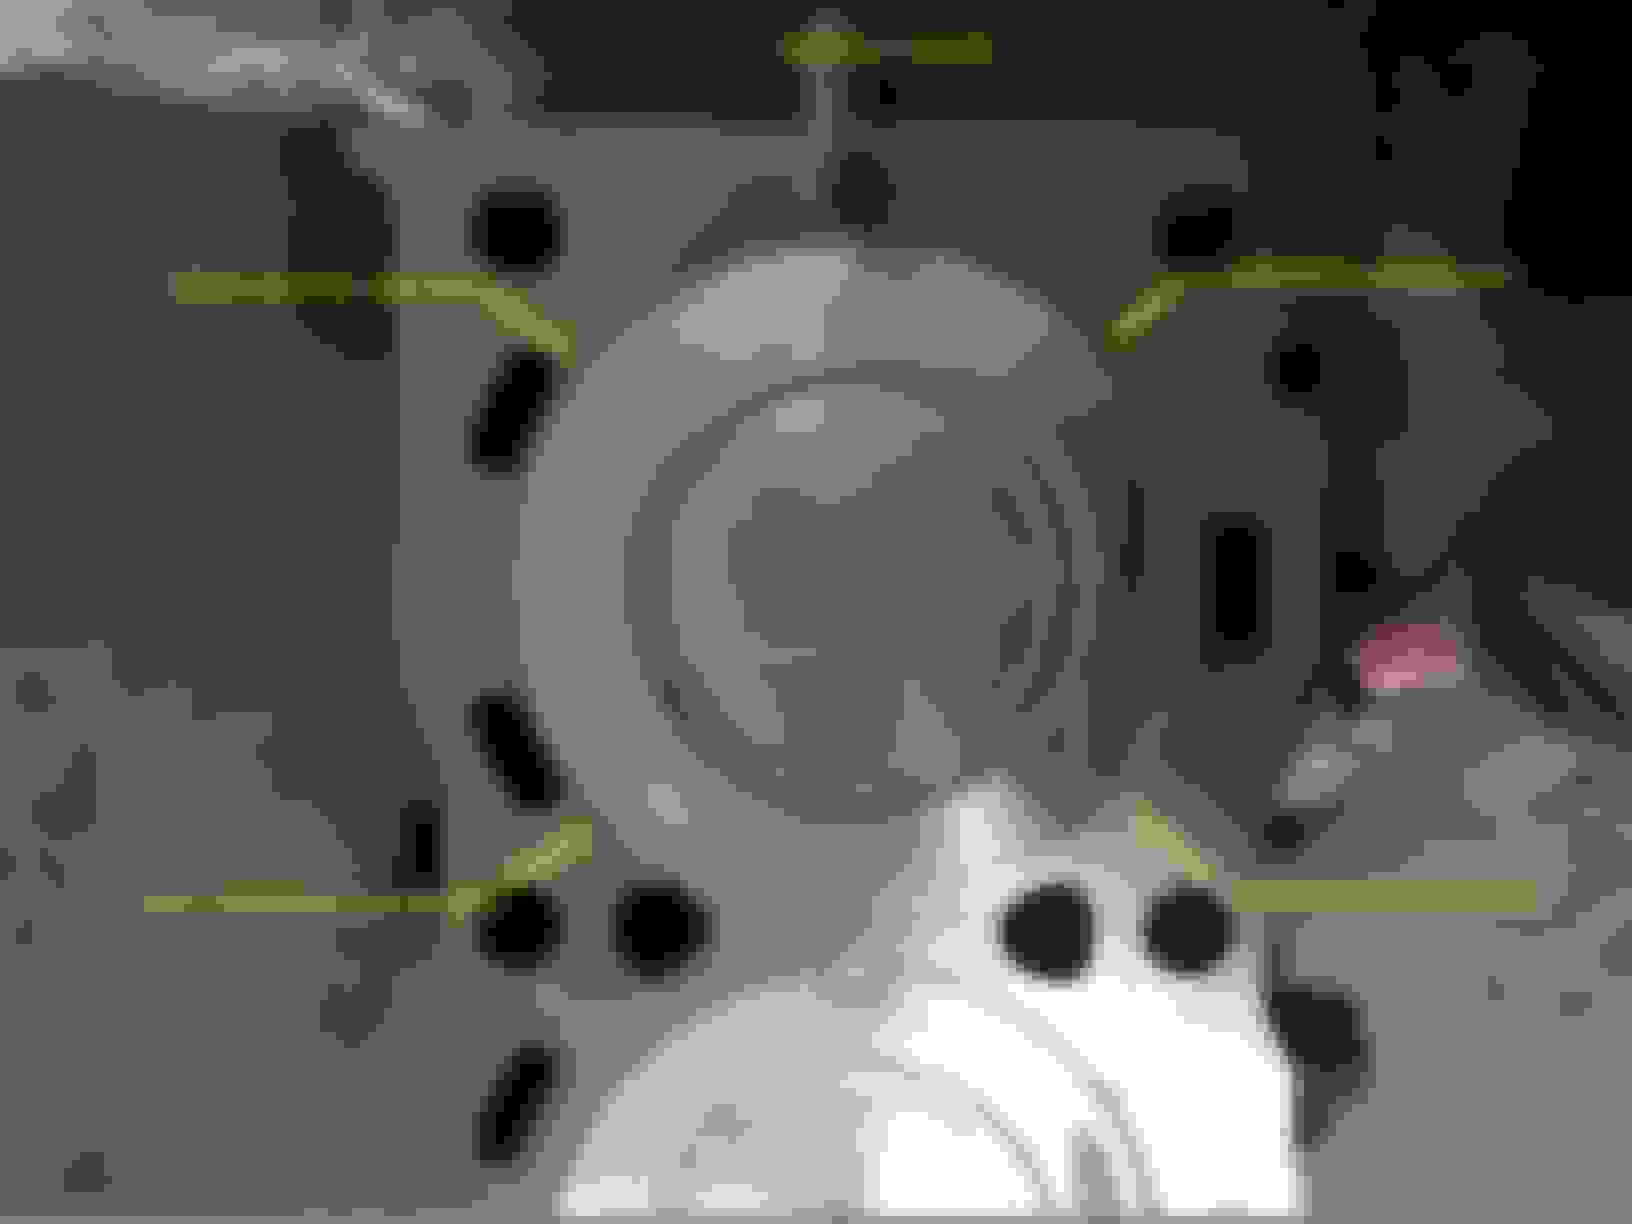
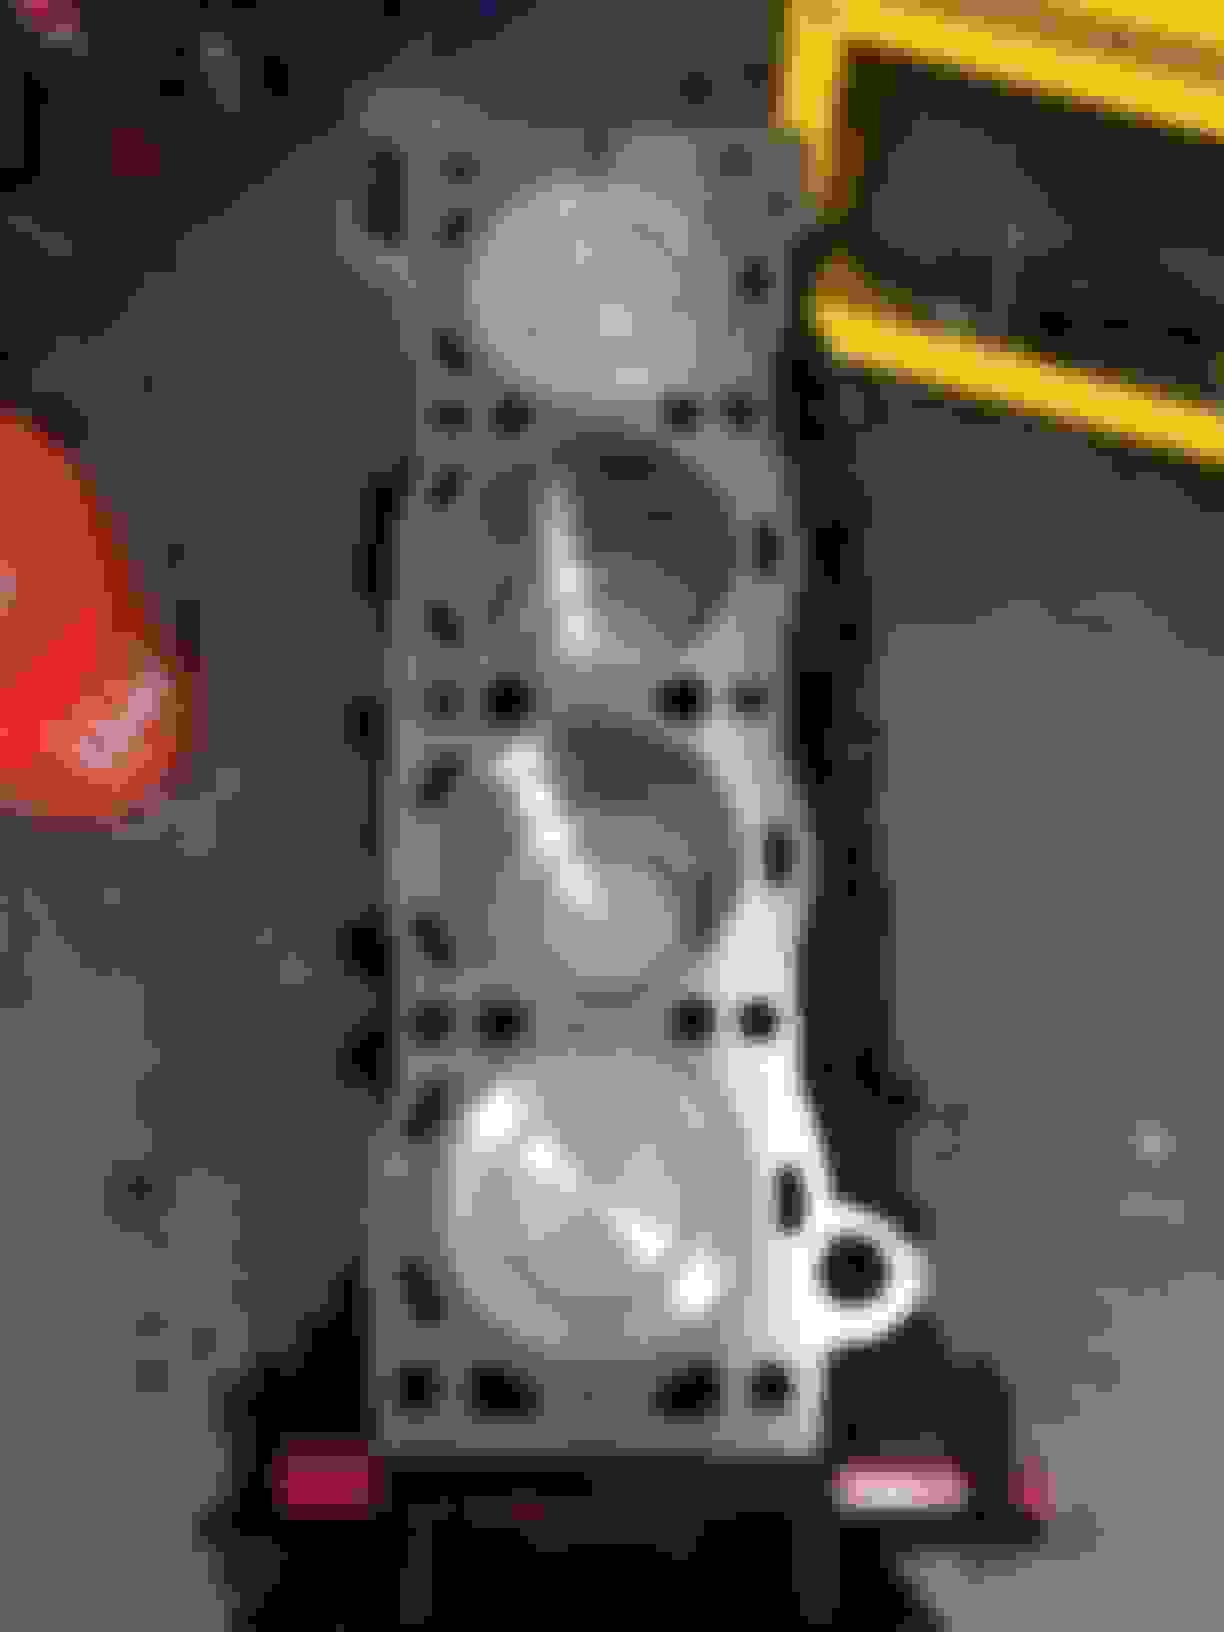
I installed the pistons on to the connecting rods. I got carried away and forgot to take pictures, but it is pretty simple... first off, the machine shop removed the old pistons and cleaned up the connecting rods. if you are going to do this yourself, in order to get the piston off you remove the wrist pin spring retaining clip. You can see the spring clip in the outside of the of the hole were the wrist pin is seated (I circled it in yellow in pic below). Once you have the spring clip removed, just slide the wrist pin out of the piston and connecting rod.
tip: when you buy a piston kit, you will get a set of wrist pin bushings. If you don't have the proper equipment and tooling and you plan to install the kit in your garage, then I would recommend taking a good look at the old bushings BEFORE you try to remove them from the connecting rod. With piston removed slide the new wrist pin into connecting rod with bushing still in place and move back and forth to check for any amount of play. If it feels good, I would not recommend replacing the bushings. Without proper equipment and tooling there is a good possibility of damaging the connecting rod. If you are determined to replace the bushings, you may want to seek the assistance of a machine shop just to be safe. You could also purchase the Toyota SST 09222-30010 and try the install with that. I would like to know how that works, if you can find one.
Install new pistons on to connecting rod by inserting the connecting rod into piston, you need to make sure that the notch on the piston and the mark on the connecting rod are on the same side.
Line up piston holes with wrist pin hole and push wrist pin through the assembly. install new wrist pin retaining clip on the other side of the wrist pin.
Keep us posted, I have yet to rebuild the bottom end of my 22r, and this has already been informative, I was also curious as to where you get your parts from, anyways, it is looking good.
I ordered the parts through the machine shop that I use, but you can get DNJ from numerous sources. I have talked to folks who have said that, when they ordered from engnbldr, their kit came with all DNJ parts... I have also heard engnbldr kits come with ROCK auto. I don't have first hand experience with engnbldr (but I am considering ordering a new head from them). I can tell you that DNJ has been around for a long time and, from what I gather, they are one the most popular suppliers of replacement parts for the import automotive repair industry.
Thank you, I was curious to see what was out there, the last shop I went to used some kit who I had never heard of, so I figured I would see what brands people use in their rebuilds, because I have a feeling I will be rebuilding a few in the coming future, the info you have posted has been very informative, and hopefully I will be using it as a guide when I start putting together some short blocks.
Ok lets talk about piston rings... The 22r kit will come with 4 1st compression rings, 4 2nd compression rings, 8 side rails and 8 expander spacers (2 side rails and 1 expander spacer = 1 oil ring).
generally speaking, the bags will be labeled "1st", "2nd", and "Oil Ring"
Start by checking the piston ring grooves and oil drain hole and make sure they are free from debris.
Next install expander spacer on into the oil ring groove
Install upper side rail onto the expander spacer, put one side of the rail between the piston oil groove ant the expander space and while holding the rail end in place, gently push the side rail into place around the piston
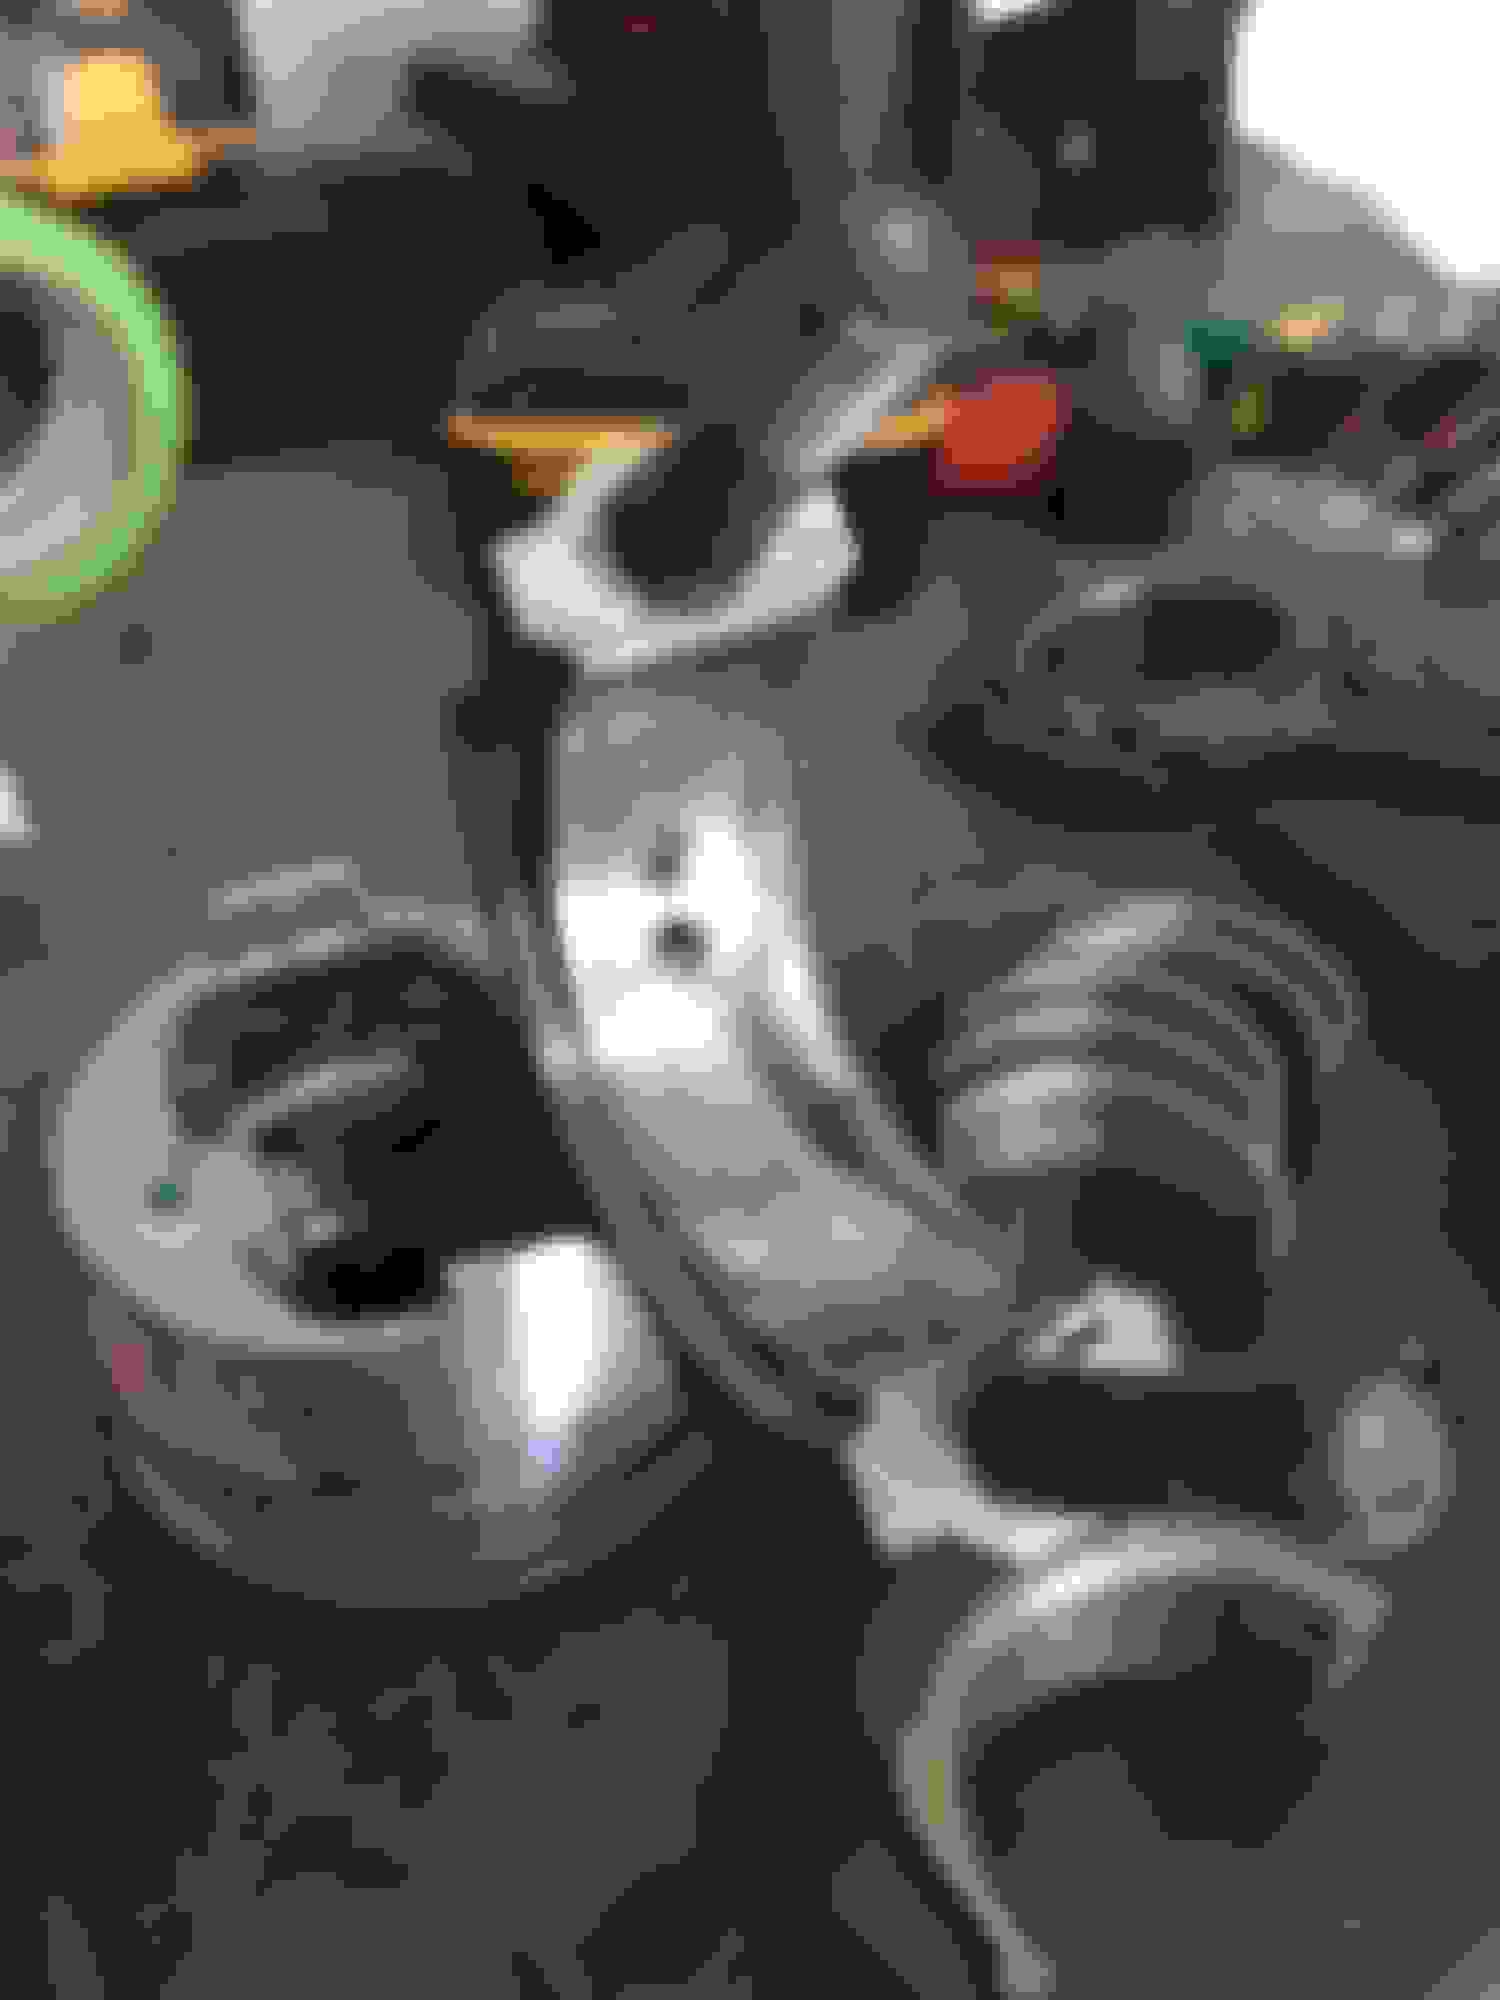
Before we install the piston/connecting rod assemblies into the block lets take notice of the marking that was done either by you or by the machine shop upon disassembly. The assemblies must go back in the holes that they came out of and they must be oriented in the same direction. Most importantly the bearing end caps must be installed on the mated connecting rod, in the same direction that they were in before disassembly, because they are machine as a mates. this is very important.
This is how I accomplish this, use a center punch and punch the number of times corresponding to what cylinder. do this only on one side so you will know the cylinder number and the orientation of the rod cap
This example is connecting rod assembly for cylinder #3
install the oil bearings into the big end of the rod. don't forget assembly grease.
Ok now we have the piston/connecting rod assemblies complete with oil ring and compression rings. we also know which assembly goes in which cylinder. we are ready to install the pistons into block
this is the order I install them 3,2,1,4. I do this because of the stroke order determined by the crank (when 1 is up 4 is also up, when 2 is up 3 is also up).
Install piston assemblies with the bearing caps off.
one at a time coat the cylinder bore with new engine oil.
coat the piston with oil.
on engine stand rotate the block it is right side up.
gently insert piston, rod first from the top. allow the piston to rest on the oil ring
we need to make sure all of the rings are offset and ring gaps are staggered. ill edit the pic below to show you the positioning of the ring gaps. Also notice that the pistons need to be positioned so that the notch is towards the front of the engine.
Grab your ring compressor (I bought this one at local parts store for $10) and I will show you the trick to using a cheap ring compressor to get the job done successfully in just a couple minutes.
Hold the piston so that it is sticking halfway out of the cylinder bore, but not enough to skew it from lining up.
Slide the ring compressor over the piston and place side pressure so that the piston doesn't slip down into the cylinder bore. Tighten the ring compressor and compress the rings.
Now take a hammer and LIGHTLY tap around the top edge of the compressor in order to square it to the bore axis.
Now the piston rings are compressed and the piston is lined up straight in order to slide into cylinder bore. Tap the top of the piston with your rubber hammer handle and push the piston into the cylinder bore.
OK so between juggling a full time job, a wife and 2 kids it has difficult to find time to get this assembly done. not to mention some complications with some of the parts I ordered (they sent the wrong stuff!...)

 Jul 19, 2015 | 08:36 AM