
Joe.lit's 84 ish build up
 Aug 9, 2015 | 07:13 PM
#1
Thread Starter
Registered User
Joined: May 2015
Posts: 43
Likes: 1
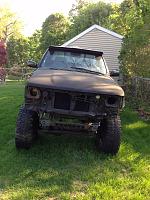
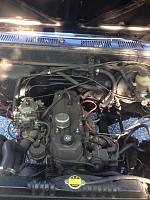
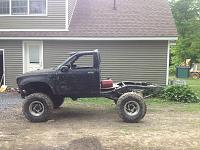
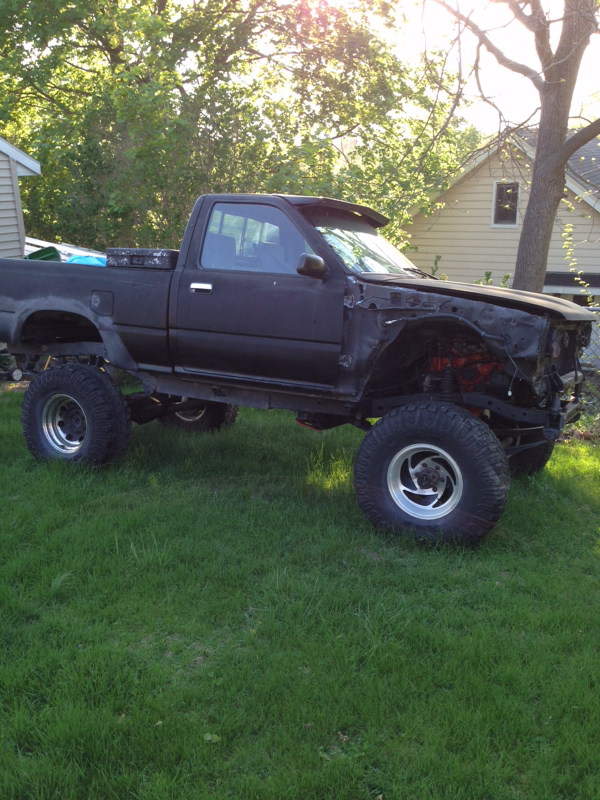
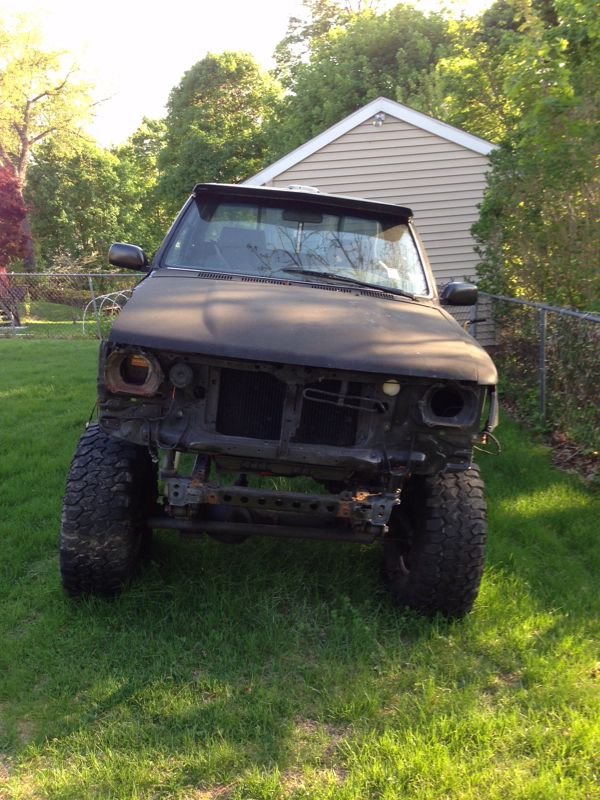
Hey yota tech I've been a lurker for a while and have a much needed build thread to post for ideas and comments Step one I bought the truck to start with this spring an 84 frame and axles with a 94 body and bed with a 22re converted to 22r and on a home made wiring harness aswell as a sweet homemade body lift made using 3 inch pipe nipples inside PVC pipe with side walls from tires and 2 add a leafs in the front and homemade blocks in the rear on 33inch interco trxus tires fronts are like brand new rears are Bald to the d 
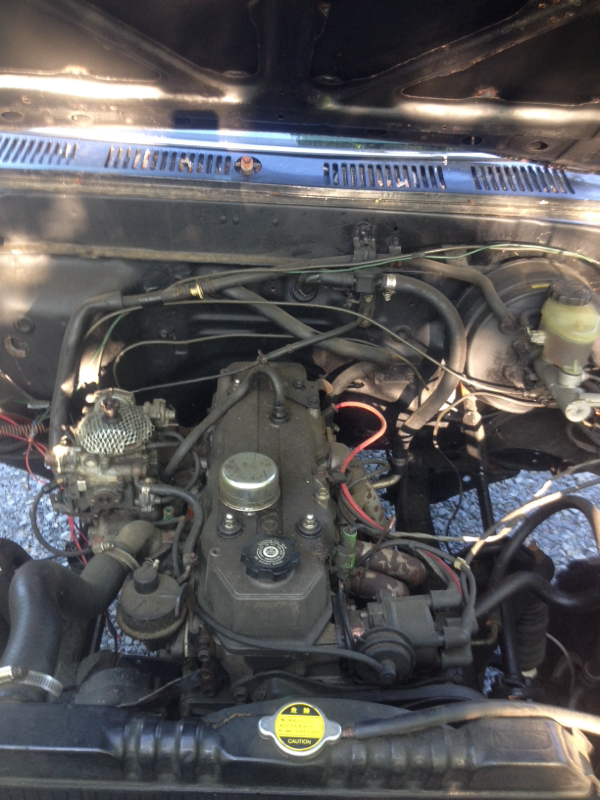
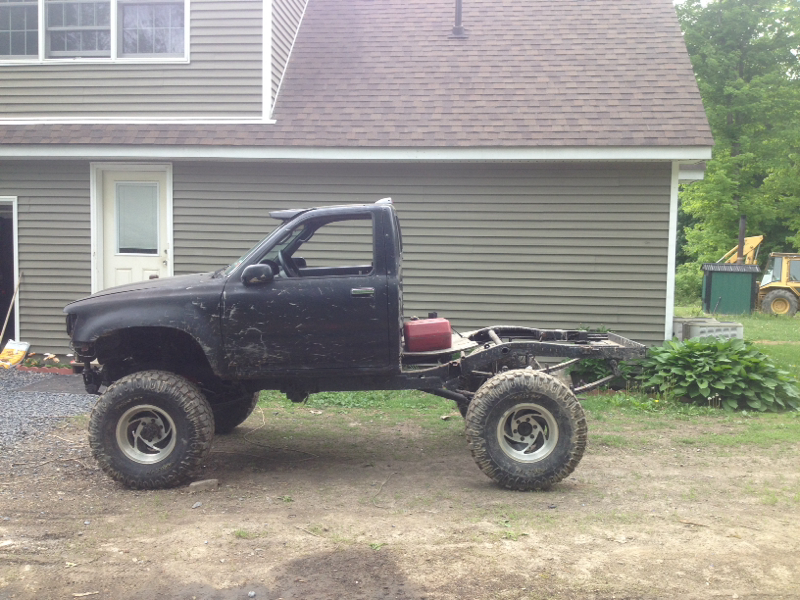
 Step two this truck had a front half of a frame and then the rest was just misc peices of 1/2 think angle iron :overkill: and the axles leaked to the point of dead grass underneath it So the plan was pretty much use a donor frame I have from a 91 pickup with a trail gear front spring hanger and shackle set ups I got with the truck and turn it into a cool first truck that I can drive on the road "considering I've had 5 that I drove and parted out with in the last 2 years" I was going to keep it kinda basic with regular push pull steering and maybe lift springs in the front because the double add a leaf was just as good as welding the axle to the frame The new plan (as if this week) it's to 1. Six shooters and high steer arms 2. Dual transfercase (the real challenge) 3. Rear disc conversion and v6 ifs front calipers on fj60 rotors in the front 4. Chopped and balanced drive shafts for the front and rear with dual transfercase 5. New rings on a set of pistons with 80 thousand miles on them I have had laying around and all new gaskets too to bottom 6. Pinion seals on my locked rear 7. Rebuild and paint one of my nicer looking ps boxes Well it's been about 2 months from then till now and so far I've completed motor swapping the truck just to test a 22re I had picked up cheap and wheeling through woods aswell as cutting all the ifs stuff off the motor frame and starting to clean it up This week I finally started to get stuff moving I tore down the whole truck down to a bare frame I set my cab up on blocks for the time being and dug into my front axle (greasy) I have pulled that all part down to the hubs and knuckles I am going to replacing with trail gear 6 shooters and high steer arms because the push pull was not my cup of tea and the previous owner welded the tie rod to the ends plus I have 3 ifs steering boxes sitting around . I also started to get rid of some rust on my 91 donor frame I found the best method to remove rust is the flap disc on a grinder so just this weekend did i flap disc my whole frame and paint it with my duplicolor something paint in my harbor freight gun and get that rolling all that's left for me to do with it now is weld on my spring hanger and shackle mounts I also went ahead and tore down my 22re to a long block for now because that motor has as much compression as a soccer ball
 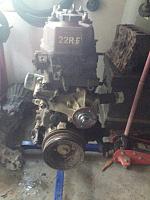 Pics of the frame before blasting
 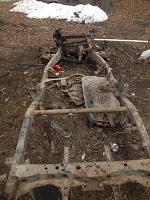 I also got to painting my axle housing I made sure this got an immense amount of loving with the sand blaster as this is worth it's weight in gold to me Attachment 102642
 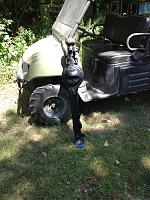 And I aswell came up with a simpe differential plug for painting ( yes I taped it up all nice before paint )
  I also have a few questions for some fellow yota tech friends 1. Does any one run antiwrap bars 2. I was thinking of running a brake pressure regulator for the rear with disc conversion to prevent lock ups as I don't really want to run a stock toyota proportioning valve think this would be effective
 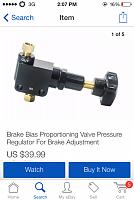 3. What does everyone with dual cases do for drive shafts I really can't afford trail gear or marlins I have a shop local that will chop and balance my stock ones but I'm not to sure about stock shafts travel And this is as far as I've gotten their will be many updates soon I can't wait for the dual transfercase and six shooter segment of this build their will be many more pictures coming
 Step two this truck had a front half of a frame and then the rest was just misc peices of 1/2 think angle iron :overkill: and the axles leaked to the point of dead grass underneath it So the plan was pretty much use a donor frame I have from a 91 pickup with a trail gear front spring hanger and shackle set ups I got with the truck and turn it into a cool first truck that I can drive on the road "considering I've had 5 that I drove and parted out with in the last 2 years" I was going to keep it kinda basic with regular push pull steering and maybe lift springs in the front because the double add a leaf was just as good as welding the axle to the frame The new plan (as if this week) it's to 1. Six shooters and high steer arms 2. Dual transfercase (the real challenge) 3. Rear disc conversion and v6 ifs front calipers on fj60 rotors in the front 4. Chopped and balanced drive shafts for the front and rear with dual transfercase 5. New rings on a set of pistons with 80 thousand miles on them I have had laying around and all new gaskets too to bottom 6. Pinion seals on my locked rear 7. Rebuild and paint one of my nicer looking ps boxes Well it's been about 2 months from then till now and so far I've completed motor swapping the truck just to test a 22re I had picked up cheap and wheeling through woods aswell as cutting all the ifs stuff off the motor frame and starting to clean it up This week I finally started to get stuff moving I tore down the whole truck down to a bare frame I set my cab up on blocks for the time being and dug into my front axle (greasy) I have pulled that all part down to the hubs and knuckles I am going to replacing with trail gear 6 shooters and high steer arms because the push pull was not my cup of tea and the previous owner welded the tie rod to the ends plus I have 3 ifs steering boxes sitting around . I also started to get rid of some rust on my 91 donor frame I found the best method to remove rust is the flap disc on a grinder so just this weekend did i flap disc my whole frame and paint it with my duplicolor something paint in my harbor freight gun and get that rolling all that's left for me to do with it now is weld on my spring hanger and shackle mounts I also went ahead and tore down my 22re to a long block for now because that motor has as much compression as a soccer ball
 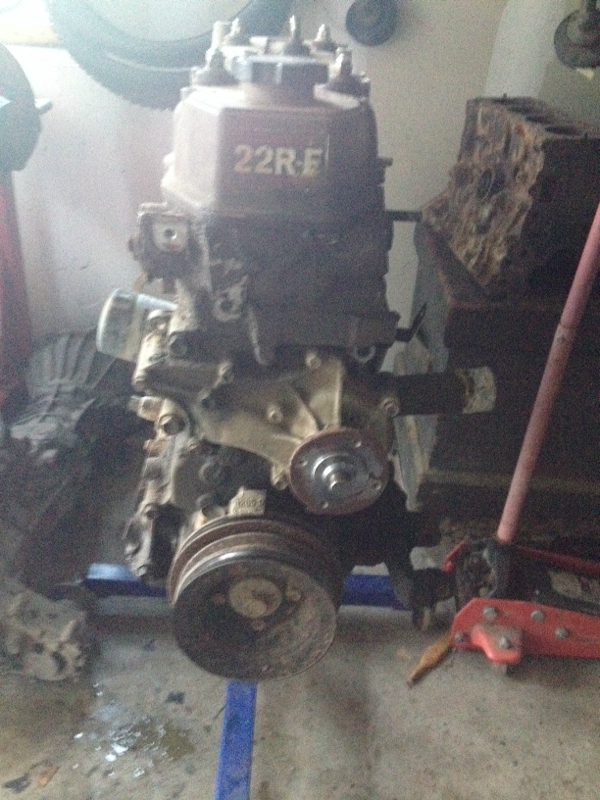 Pics of the frame before blasting
 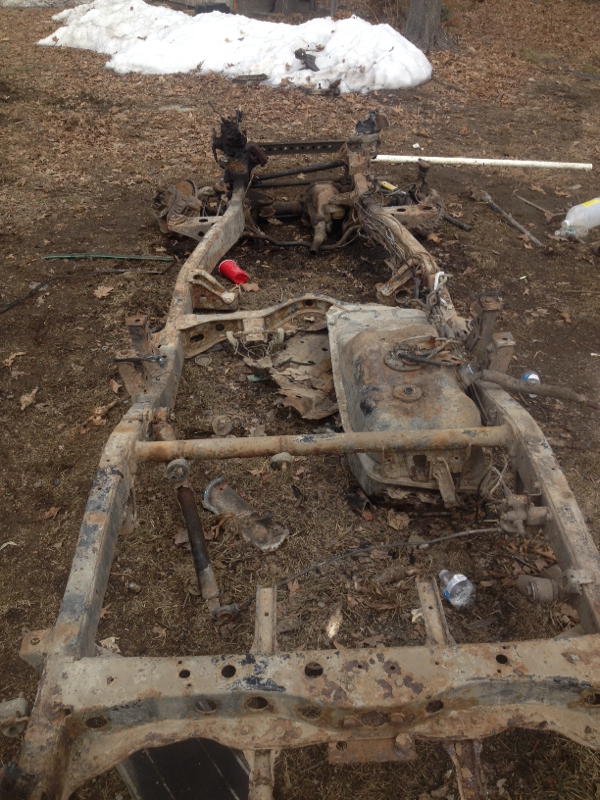 I also got to painting my axle housing I made sure this got an immense amount of loving with the sand blaster as this is worth it's weight in gold to me Attachment 102642
  And I aswell came up with a simpe differential plug for painting ( yes I taped it up all nice before paint )
 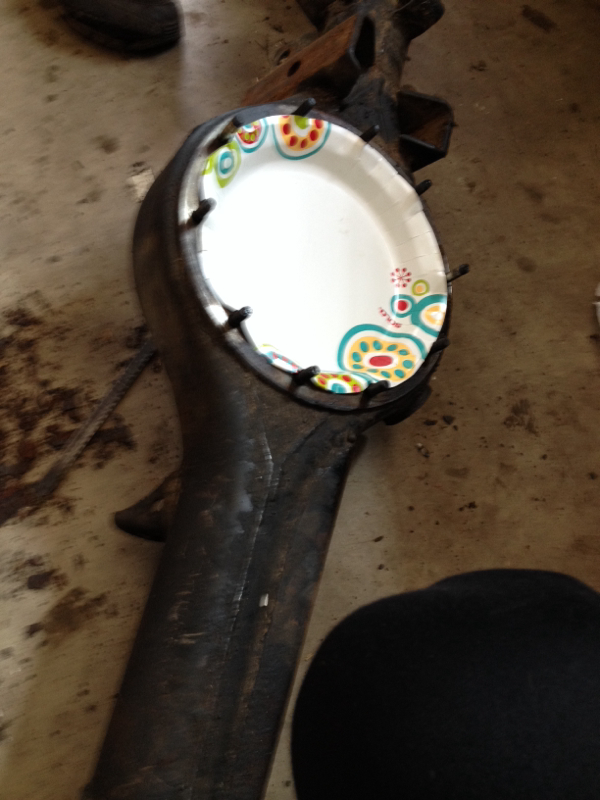 I also have a few questions for some fellow yota tech friends 1. Does any one run antiwrap bars 2. I was thinking of running a brake pressure regulator for the rear with disc conversion to prevent lock ups as I don't really want to run a stock toyota proportioning valve think this would be effective
 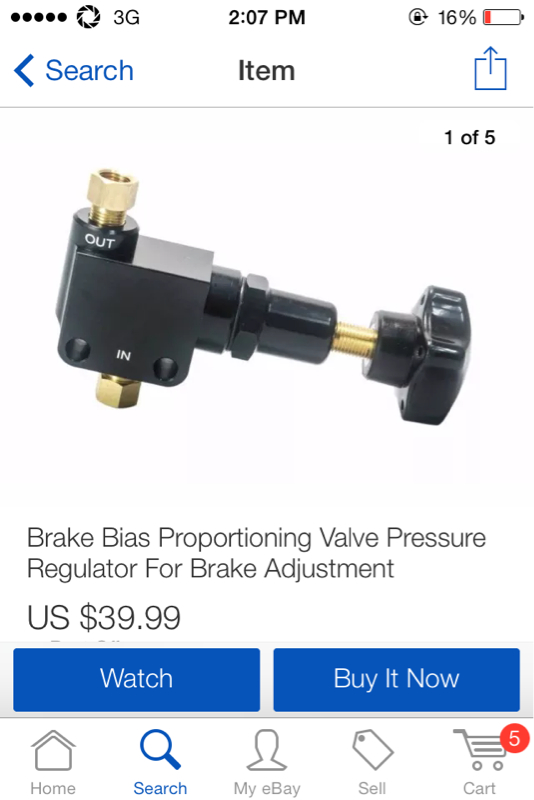 3. What does everyone with dual cases do for drive shafts I really can't afford trail gear or marlins I have a shop local that will chop and balance my stock ones but I'm not to sure about stock shafts travel And this is as far as I've gotten their will be many updates soon I can't wait for the dual transfercase and six shooter segment of this build their will be many more pictures coming
Last edited by Jcrawl94; Aug 10, 2015 at 06:37 AM.
Aug 9, 2015 | 09:05 PM
#2
Registered User
Joined: Jun 2007
Posts: 1,825
Likes: 6
From: Inverness,FL
It's looking pretty good and you're on the right track but I would consider a few things before you go spending a ton of money on shiny parts lol,
get a goal lift height and tire size you want to ultimately run, it'll save you money in unnecessary parts and fab time In the long run
What are you going to use it for? dd or dedicated Wheeler?
Set yourself small steps to complete so your end goal won't seem impossible
And lastly, are you absolutely sure you need duals and 6shooters for the type of terrain you'll be wheeling? Stuff isn't cheap and it'll definitely set your project back..
Can't wait to see some progress!
Aug 9, 2015 | 09:11 PM
#3
Registered User
Joined: Jun 2007
Posts: 1,825
Likes: 6
From: Inverness,FL
Oh and some answers too lol the brake proportioning valve you're showing should work just fine, I'm running old RUF and ford Springs out back and they seem to be fine without a antiwrap bar, but I've also got 38.5s and a kinda tired 22r lol
Aug 10, 2015 | 06:29 AM
#4
Thread Starter
Registered User
Joined: May 2015
Posts: 43
Likes: 1
Yes I plan on this truck sitting pretty high and definetly more of a wheeling truck that goes local on the roads and if any one has tried descending hills or going upHill with stock 4.10 gearing and single case they know you mind as well park it or sit their and burn clutches especially in my 400 plus acres I wheel behind my house . I would like to eventually get 35 boggers and do 5.29s and the almighty 0m617 swap or a 1kz diesel down the road so i dont know how that will treat me but thanks for the response
Last edited by Jcrawl94; Aug 10, 2015 at 06:36 AM.
Aug 14, 2015 | 01:52 PM
#5
Registered User
Joined: Dec 2012
Posts: 146
Likes: 0
From: La Center Wa
I did an anti wrap bar. Love it. You can feel the difference. See my build for more info on that. I think u joints are lasting longer as well.
I got rid of the factory brake valve and my truck stops fine. It is trailed so idk about panic stops on the street.
Drivelines, if you like rocks the stock wall dlines will pretzel. I use 3" schedule 80 pop pipe. I haven't had a problem with the rear driveline sense. (Other than I did it myself and it's nowhere near straight. Lol) then just do square front until you can afford to do a long slip in the front. Then with most Toyota with duels your square dline will work front and rear with the right flanges so use the square as a backup.
Last edited by rick8282; Aug 14, 2015 at 01:56 PM.
Aug 14, 2015 | 06:13 PM
#6
Thread Starter
Registered User
Joined: May 2015
Posts: 43
Likes: 1
I did an anti wrap bar. Love it. You can feel the difference. See my build for more info on that. I think u joints are lasting longer as well. I got rid of the factory brake valve and my truck stops fine. It is trailed so idk about panic stops on the street. Drivelines, if you like rocks the stock wall dlines will pretzel. I use 3" schedule 80 pop pipe. I haven't had a problem with the rear driveline sense. (Other than I did it myself and it's nowhere near straight. Lol) then just do square front until you can afford to do a long slip in the front. Then with most Toyota with duels your square dline will work front and rear with the right flanges so use the square as a backup.
Aug 14, 2015 | 06:51 PM
#7
Thread Starter
Registered User
Joined: May 2015
Posts: 43
Likes: 1
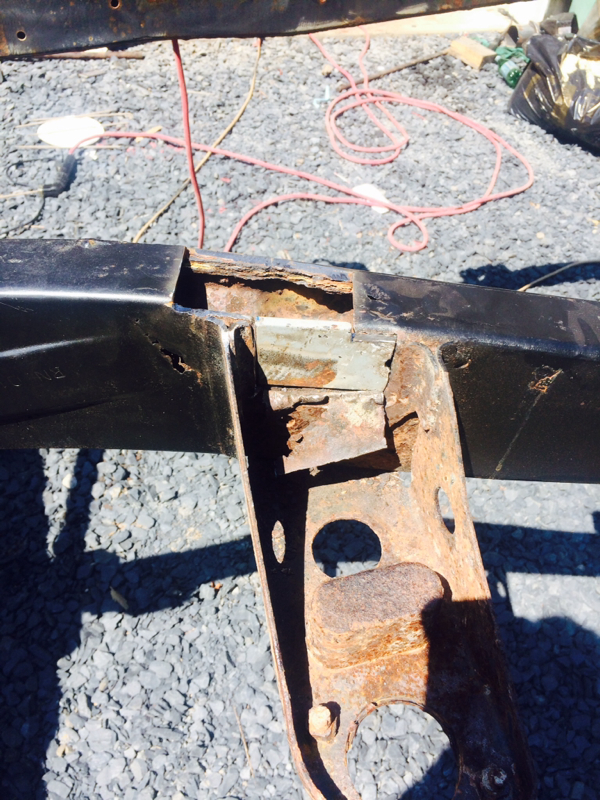
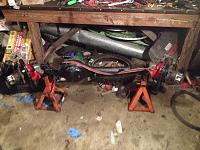
So today me and good old buddy weeg went real hard on the frame we make a nice patch by the driver floor pan body mount out of 1/4 inch steel and made it look real factory by grinding smooth
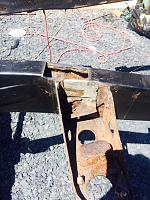
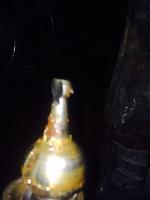
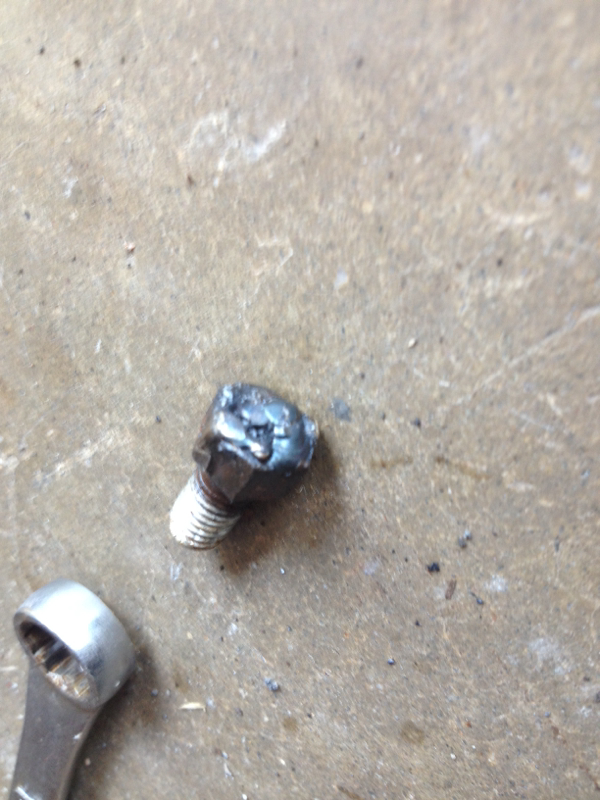
We then finished welding on 1/4 inch angle iron on the front of the frame for the spring hanger just to clean it up and welded on the spring hanger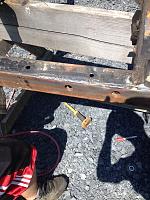 We also took apart my rear end to see what I knew was a welded rear end but I wouldn't have expected it to be that bad and I know im now going to tear that down and give it a good taste of 7018 and also pressed off my axle and bearing cup and those bearings were so shot they are a possible candidate for creeper joints aswell as front rotor studs for fj 6o rotors and v6 calipers
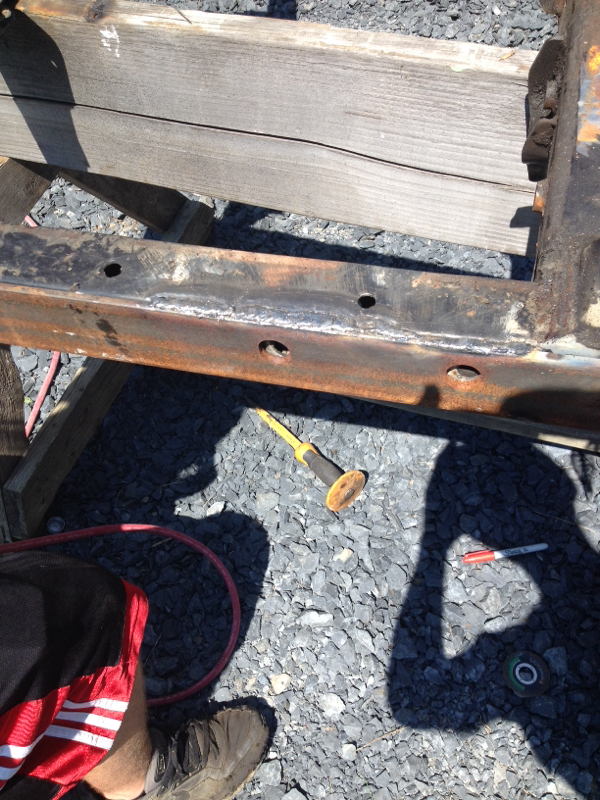
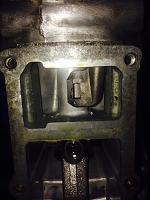
 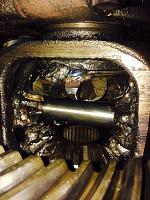 If you can see all of the welds cracked and are quite sloppy I also got to cutting holes for my frame tube that holds shackles and the hole saw broke half way through so I got quite anxious to put those on so I cranked up the welder to 250 amp and whipped out some cutting rods and went to town a bit sloppy but very effective The way I moved my spring hanger forward will move my whole axle forward so my little templates from the trail gear kit didn't do my much help so I have a 1/2 space on one side of that tube but I plan on drilling a hole it a plate and cutting it to match the frame so it will work like a gusset and hold in that tube for shackles
 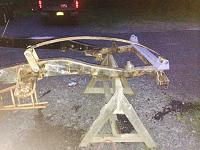 A nice pic of me sparking her up in the drive way
We then finished welding on 1/4 inch angle iron on the front of the frame for the spring hanger just to clean it up and welded on the spring hanger
 We also took apart my rear end to see what I knew was a welded rear end but I wouldn't have expected it to be that bad and I know im now going to tear that down and give it a good taste of 7018 and also pressed off my axle and bearing cup and those bearings were so shot they are a possible candidate for creeper joints aswell as front rotor studs for fj 6o rotors and v6 calipers
  If you can see all of the welds cracked and are quite sloppy I also got to cutting holes for my frame tube that holds shackles and the hole saw broke half way through so I got quite anxious to put those on so I cranked up the welder to 250 amp and whipped out some cutting rods and went to town a bit sloppy but very effective The way I moved my spring hanger forward will move my whole axle forward so my little templates from the trail gear kit didn't do my much help so I have a 1/2 space on one side of that tube but I plan on drilling a hole it a plate and cutting it to match the frame so it will work like a gusset and hold in that tube for shackles
 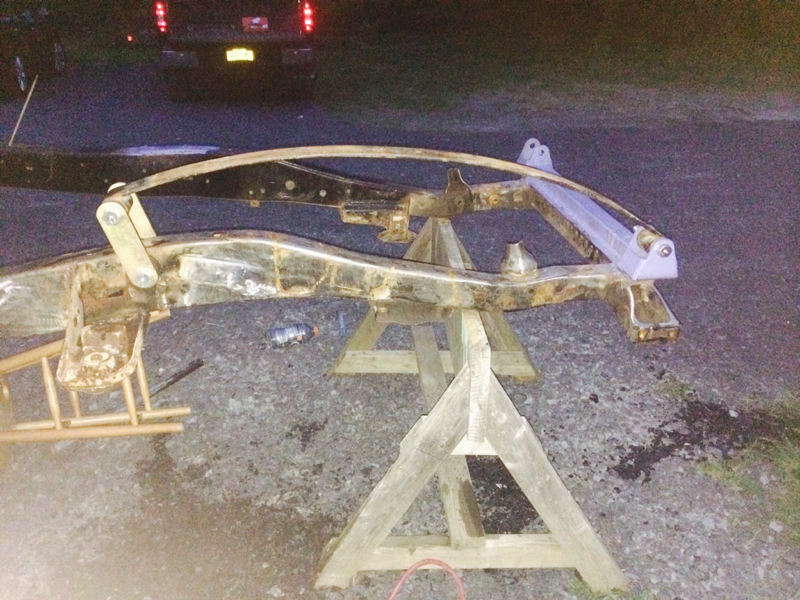 A nice pic of me sparking her up in the drive way
Last edited by Jcrawl94; Aug 14, 2015 at 06:52 PM.
Trending Topics
Aug 17, 2015 | 05:00 PM
#8
Thread Starter
Registered User
Joined: May 2015
Posts: 43
Likes: 1
I finally got my parts my dual case adapter engine gaskets high steer arms rotors and only one side if my leafs came in and I already don't like them I bought all pro 4 inch lift springs does anyone have experience with them I don't think they have the lift I would like and they feel stiff compared to my other pack although those are very worn in
Aug 28, 2015 | 05:09 PM
#9
Thread Starter
Registered User
Joined: May 2015
Posts: 43
Likes: 1
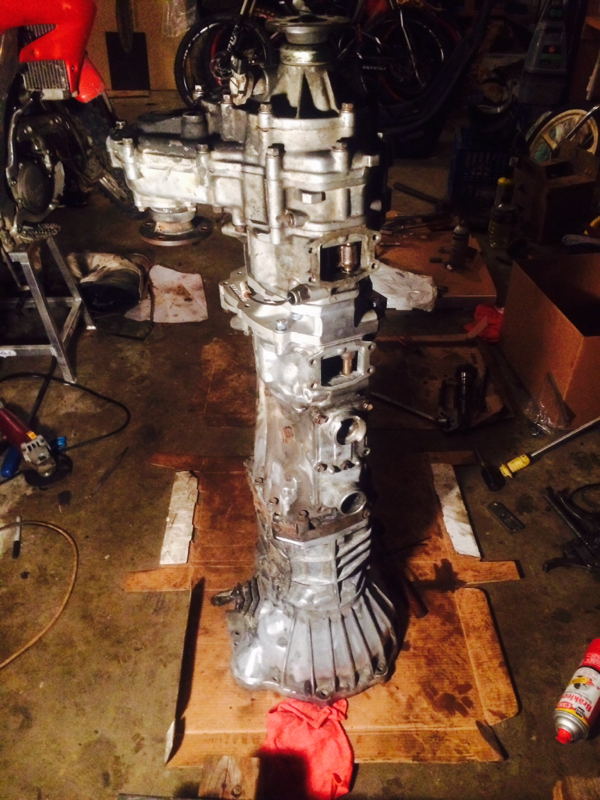
So another update on the thread it's been about 2 weeks and I've finally got all my axle painting done and I am just waiting on seals for both and wheel bearings for the rear to have those ready I haven't done too much on the frame I just completed the both spring mounts to the frame and tacked them into place but one thing I have gone deep into was my dual case set up The dual case took like 3 days longer then it should of because my forward shifting front case broke off 14 bolts as some one took then off previously and the pocket below the head of the bolt and above the threads aloud for corrosion and allowing most of them bolts to brake (even a 1/4 rachet would brake them) and this made my welding nuts to broken bolts tactic very useful but after I took care of all that with in an hour I had build up my entire dual case using the kit from trail gear so I'm glad to have that done and out of the garage as it contains practically an entire drive train to the truck and what ever else is in their 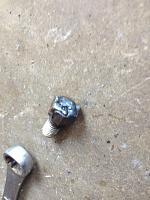
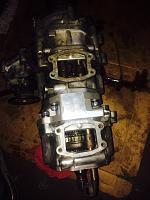
 With this done and once my seals and bearings are here in a week I should have a driving truck again


 With this done and once my seals and bearings are here in a week I should have a driving truck again
Last edited by Jcrawl94; Aug 28, 2015 at 05:10 PM.
Aug 31, 2015 | 11:25 AM
#10


It's looking pretty good and you're on the right track but I would consider a few things before you go spending a ton of money on shiny parts lol,
get a goal lift height and tire size you want to ultimately run, it'll save you money in unnecessary parts and fab time In the long run
What are you going to use it for? dd or dedicated Wheeler?
Set yourself small steps to complete so your end goal won't seem impossible
And lastly, are you absolutely sure you need duals and 6shooters for the type of terrain you'll be wheeling? Stuff isn't cheap and it'll definitely set your project back..
Can't wait to see some progress!
get a goal lift height and tire size you want to ultimately run, it'll save you money in unnecessary parts and fab time In the long run
What are you going to use it for? dd or dedicated Wheeler?
Set yourself small steps to complete so your end goal won't seem impossible
And lastly, are you absolutely sure you need duals and 6shooters for the type of terrain you'll be wheeling? Stuff isn't cheap and it'll definitely set your project back..
Can't wait to see some progress!
Oct 24, 2015 | 04:34 PM
#11
Thread Starter
Registered User
Joined: May 2015
Posts: 43
Likes: 1
After a long month of staring at misc. parts lying in every crack and crevice of my garage I decided to call up my buddy weeg and get back to work First to start was the 22re, the plan was to just replace the head gasket and do any necessary machine work done. As I took off the head I noticed a channel that ran into the head bolt between cylinder 3 and 4 filled with an oily sludge and the head bolt their had been very oily and looked different from all the others. at first I didn't think anything of it so I began to re assemble the motor until I was dropping in head bolts did I see when I placed that one head bolt in a crack opened up from the bulge in the block down the water jacket. This letf to me proceeding with stupidity to weld the crack back together… after realizing that I definitely warped the head I decided it was Time to break out the 89 22r block I had sitting in the basement. I went on. To sand blast this block for hours with a sand blaster as old as the sand that ran through it then painted the block in 10 + coats of glossy black high heat to achieve a look this good 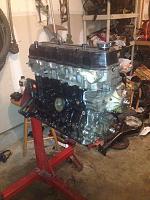 Then I went ahead to hone all of the journals and cylinders and deck the head and as you could see assembled the rest of everything I next went on to clean up all of my efi manifolds and rebuild injectors which went pretty smooth. To clean the efi manifold I used a resin disc to sand everything nice and smooth to polish able aluminum And all within the same day I managed to helicoil the caliper on the passenger side knuckle and rebuilt my axle
 Now I am left with a complete motor , dual transfercase tranny set up , and front axle all that's left now is a little welding on my frame then paint and rebuilding of my rear axle then I will be back behind the wheel
 Then I went ahead to hone all of the journals and cylinders and deck the head and as you could see assembled the rest of everything I next went on to clean up all of my efi manifolds and rebuild injectors which went pretty smooth. To clean the efi manifold I used a resin disc to sand everything nice and smooth to polish able aluminum And all within the same day I managed to helicoil the caliper on the passenger side knuckle and rebuilt my axle
 Now I am left with a complete motor , dual transfercase tranny set up , and front axle all that's left now is a little welding on my frame then paint and rebuilding of my rear axle then I will be back behind the wheel
Last edited by Jcrawl94; Oct 24, 2015 at 04:36 PM.

Thread
Thread Starter
Forum
Replies
Last Post
Big Little Bear
Pre 84 Trucks (Build-Up Section)
230
Nov 13, 2023 11:42 AM
FS[PacNorWest]: 1987 4Runner SAS, 22RE, 5Spd, Dual Cases, etc
toyotasaurus
Vehicles - Trailers (Complete)
0
Sep 24, 2015 03:30 PM
1965chevy
86-95 Trucks & 4Runners (Build-Up Section)
1
Sep 20, 2015 07:33 PM


