
Boomtacoma's 85 Ext Cab Build up


 Nov 6, 2013 | 11:12 AM
#103
Thread Starter
Registered User
Joined: Jun 2011
Posts: 198
Likes: 5
From: Houston TX
Thanks guys. I absolutely love working on my truck even when other stuff need to be done at my house.
I got a new to me set of sliders from a buddy parting out his rig. I'm working on the scab plates for the frame and new slider legs. I'm going to borrow my buddy's plasma to burn off the old sliders at the end of this week or next week so I can get my new ones mocked up soon. I cut some 1.75" slugs to make the new legs to join the 2" DOM legs to the new legs last night. I need to pick up about 4 ft of 2" .120 Wall DOM to lay out for the slider legs.
I also jacked up the front end to take the tires off and install my ARP hub studs and give the front knuckles a good visual inspection. Then on to the new Delrin frame bushing install.
Then wheel it sometime in the Dec-Jan time frame.
Nov 10, 2013 | 03:53 PM
#104
Thread Starter
Registered User
Joined: Jun 2011
Posts: 198
Likes: 5
From: Houston TX
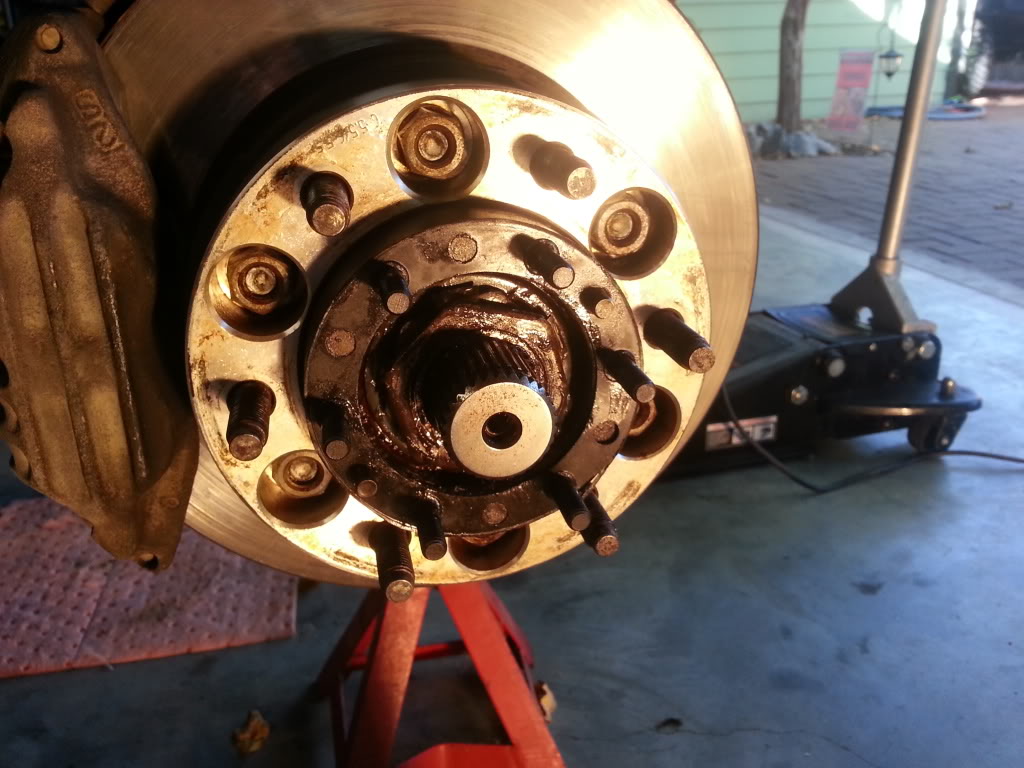
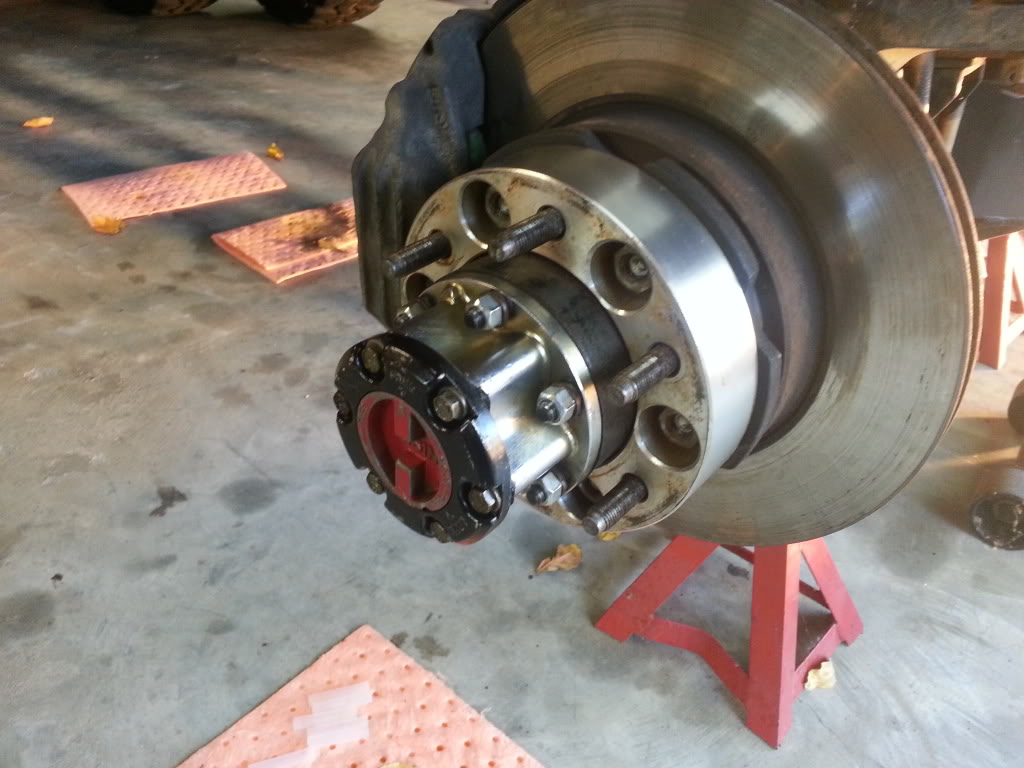
Installed my ARP hub studs today. Fairly easy thing to do. Added 2 new outer c-clips on the Birfs while I was at it. I finally replaced a twisted off bolt on the drivers side lockout. Its been bugging me for a while now. I also cleaned up my front shock with a buffing wheel and cleaned/degreased my front brakes.
completed
shiny shocks, turned out better than I originally intended.


completed

shiny shocks, turned out better than I originally intended.
 Nov 26, 2013 | 09:02 AM
#105
Thread Starter
Registered User
Joined: Jun 2011
Posts: 198
Likes: 5
From: Houston TX
Next items of business:
modify and install new grille
add some sheet metal to the Trans tunnel cover to make it water tight and seal it up
take some measurements for my new seat mounts
find some 1.75 .120 WT tube for the seat mount bases and A to B pillar tie-ins on the cage (tomorrow)
begin new seat substructure and install
burn off old sliders
pick up some 2" .120 WT tube for my slider legs
finish up new sliders
finish bed rack/paint/install
Dec 11, 2013 | 03:26 PM
#106
Registered User

Joined: Feb 2010
Posts: 482
Likes: 0
From: Deadwood, SD
Your truck inspires me to do some body work on mine and try to make it a clean crawler again, you know, while its still doable. Not many around. I really want to but i love being care free when it comes to some obstacles and i drive like i stole it so idk.
Jan 20, 2014 | 12:58 PM
#107
Thread Starter
Registered User
Joined: Jun 2011
Posts: 198
Likes: 5
From: Houston TX
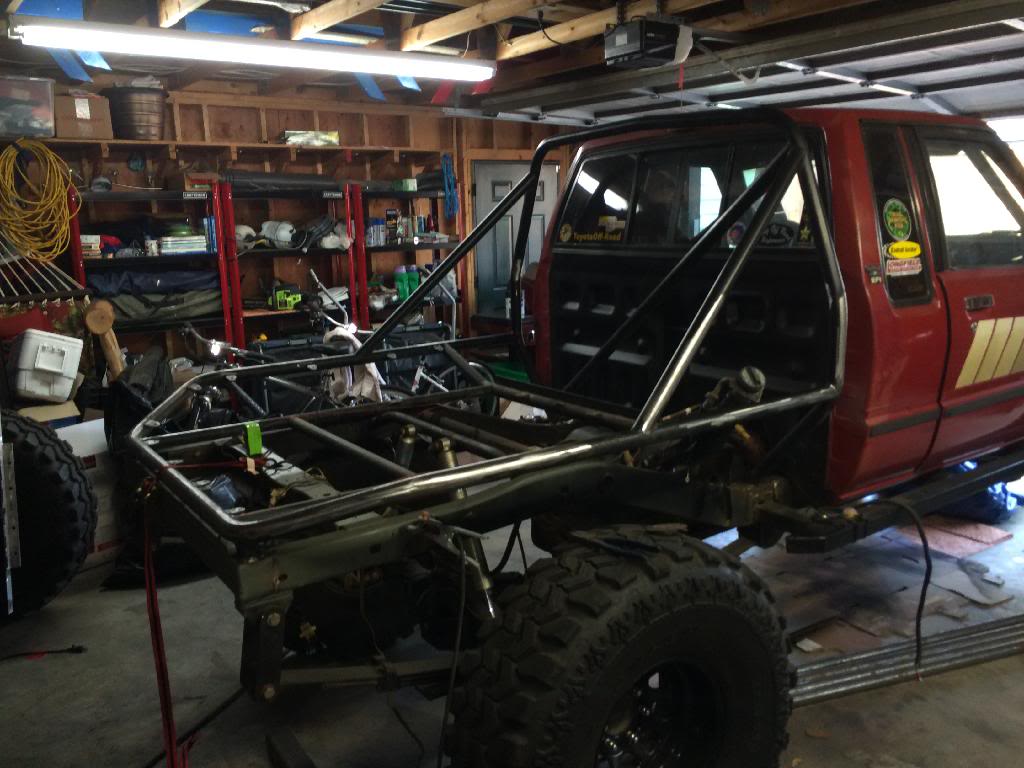
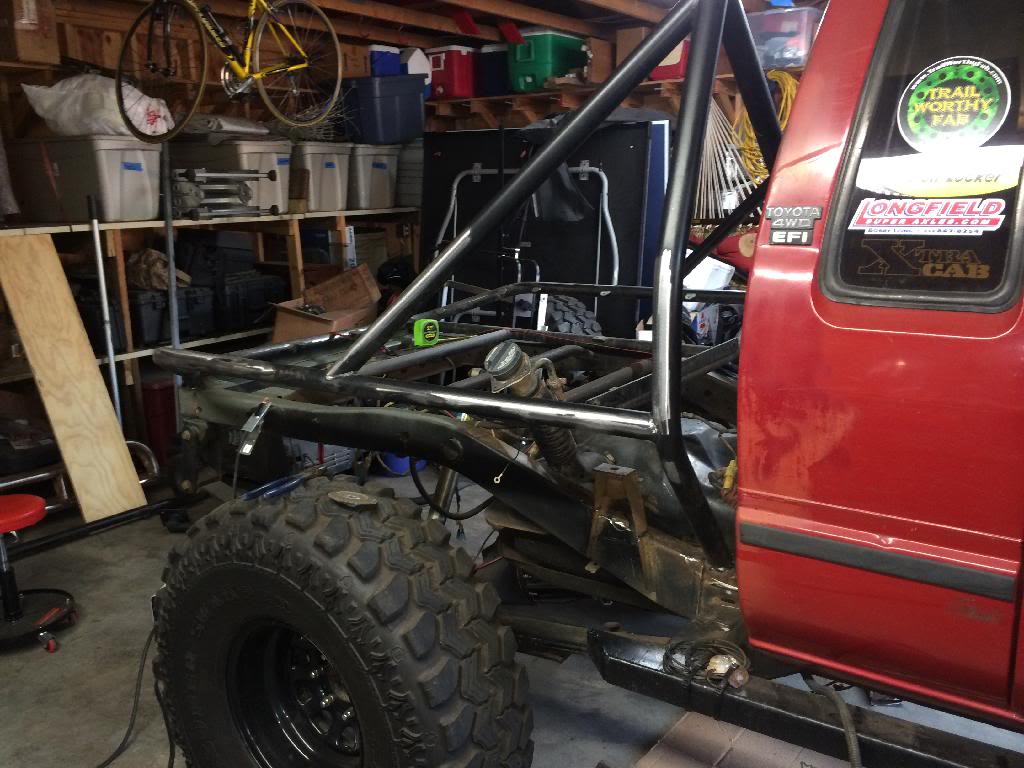
The red truck is pretty much ready to wheel. I have been working on a set of sliders and my bed rack. Once I finish those up, I will try to get this thing bobbed before Jambo hopefully. Swamped with work right now which isn't a bad thing. Just sucks for working on the truck.
Here is the progress on the bed rack
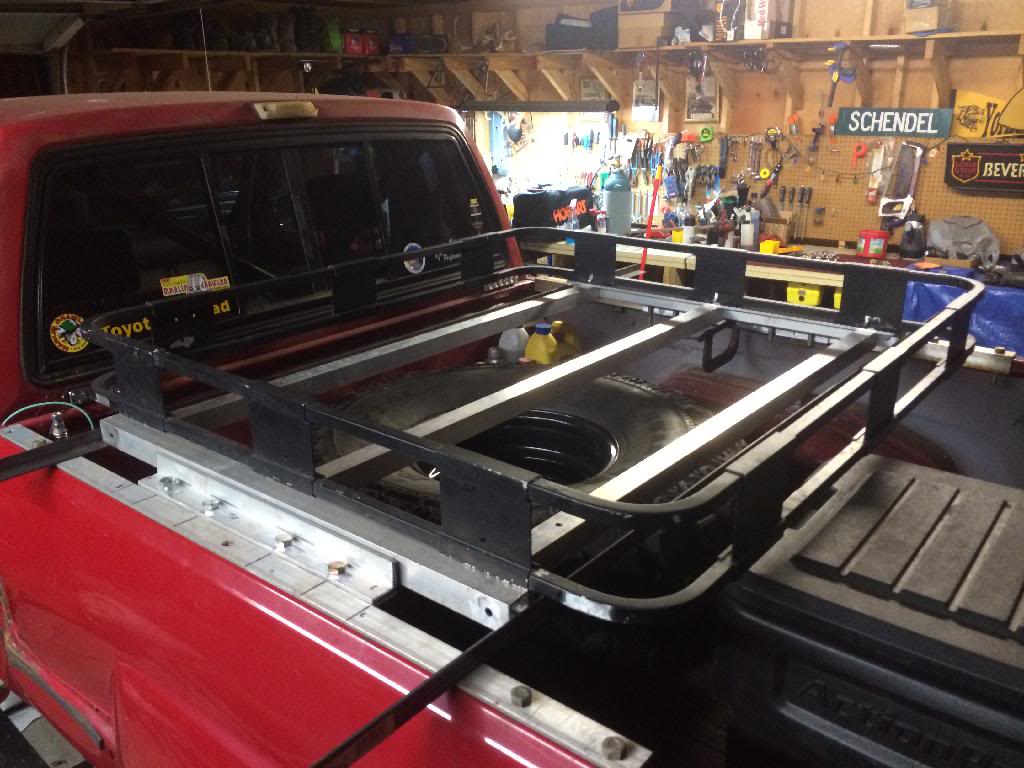
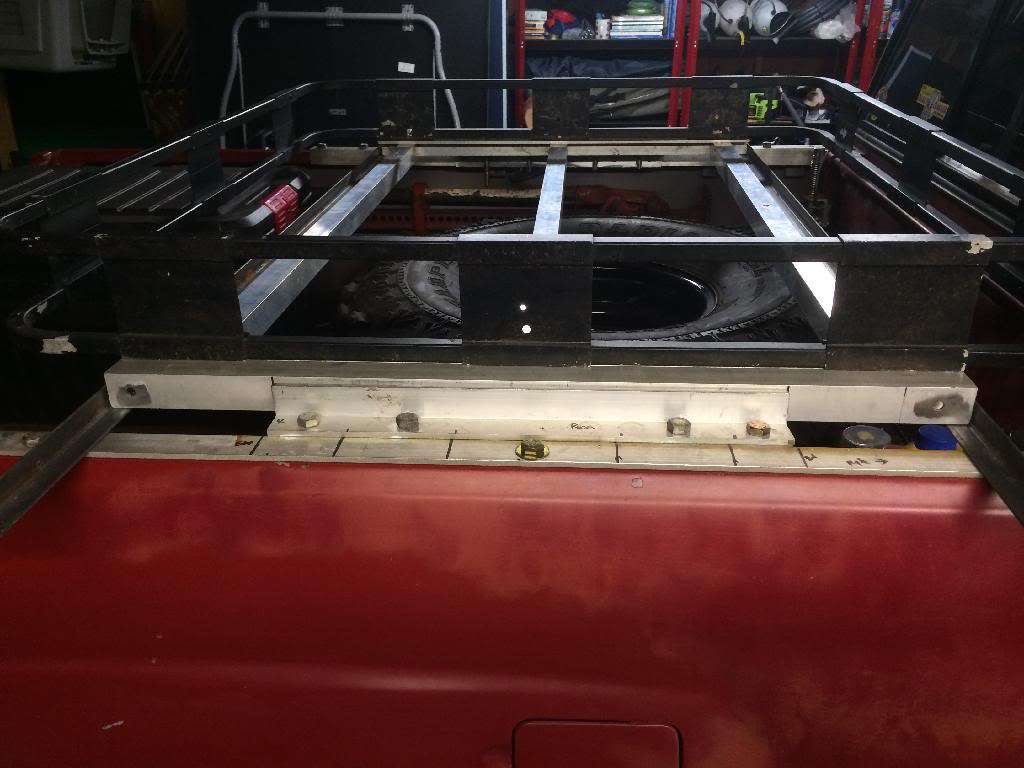
I kept it forward enough for the bob whenever that comes.
I just need to drill a couple more holes and put the floor in the rack/paint.
Here is the progress on the bed rack


I kept it forward enough for the bob whenever that comes.
I just need to drill a couple more holes and put the floor in the rack/paint.
Mar 18, 2014 | 04:23 PM
#108
Thread Starter
Registered User
Joined: Jun 2011
Posts: 198
Likes: 5
From: Houston TX
Well I officially have a truggy. Swung by Ray's today and dropped off the bed.
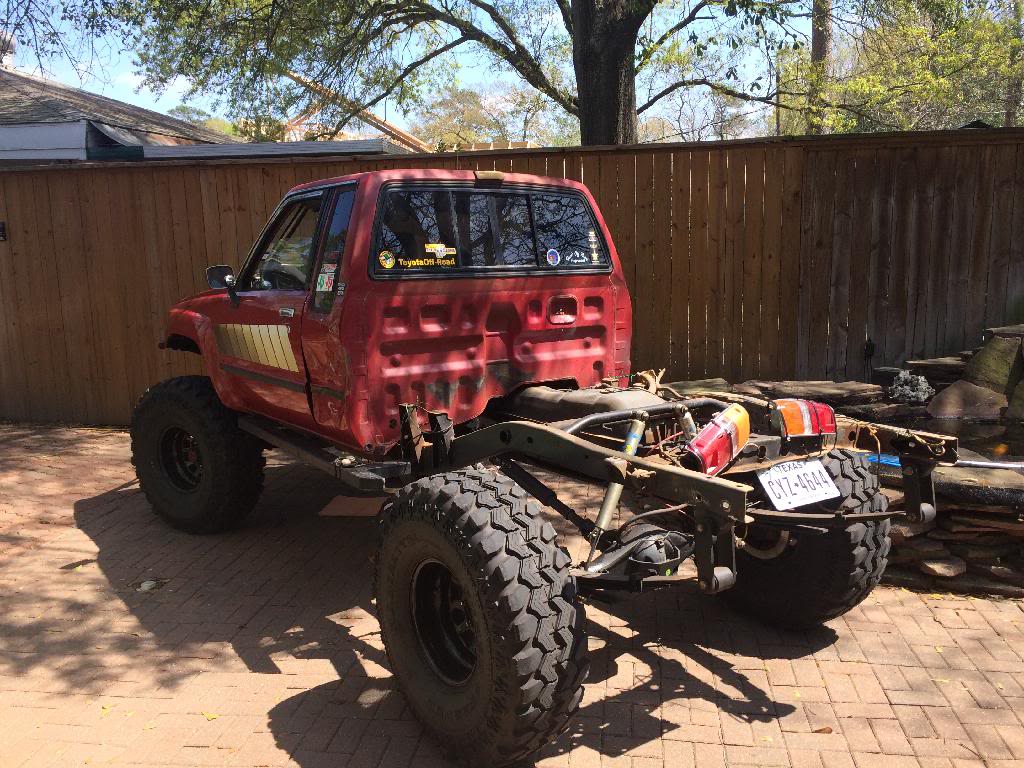
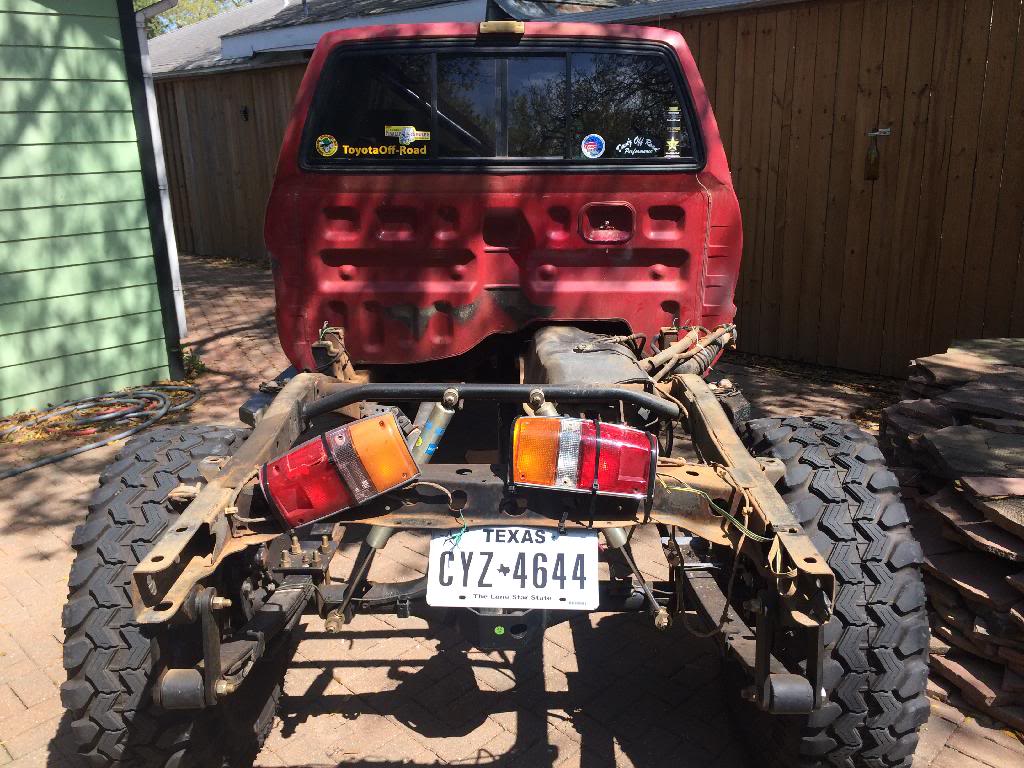
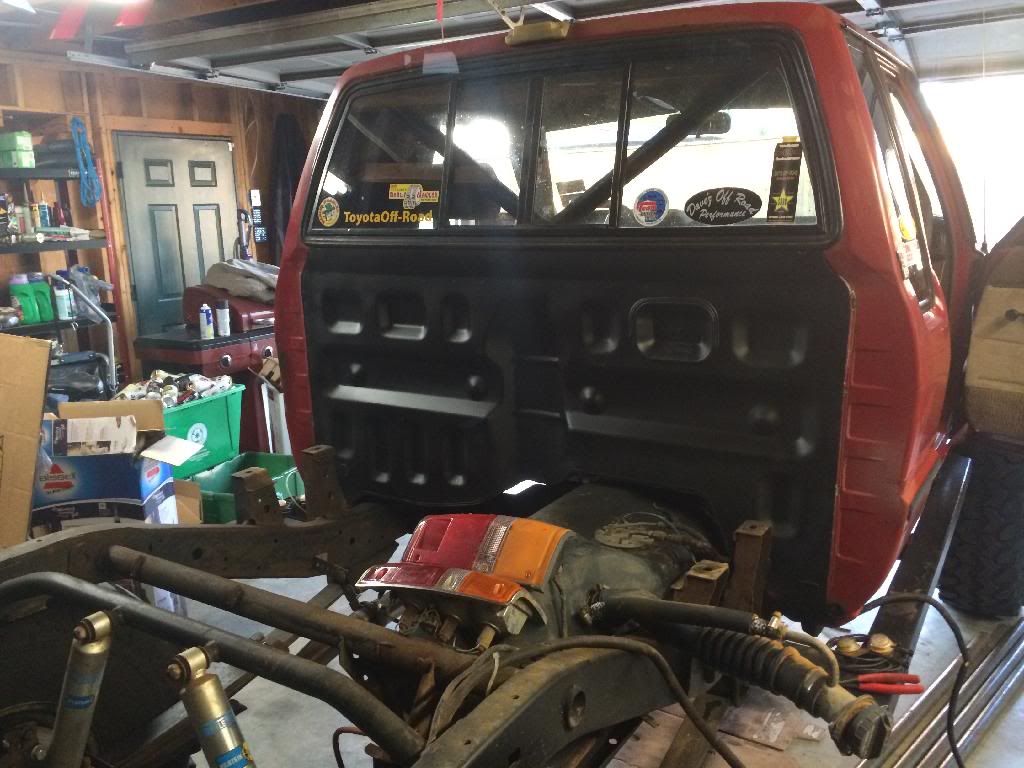
Cleaned up the rear of the cab with some rustoleum bed liner.
Also pulled the fuel sender to see if anything was prohibiting its proper function. Nothing. Probably need a new sender.
Pulled the fuel pump assembly and replaced the fuel pump with my spare since the original pump didn't sound healthy. Seems to run better with the new pump.
Just waiting on the bed to show up so I can get it installed this week.
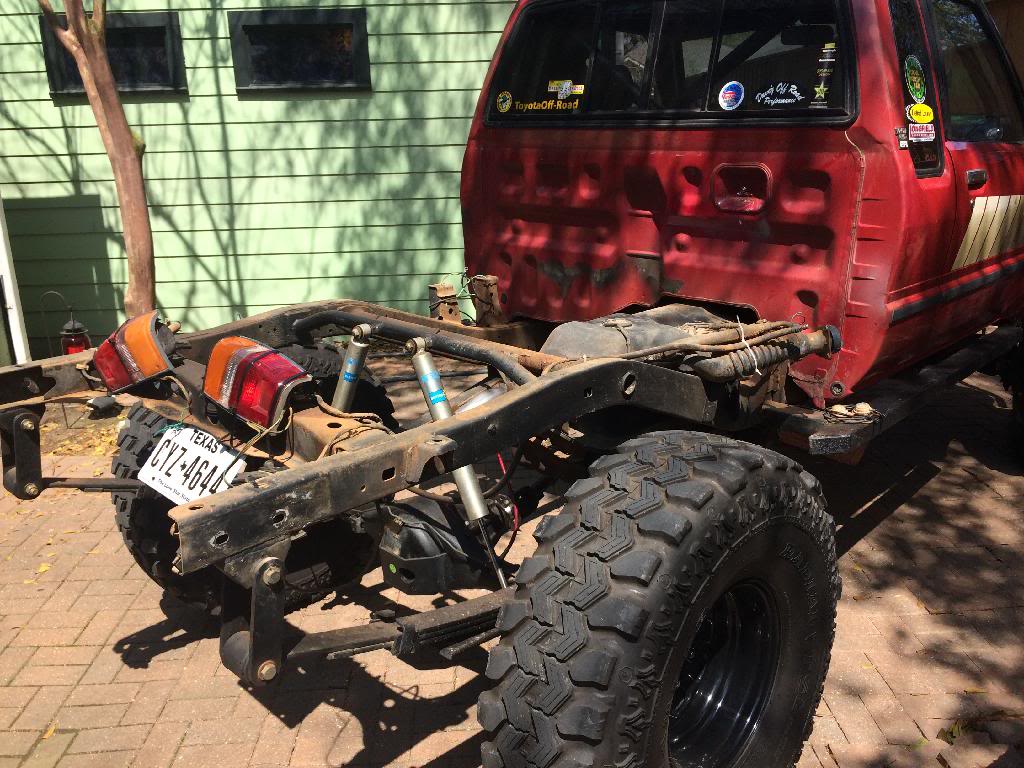
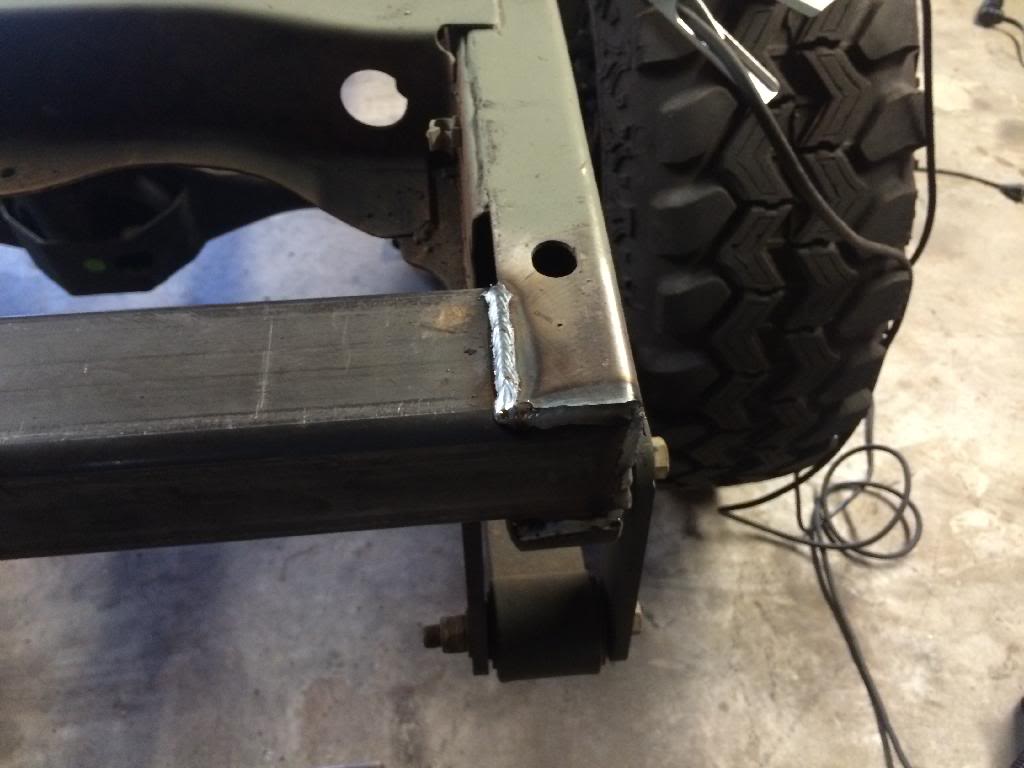
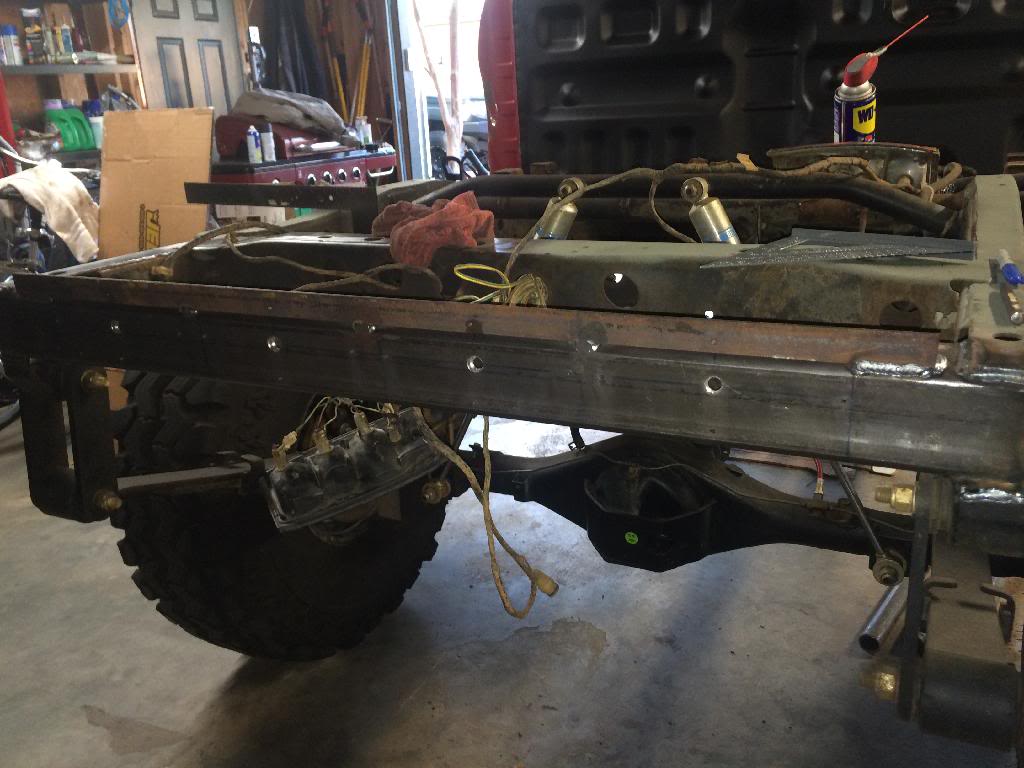
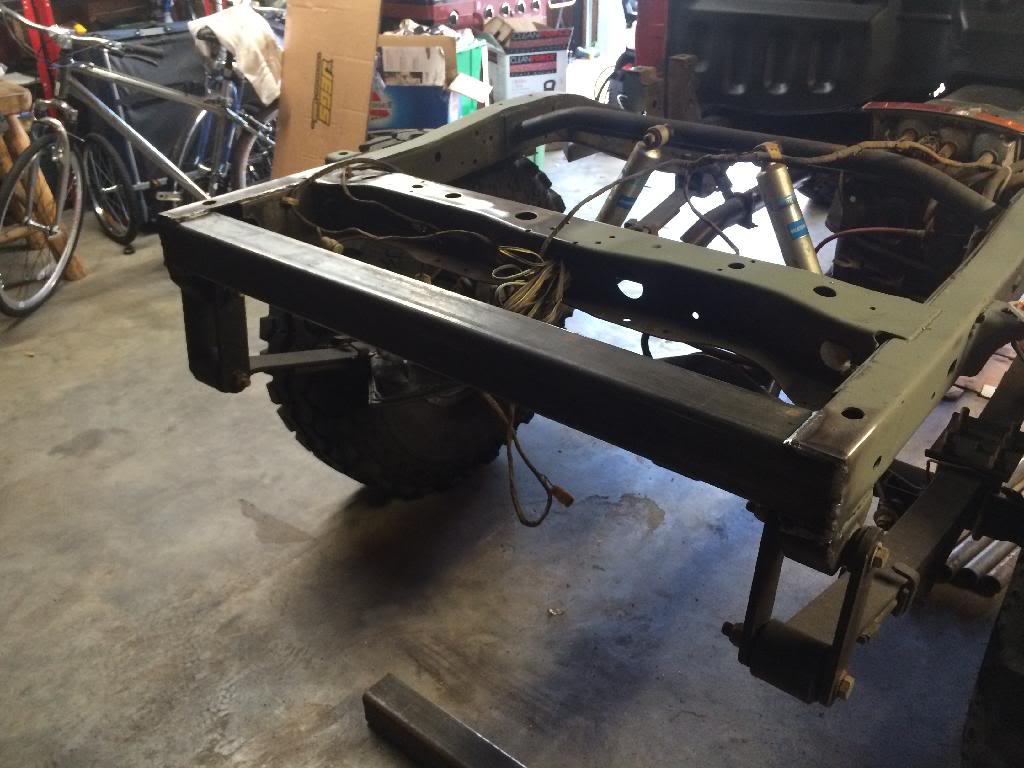
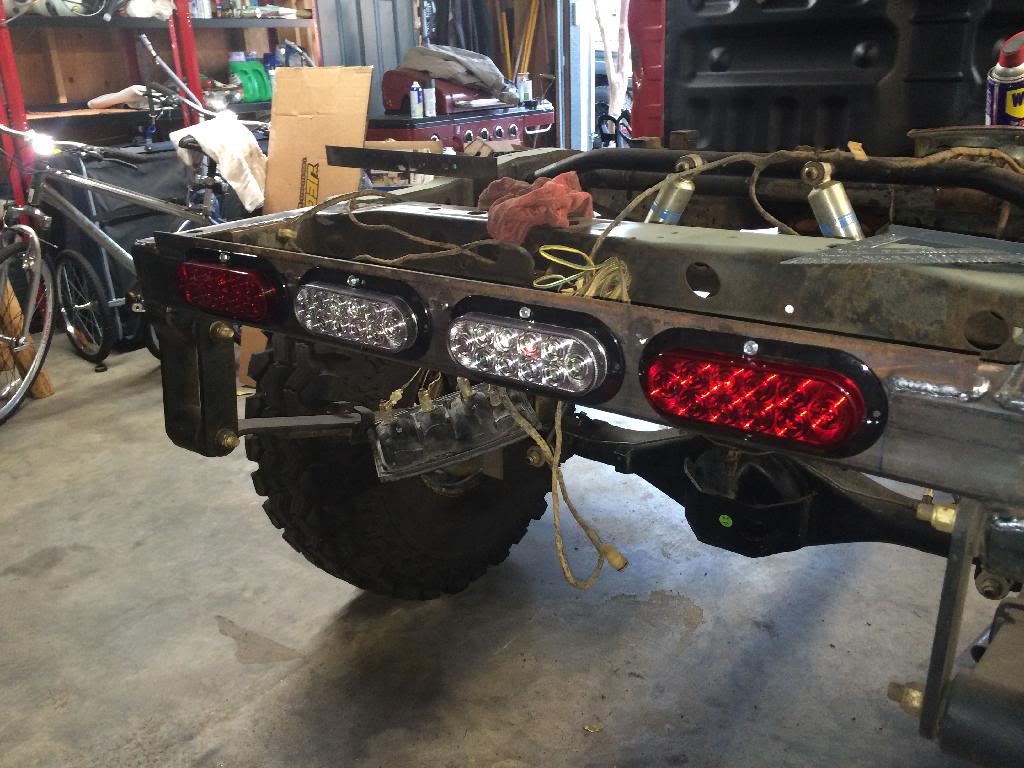
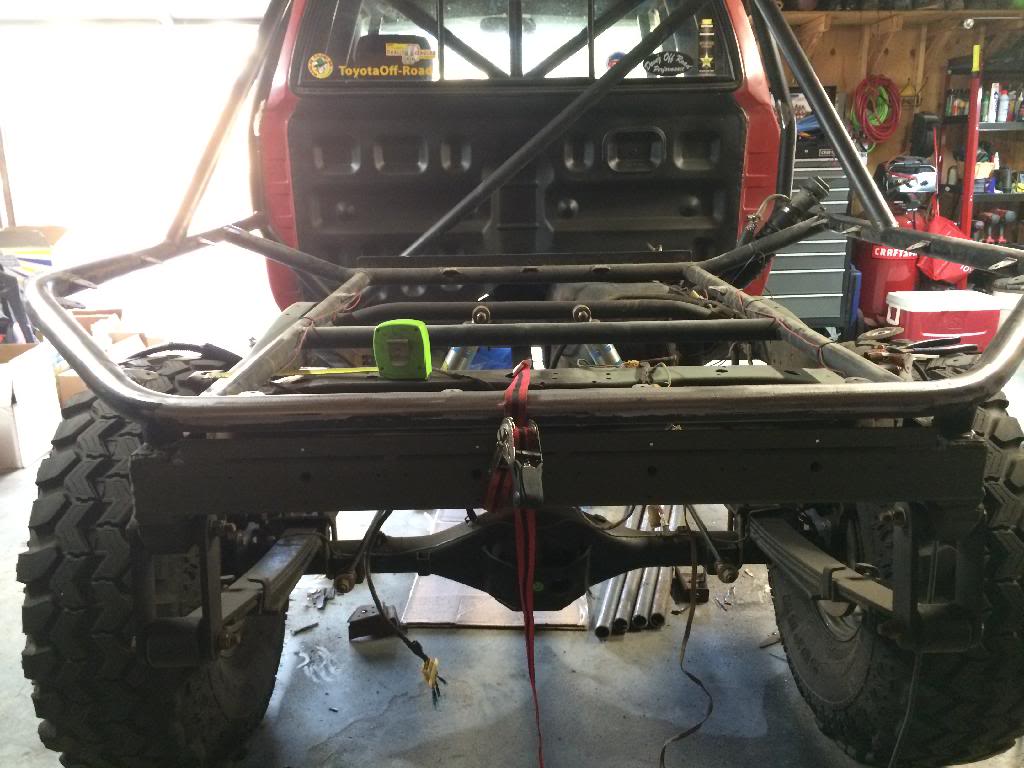
Got started on the rear crossmember. Chopped off 2.5 inches of the frame that won't be needed. Added a piece of 3x3 .25wt square tube and burned it in. Had to add a piece of 1x1 angle to the top to use all 4 holes to mount the lights. Stabbed the lights in to see how well my hole marking and tape skills were. Just need to figure out the wiring now.


Cleaned up the rear of the cab with some rustoleum bed liner.
Also pulled the fuel sender to see if anything was prohibiting its proper function. Nothing. Probably need a new sender.
Pulled the fuel pump assembly and replaced the fuel pump with my spare since the original pump didn't sound healthy. Seems to run better with the new pump.

Just waiting on the bed to show up so I can get it installed this week.
Got started on the rear crossmember. Chopped off 2.5 inches of the frame that won't be needed. Added a piece of 3x3 .25wt square tube and burned it in. Had to add a piece of 1x1 angle to the top to use all 4 holes to mount the lights. Stabbed the lights in to see how well my hole marking and tape skills were. Just need to figure out the wiring now.


 Mar 20, 2014 | 02:36 PM
#110
Thread Starter
Registered User
Joined: Jun 2011
Posts: 198
Likes: 5
From: Houston TX
Wiring will be the final step. I am pretty sure I got it figured out.
Picked up the bed this afternoon. Did a little fitting and trimming and got it welded on. I have to say my little Hobart machine is a workhorse.
Everything went on easily since we cut the mounts off flush with the frame.
Now that the hard part is done, the little tedious chores begin.
Picked up the bed this afternoon. Did a little fitting and trimming and got it welded on. I have to say my little Hobart machine is a workhorse.


Everything went on easily since we cut the mounts off flush with the frame.
Now that the hard part is done, the little tedious chores begin.
Mar 23, 2014 | 01:59 PM
#111
Looks great. I like how it sweeps up to the sides rather than a hard angle. Are you using a Hobart MIG?? Thats what I have at my house the 185 220v welder. Works as good as the miller I have at work.
 Mar 24, 2014 | 06:57 PM
#114
Thread Starter
Registered User
Joined: Jun 2011
Posts: 198
Likes: 5
From: Houston TX
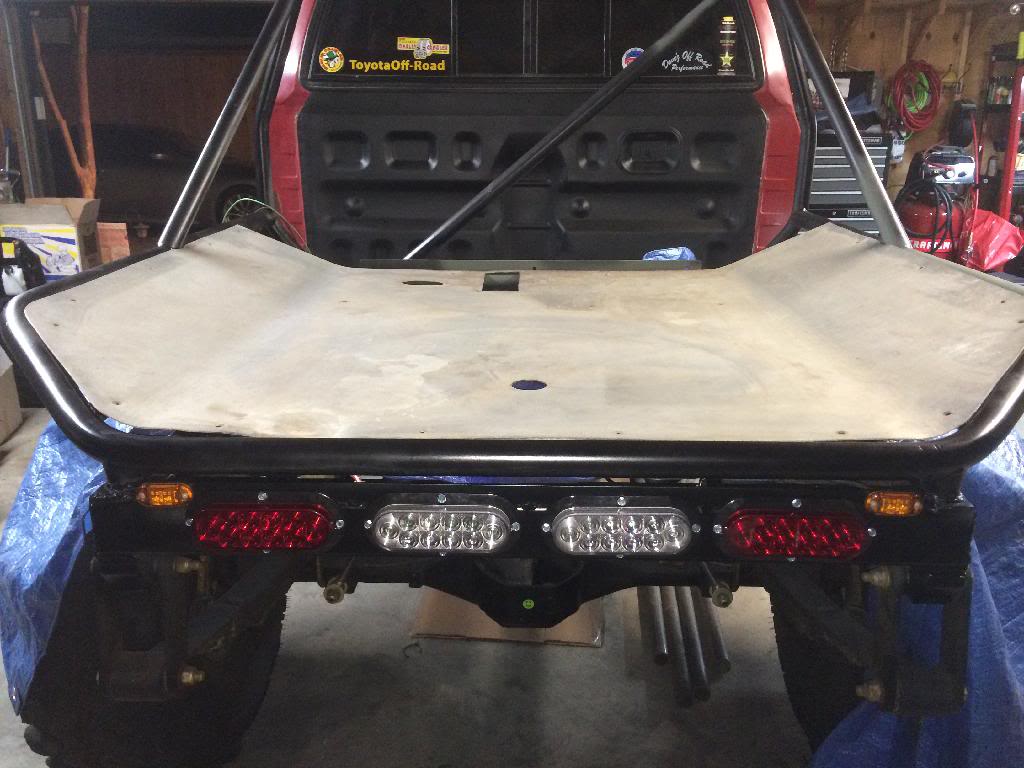
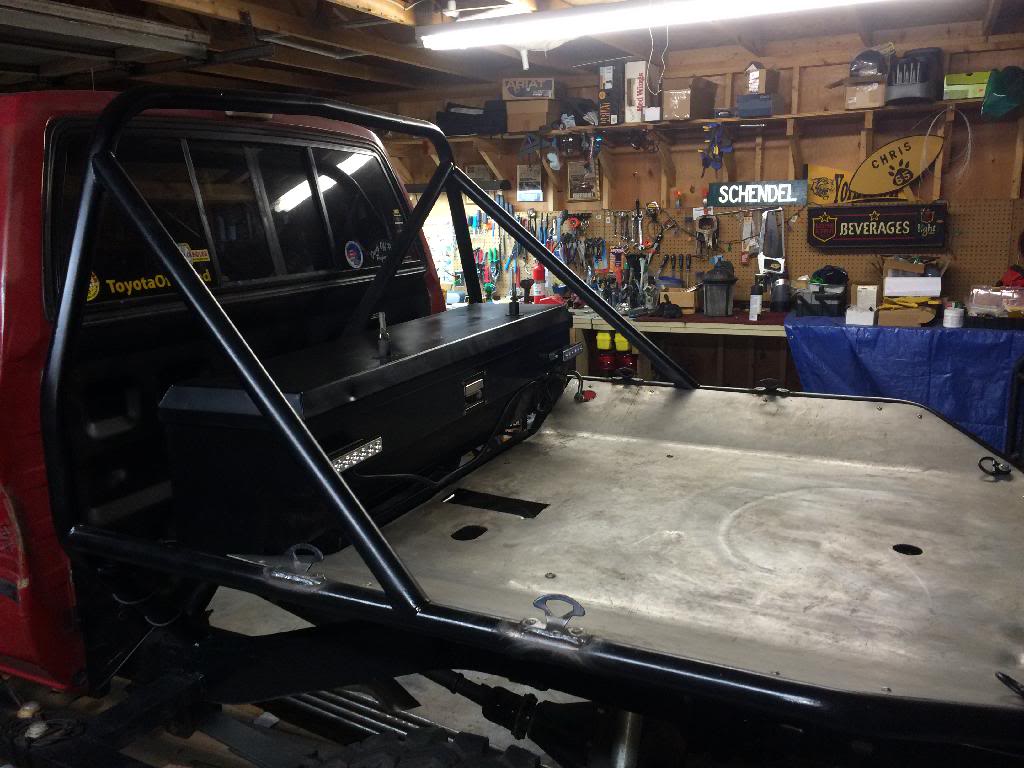
Finished up the rear lights and threw the tray on to see how I want to lay out the bed. I think eventually I want to elevate the spare above the bed with clearance to my totes and ice chest.
Sent from my iPhone using Tapatalk

Sent from my iPhone using Tapatalk
Mar 30, 2014 | 06:14 PM
#116
Thread Starter
Registered User
Joined: Jun 2011
Posts: 198
Likes: 5
From: Houston TX
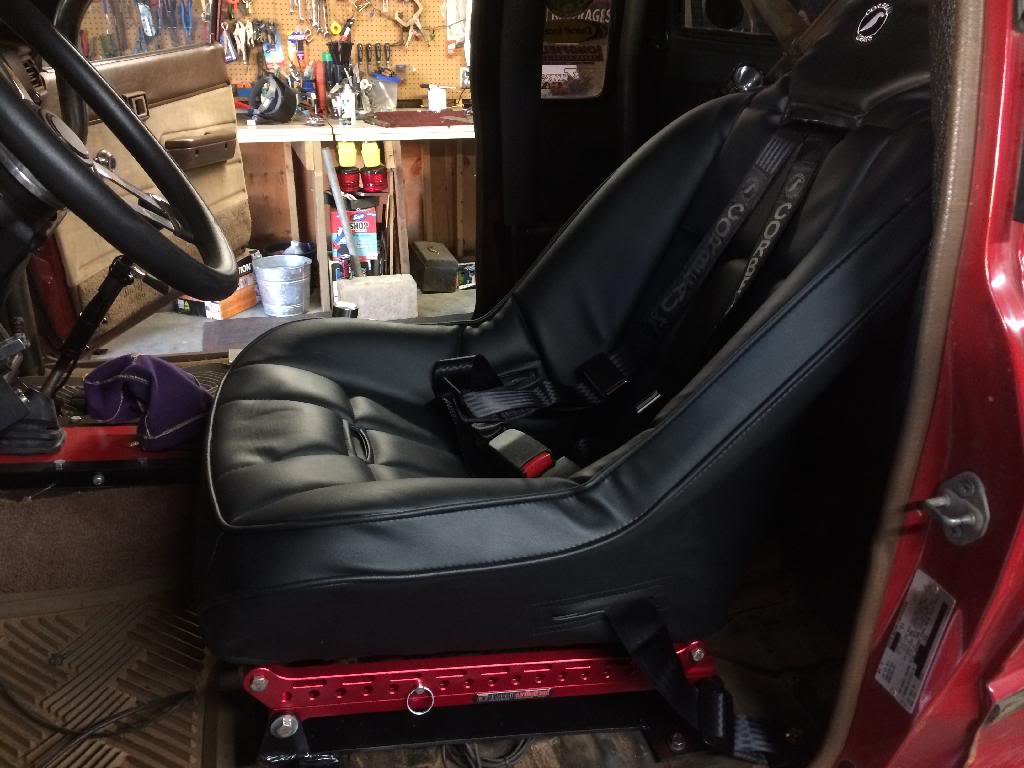
Got tired of staring a my Corbeau Baja SS seats in my garage and decided to get them put in the truck. I used the Chassis Unlimited billet sliders on the driver side for some adjustability. May pick up another set for the passenger side in the future.
Sent from my iPhone using Tapatalk

Sent from my iPhone using Tapatalk
Apr 9, 2014 | 05:15 AM
#119
Thread Starter
Registered User
Joined: Jun 2011
Posts: 198
Likes: 5
From: Houston TX
Bed, bed lights, license plate and tool box are mounted. I also added 6 tie downs to the edges of the bed. Just need to clean up some wiring and get my harness bar installed and the red truck should be ready to go.

License plate is low but removable. I may change it up later but it makes me street legal now.


License plate is low but removable. I may change it up later but it makes me street legal now.
Apr 9, 2014 | 09:50 AM
#120
Wow man looks great. I love the fact that you put Tie downs on the bed surface. You never really realize how useful those are until you need them. Great idea!
Are you going to leave the metal bare or coat it with something? Maybe I missed that part.
Are you going to leave the metal bare or coat it with something? Maybe I missed that part.


