Went to the shop toady for a few.
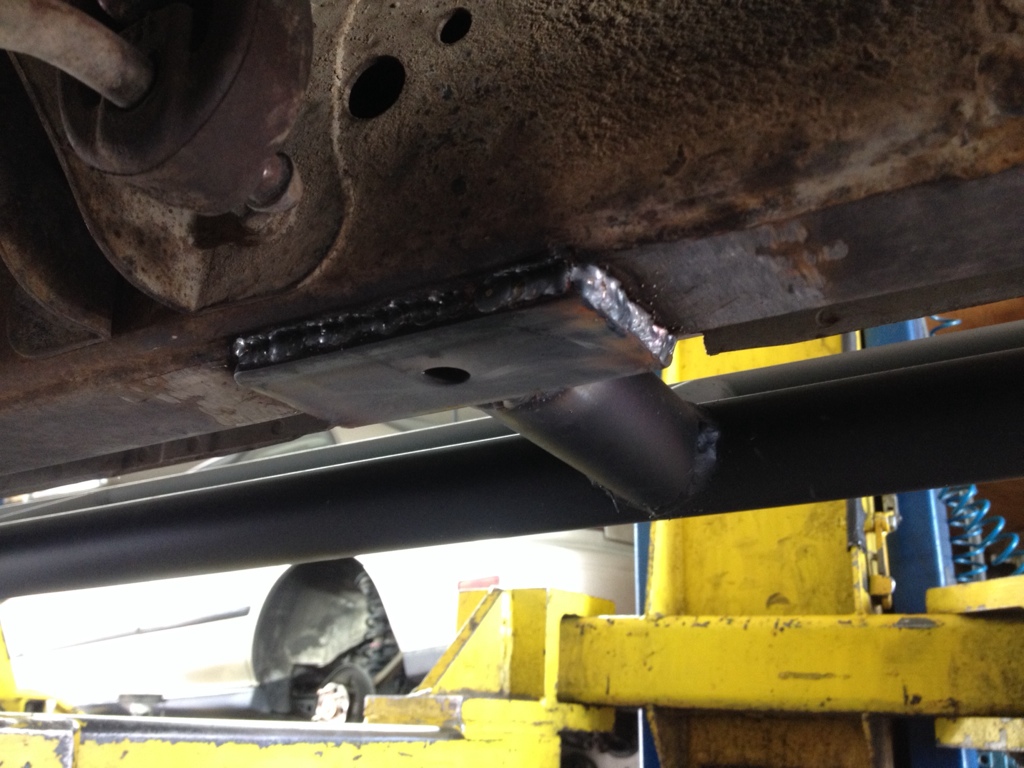
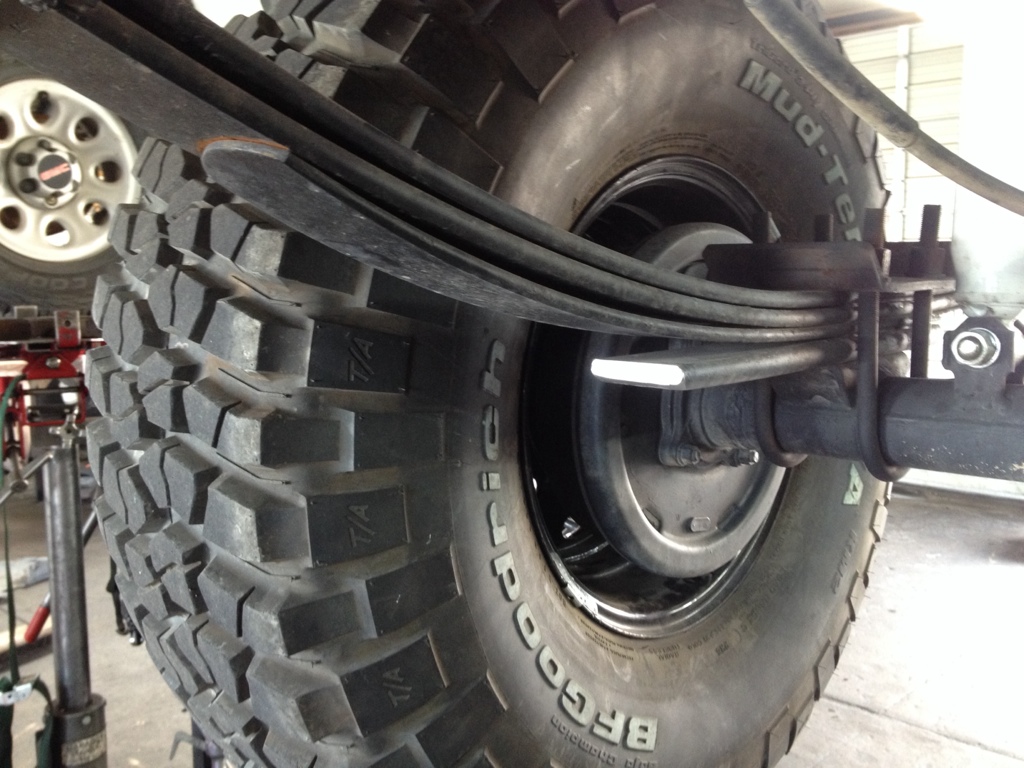
Finished welding bottom slider plates
Cut overloads down
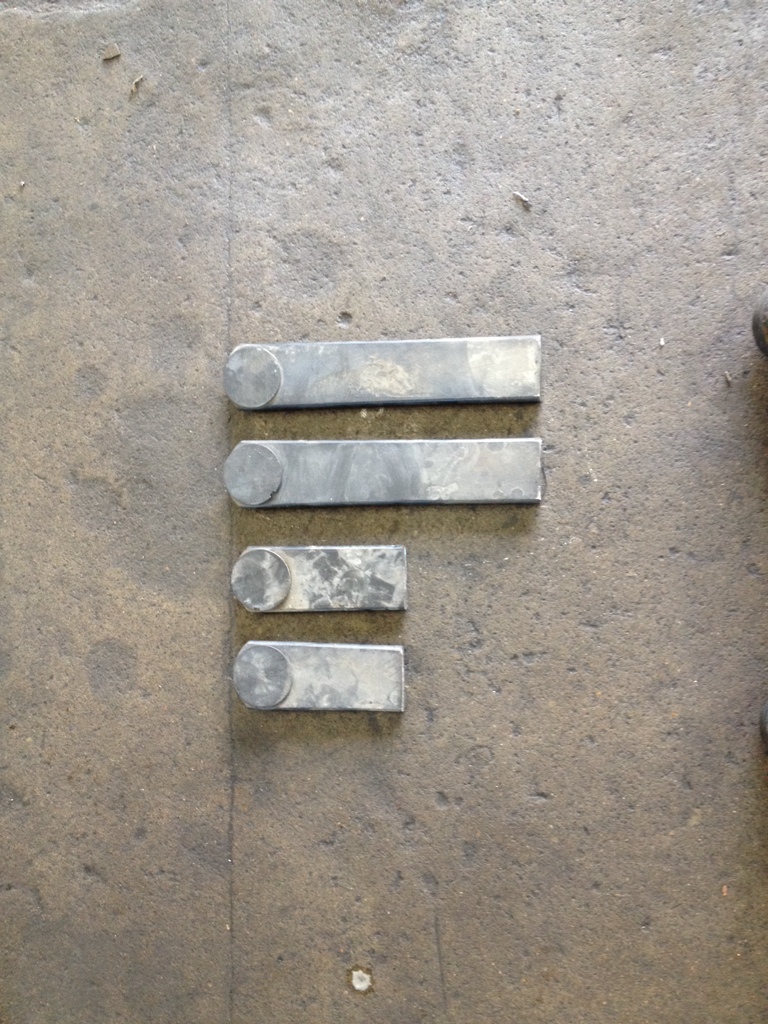
Left about 2" the rear

And left 8" in the front for axle wrap
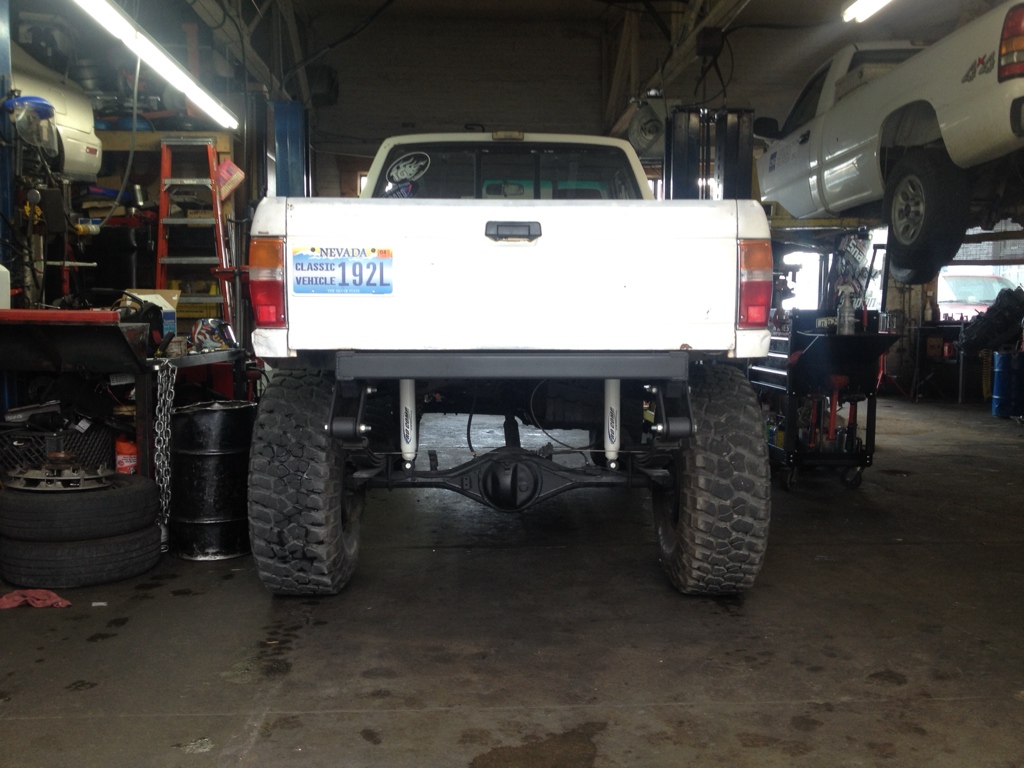
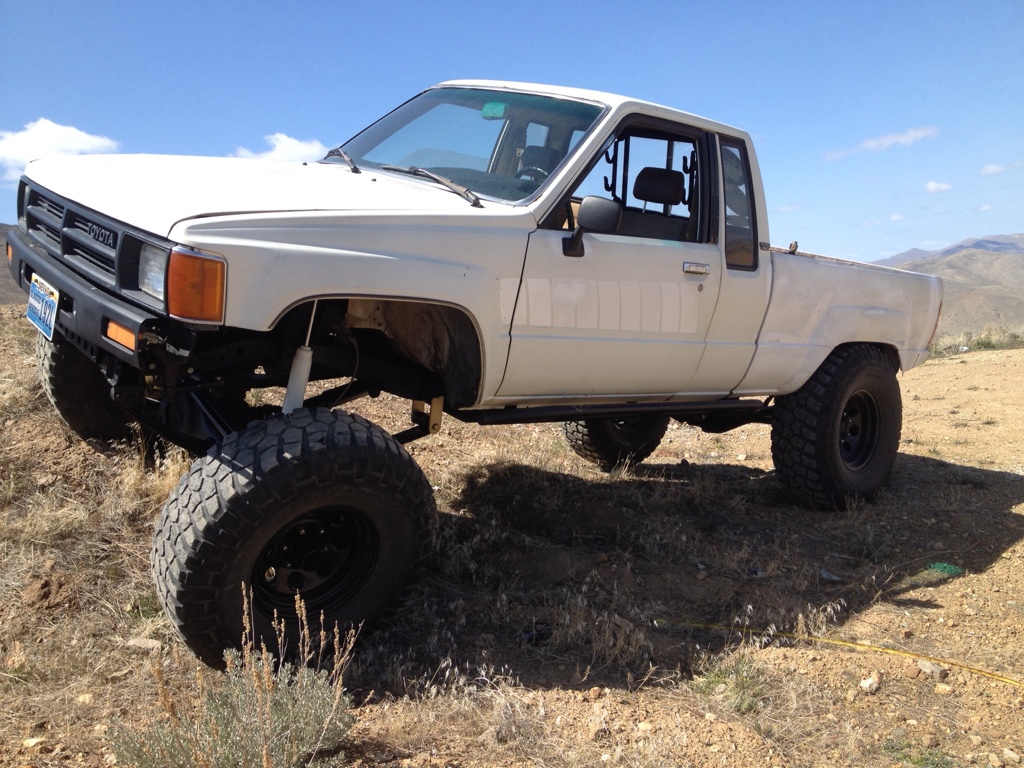
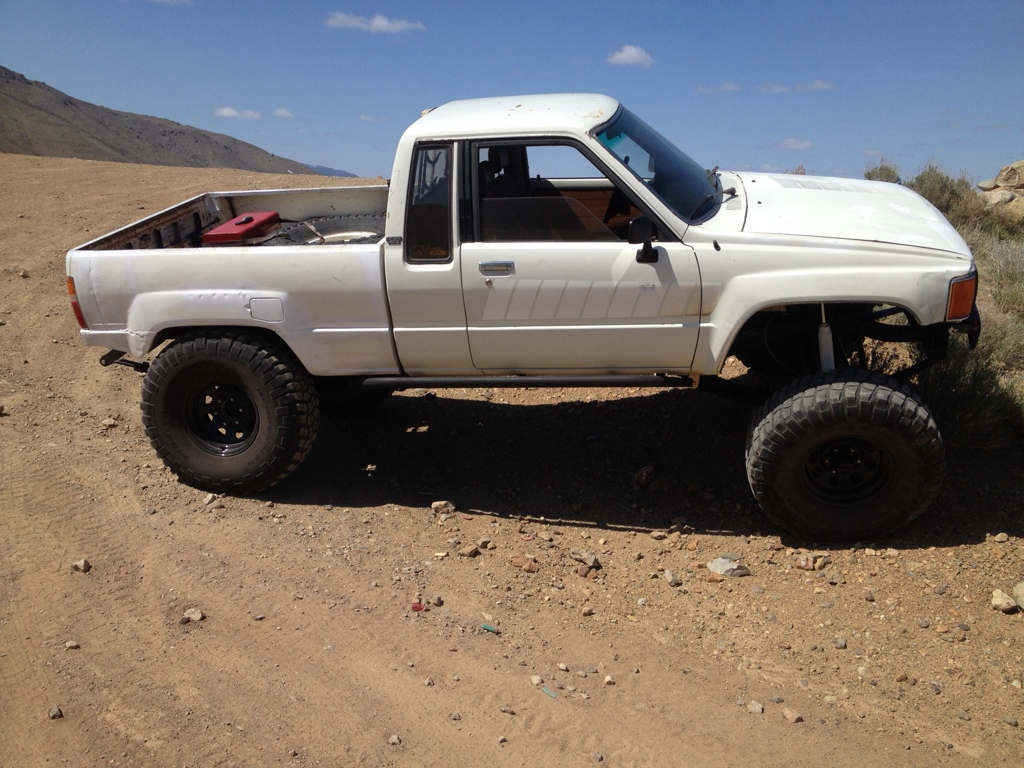
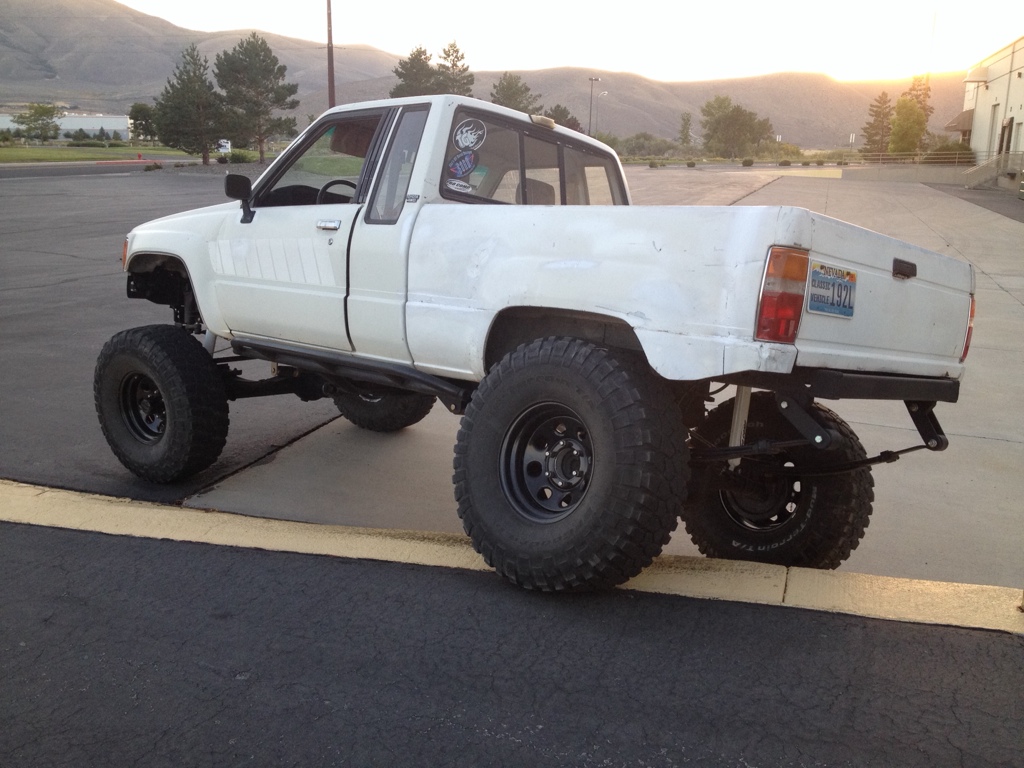
Figured I'd take it to the dirt finally. Nothing much no time for trails today. Just a run up some service roads & a couple of poser shots.
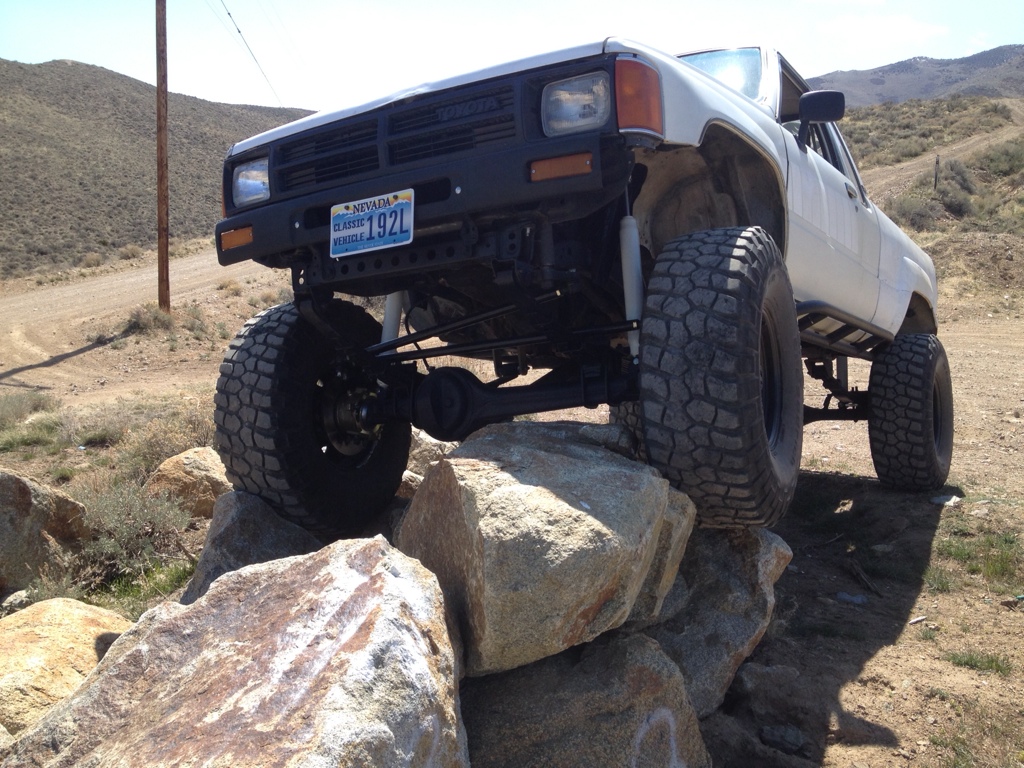
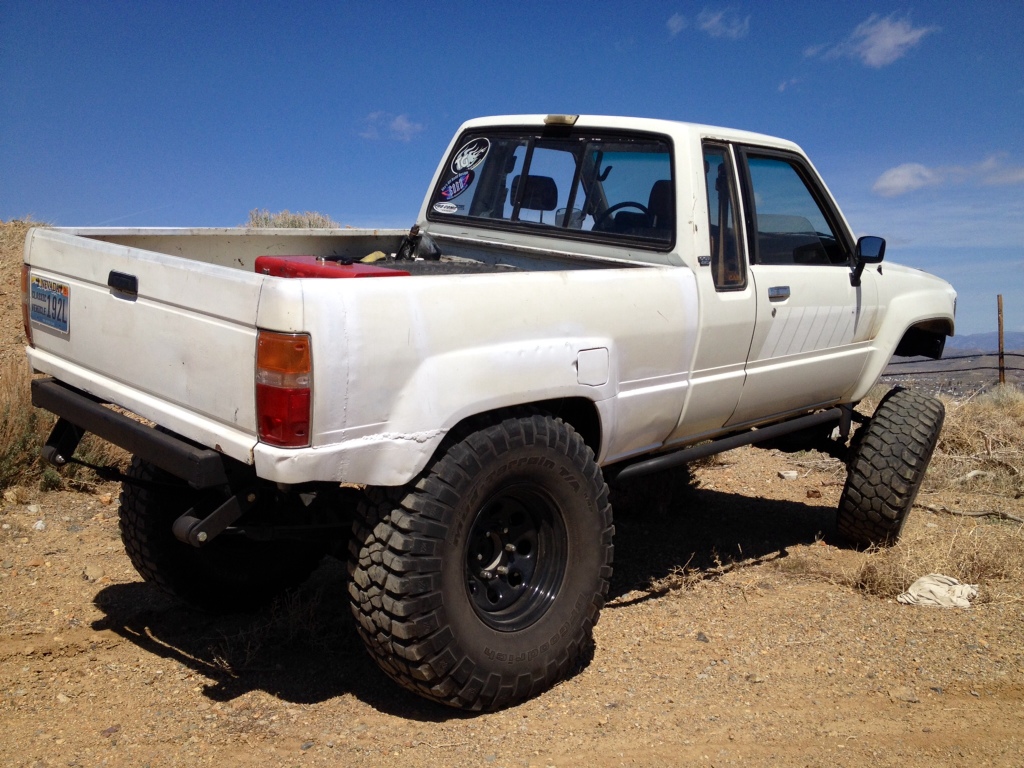
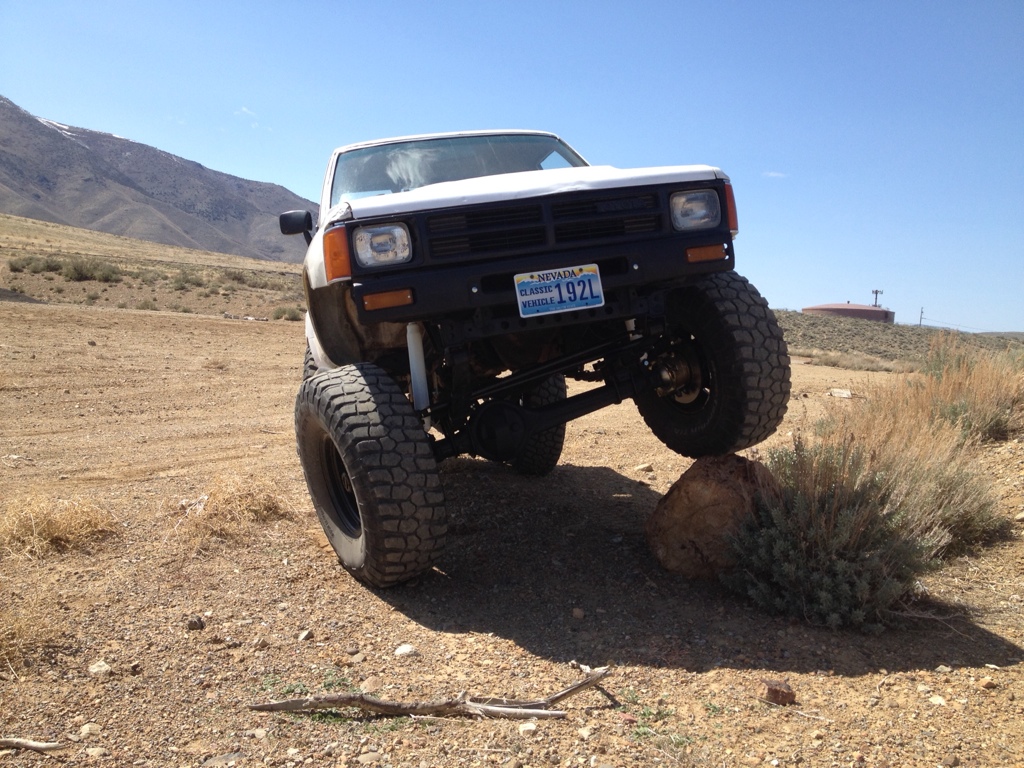
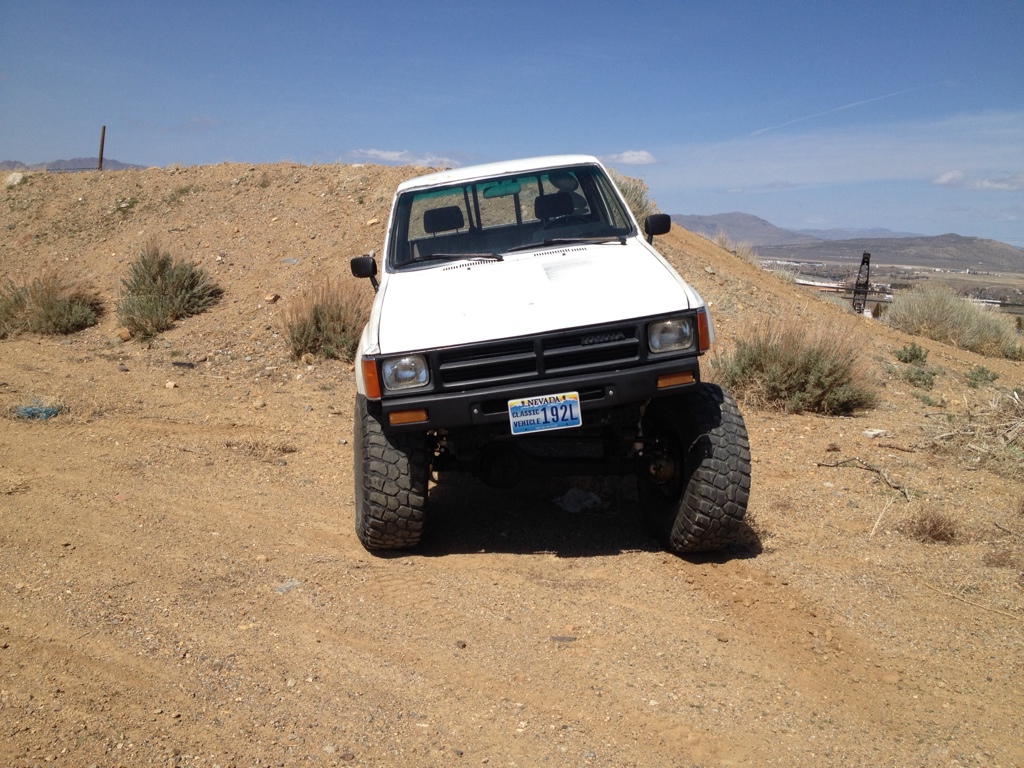
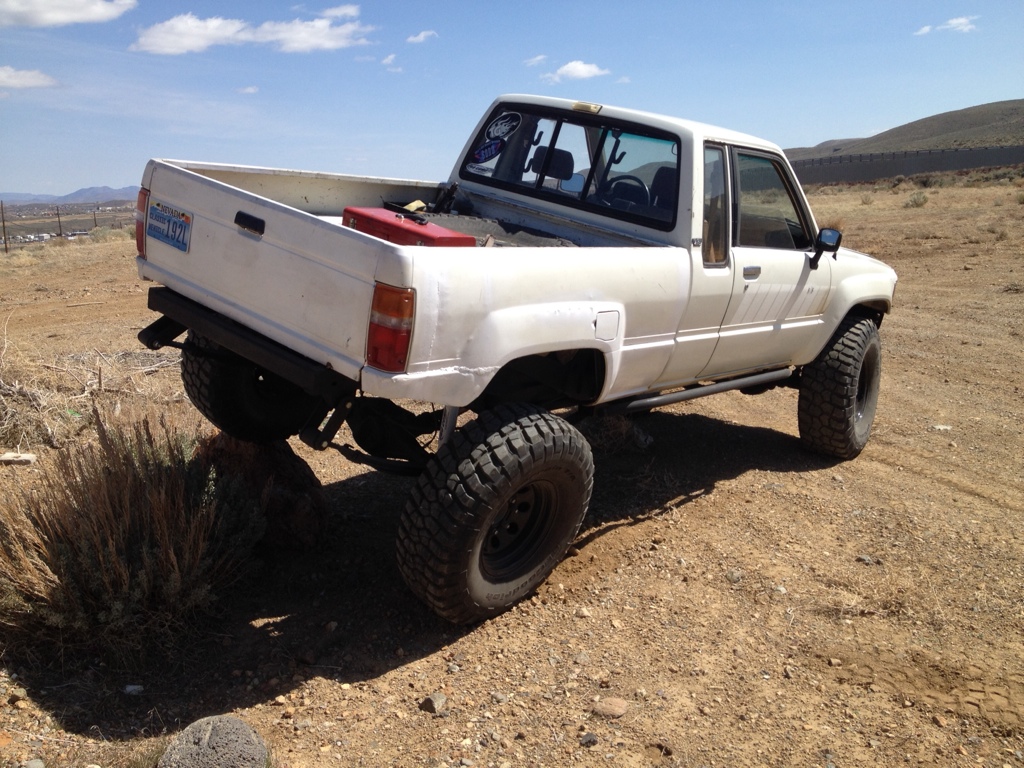
And My favorite
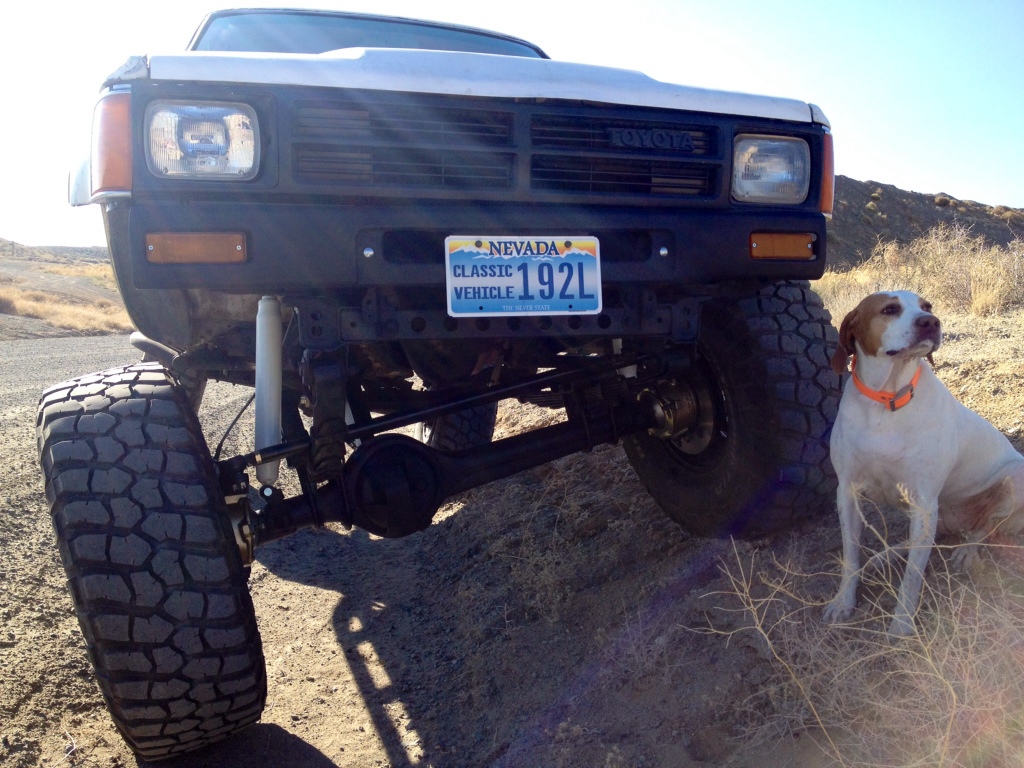
I forgot how gutless these trucks are with 35s & stock gearing. Looks like 5.29s are in the future. I must just be used to newer lifted ifs trucks cause this this rides like ass on washboard roads at speed.
Finished welding bottom slider plates
Cut overloads down
Left about 2" the rear
And left 8" in the front for axle wrap
Figured I'd take it to the dirt finally. Nothing much no time for trails today. Just a run up some service roads & a couple of poser shots.
And My favorite
I forgot how gutless these trucks are with 35s & stock gearing. Looks like 5.29s are in the future. I must just be used to newer lifted ifs trucks cause this this rides like ass on washboard roads at speed.
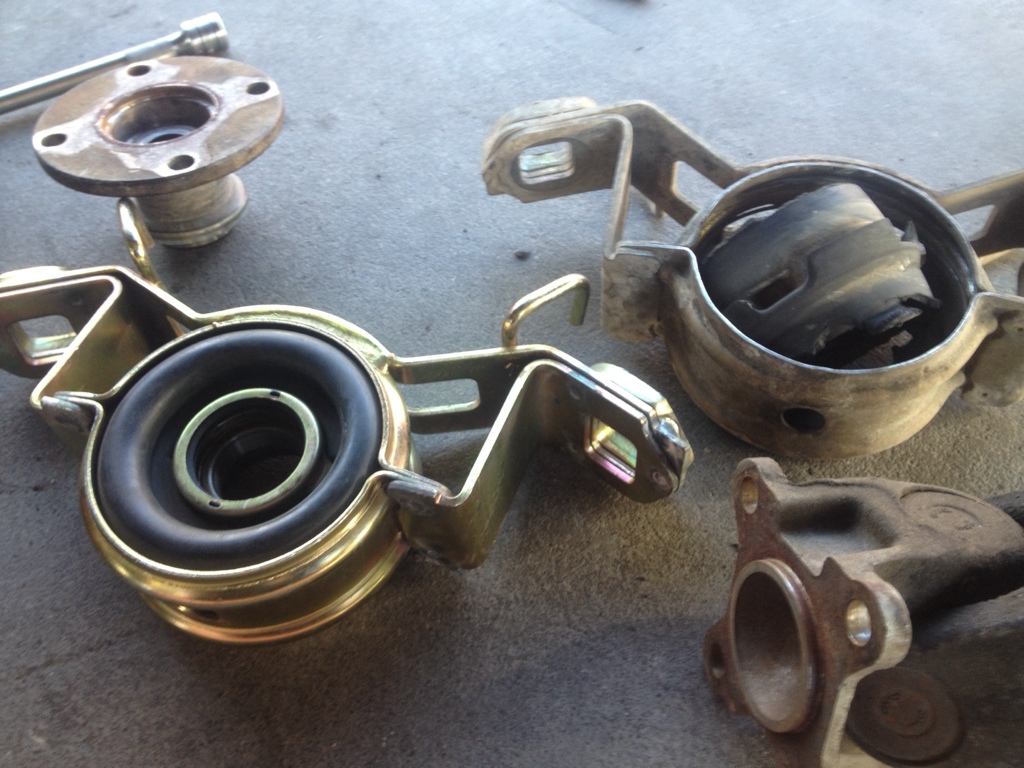
Put quite a few miles on it this week around town. Got really tired hearing the wore out center bearing letting the driveline wobble around . Every time I'd take off or shift it felt like the driveline was hitting the underside of truck. Kicked the idea around of swapping in a 1 piece driveline , but it would hang down quite a bit lower and become easier to damage. Pillow block was another option but decided to just replace it with a new center bearing. Soooo much smoother.
Registered User
I'm diggin the truck man! DO you ever head over to Truckee to do some wheeling? I'm always out near Boca/Verdi.
Registered User
Thats cool about the classic vehicle plates. Awesome flex pics, its nice to finally see your truck in action! I dig the new avatar too!
Quote:
Thanks bro. Got a few more lil updates soon. Hopefully can find some time this weekend to do some light wheeling.Originally Posted by rustEDyota83
Thats cool about the classic vehicle plates. Awesome flex pics, its nice to finally see your truck in action! I dig the new avatar too!
Quote:
Thanks . I don't think the truck would handle freeway speeds going over I80 to truckee lol. I'd have to take dirt roads lol. We go out to boca / stampede / smith neck creek area quite a bit , in my f150 tho.Originally Posted by StewsRunner
I'm diggin the truck man! DO you ever head over to Truckee to do some wheeling? I'm always out near Boca/Verdi.


Quote:
That's correct mounting for those pro comps ( Es9000 ) and most other cheap nitrogen filled shocks. It's Stamped right on them toward the bottom " mount this side down " with an arrow pointing down. Cellular gas / air / and oil shocks can be mounted either way , most nitrogen shocks will develop dead spots if mounted upside down. On a side note these shocks blow and will be upgraded to some fox or Bilstens in the future.Originally Posted by Stevesk88
Why upsidedown shocks man?
Thanks stew / rusted & gizz for the kind words.
Got a few small things done over the busy weekend.
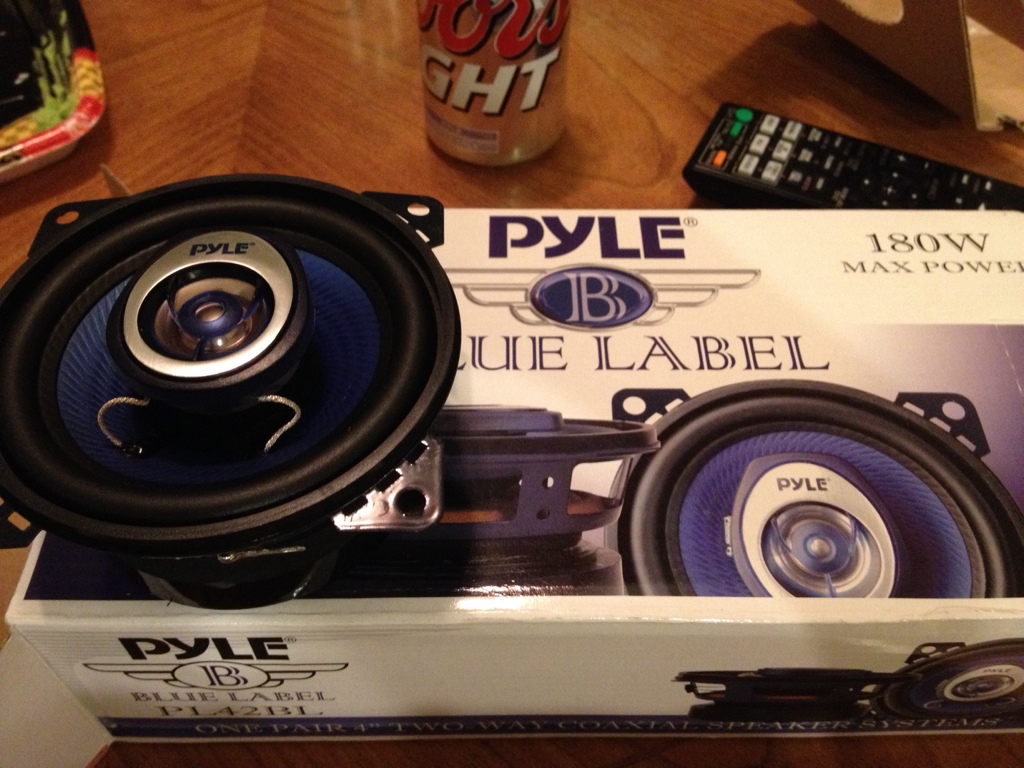
Picked up some Pyle blue label 4" dash speakers on amazon. Had like 800 reviews with a lot of 4&5 stars and the price was right. Quite a few 2nd gen toyota reviews which helped the sale lol. Fit nice & came with enough mounting hardware & new speaker wire for install.
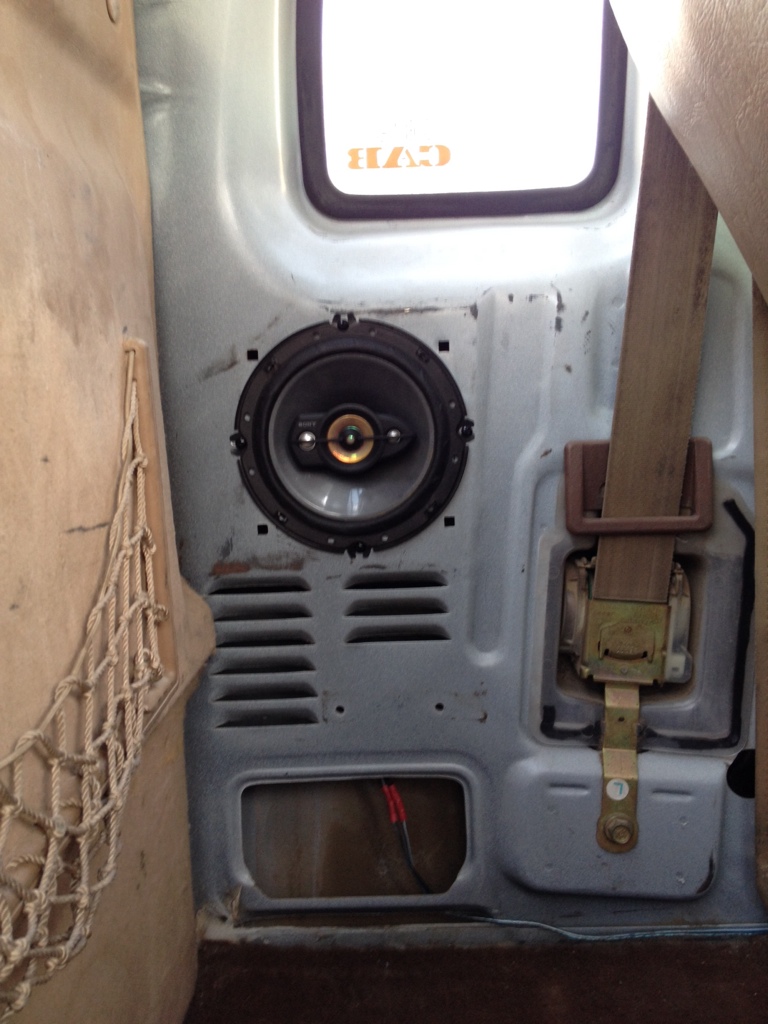
Mounted some 6.5"sony speakers I had ontop of my tool box for awhile. Fits nicely in the factory xcab speaker holes with some new holes drilled. Also ran new wire to the deck. Will look nicer when I get around to making the wood panels .
Had a old jvc deck with cd & aux port . Went to a local stereo shop and they let me scavenge through their opened up kits . Was able to find enough trim peices & cage to make it work ( with the help of a dremel )
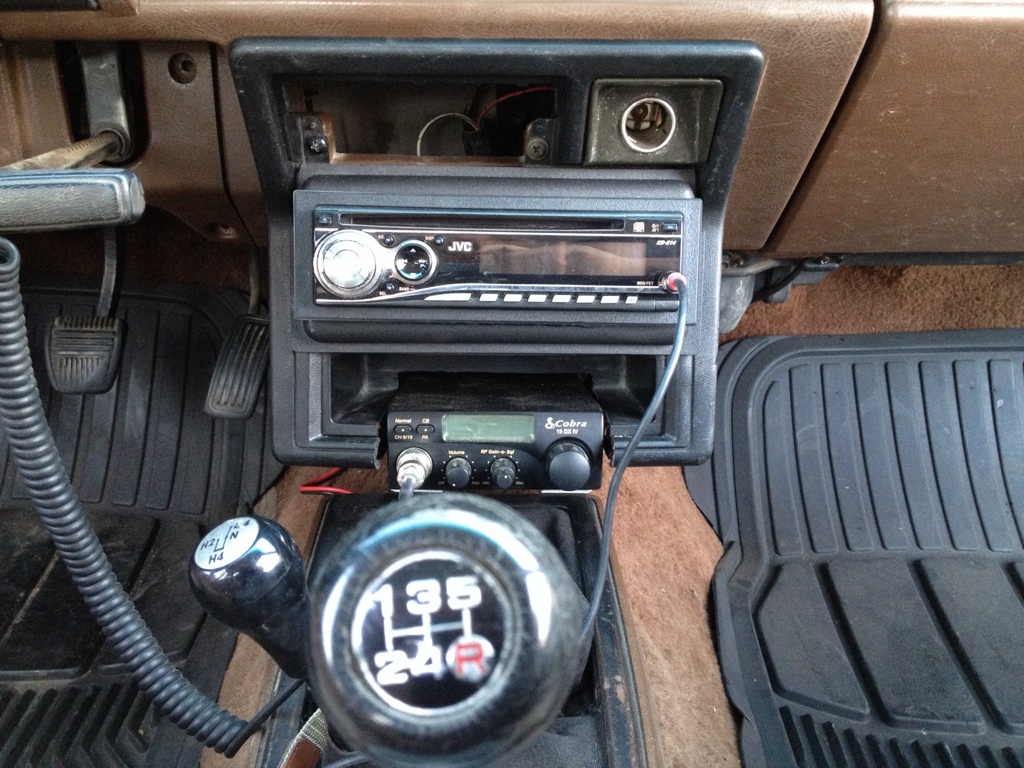
Overall sounds decent. I wast expecting it to slump or anything but could use a small amp in the future.
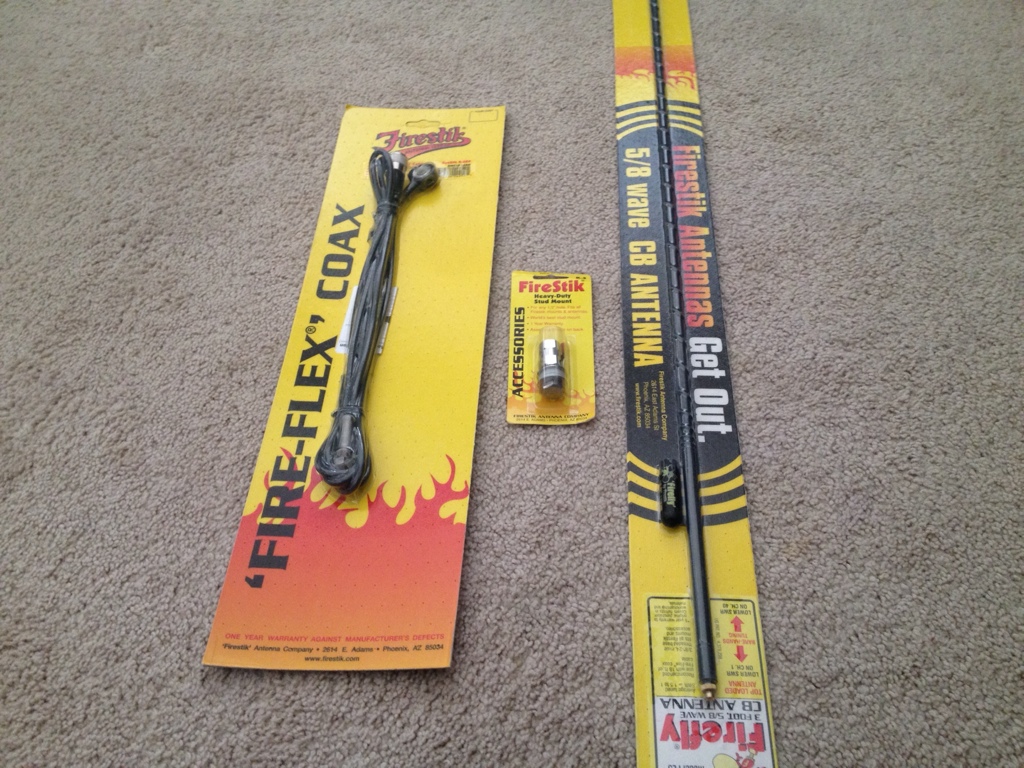
Also ordered the rest of my cb stuff. Amazon was 5 days late on the actual antenna so they refunded my money and let me keep the product. Thumbs up.
Firestik - 3ft firefly tunable tip antenna
Firestik - 9ft coax cable with fire ring syle connection
Firestik - k4 stud with fire ring connection
Will make my my own antenna stud mount. Still unsure exactly where I want the antenna.
Got a few small things done over the busy weekend.
Picked up some Pyle blue label 4" dash speakers on amazon. Had like 800 reviews with a lot of 4&5 stars and the price was right. Quite a few 2nd gen toyota reviews which helped the sale lol. Fit nice & came with enough mounting hardware & new speaker wire for install.
Mounted some 6.5"sony speakers I had ontop of my tool box for awhile. Fits nicely in the factory xcab speaker holes with some new holes drilled. Also ran new wire to the deck. Will look nicer when I get around to making the wood panels .
Had a old jvc deck with cd & aux port . Went to a local stereo shop and they let me scavenge through their opened up kits . Was able to find enough trim peices & cage to make it work ( with the help of a dremel )
Overall sounds decent. I wast expecting it to slump or anything but could use a small amp in the future.
Also ordered the rest of my cb stuff. Amazon was 5 days late on the actual antenna so they refunded my money and let me keep the product. Thumbs up.
Firestik - 3ft firefly tunable tip antenna
Firestik - 9ft coax cable with fire ring syle connection
Firestik - k4 stud with fire ring connection
Will make my my own antenna stud mount. Still unsure exactly where I want the antenna.
Registered User
Nice work on the audio equipment! That's one thing I need to upgrade on my 4runner, that and a CB. Its funny how priorities change the older you get, when I was younger a good sound system was at the top of the list....and now ( just a few years later, lol), I just barely put a used Sony in my 4 runner after owning/driving without a stereo for 2 years, and I'm listening through one old indoor house stereo speaker!
Nice work, every time I check in here it makes me want a bobbed x-cab that much more!
Nice work, every time I check in here it makes me want a bobbed x-cab that much more!
Quote:
Haha yup. 5-10 years ago the whole back area would have been filled with subs & amps and such lol. Originally Posted by rustEDyota83
Its funny how priorities change the older you get, when I was younger a good sound system was at the top of the list....
I'll need that back xcab area for my hunting dog to lay out.
Still gotta have a lil system in my daily though. My f150 has a single 12" sub enclosed box with a small amp & 6x9s in all 4 doors. Good enough.
Nice score on the speakers. I need to pay more attention to this on my runner. I only have front dash speakers at the moment and want to install some in the rear. I currently have some but unsure of what they are.
I also want to make a slot for the CB in my dash as well. I like where you have yours. looks like it would be easily accessible while driving.
I also want to make a slot for the CB in my dash as well. I like where you have yours. looks like it would be easily accessible while driving.

Registered User
sweet 84!
my buddy picked up a black xcab out there where you picked yours up, seems like he had quite a few yotas out there
my buddy picked up a black xcab out there where you picked yours up, seems like he had quite a few yotas out there
Quote:
Unfortunately no . Been a busy summer. I got too many projects / hobbies. I take it out every week or so in the hills around my house to go shoot and run my dog. Once it cools down I'll get back on it.Originally Posted by nvwiggins
Sub'd Any updates on this lately?
Whats the saying ... Trouble comes in 3s.
Well the other day wheeling some trials by the house all was well for the first hour or so. Then the truck started to run rough. As I got closer to my house it began to run like garbage . Got it home and started to tear into it.
Trouble #1 - Found multiple vac lines unplugged ( when I rebuilt the carb awhile ago I noticed the vac lines were hard & seen better days but never got around to replacing the vac hoses ) .
So instead of replacing all of the vac I decided to delete most of it.
Here's round one...
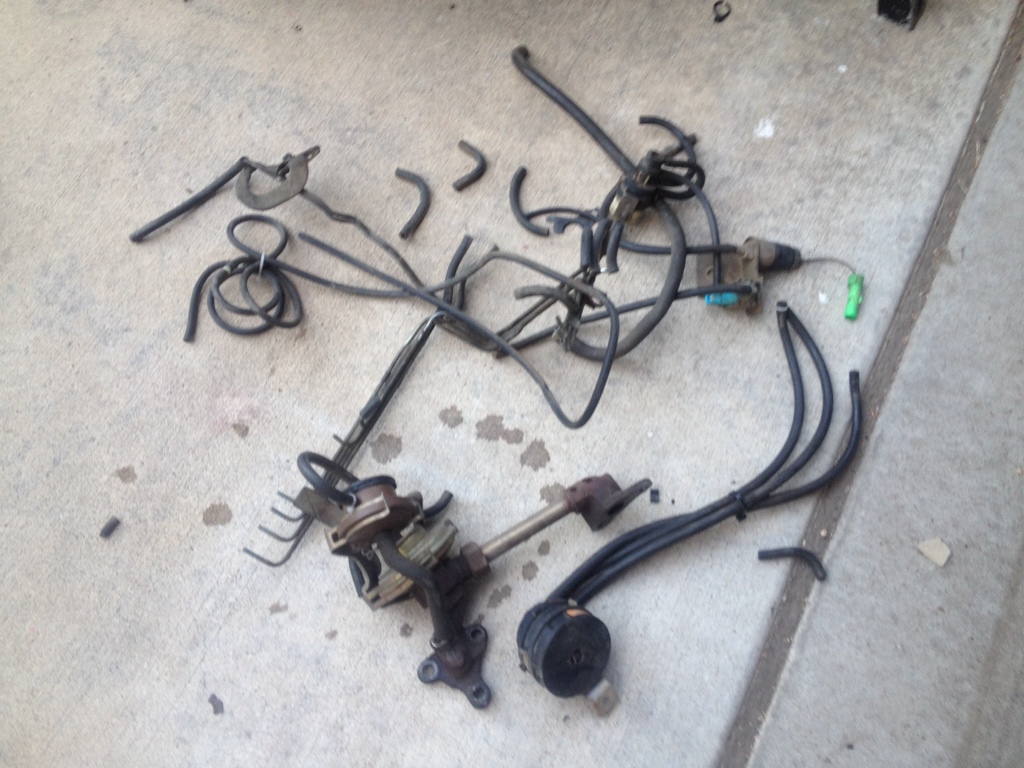
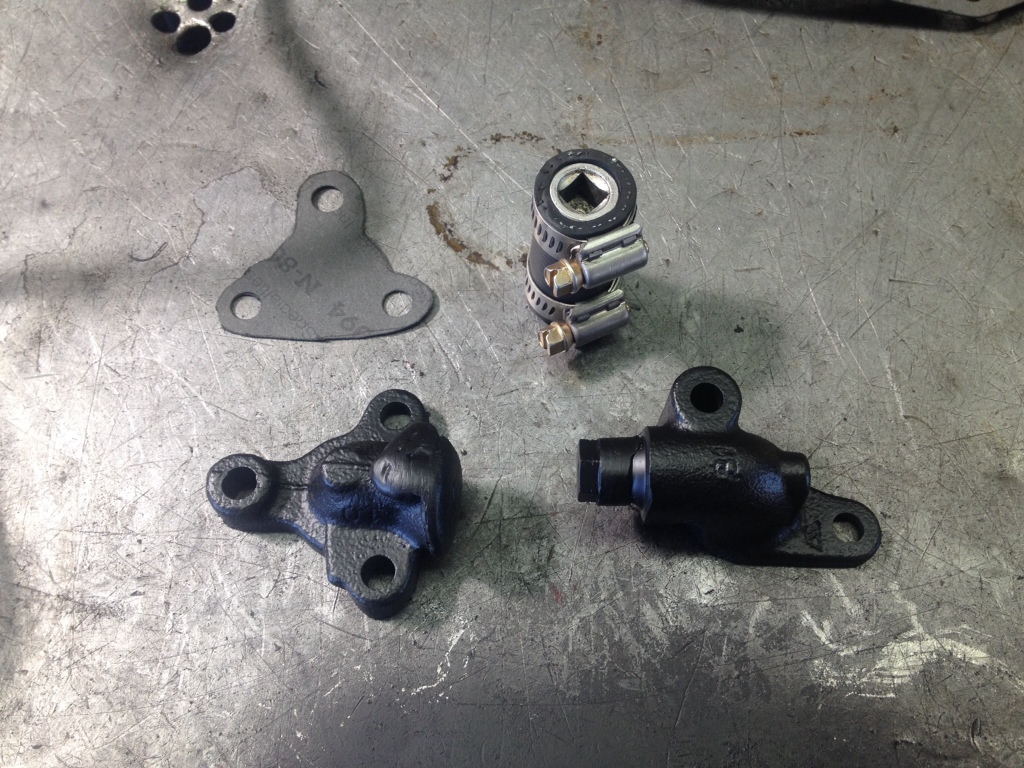
Then took the egr off head & intake and instead of buying or making block off plates I decide to chop up the stock egr and weld shut.
Before
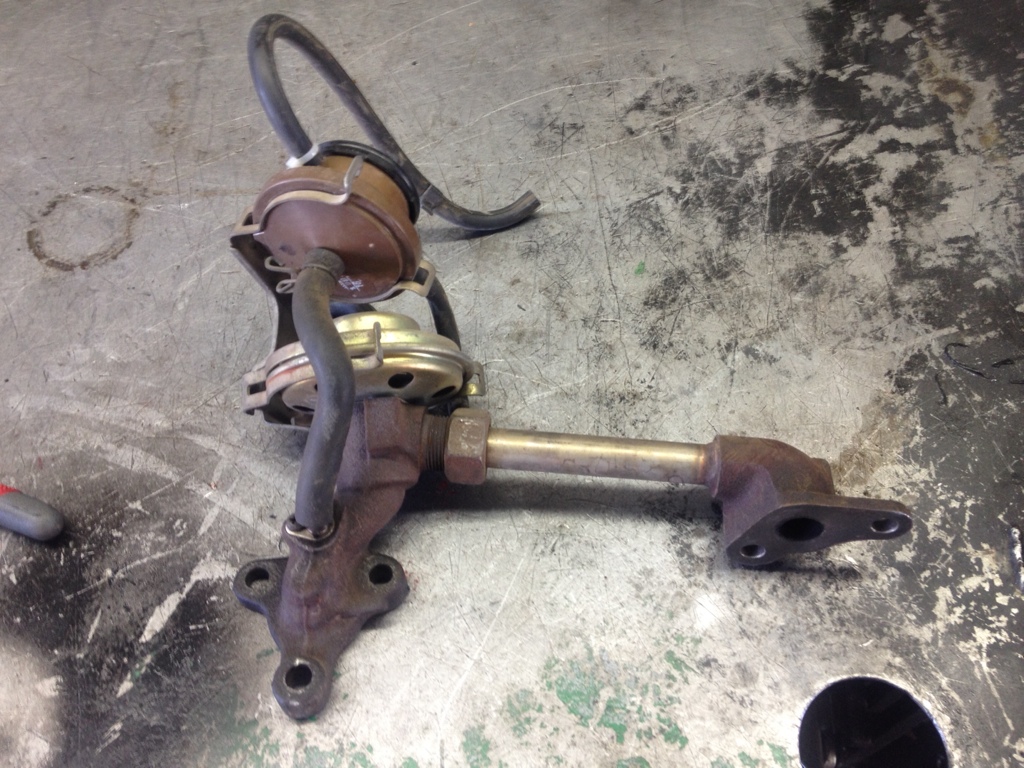
After - Chopped & welded shut. Painted & made a new gasket for head side egr block off plate. Also made a plug for reed valve since I won't be deleting the reed valve / air injection untill I replace stock ex manifold for a header.
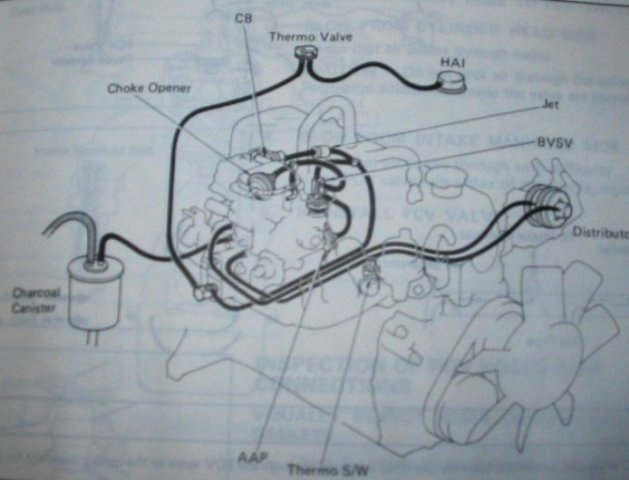
Basically I went from cali emissions to Canadian emissions.
Before ca emission -
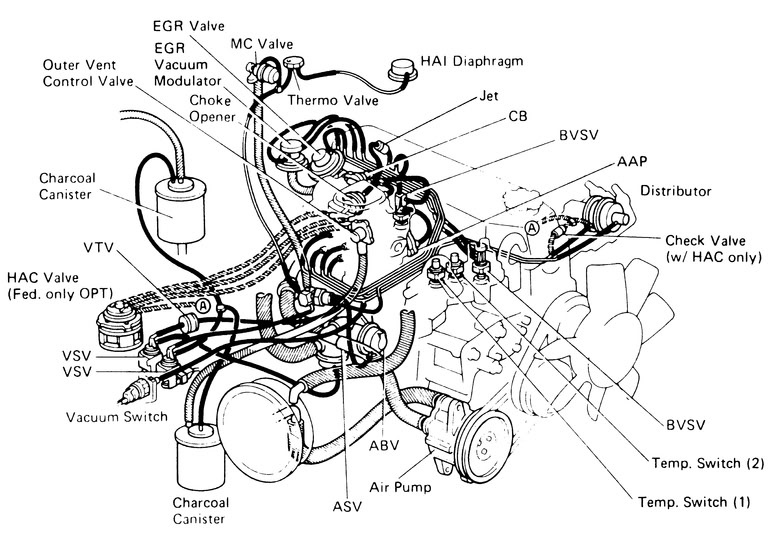
This is the Canadian emission chart I followed and am currently running. Replace all lines with new vac line as well. Capped off all unused ports on carb & intake.
Well it runs better , but still runs a lil rough.
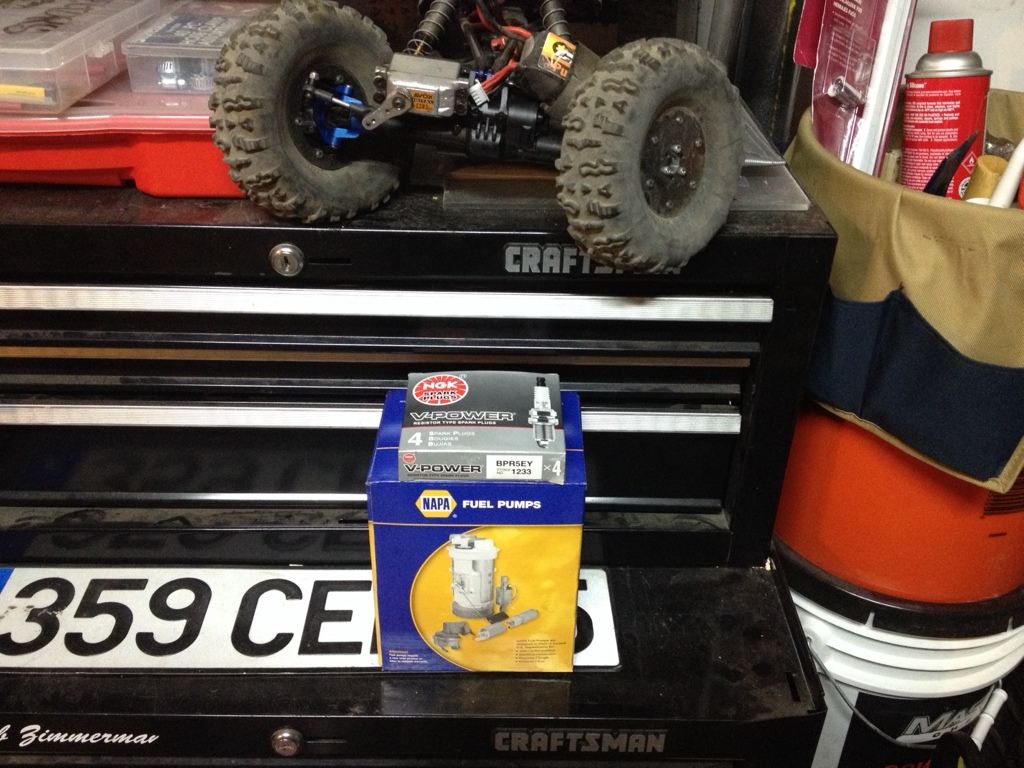
Trouble # 2 - noticed fuel pump was spitting fuel out of the weep hole ( 2 year old pump with less than 500 miles on it ) diaphragm shot .
Bought a new pump ( napa ) and a new set of plugs ( NGk ) for good measure. Also noticed my plastic fuel pump spacer was cracked so I replaced it with a new metal spacer.
Still running rough.
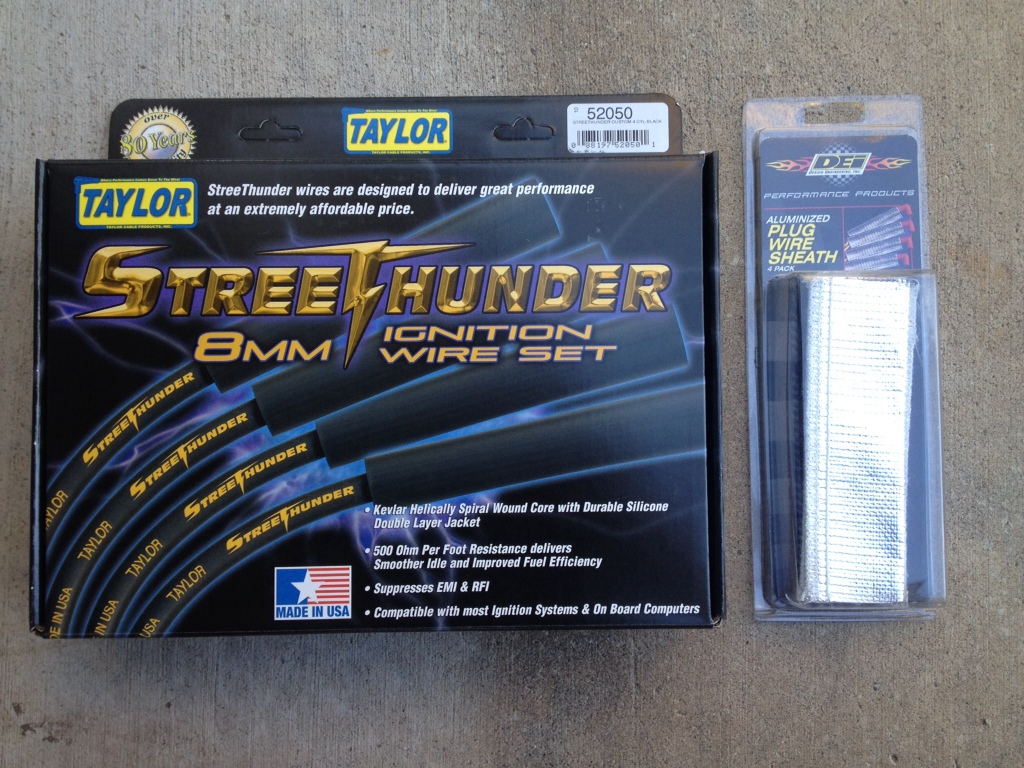
Trouble 3- Noticed when I pulled the plugs only one cylinder had a fouled plug. Checked the plug wire and it has been rubbing the exhaust mani heat shield. Couldn't see a hole but seen some signs of arcing on the sheild. The wires are 2 years old and than 500 miles so my parts rep said buy the same set and in a week clean your old set and put them in the box and he would refund me. Sweet. This time I also bought some dei heat sleeves to prevent any rubbing.
Running beautiful as of now. Going to put a few more miles on it tomrrow . But I'm not out of the woods yet. My luck troubles come in 4s.
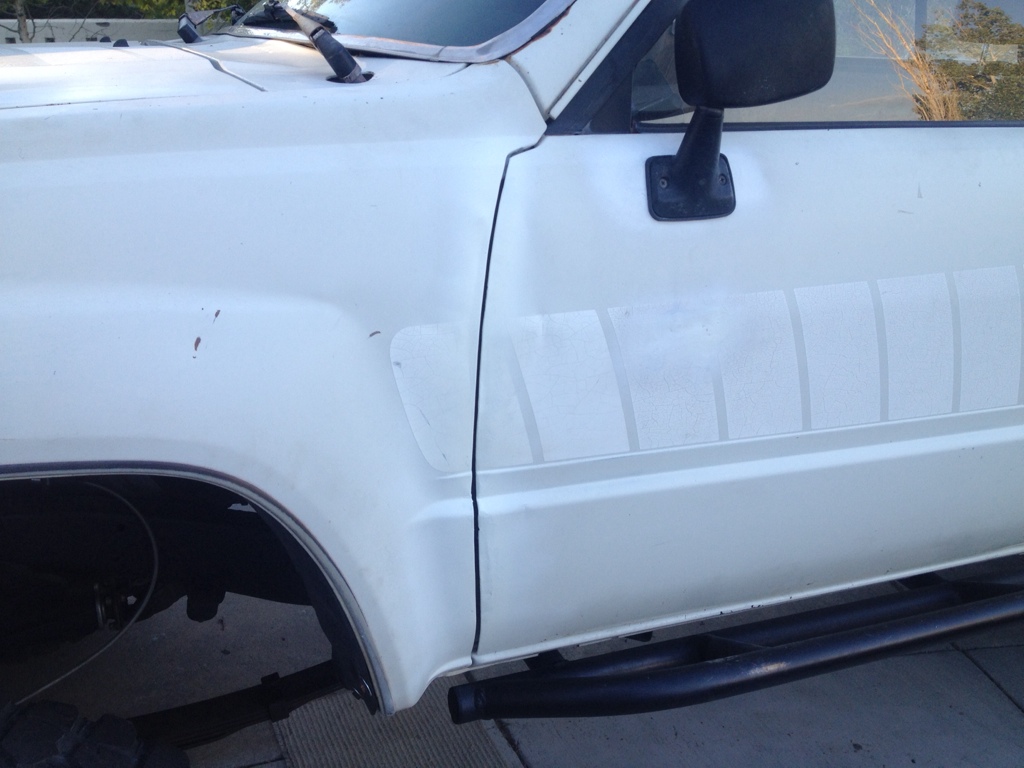
Trouble 4 - While I was warming up the truck I decided to roll I back down the drive way with my door open and clipped the mailbox post and folded the door backwards into the fender ! Ya . Barely opens & barely closes. So I get to try & massage that out tomorrow. Here is a few pics on my test drive around the block ( urban poser shots ) you can see my driver side door & fender all out of wack.
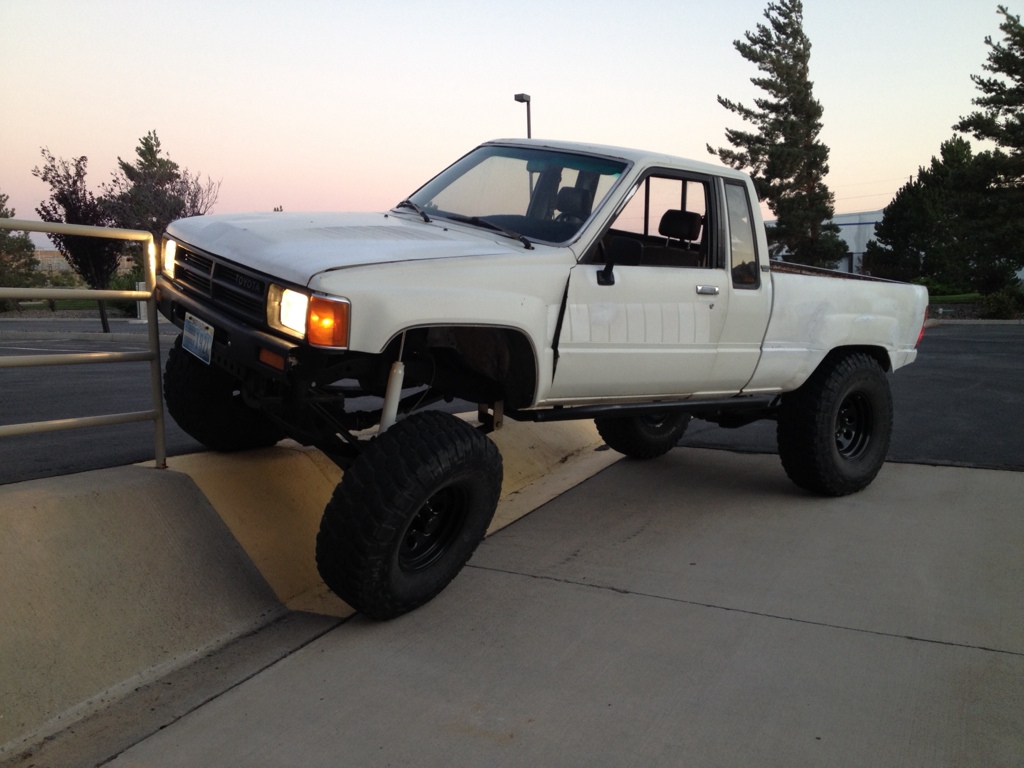
This is closed , it barely shuts on the striker due to the hinges being bent forward.
Well the other day wheeling some trials by the house all was well for the first hour or so. Then the truck started to run rough. As I got closer to my house it began to run like garbage . Got it home and started to tear into it.
Trouble #1 - Found multiple vac lines unplugged ( when I rebuilt the carb awhile ago I noticed the vac lines were hard & seen better days but never got around to replacing the vac hoses ) .
So instead of replacing all of the vac I decided to delete most of it.
Here's round one...
Then took the egr off head & intake and instead of buying or making block off plates I decide to chop up the stock egr and weld shut.
Before
After - Chopped & welded shut. Painted & made a new gasket for head side egr block off plate. Also made a plug for reed valve since I won't be deleting the reed valve / air injection untill I replace stock ex manifold for a header.
Basically I went from cali emissions to Canadian emissions.
Before ca emission -
This is the Canadian emission chart I followed and am currently running. Replace all lines with new vac line as well. Capped off all unused ports on carb & intake.
Well it runs better , but still runs a lil rough.
Trouble # 2 - noticed fuel pump was spitting fuel out of the weep hole ( 2 year old pump with less than 500 miles on it ) diaphragm shot .
Bought a new pump ( napa ) and a new set of plugs ( NGk ) for good measure. Also noticed my plastic fuel pump spacer was cracked so I replaced it with a new metal spacer.
Still running rough.
Trouble 3- Noticed when I pulled the plugs only one cylinder had a fouled plug. Checked the plug wire and it has been rubbing the exhaust mani heat shield. Couldn't see a hole but seen some signs of arcing on the sheild. The wires are 2 years old and than 500 miles so my parts rep said buy the same set and in a week clean your old set and put them in the box and he would refund me. Sweet. This time I also bought some dei heat sleeves to prevent any rubbing.
Running beautiful as of now. Going to put a few more miles on it tomrrow . But I'm not out of the woods yet. My luck troubles come in 4s.
Trouble 4 - While I was warming up the truck I decided to roll I back down the drive way with my door open and clipped the mailbox post and folded the door backwards into the fender ! Ya . Barely opens & barely closes. So I get to try & massage that out tomorrow. Here is a few pics on my test drive around the block ( urban poser shots ) you can see my driver side door & fender all out of wack.
This is closed , it barely shuts on the striker due to the hinges being bent forward.
Pulled door & fender today . 2 hours of hammer & dolly , pry bars and beer. I was able to get the gap closed up and door working properly. Lightly sanded the edges where I was hammering and prying and shot the area with some white primer.