When you click on links to various merchants on this site and make a purchase, this can result in this site earning a commission. Affiliate programs and affiliations include, but are not limited to, the eBay Partner Network.
Yep, got nothing else to do with my time at the moment. That'll change soon, so I'm trying to get it done. Plus it's addicting! Once I start wrenching, I don't want to stop!
Addicting? I'd love to be there! Front row seat to a 4R first gen body swap, a lot to learn. I can hold your beer meanwhile.
Got the radio soldered back together and reinstalled.
Got the transmission, but the parts store didn't have the gasket I need to go between it and the transfer case. So after getting the old trans out, I spent the rest of my time re-running heater hoses and swapping out all the old pinch-style hose clamps with screw-style clamps.
Also found out that the nuts holding the down pipe onto the exhaust manifold all fell off (or whoever put the current motor in just didn't install them). Either way, getting new exhaust gaskets when I get the t-case gasket. Fortunately I was able to scavenge some of the proprietary exhaust nuts off of the 3.0.
Got the new transmission in and fixed the exhaust leaks. Still waiting on the starter. Hopefully we'll be putting the bodies back on the frames early next week.
I got a clinometer for my first gen 4R a couple of years ago. It's in the garage. I'm still thinking if it's a good idea to make the 5 holes in my perfect and crack-free dashboard for that gadget. I'm looking at your progress now. You're going to finish a body swap in a couple of weeks. I'm overthinking things with my truck. Definitely.
That Kubota must make things much easier to move around!
That would be a tough call with the altimeter / clinometer. Your dash may not stay crack-free for long if you drill holes in it. Some people have just used a Velcro type of product to attach it to the dash without drilling. The downside to that though is you cannot plug in the backlight wiring.
Last edited by old87yota; 10-05-2018 at 08:51 AM.
Reason: Added more to the post.
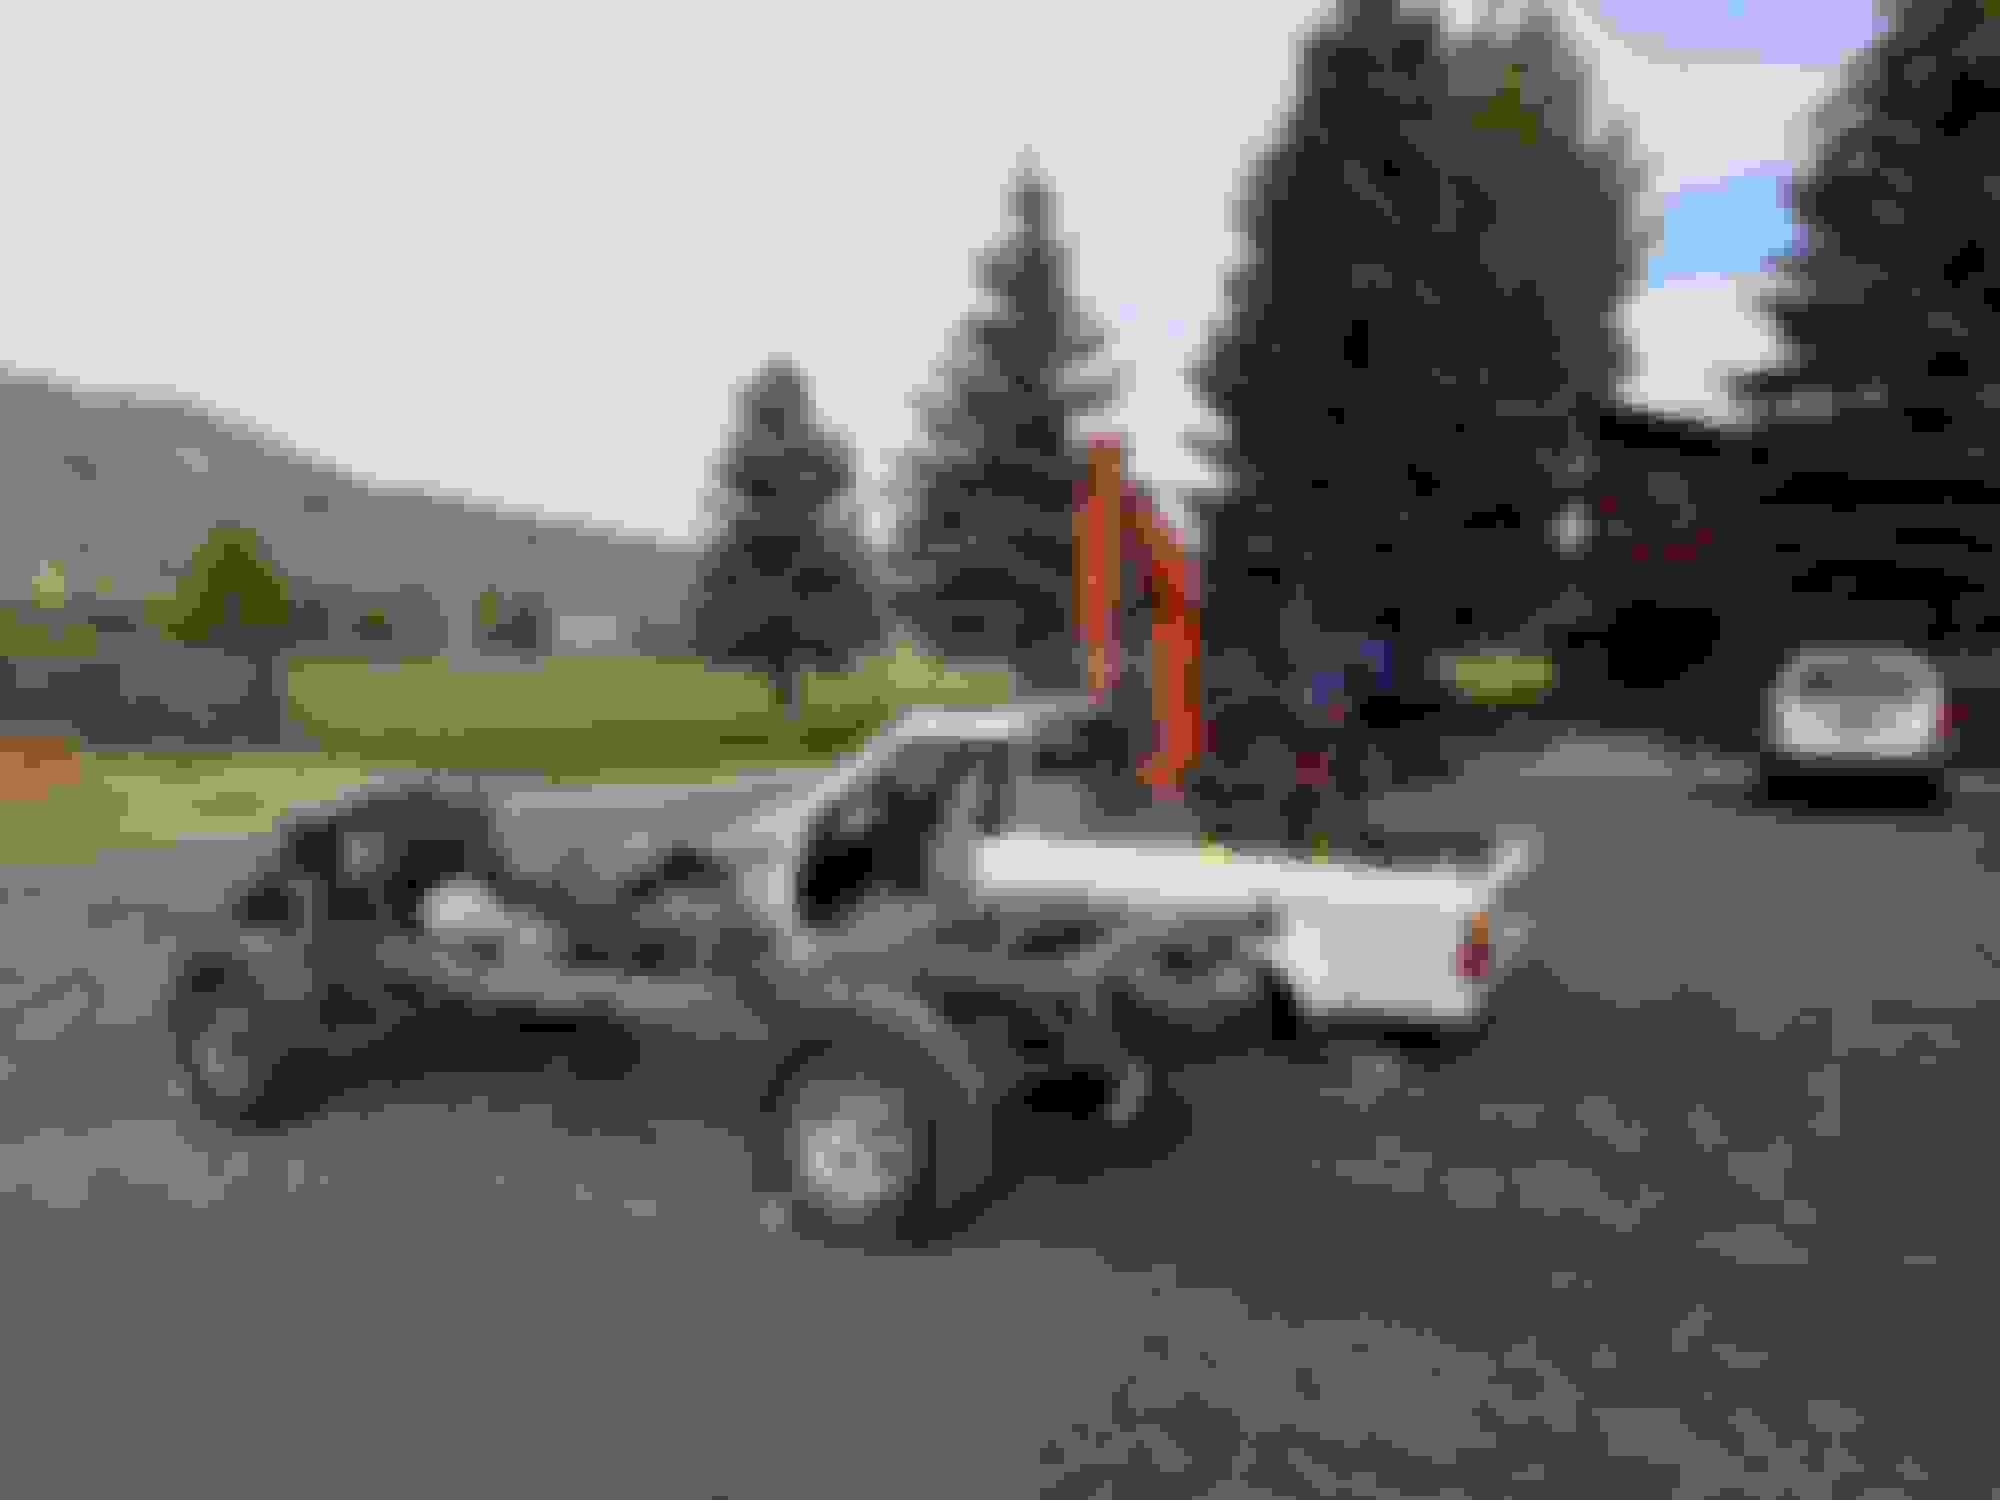
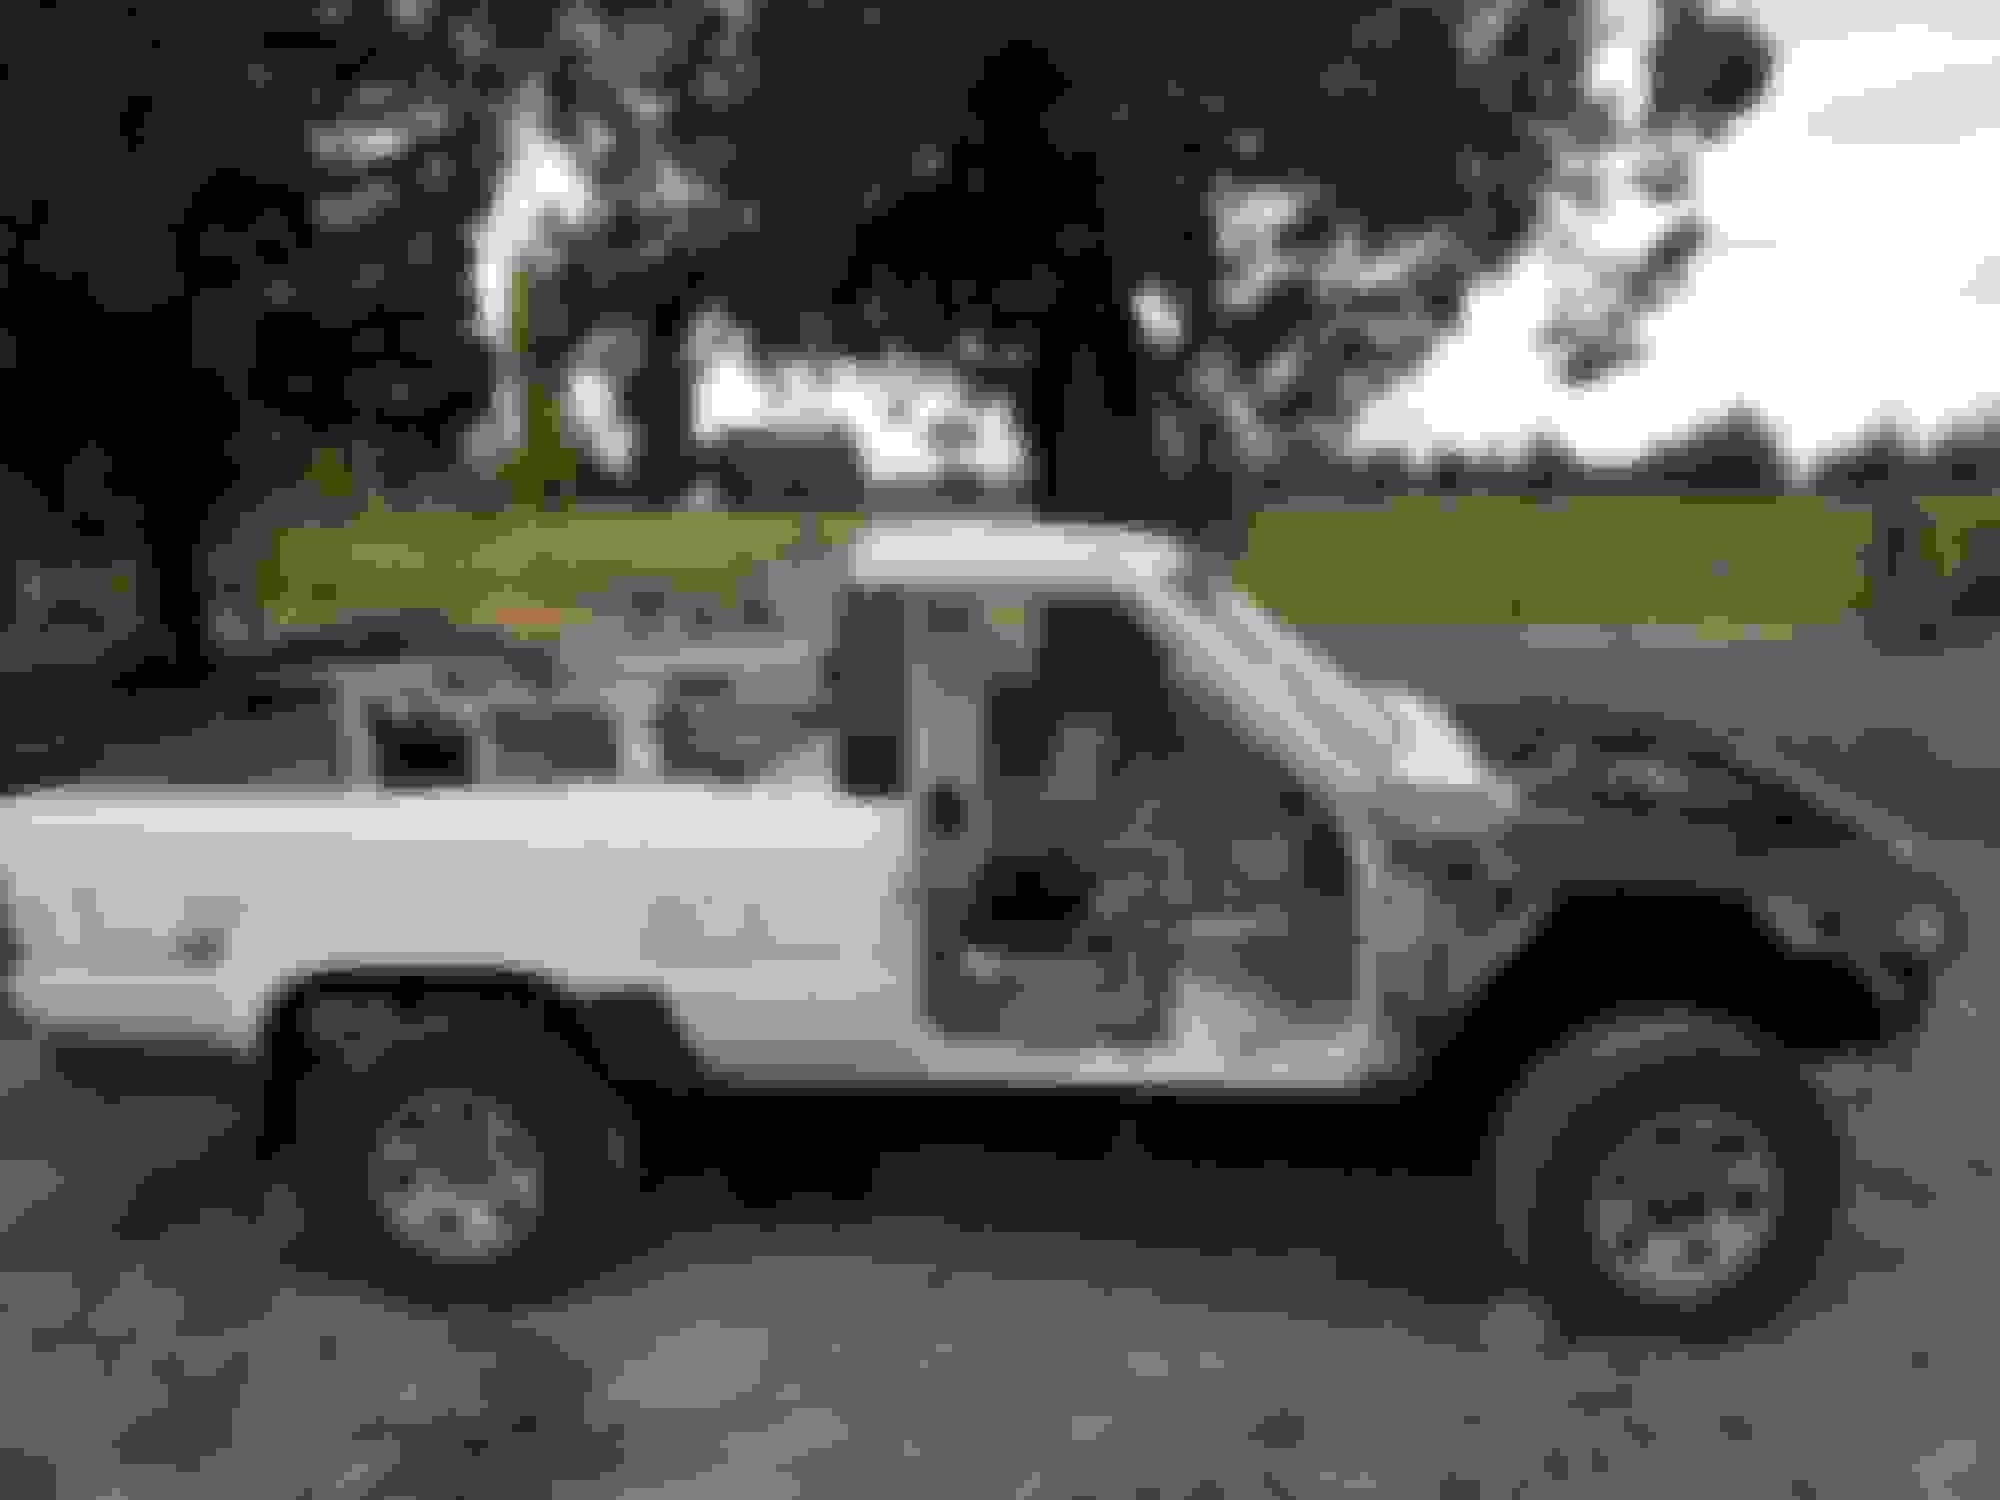
Bodies are back on the frames. There was an issue with the 89 cab's trans tunnel. Turns out the 22RE and 3.0 have their shift levers in different locations, requiring some trimming to fit. Not the end of the world, but definitely an inconvenience.
Another issue I ran into was that the pulley on the A/C compressor has a different offset for the two engines, so I'm going to have to do some research into how to remove the pulleys and swap them. I will also need to swap throttle cables as well. The cruise control actuators were also a pain in that they use different cable ends and different electrical plugs, so to use the 89's cable with 85's wiring I had disassemble and reassemble them with mix-matched parts Tomorrow I'll focus on getting as much reassembled and re-attached as I can. Hopefully I can get the interior finished as well.
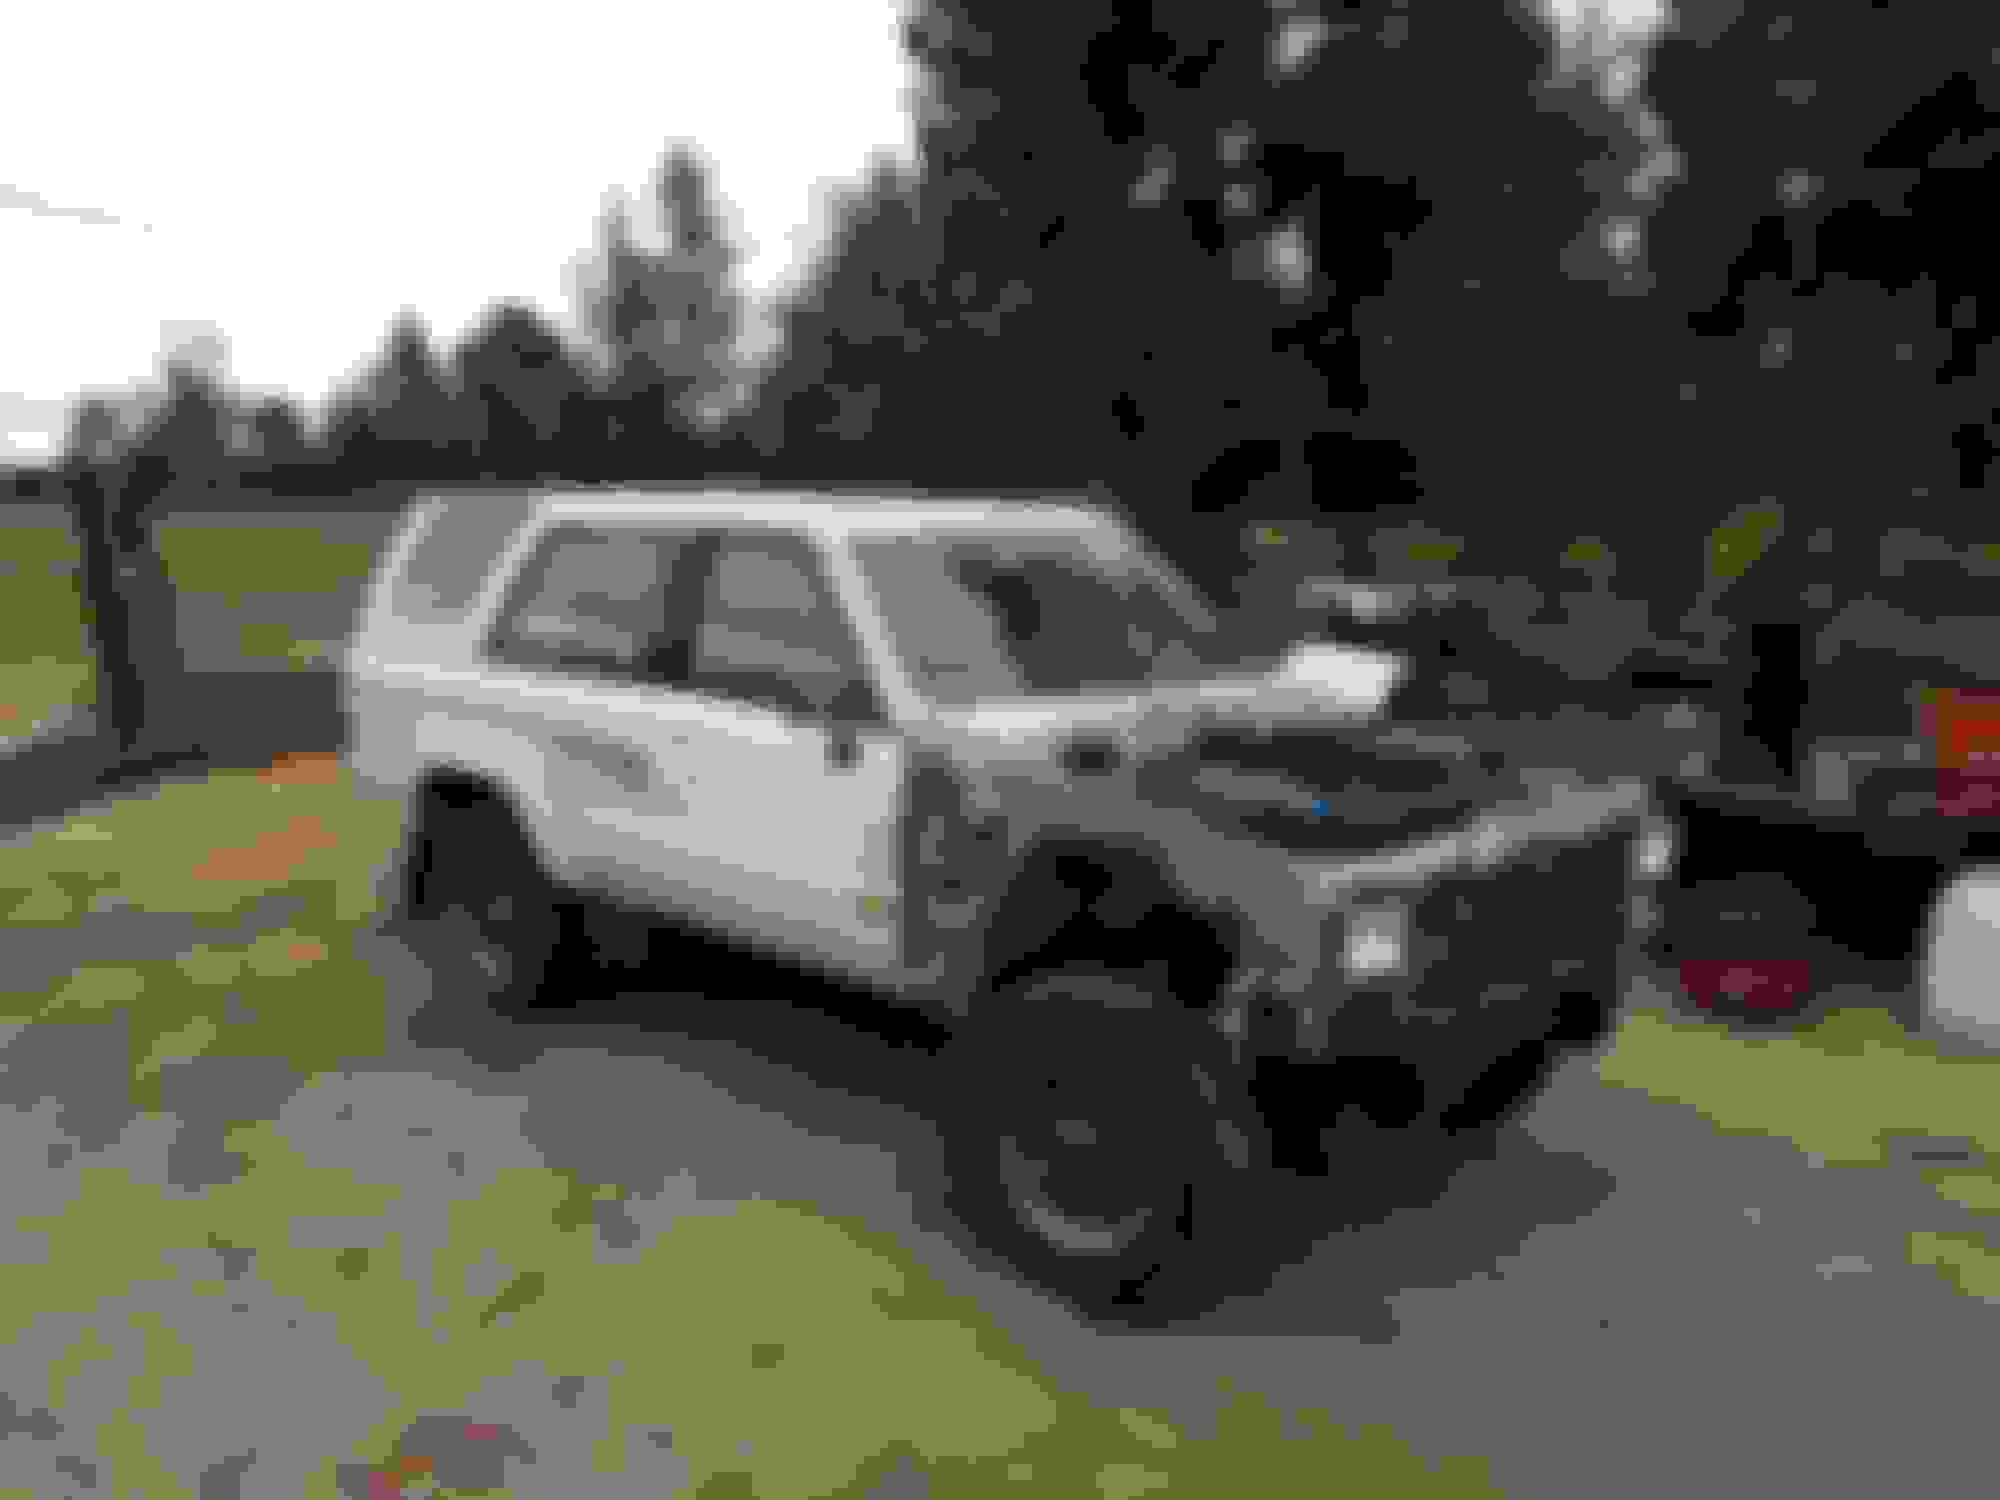
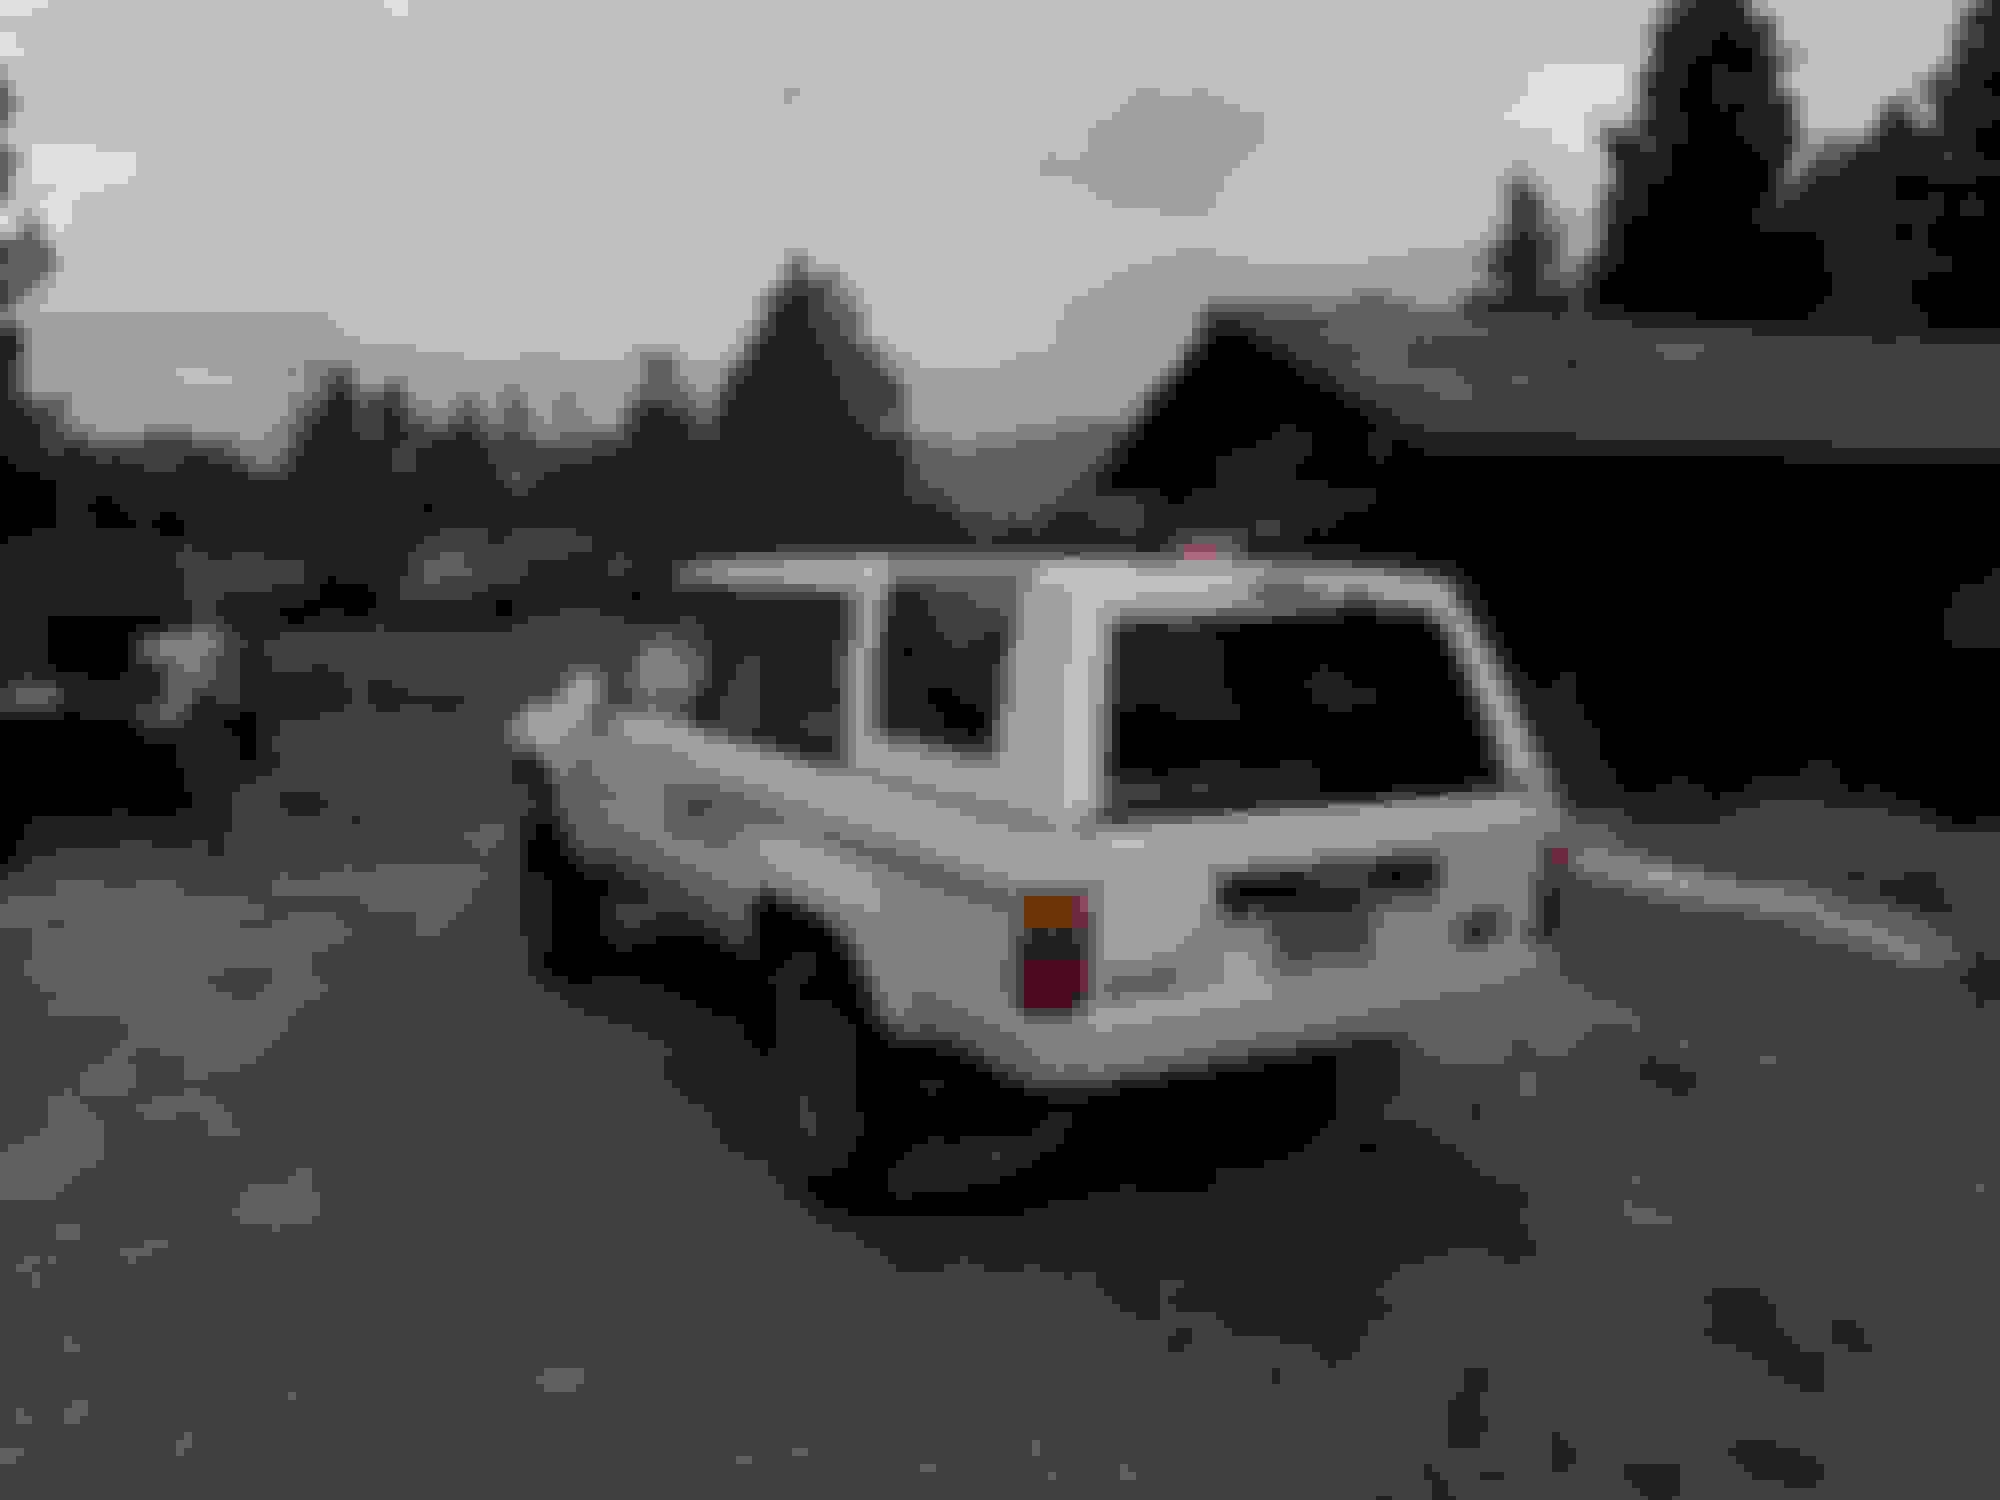
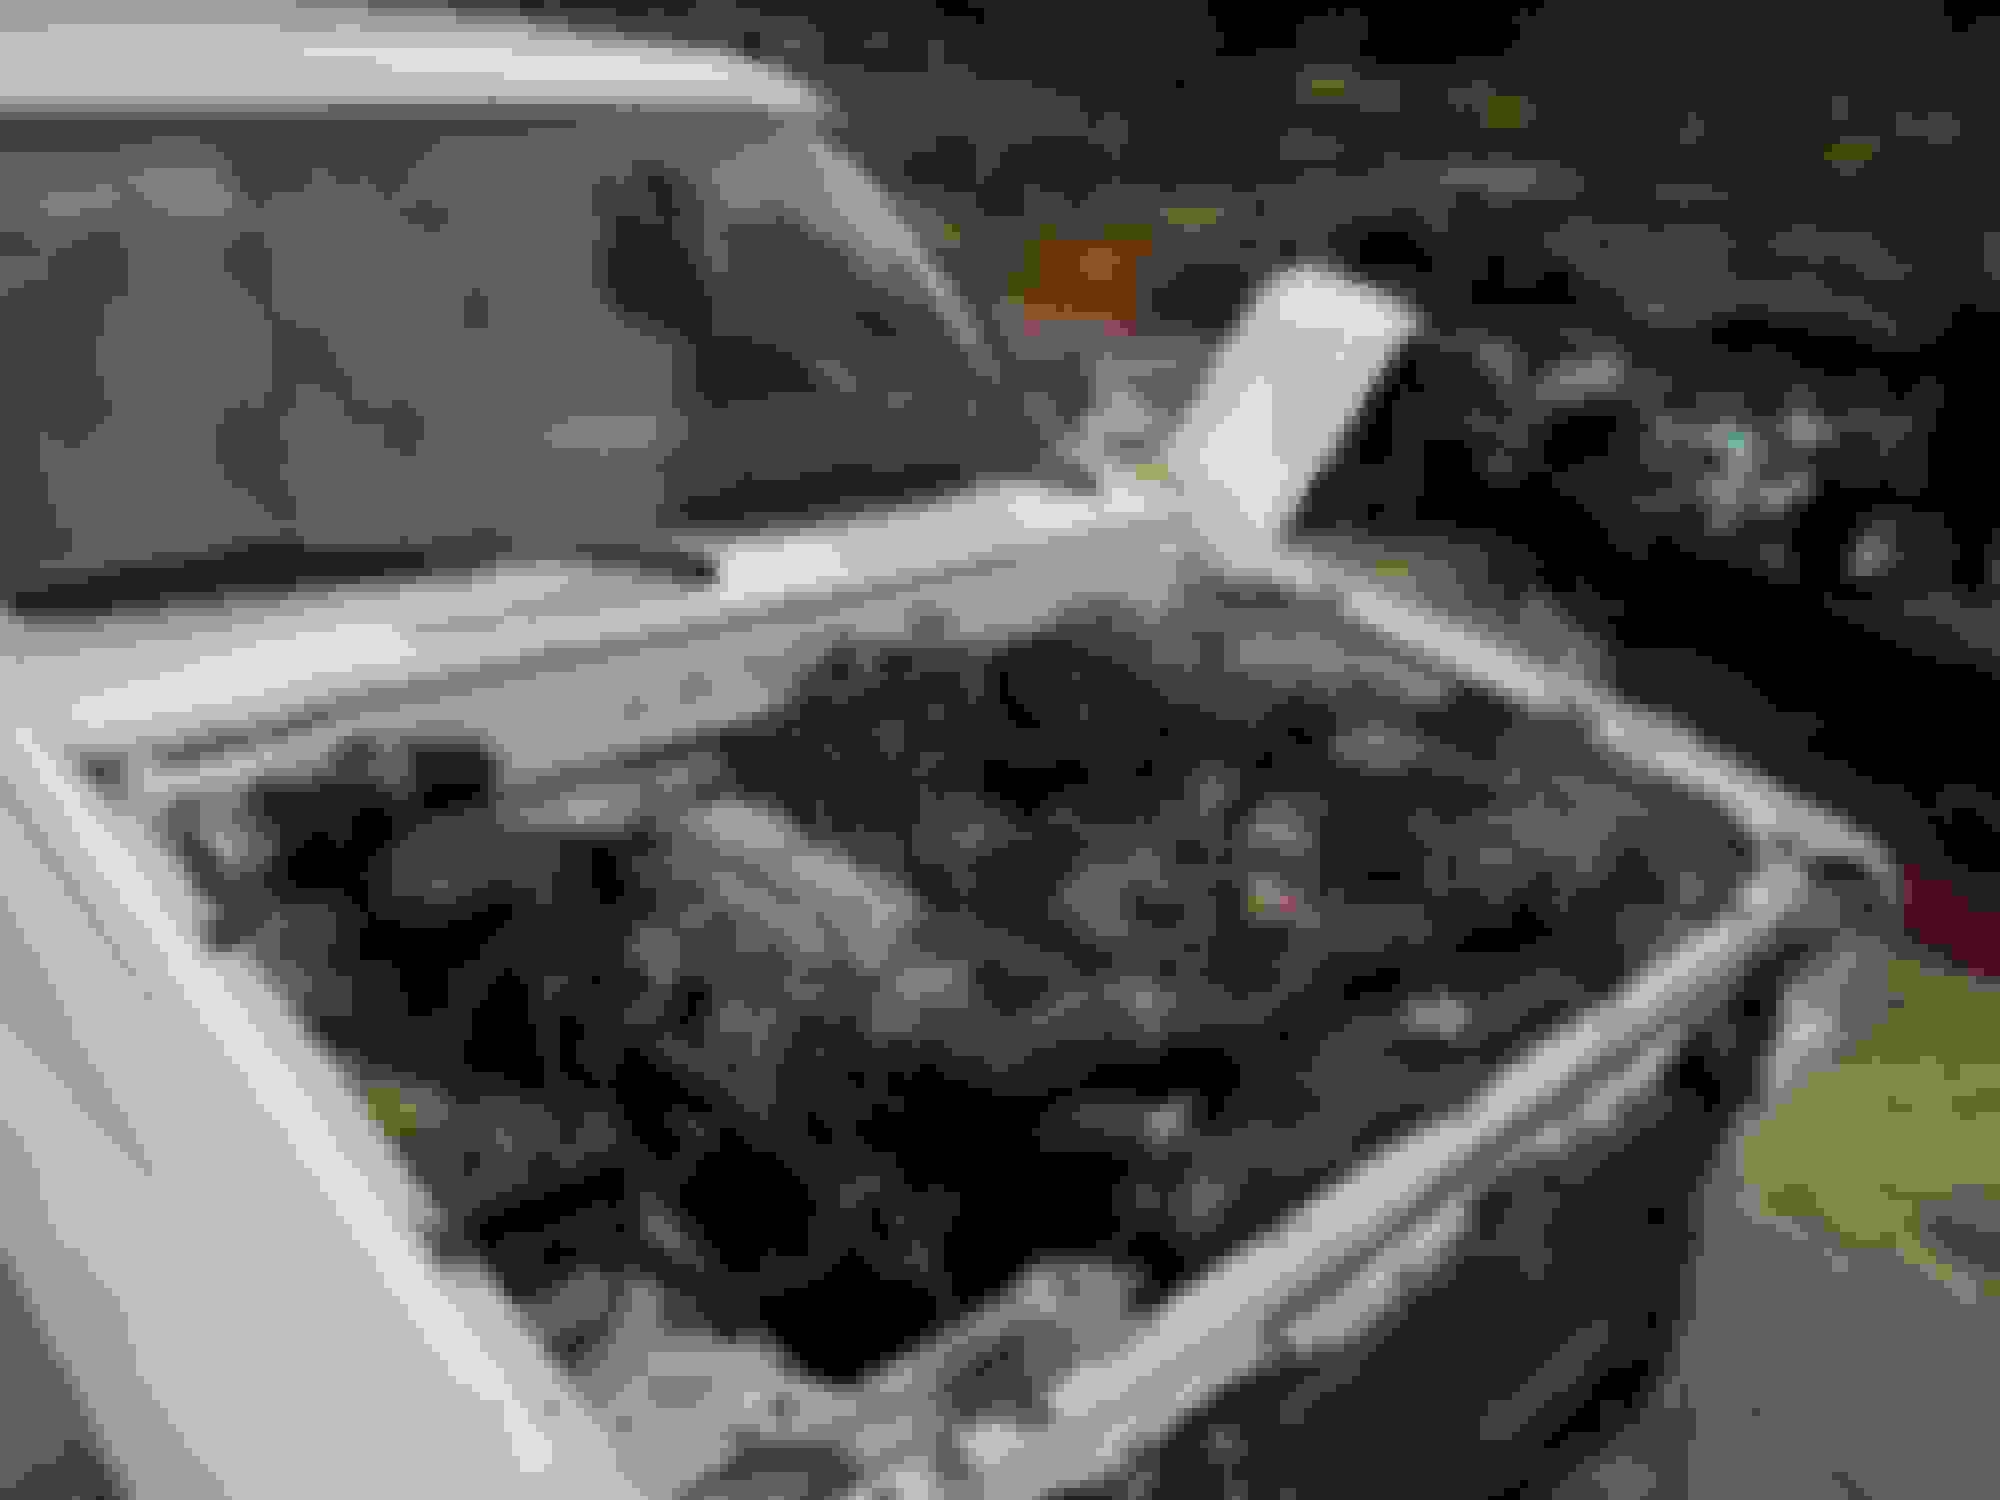
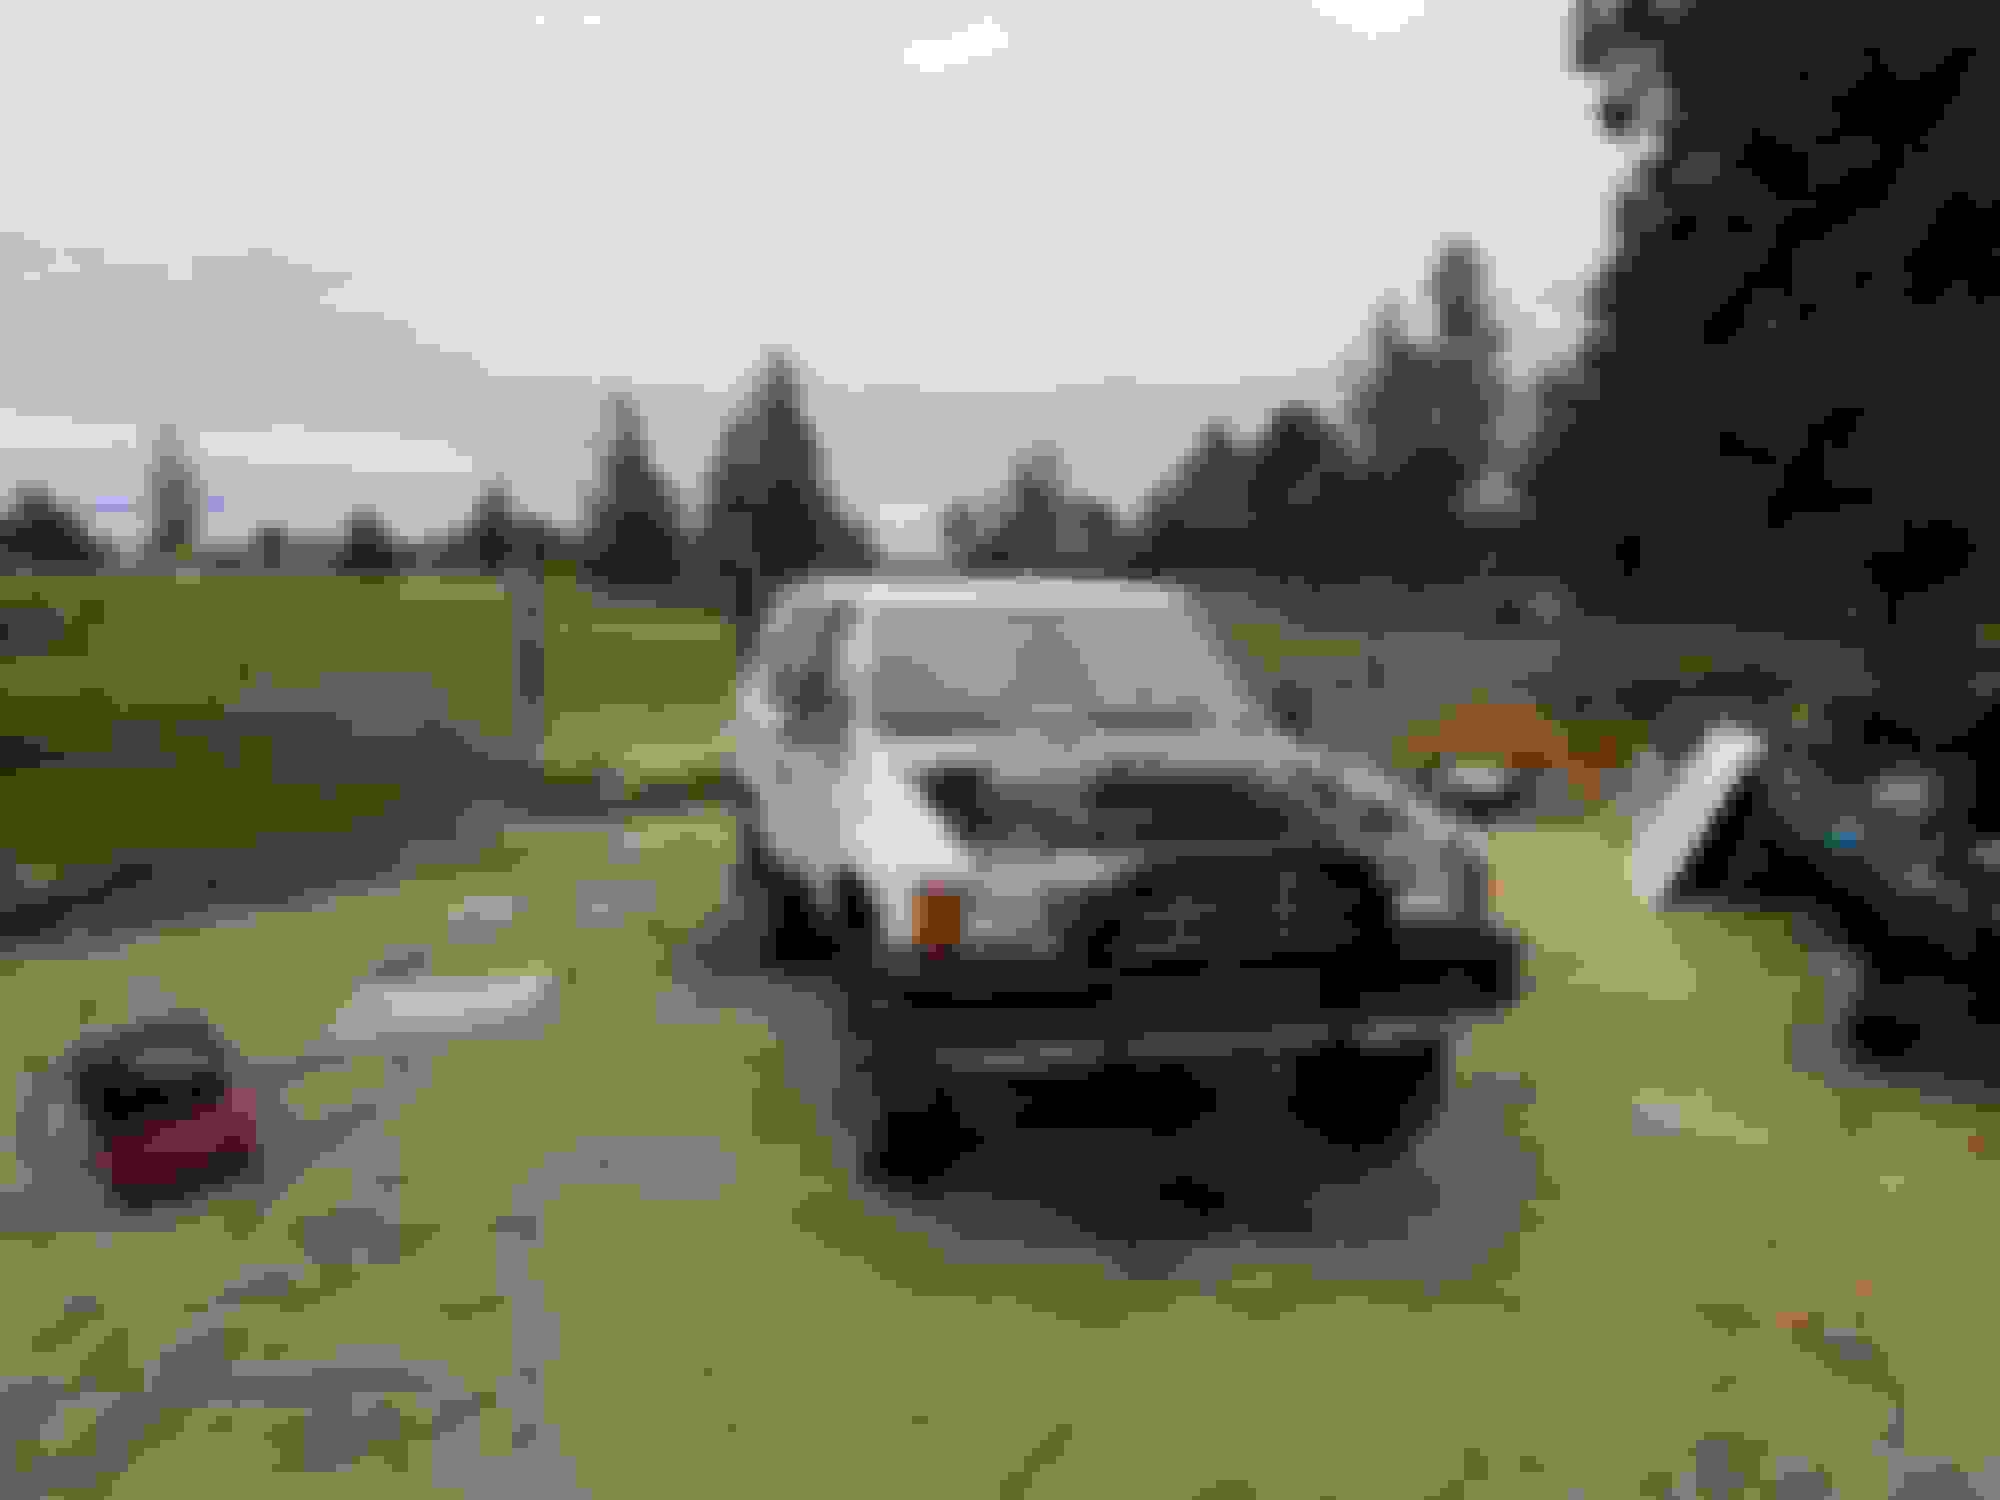
Starting to look like a 4Runner again. Got the engine compartment all hooked back up. Reinstalled the front fenders and swapped the tailgate. Temporally hooked up the blinkers and parking lights in order to run through the electronics. Everything works, even my radio! Starter is in and I gave every battery cable and ground a good scrubbing.
Next will be to reinstall the interior and fill all the fluids. I still have to figure out how I'm going to patch the trans tunnel, and I removed the A/C compressor belt for now.
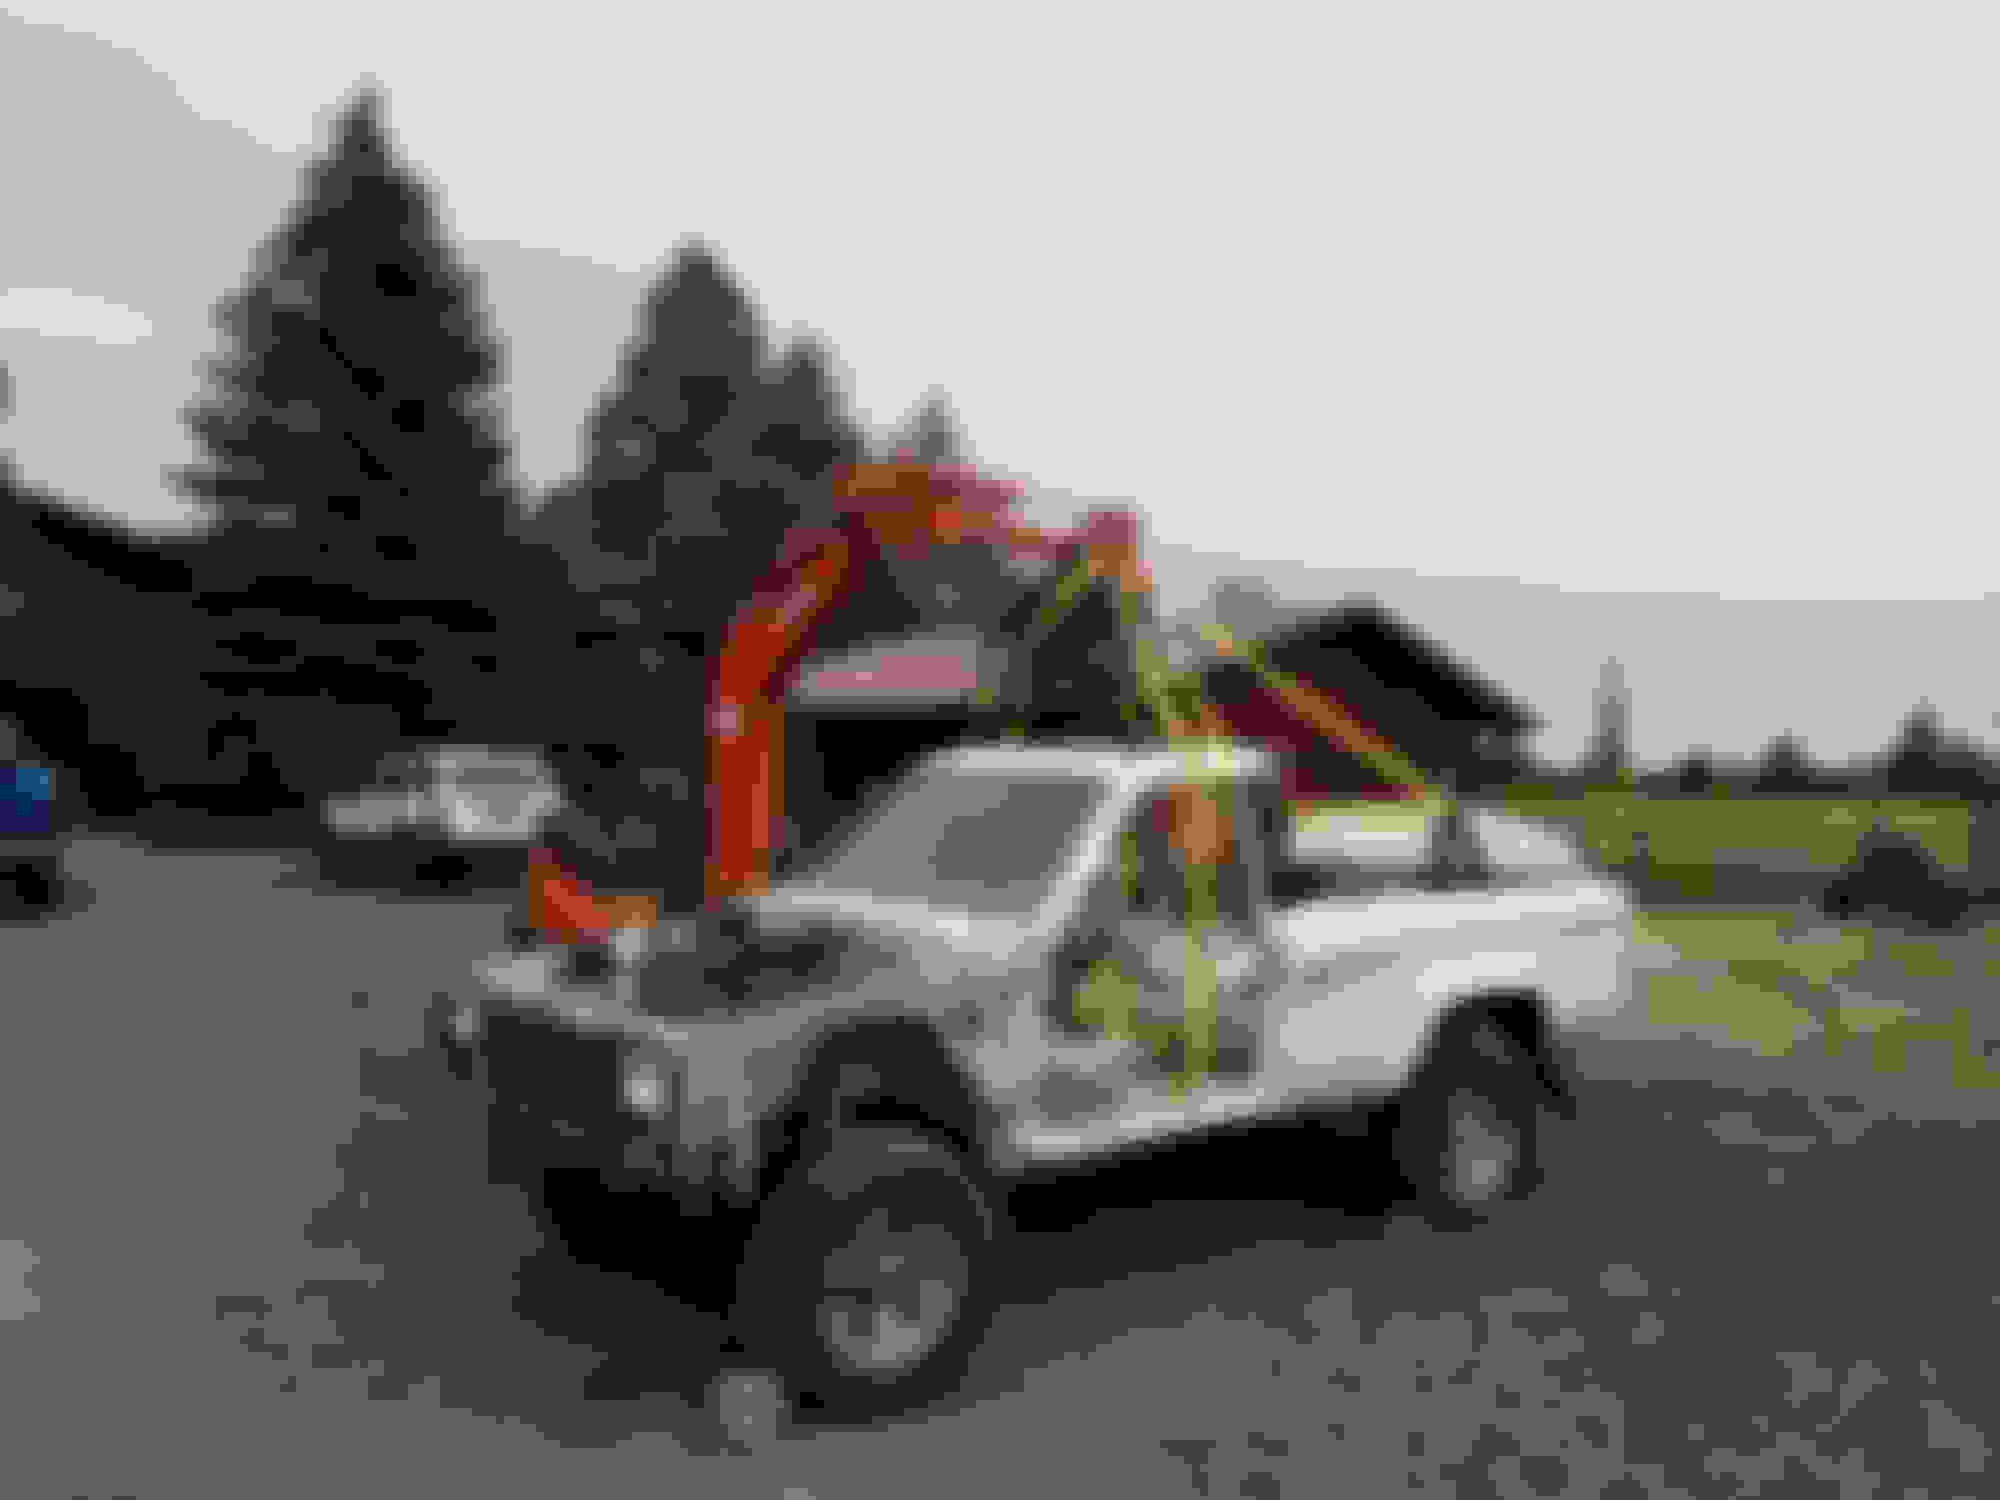
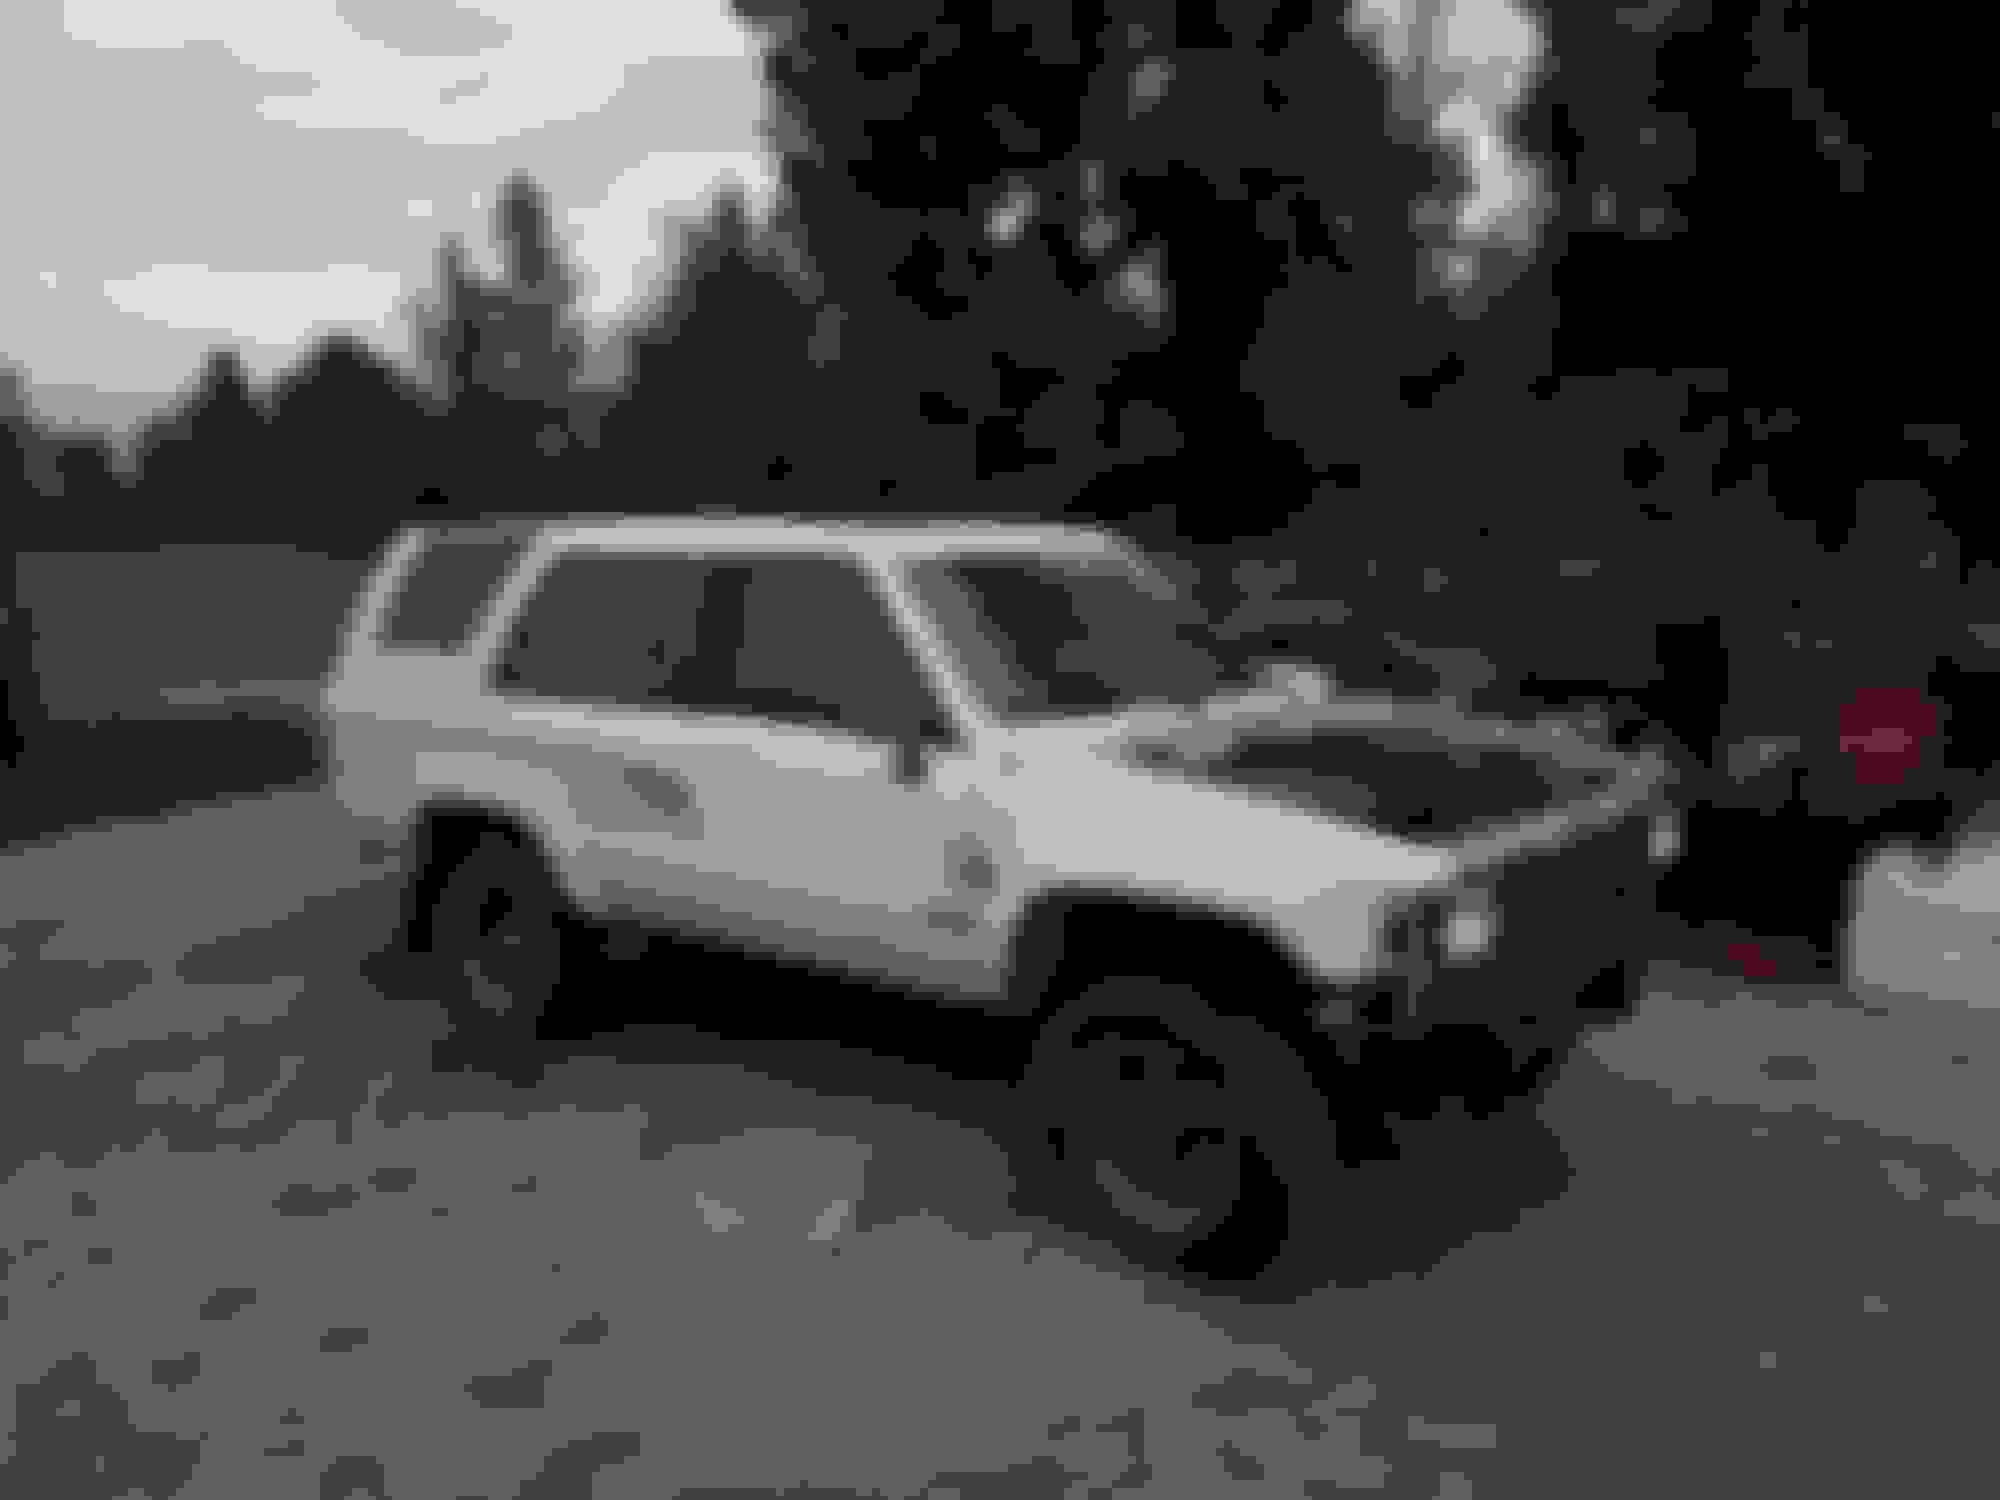
Good bit of progress today. Got the front end assembled. Haven't put the hood back on because it's easier to work on with out it and also #becauseroadkill. Got the rest of the interior carpeting installed as well. Tried to bolt my 85 canopy on, but I guess it got tweaked in the accident; all the side bolts line up, but the roof bolts are all off by about a quarter inch. I'll try the 89 canopy, see if it fits better; though that'll mean swapping out some window seals.
I also wired in a aftermarket temp gauge. I couldn't get my factory gauge to work. I even swapped gauges with the 89 cluster, but nothing.
Also found out that the 89's speedometer cable was broken. The way they have it running through the driver's side foot-well left me with zero interest in removing it, so I just routed the 85's cable out and around the firewall (like it was on the 85), hooked it up and called it good.
Really just need to bleed the brake and clutch lines now and we're pretty much there.... except the fuel filler neck, got to get that right too.
On your temperature gauge, perhaps the sender is either completely crudded up to where it is not making a connection with the intake, or perhaps it is just no longer working. You can remove it, scrub both it and it's threads, and there should be some specs in the factory service manual for Ohms at hot and cold. If it fails those checks, you could try the sender from your old engine. There are several temperature senders, 1 for the gauge, 1 for the ECU, and then one called the cold start timer for the extra fuel spray at startup. I'd pull all three and clean them up. Then once you get them back installed (assuming they meet the resistance specs), make sure the coolant is free of air pockets.
On your temperature gauge, perhaps the sender is either completely crudded up to where it is not making a connection with the intake, or perhaps it is just no longer working. You can remove it, scrub both it and it's threads, and there should be some specs in the factory service manual for Ohms at hot and cold. If it fails those checks, you could try the sender from your old engine. There are several temperature senders, 1 for the gauge, 1 for the ECU, and then one called the cold start timer for the extra fuel spray at startup. I'd pull all three and clean them up. Then once you get them back installed (assuming they meet the resistance specs), make sure the coolant is free of air pockets.
On your temperature gauge, perhaps the sender is either completely crudded up to where it is not making a connection with the intake, or perhaps it is just no longer working. You can remove it, scrub both it and it's threads, and there should be some specs in the factory service manual for Ohms at hot and cold. If it fails those checks, you could try the sender from your old engine. The are several temperature senders, 1 for the gauge, 1 for the ECU, and then one called the cold start timer for the extra fuel spray at startup. I'd pull all three and clean them up. Then once you get them back installed (assuming they meet the resistance specs), make sure the coolant is free of air pockets.
That's good advice, however I believe my senders are all fine. I soldered a compatible connector to the end of the aftermarket temp gauge wire and connected it to the stock sender, and it's getting a signal. So I believe that the problem may be that power isn't getting to the stock gauge. Having replaced the gauge within the cluster with one I know works, I am now thinking that either the circuit board (or sheet) on the back of the cluster is bad or there is a damaged line somewhere within the wiring harness. The next step will be to swap the entire cluster with the other SR5 cluster I have to see if that works. If so, then I'll just swap the tac and speedo (background pattern and odometer are different) into the other cluster. If not, then I know the problem is buried deeper than I want to dig for right now.
I do appreciate the advice!
Interesting, however I replaced that entire section of the gauge cluster (temp and oil) with a section from another cluster that I know works, and still have the same problem. Which is why I think the issue isn't with the gauge at all.
But seeing as I'm going to be tearing into the cluster again, it would be beneficial to follow your advice and inspect all the gauges for damage.
On a side note, does anyone know where to find the wire headlight chip guards that adorn the cover of the Chilton Manual? I've searched all the auction sites, but I'm not sure what they're technically called, so I don't know what to look for.
Try searching for headlight stone guards...I found a bunch on ebay, but almost all are round. Jeep YJs had rectangular headlights like our 4Runners, so I suspect the Jeep rectangular guards would fit.
 09-30-2018, 11:18 PM