Pre 84 Trucks (Build-Up Section) Post your build-ups here

Big Little Bears 1983 Toy BRRT Build-Up Thread

Thread Tools
 
Search this Thread
 
Old 06-19-2017, 03:27 PM
  #101  
Registered User
Thread Starter
 
Big Little Bear's Avatar
 
Join Date: Jan 2015
Location: AZ,MD,NC
Posts: 217
Likes: 0
Received 1 Like on 1 Post
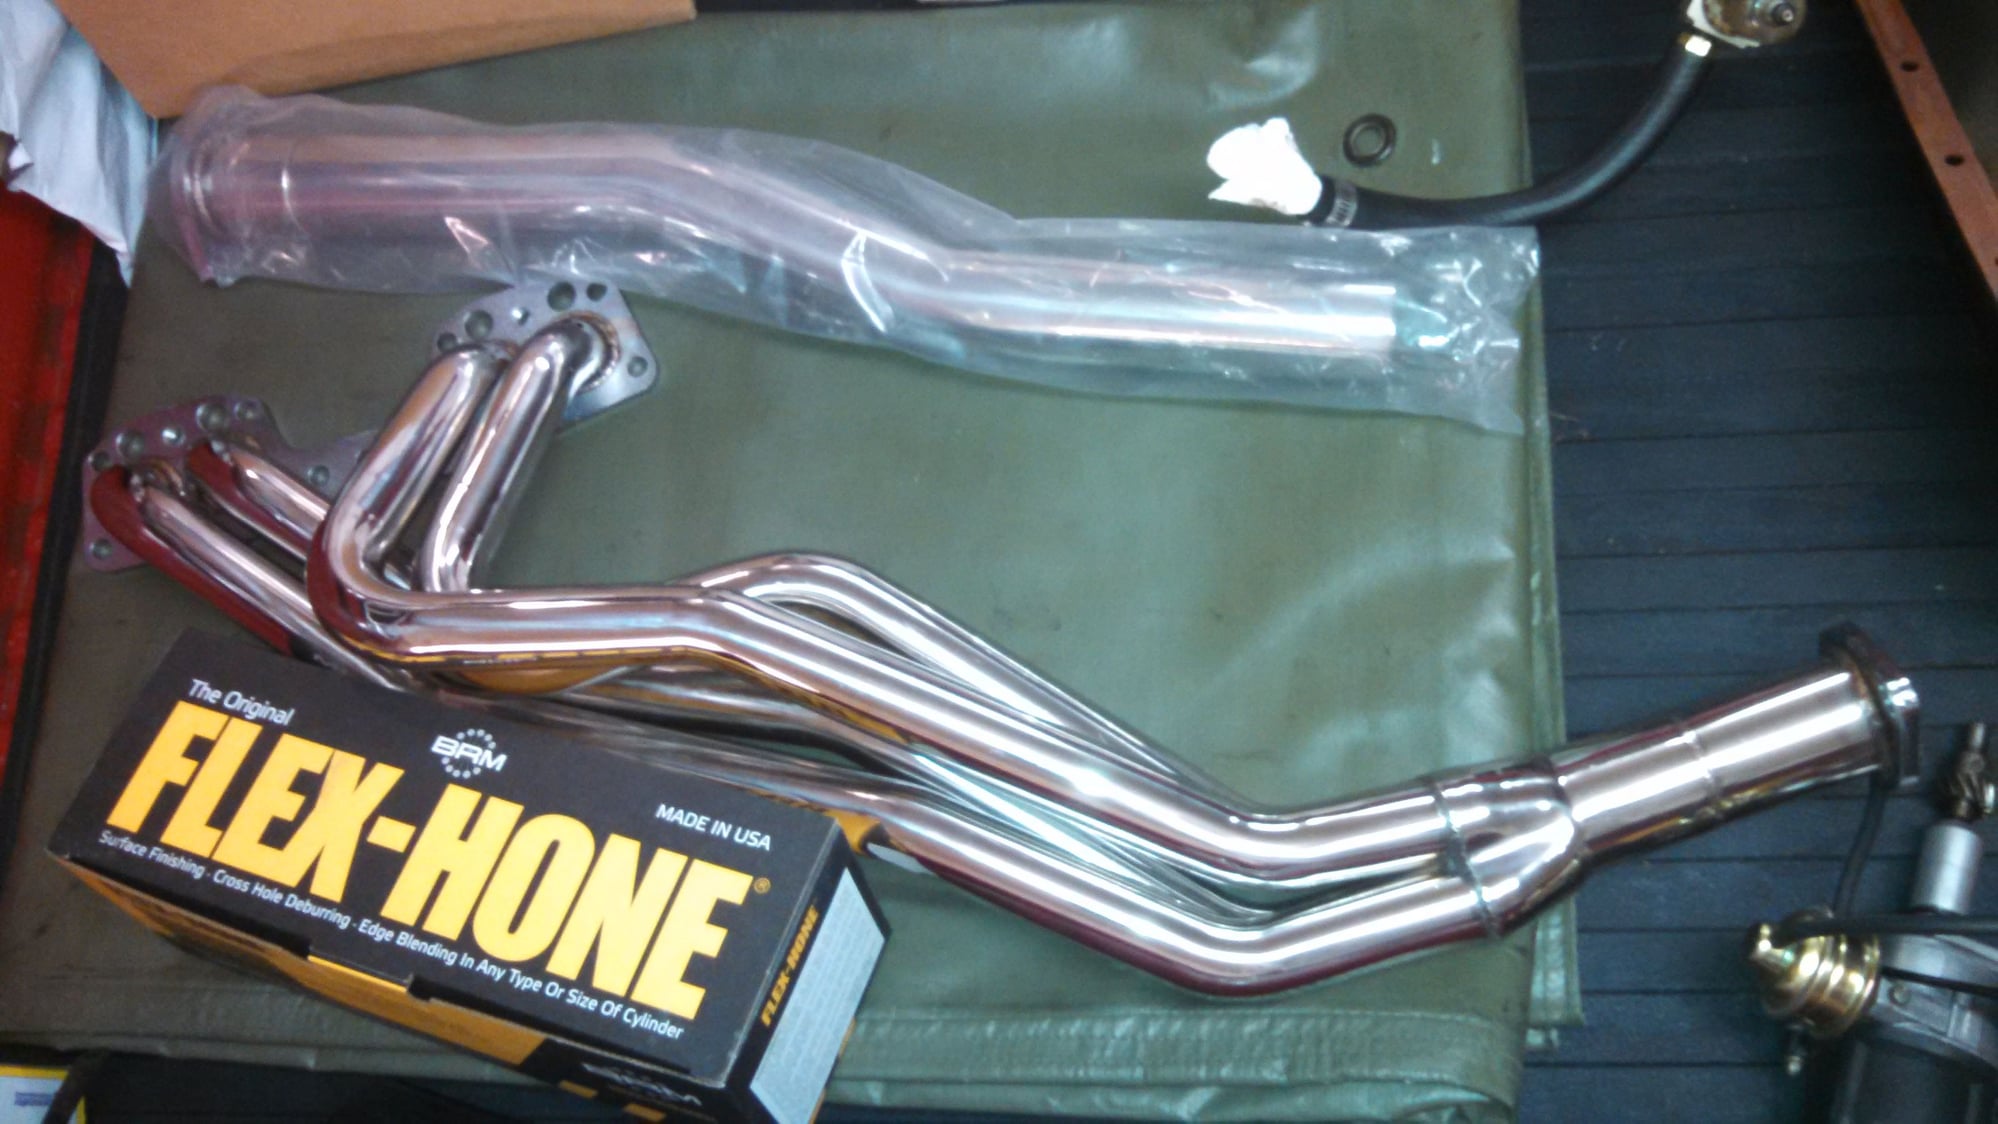
Hasting Ring Co told me 220 to 260 grit hone at 30 to 40 degree cross hatch ....cheapo Ebay header was actually very nice for the price

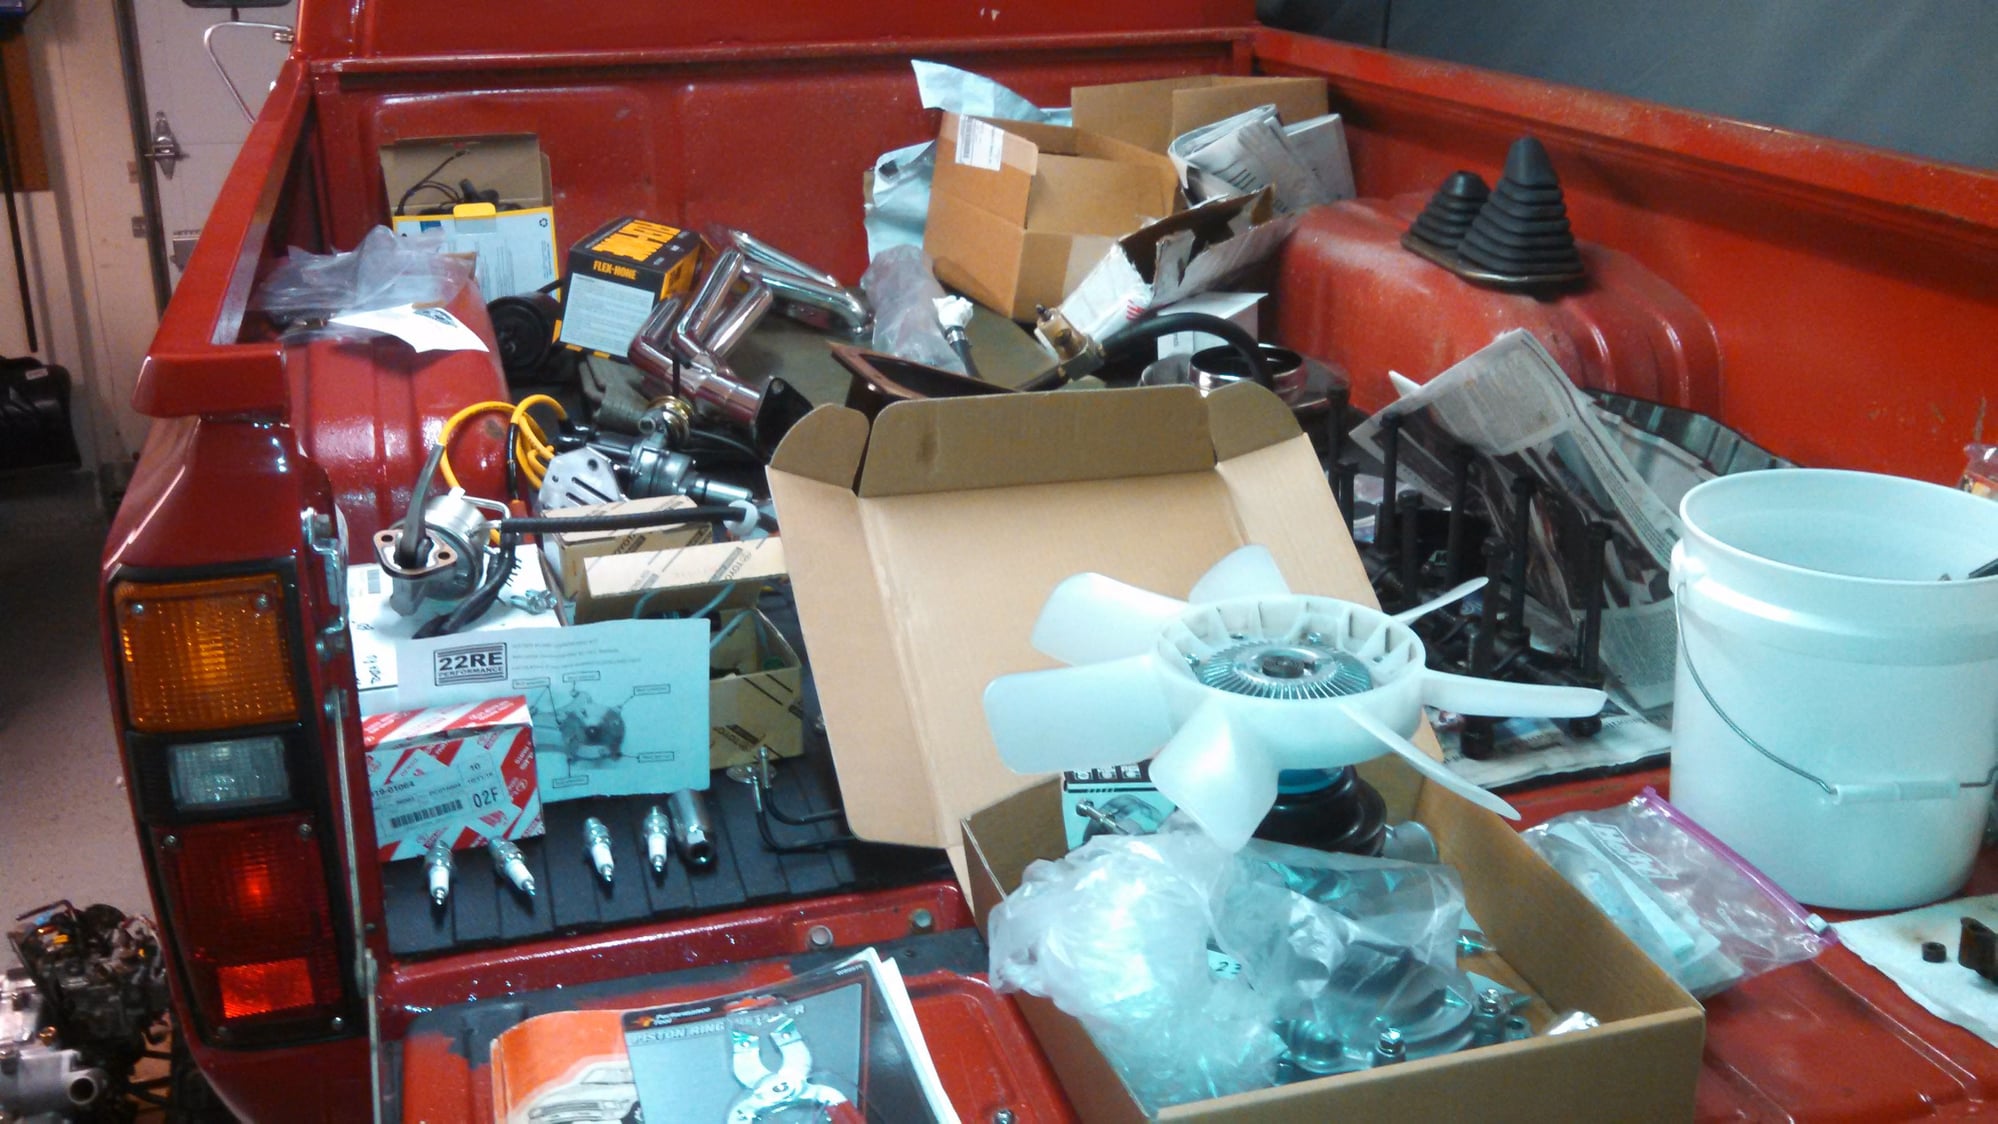
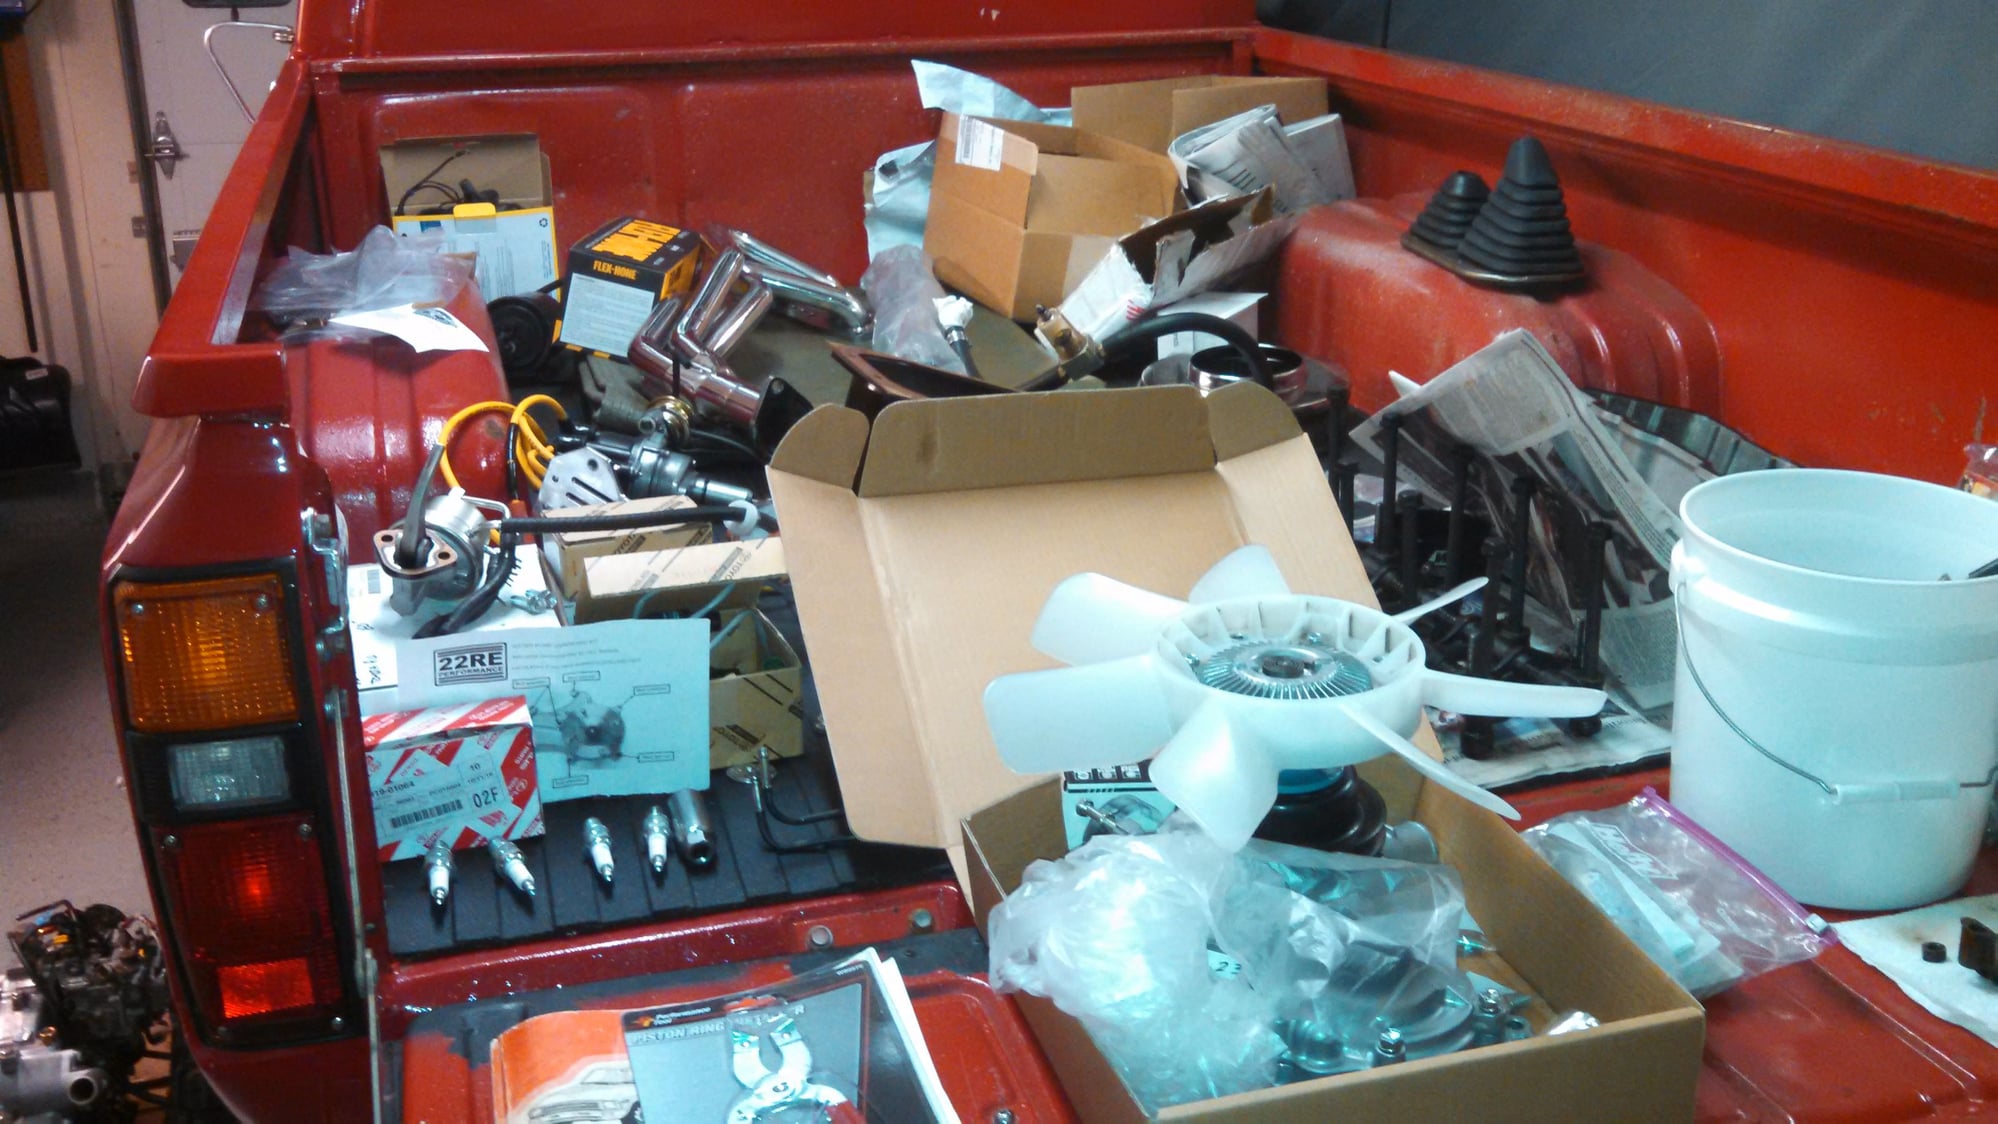
great place to store it all
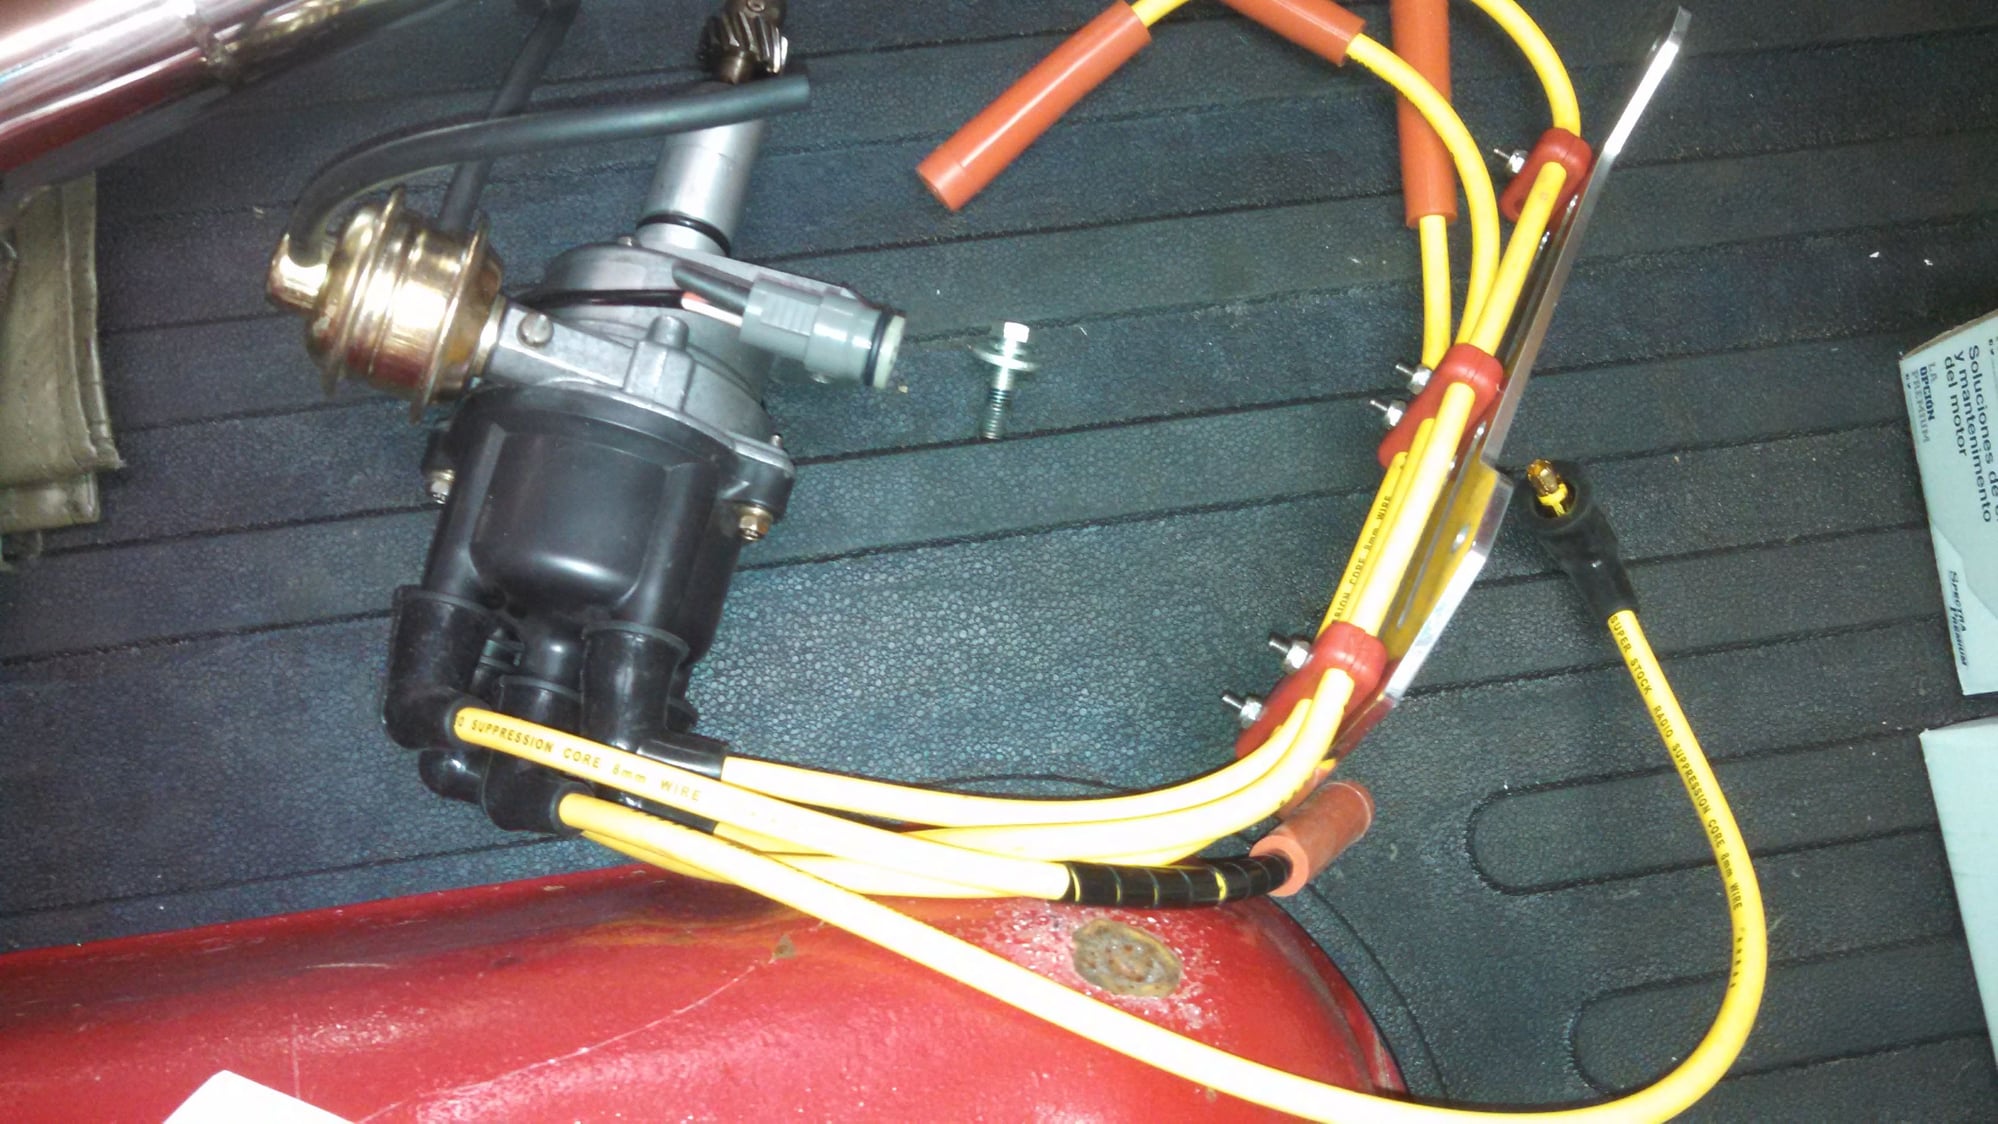
Found a better distributor than the one I had and tore it down and Rebuilt it with new factory signal generator new seals, new advance and new wires
Old 06-19-2017, 05:04 PM
  #102  
Registered User
Thread Starter
 
Big Little Bear's Avatar
 
Join Date: Jan 2015
Location: AZ,MD,NC
Posts: 217
Likes: 0
Received 1 Like on 1 Post
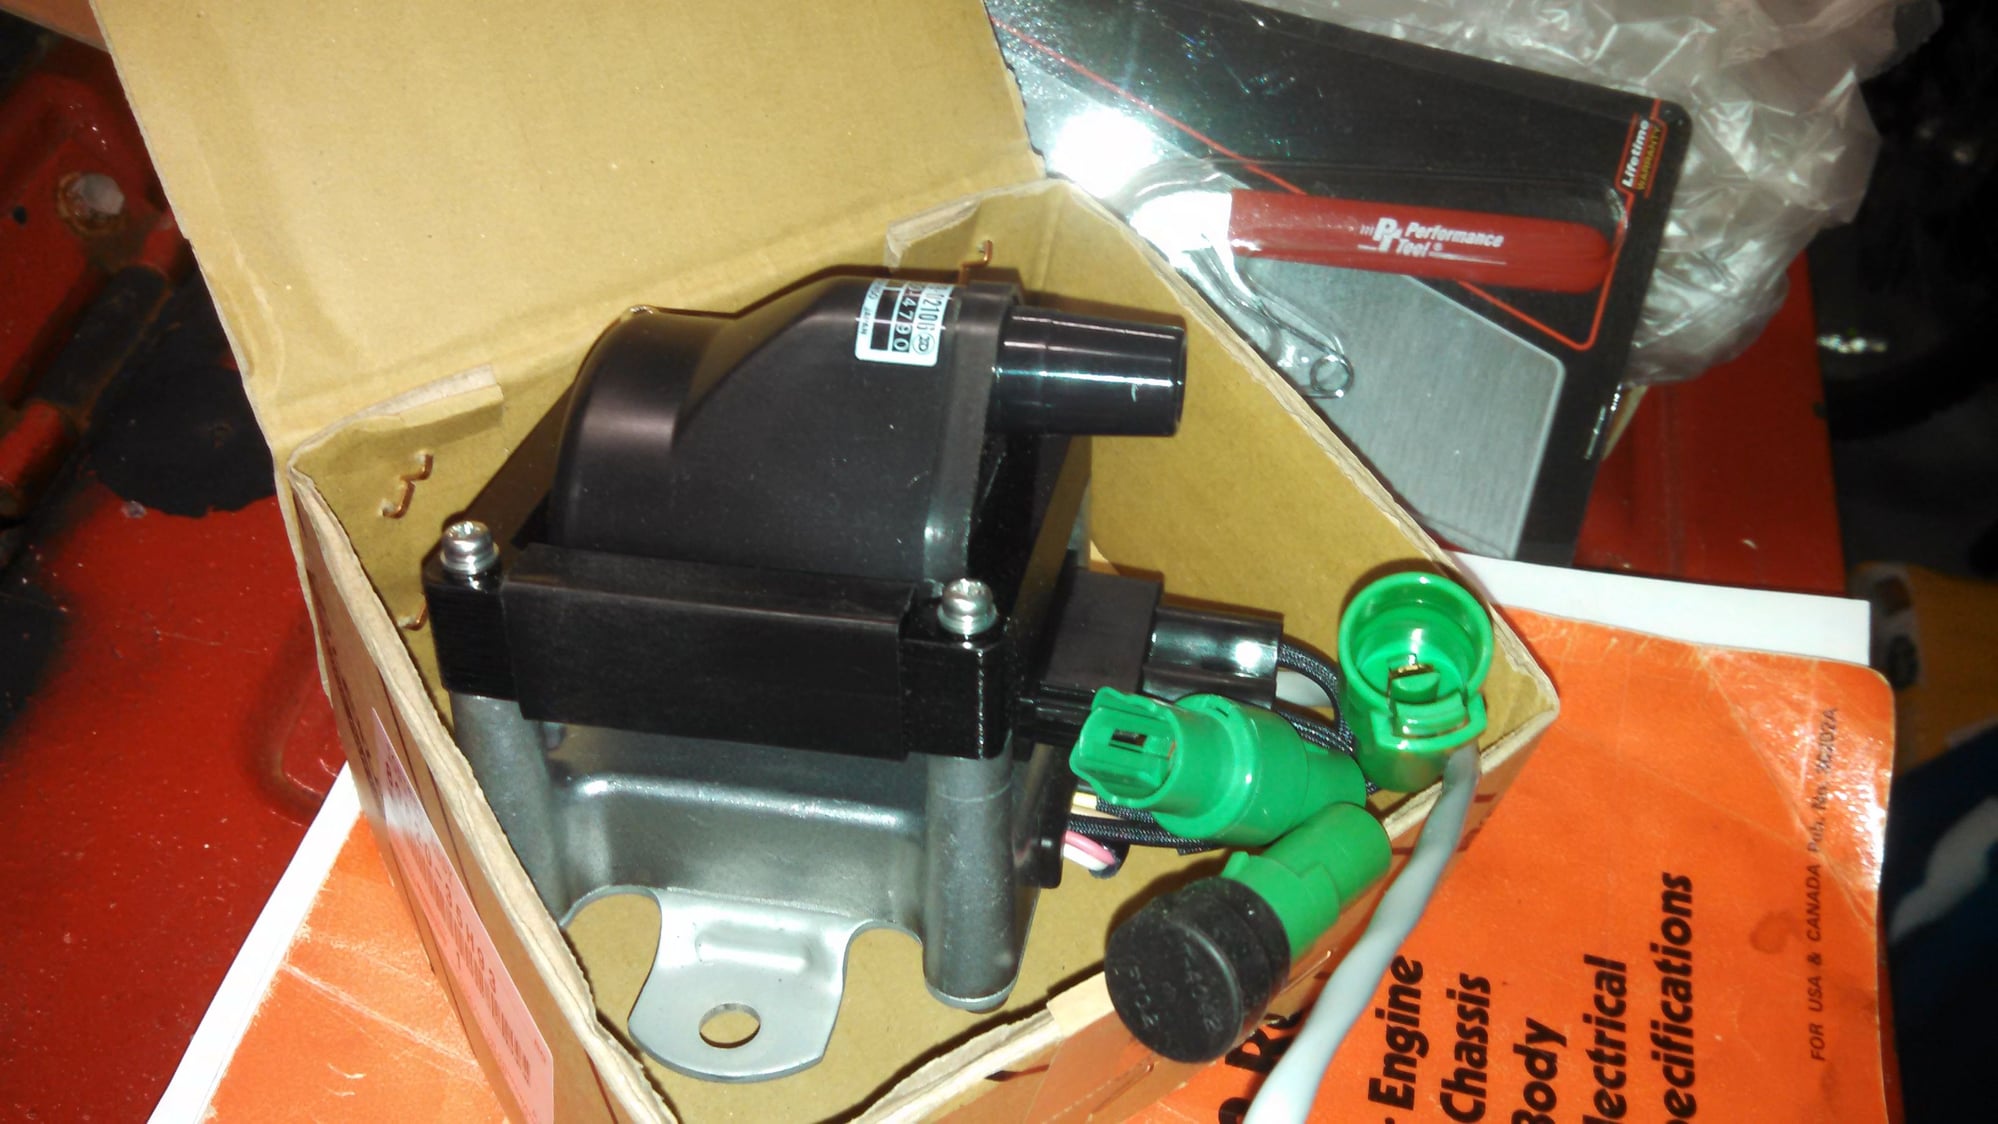
probably the single most expensive part but cheaper where I found it....Factory Toyota found it in ...You'll never guess....... Dubai UAE and it was FedExed to me in THREE DAYS!
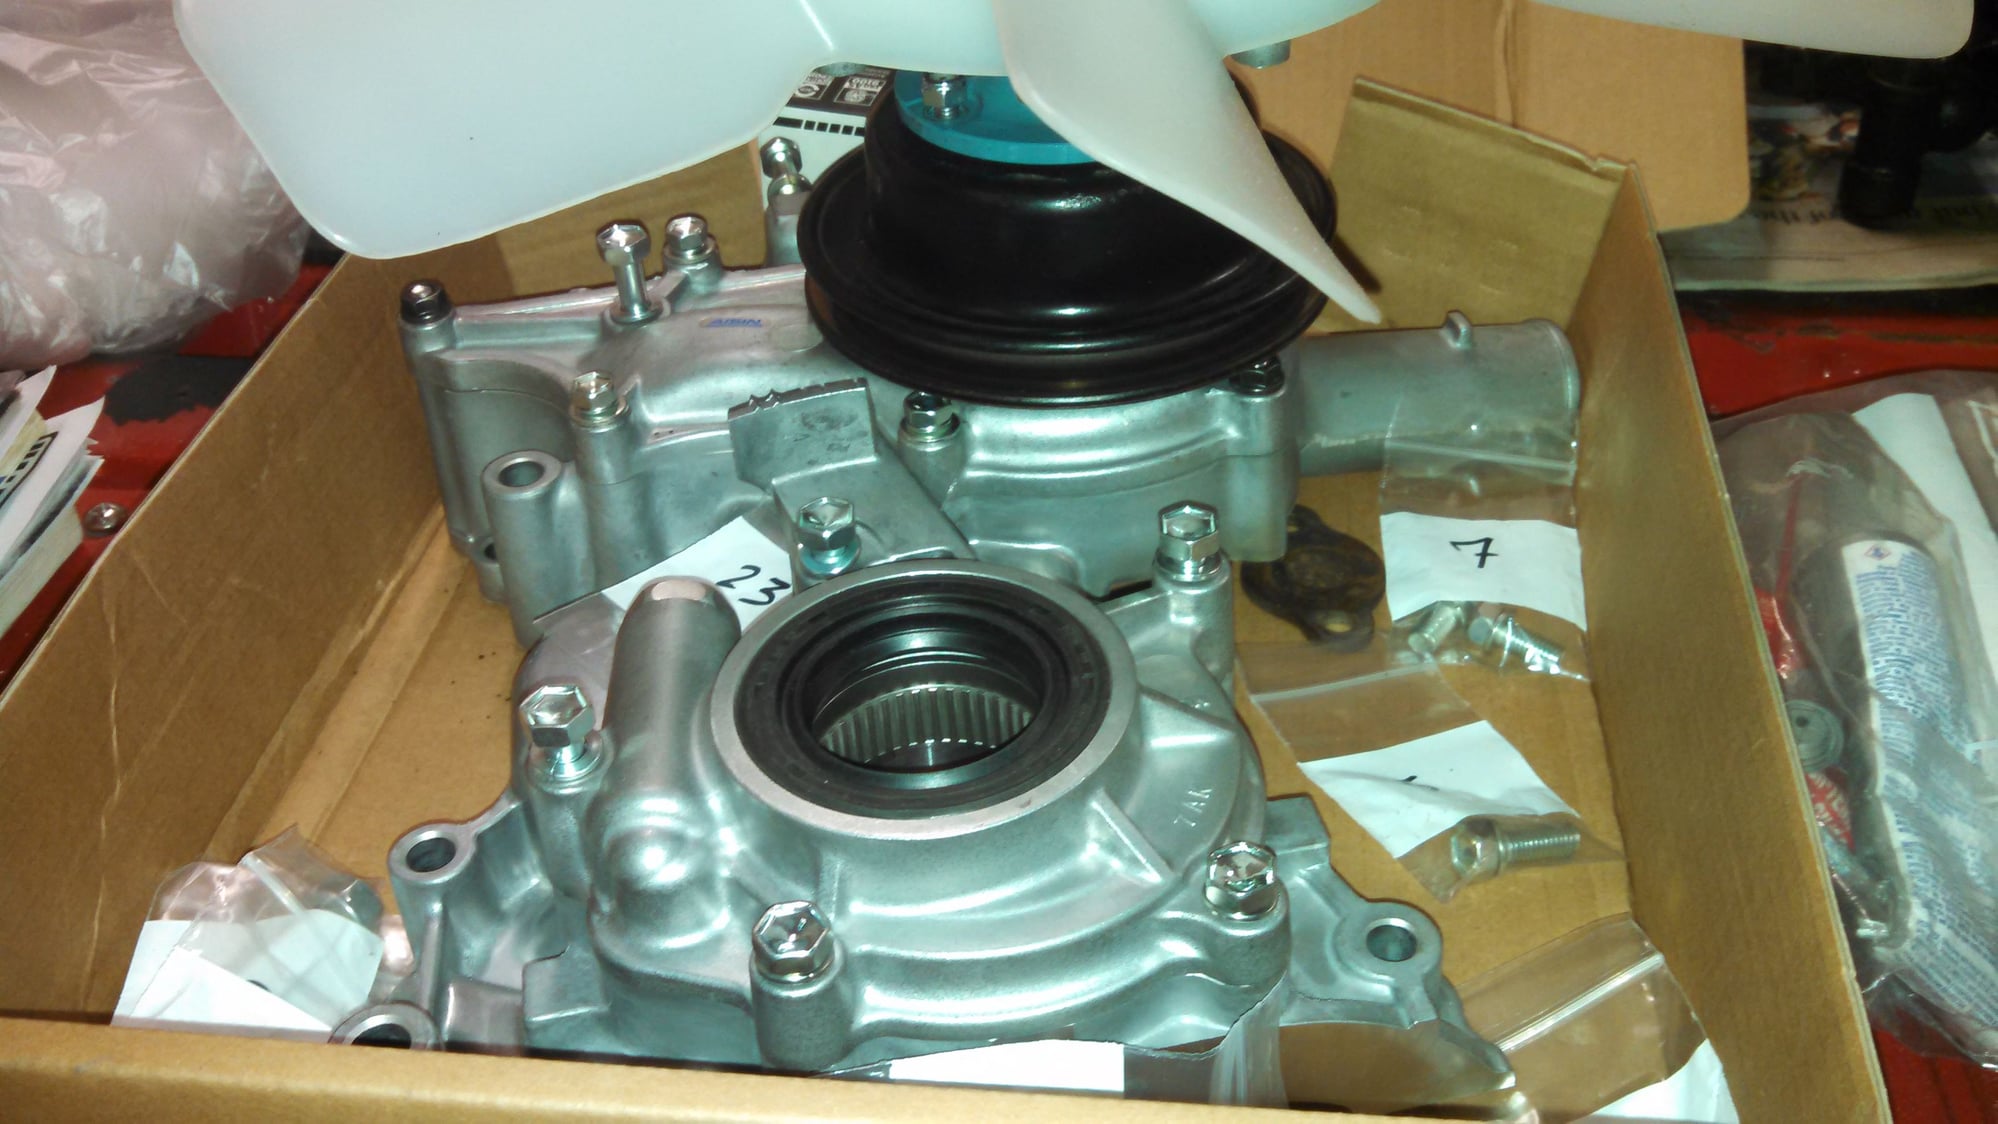
Factory Aisin pumps, 22re Performance numbered bolt kits for all of it made it easy to go back together and saved me from cleaning old bolts
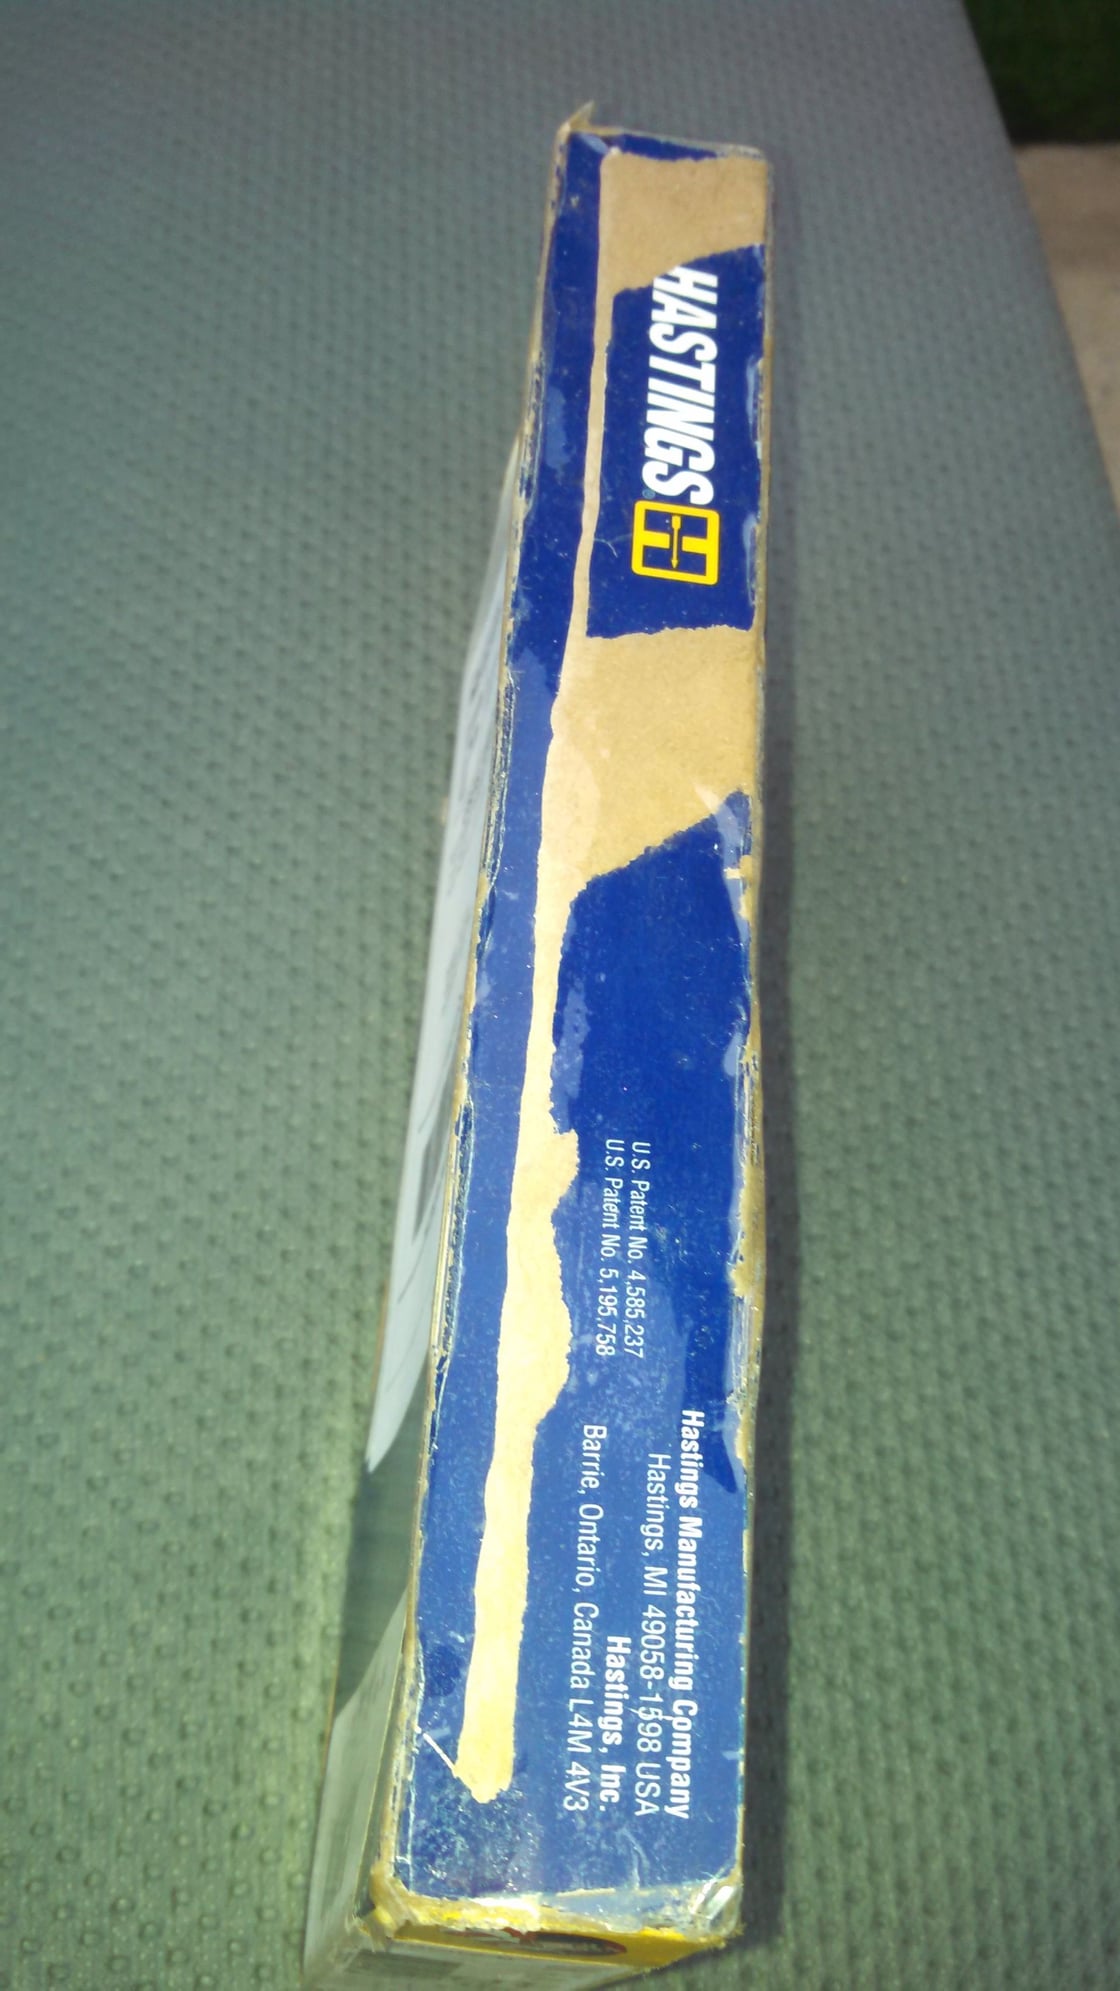
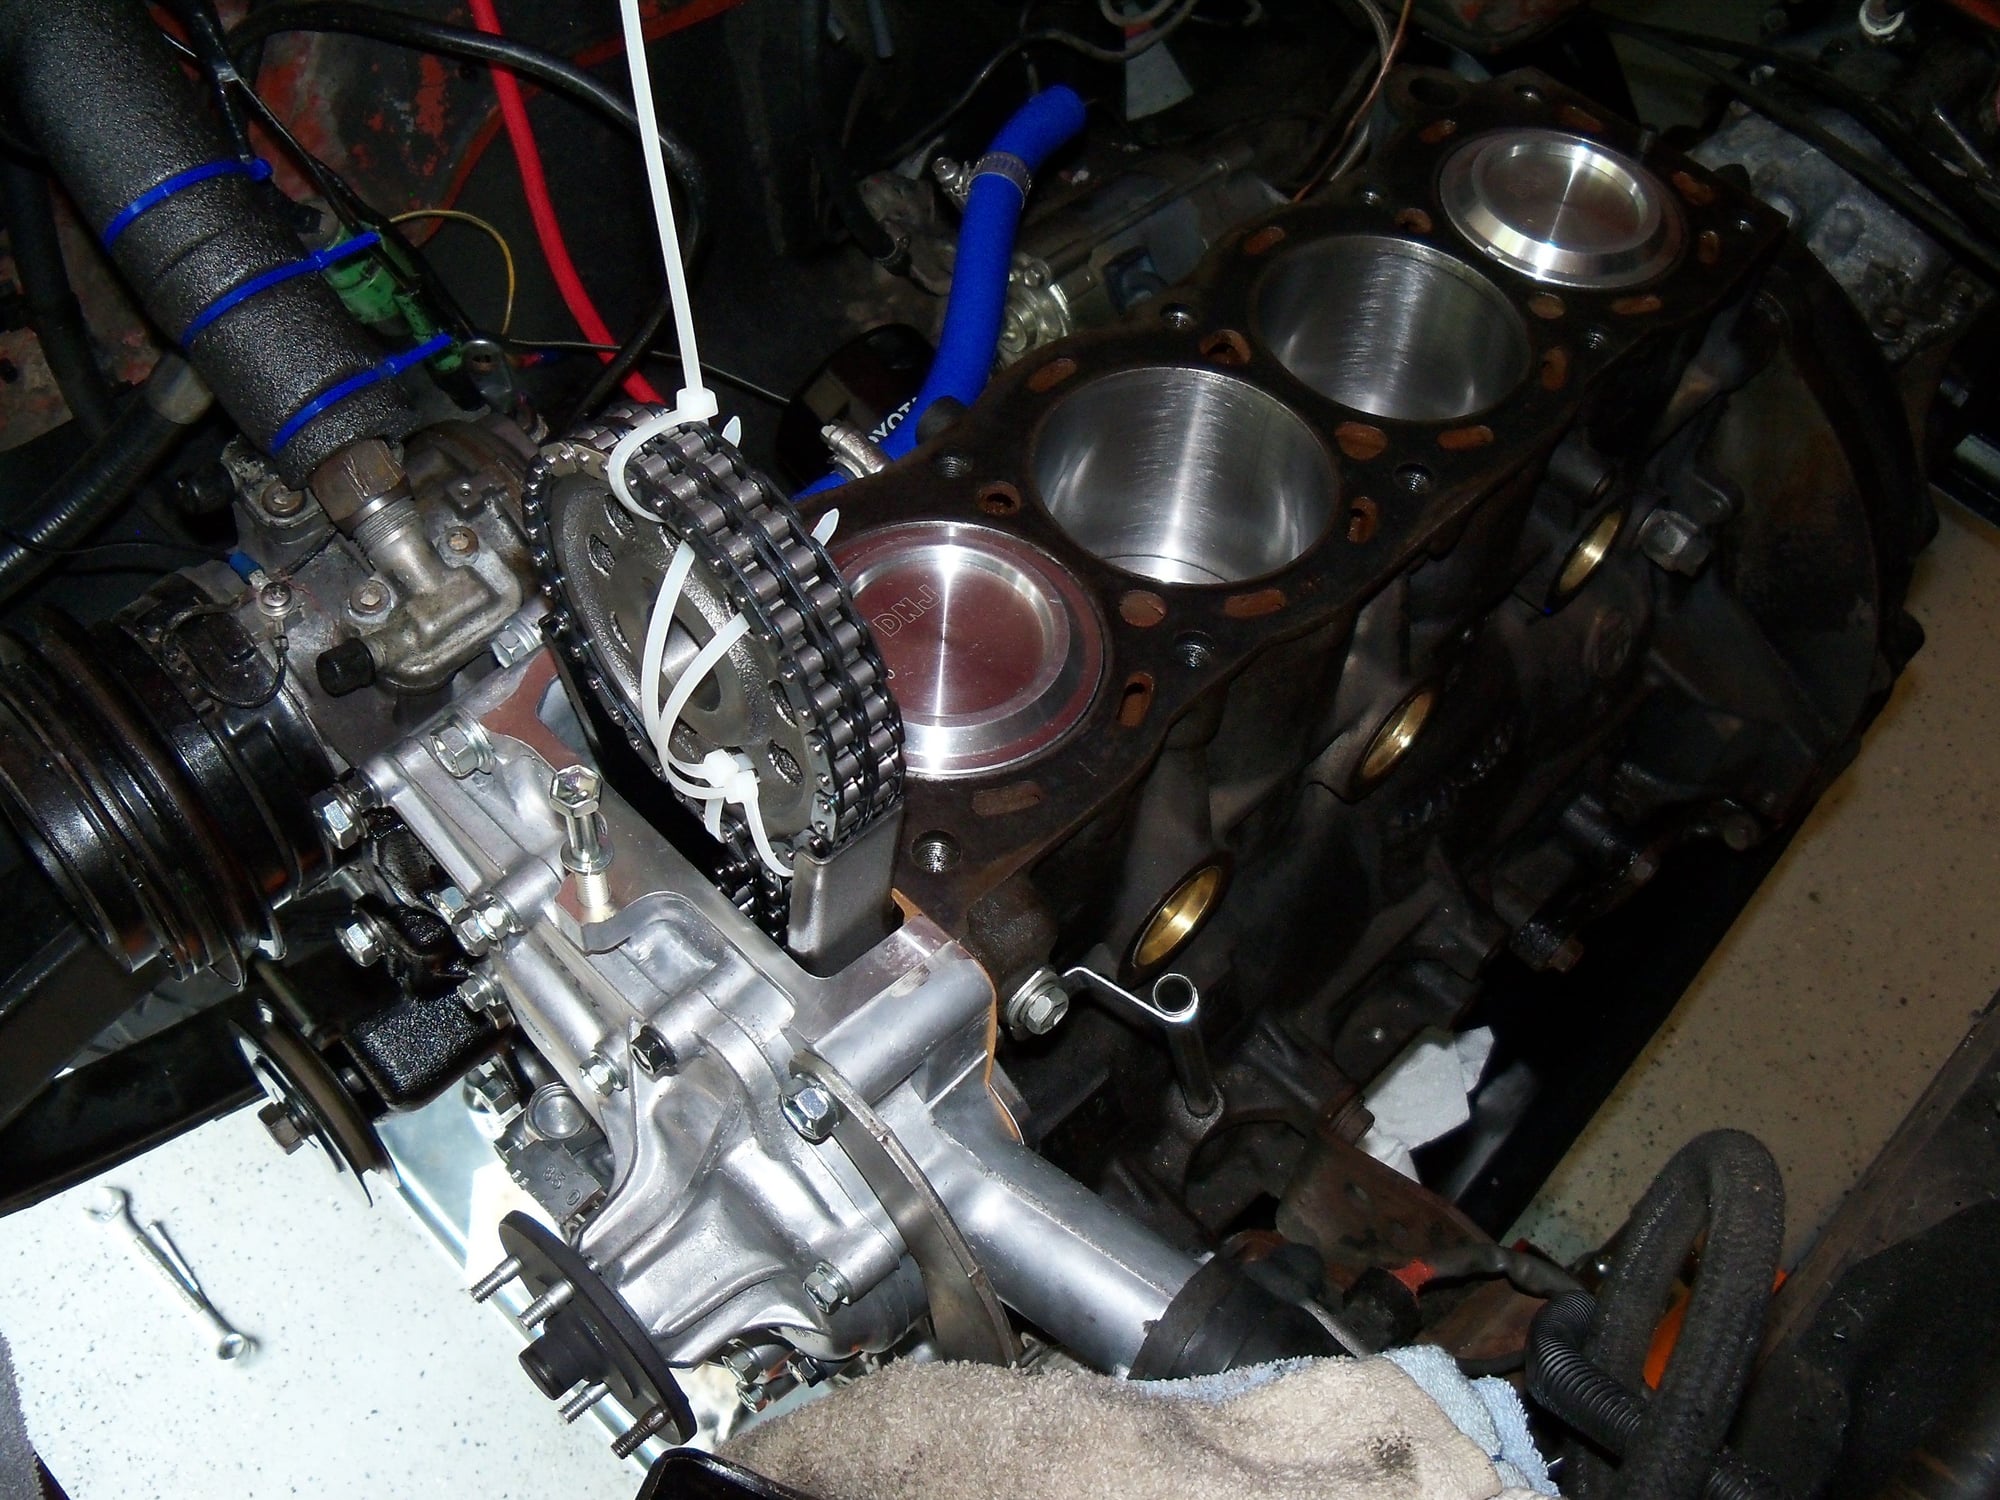
Honed and New DNJ piston heads / wrist pins....New Hastings Rings... New king rod Bearings all STD ...New Factory Toyota Head gasket from Griffith Toyota made in ......Thailand ? ... say what ?
OSK Dual Row kit with Steel Guides, New Timing Cover

Last edited by Big Little Bear; 06-29-2017 at 07:11 AM.
Old 06-19-2017, 05:18 PM
  #103  
Registered User
Thread Starter
 
Big Little Bear's Avatar
 
Join Date: Jan 2015
Location: AZ,MD,NC
Posts: 217
Likes: 0
Received 1 Like on 1 Post

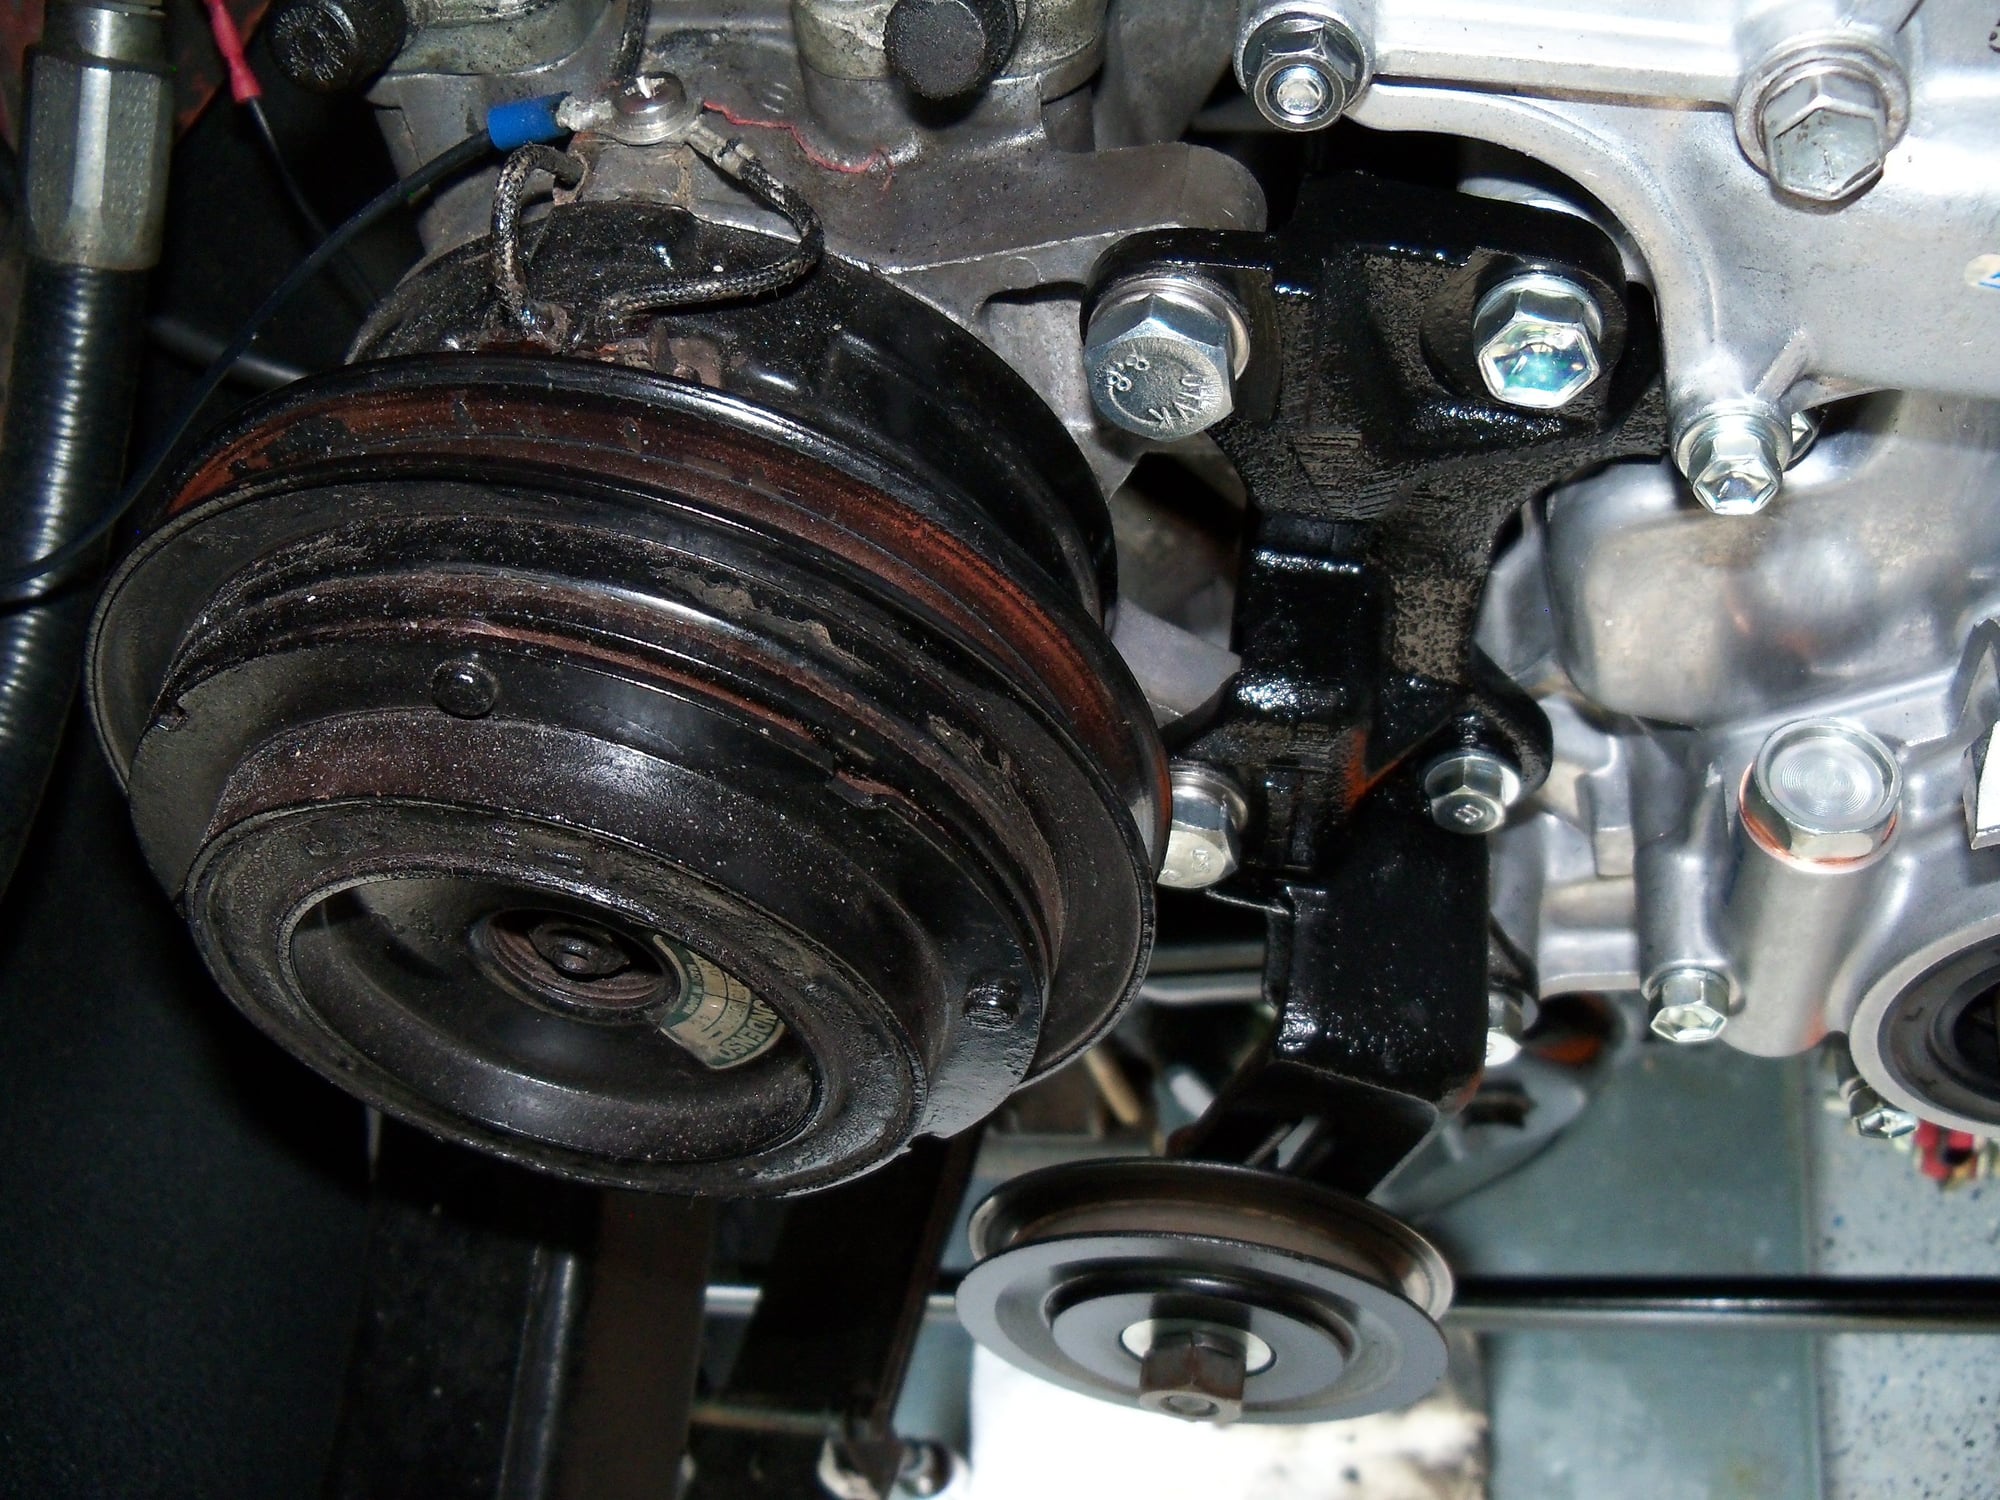
A/C Bracket cleaned up and epoxy painted with all new bolts from HD and Lowes specialty drawers
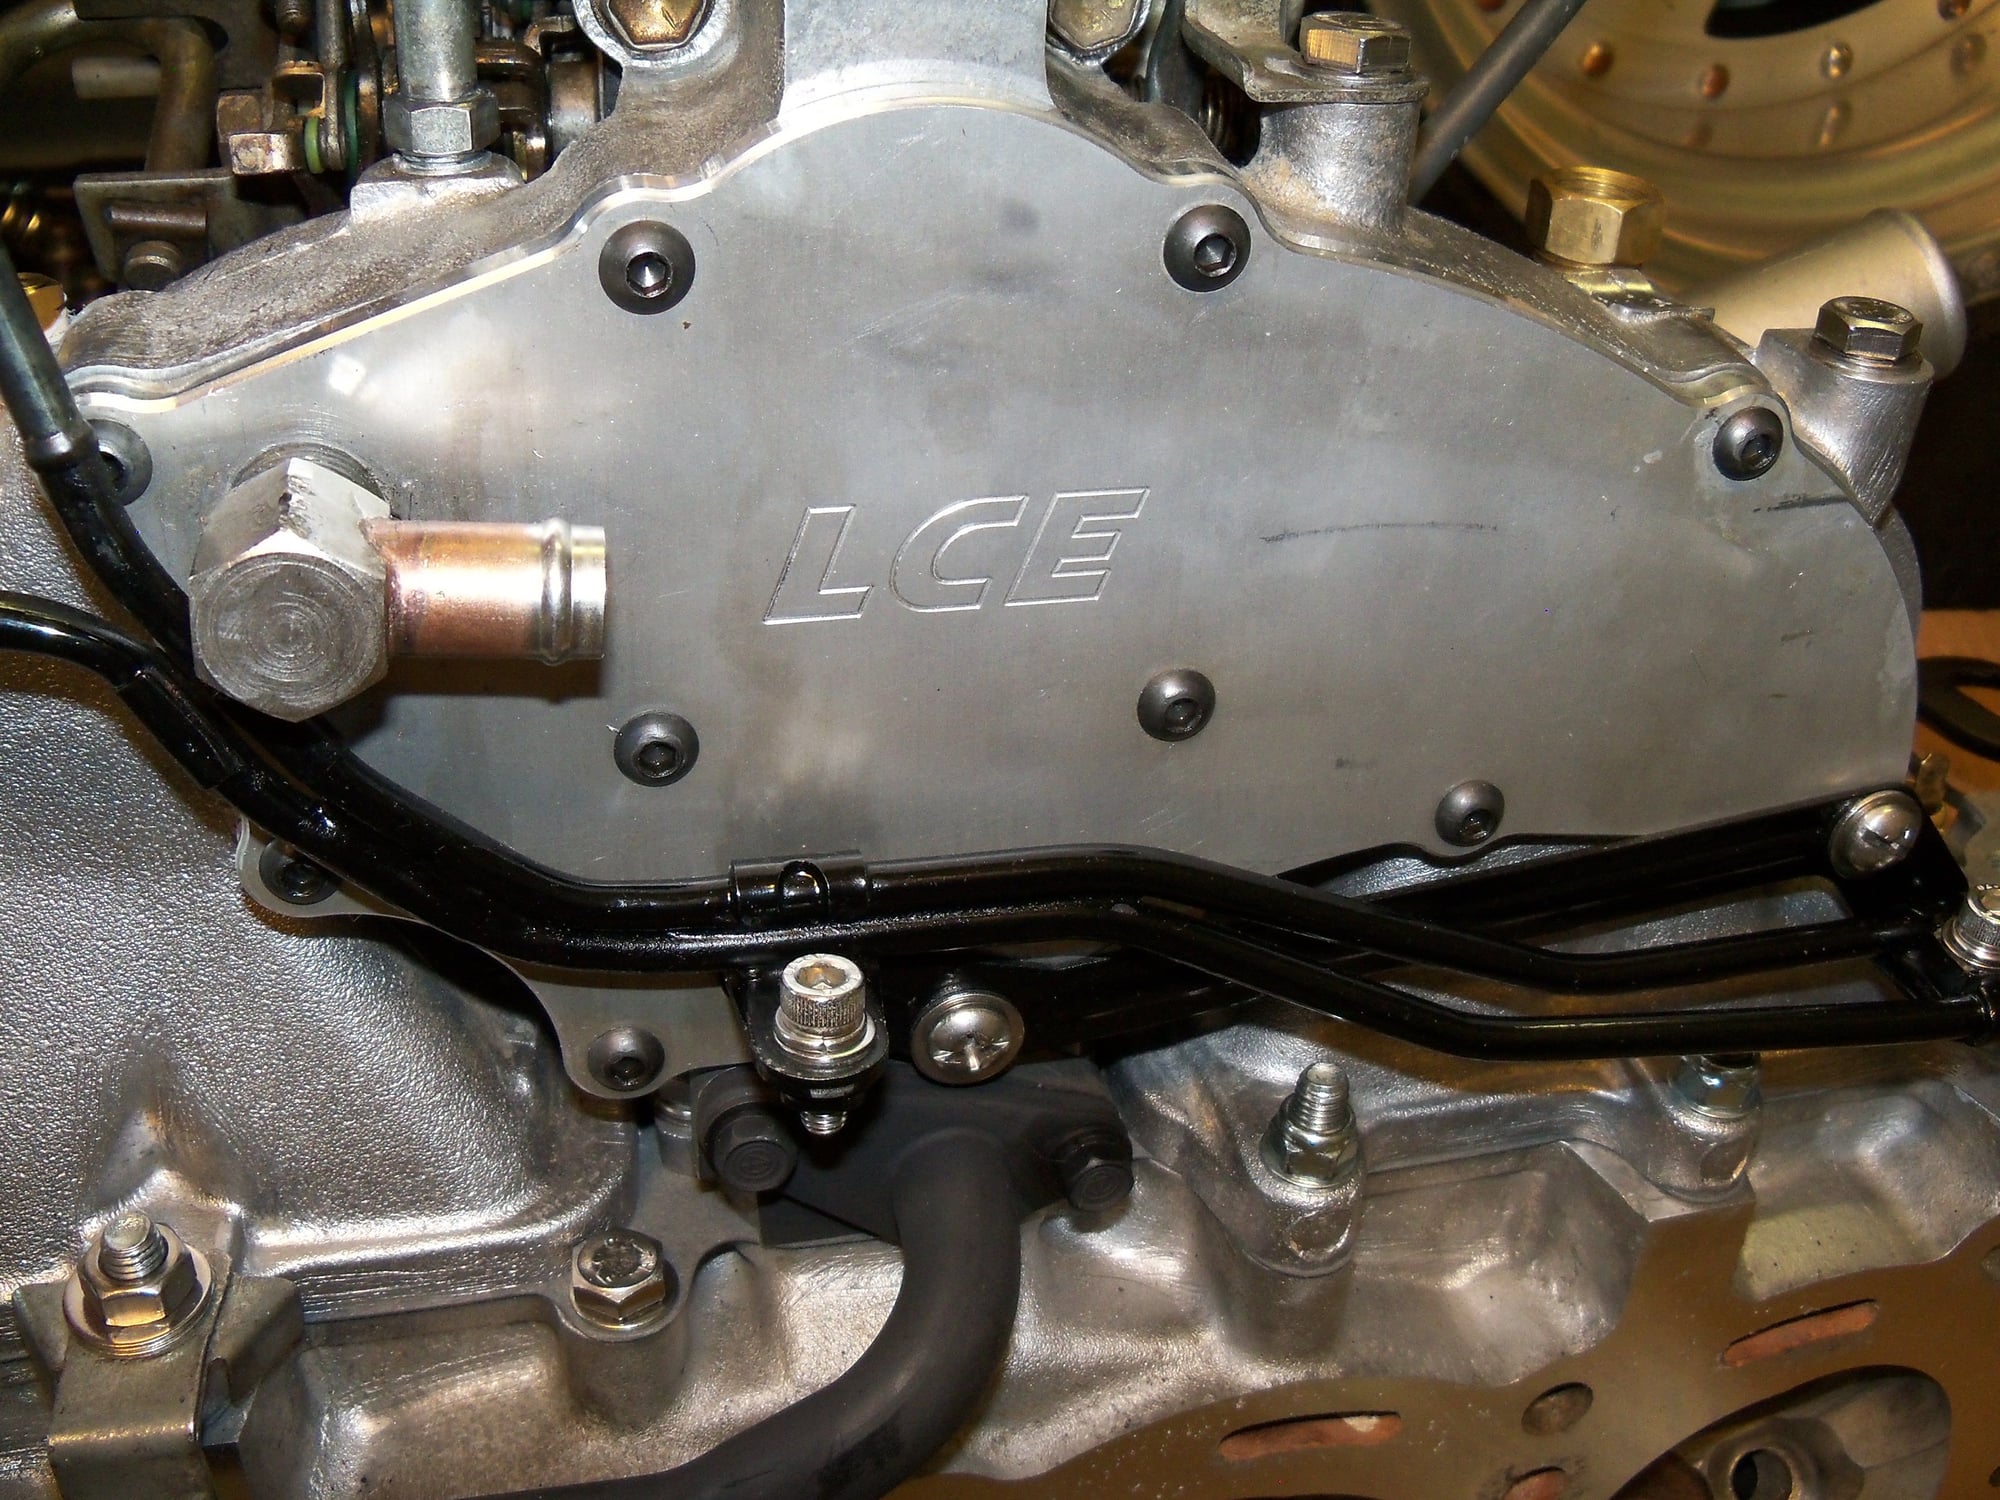
LCE block off plates everywhere I could use them
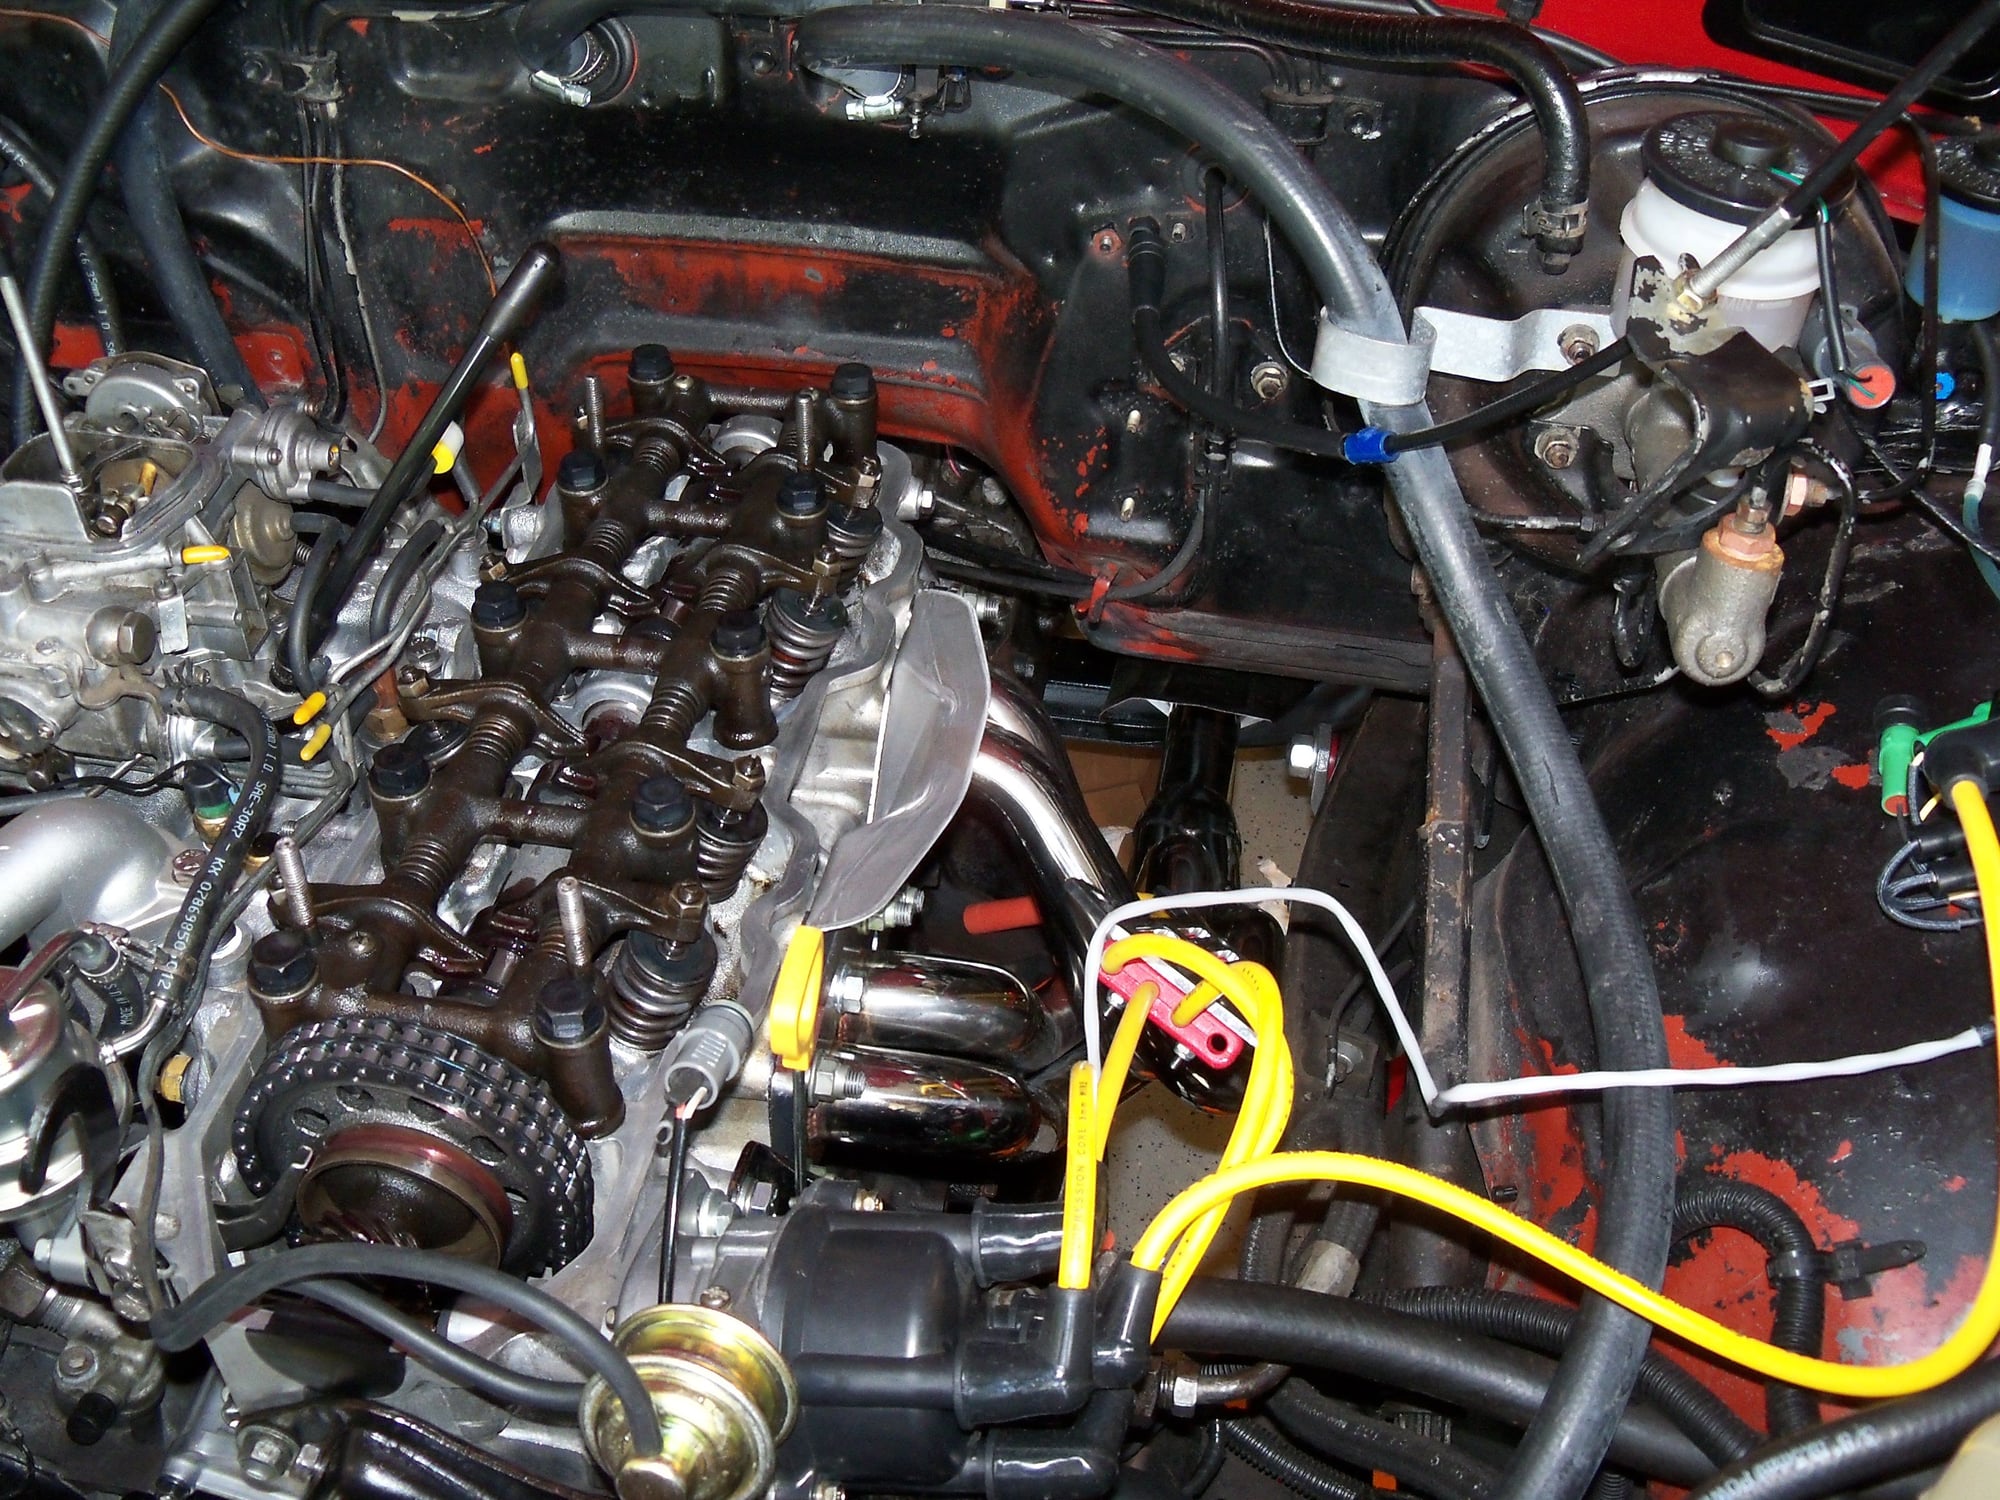
Intake wire wheeled clean...Head back from machine shop
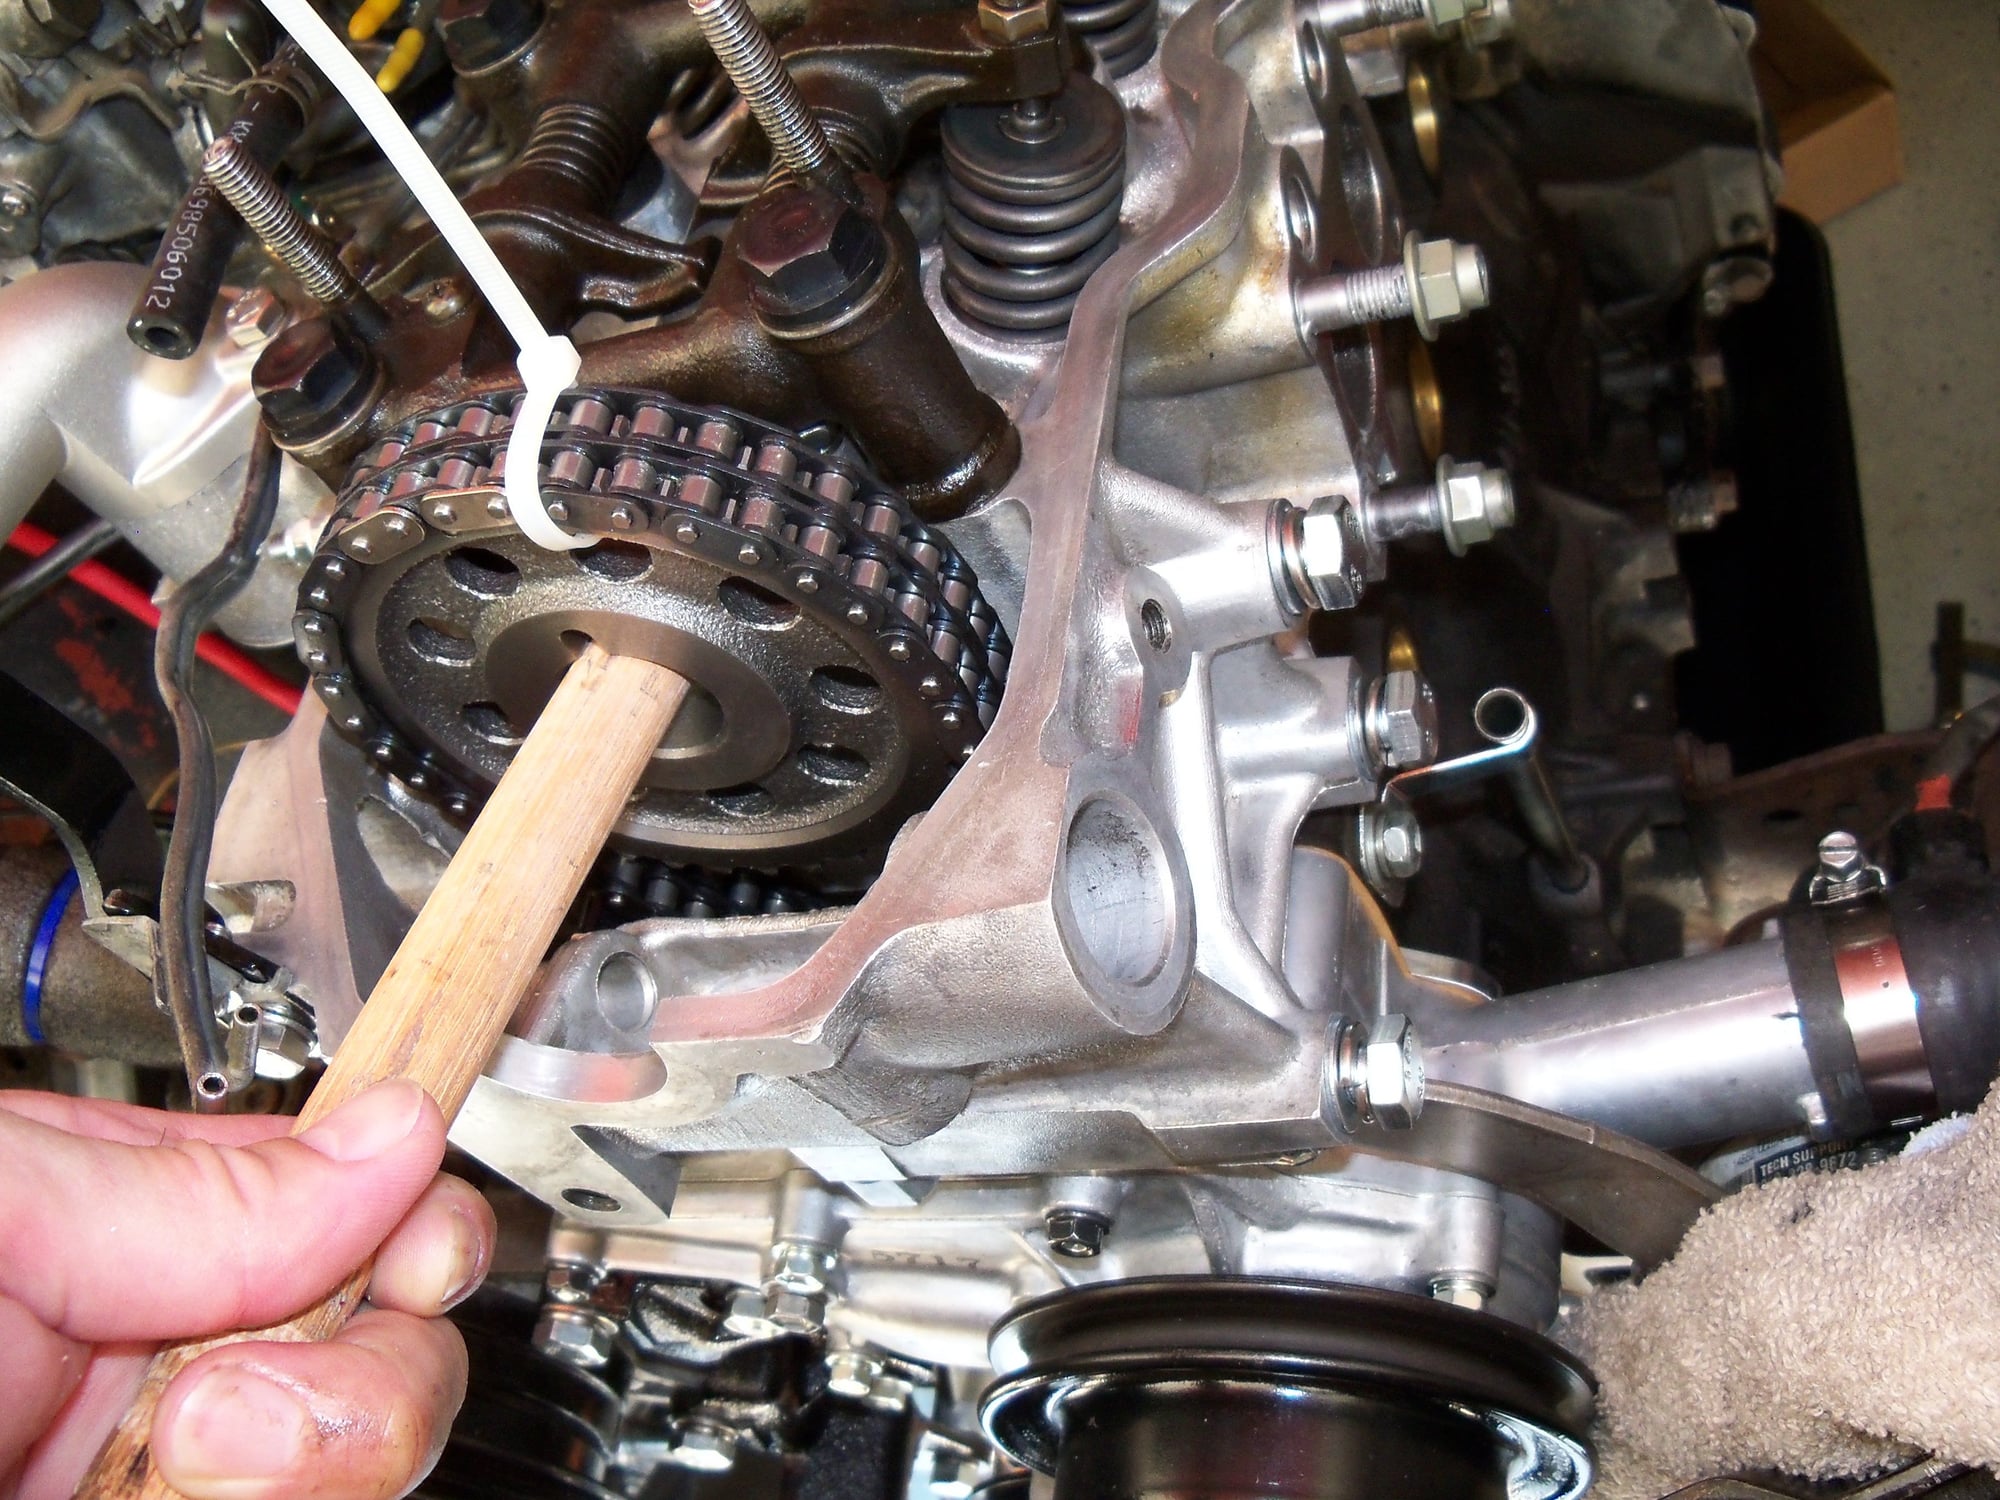
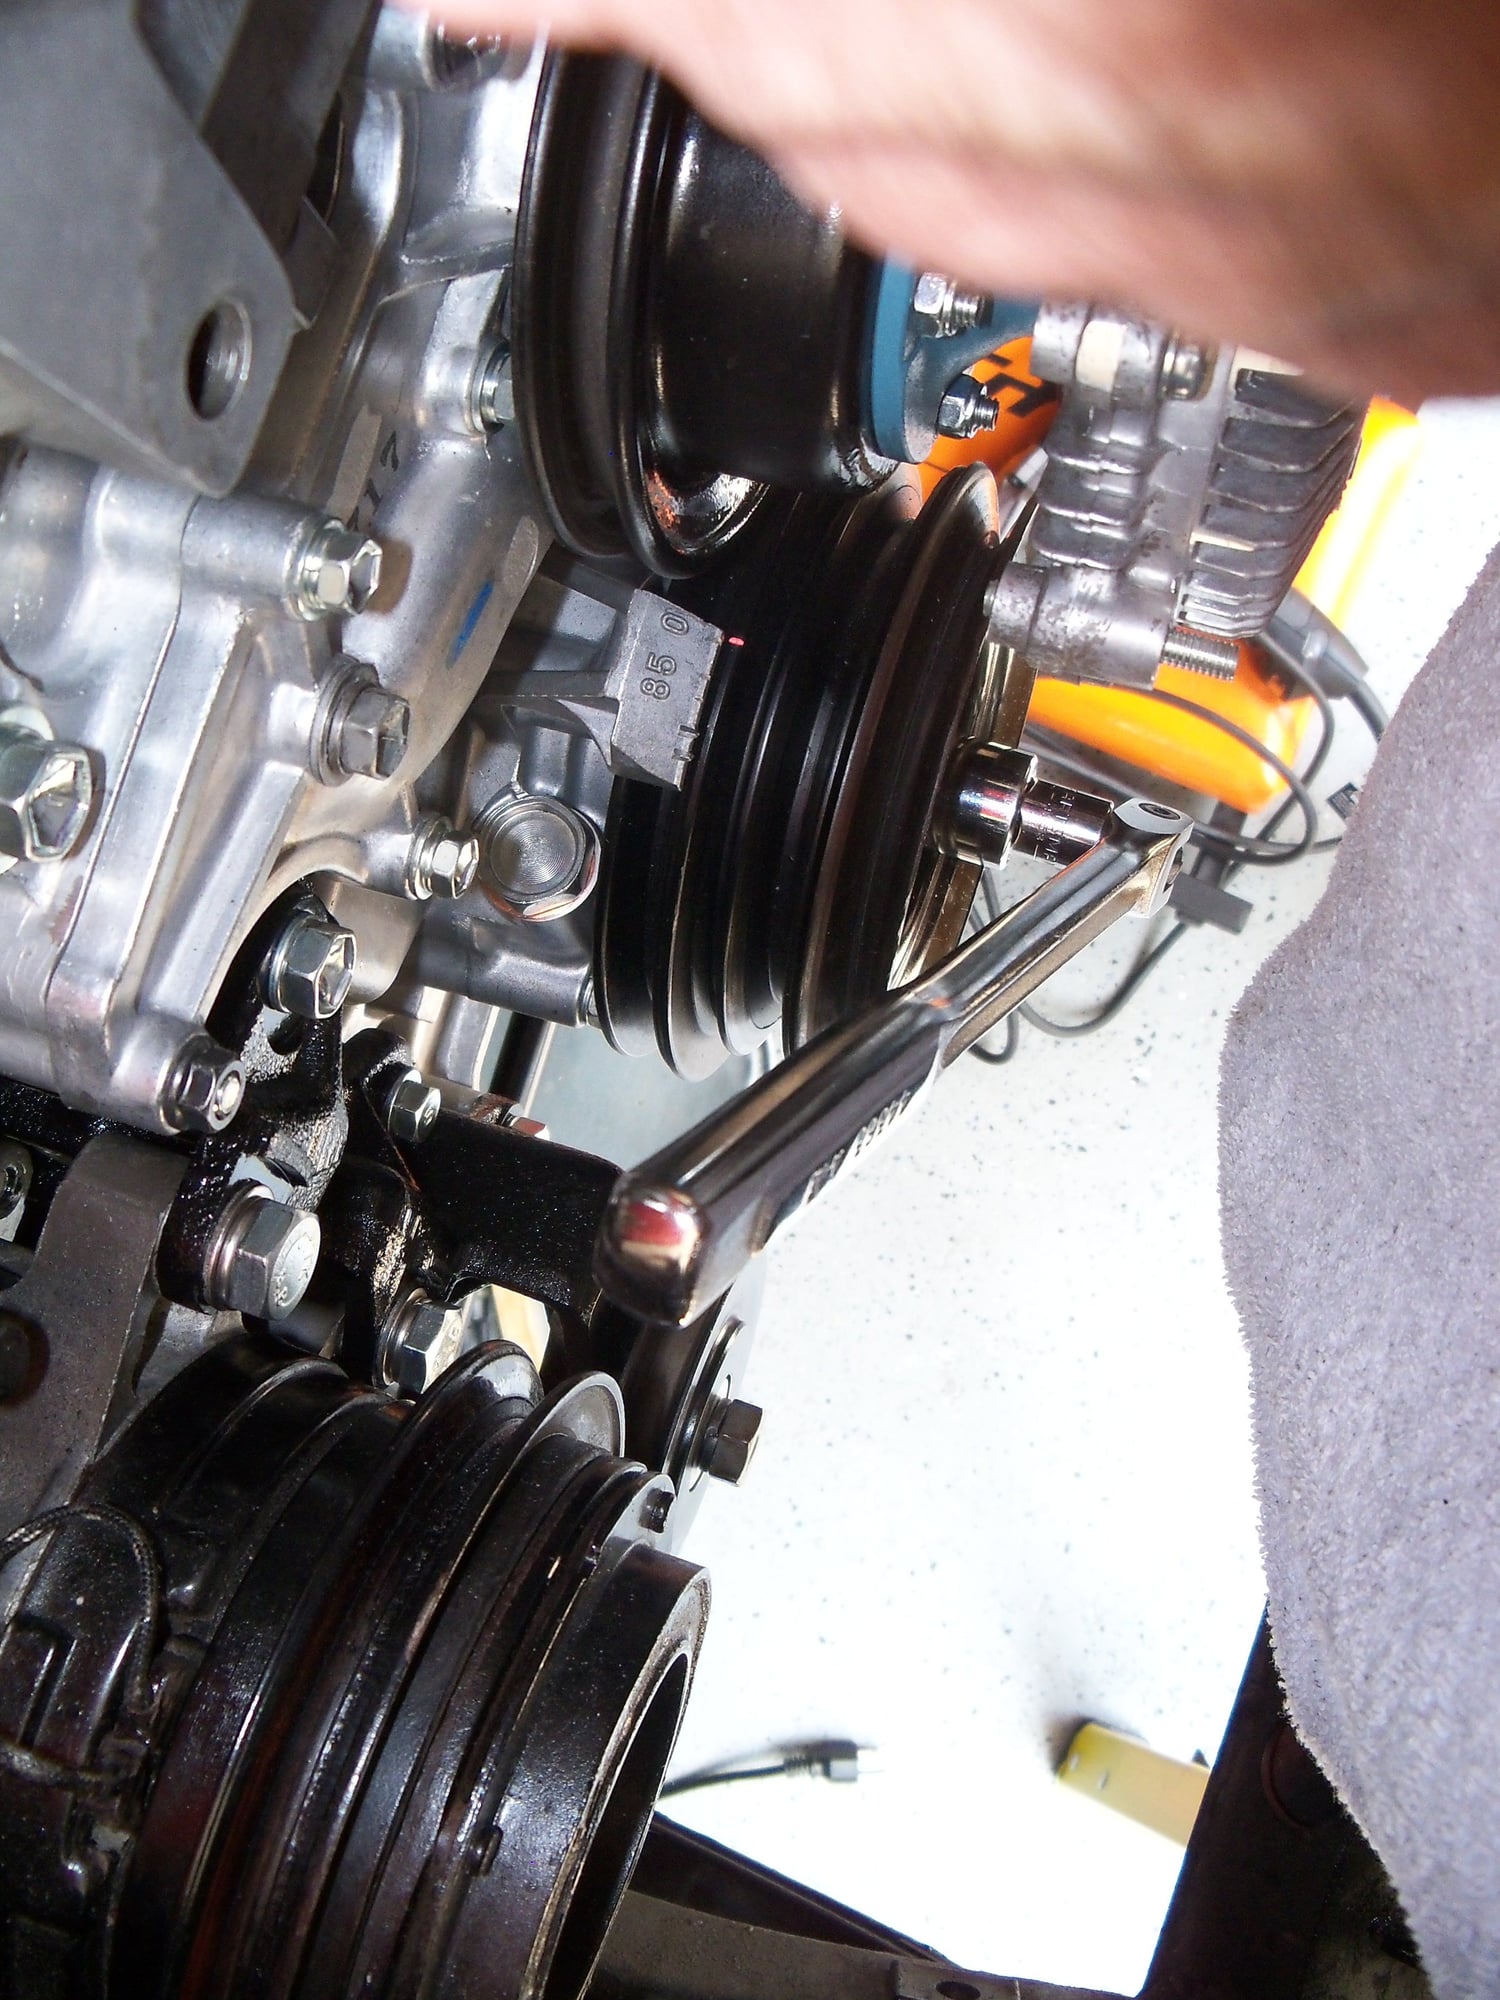
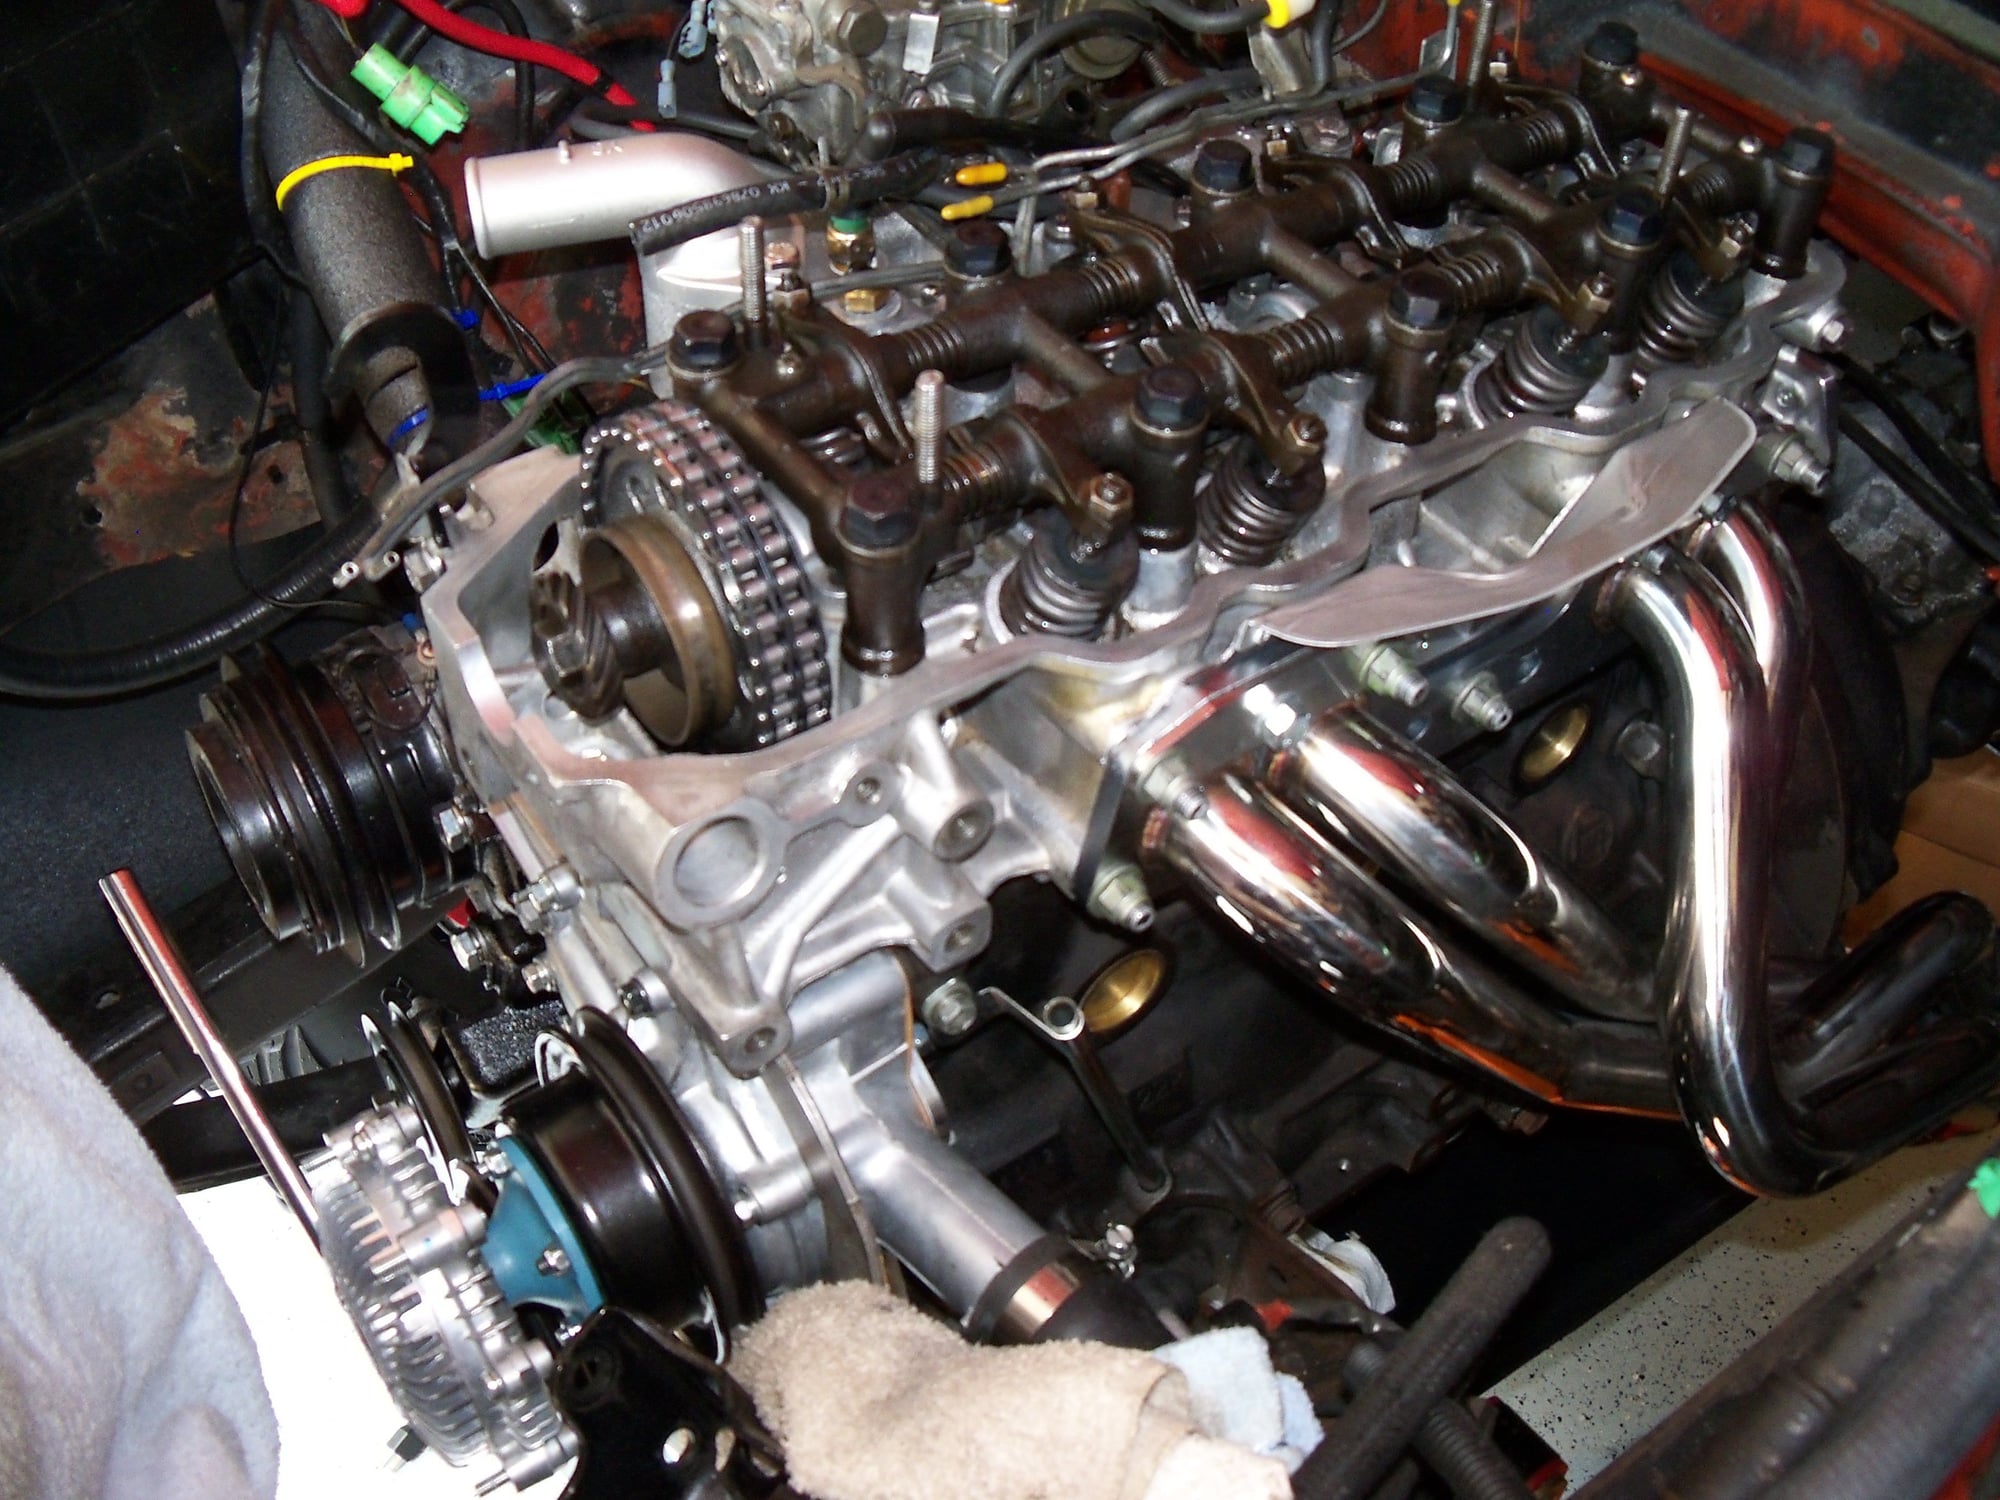
Head torqued down New Head Bolts Then Applying a little upward pressure to the gear while
rocking the crank pulley bolt ever so slightly releases the tension on the chain a little to lift it on to the cam.

Last edited by Big Little Bear; 06-19-2017 at 05:23 PM.
Old 06-19-2017, 05:21 PM
  #104  
Registered User
Thread Starter
 
Big Little Bear's Avatar
 
Join Date: Jan 2015
Location: AZ,MD,NC
Posts: 217
Likes: 0
Received 1 Like on 1 Post
Bolt up the New Header
Old 06-19-2017, 05:34 PM
  #105  
Registered User
Thread Starter
 
Big Little Bear's Avatar
 
Join Date: Jan 2015
Location: AZ,MD,NC
Posts: 217
Likes: 0
Received 1 Like on 1 Post
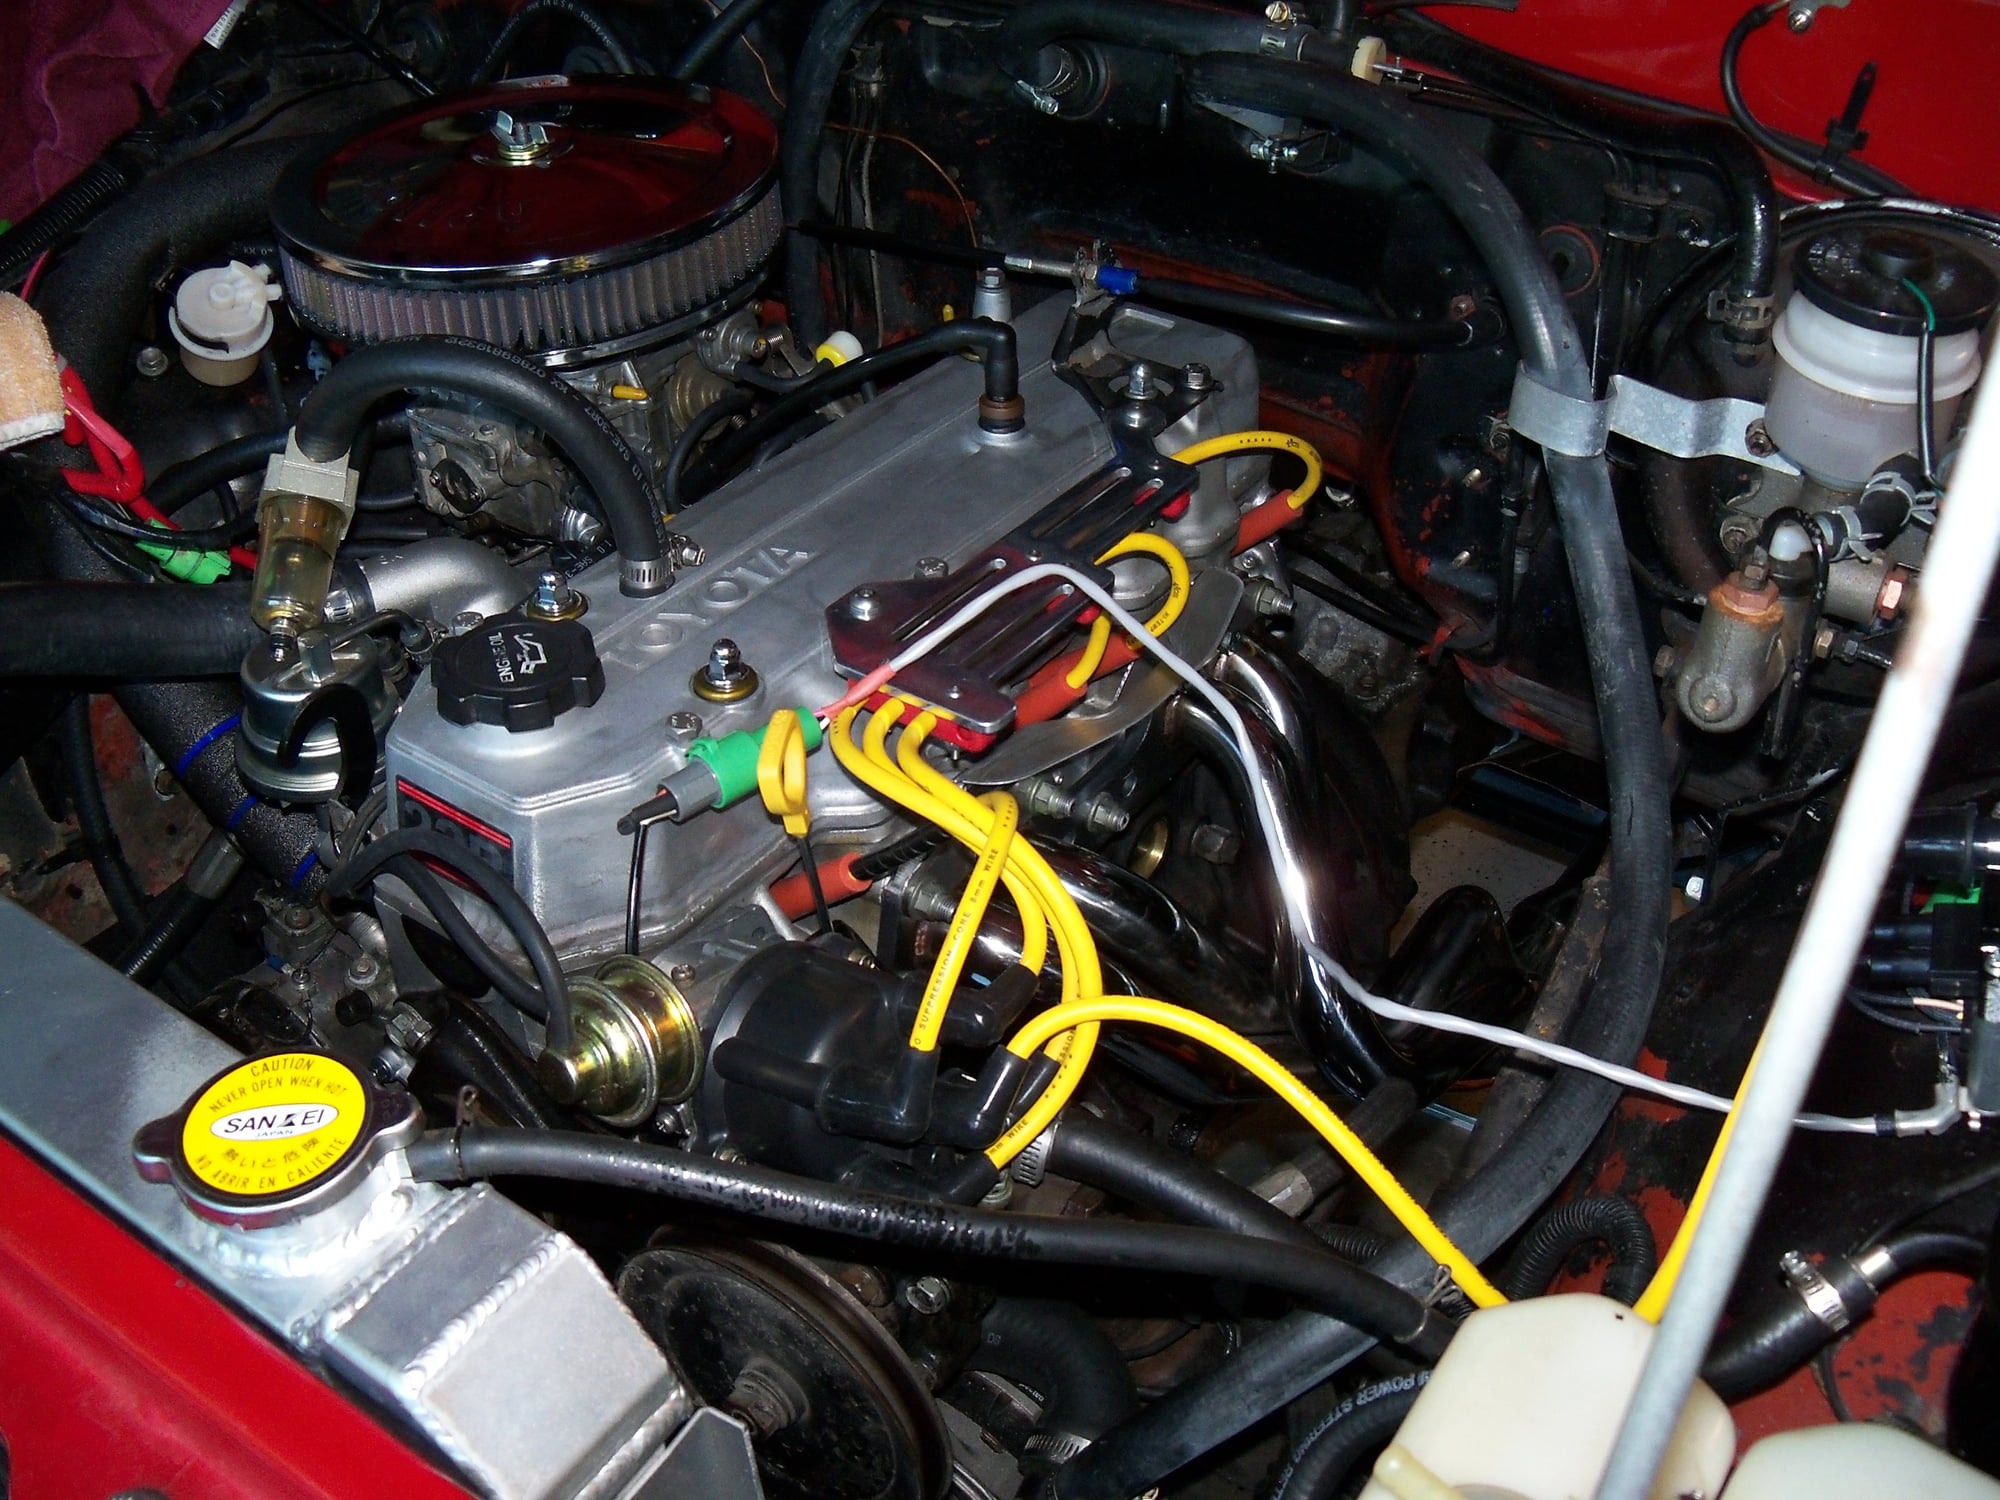
Install fuel pump drive and distributor gear on the cam then fuel pump and distributor
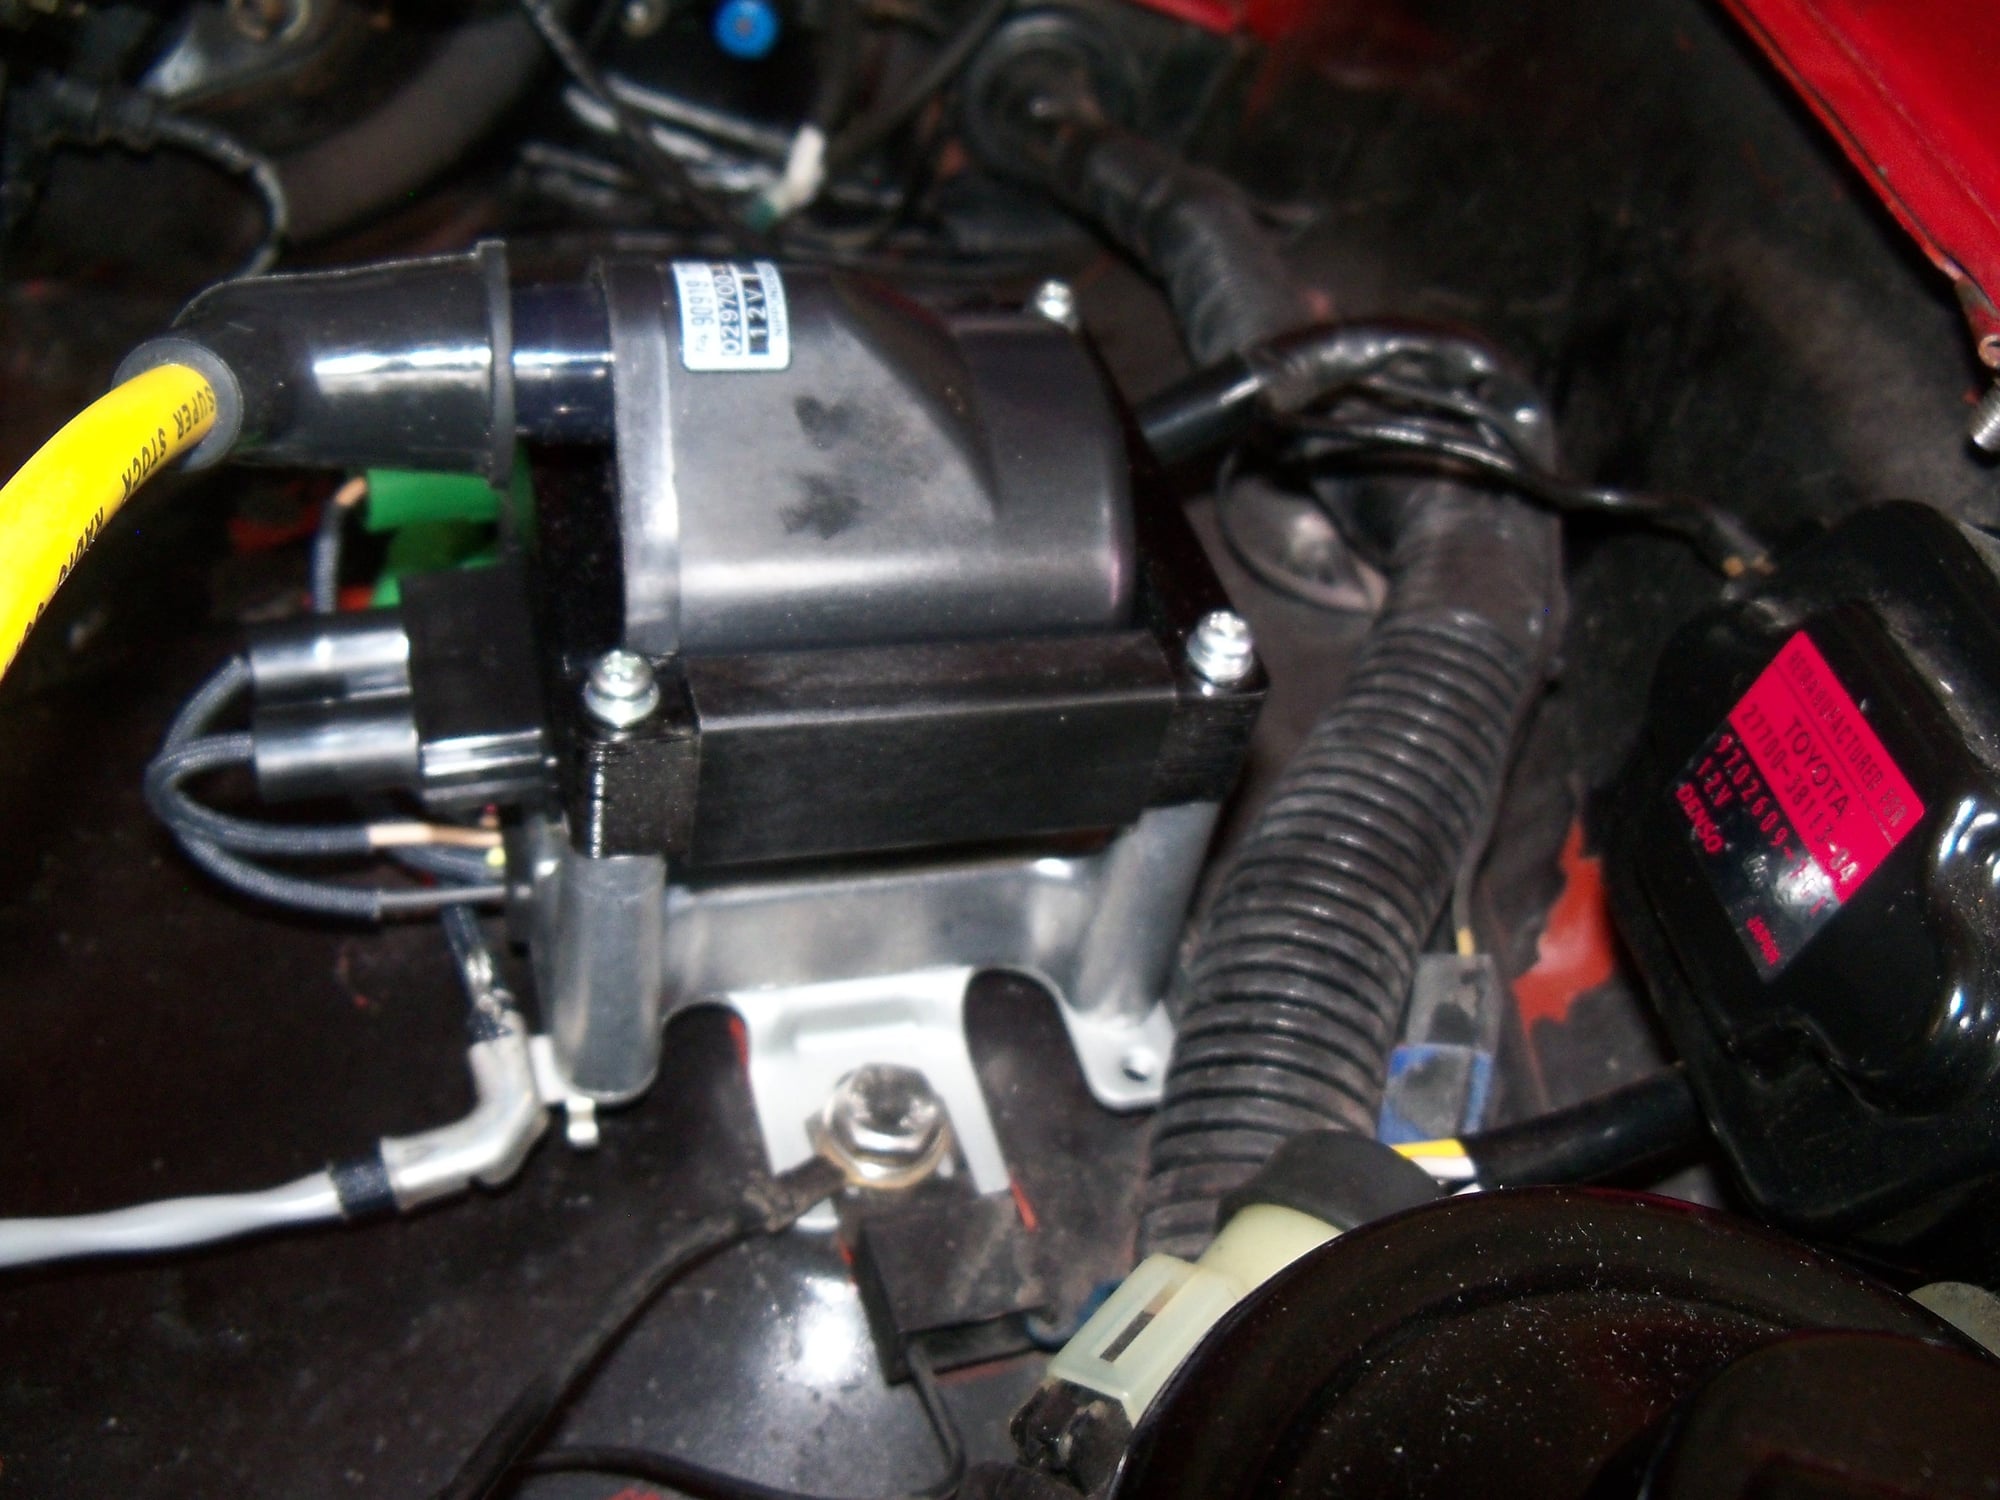
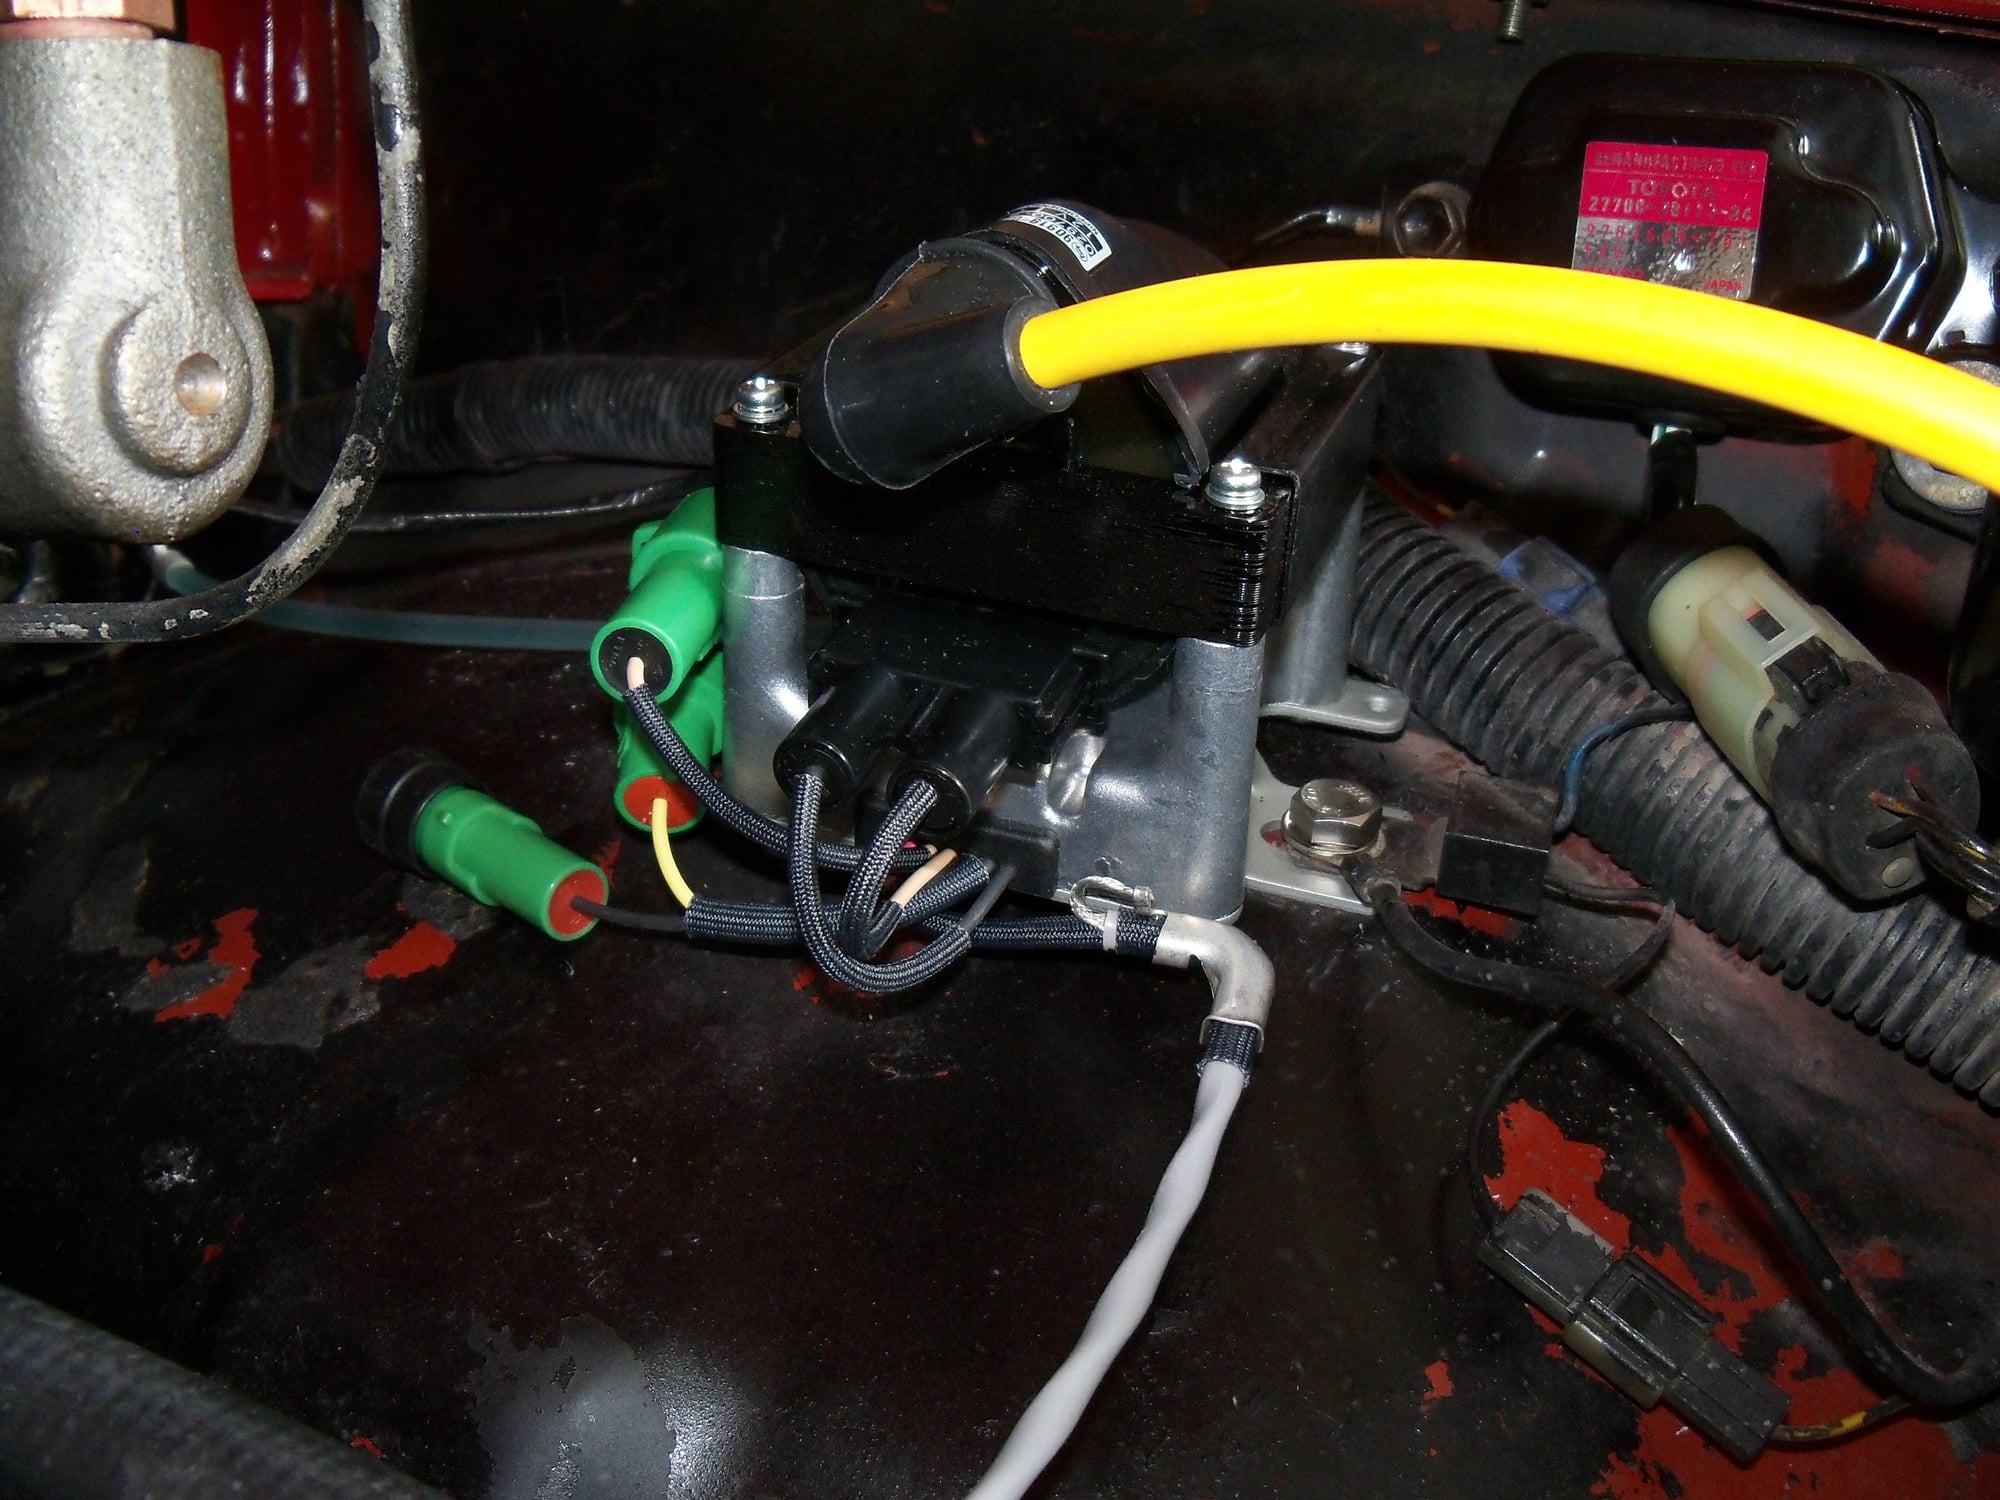
Factory new coil / igniter

Finished installing everything else
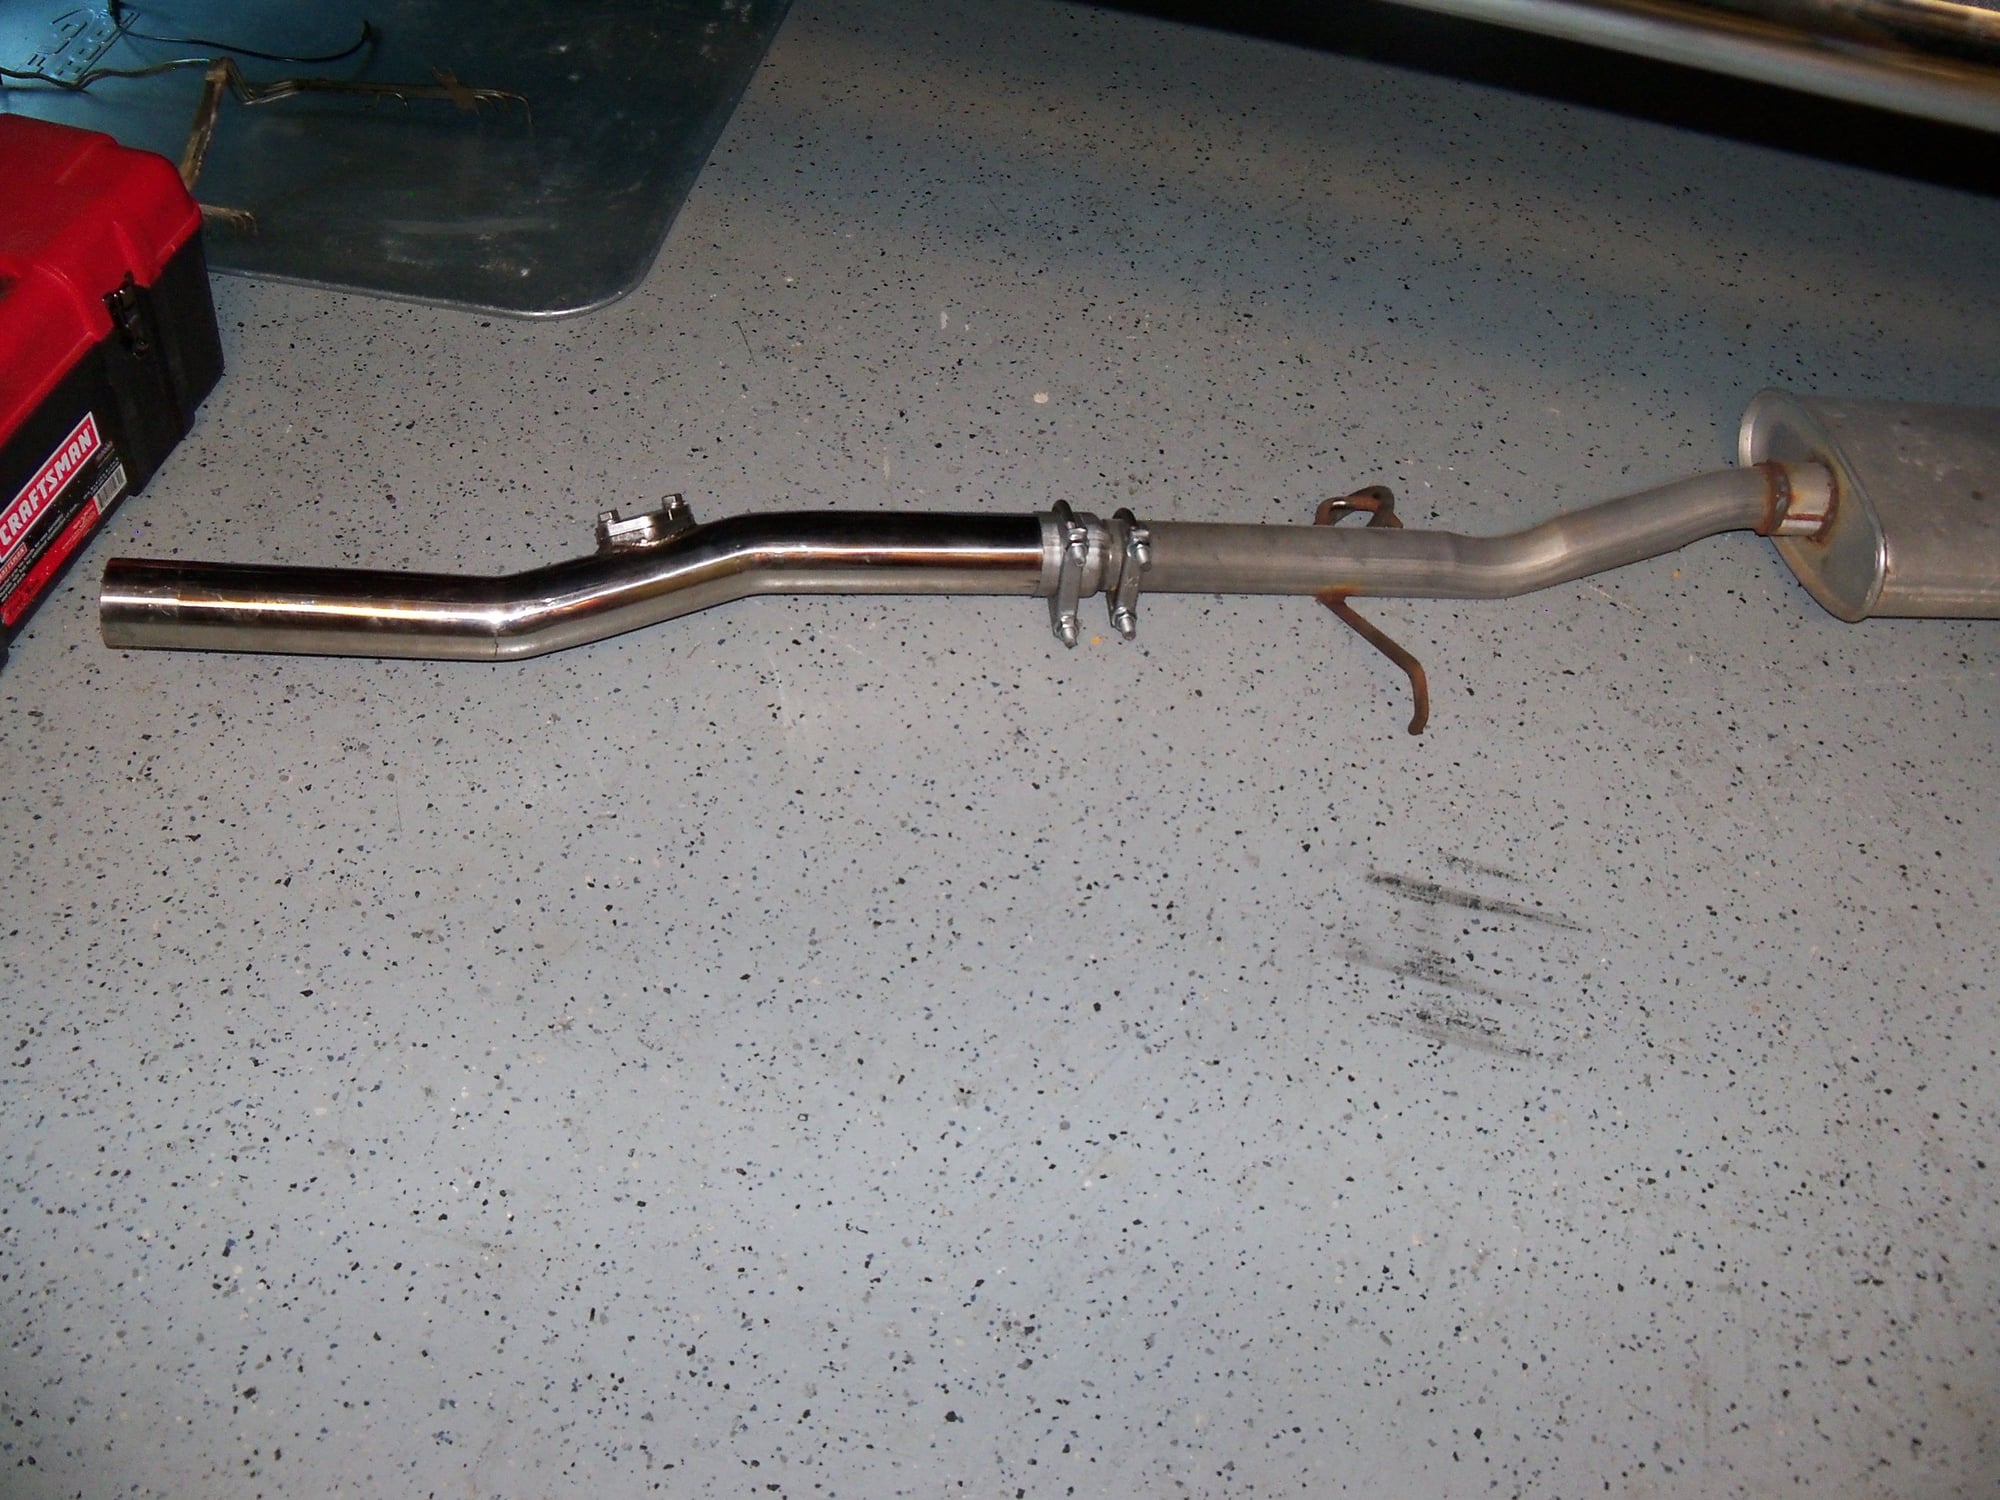
mark the old pipe and Sawsall offwhat I didn't need and clamp everything.....
Old 06-19-2017, 05:49 PM
  #106  
Registered User
Thread Starter
 
Big Little Bear's Avatar
 
Join Date: Jan 2015
Location: AZ,MD,NC
Posts: 217
Likes: 0
Received 1 Like on 1 Post
So After I checked and rechecked Everything twice or three times I filled her with cheap regular 5w30 cranked her up and let her warm to idle then checked timing with a light and found my degrees btdc to be off ... With a Further study of things, I discovered That I inserted my distributor one tooth off when I inserted it. So I shut her down, fixed that and rechecked valve lash.. set timing to 5 degrees btdc....Did some city and Highway driving and so far so good.... Oil looks good , no consumption and no smoking, I also flushed the radiator so that looks good too.... Hopefully this will get me another 100k and God willing I'll be able to afford a long block then. Cheers to everyone here on Yotatech because if my FSM doesn't have it... I find it here.

Last edited by Big Little Bear; 06-20-2017 at 12:27 PM.
Old 06-20-2017, 06:57 AM
  #107  
Registered User
Thread Starter
 
Big Little Bear's Avatar
 
Join Date: Jan 2015
Location: AZ,MD,NC
Posts: 217
Likes: 0
Received 1 Like on 1 Post
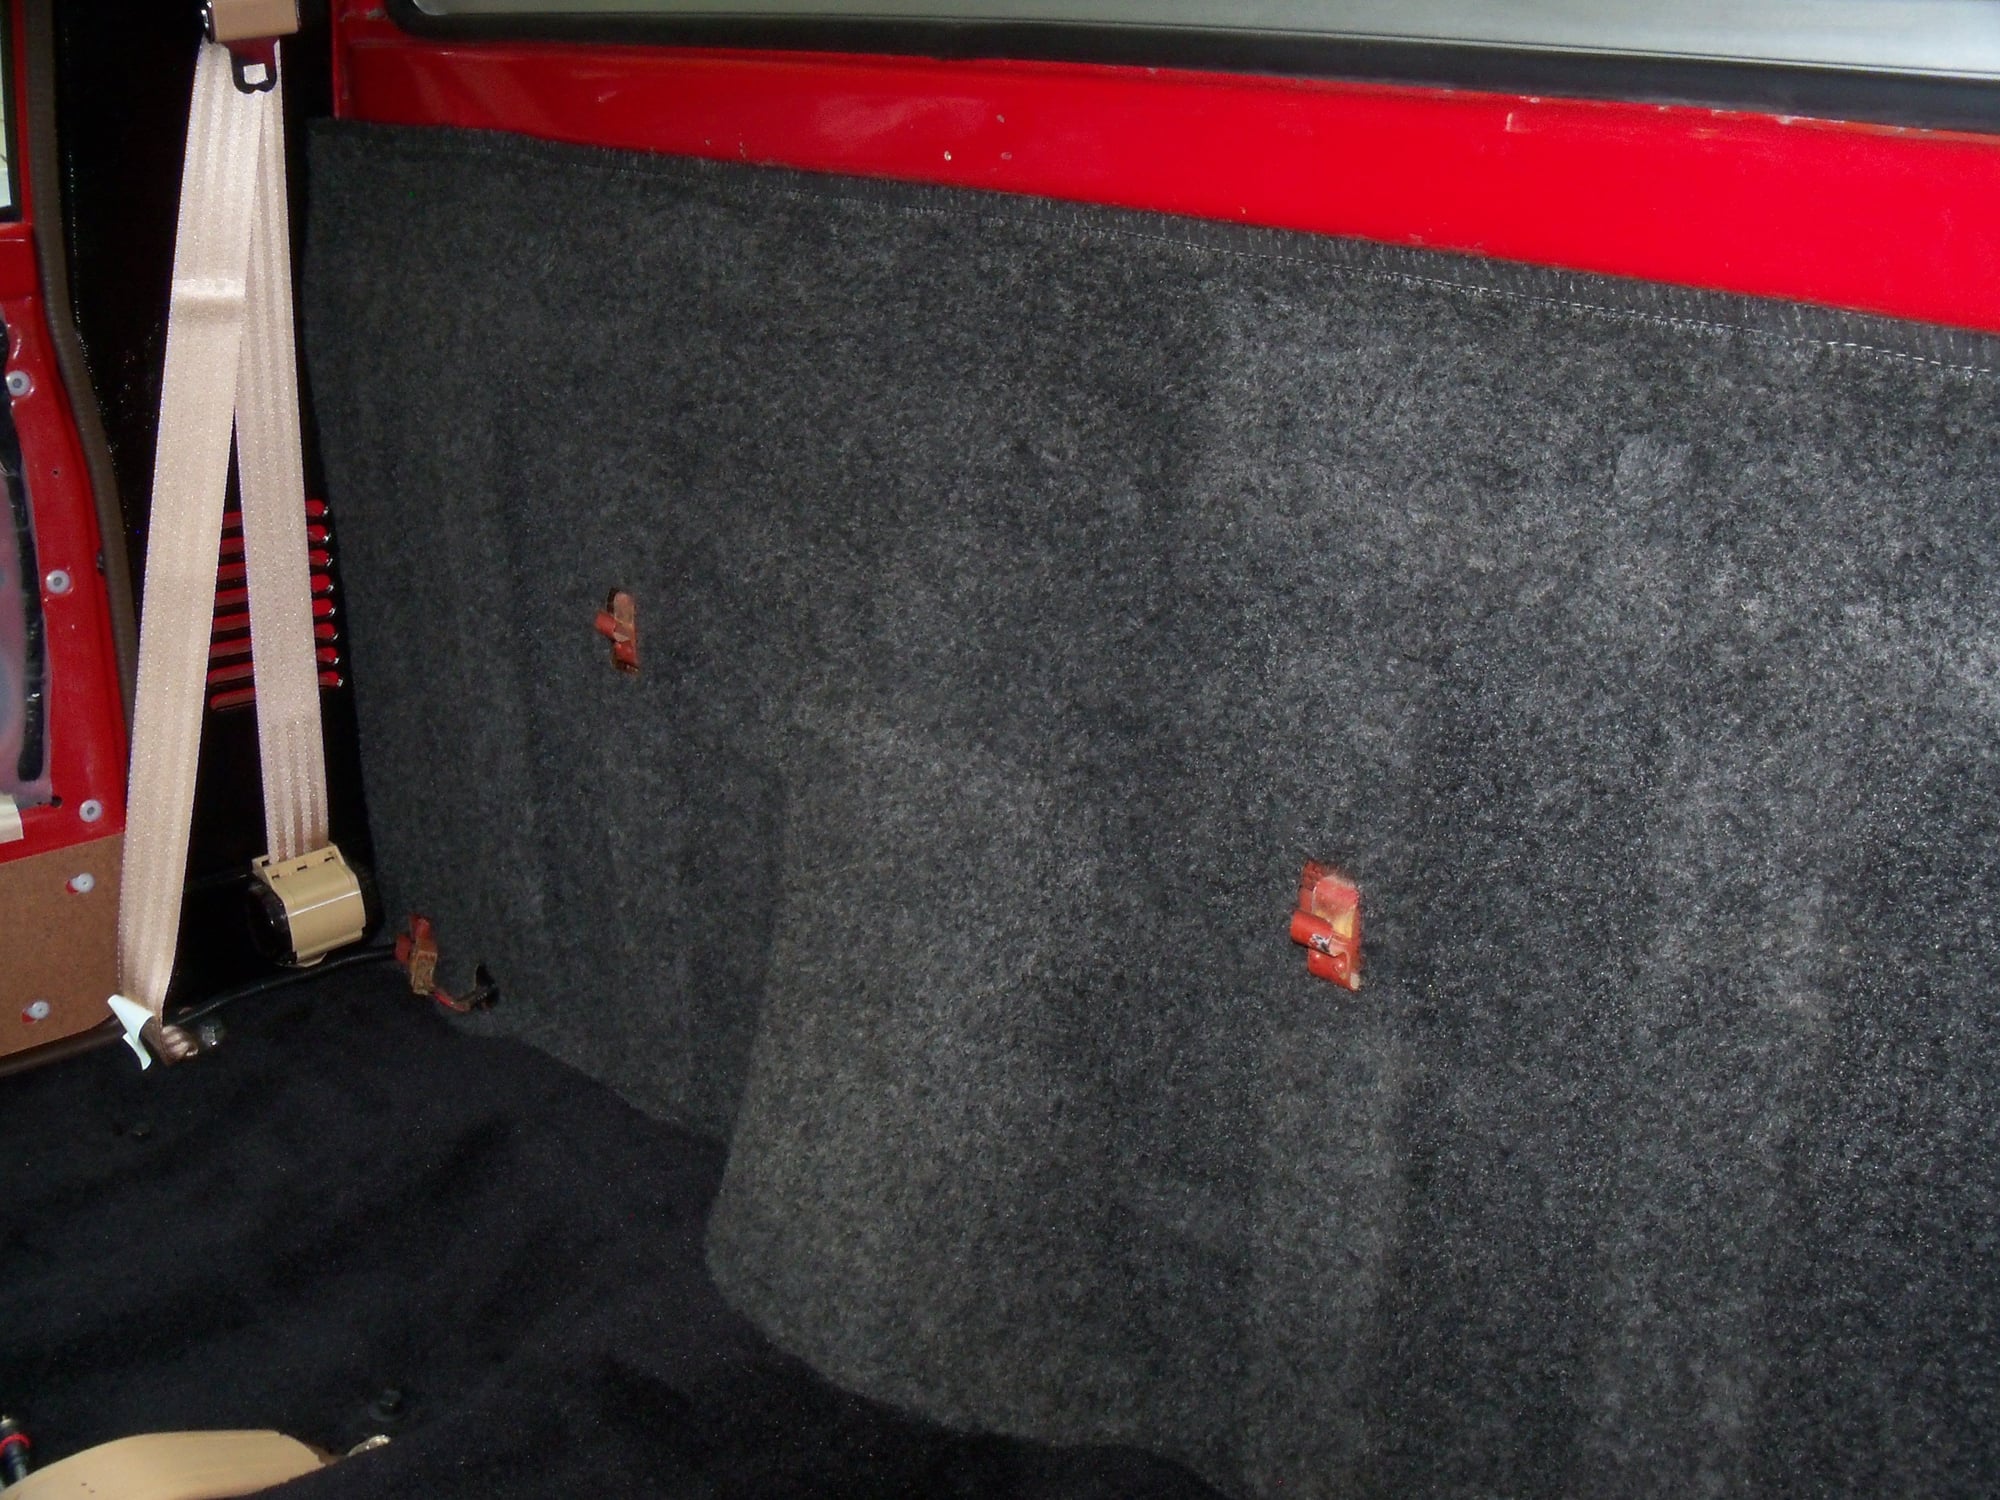
always on the hunt lead me to this find that was missing a rear cab wall carpet and the two plastic trims behind the seat belts
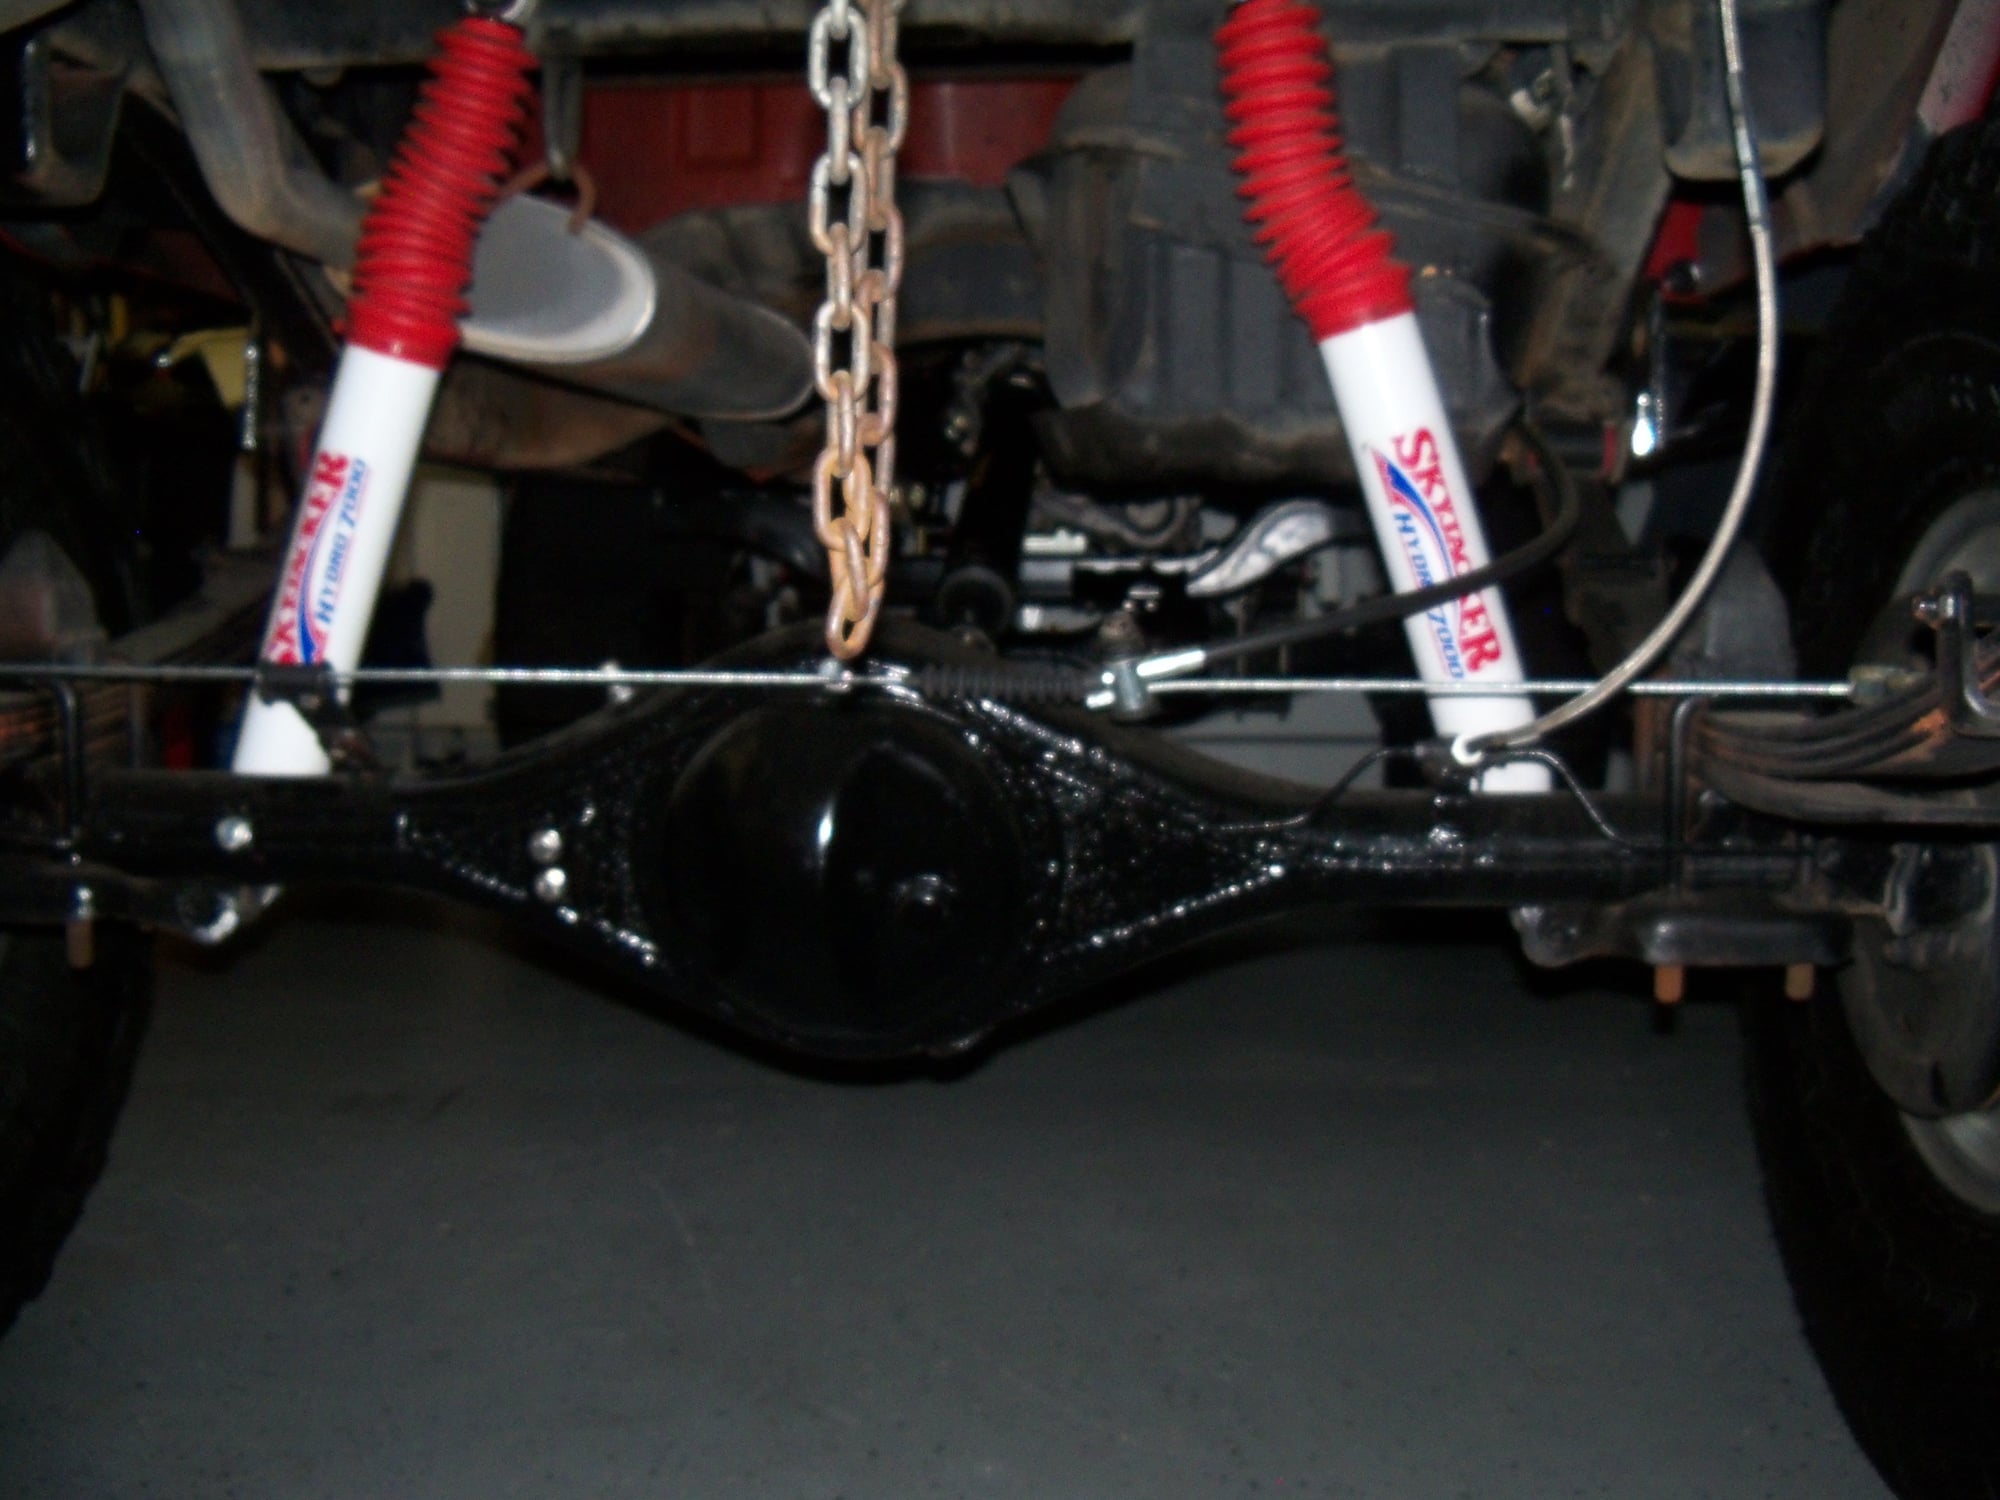
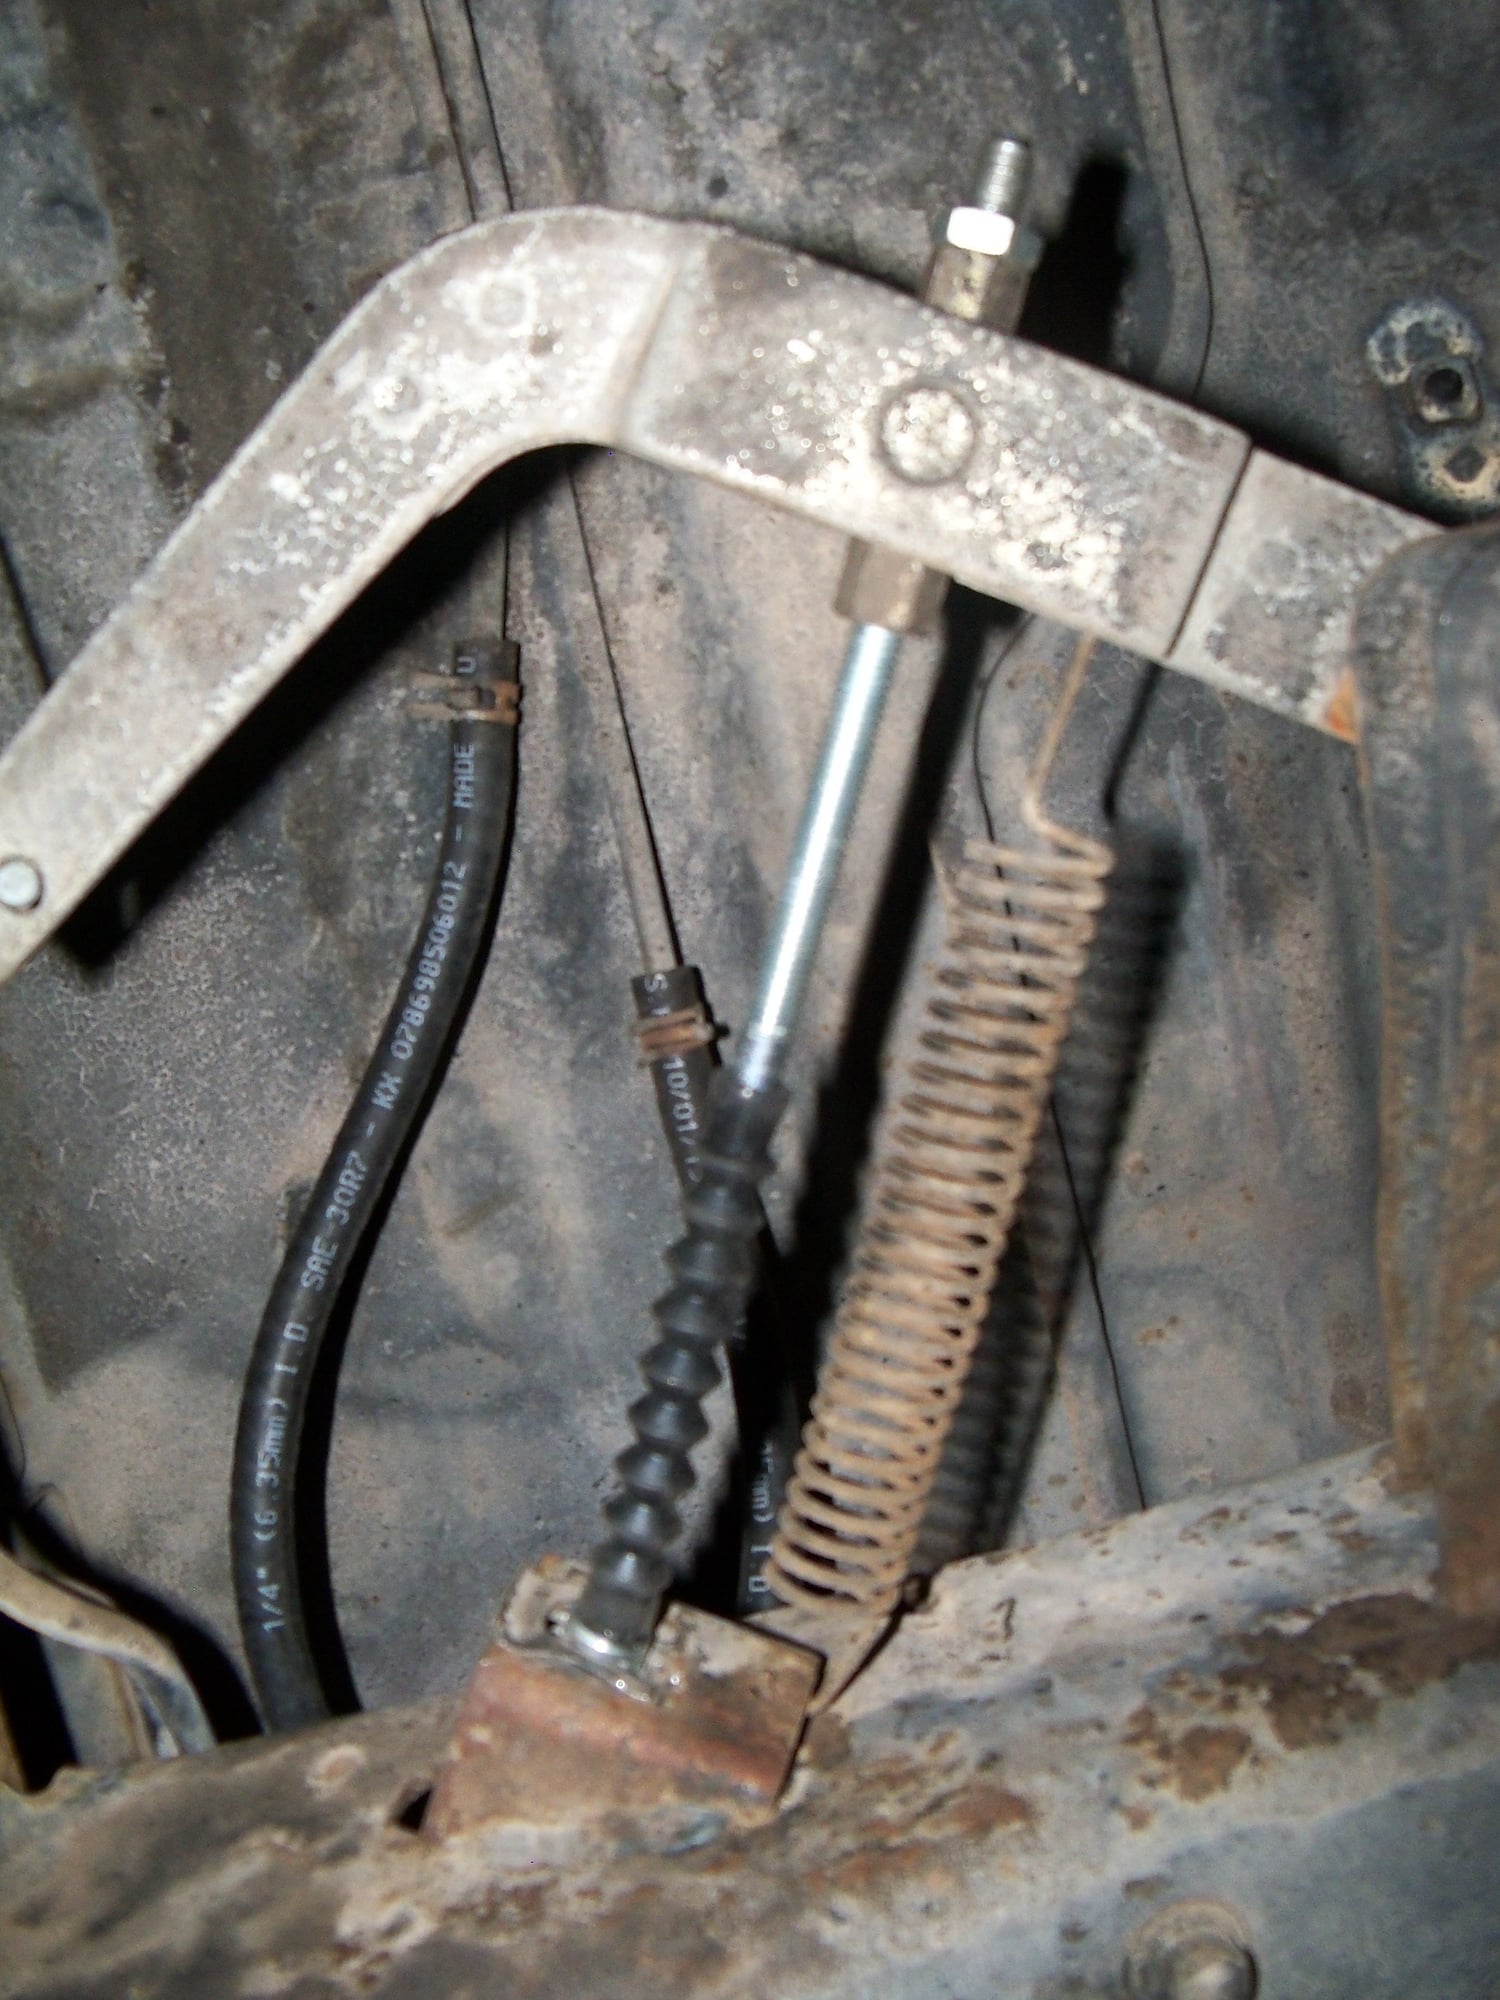
new E brake line

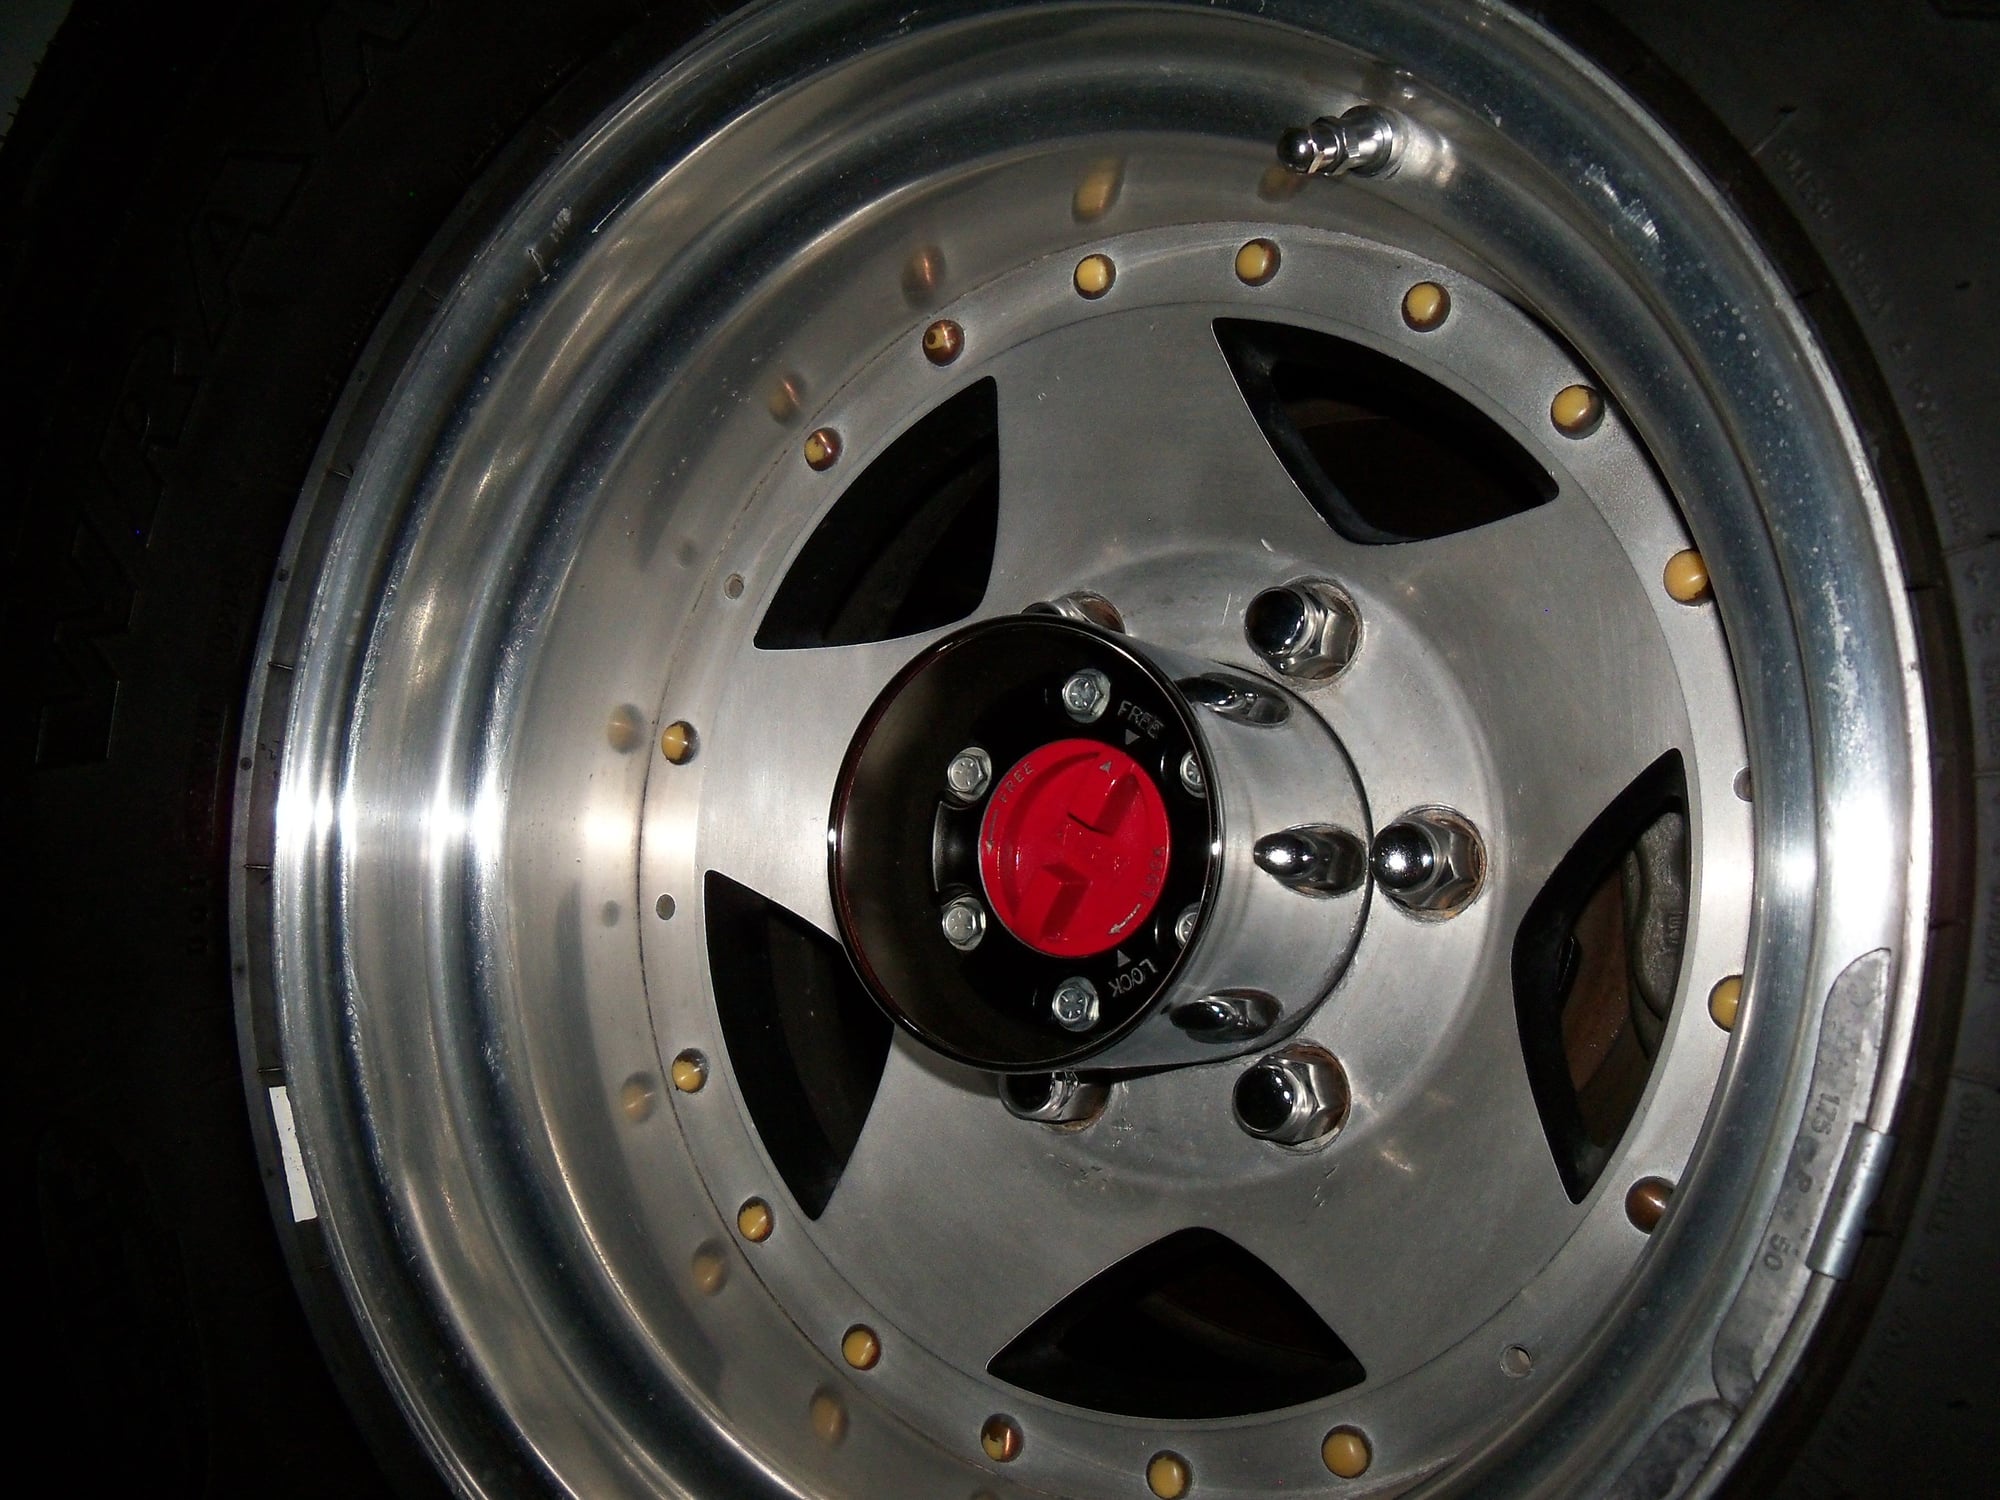
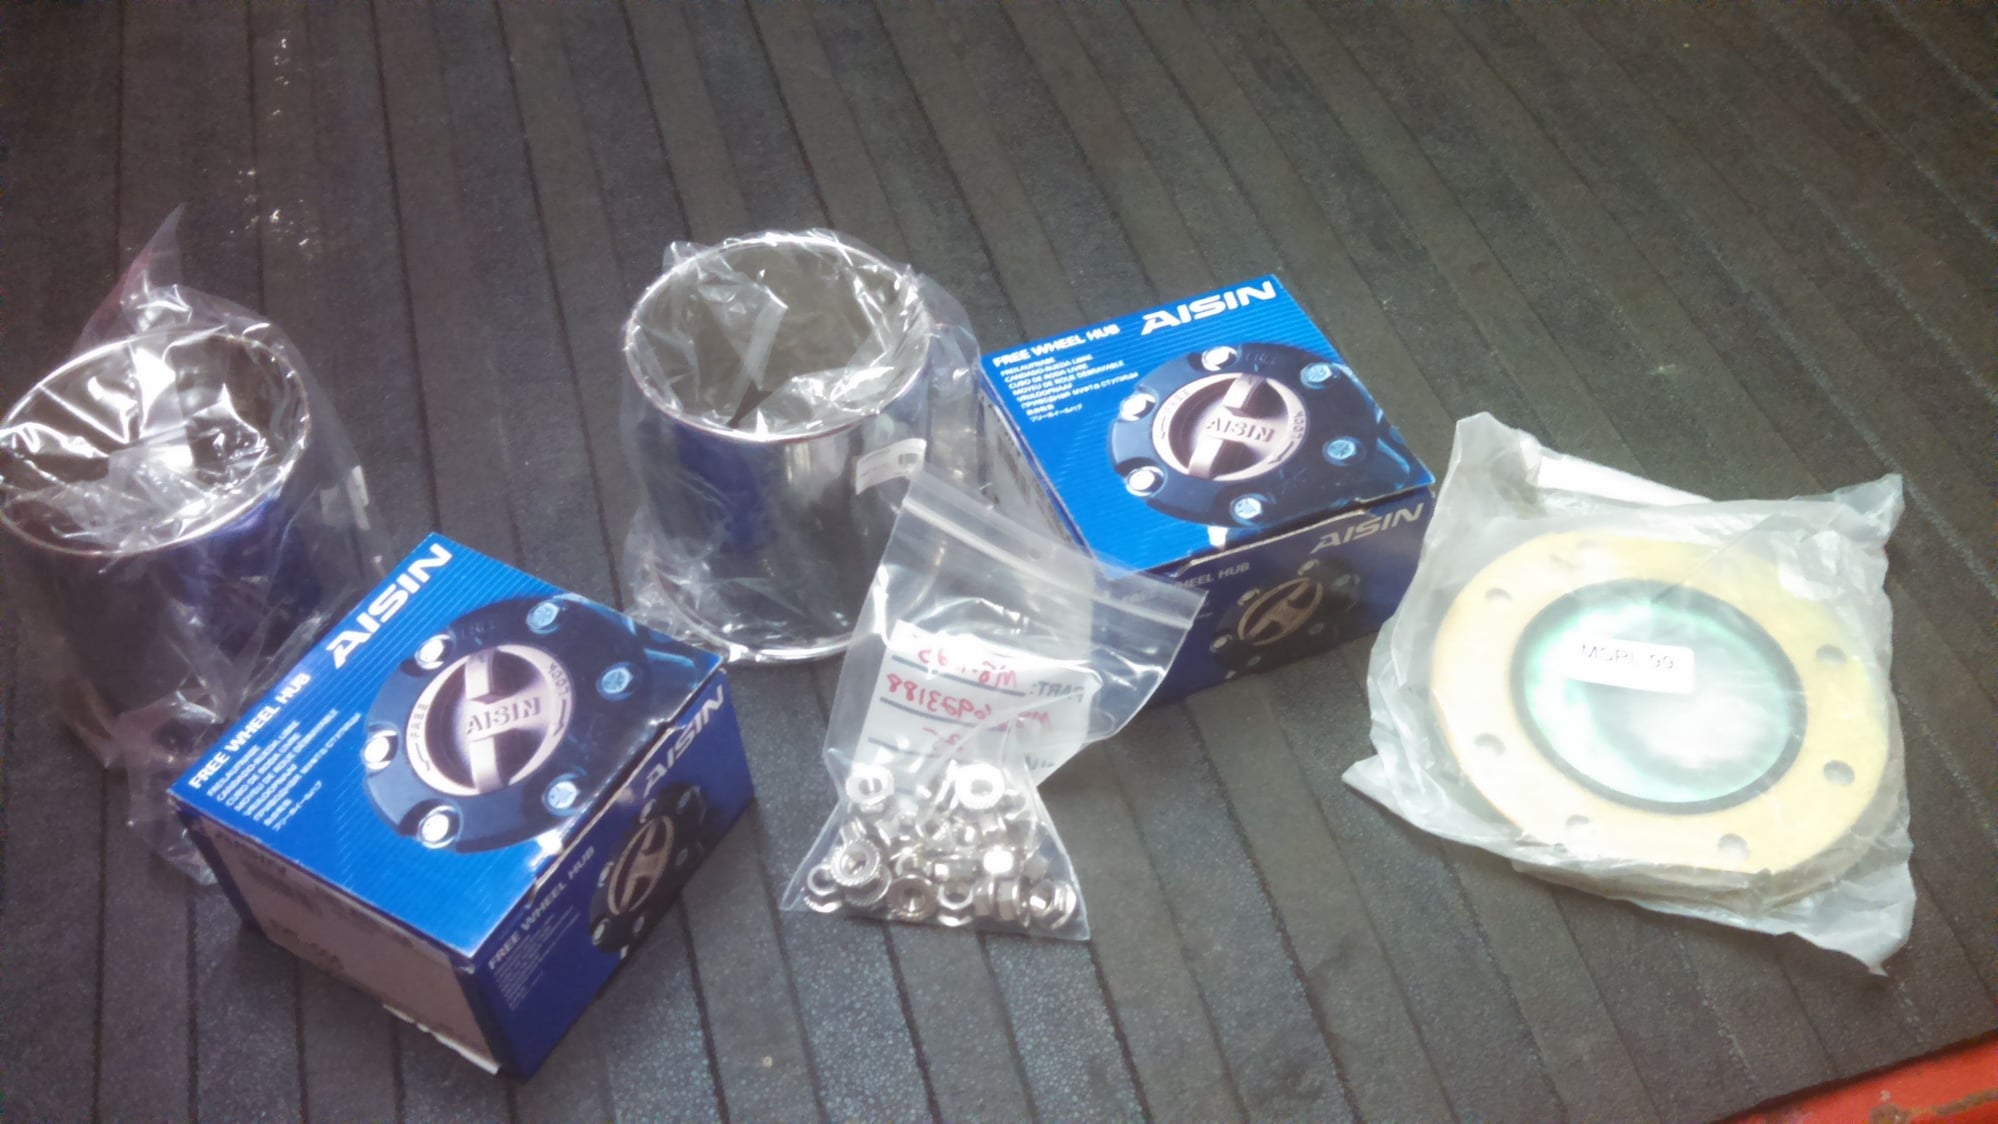
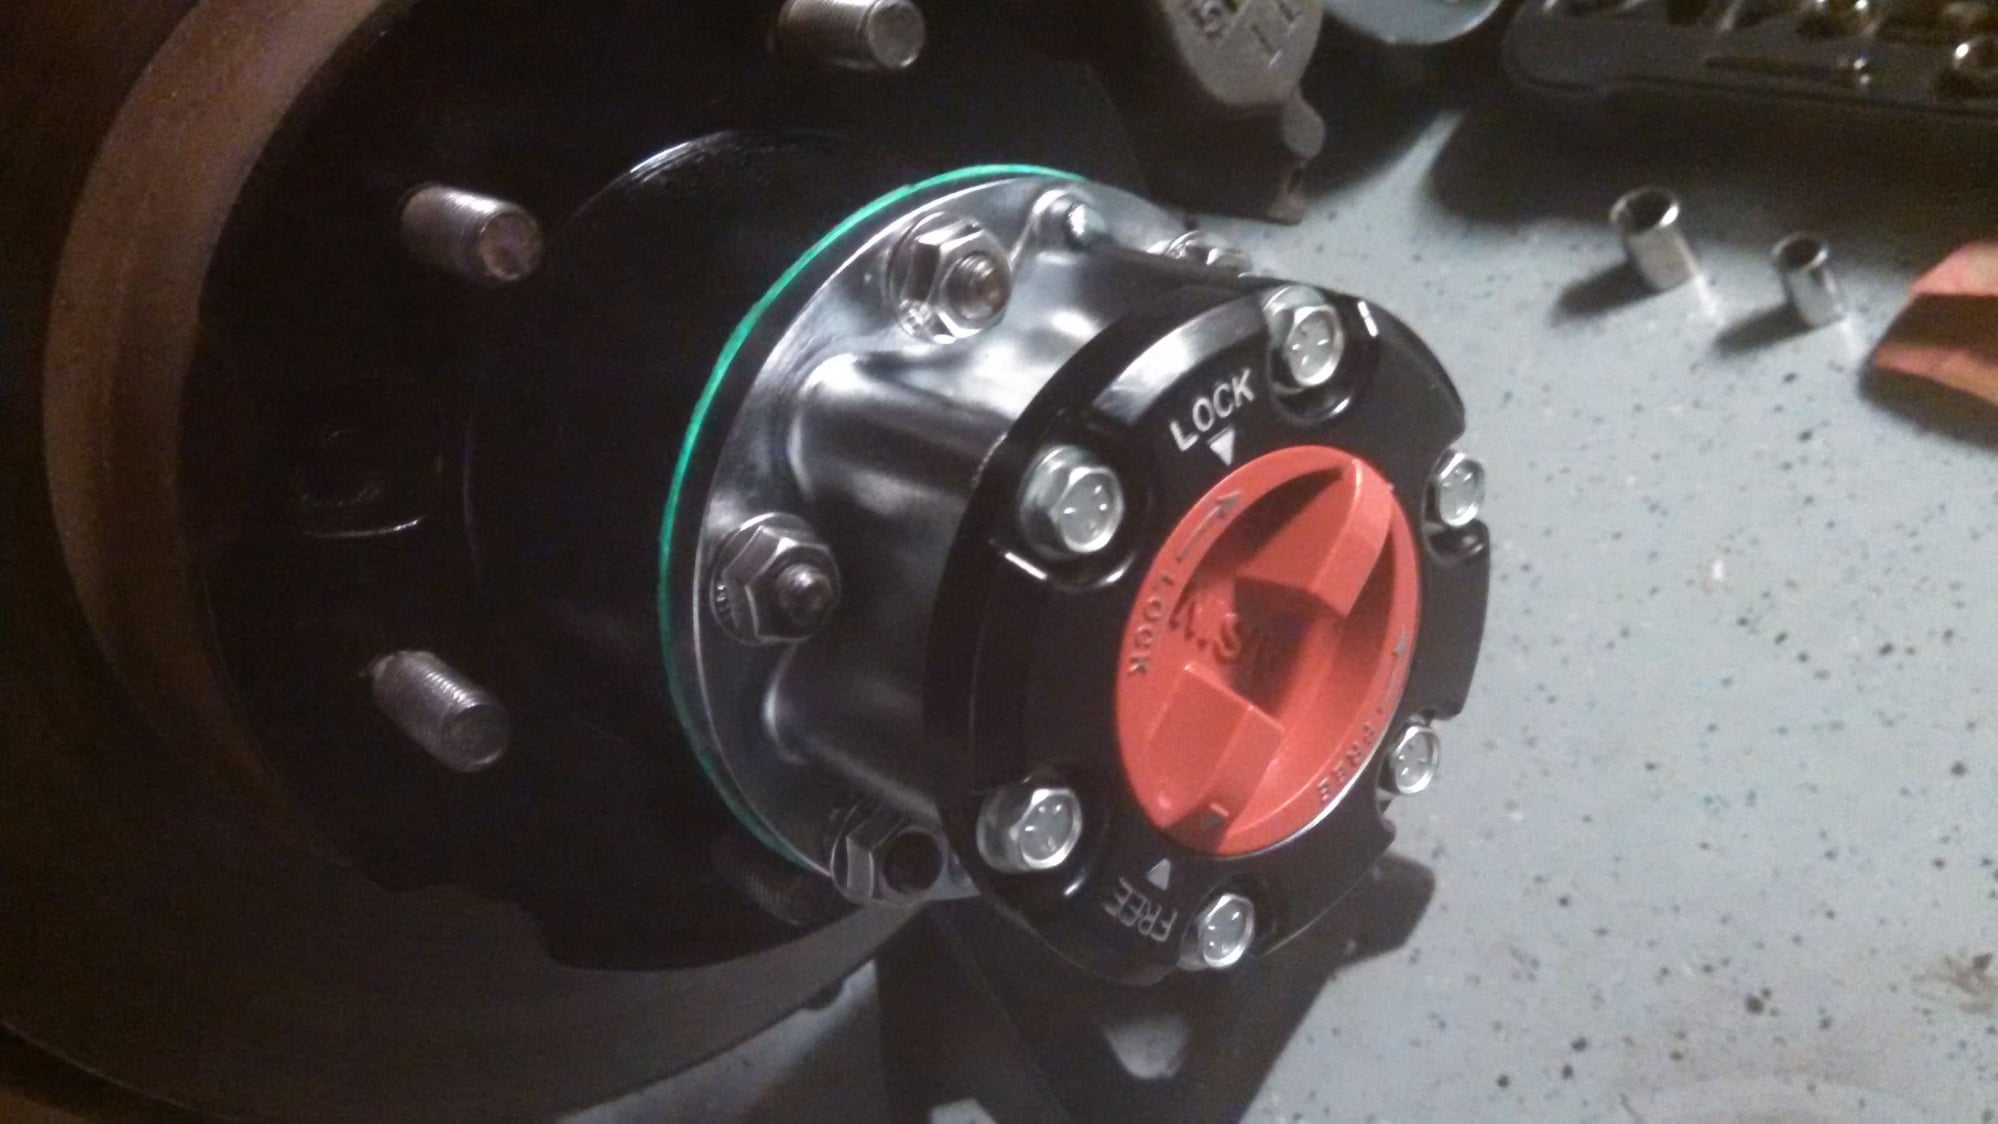
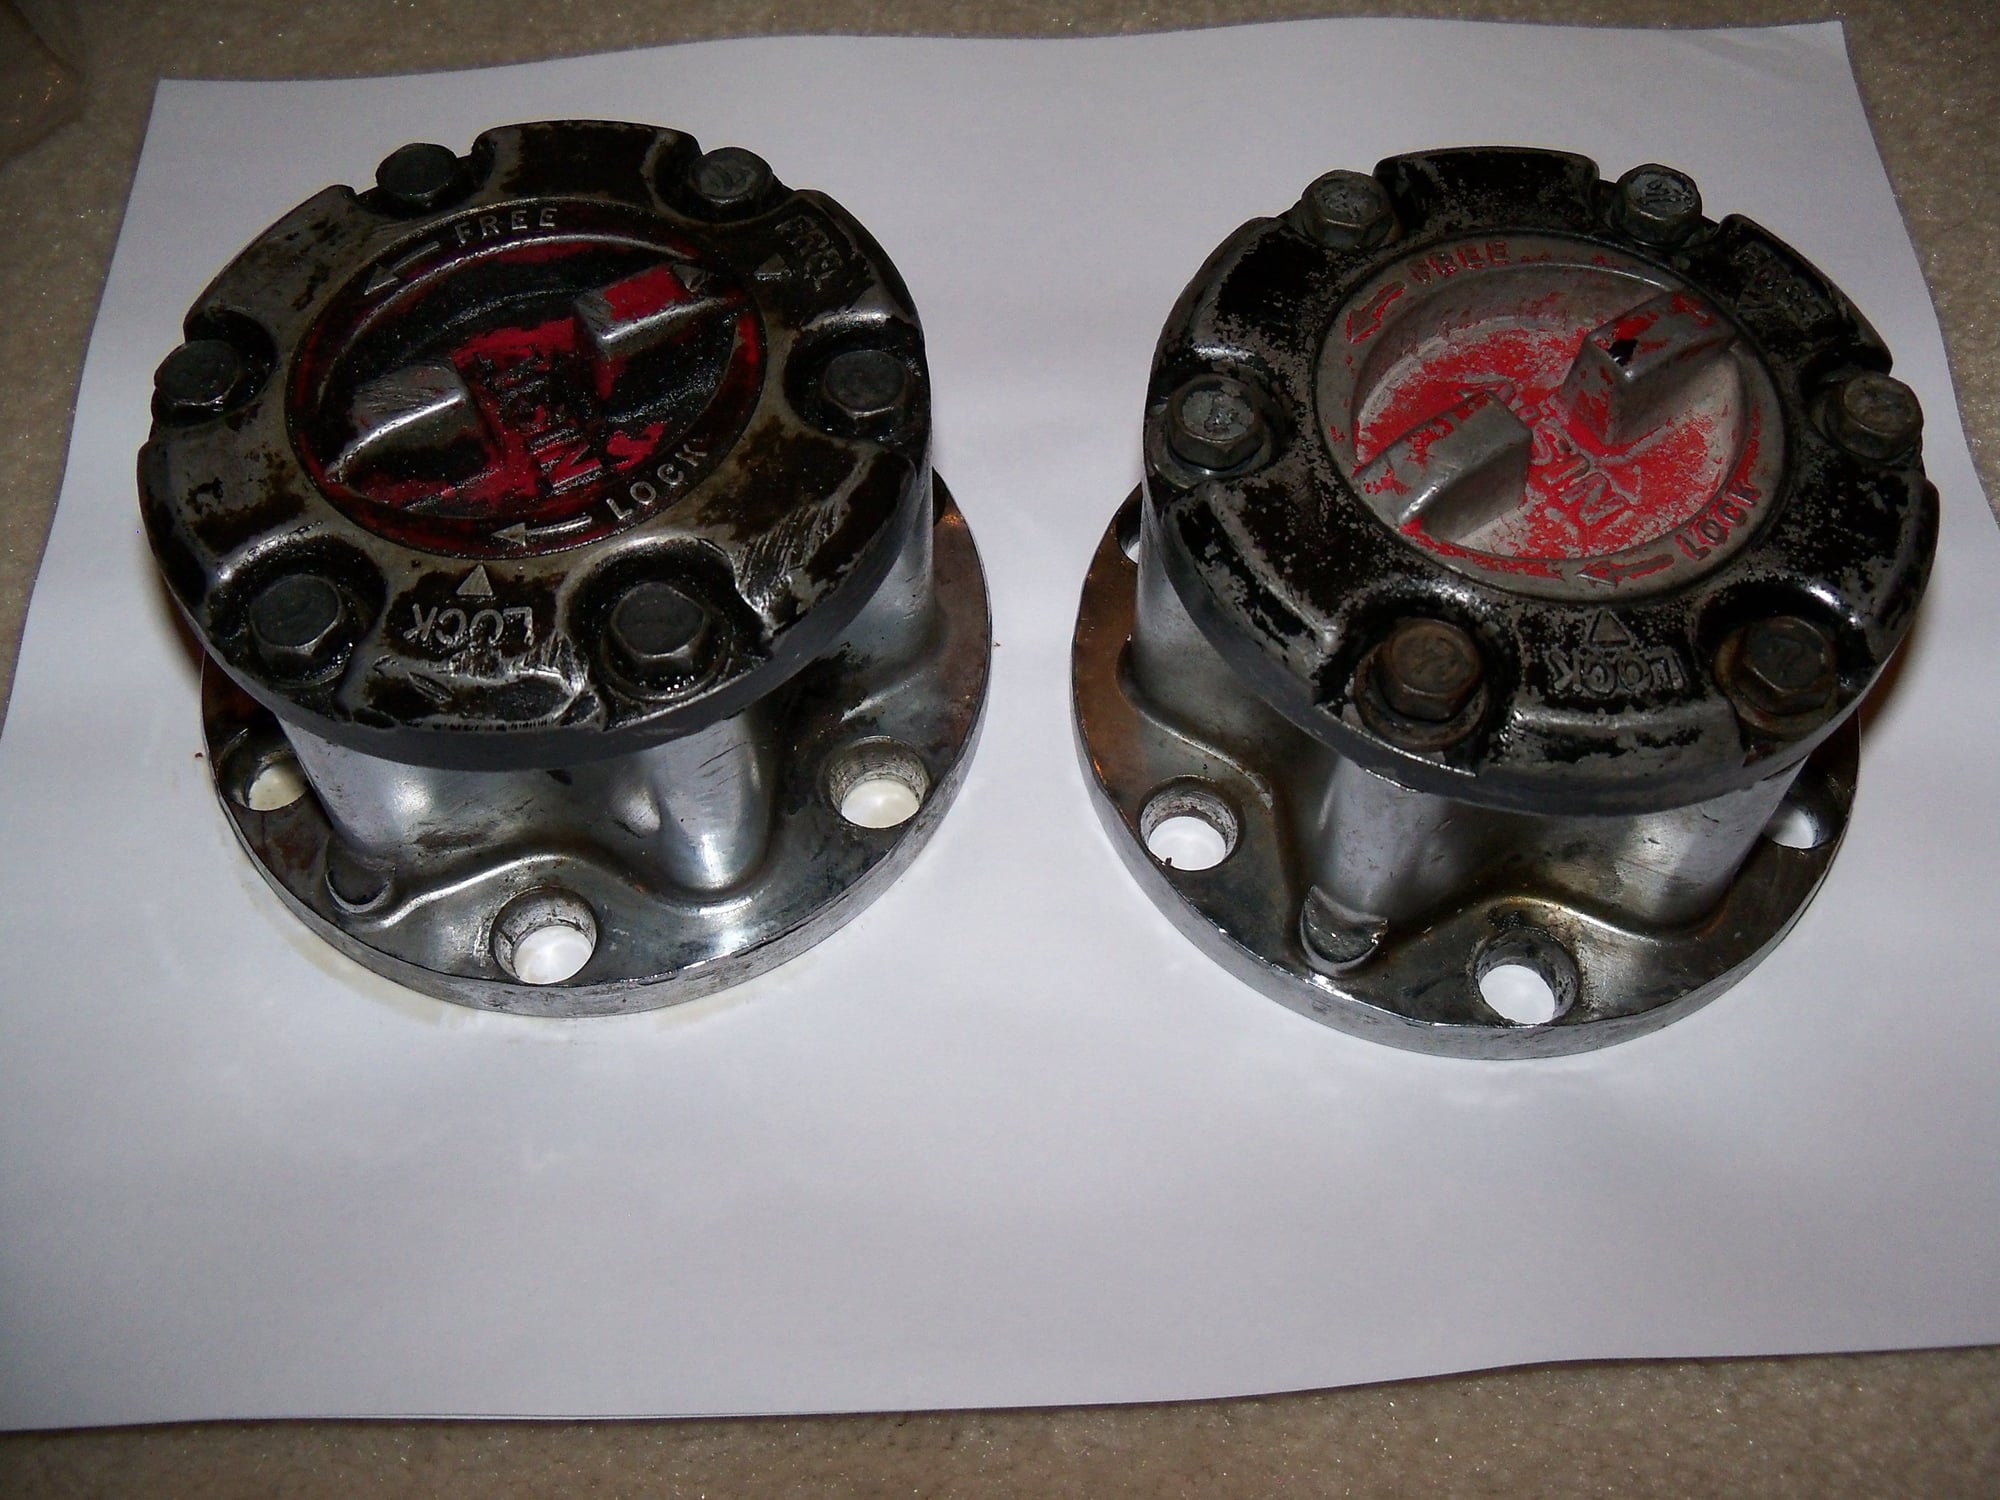
I really did not want to spend the time to paint these
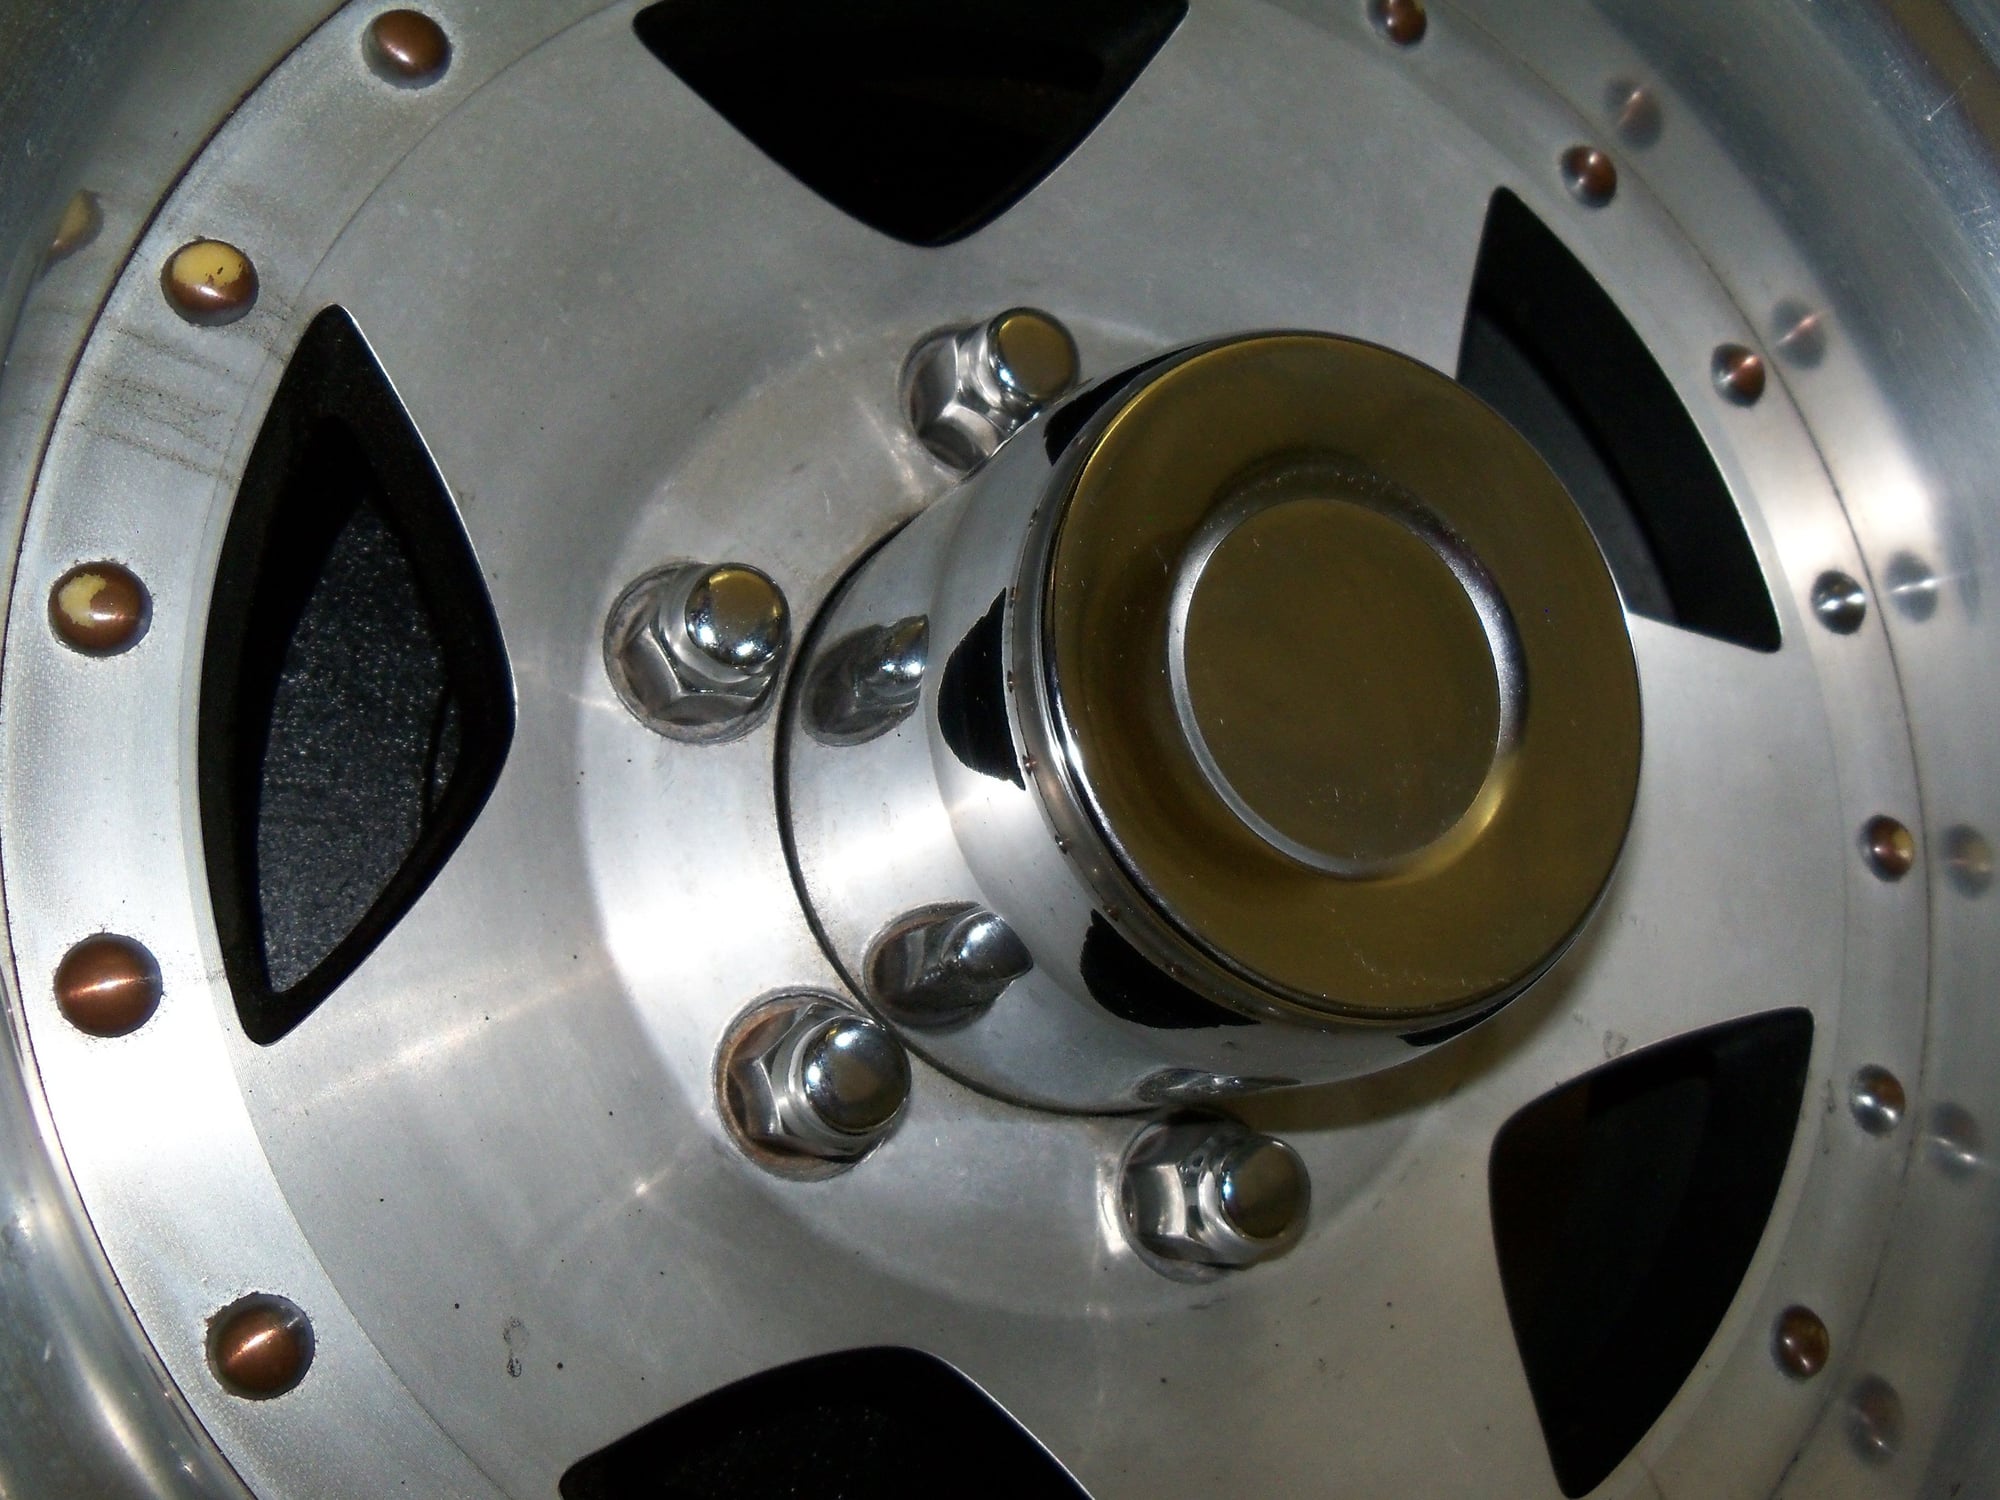
so I found new Aisins that were on sale and new center caps
new lug nuts all the way around
Old 06-20-2017, 11:24 AM
  #108  
Registered User
Thread Starter
 
Big Little Bear's Avatar
 
Join Date: Jan 2015
Location: AZ,MD,NC
Posts: 217
Likes: 0
Received 1 Like on 1 Post


Old 06-20-2017, 11:31 AM
  #109  
Registered User
Thread Starter
 
Big Little Bear's Avatar
 
Join Date: Jan 2015
Location: AZ,MD,NC
Posts: 217
Likes: 0
Received 1 Like on 1 Post
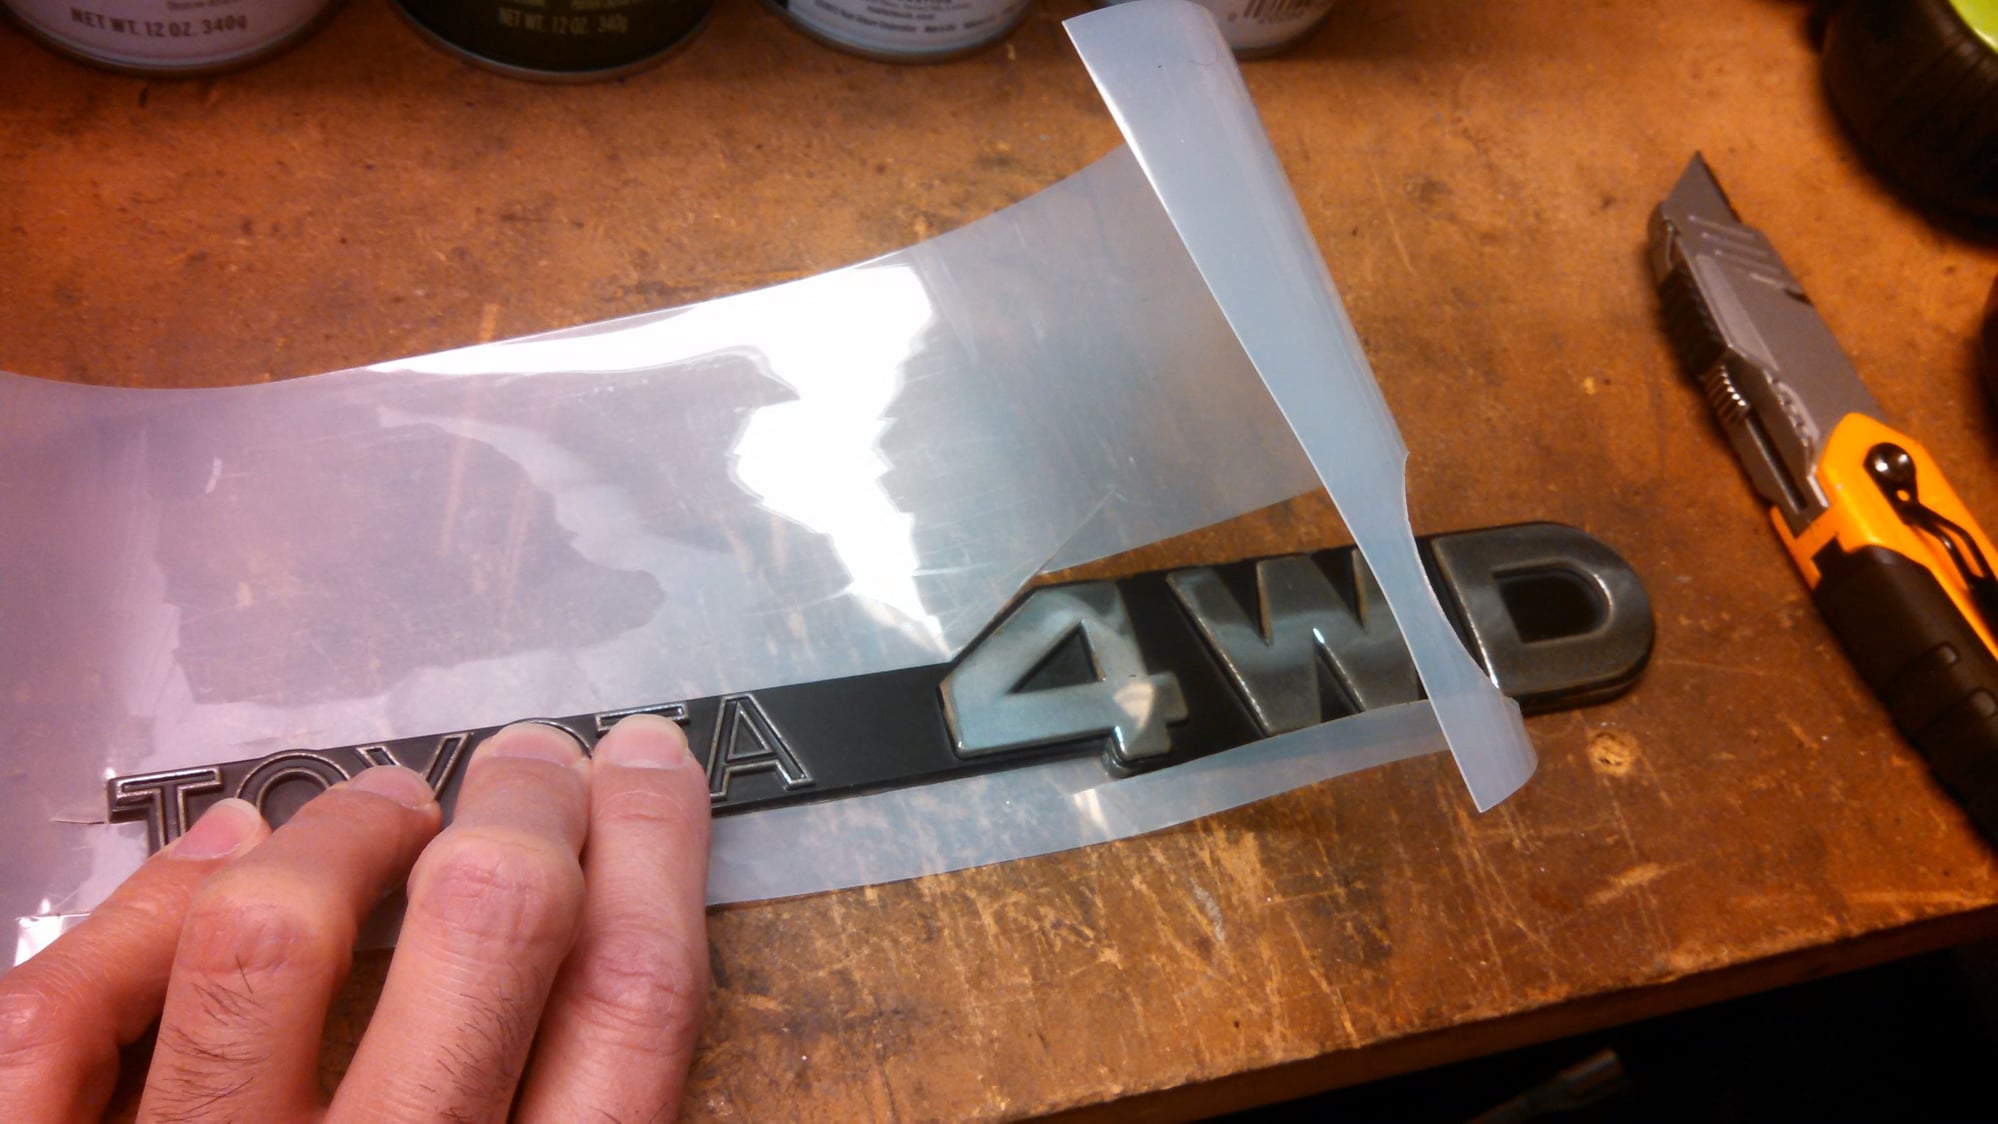
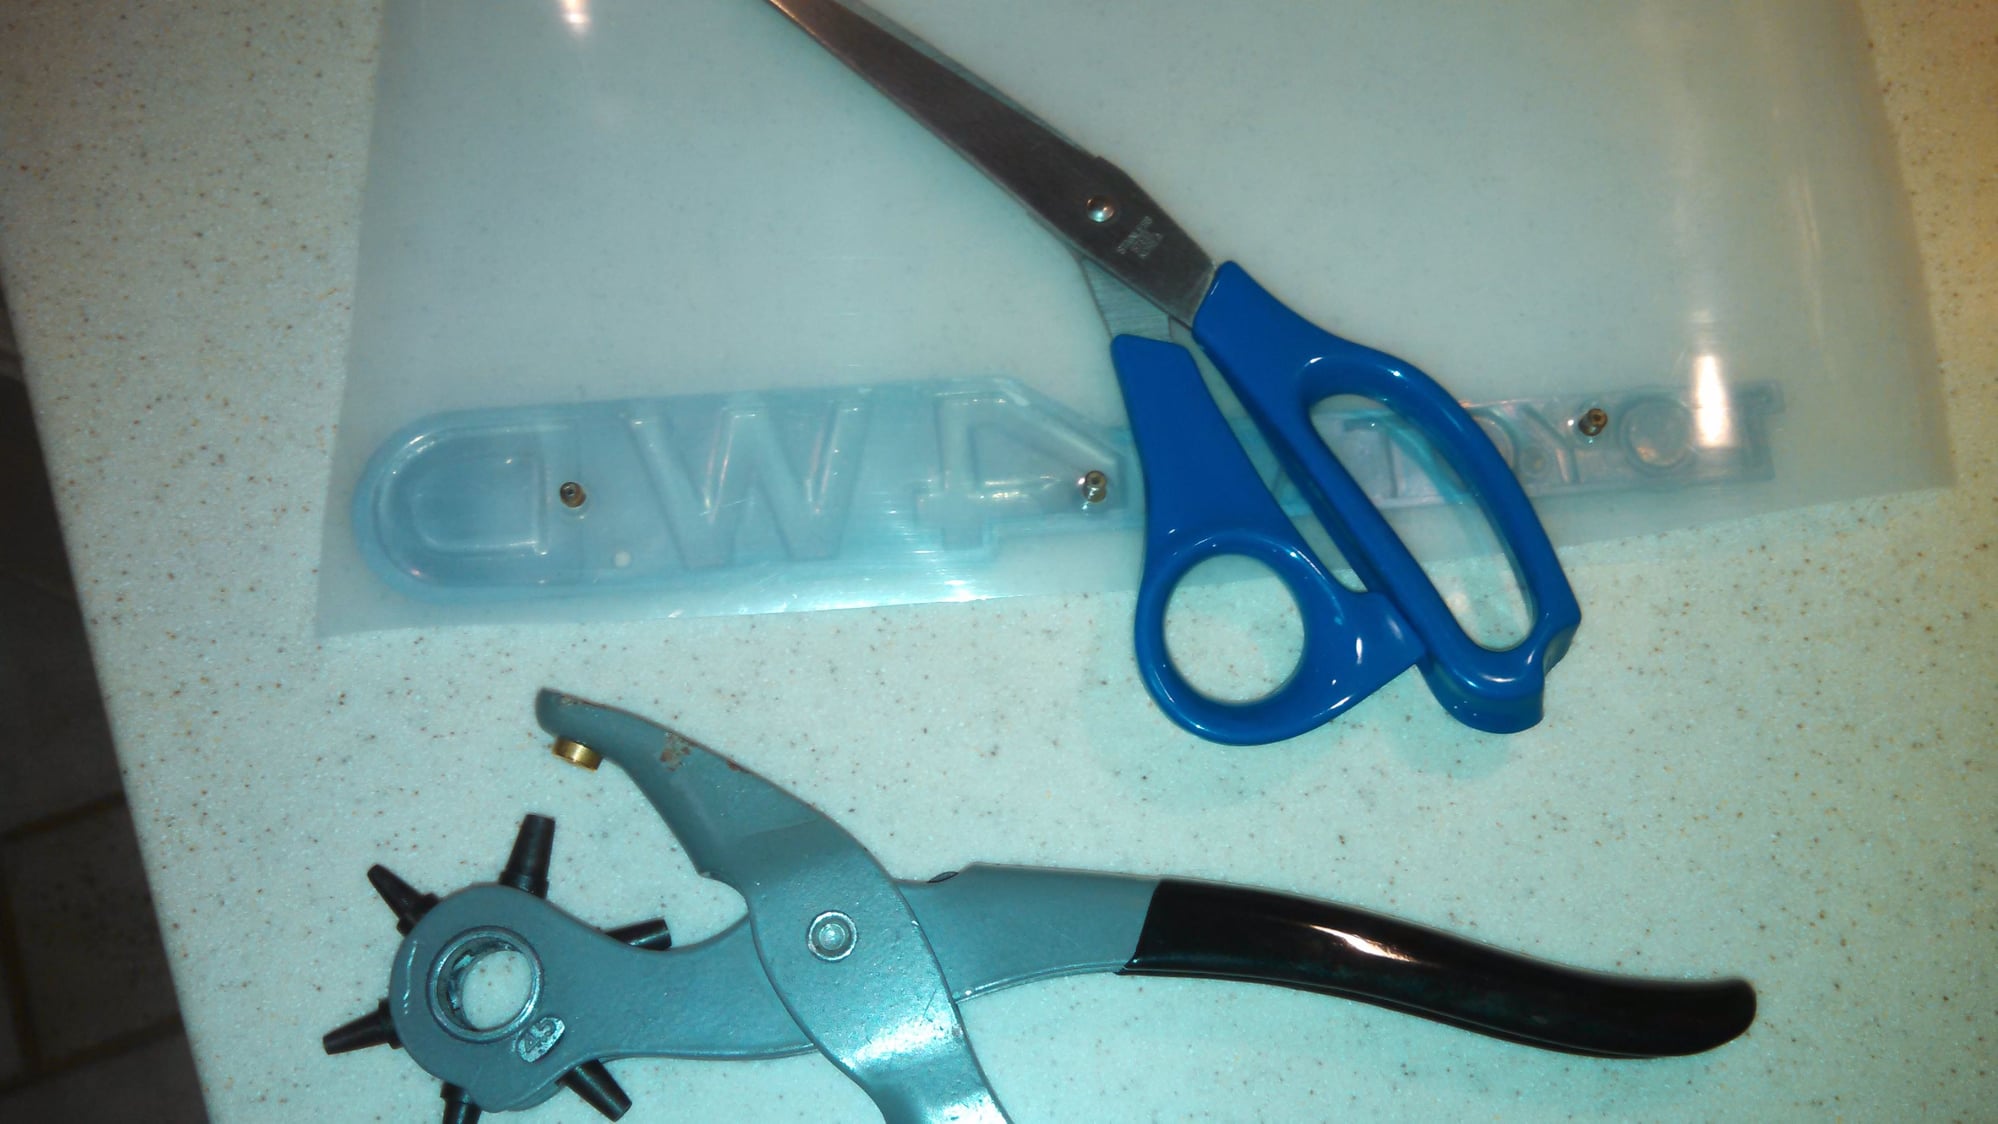
Found some plastic shelf liner used on wire Elfa shelves at The Container Store that would work to replace what the factory had behind the fender emblems

Old 06-20-2017, 11:34 AM
  #110  
Registered User
Thread Starter
 
Big Little Bear's Avatar
 
Join Date: Jan 2015
Location: AZ,MD,NC
Posts: 217
Likes: 0
Received 1 Like on 1 Post
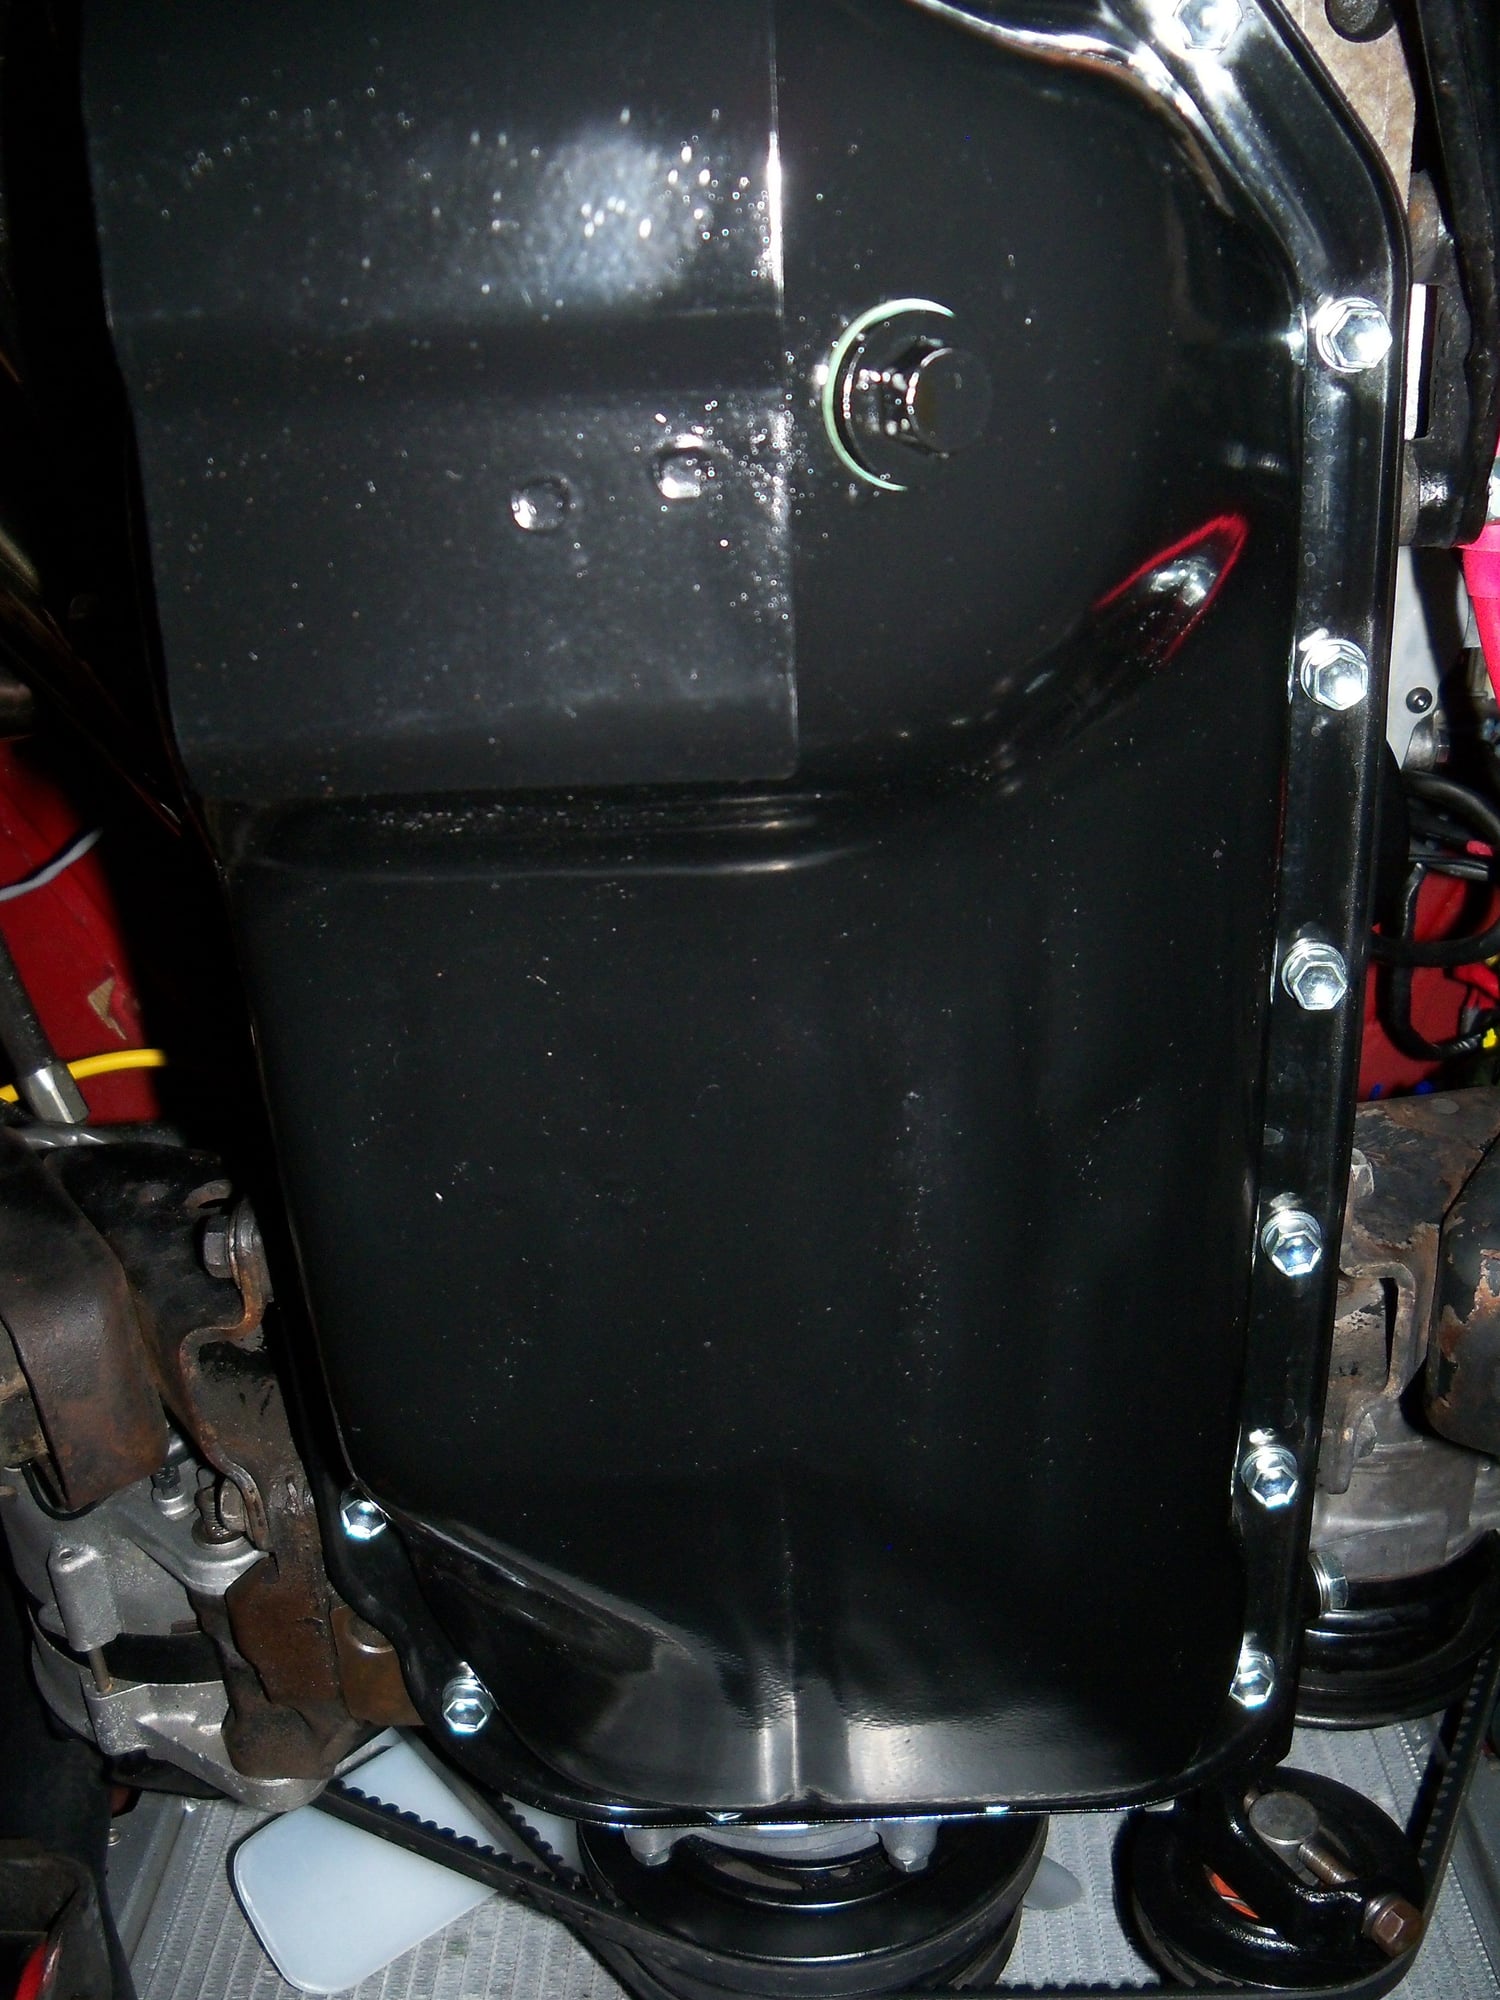
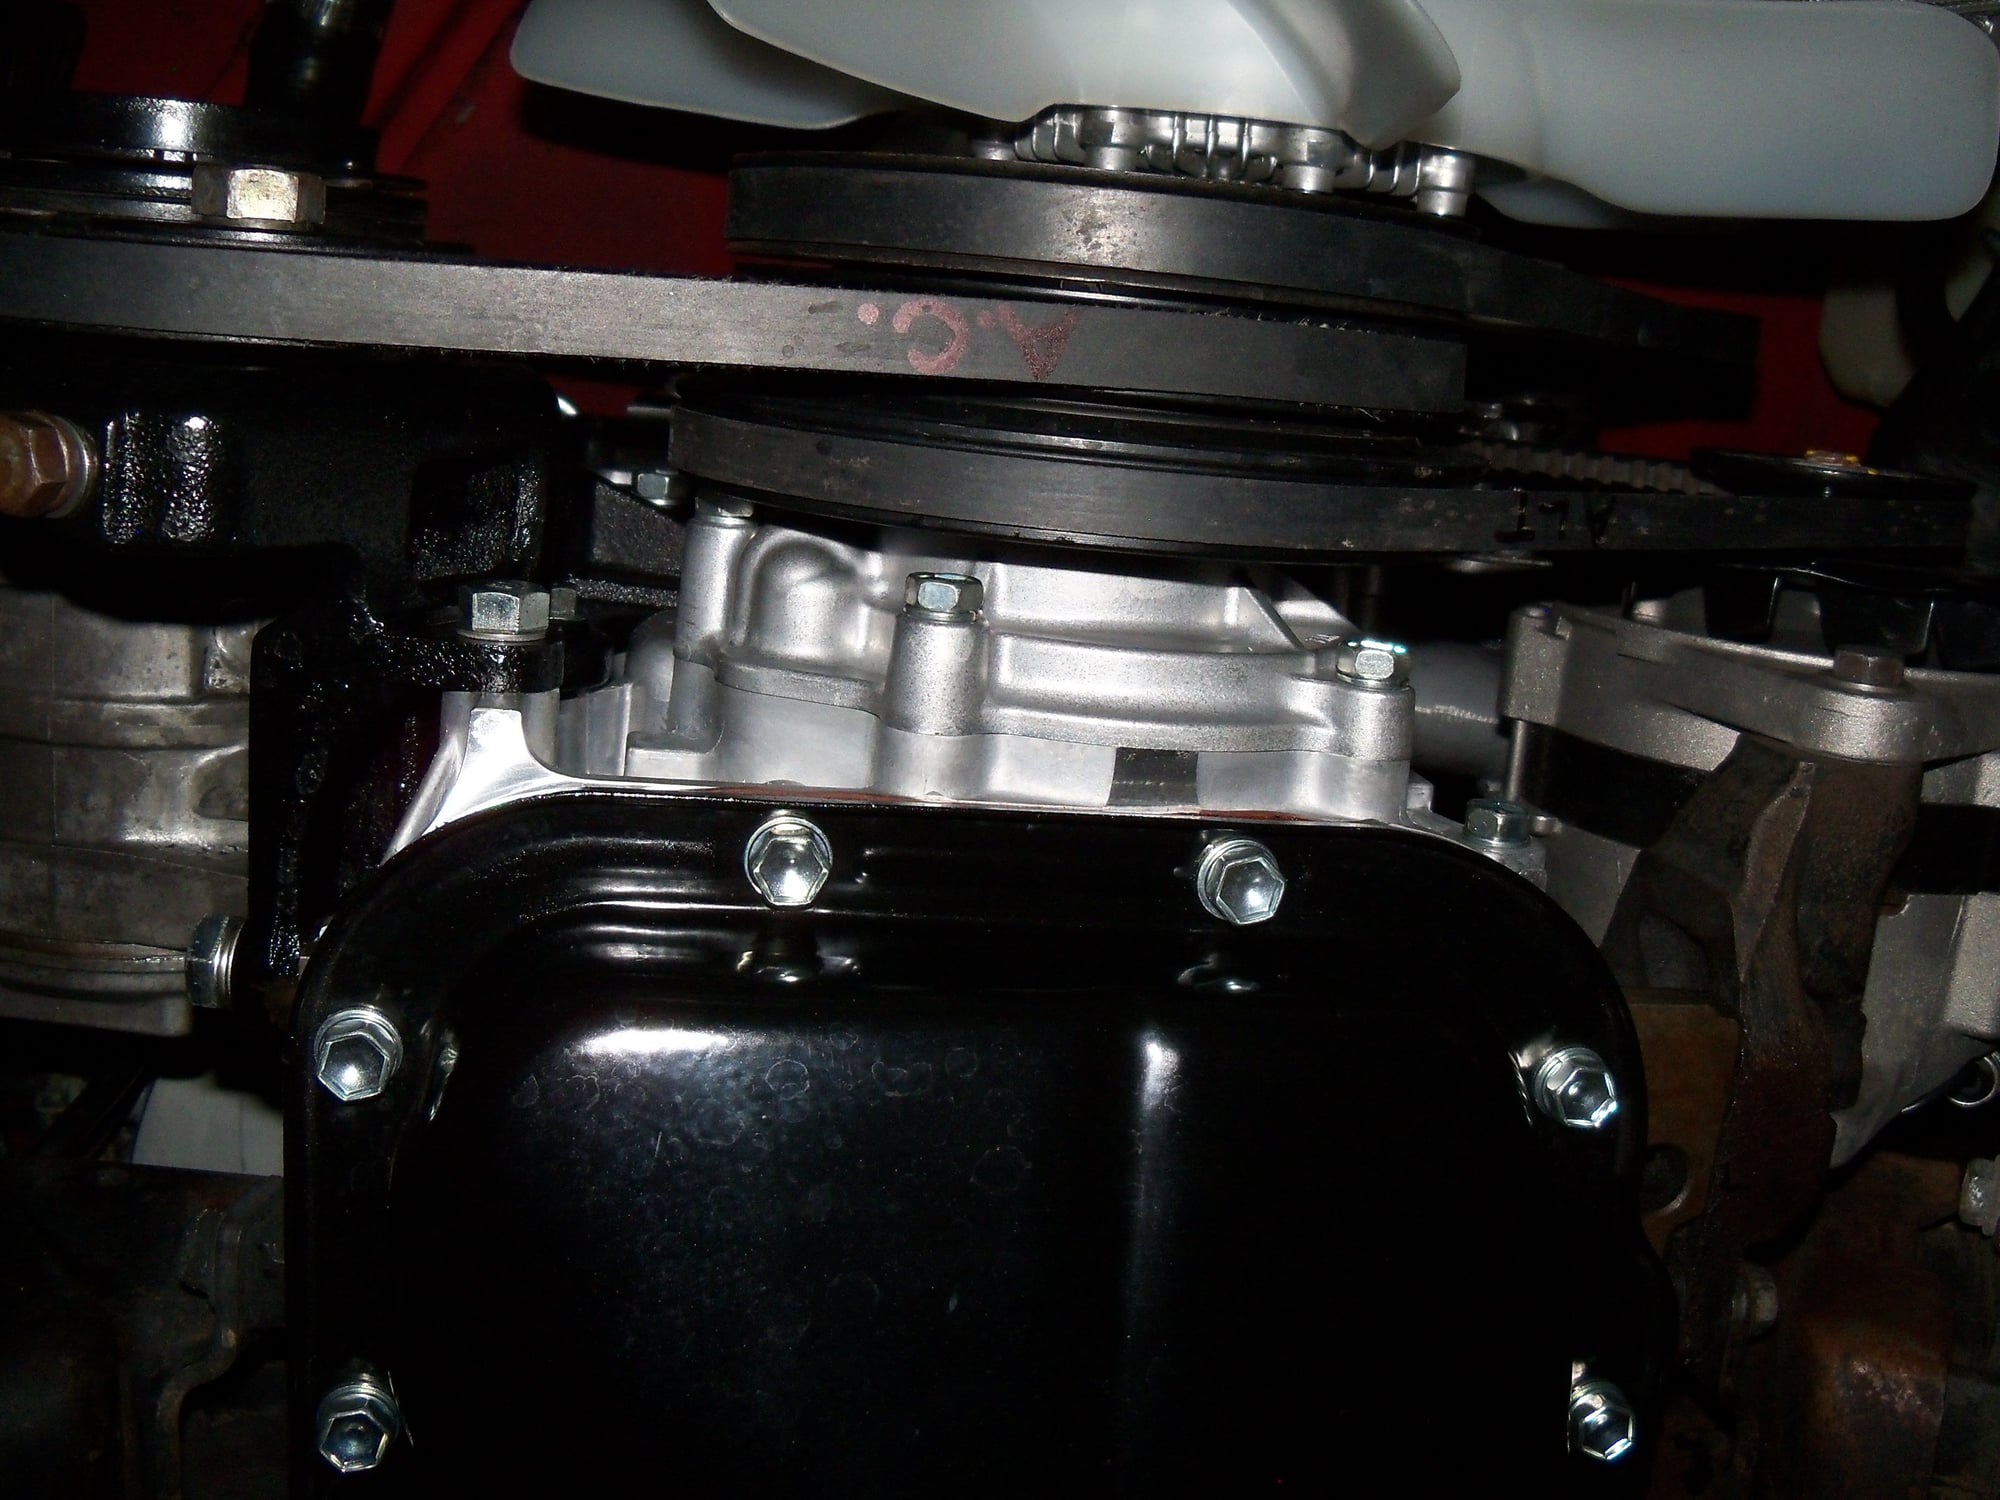
New oil pan bolts from 22re performance
Old 06-20-2017, 11:42 AM
  #111  
Registered User
Thread Starter
 
Big Little Bear's Avatar
 
Join Date: Jan 2015
Location: AZ,MD,NC
Posts: 217
Likes: 0
Received 1 Like on 1 Post
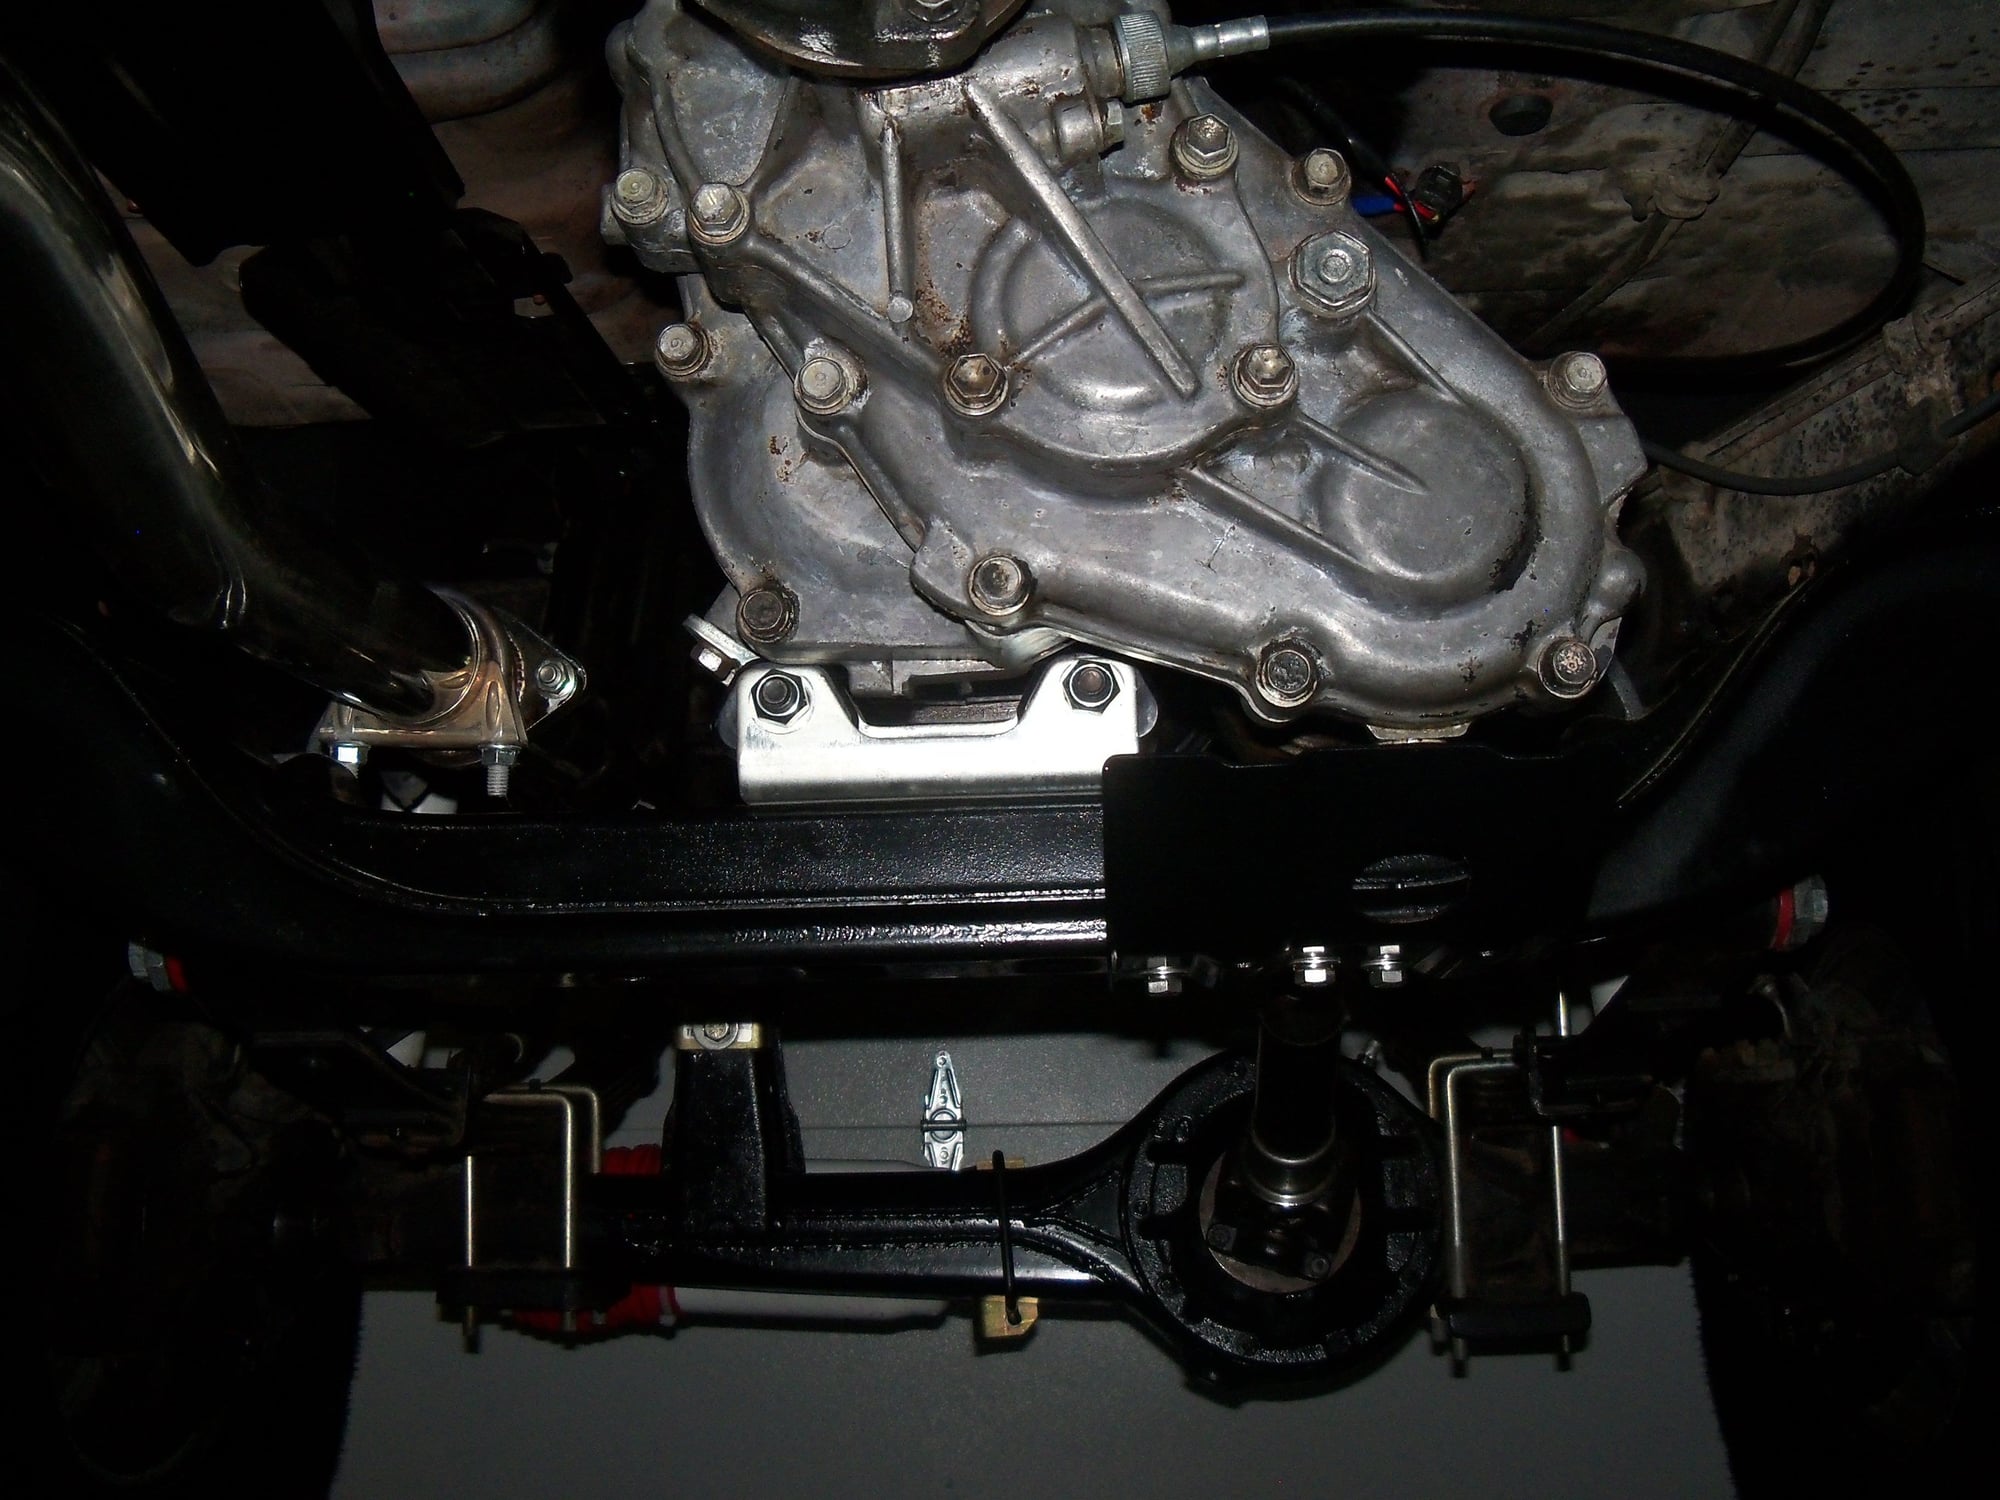
Finally got around to de-grease, sand, prime and epoxy paint the new / used cross member. out of all the de-grease agents out there I have found Easy Off oven cleaner the best for the money....However DO NOT get it on your aluminum parts. It will turn them a dull grey and also don't breathe the fumes as they are very potent. I wear a good sealing type mask when using Easy OFF

Last edited by Big Little Bear; 06-20-2017 at 11:45 AM.
Old 06-20-2017, 12:02 PM
  #112  
Registered User
Thread Starter
 
Big Little Bear's Avatar
 
Join Date: Jan 2015
Location: AZ,MD,NC
Posts: 217
Likes: 0
Received 1 Like on 1 Post
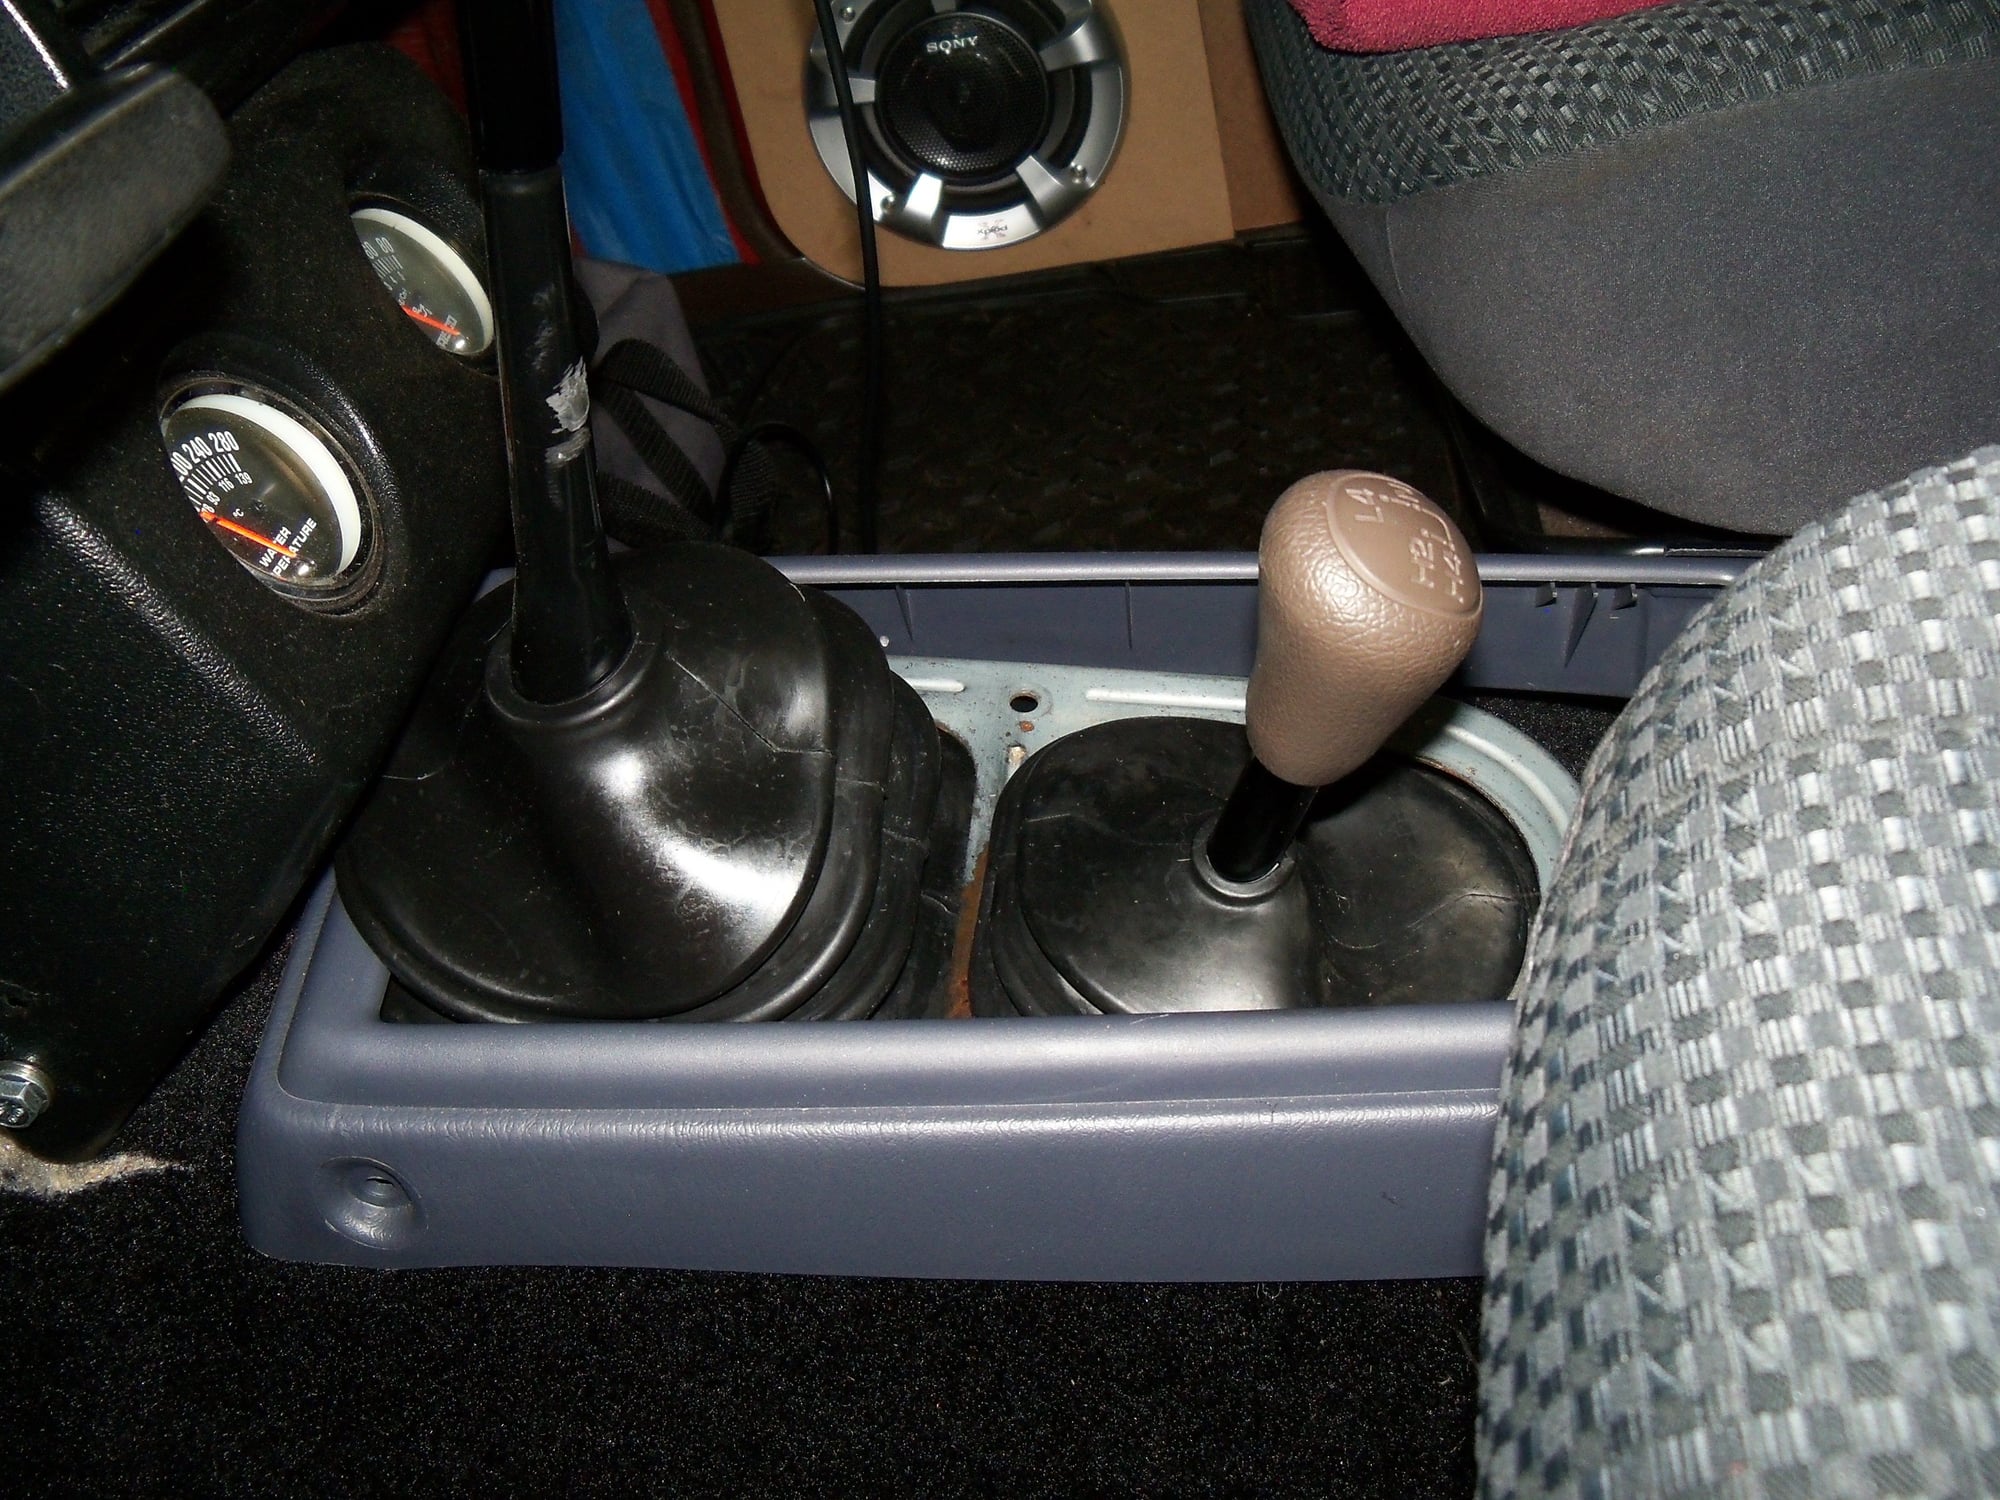
So far this boot set up is working...I did get a newer style like
the one found on the top of the wheel well in this picture but the boot in this picture was too tall and interfered with shifting
Old 06-21-2017, 10:53 PM
  #113  
Registered User
 
84 yota dude's Avatar
 
Join Date: Mar 2013
Posts: 1,060
Received 48 Likes on 31 Posts
Well hope it goes back together ok!
Old 06-22-2017, 07:19 AM
  #114  
Registered User
Thread Starter
 
Big Little Bear's Avatar
 
Join Date: Jan 2015
Location: AZ,MD,NC
Posts: 217
Likes: 0
Received 1 Like on 1 Post
Yep,thanks... So far so good... I've driven her around quite a bit and response is good, power is better than before, oil is staying super clean.
Old 06-24-2017, 02:37 PM
  #115  
Registered User
 
dirtdobberoffroad's Avatar
 
Join Date: Aug 2011
Location: Swamp east MO
Posts: 654
Received 2 Likes on 2 Posts
Man that thing is nice, you have done a lot of work to it! How in the world do you find all those parts for it? Ive looked for a bunch of that stuff and came back with no results what's your secret?
Old 06-24-2017, 06:24 PM
  #116  
Registered User
iTrader: (1)
 
flg8r22's Avatar
 
Join Date: Oct 2010
Location: N of Okechobee Florida
Posts: 1,002
Likes: 0
Received 4 Likes on 4 Posts
Making quick work of this build. I guess i havent been on in a while, looking great!
Old 06-25-2017, 08:20 PM
  #117  
Registered User
 
84 yota dude's Avatar
 
Join Date: Mar 2013
Posts: 1,060
Received 48 Likes on 31 Posts
Right on
Old 06-29-2017, 04:12 AM
  #118  
Registered User
iTrader: (1)
 
bootscootboogie's Avatar
 
Join Date: Nov 2014
Location: beast alabama
Posts: 818
Likes: 0
Received 1 Like on 1 Post
Originally Posted by Big Little Bear
So After I checked and rechecked Everything twice or three times I filled her with cheap regular 5w30 cranked her up and let her warm to idle then checked timing with a light and found my degrees btdc to be off ... With a Further study of things, I discovered That I inserted my distributor one tooth off when I inserted it. So I shut her down, fixed that and rechecked valve lash.. set timing to 5 degrees btdc....Did some city and Highway driving and so far so good.... Oil looks good , no consumption and no smoking, I also flushed the radiator so that looks good too.... Hopefully this will get me another 100k and God willing I'll be able to afford a long block then. Cheers to everyone here on Yotatech because if my FSM doesn't have it... I find it here.
Best part about this site in my opinion. Whenever I think about how much money I've blown on mistakes and changing my mind, I remind myself how much I've saved doing things I've seen others do on here. Your work is very clean.
Old 06-29-2017, 06:37 AM
  #119  
Registered User
Thread Starter
 
Big Little Bear's Avatar
 
Join Date: Jan 2015
Location: AZ,MD,NC
Posts: 217
Likes: 0
Received 1 Like on 1 Post
Originally Posted by dirtdobberoffroad
Man that thing is nice, you have done a lot of work to it! How in the world do you find all those parts for it? Ive looked for a bunch of that stuff and came back with no results what's your secret?
Every day I check Ebay. Tip...Since sellers use different words to describe the same thing I search using with different key words for the same item I'm looking for. Ebay also has some sellers that specialize in just toyota parts new and used so I ask them if they have what I'm looking for.

Mike and his team at Griffith Toyota has a good start of Toyota parts for first gens.

I use Toyota Parts Overstock at Lakeland Toyota to research part numbers

I plug those part numbers into Parts voice .com to see who has those parts or if they are obsolete.

hope this helps
Old 06-29-2017, 06:43 AM
  #120  
Registered User
Thread Starter
 
Big Little Bear's Avatar
 
Join Date: Jan 2015
Location: AZ,MD,NC
Posts: 217
Likes: 0
Received 1 Like on 1 Post
Originally Posted by flg8r22
Making quick work of this build. I guess i havent been on in a while, looking great!
Thanks! I had a good starting point for sure with a 99.9 rust free truck from AZ. One day I plan to strip everything off to get the body done right and get her a decent paint job. For now I'm just enjoying wheeling around.


Quick Reply: Big Little Bears 1983 Toy BRRT Build-Up Thread


All times are GMT -8. The time now is 09:59 PM.