1UZFE in '90 X-tra cab
 Mar 22, 2010 | 07:25 AM
#41
Registered User
Joined: Dec 2007
Posts: 460
Likes: 1
From: Greenville, SC
So for the flywheel you just sourced a 5vze flywheel and sent it off to LC engineering and told them to change the bolt pattern so it will fit a 1uzfe? how much did it cost?
Why did you choose the 5vze over the 3vze flywheel?
the only thing that i am still confused about is everything involved to mate the r150f to the 1uz.
Why did you choose the 5vze over the 3vze flywheel?
the only thing that i am still confused about is everything involved to mate the r150f to the 1uz.
 Mar 22, 2010 | 06:24 PM
#43
Thread Starter
Contributing Member
Joined: Oct 2006
Posts: 207
Likes: 0
From: Buckeye,AZ
So for the flywheel you just sourced a 5vze flywheel and sent it off to LC engineering and told them to change the bolt pattern so it will fit a 1uzfe? how much did it cost?
I sent LC a stock 1UZ flexplate not a flywheel. That way they had all the measurments they needed. Cost was $460 shipped
Why did you choose the 5vze over the 3vze flywheel?
The 5VZE uses a 10" clutch. The 3VZE uses a 9.25" clutch.
the only thing that i am still confused about is everything involved to mate the r150f to the 1uz.
 Mar 23, 2010 | 09:01 AM
#44
Registered User
Joined: Dec 2007
Posts: 460
Likes: 1
From: Greenville, SC
ok great thanks ill probably do that for the flywheel then
what clutch did you use?
and besides the adapter plate to attach it dont you have to custom mount a slave cylinder or something? or do you just put in the clutch and flywheel bolt it up and your good to go. What goes on on the inside?
what clutch did you use?
and besides the adapter plate to attach it dont you have to custom mount a slave cylinder or something? or do you just put in the clutch and flywheel bolt it up and your good to go. What goes on on the inside?
 Aug 7, 2010 | 11:10 PM
#46
Thread Starter
Contributing Member
Joined: Oct 2006
Posts: 207
Likes: 0
From: Buckeye,AZ
Update
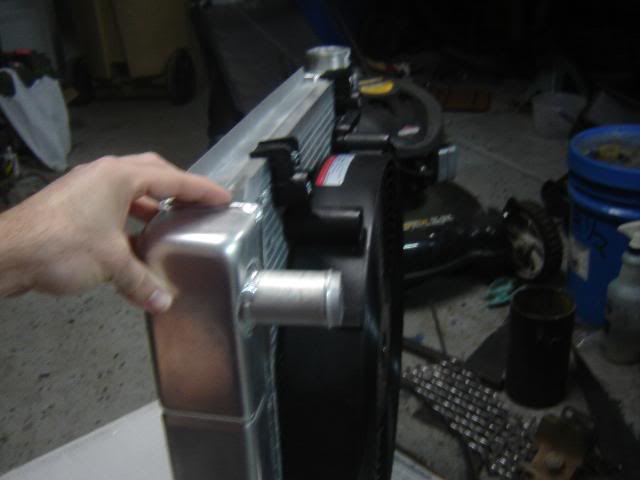
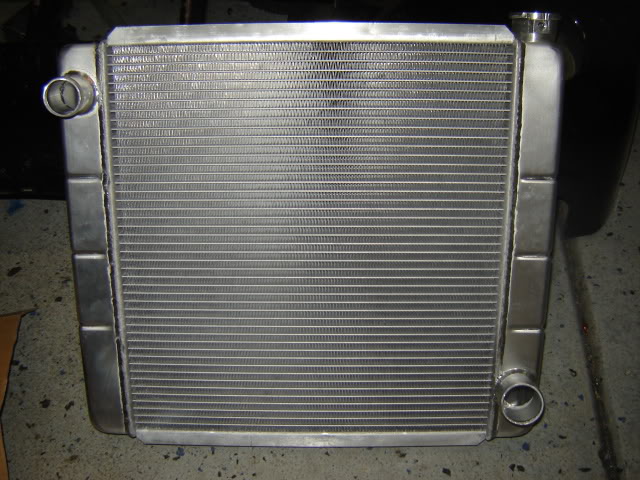
Well after getting the radiator and sliding it in place I realized I wouldn't have much room for a fan. I pulled the engine and trans so I could massage the firewall a bit. I cut the engine mounts off so I can relocate them. I have started tearing into the wiring and getting fittings for the fuel lines. Right now the engine is sitting back on the floor until I can get time to mess with it.
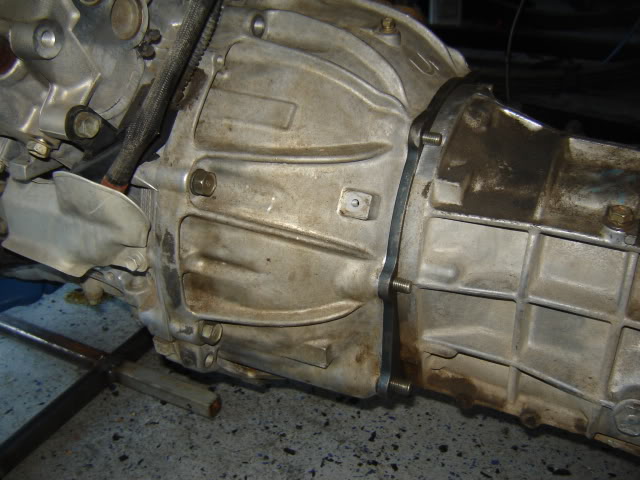
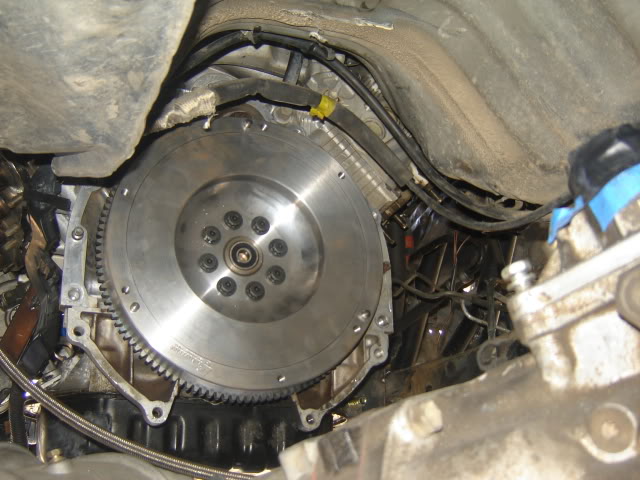
The flywheel fits perfect. The ring gear is in the correct place for proper engagement.
The flywheel fits perfect. The ring gear is in the correct place for proper engagement.

 Oct 5, 2010 | 02:34 PM
#50
Registered User
Joined: Sep 2010
Posts: 25
Likes: 0
From: Southern Utah!!
ok great thanks ill probably do that for the flywheel then
what clutch did you use?
and besides the adapter plate to attach it dont you have to custom mount a slave cylinder or something? or do you just put in the clutch and flywheel bolt it up and your good to go. What goes on on the inside?
what clutch did you use?
and besides the adapter plate to attach it dont you have to custom mount a slave cylinder or something? or do you just put in the clutch and flywheel bolt it up and your good to go. What goes on on the inside?
i am also curious to see what you are doing for a slave cylinder set up. i am almost getting to that point myself and still undecided...
Jan 21, 2011 | 10:51 AM
#51
Thread Starter
Contributing Member
Joined: Oct 2006
Posts: 207
Likes: 0
From: Buckeye,AZ
Update
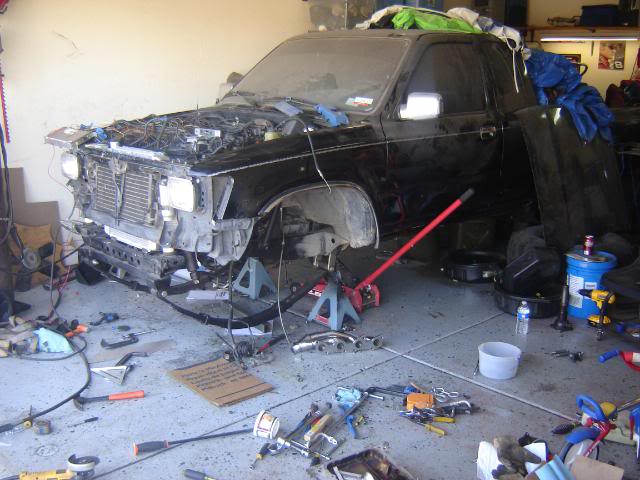
It�s been awhile since I got a chance to work on the truck. I�ve been busy building other things. The engine in now in its final resting place. I have most of the wires labeled and ready to start splicing. I did some research and found out that 3RZ flywheel bolts will fit. So I ordered 8 from the dealer and picked them up today. I should get a chance this weekend to get the flywheel installed. I will be ordering my 17" fan on the 1st. I had planned to have this finished by my last birthday but that didn�t happen so I am pushing for this go round. I still need to order an aftermarket 5VZE clutch. I am hoping to at least start the engine in the next few weeks so stay tuned. Here are some pictures of the bolts and what I've been busing building.


Jan 26, 2011 | 09:37 AM
#52
Registered User

Joined: Jan 2010
Posts: 3,795
Likes: 33
From: Bloodymore
toy4whatever
nice build
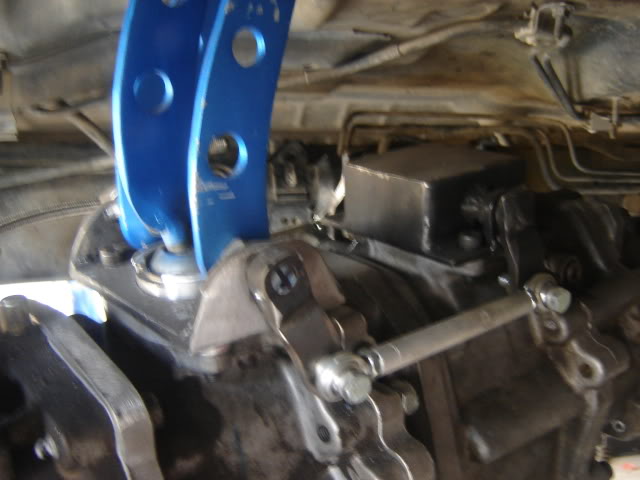
did the adapter plate mount require you to extend or change the shaft length?
What adapter plate did you use? I was going to have one built locally from one of the online cad files...what do you think?
I am collecting parts and knowledge to do this same swap, r150...
Have you addressed the ECM transmission issue yet?
nice build
did the adapter plate mount require you to extend or change the shaft length?
What adapter plate did you use? I was going to have one built locally from one of the online cad files...what do you think?
I am collecting parts and knowledge to do this same swap, r150...
Have you addressed the ECM transmission issue yet?
Jan 26, 2011 | 10:14 AM
#53
Thread Starter
Contributing Member
Joined: Oct 2006
Posts: 207
Likes: 0
From: Buckeye,AZ
toy4whatever
nice build
did the adapter plate mount require you to extend or change the shaft length?
What adapter plate did you use? I was going to have one built locally from one of the online cad files...what do you think?
I am collecting parts and knowledge to do this same swap, r150...
Have you addressed the ECM transmission issue yet?
EB2 connector is a 3 pin connector and is near the igniter
EB1 connector is a 6 pin connector and is near the igniter
IJ2 connector is 17 pin connector near the ECU is dark gray, has 2 rows of pins.
You need switched power to EB2(2). This is a black and orange wire.
You need switched power to EB2(3). This is a black and red wire
You need switched power to IJ2(11). This is a black and orange wire.
You need constant power to EB1(4). This is a black and yellow wire
To start you need to supply "start" power to EB2(1) which is a black wire.
And of course you need to figure out what it takes to turn your fuel pump on. Different on every vehicle.
Jan 26, 2011 | 10:23 AM
#54
Registered User
Joined: Jan 2010
Posts: 3,795
Likes: 33
From: Bloodymore
Thanks for the info
What hydraulic clucth did you use? I'm guessing since you are using the a/t bellhousing you are using the fancy hydraulic(no fork style). Did it require a special mount to fab?
If you have it in pics already, i can't see them cuz me job blocks photo's.
Thanks
What hydraulic clucth did you use? I'm guessing since you are using the a/t bellhousing you are using the fancy hydraulic(no fork style). Did it require a special mount to fab?
If you have it in pics already, i can't see them cuz me job blocks photo's.
Thanks
Jan 30, 2011 | 06:04 PM
#56
Thread Starter
Contributing Member
Joined: Oct 2006
Posts: 207
Likes: 0
From: Buckeye,AZ
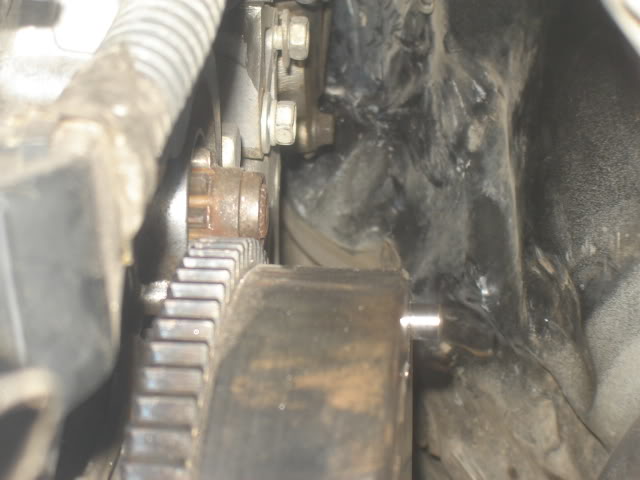
I got the flywheel installed, fuel line fabbed and wired the engine enough to turn it over. I still need to finish up the wiring and get the engine buttoned up so I can start it.
Feb 1, 2011 | 01:02 PM
#58
Thread Starter
Contributing Member
Joined: Oct 2006
Posts: 207
Likes: 0
From: Buckeye,AZ
Thats my design. I made it last year.
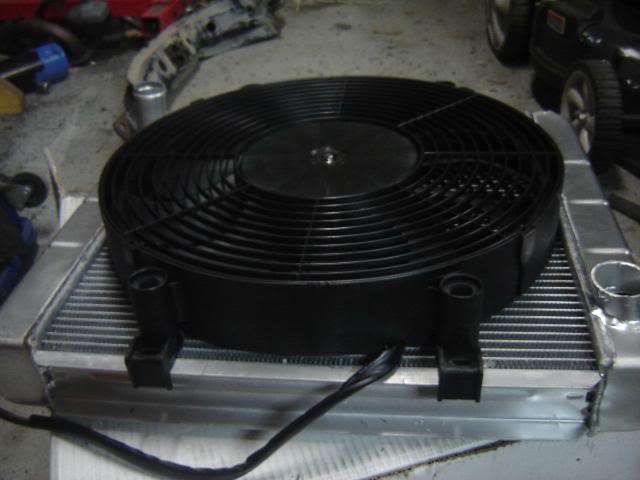
Just picked up a Hayden 3817 fan. Its a 17" fan that is 2.6" thick. Comes with multipe mounting hardware.
Just picked up a Hayden 3817 fan. Its a 17" fan that is 2.6" thick. Comes with multipe mounting hardware.
Last edited by toy4whatever; Feb 1, 2011 at 02:28 PM.
 or is there no write because you plan on selling them.