
DTB project SAS 93 xtra cab
 Mar 11, 2007 | 03:07 PM
#1
Thread Starter
Registered User
Joined: May 2006
Posts: 2,377
Likes: 2
From: St. Loser, Misery
DTB project SAS 93 xtra cab
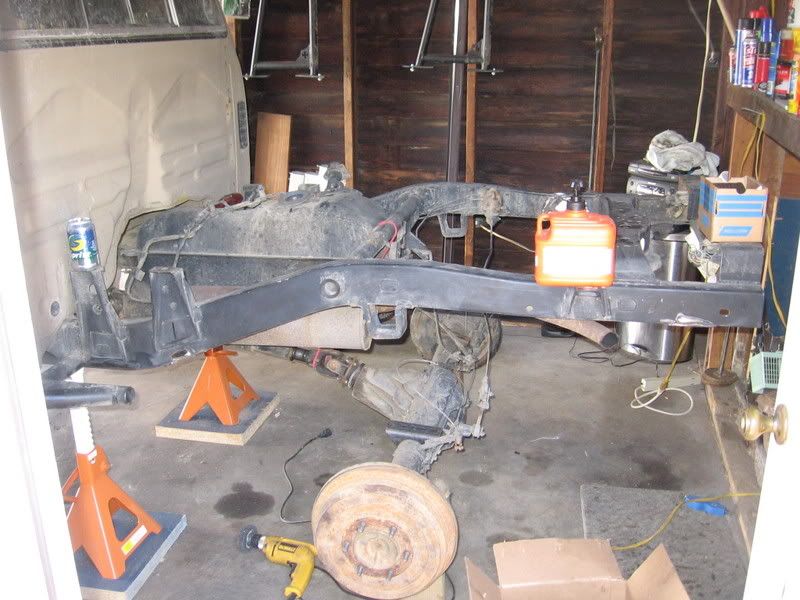
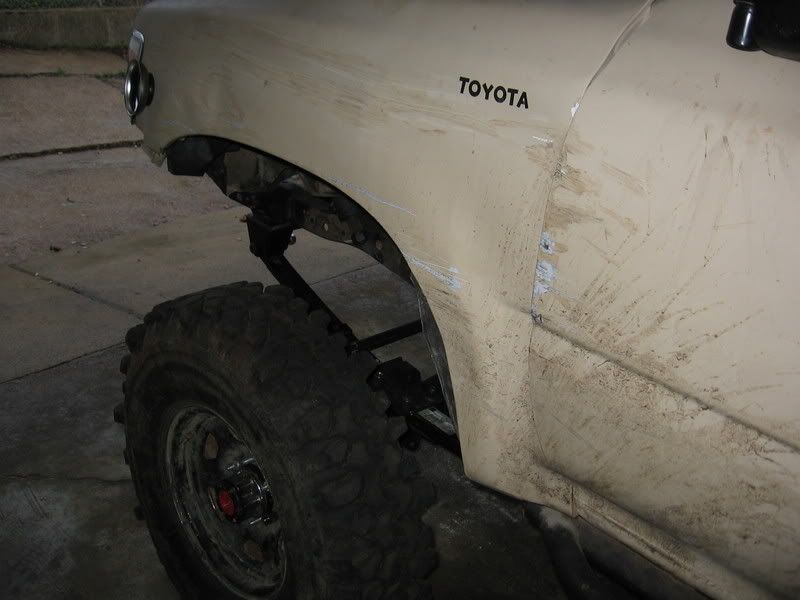
here's my starting point....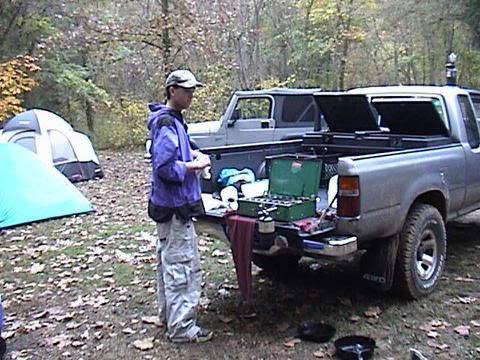 93 xtra cab with over 300k. ex daily driver, flatbed, new engine, 4.88's and detroit and some other stuff
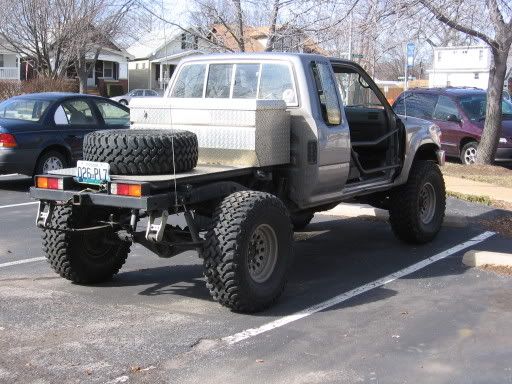
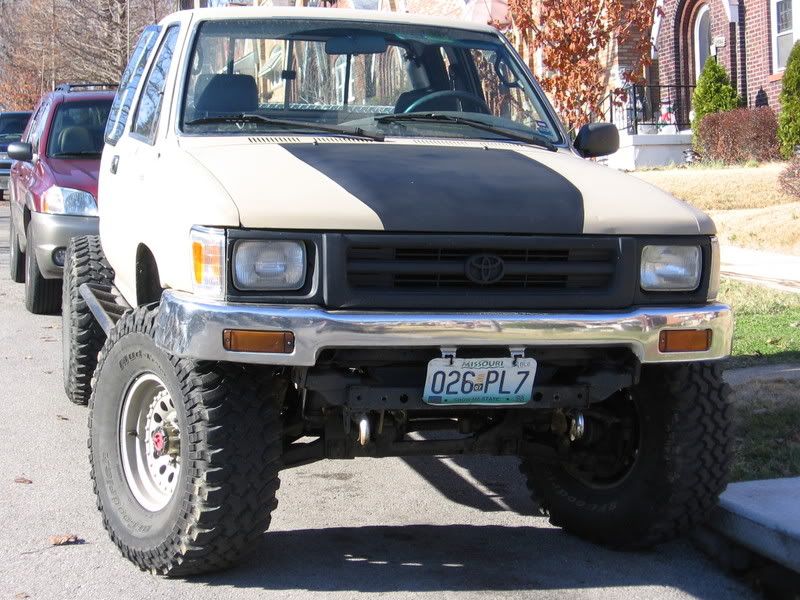
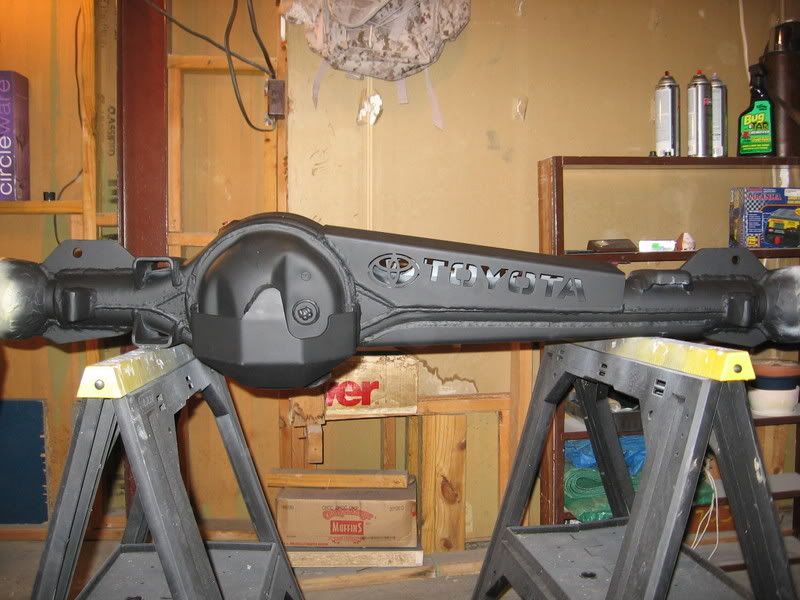
spray painted it. i thought it turned out pretty good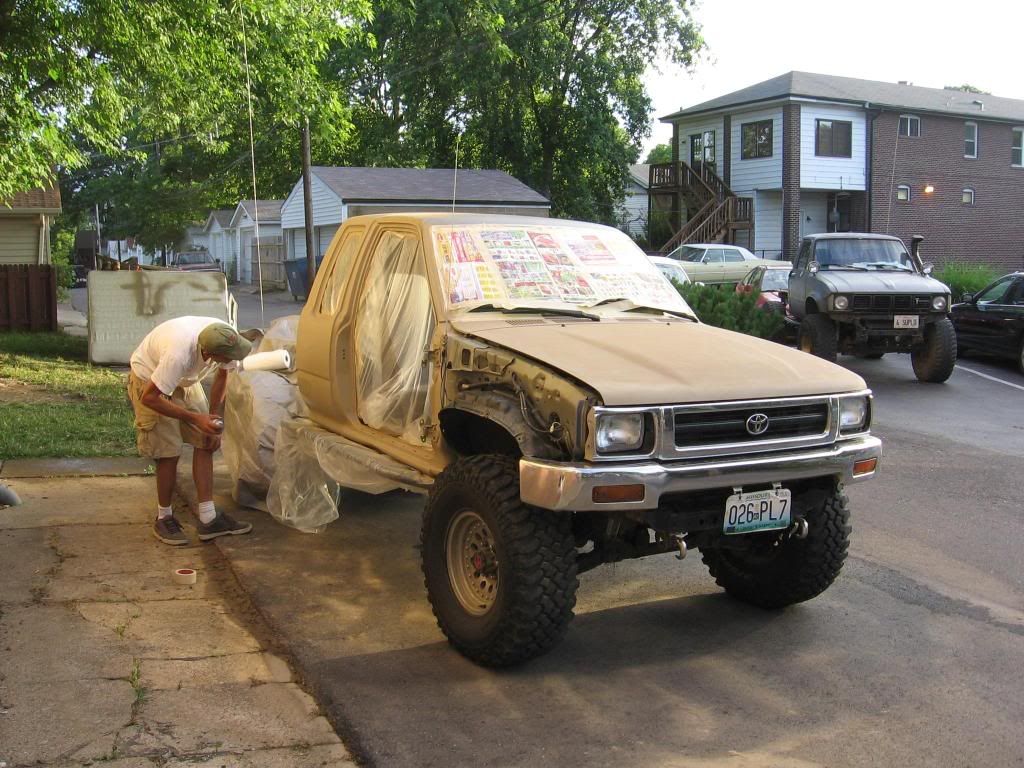
 84 axle
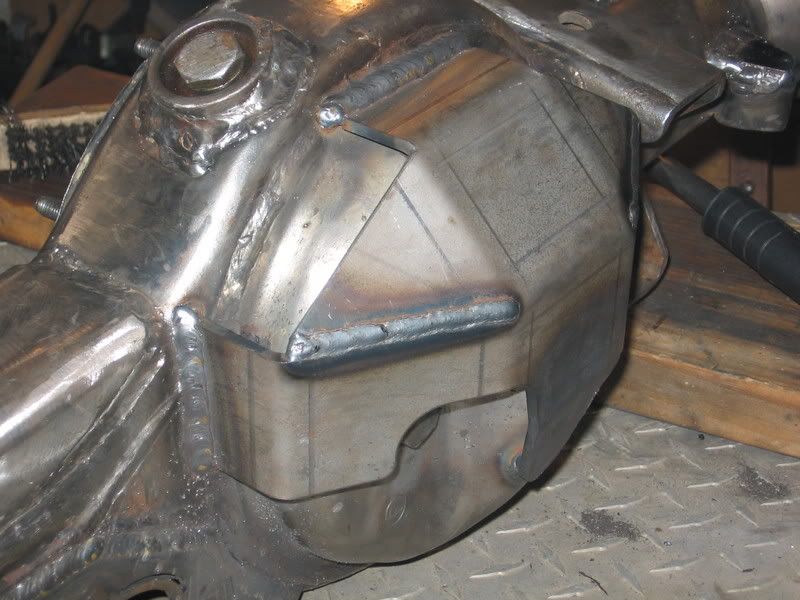
Sky truss
Sky diff guards (front and rear)
Marlin knuckle ball gusset kit
OEM knuckle service
Hy-steer (Marlin)
ARP knuckle studs
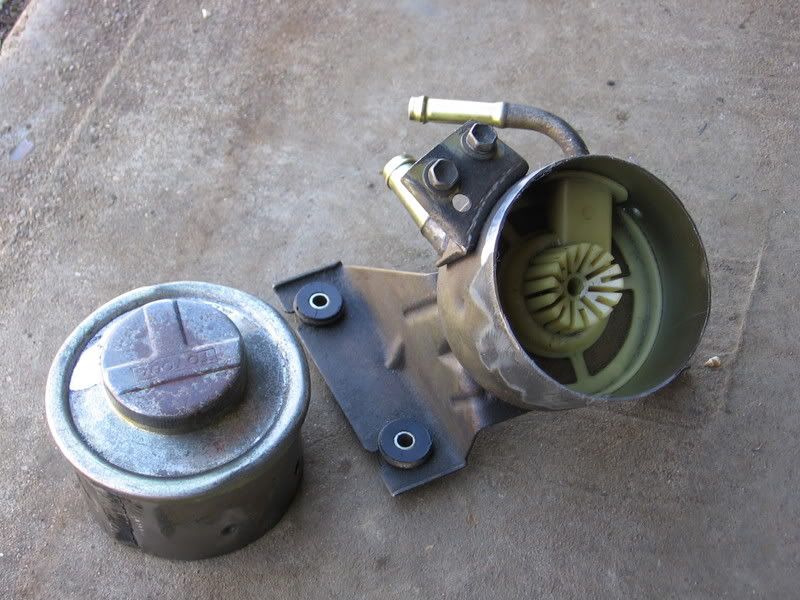
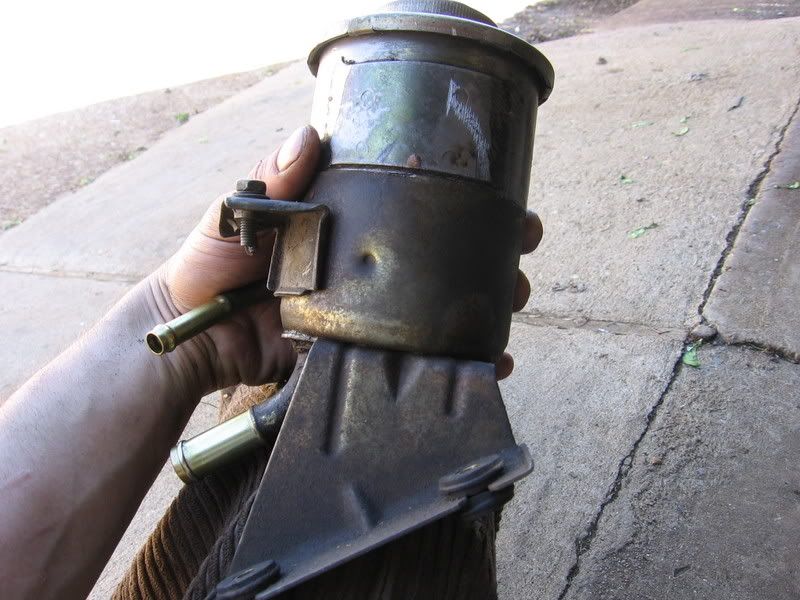
hydro assist, make new reservoir
Stock third
precision gear 5.29s
Open until I can afford longs and an aussie locker
Springs Marlin 4" USA
Bilstein s
Sky shock hoops
Marlin spring hangar
some other crap
Triple drilled flanges
Breathers (nissan, homemade)
u-bolt flip (Marlin)
wheel spacers
ifs calipers and fj60 rotors
Marlin rear kit
Power steering box mount plate (Marlin)
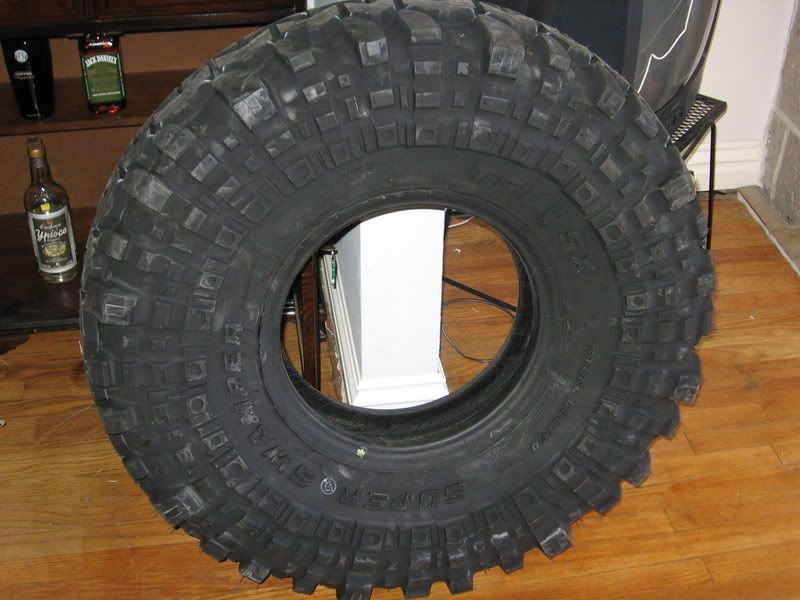
36x12.5 SX's
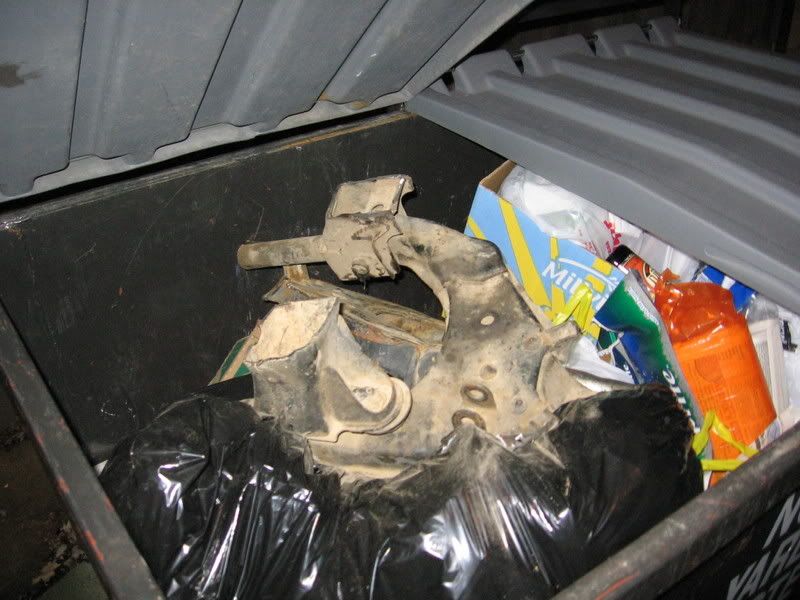
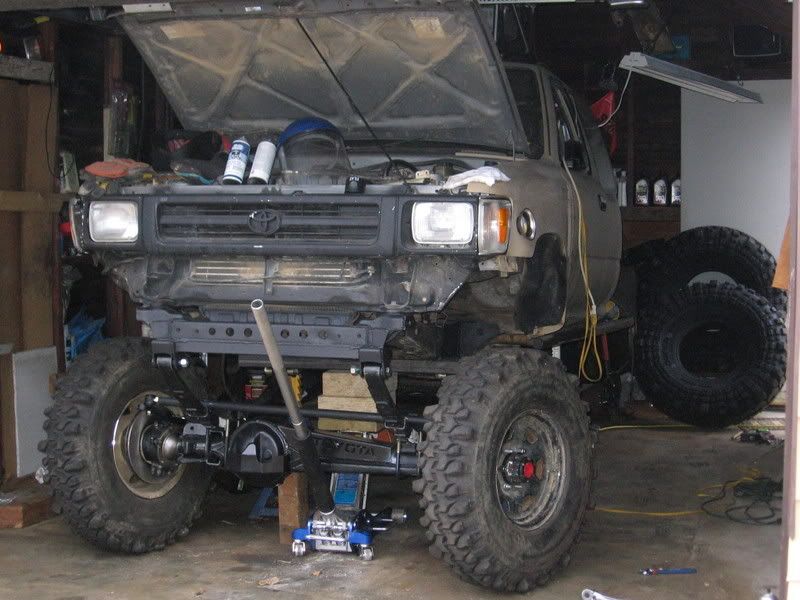
traded my IFS for this>>>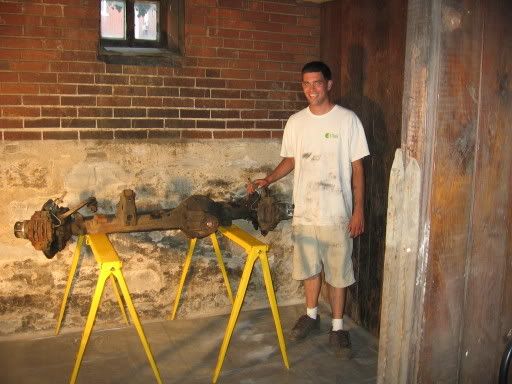
what a greasy mess that was! whew!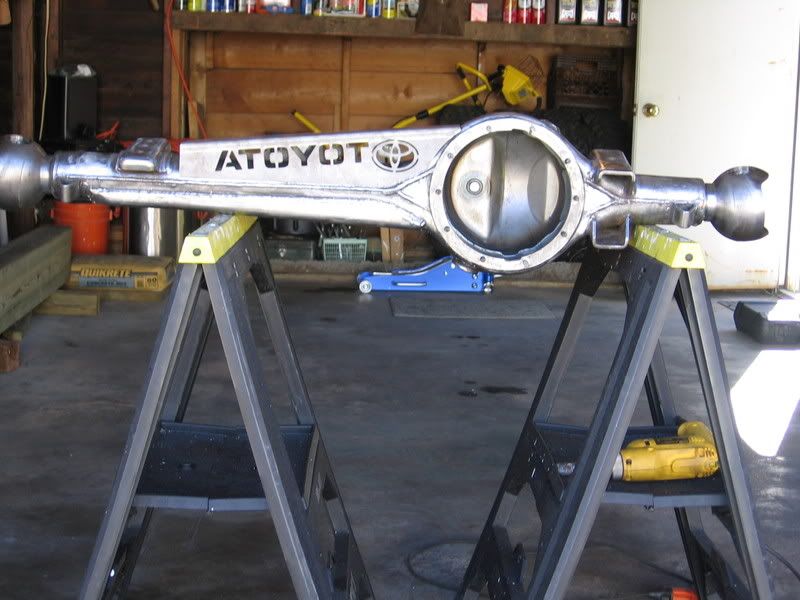
93 xtra cab with over 300k. ex daily driver, flatbed, new engine, 4.88's and detroit and some other stuff spray painted it. i thought it turned out pretty good
84 axle Sky truss
Sky diff guards (front and rear)
Marlin knuckle ball gusset kit
OEM knuckle service
Hy-steer (Marlin)
ARP knuckle studs
hydro assist, make new reservoir
Stock third
precision gear 5.29s
Open until I can afford longs and an aussie locker
Springs Marlin 4" USA
Bilstein s
Sky shock hoops
Marlin spring hangar
some other crap
Triple drilled flanges
Breathers (nissan, homemade)
u-bolt flip (Marlin)
wheel spacers
ifs calipers and fj60 rotors
Marlin rear kit
Power steering box mount plate (Marlin)
36x12.5 SX's
traded my IFS for this>>>
what a greasy mess that was! whew!
Last edited by dirtoyboy; Aug 23, 2008 at 07:46 AM.
Mar 11, 2007 | 03:14 PM
#2
Thread Starter
Registered User
Joined: May 2006
Posts: 2,377
Likes: 2
From: St. Loser, Misery
OEM knuckle service ( i dont trust those ˟˟˟˟in chinese bearings on my truck)
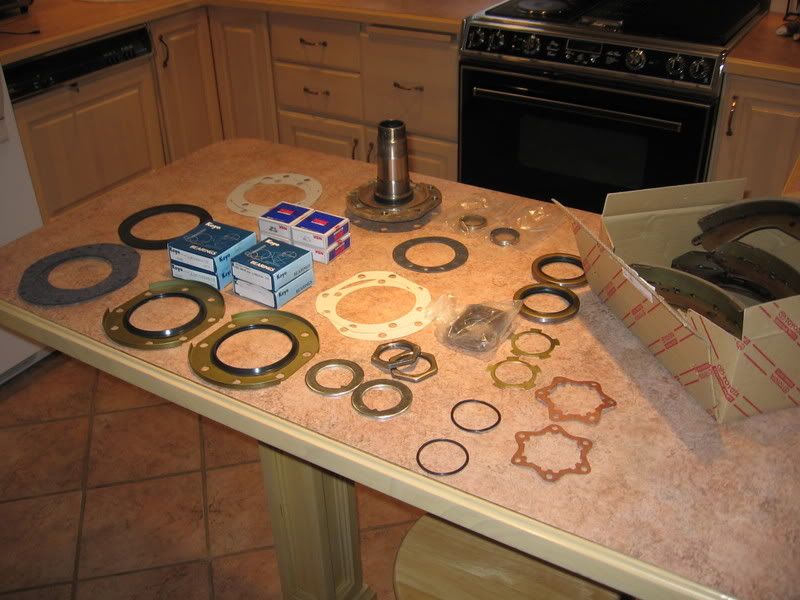
knuckles cleaned up nice too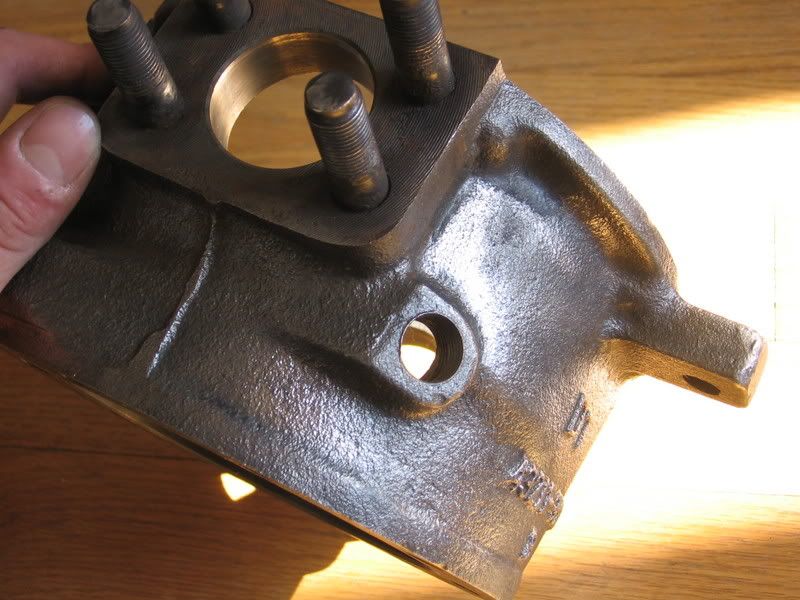
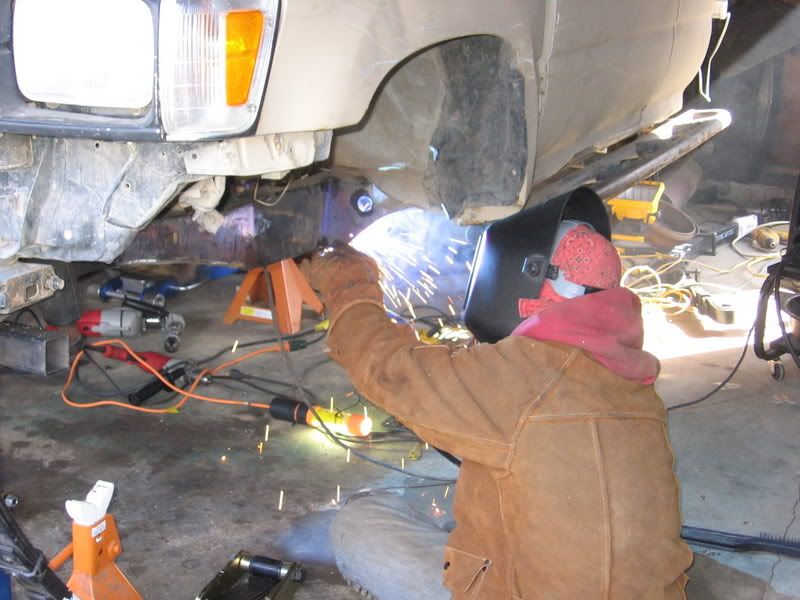
mmmm......burning metal lol ..welding caps on the steering stops
lasers are cool lol

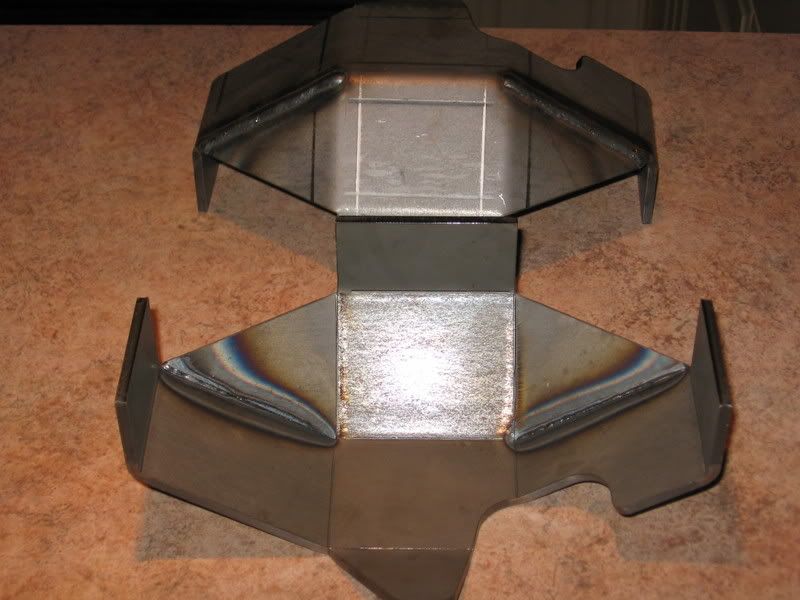
bzzzzzzzzzzzzzz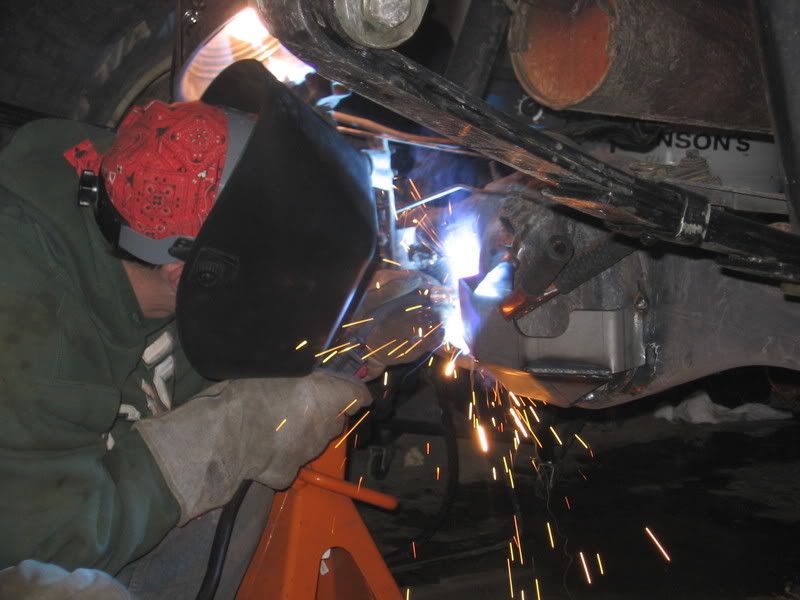
please feel free to critique welds
knuckles cleaned up nice too
mmmm......burning metal lol ..welding caps on the steering stops
lasers are cool lol
bzzzzzzzzzzzzzz
please feel free to critique welds
Last edited by dirtoyboy; Mar 11, 2007 at 05:04 PM.


 Mar 11, 2007 | 04:50 PM
#5
Thread Starter
Registered User
Joined: May 2006
Posts: 2,377
Likes: 2
From: St. Loser, Misery
paint is holding up ok. its krylon ultra flat i bought at walmart. im constantly touching it up from ongoing trail damage so i aint too worried about it lol. yea my whole house smells like new rubber and grease and burning metal! i live by myself obviously! haha


Trending Topics
Mar 18, 2007 | 05:33 PM
#8
Thread Starter
Registered User
Joined: May 2006
Posts: 2,377
Likes: 2
From: St. Loser, Misery
lo profile drain plugs 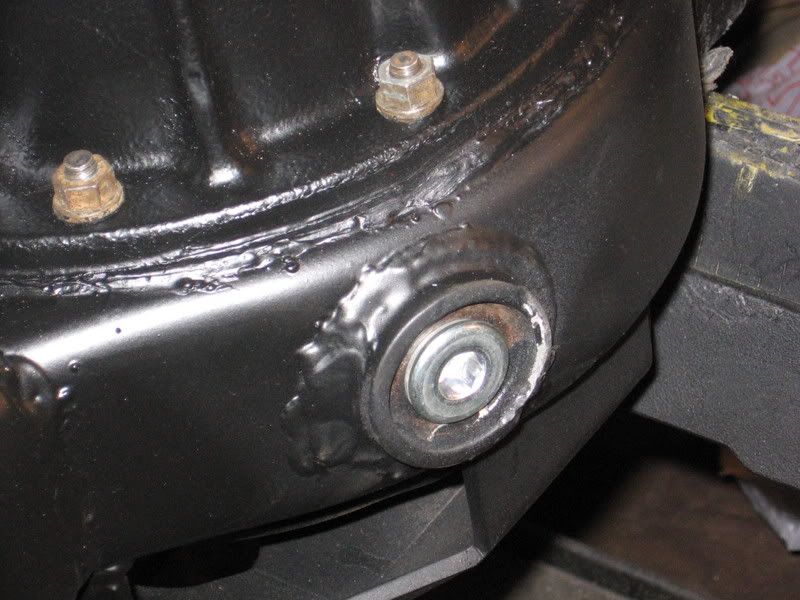
shocks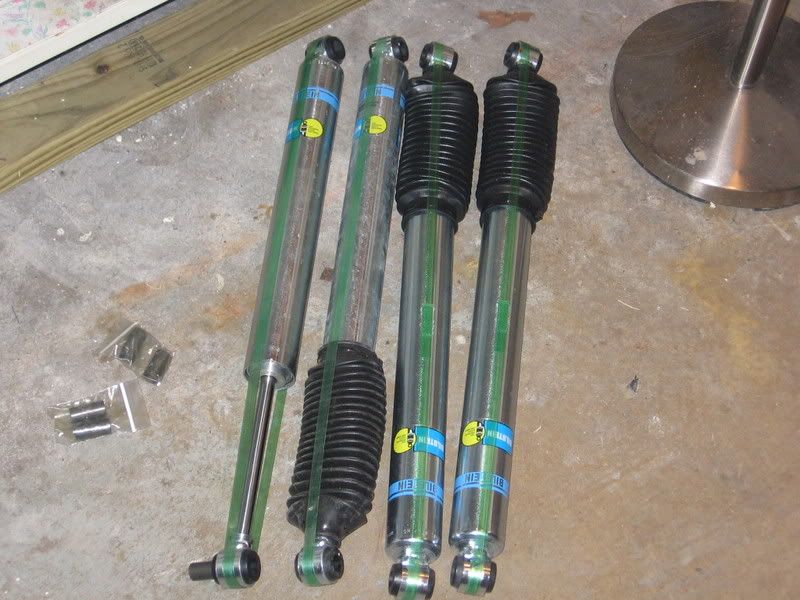
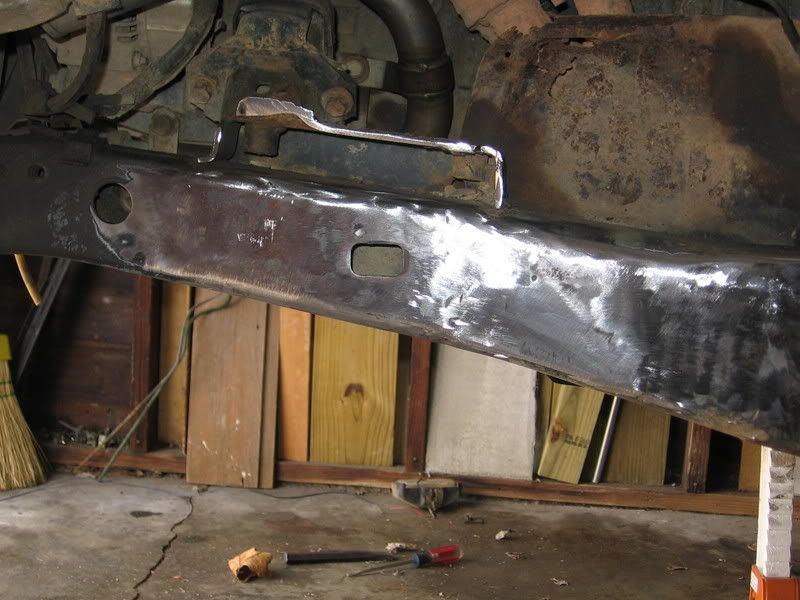
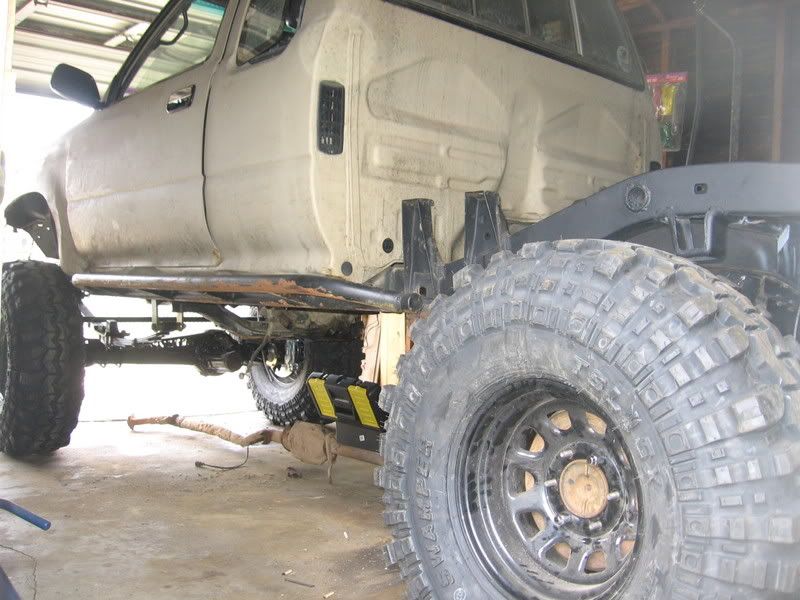
cutting frame holes (not fun) the gussets on the outside passenger framerail were PITA's!!!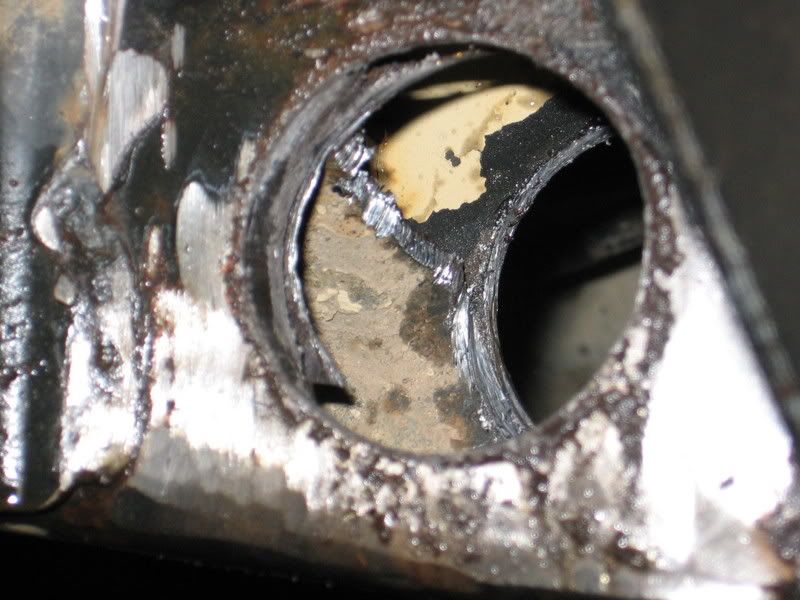
this helped a little bit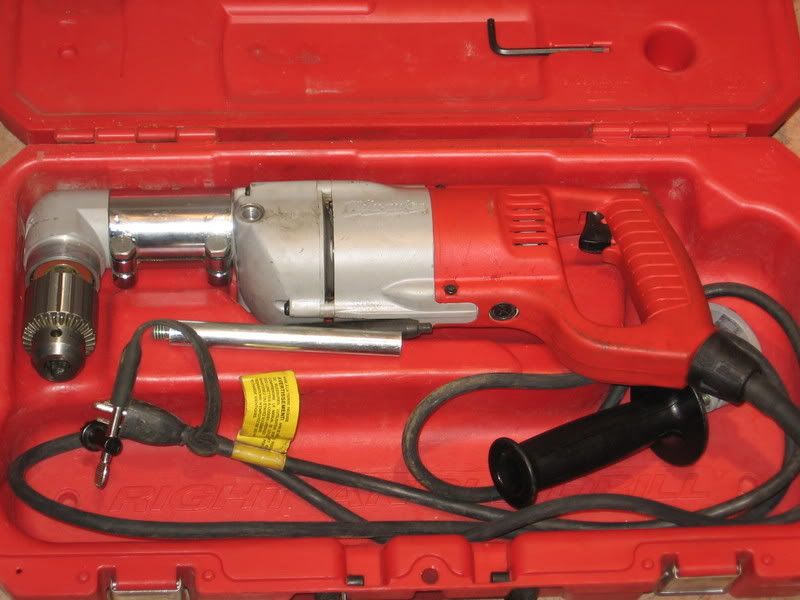
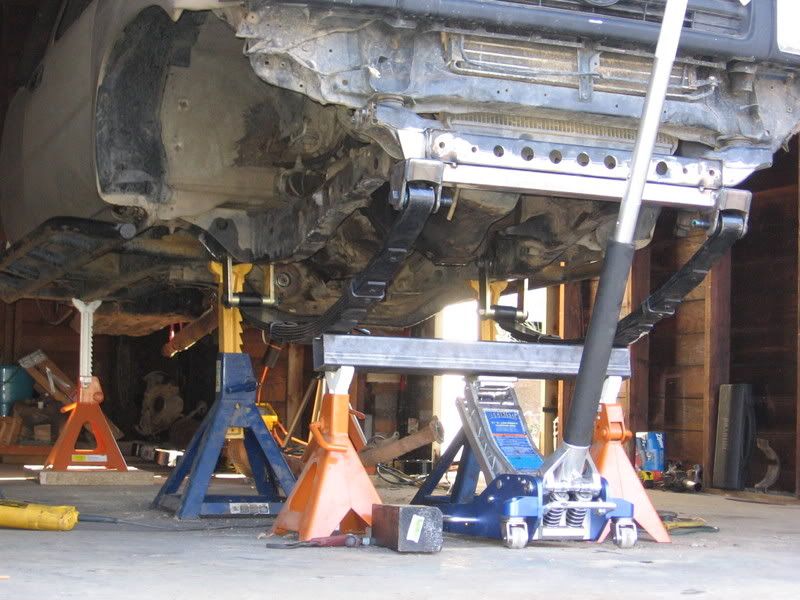
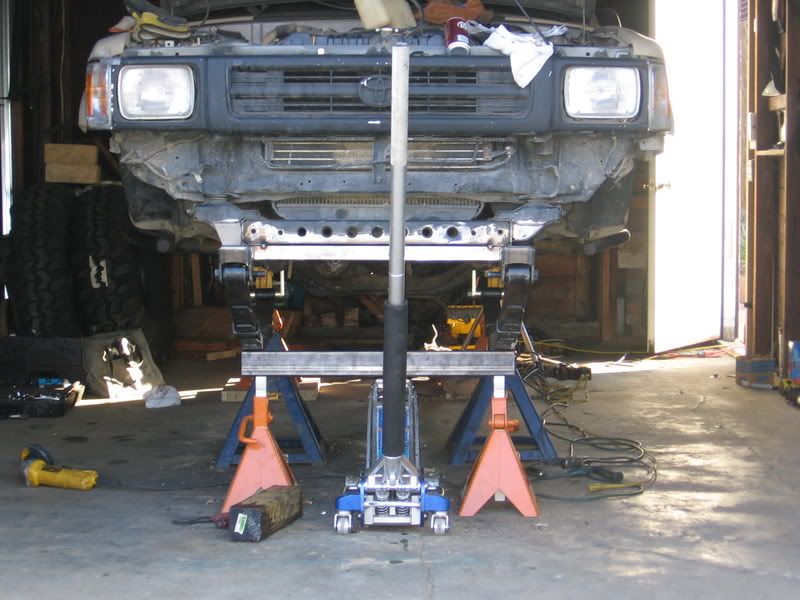
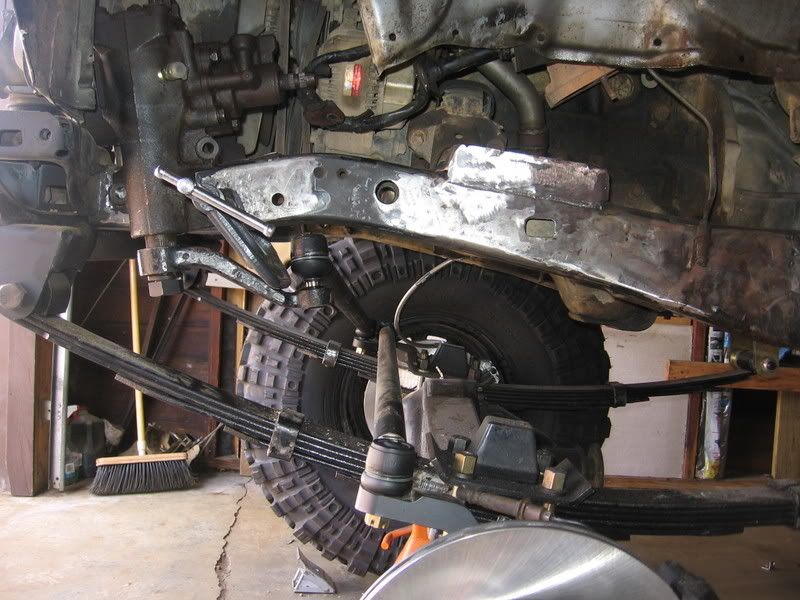
shackle angle looks good right?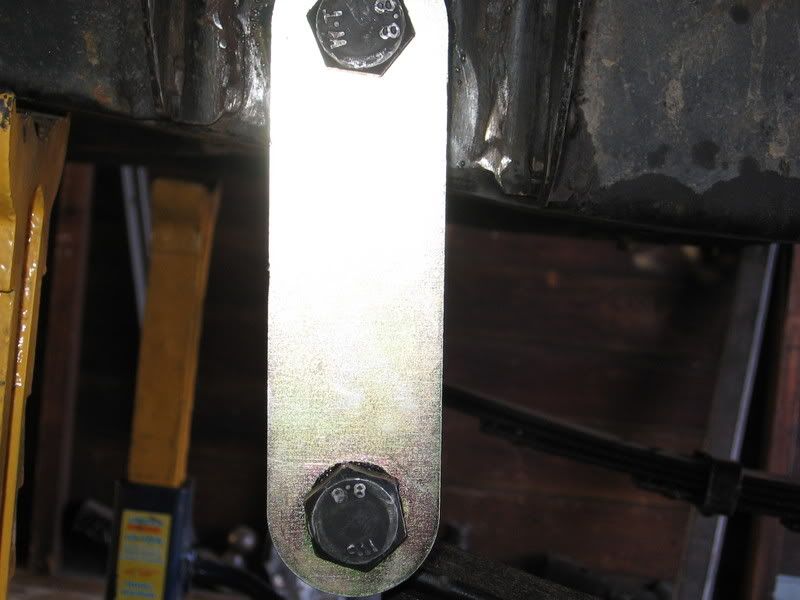
shocks
cutting frame holes (not fun) the gussets on the outside passenger framerail were PITA's!!!
this helped a little bit
shackle angle looks good right?
Mar 18, 2007 | 05:34 PM
#9
Thread Starter
Registered User
Joined: May 2006
Posts: 2,377
Likes: 2
From: St. Loser, Misery
bling bling 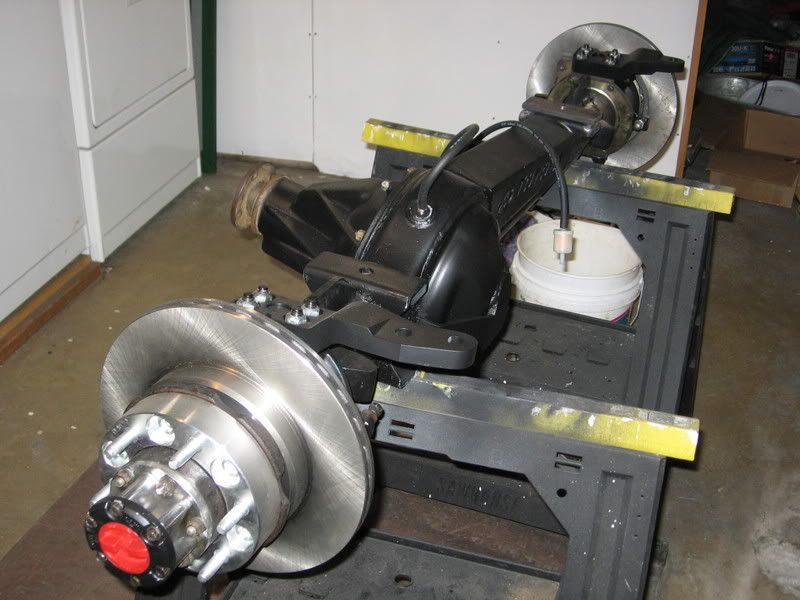


spring hangar tacked in place. started with 3/4 inch forward. the gussets are not welded in the picture

15 lb tank mmmmmm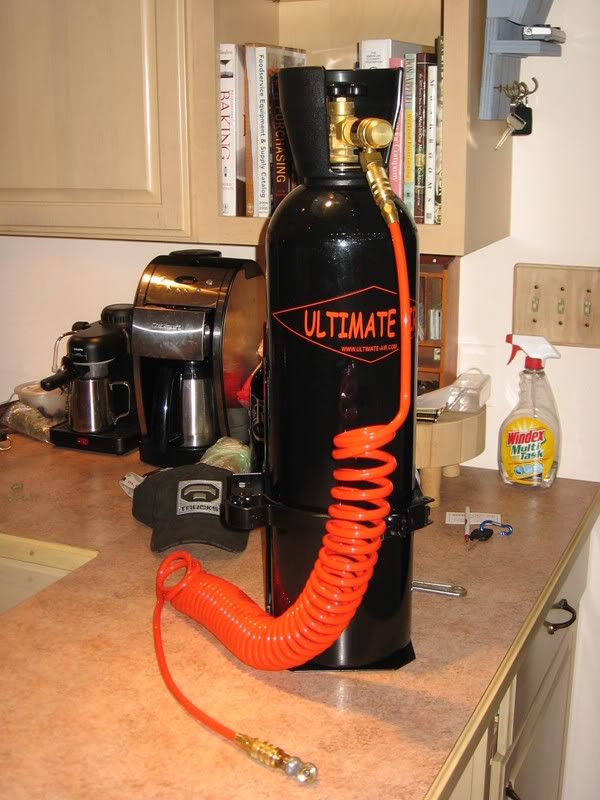
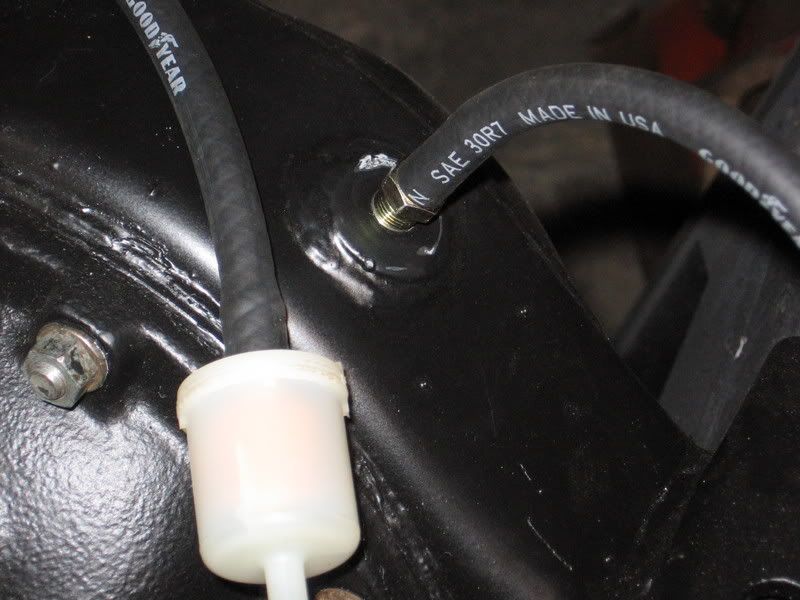
I built a set of breathers for 12 dollars each. 5.00 for the fitting, 2 dollars for the filter and 5 dollars for the hose. These Nissan fittings are pretty sweet. Im gonna weld a small piece of round tube on top to protect it from breaking off.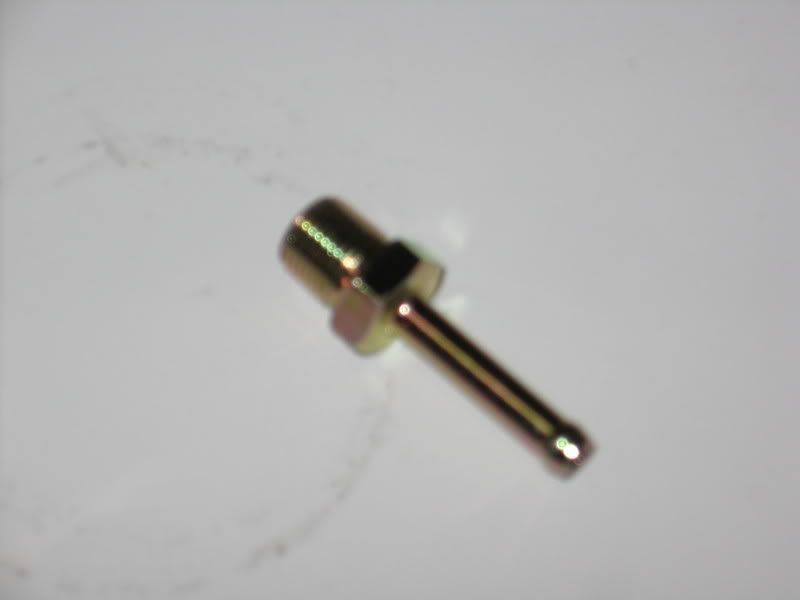
spring hangar tacked in place. started with 3/4 inch forward. the gussets are not welded in the picture
15 lb tank mmmmmm
I built a set of breathers for 12 dollars each. 5.00 for the fitting, 2 dollars for the filter and 5 dollars for the hose. These Nissan fittings are pretty sweet. Im gonna weld a small piece of round tube on top to protect it from breaking off.
Mar 19, 2007 | 01:09 AM
#10
Registered User
Joined: Aug 2004
Posts: 1,028
Likes: 0
From: SLO, CA
looks good. i would probably mount the hanger flush and get the shackles kicked back a little more. i know TG strongly recommends having a near vertical shackle angle, but having them kicked back a little is going to give you a nicer ride, and should allow more droop out of the springs. to each his own though. with the marlin USAs, you should definitely be able to flush-mount the hanger w/no problems... are you 4 cyl or V6?
Last edited by 4RunnerKid; Mar 19, 2007 at 01:11 AM.
Mar 19, 2007 | 01:55 PM
#11
Thread Starter
Registered User
Joined: May 2006
Posts: 2,377
Likes: 2
From: St. Loser, Misery
looks good. i would probably mount the hanger flush and get the shackles kicked back a little more. i know TG strongly recommends having a near vertical shackle angle, but having them kicked back a little is going to give you a nicer ride, and should allow more droop out of the springs. to each his own though. with the marlin USAs, you should definitely be able to flush-mount the hanger w/no problems... are you 4 cyl or V6?
 :woohoo:
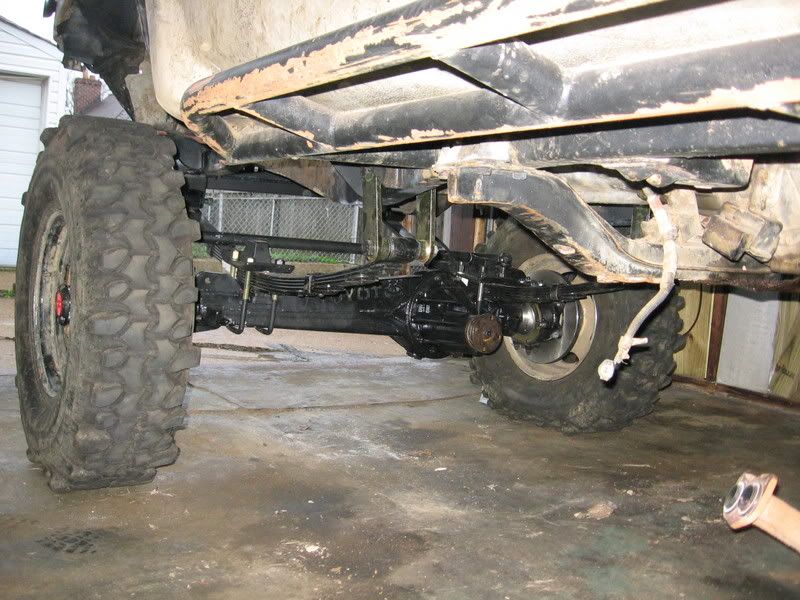

 Mar 30, 2007 | 02:33 PM
#14
Thread Starter
Registered User
Joined: May 2006
Posts: 2,377
Likes: 2
From: St. Loser, Misery
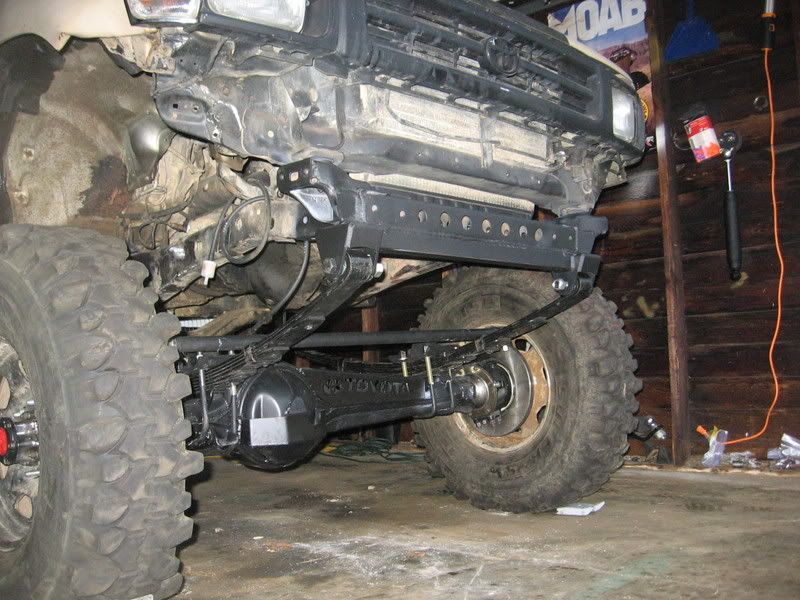
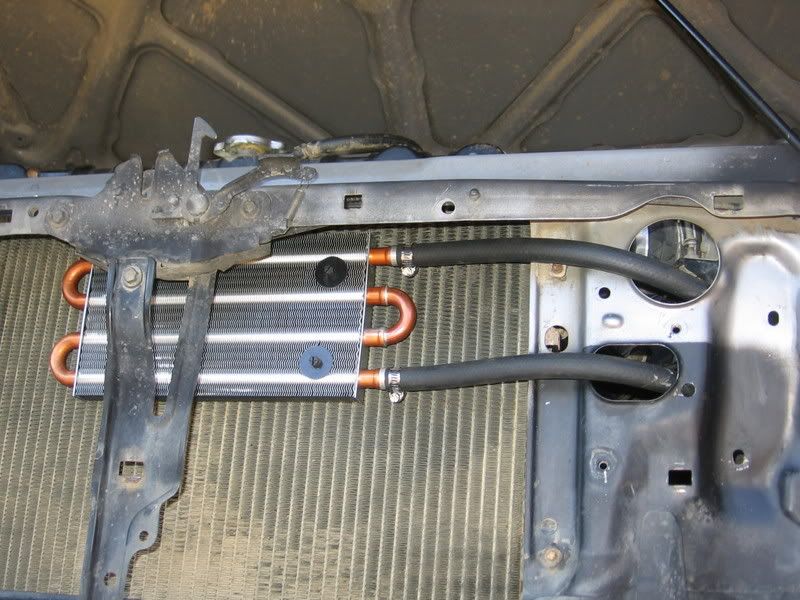
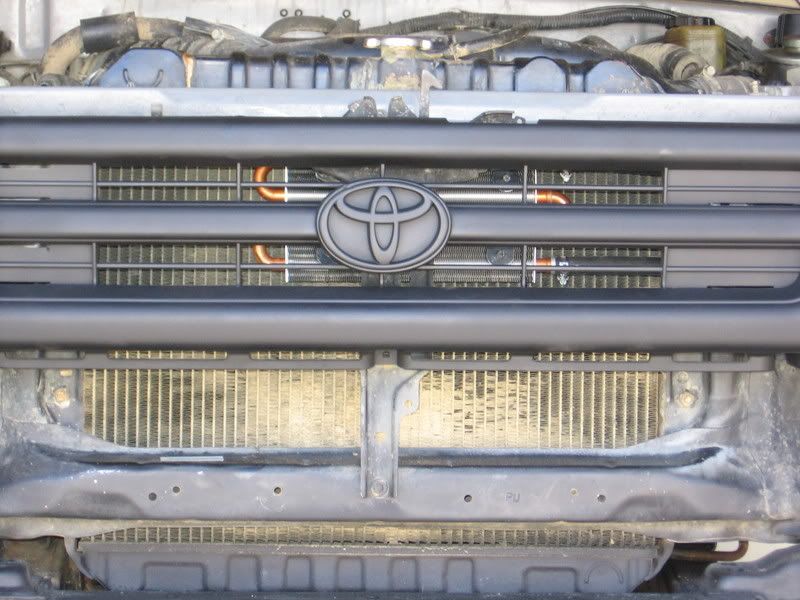
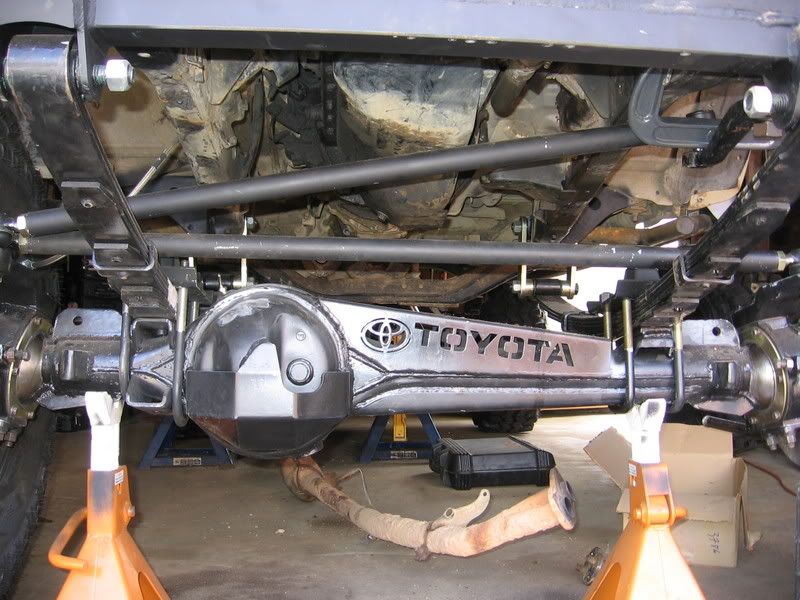
Got her on 4 wheels today...36's mounted too. just some minor adjustments needed with the rear shackle hangar. started ripping out AC and prepping front grill for the hydro cooler. 
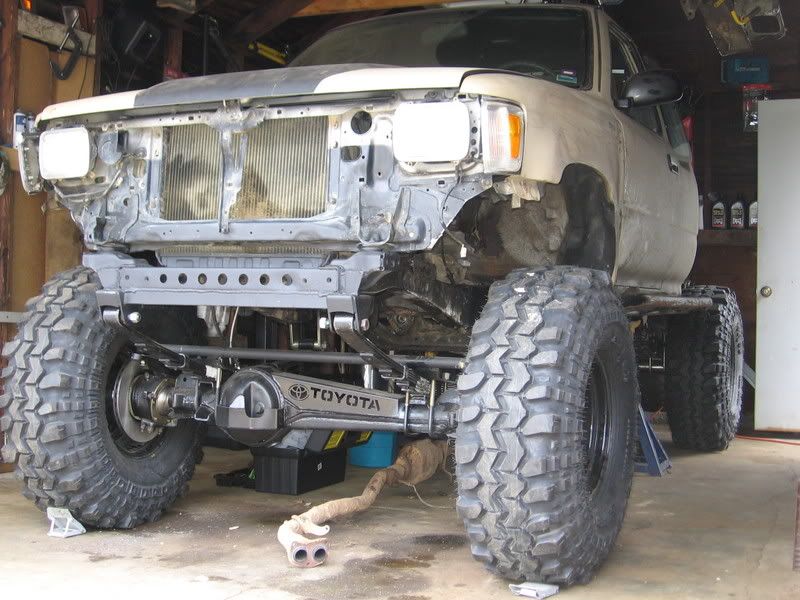
got the brakes squared away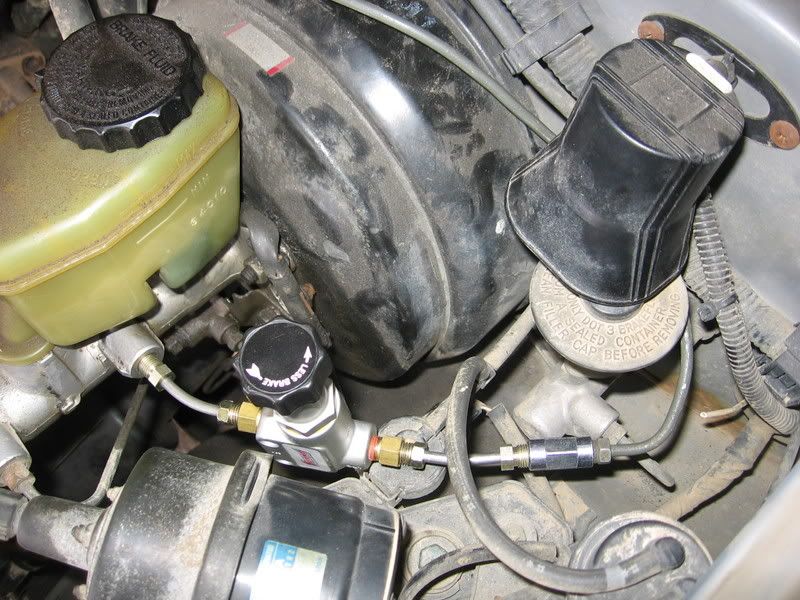
got the brakes squared away
Apr 2, 2007 | 02:19 PM
#15
Thread Starter
Registered User
Joined: May 2006
Posts: 2,377
Likes: 2
From: St. Loser, Misery
To Do List
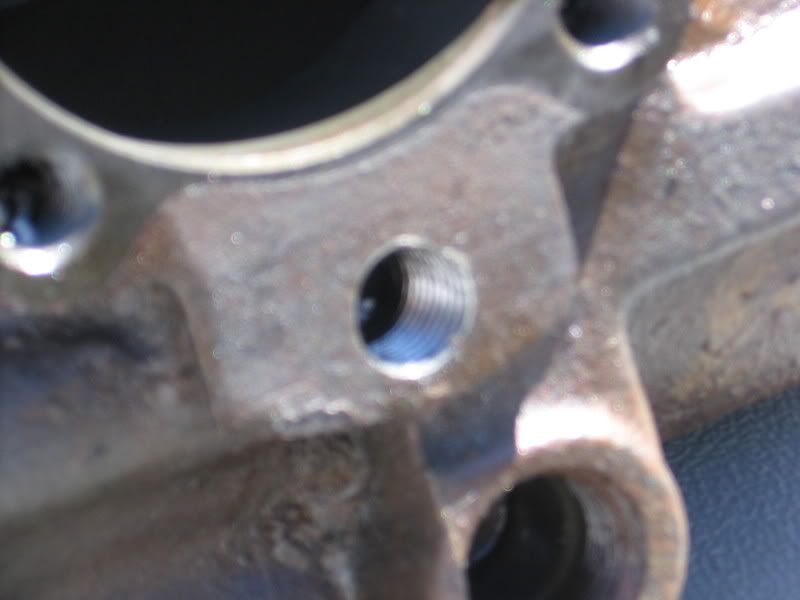
Tap steering box
Mount tabs for ram on tie rod and axle
Mount shock hoops
Bumpstops
Move P.S. box and bleed
Final weld on rear spring hangars and perches
Bleed brakes
Mount CO2 setup
Weld 2 P.S. reservoirs together
mount hydro cooler unit
Remove AC
double check torque on all critical bolts
mount driveshafts
got a little work done this morning...... :flamer:
Mount tabs for ram on tie rod and axle
Mount shock hoops
Bumpstops
Move P.S. box and bleed
Final weld on rear spring hangars and perches
Bleed brakes
Mount CO2 setup
Remove AC
double check torque on all critical bolts
mount driveshafts
got a little work done this morning...... :flamer:
Apr 2, 2007 | 02:35 PM
#16
Contributing Member
Joined: May 2002
Posts: 4,267
Likes: 1
From: Solano Co, CA Originally a North Idaho Hick
Awesome! Which proportioning Valve did you use and did you have any issues with the metric to standard fittings? I been thinking of getting the wilwood valve but it looks like a pain dealing with the standard fittings.
Apr 2, 2007 | 05:18 PM
#17
Thread Starter
Registered User
Joined: May 2006
Posts: 2,377
Likes: 2
From: St. Loser, Misery
 This build up is hard for me now (to find time) I'm in my last semester for 2 degrees and I manage a hotel full-time.
 May 5, 2007 | 03:12 PM
#19
Thread Starter
Registered User
Joined: May 2006
Posts: 2,377
Likes: 2
From: St. Loser, Misery
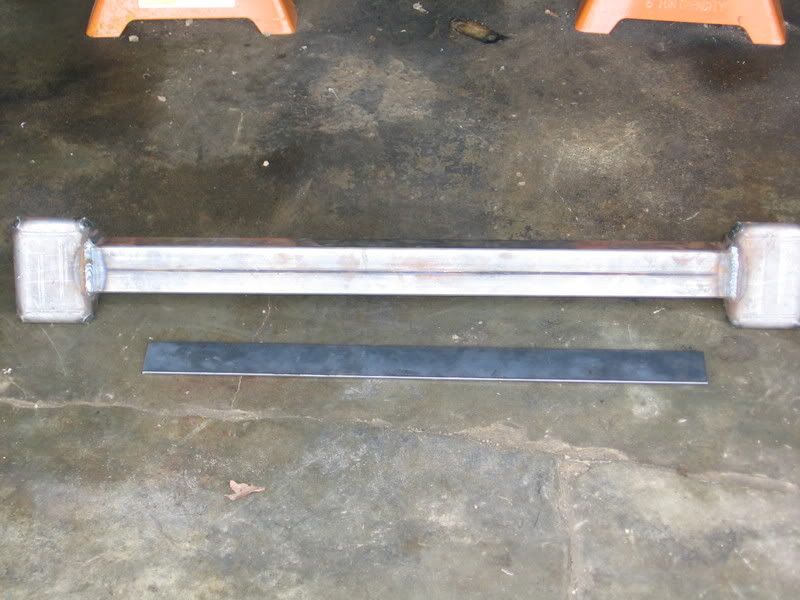
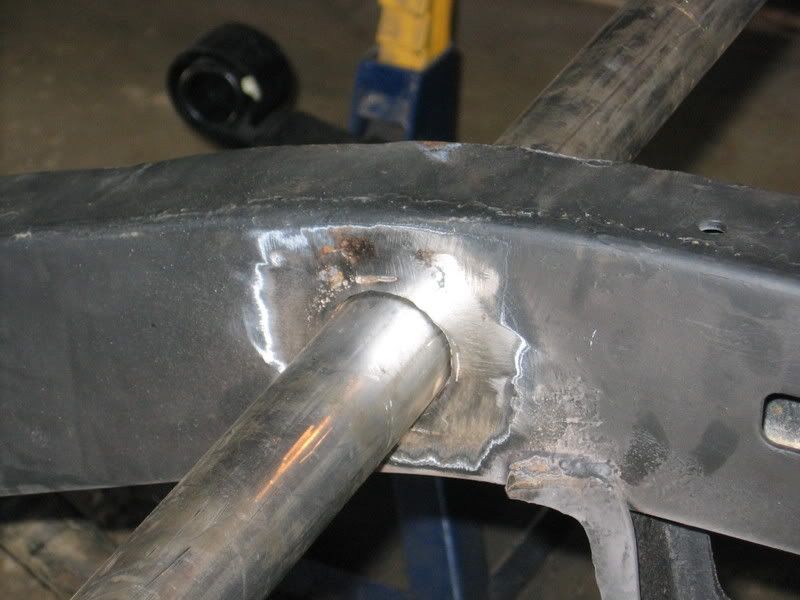
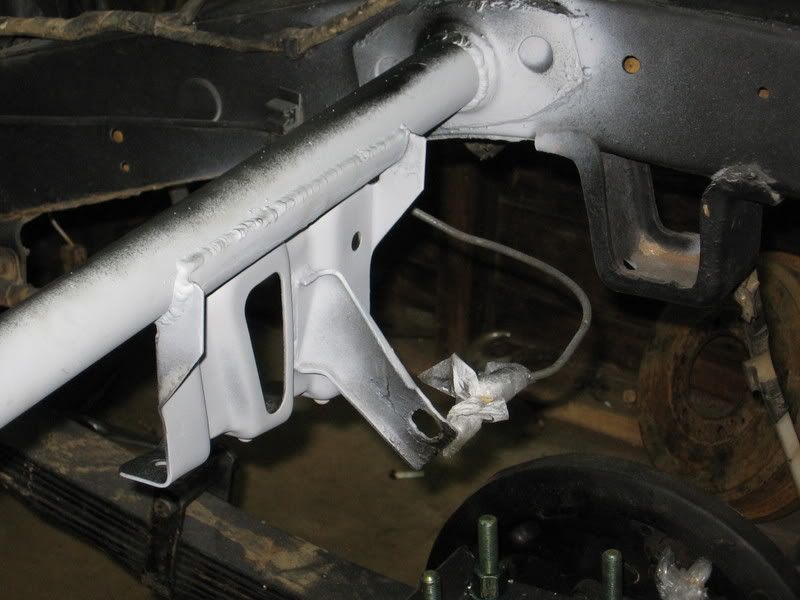
replace the rear crossmember which was rusted thru.....sleeved it with 1 5/8 DOM 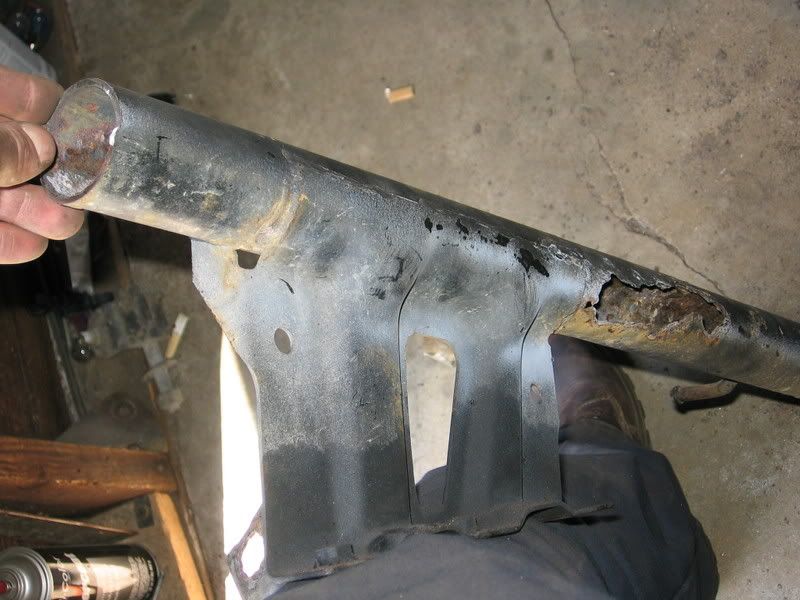
 cut off the original gas tank bracket
welded onto new crossmember
]
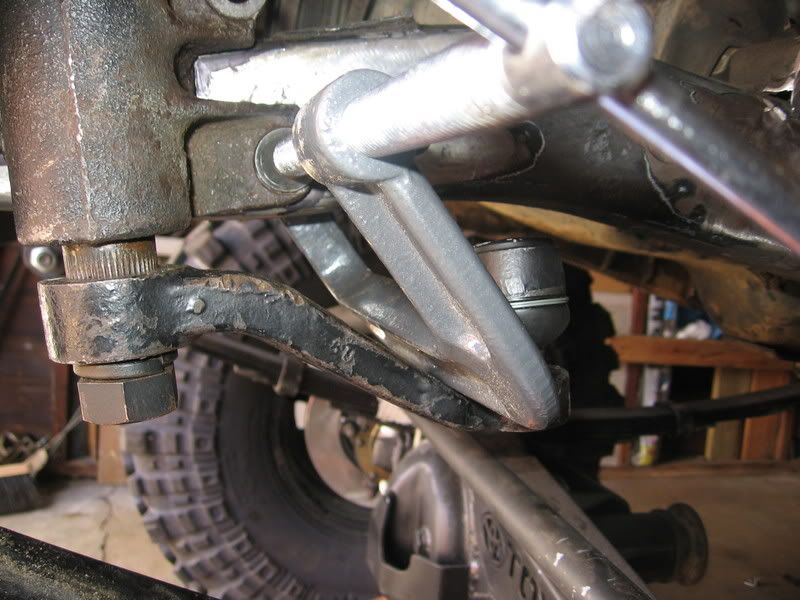
welding ram tab on tie rod
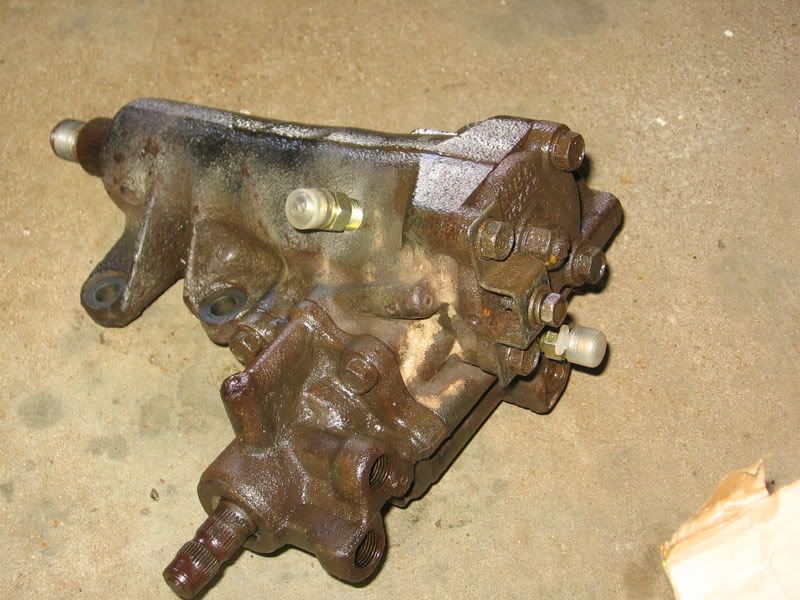
ALMOST THERE! waiting on driveshafts and I need to rebuild my power steering box
cut off the original gas tank bracket welded onto new crossmember
]
welding ram tab on tie rod
ALMOST THERE! waiting on driveshafts and I need to rebuild my power steering box


