
88_Red_Runner's Tired Of IFS...
 Jan 8, 2014 | 04:59 PM
#63
Thread Starter
Registered User
Joined: Dec 2012
Posts: 223
Likes: 0
From: Montana
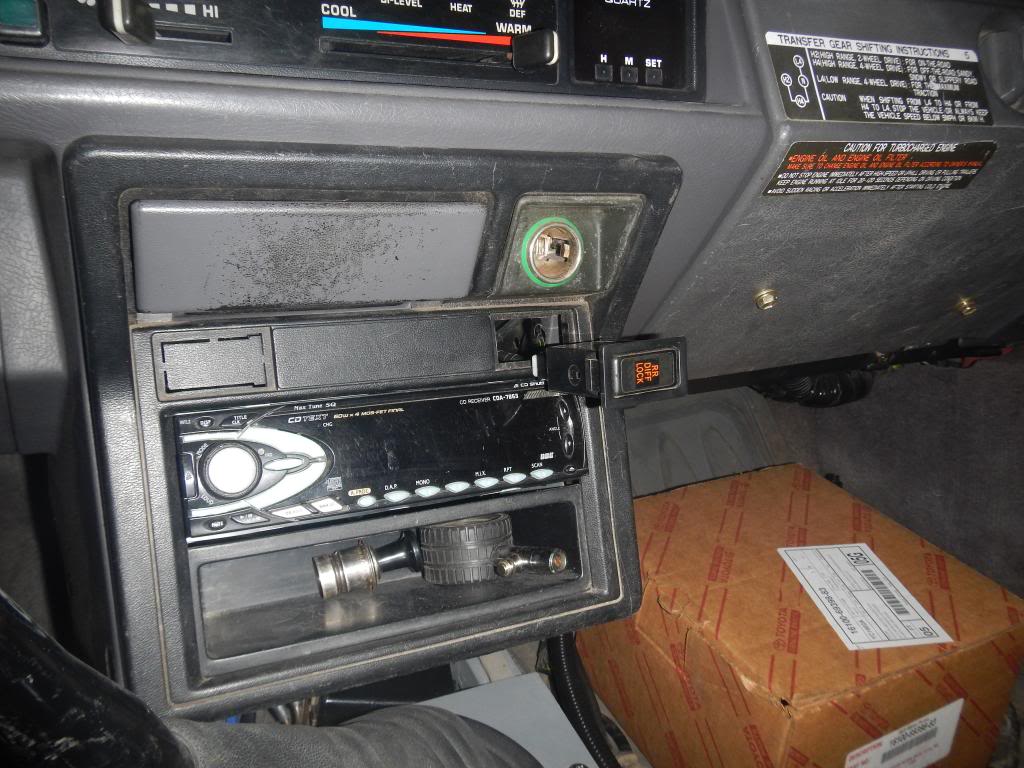
I wired it to a 12 volt switch. So it does not have constant power to it. Comments or suggestions are welcome. After I do the timing belt and water pump stay tuned for the front bumper build as well.
Jan 9, 2014 | 04:34 PM
#66
Thread Starter
Registered User
Joined: Dec 2012
Posts: 223
Likes: 0
From: Montana
That is what I hear. Working 7 days a week right now and is hard to find time to do any thing. I'll make a tool to get that crank pulley off, that is if my impact will not break it free.
Jan 10, 2014 | 11:37 PM
#68
Registered User
Joined: Jan 2014
Posts: 3
Likes: 0
From: out west
Yeah, I know what it is like not having time to work on projects. You need to throw some 40's on there and get us some snow wheeling pics when you are done. Those 35 MTRs do pretty well in the snow also.
Jan 12, 2014 | 03:36 AM
#69
Thread Starter
Registered User
Joined: Dec 2012
Posts: 223
Likes: 0
From: Montana
Jan 12, 2014 | 03:41 AM
#70
Thread Starter
Registered User
Joined: Dec 2012
Posts: 223
Likes: 0
From: Montana
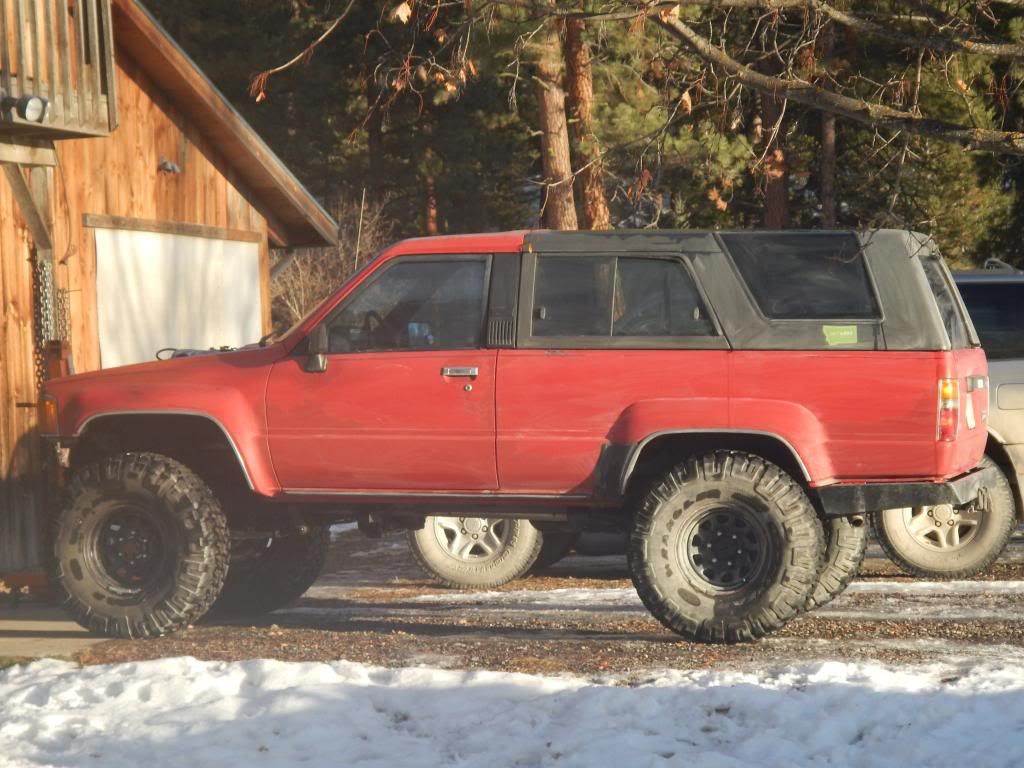
My brother in law's truck has a set of 39.5x13.5x15" IROK's on it right now, that I would like to mock up on her for a little bit of fender trimming. Trying to see how I can sneak some money to Marlin right now to purchase the 4.7 gear set first. Will do on the snow wheeling pics as soon as I can.
Jan 31, 2014 | 03:56 PM
#72
Thread Starter
Registered User
Joined: Dec 2012
Posts: 223
Likes: 0
From: Montana
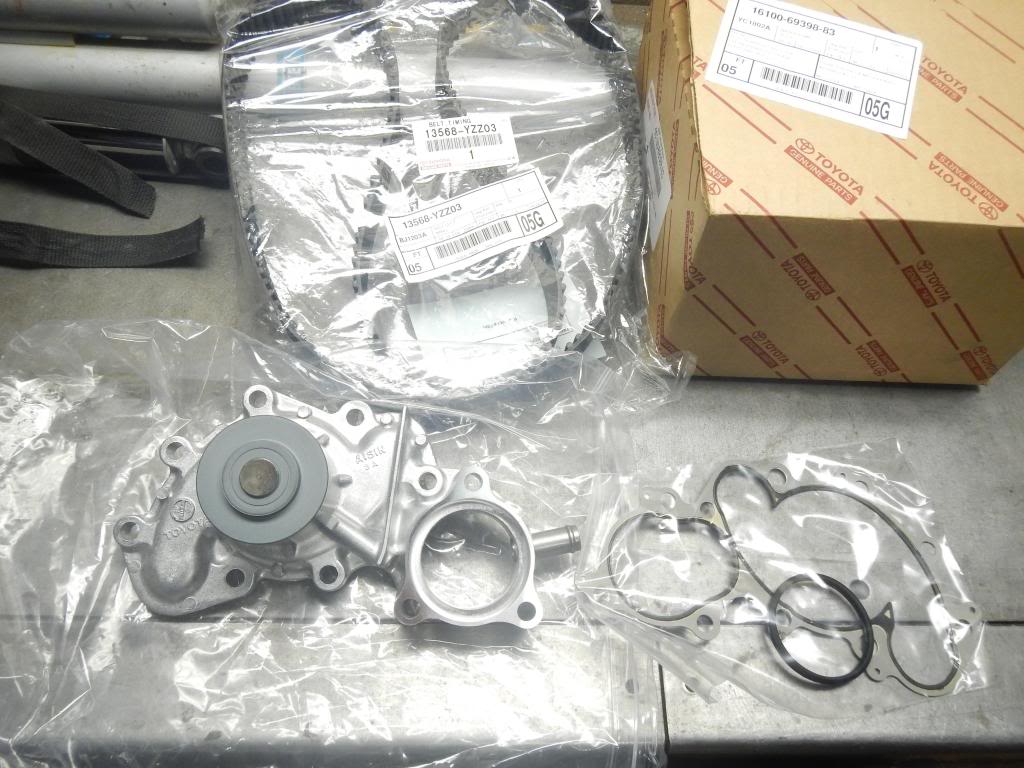
Well, it has been a while since I have posted. I did install this last weekend. Very straight forward. I do have to say that the original timing belt and water pump lasted in this engine 200,000 miles. The belt and pump were factory. None of the bolts had ever had a wrench on them. Very impressive. The belt was terrifying to look at. I will post some pictures of it tomorrow. Thanks everyone for the support so far.
 Feb 3, 2014 | 04:46 AM
#76
Thread Starter
Registered User
Joined: Dec 2012
Posts: 223
Likes: 0
From: Montana
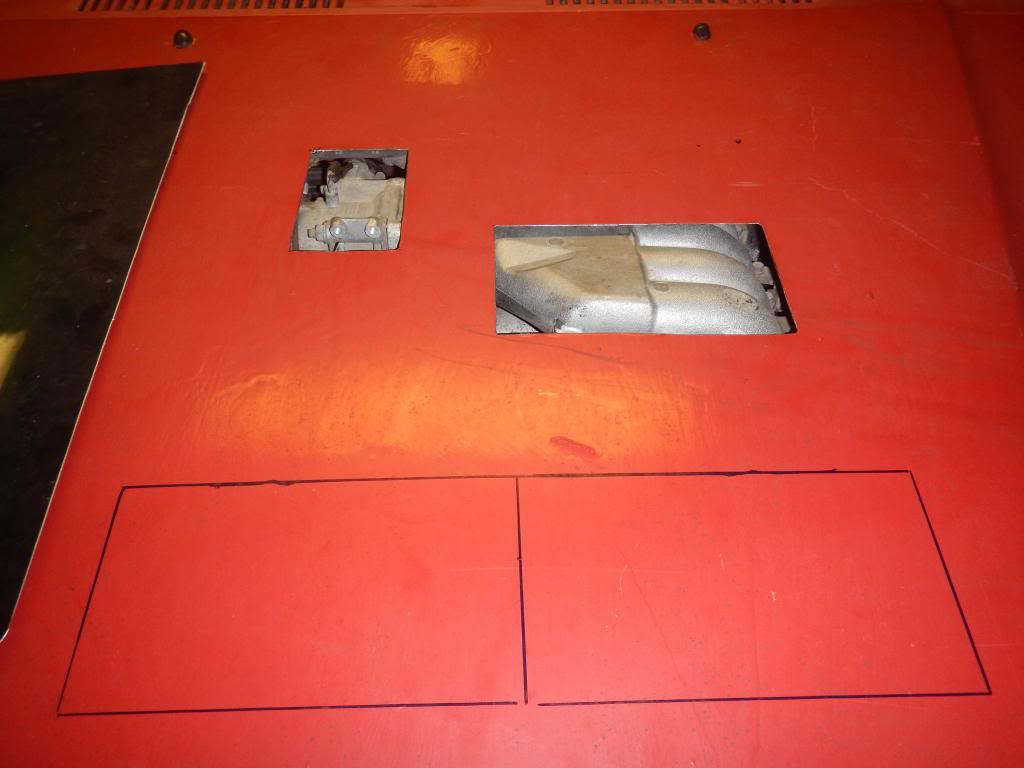
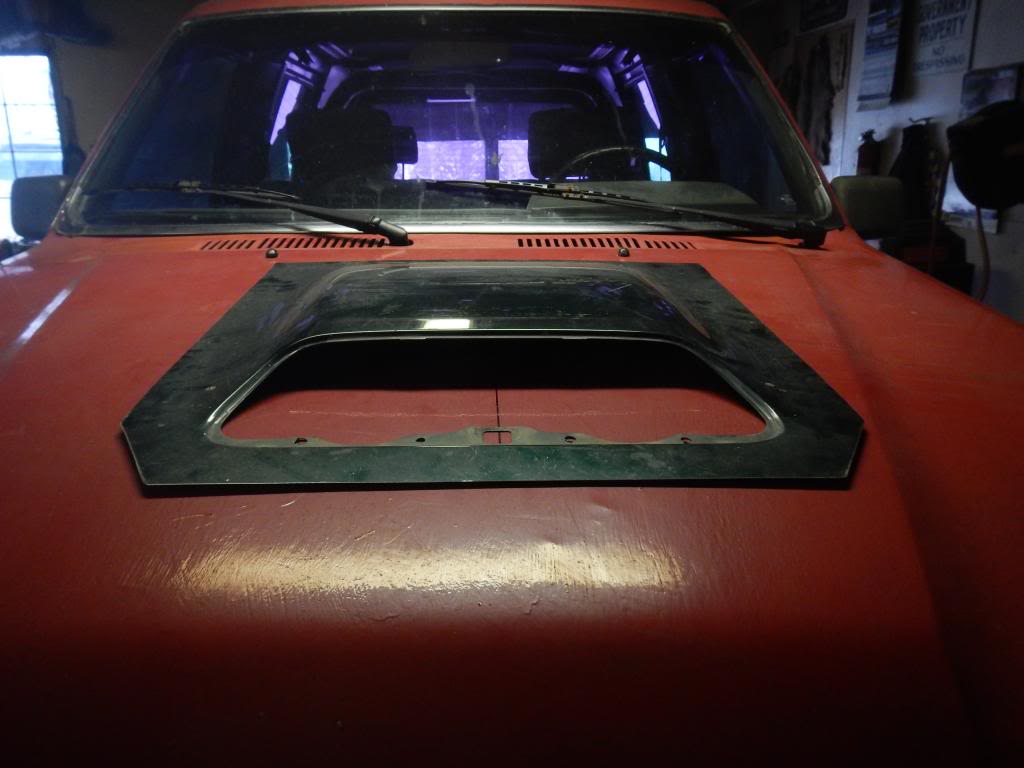
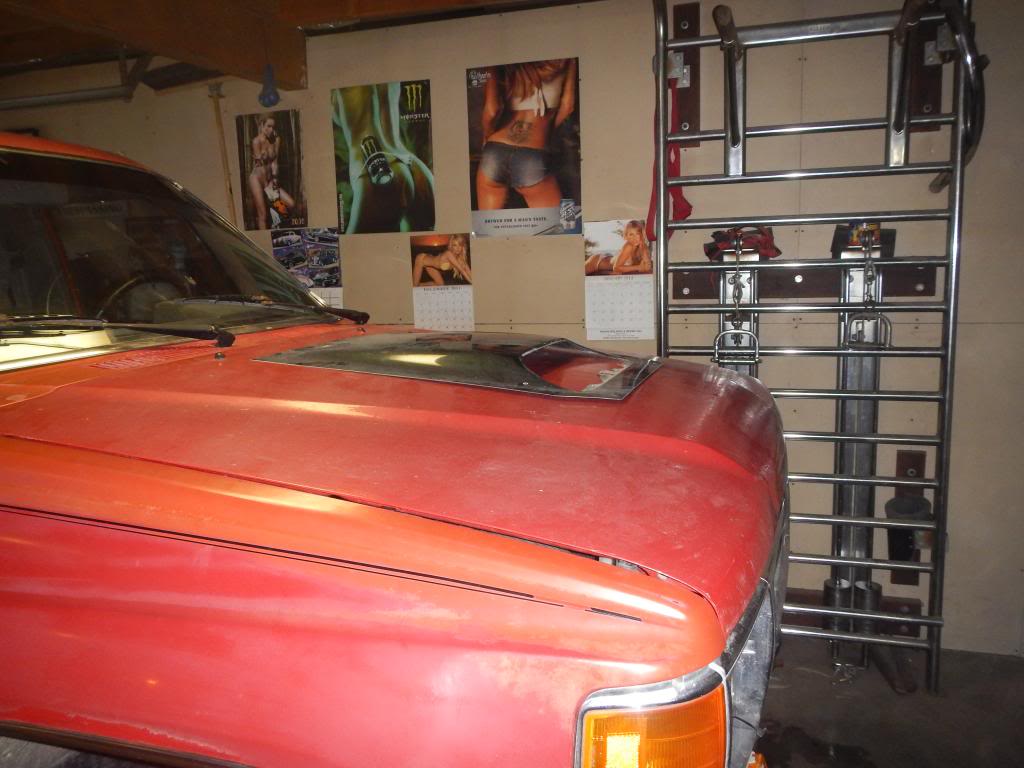
Ran out of battery in the camera. I'll post pictures later of the finished product. I welded the scoop in place on the hood. Feathered out some bondo and primer coat for now. turned out well I think. The scoop is off of a 2000 4Runner sport. Thought that it would be fitting since the whole truck is nothing but Toyota.


 Feb 3, 2014 | 04:08 PM
#78
Thread Starter
Registered User
Joined: Dec 2012
Posts: 223
Likes: 0
From: Montana
 Feb 4, 2014 | 04:33 PM
#80
Thread Starter
Registered User
Joined: Dec 2012
Posts: 223
Likes: 0
From: Montana
The scoop will be dual purpose. It will help cool the upper intake. It will not be functional for air intake. The main purpose give more room for the upper intake. I will also block it off for wet, snowy, and muddy conditions.


