When you click on links to various merchants on this site and make a purchase, this can result in this site earning a commission. Affiliate programs and affiliations include, but are not limited to, the eBay Partner Network.
I welded the front diff on my 91 full time front end and put on factory manual hubs. That made it impossible to turn so I would have to get out and I was always locking and unlocking one hub. So I took the front diff actuator apart and lathed out a recess for a spring. The spring pushes the fork into thenengaged position. and I ran vacuum line and a check valve into the cab and hooked it up to an eaton 18speed shifter. Ran the output side to the release end of the vacuum actuator. If I lose vacuum it will default into locked. Now I can engage the front locker and disengage it with the flip of a switch from the cab
Made a custom rear window that functions as break lights and turn signals.
1017548 642204099169672 n 20140322 210448first failed attempts before I redid the lights on the brake light circuit. I still gotta find decent pics.
added more pics because I pretty much did it all on a budget of nothing.
Gave myself about 3 hp from just cleaning up the head casting on my 22r. Polishing the exhaust, and port matching the intake. all for low low price of free! Heres a video of how to do it if any of you are interested.
Installed some puddle lights today. Found these simple grommet mount leds for like 50� a piece on ebay. Drilled a hole in the bottom of the arm rest and soldered the lead to the door light. Works pretty good. Cost about $1
I have an LED lighting project for my 1988 4Runner. It's going to be 11 LED spot lights all around my truck.
2 4" driving on the Valance
22" light bar middle of Valance
2 7" on top of bumper angled left and right a little
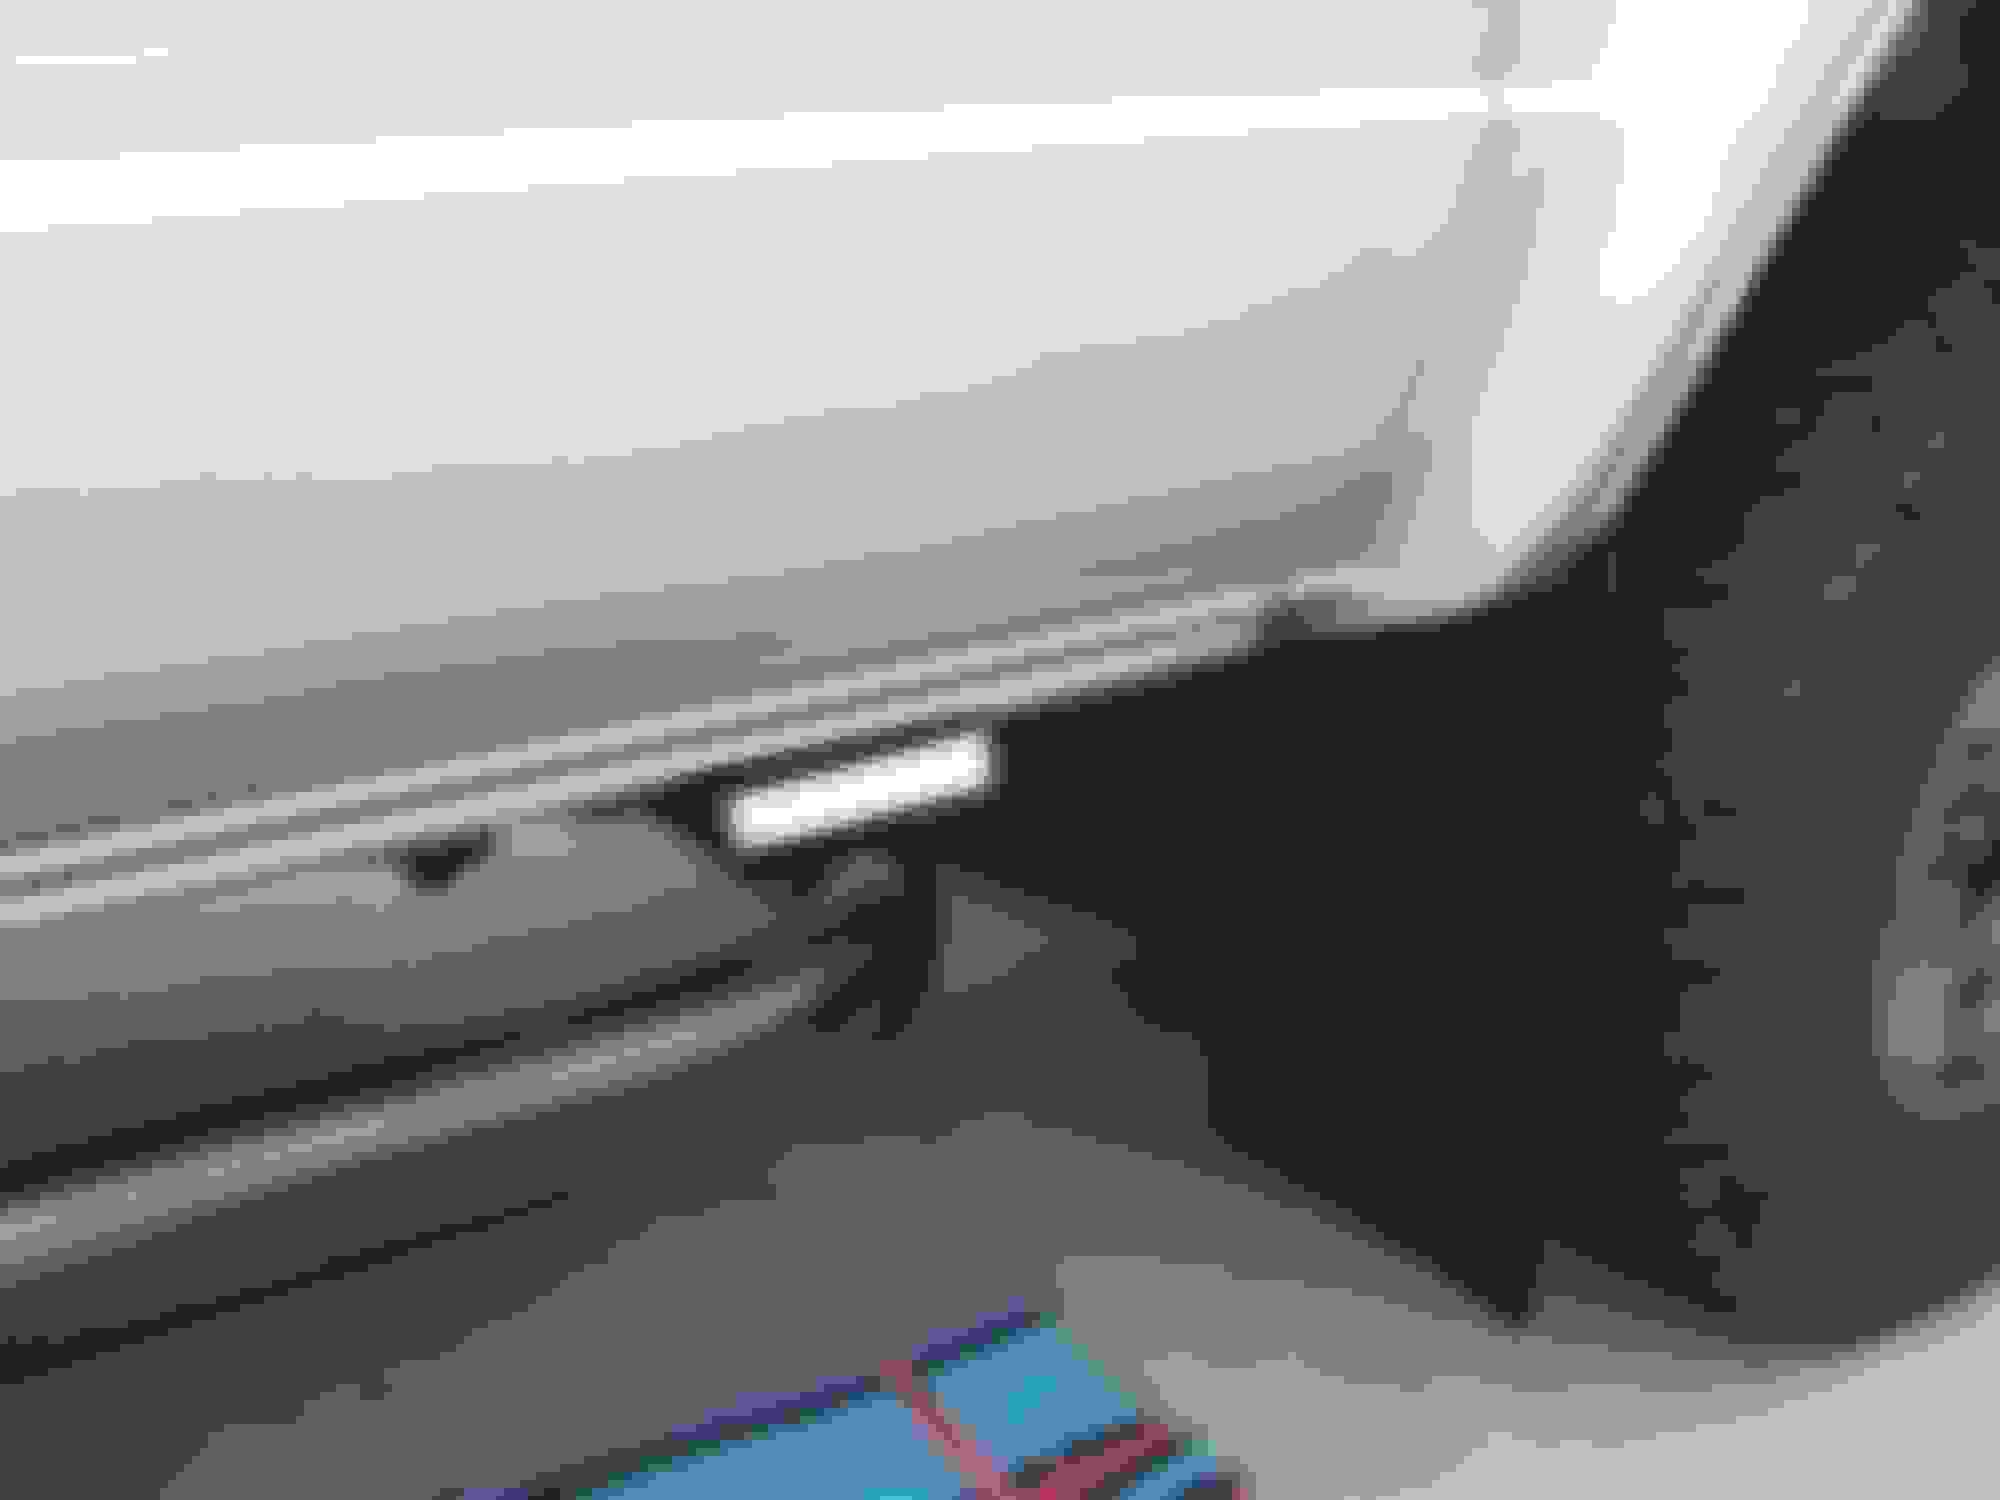
2 7" slim LED spots under my doors for door and side lights
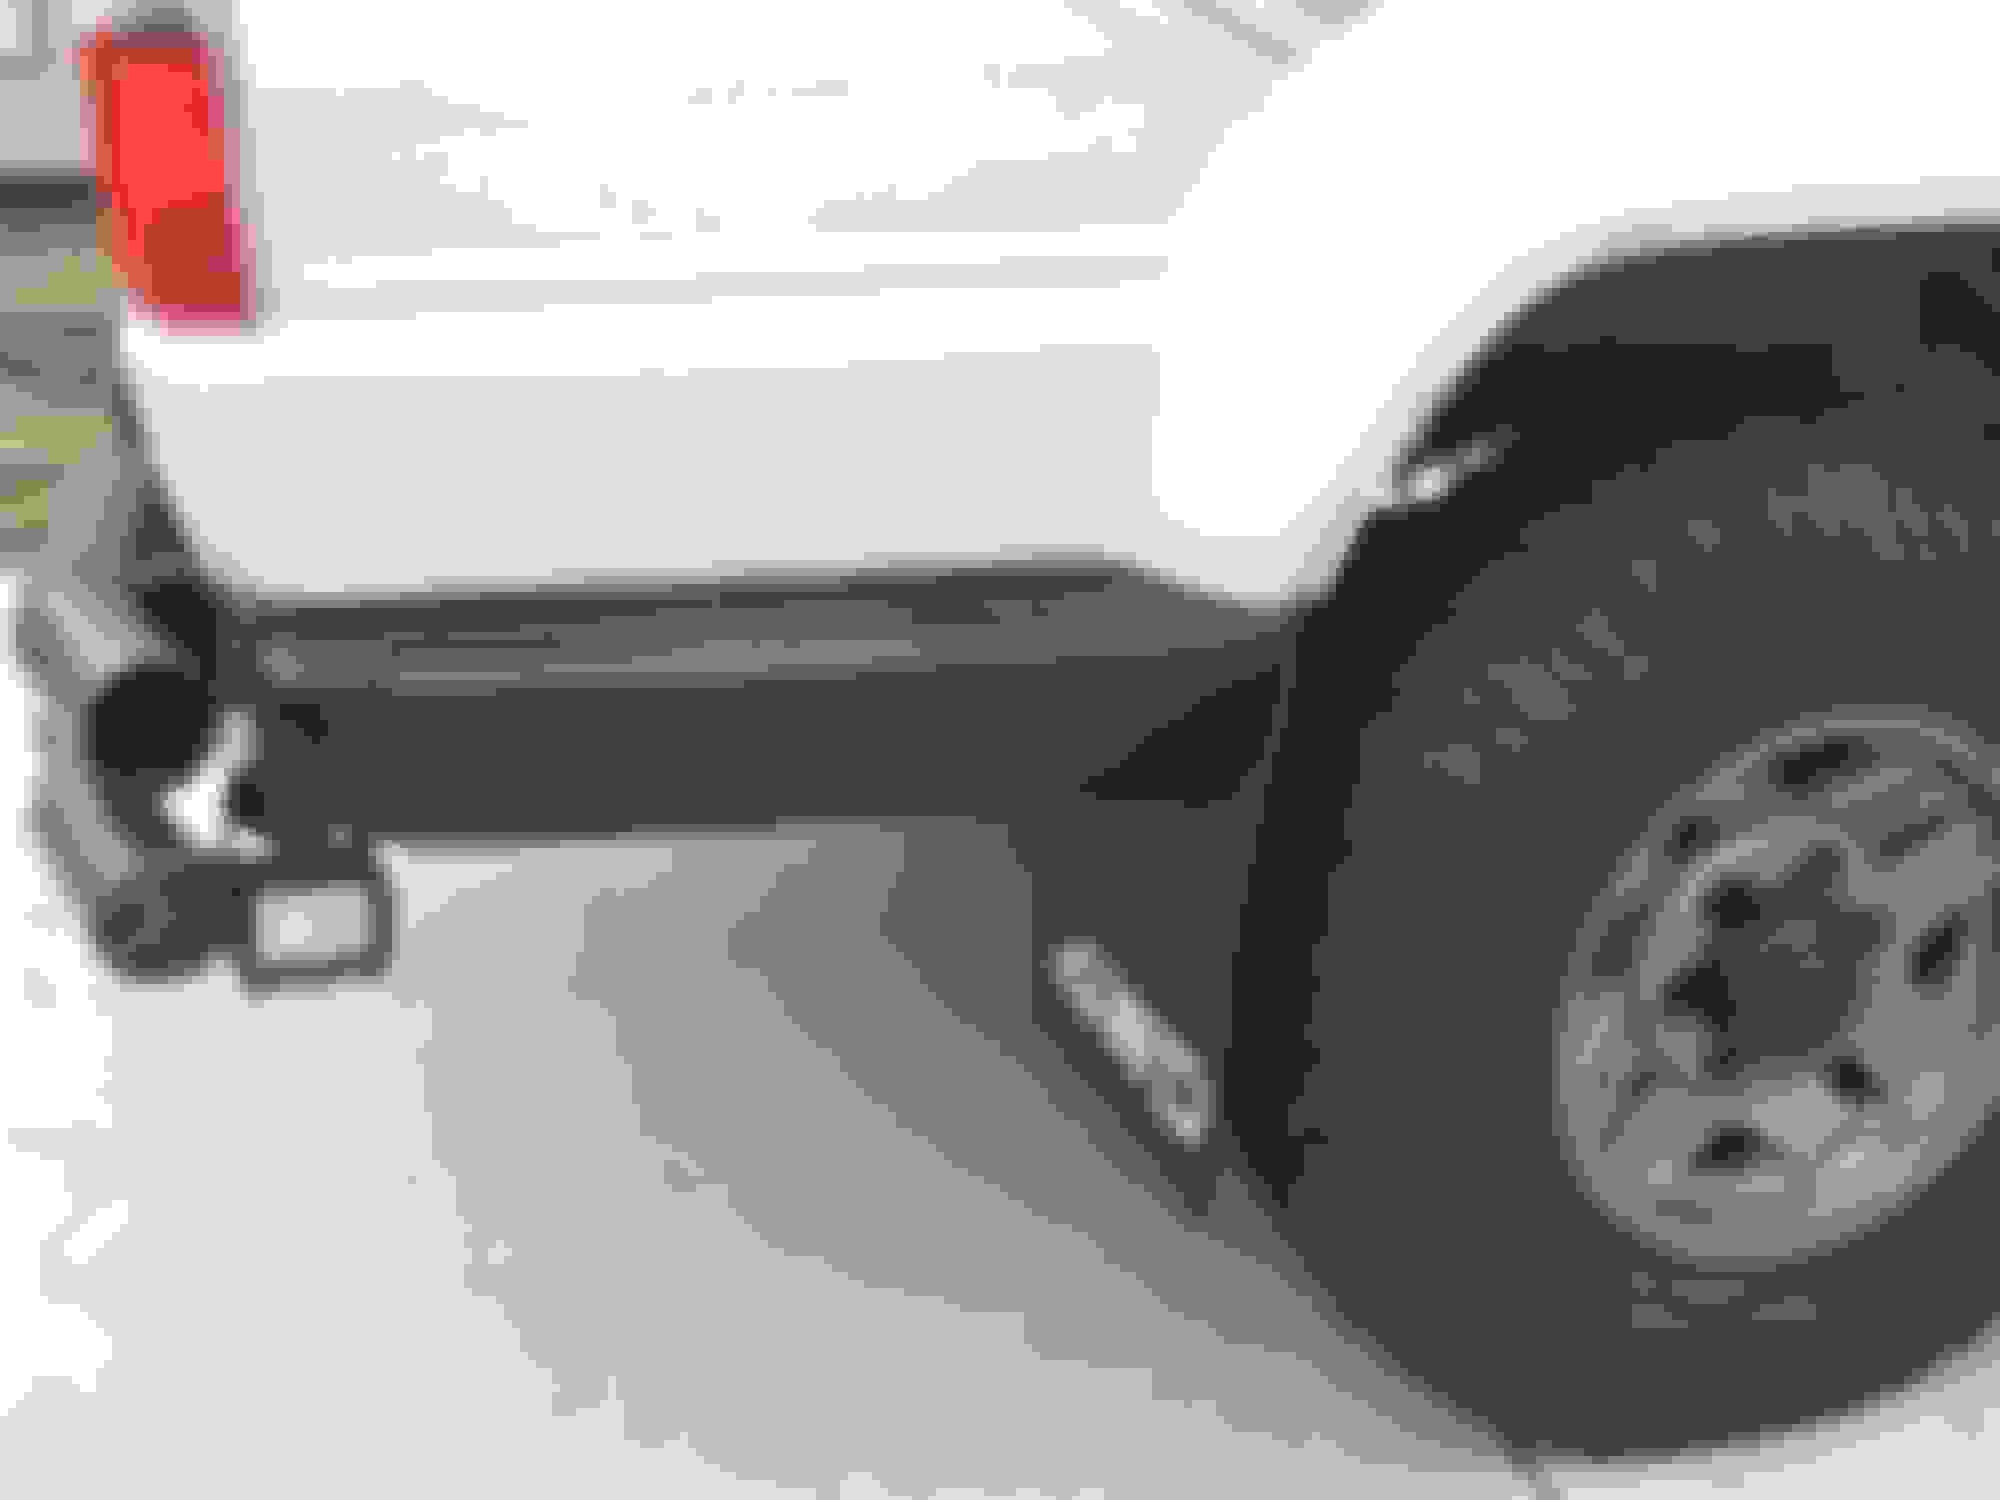
2 4" at rear sides high watts help with looking for camp spots at night
2 7" slim LED on rear Smittybuilt rear bumper for bright back up lights.
I have an LED lighting project for my 1988 4Runner. It's going to be 11 LED spot lights all around my truck.
2 4" driving on the Valance
22" light bar middle of Valance
2 7" on top of bumper angled left and right a little
2 7" slim LED spots under my doors for door and side lights
2 4" at rear sides high watts help with looking for camp spots at night
2 7" slim LED on rear Smittybuilt rear bumper for bright back up lights.
Still deciding on switch panel
I used some small push buttons in the original cup holder for my panel. I used some diodes and resistors to make them light dimly with the interior lights and then bright when activated.
Good call. My instinct to to put my head toward the front of the cab so didn't want to be pointed down. I have also used a taro like this between to trucks so we have a place to get dress and stage before hunting in some rough weather. Used a hiking pole to prop up the center.
I have another large tarp that I can wrap around those tent poles clear to the side of the truck and wall it off like an enclosed room. And in Winter I use my Coleman catalytic heater in there. Nice and cozy.
I have installed the 22 inch light bar.The mounts fit to the existing bolt hole for the Valance. I zip tied the light bar to the truck to make sure it stays on the truck if the bolts get loose bouncing on the trails.
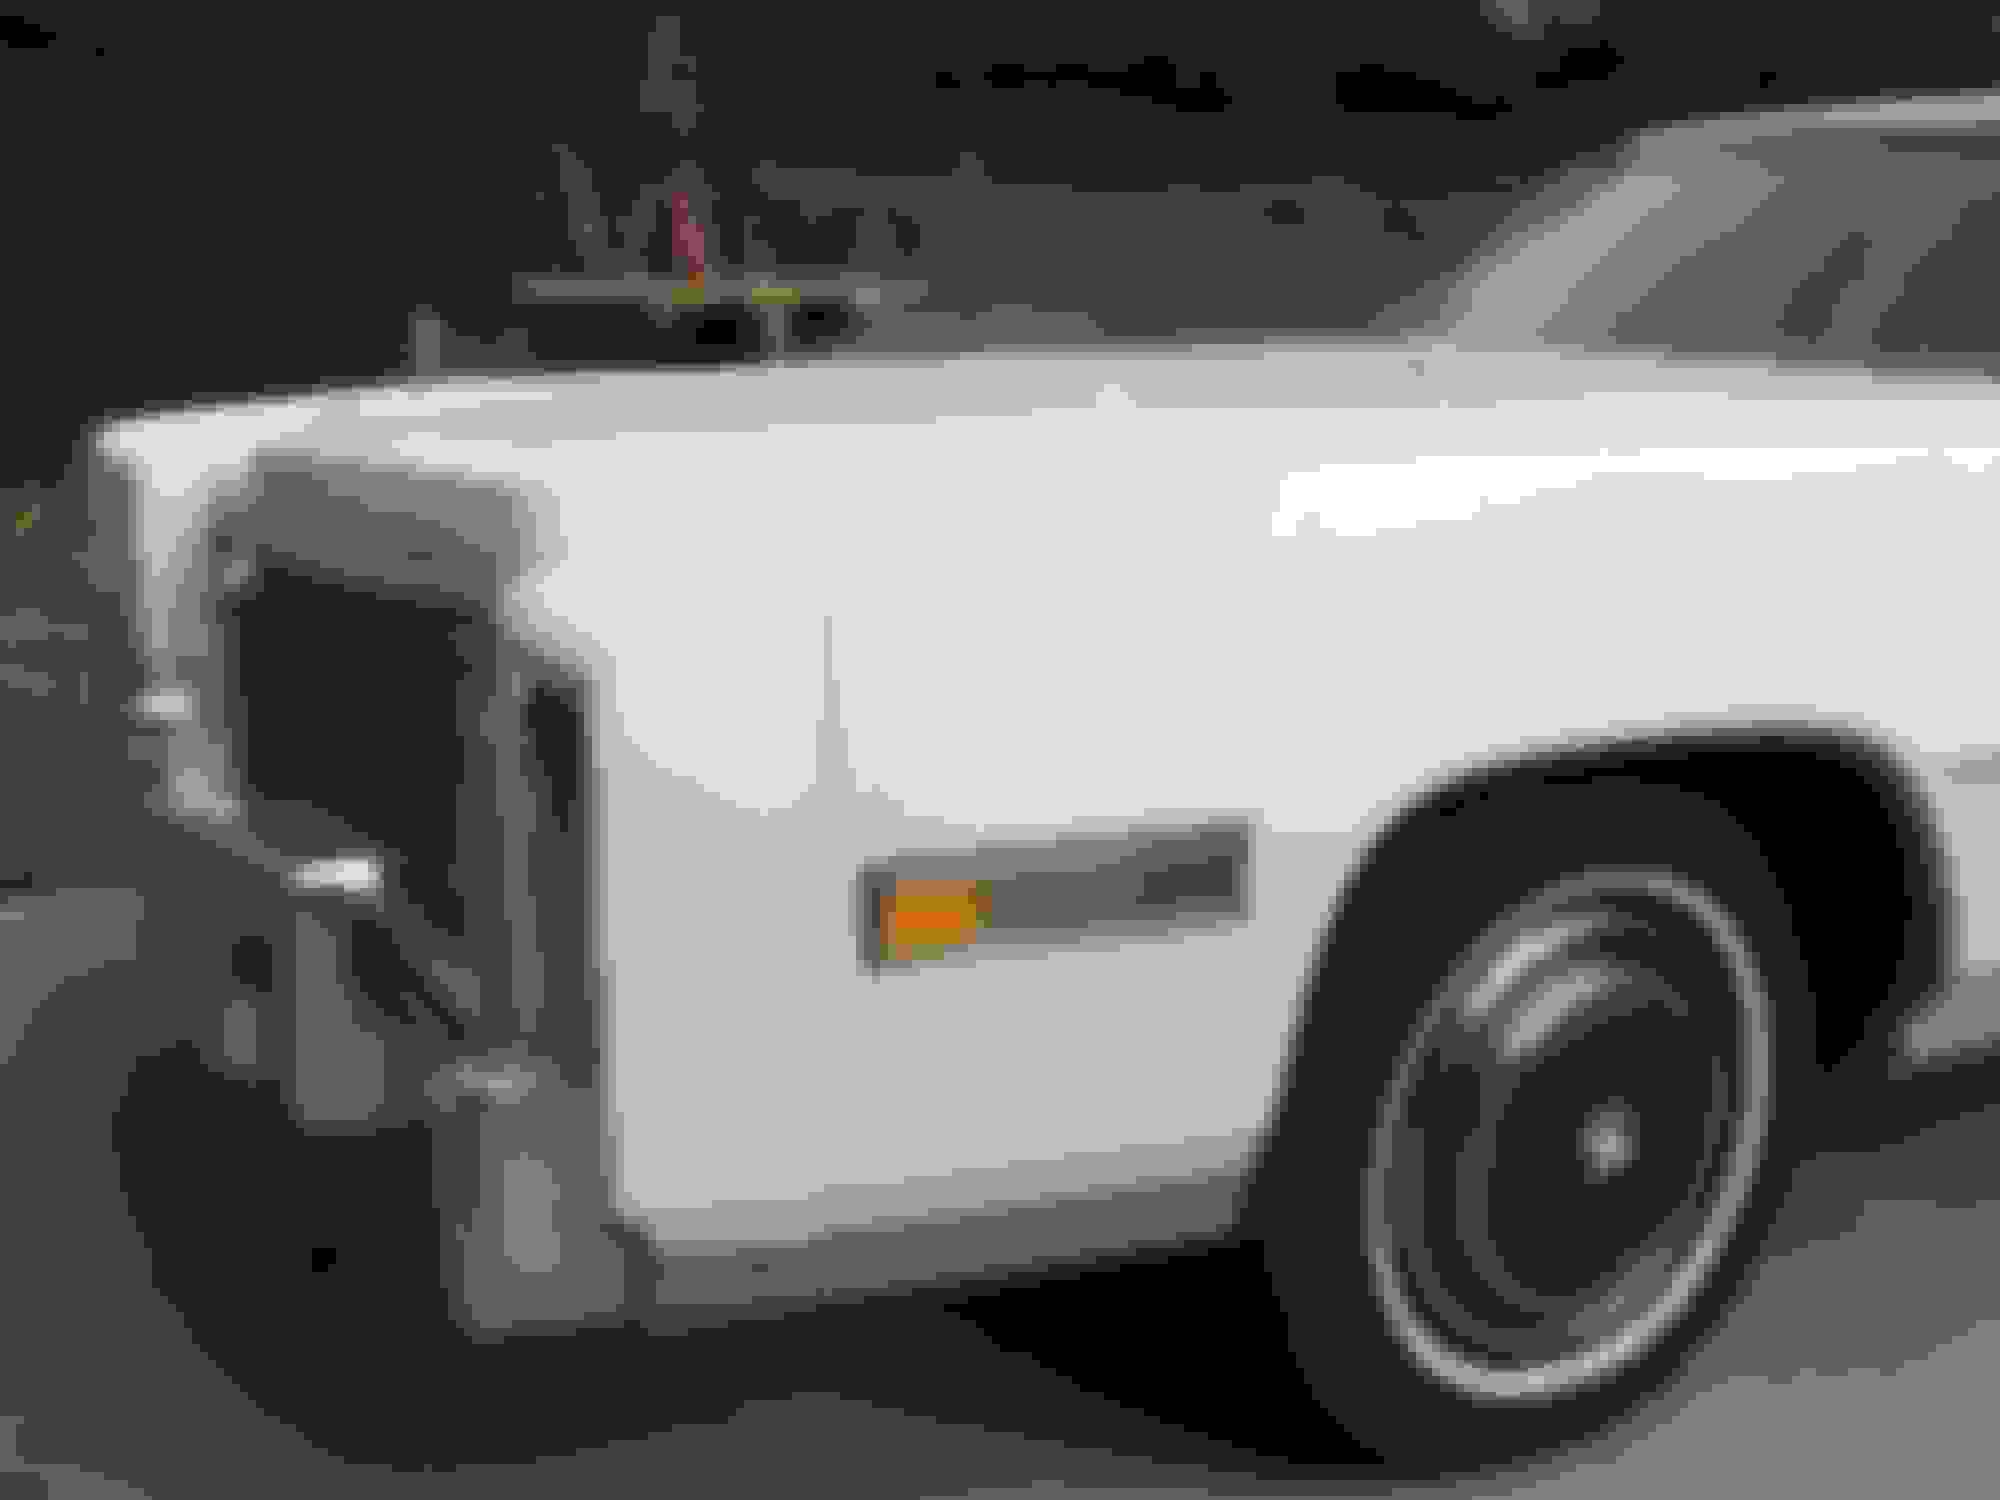
The door light is not bolted on yet. It's going right above the rock bar. And I want it tied into my turn signal for a side light for turning. Like my 1976 El Dorado has.
Rear side lights were easy to mount under the factory stock bumper mount. I have them turned forward slightly. And the wire is zip tied to the frame.
Need to find mounting brakets for the from valance and top bumper lights.
Reverse lights will need a drilled and tapped bracket on the inside of the rear bumper.
All of these light sets (pair) were $25 or less on ebay. 22" light bar was only $25 also (480 watts)
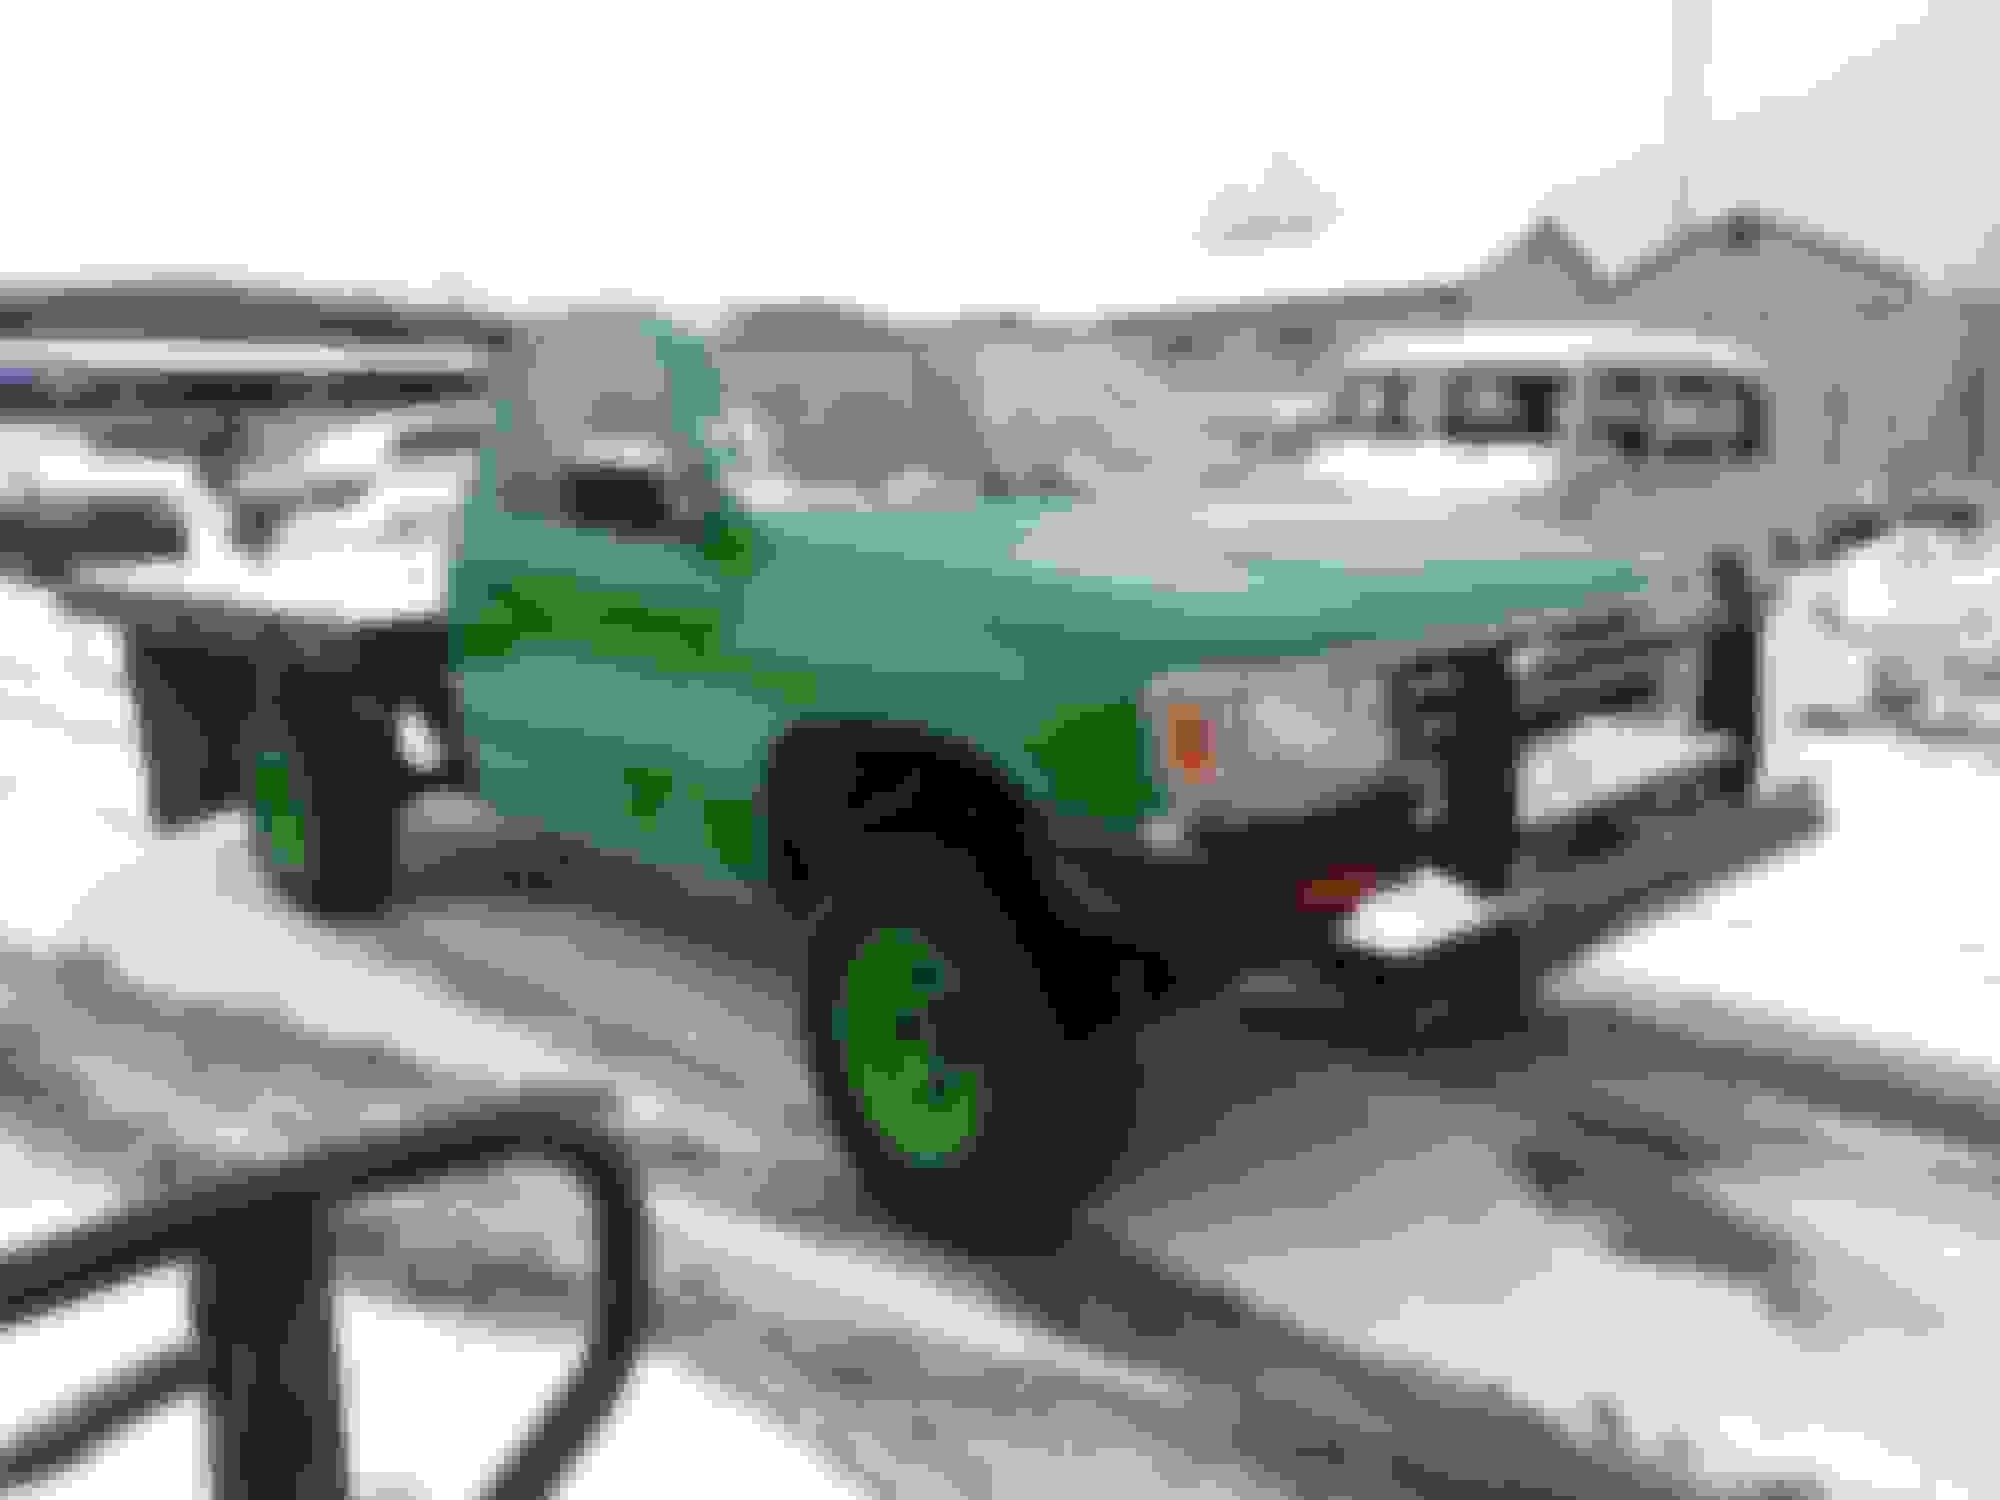
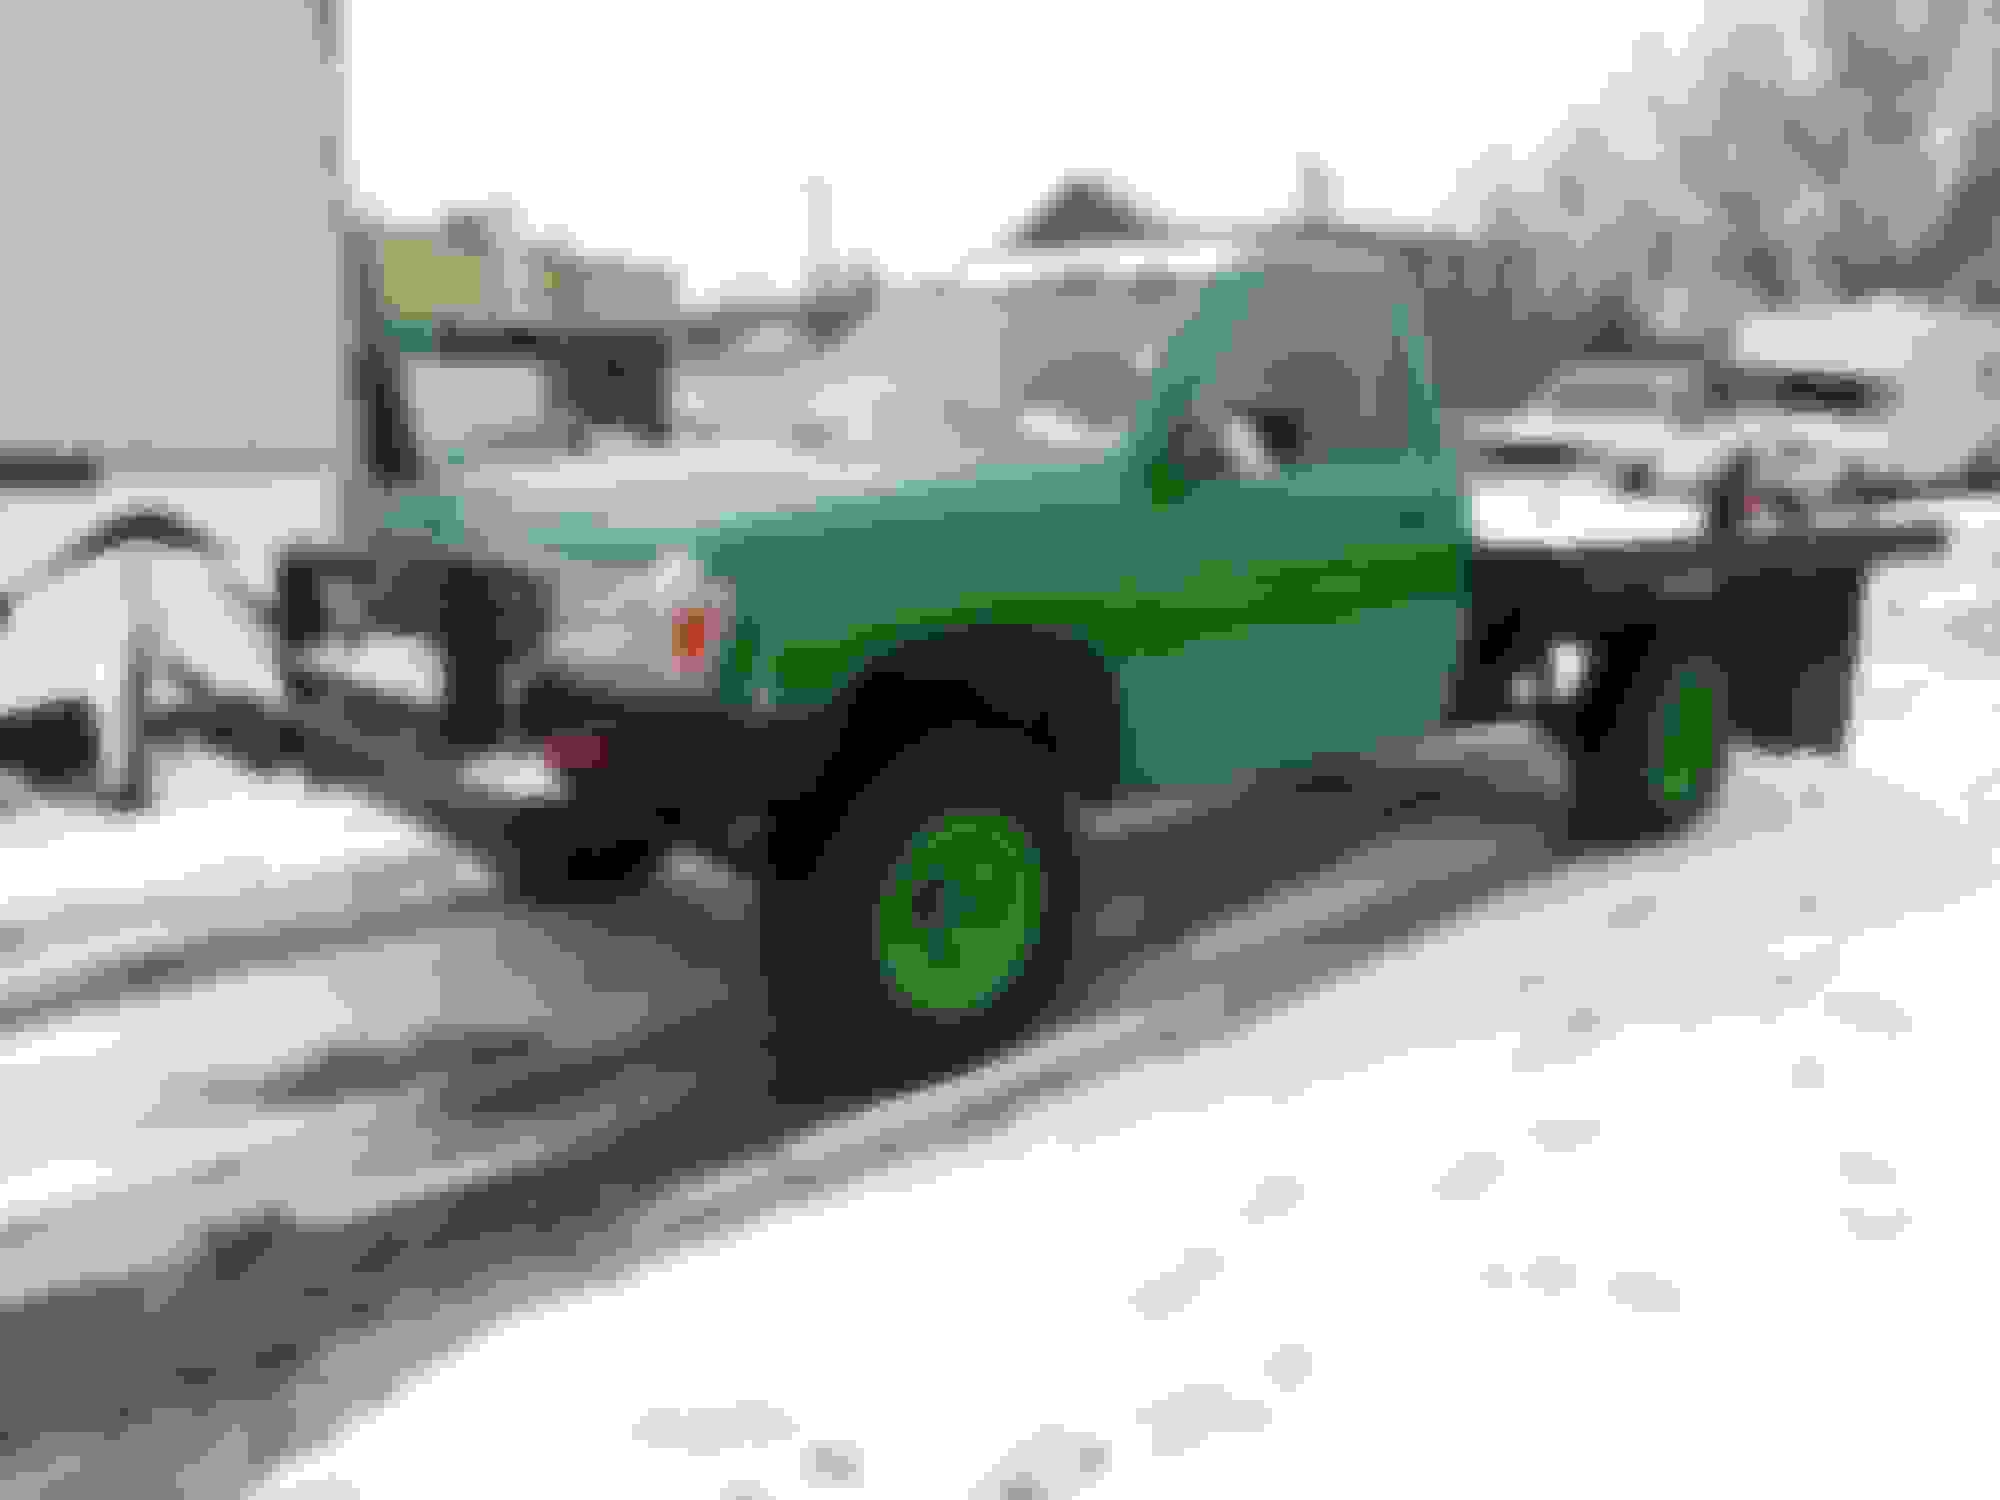
I've done a alot of mods to my 3.4 swapped T100. Heres a few of them that could apply to any yota
dual batteries, grounds around motor bay, rubber floor, bucket seats, add on gauges ( voltage gauge) , silicone vaccum hoses. Short ram intake. Big sound system, throttle body coolant bypass, A/C delete. Evap system delete, No muffler, took whole truck apart and cleaned and sanded the entire frame and painted on some rustnolem with a brush and sprayer. ( not expensive but alot of work lol ). Light weight steering wheel. Coated door panels. 4.7 gears, ADD delete, flatbed, Redid entire trucks wiring harness/made alot of it myself/ rewrapped it with electral tape and heat duct conduct, Higher output heater fan, extra storage bags and spaces around cab, ( regular cab) ,
A few of planned mods i have are
Rear 02 piggy back, ceramic clutch, full motor rebulid, steel braided brake lines, lightweight crankshaft pulley, aluminum radiator, total chaos ifs frabication kit. Diamond rear axile, Skid plates, headache rack, roof rack, winch, replace most of the plastic trim with carpet.


 Mar 23, 2016, 02:55 PM


 No Pics Available! Sorry