The mod snowballeffect. Poly Body mounts
 03-29-2006, 05:43 PM
#1
Registered User
Thread Starter
Join Date: Apr 2005
Location: Binghamton NY- Port Richey FL
Posts: 319
Likes: 0
Received 0 Likes
on
0 Posts
The mod snowballeffect. Poly Body mounts
I had a set of Energy suspension body bushings in my garage for about a year now. SO I decided to install them. Big mistake.
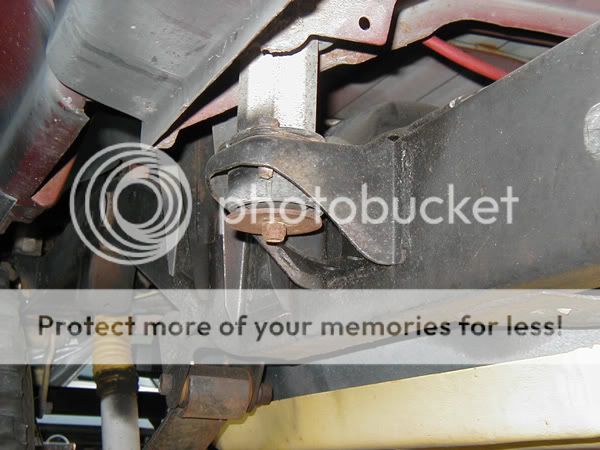
Here is a sample pic of a 6 year old mount
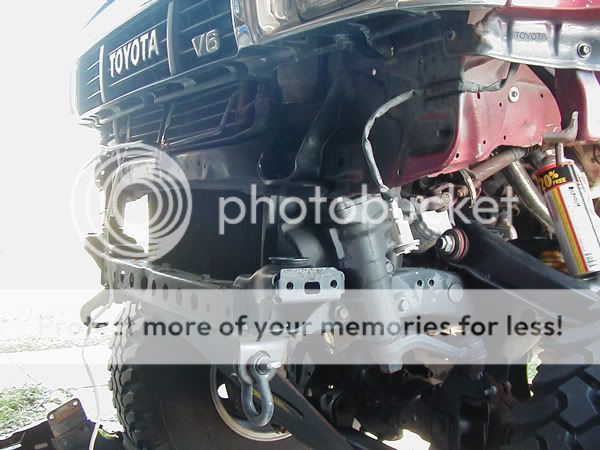
So i go ahead and clean every thing up
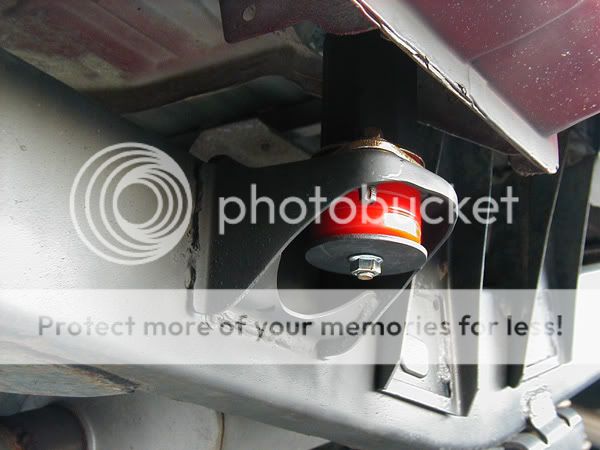
And install new mounts
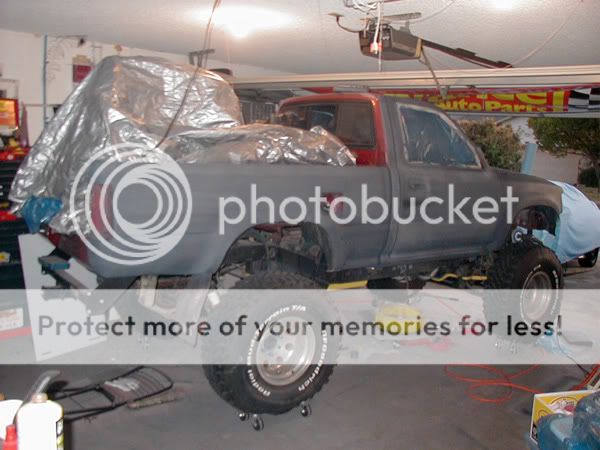
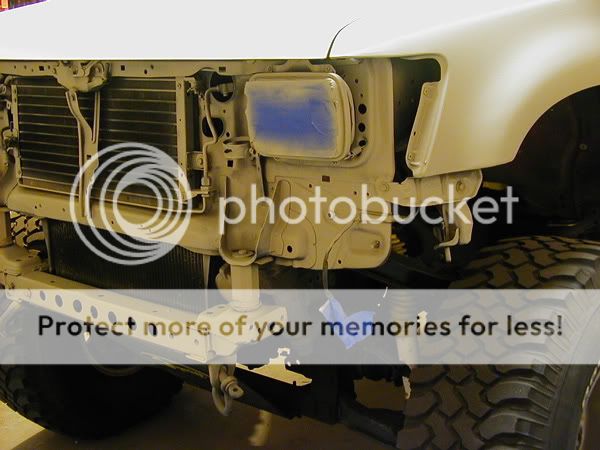
At this point I have the frame all most 100% painted and step back to look at this..
After I yank the chrome trim off of the sides I find that there is a 3" strip of 3m sticky tape residue that nothing can panetrate. But more on that later.
Since I had the interior ripped out (to clean the mount holes)
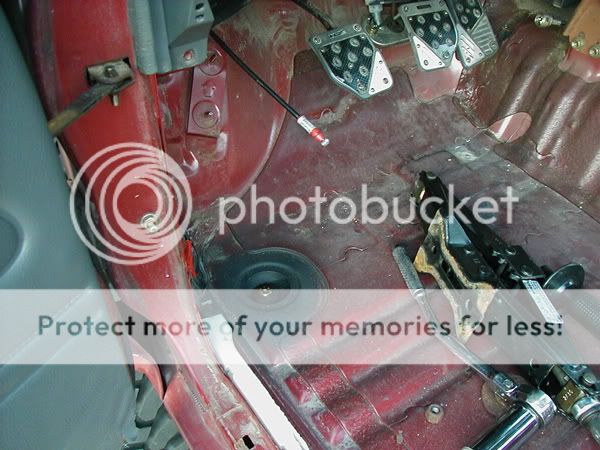
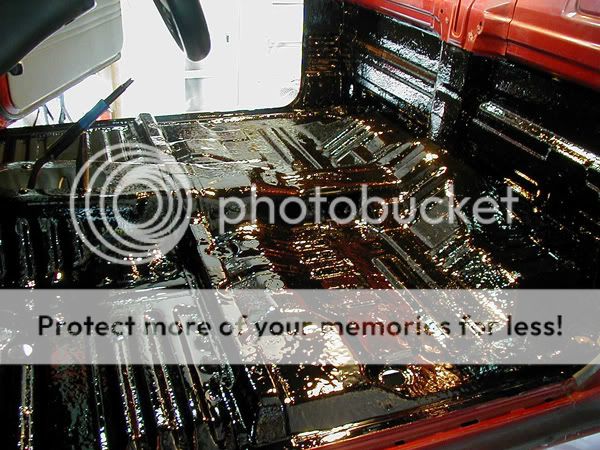
I thought "Hey why not get some bed liner and do the floor"
UH OH!
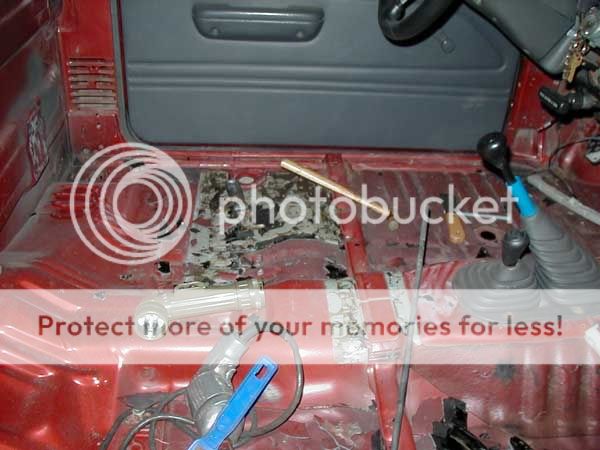
I thought maybe I should take it down to the bare metal, easy right? This little spot took me two hours with a chisle and a hammer.
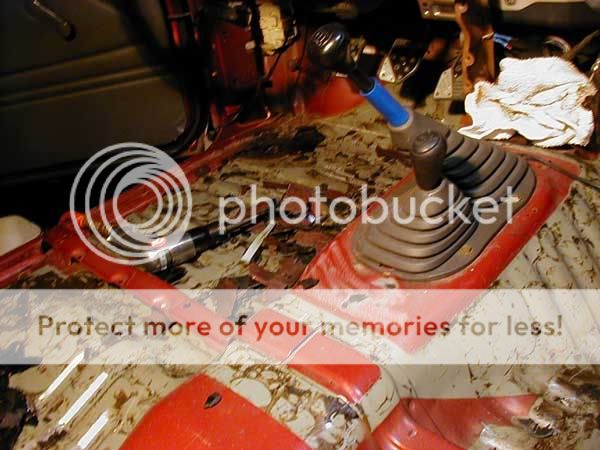
God I love air tools. 45 mins later and one oops (speed hole in the floor) I got most of the sound deadner up.
It took some 80 grit and acetone to clean every thing up to apply the bed liner. BTW I used the Duplicolor kit that we sell at Advance Auto Parts
Here is the first coat.. (sorry for the crappy photo fumes + = unsteady hands)
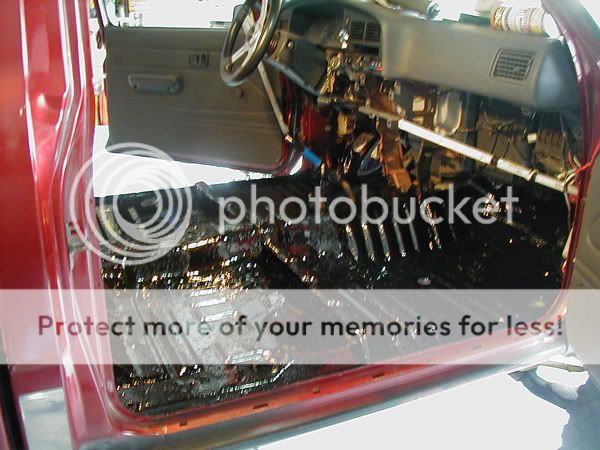
And here is the second coat..
Here is a sample pic of a 6 year old mount
So i go ahead and clean every thing up
And install new mounts
At this point I have the frame all most 100% painted and step back to look at this..
After I yank the chrome trim off of the sides I find that there is a 3" strip of 3m sticky tape residue that nothing can panetrate. But more on that later.
Since I had the interior ripped out (to clean the mount holes)
I thought "Hey why not get some bed liner and do the floor"
UH OH!
I thought maybe I should take it down to the bare metal, easy right? This little spot took me two hours with a chisle and a hammer.
God I love air tools. 45 mins later and one oops (speed hole in the floor) I got most of the sound deadner up.
It took some 80 grit and acetone to clean every thing up to apply the bed liner. BTW I used the Duplicolor kit that we sell at Advance Auto Parts
Here is the first coat.. (sorry for the crappy photo fumes +
= unsteady hands)And here is the second coat..
 03-29-2006, 06:10 PM
#3
Registered User
Thread Starter
Join Date: Apr 2005
Location: Binghamton NY- Port Richey FL
Posts: 319
Likes: 0
Received 0 Likes
on
0 Posts
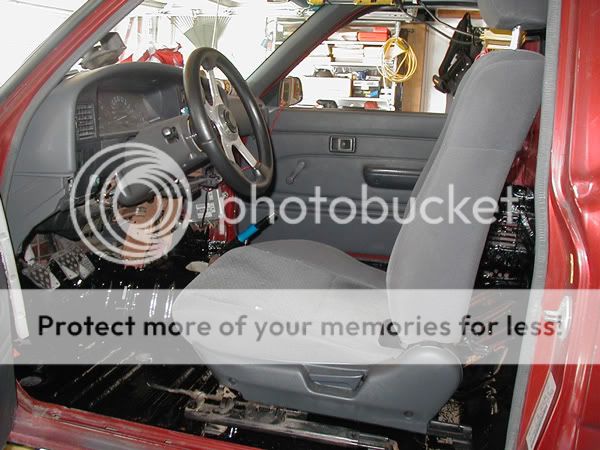
I have couple Civic seats I am thinking about putting in (later)
HMMM i think she needs a coat of paint..
so I think to myself "flat black would be easy to maintain"
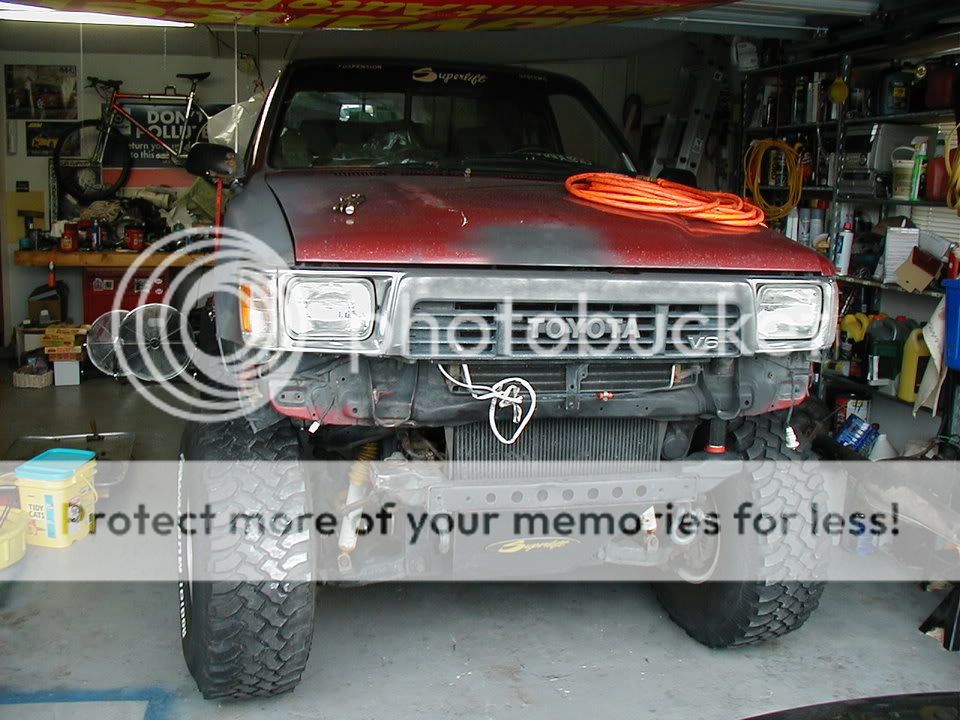
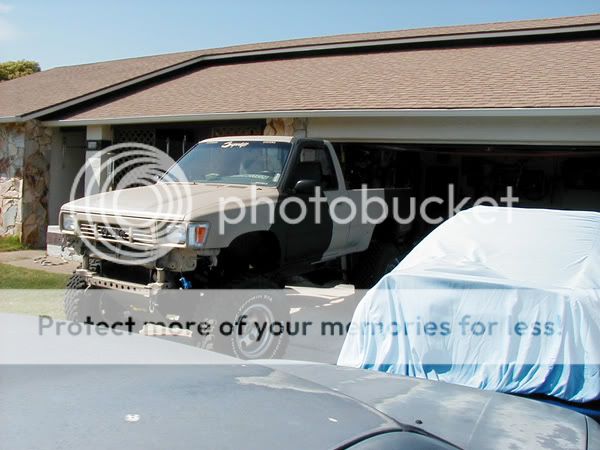
I started with the front bumper --the snowball got bigger--
This is after I had to use Aircraft paint remover to get that damm 3M tape off. That and some 80 grit on my electric drill.
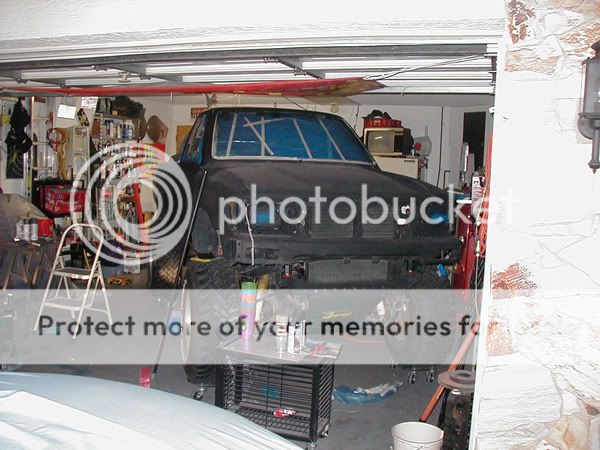
Back in black!
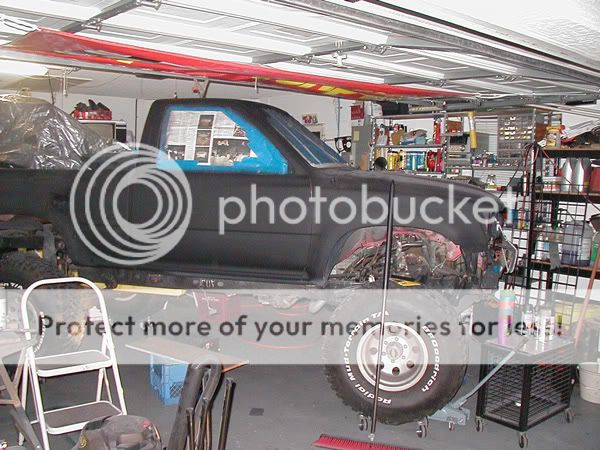
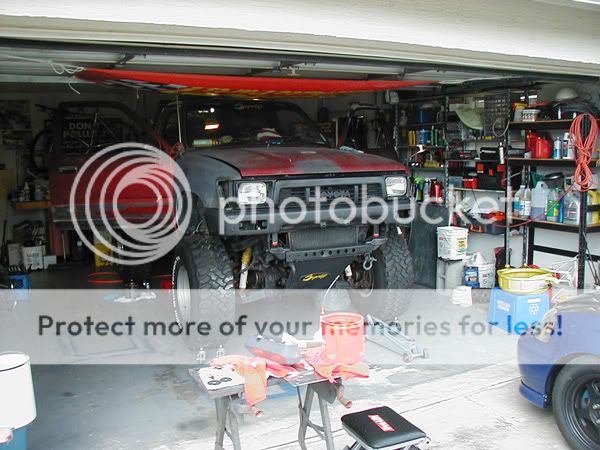
The we get in some Camo paint at work and I scoop up a few cans of tan. .
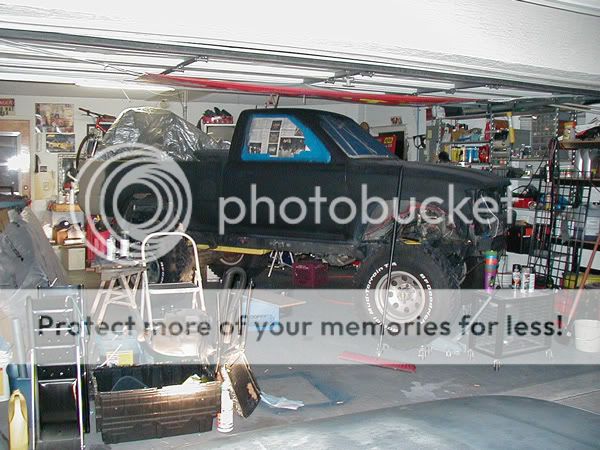
I did a quck test on the rear quarter panel.. I like it!
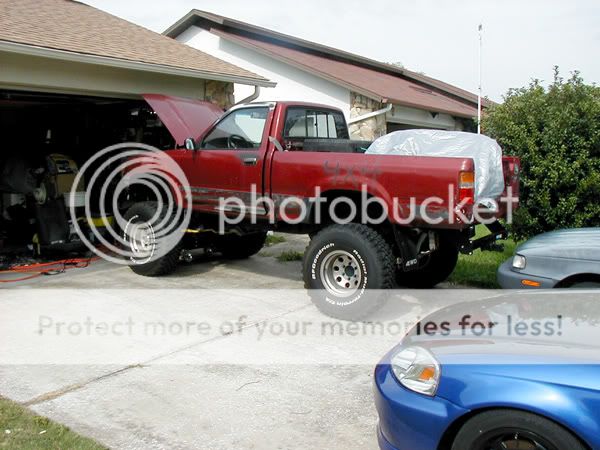
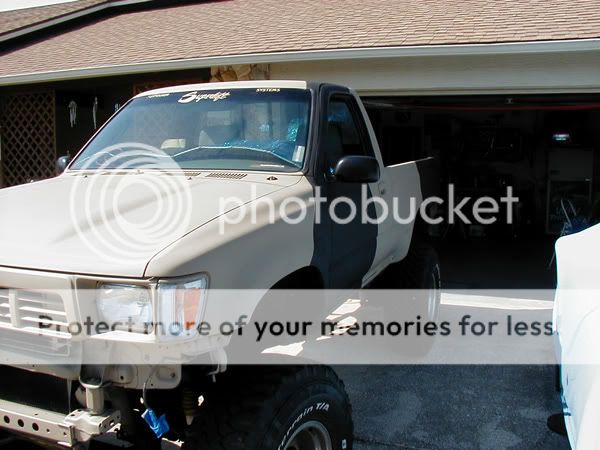
and here is the result......
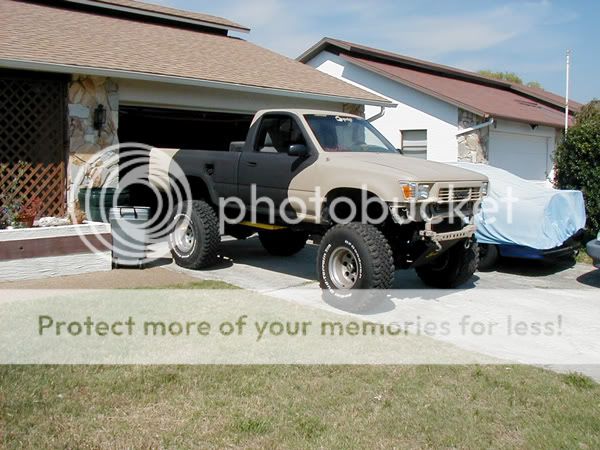
the other side...
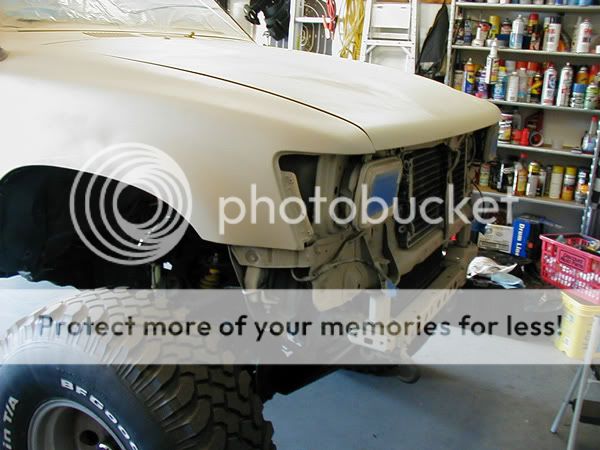
I still need to find the bumper bolts and finnish the radiator cover I made out of stretched steel. and bolt everything back up.
Oh yeah I will also be getting rid of the ricer yellow gas tank skid and sway bar ASAP. LOL I was going to paint the bish John deer green and yellow a few years back.
LOCKnGO
HMMM i think she needs a coat of paint..
so I think to myself "flat black would be easy to maintain"
I started with the front bumper --the snowball got bigger--
This is after I had to use Aircraft paint remover to get that damm 3M tape off. That and some 80 grit on my electric drill.
Back in black!
The we get in some Camo paint at work and I scoop up a few cans of tan. .
I did a quck test on the rear quarter panel..
I like it!and here is the result......
the other side...
I still need to find the bumper bolts and finnish the radiator cover I made out of stretched steel. and bolt everything back up.
Oh yeah I will also be getting rid of the ricer yellow gas tank skid and sway bar ASAP. LOL I was going to paint the bish John deer green and yellow a few years back.
LOCKnGO
 03-29-2006, 06:27 PM
#5
Contributing Member
Join Date: Jan 2006
Location: Chile
Posts: 362
Likes: 0
Received 0 Likes
on
0 Posts
Wow dude, that's what i call motivation! those fumes really got you pumped!
Awesome job. I dig it. I realiy do. Thought about spray painting my Hilux the same sand color you did, but never got the courage to really do it.
What would have I done differently? I would have done the grill black. and the whole truck tan. I'm not too crazy about the camo spots, maybe if you were to do more and/or smaller spots it would look better. The large spots kinda resemble cow spots. In any case, it looks really cool, congrats!

Trending Topics
 03-29-2006, 06:44 PM
#10
Contributing Member
moo...
03-29-2006, 06:45 PM
#11
Contributing Member
Sorry, first thing that came to my head.
I like it, sure wish I had that kind of ambition. Wow!
I like it, sure wish I had that kind of ambition. Wow!
03-29-2006, 06:58 PM
#12
Registered User
Thread Starter
Join Date: Apr 2005
Location: Binghamton NY- Port Richey FL
Posts: 319
Likes: 0
Received 0 Likes
on
0 Posts
Originally Posted by bamachem
nice. so how long did it take you to do all that????
oh, and you have a problem. you need a 12-step program for sure!
oh, and you have a problem. you need a 12-step program for sure!
Originally Posted by TEPUI
Wow dude, that's what i call motivation! those fumes really got you pumped!
Awesome job. I dig it. I realiy do. Thought about spray painting my Hilux the same sand color you did, but never got the courage to really do it.
Awesome job. I dig it. I realiy do. Thought about spray painting my Hilux the same sand color you did, but never got the courage to really do it.
Originally Posted by TEPUI
What would have I done differently? I would have done the grill black. and the whole truck tan.
03-29-2006, 07:05 PM
#13
Registered User
Thread Starter
Join Date: Apr 2005
Location: Binghamton NY- Port Richey FL
Posts: 319
Likes: 0
Received 0 Likes
on
0 Posts
Originally Posted by bamachem
you could always do a black blob across the front to get the grill, etc black. that might look better anyway.
 at first. but it didn't look right. i just hope the love bugs don't mess it too bad.
Last edited by LOCKnGO; 03-29-2006 at 07:08 PM.
03-29-2006, 07:23 PM
#14
Registered User
Thread Starter
Join Date: Apr 2005
Location: Binghamton NY- Port Richey FL
Posts: 319
Likes: 0
Received 0 Likes
on
0 Posts
Originally Posted by Vrooooom
I like the paint job. It looks good.
How many cans of spray paint does it take to spray paint a truck?
How many cans of spray paint does it take to spray paint a truck?
LOLself etching primer = 5-7 cans
Primer = 6-9 cans
primer sealer = 6 cans
rust fix flat black = 10-12 cans --still some left
Camo Tan = 6 cans -- 1 can left
Damn thats alot of $$ for rattle can paint! and that doesen't include the sanding disks and paint remover *EEK
03-30-2006, 03:58 AM
#16
Originally Posted by LOCKnGO
Too many I think I lost count LOL
self etching primer = 5-7 cans
Primer = 6-9 cans
primer sealer = 6 cans
rust fix flat black = 10-12 cans --still some left
Camo Tan = 6 cans -- 1 can left
Damn thats alot of $$ for rattle can paint! and that doesen't include the sanding disks and paint remover *EEK
LOLself etching primer = 5-7 cans
Primer = 6-9 cans
primer sealer = 6 cans
rust fix flat black = 10-12 cans --still some left
Camo Tan = 6 cans -- 1 can left
Damn thats alot of $$ for rattle can paint! and that doesen't include the sanding disks and paint remover *EEK
03-30-2006, 05:42 PM
#20
Registered User
Join Date: Oct 2005
Location: Southwest Tejas
Posts: 199
Likes: 0
Received 0 Likes
on
0 Posts
Originally Posted by curly_c
looks like a cow now!!!


