
Bleeder-Dude's Official 22re Engine Rebuild Thread - TONS OF PICTURES!!!
 Jul 6, 2009 | 06:56 PM
#581
Thread Starter
Contributing Member
Joined: Feb 2008
Posts: 12,248
Likes: 33
From: Lake City, Fl
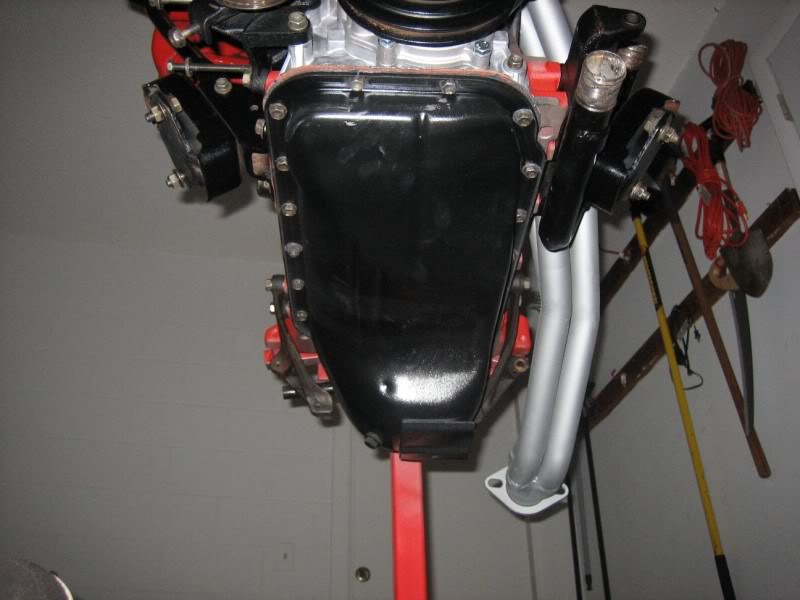
well I put a fresh coat of primer and black paint on the oil pan and bolted it up tonight, and managed to make a mess of myself with RTV, lol 
then proceeded to give the valves a rough adjustment while cold so it's not too bad on first startup
sorry, no pics tonight
tomorrow I plan to finish up the last bits in the engine bay to prepare to drop the motor in this weekend
the clutch kit will be here on Wed, and then the fun shall begin!

then proceeded to give the valves a rough adjustment while cold so it's not too bad on first startup
sorry, no pics tonight
tomorrow I plan to finish up the last bits in the engine bay to prepare to drop the motor in this weekend
the clutch kit will be here on Wed, and then the fun shall begin!
 Jul 7, 2009 | 01:47 PM
#584
Registered User
Joined: Sep 2006
Posts: 476
Likes: 0
From: Manhattan IL
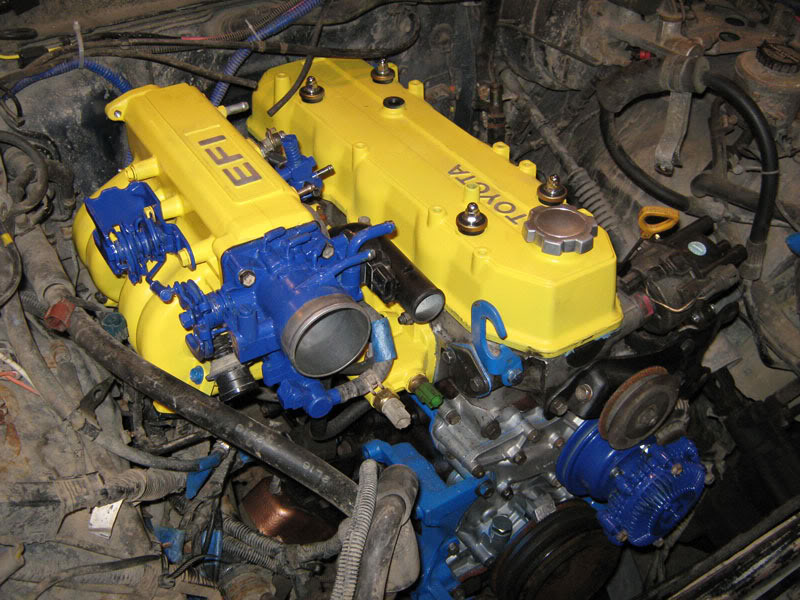
Sweet looking set up i liked the look of the oil cap just to pricey for me.... So i 
Cost Cheap since i had the paint
 o and Daytona Yellow
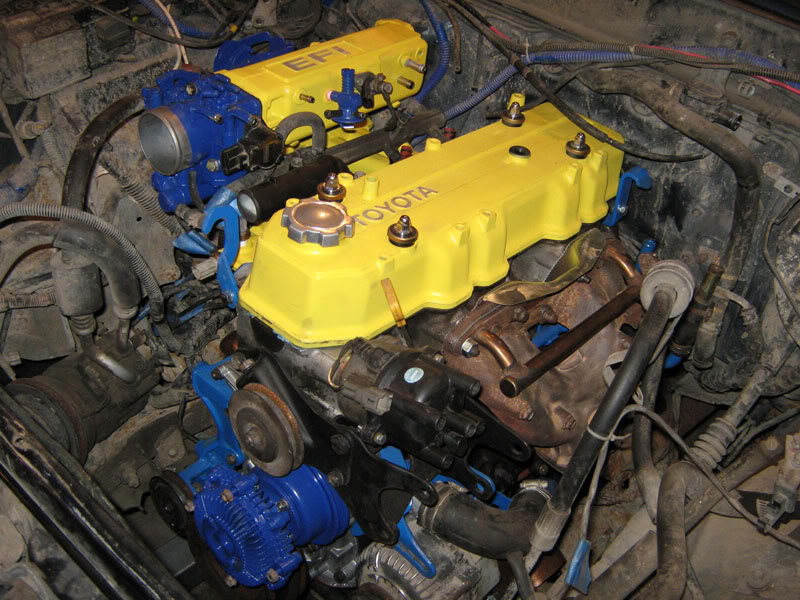
looking Good bleeder i think i might have mine running first tho i started in January.
Good luck
Tom
Cost Cheap since i had the paint
o and Daytona Yellow looking Good bleeder i think i might have mine running
first tho i started in January.Good luck
Tom
Jul 7, 2009 | 01:54 PM
#585
Thread Starter
Contributing Member
Joined: Feb 2008
Posts: 12,248
Likes: 33
From: Lake City, Fl

lol
yeah I figured if I'm gunna dig THIS far into the motor, I'm going to accesorize with it a little and spend a little extra $$ to make her look pretty too
I've been that way with everything I work on, from computers to cars, lolthere's definately cheaper ways to do it though, that's for sure, but I also could have dropped in a long block for cheaper
 Jul 7, 2009 | 02:31 PM
#586
Registered User
Joined: Mar 2008
Posts: 4,371
Likes: 6
From: Texas
You should. Waiting on you to start this thing up reminds me of waiting on my first prom date to figure out how to get out of her dress with out tearing it. I know it'll be worth it but the anticipation sucks!!!!
Jul 7, 2009 | 03:11 PM
#587
Registered User
Joined: Aug 2007
Posts: 801
Likes: 1
From: Merritt Island FL
 Jul 7, 2009 | 05:42 PM
#588
Thread Starter
Contributing Member
Joined: Feb 2008
Posts: 12,248
Likes: 33
From: Lake City, Fl

how screwed up would it be if they mixed the order up and we got delivered each other's stuff
we would have to meet Wednesday, lolPlayed around in the garage a little today.
The main thing I did was scrub a little more under the hood, bolted the fuse box back down, fixed the part of the wiring harness that runs across the top of the core support (apparently in the truck's past life, an overheat boiled water out of the rad cap, an it just melted the plastis loom that was around the wires
), and bolted the PS fluid resivour back down.Got a few pics of the oil pan job from yesterday; looks a little more like a complete motor now
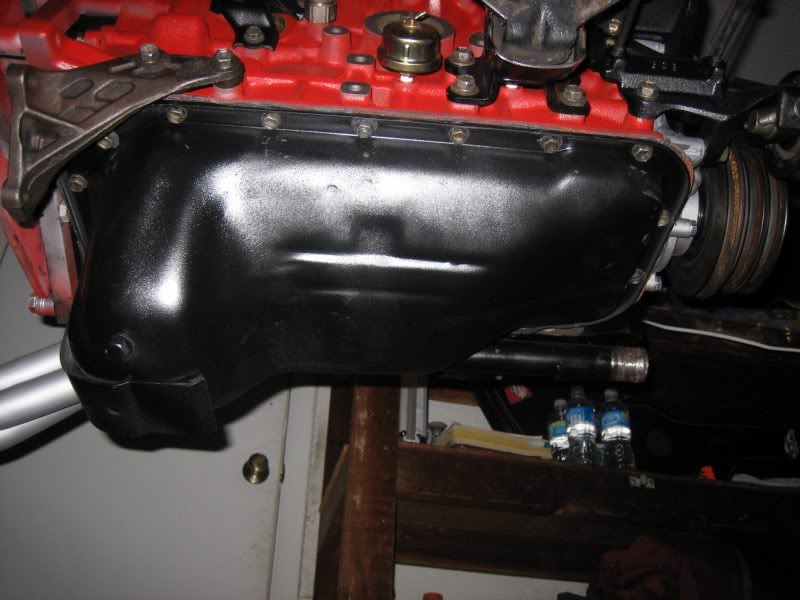
The only thing I touched on the motor today was sliding the dip stick back in, lol
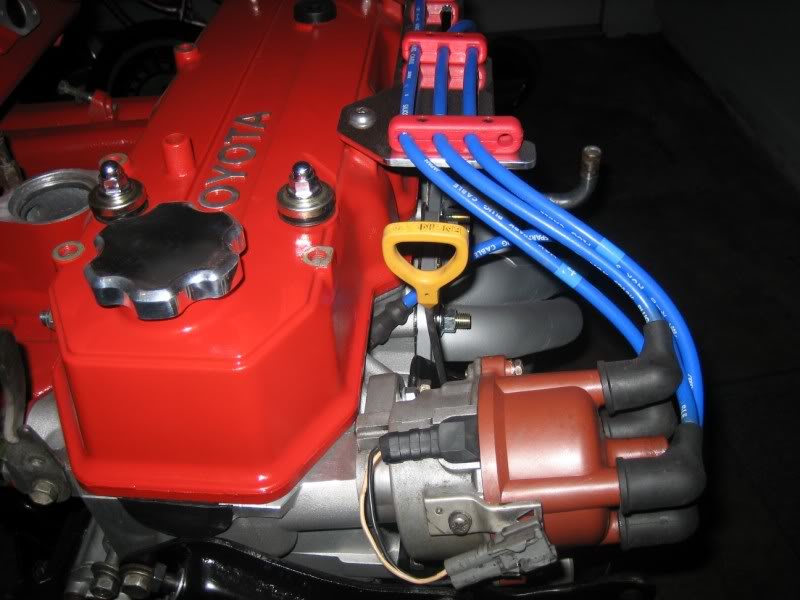
Starting to go through and try to clean up a little with a few other parts that are going back in, but these I'm not painting; just "knocking the cobb-webs off 'em", so to speak
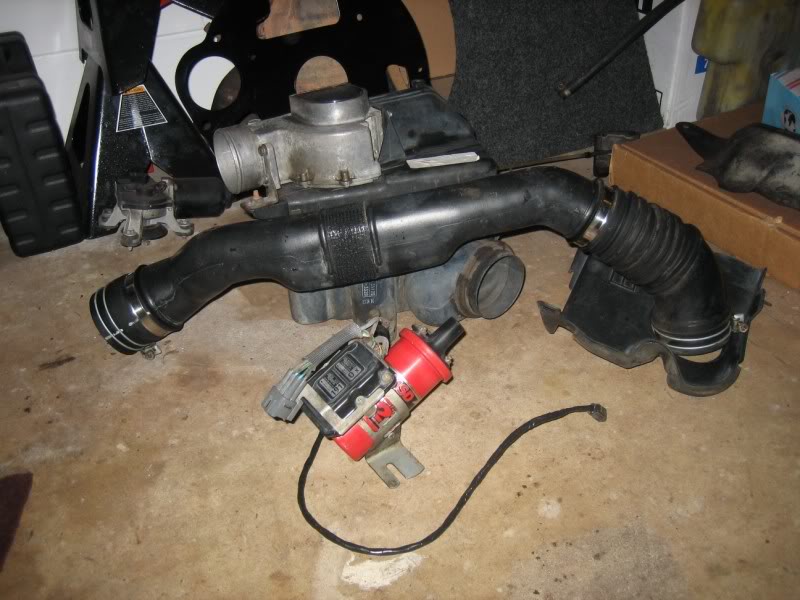
I did re-wrap the wire going from the ignitor to the dizzy though; the original stuff was looking a little shady
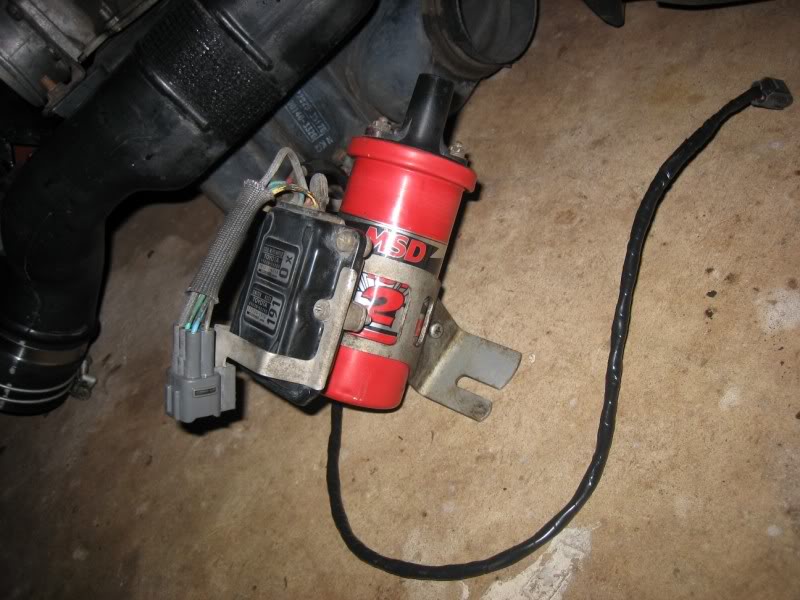
As you can see, I'm use'n my good 'ol MSD Blaster coil; been using that for quite some time now acutally
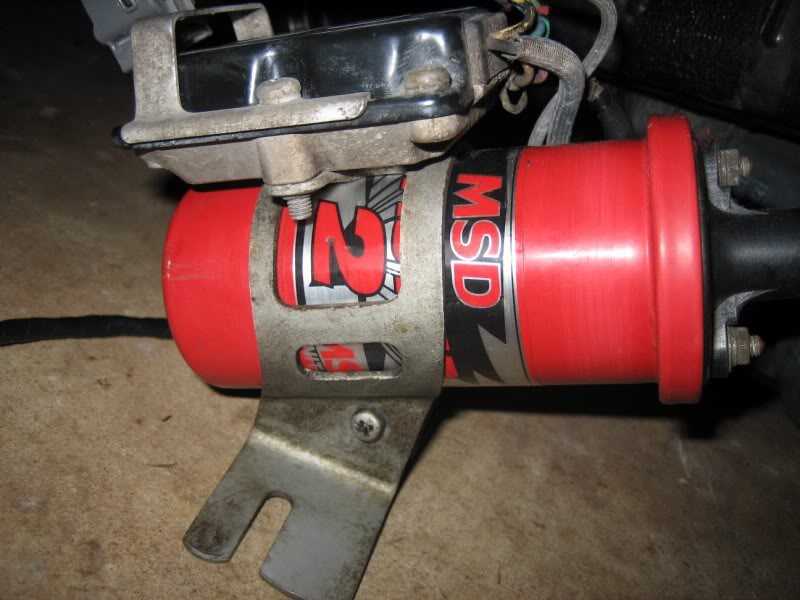
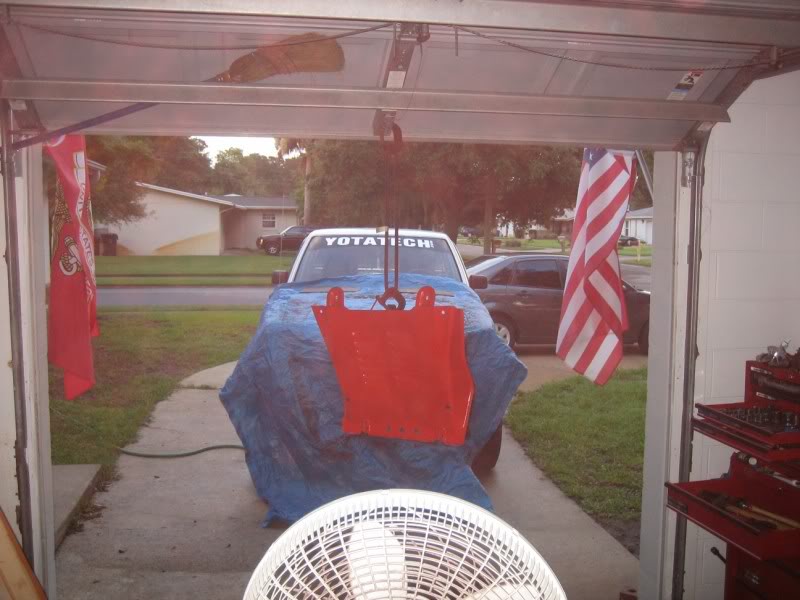
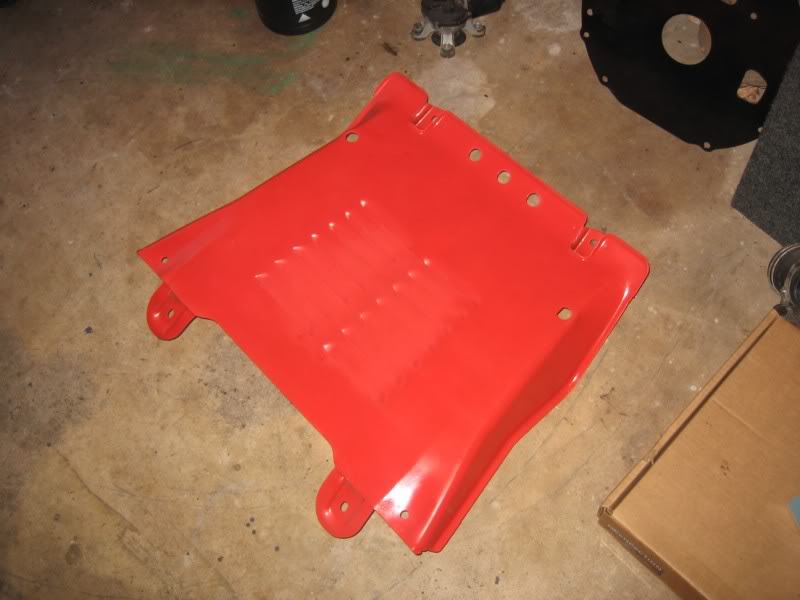
And just cause I was bored, and I have 2 cans of red paint left over, I decided to use a little
The garage is thick with paint fumes; you can see them in this pic, lol

tha's right!
why not, lol


 Jul 7, 2009 | 06:51 PM
#591
Thread Starter
Contributing Member
Joined: Feb 2008
Posts: 12,248
Likes: 33
From: Lake City, Fl
when i got the truck, the original one was leaking the fluid out of it, and eventually it quite firing. I had this one laying around, so I threw it in, and it's never missed a beat
 Jul 8, 2009 | 12:57 AM
#595

 Jul 8, 2009 | 09:45 AM
#597
Registered User
Joined: Nov 2008
Posts: 1,903
Likes: 2
From: Hillsboro, OR
Jul 8, 2009 | 01:20 PM
#598
Thread Starter
Contributing Member
Joined: Feb 2008
Posts: 12,248
Likes: 33
From: Lake City, Fl
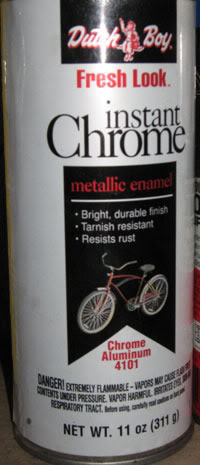
oh man, no I should have chromed the dip stick, then it would have matched the oil cap!
lol
well my MC order came in today!
a little upset cause they jipped me outta $2 worth of stickers lol, no biggy, just going to send them an e-mail and tell 'em they forgot em; maybe I'll get a free T-shrit or something outta the deal
lol
well my MC order came in today!
a little upset cause they jipped me outta $2 worth of stickers
lol, no biggy, just going to send them an e-mail and tell 'em they forgot em; maybe I'll get a free T-shrit or something outta the deal


