
Bleeder-Dude's Official 22re Engine Rebuild Thread - TONS OF PICTURES!!!
 May 4, 2009 | 08:42 PM
#42
Thread Starter
Contributing Member
Joined: Feb 2008
Posts: 12,248
Likes: 33
From: Lake City, Fl
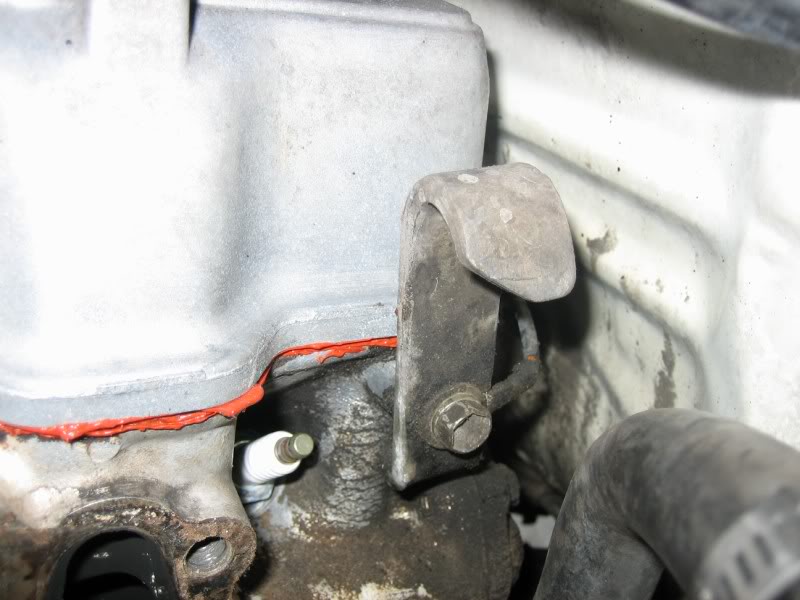
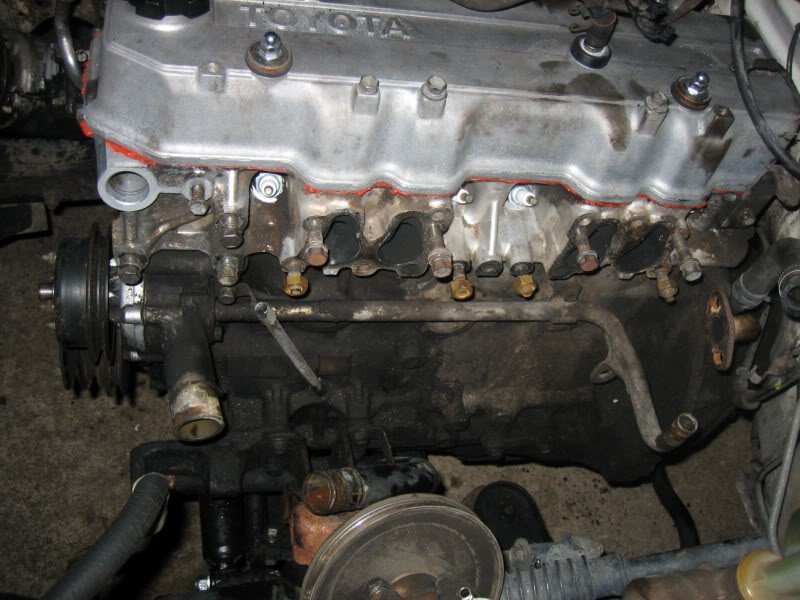
that was from taking the valve cover off and finding a broken driver's side timing chain guide a little while back; I didn't want to waste the bux for a new one since the master rebuild kit will come with a new one, and it only needed to hold for another week or 2, so just to make sure the old one sealed up, I added a "little" RTV
 May 4, 2009 | 08:53 PM
#44

I'm kinda late to the game but consider something other than black for the engine block and under hood area. That way if you have something leaking you will:
a) notice it sooner
b) be able to trace it more easily
On the other hand, it's your engine, so do what you want. Just food for thought. Good luck.
a) notice it sooner
b) be able to trace it more easily
On the other hand, it's your engine, so do what you want. Just food for thought. Good luck.
May 5, 2009 | 05:08 PM
#45
Thread Starter
Contributing Member
Joined: Feb 2008
Posts: 12,248
Likes: 33
From: Lake City, Fl
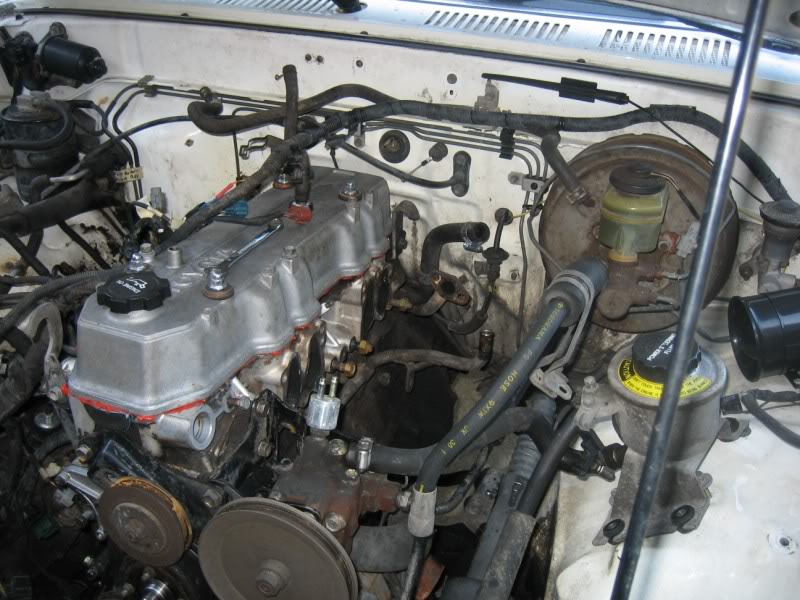
Wohoo, day 3, and a since of real accomplishment 
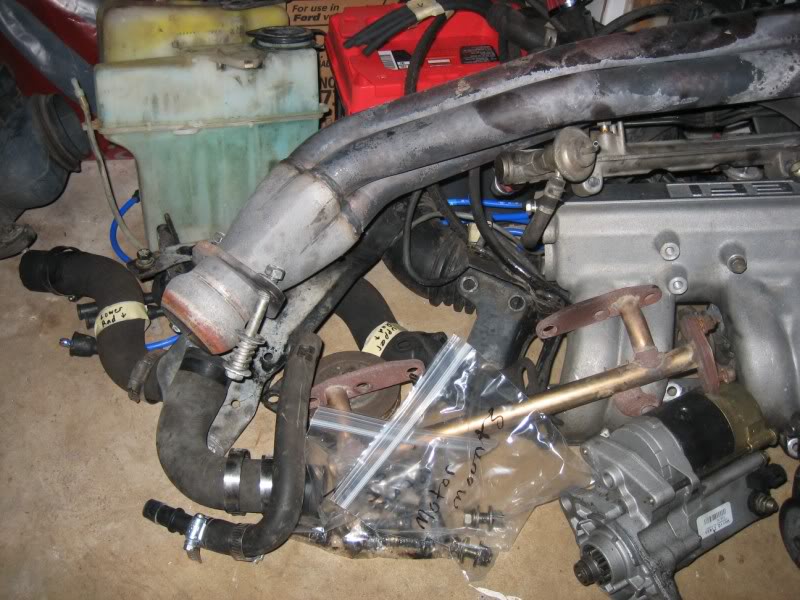
The motor's ready to be yanked out! I'm going to my buddy's house right after work tomorrow to pick up his hoist, then coming home, and I'll have this thing pulled about 30 minutes later!
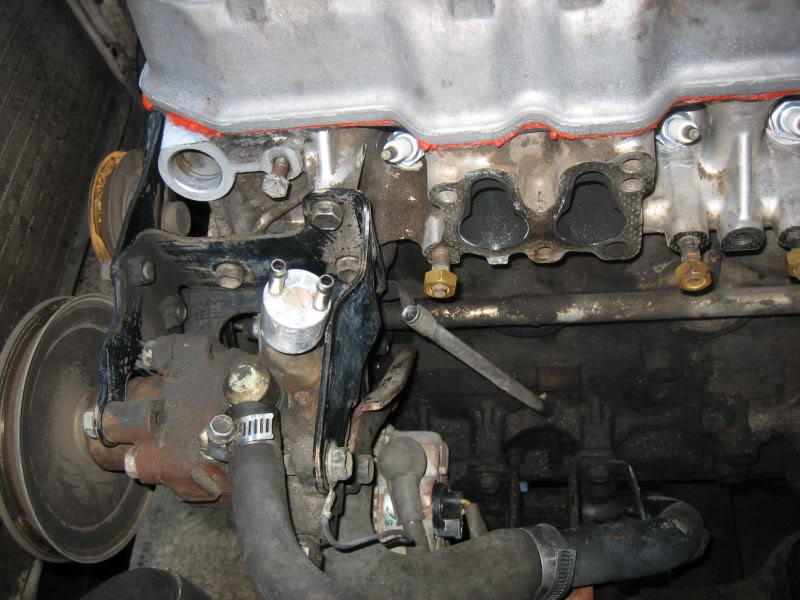
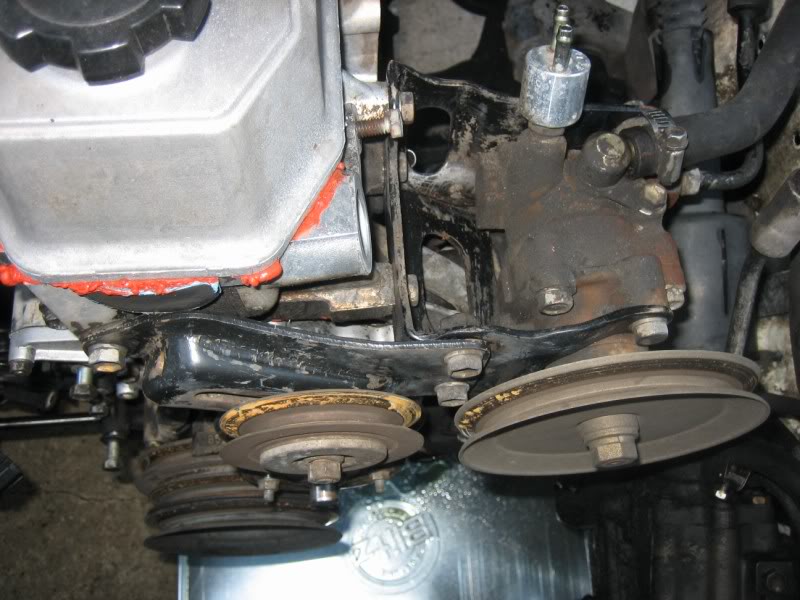
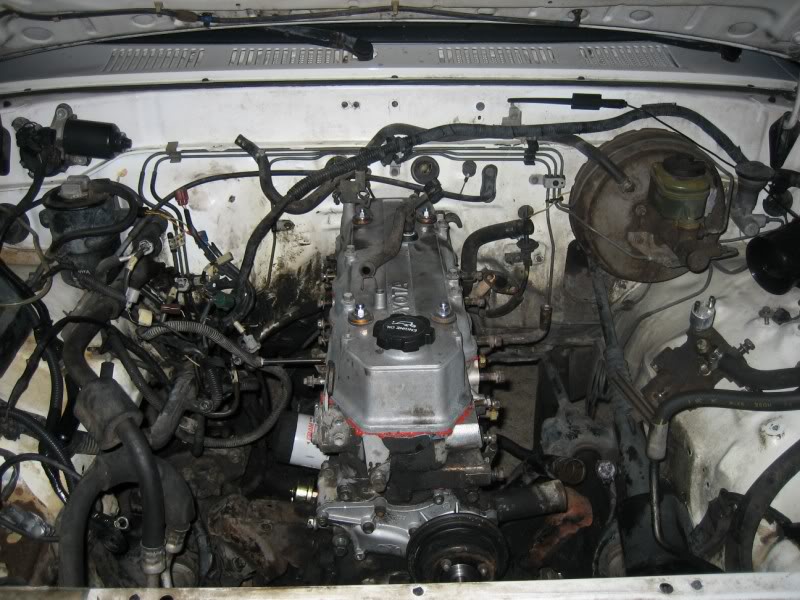
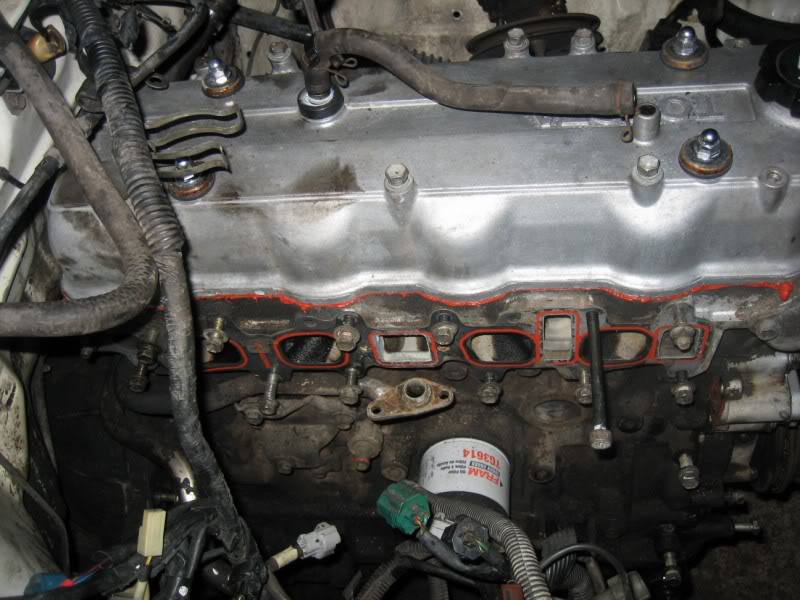
removed all the bellhousing bolts, and one of the motor mounts on each side; all that I have to do is remove the 2 last loosly-fitted motor mount bolts, and she should wiggle right out
lemme tell ya, those two bellhousing bolts behind the head, are a PITA!!! a little easier without the intake manifold in the way though, lol
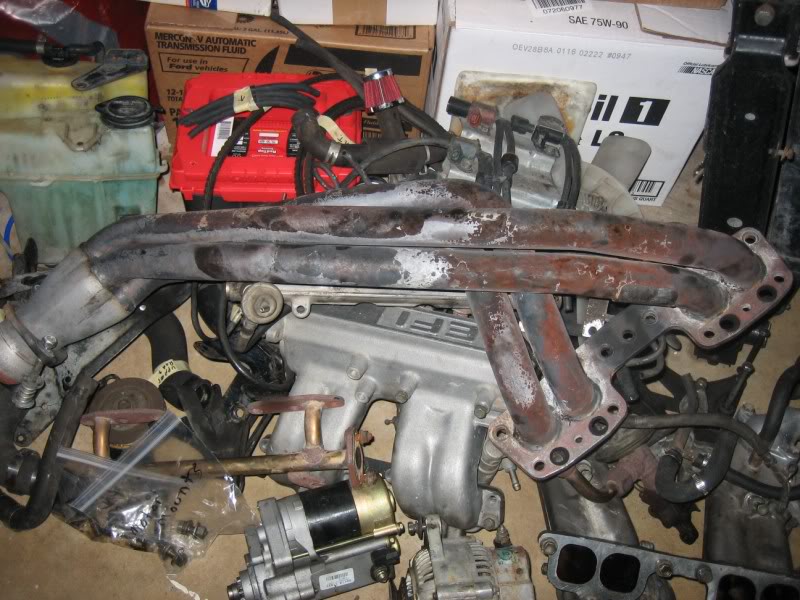
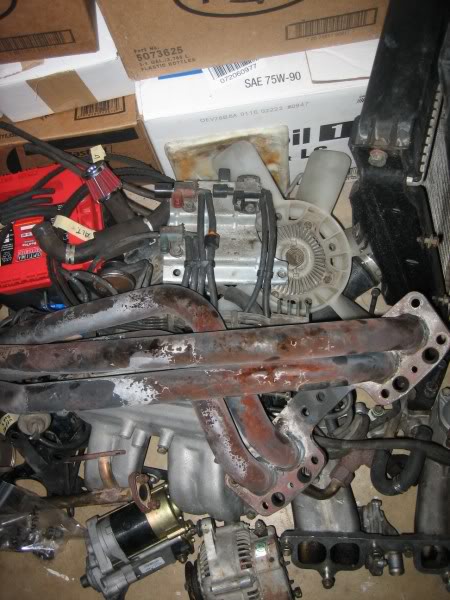
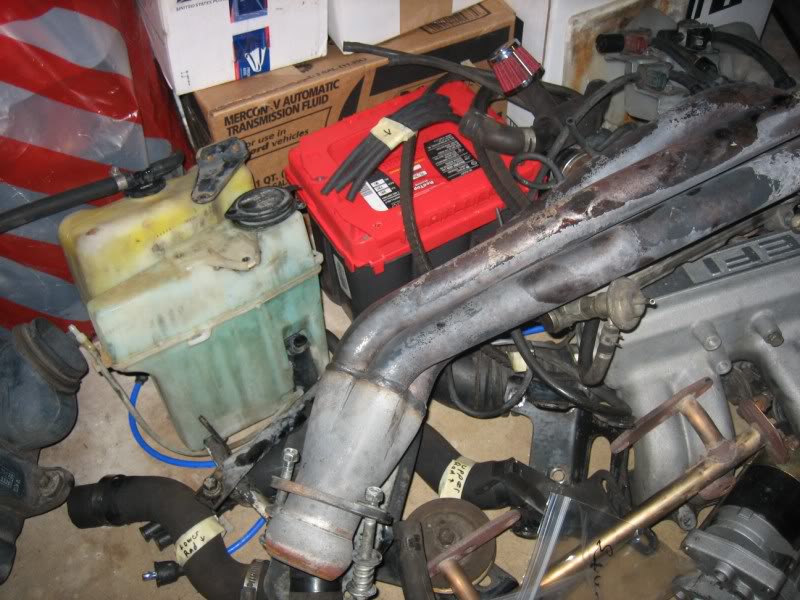
and of caurse, the parts pile is getting EVER LARGER, lmao


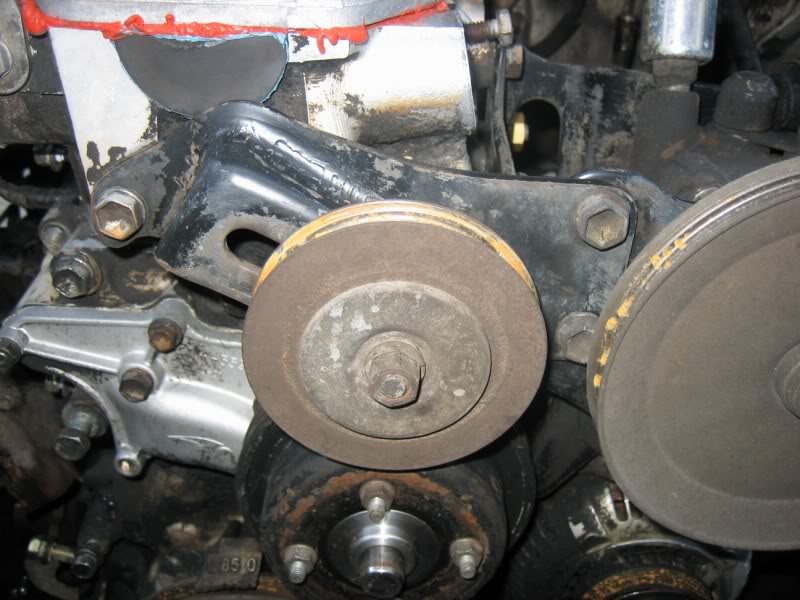
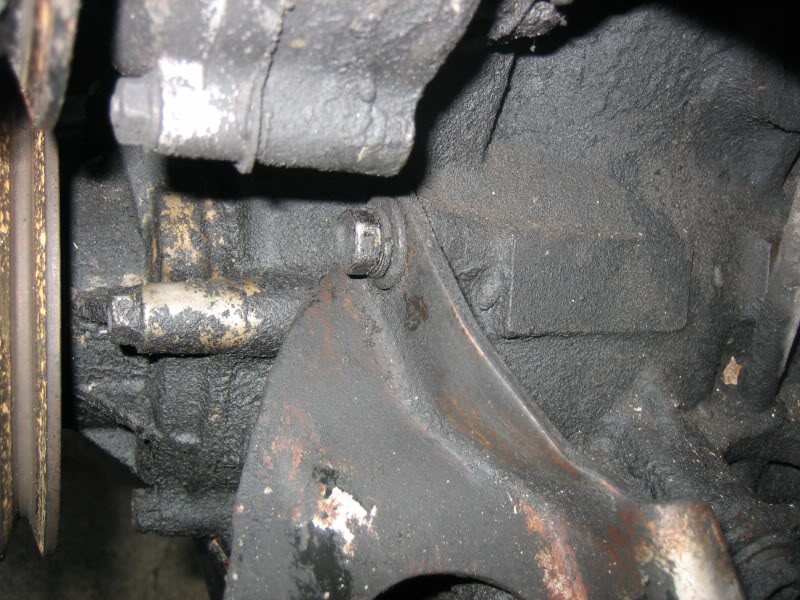
One quick question for you guys though. Is an impact gun the ONLY way to get the center crank bolt loose? I've tried the 4wd-low range with a 2ft cheater bar, and the truck just keeps climbing over whatever block I put against the tire, lmao it's standard thread too, correct? not reverse thread?
I thought about that too, but that's why I'm using the undercoating stuff, so it's kinda a dull-flat look, and a leak should stand out on it as being a bit more shiny than the surrounding area; I least that's my assumption
The motor's ready to be yanked out! I'm going to my buddy's house right after work tomorrow to pick up his hoist, then coming home, and I'll have this thing pulled about 30 minutes later!
removed all the bellhousing bolts, and one of the motor mounts on each side; all that I have to do is remove the 2 last loosly-fitted motor mount bolts, and she should wiggle right out
lemme tell ya, those two bellhousing bolts behind the head, are a PITA!!! a little easier without the intake manifold in the way though, lol
and of caurse, the parts pile is getting EVER LARGER, lmao
One quick question for you guys though. Is an impact gun the ONLY way to get the center crank bolt loose? I've tried the 4wd-low range with a 2ft cheater bar, and the truck just keeps climbing over whatever block I put against the tire, lmao
it's standard thread too, correct? not reverse thread?I'm kinda late to the game but consider something other than black for the engine block and under hood area. That way if you have something leaking you will:
a) notice it sooner
b) be able to trace it more easily
On the other hand, it's your engine, so do what you want. Just food for thought. Good luck.
a) notice it sooner
b) be able to trace it more easily
On the other hand, it's your engine, so do what you want. Just food for thought. Good luck.
May 5, 2009 | 05:25 PM
#47
Thread Starter
Contributing Member
Joined: Feb 2008
Posts: 12,248
Likes: 33
From: Lake City, Fl
 May 5, 2009 | 07:03 PM
#51
Registered User
Joined: Jul 2007
Posts: 1,705
Likes: 12
From: Yotatech, because Pirate is too expensive. NorCal.
Originally Posted by bleeder
One quick question for you guys though. Is an impact gun the ONLY way to get the center crank bolt loose? I've tried the 4wd-low range with a 2ft cheater bar, and the truck just keeps climbing over whatever block I put against the tire, lmao it's standard thread too, correct? not reverse thread?
May 5, 2009 | 07:10 PM
#52
Thread Starter
Contributing Member
Joined: Feb 2008
Posts: 12,248
Likes: 33
From: Lake City, Fl
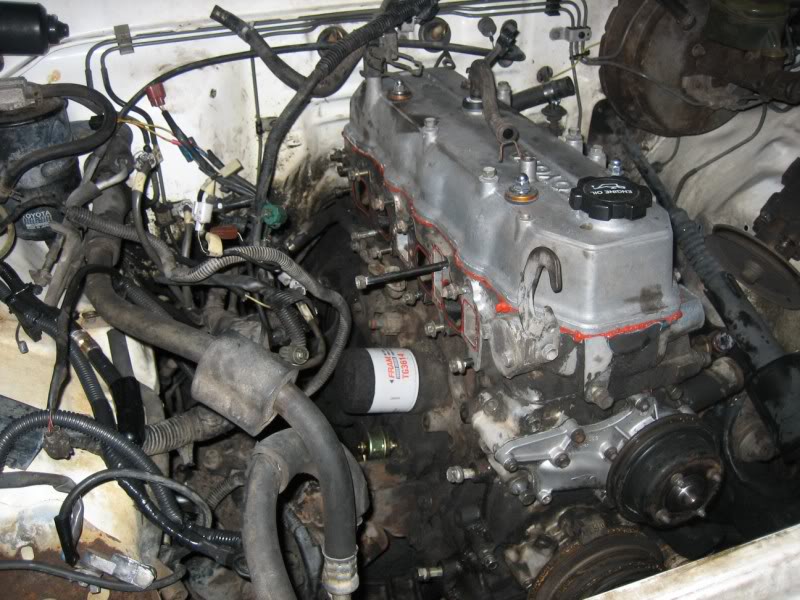
 what else is there to take pictures of at this point?
oh there will be many more tomorrow, when I pull the thing out
cause it's not really that old... but a little sanding and a few coats of silver header paint should have it in brand new condition  May 5, 2009 | 07:35 PM
#53


nice header...
About the crank bolt. I always jam the brake pedal to the floor and hold it there with a piece of wood against that rise where the front seat bolts. Then put the tranny in fifth gear. May as well put the ebrake on too if it even works. Now, you have four wheels and the tranny locked up. Now use a cheater pipe on a breaker bar a pop that bolt loose.
Note to the rest: make sure to break the crank bolt loose at the first available chance. bleeder seriously, I'm looking for the face/palm pic right now...
May 5, 2009 | 07:46 PM
#54
Registered User
Joined: Feb 2008
Posts: 2,799
Likes: 3
From: oregon
One quick question for you guys though. Is an impact gun the ONLY way to get the center crank bolt loose? I've tried the 4wd-low range with a 2ft cheater bar, and the truck just keeps climbing over whatever block I put against the tire, lmao
it's standard thread too, correct? not reverse thread?no, its a normal right hand threaded bolt.
also you want to be in 5th gear high range with the ebrake on, not low range
 edit.. bbp beat me to it.
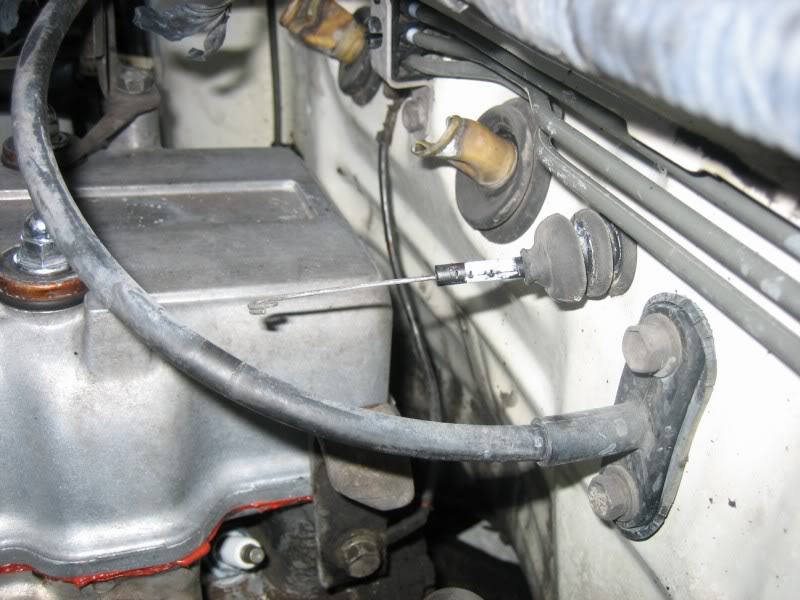
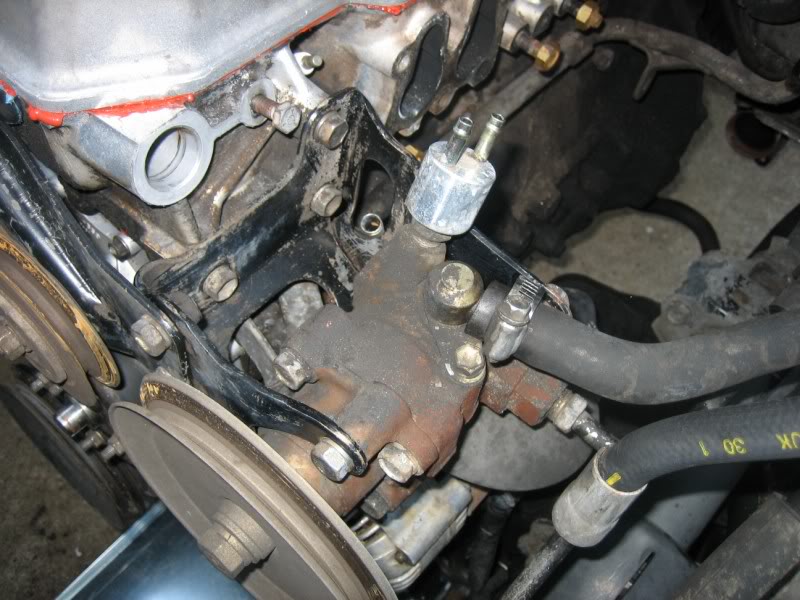
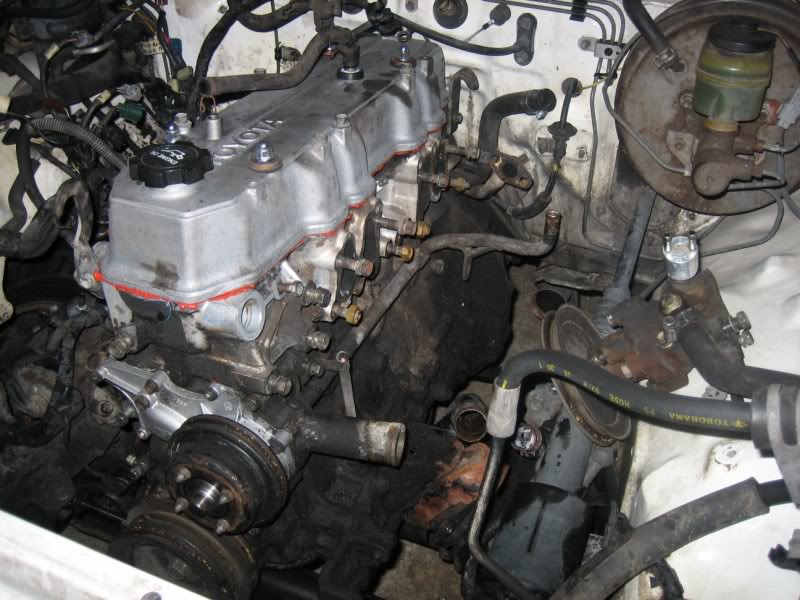
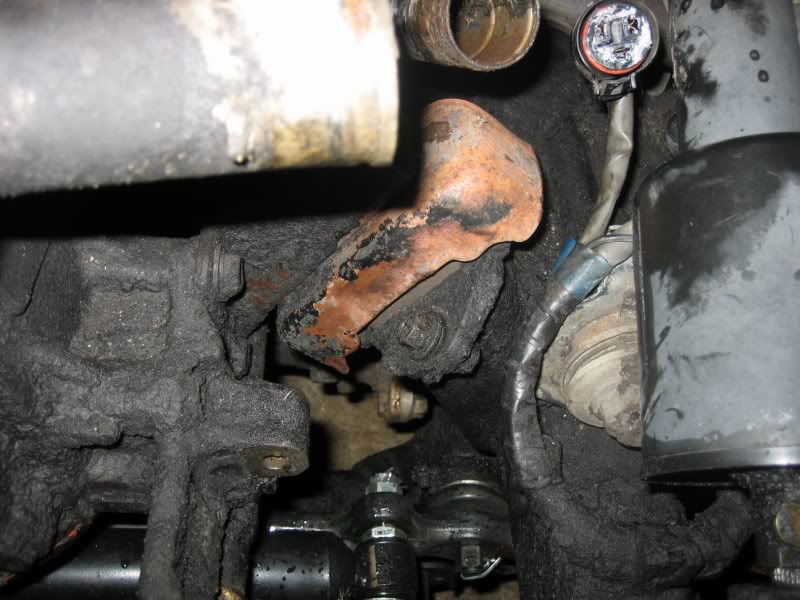
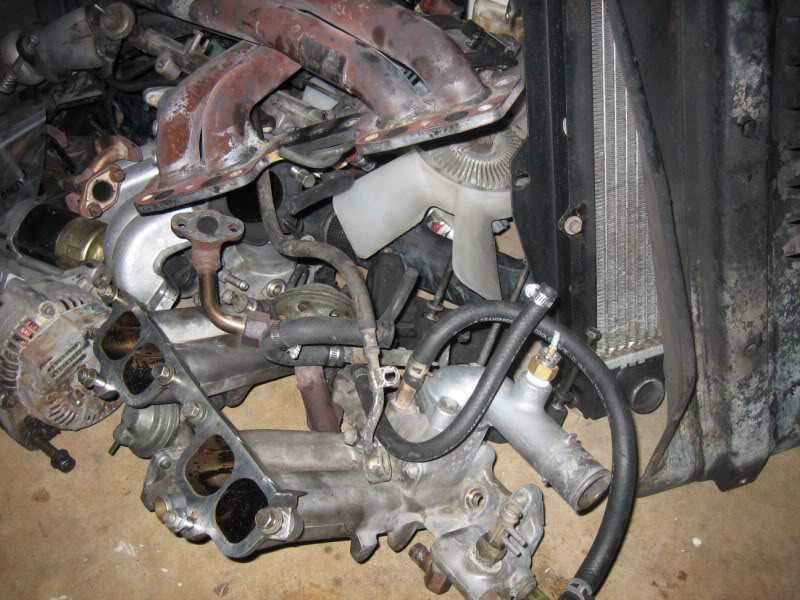
and what up with the mangled heater core ends?
Last edited by TOYOTA 1; May 5, 2009 at 07:48 PM.

 May 5, 2009 | 08:10 PM
#56
Registered User
Joined: Oct 2008
Posts: 426
Likes: 0
From: B-TOWN, ORYGUN
im doing this same project to my runner right now also.. except iv got a reman motor to just swap in. as for the crank bolt.. ya i forgot about it till after i had my motor out sittin on the ground. i took a good sized drift and a 2lb hammer and wacked the bolt a few times to break loose any locktite or possible rust and then hit it with my 1/2 drive impact gun. she came right off..even with green locktite... might i give u a word of wisdom tho, if you are planing to clean you EGR valve and tubes.. maybe try not to take the upper tube off the vlave were they screw togeather.. i just broke mine today.. gotta try and weld it back togeather.
May 5, 2009 | 08:16 PM
#57
Registered User
Joined: Mar 2009
Posts: 257
Likes: 0
From: indiana
i am a fan of painting the engine bay black because
1. it looks good
2. if you ever decide you want a new color the bay will match anything
3. it looks good
4. it hides all the nastiness that tends to accumulate
5. best time for a little corrosion protection on the fire wall and inner fenders
6. if you paint the block it will really pop in a black engine bay
7. wiring and hoses just aren't as noticable
8. leaks are easy to find on semi-gloss or satin
9. one more custom touch
10. it just looks good
May 5, 2009 | 08:27 PM
#58
Thread Starter
Contributing Member
Joined: Feb 2008
Posts: 12,248
Likes: 33
From: Lake City, Fl
nice header...
About the crank bolt. I always jam the brake pedal to the floor and hold it there with a piece of wood against that rise where the front seat bolts. Then put the tranny in fifth gear. May as well put the ebrake on too if it even works. Now, you have four wheels and the tranny locked up. Now use a cheater pipe on a breaker bar a pop that bolt loose.
Note to the rest: make sure to break the crank bolt loose at the first available chance. bleeder seriously, I'm looking for the face/palm pic right now...
About the crank bolt. I always jam the brake pedal to the floor and hold it there with a piece of wood against that rise where the front seat bolts. Then put the tranny in fifth gear. May as well put the ebrake on too if it even works. Now, you have four wheels and the tranny locked up. Now use a cheater pipe on a breaker bar a pop that bolt loose.
Note to the rest: make sure to break the crank bolt loose at the first available chance. bleeder seriously, I'm looking for the face/palm pic right now...
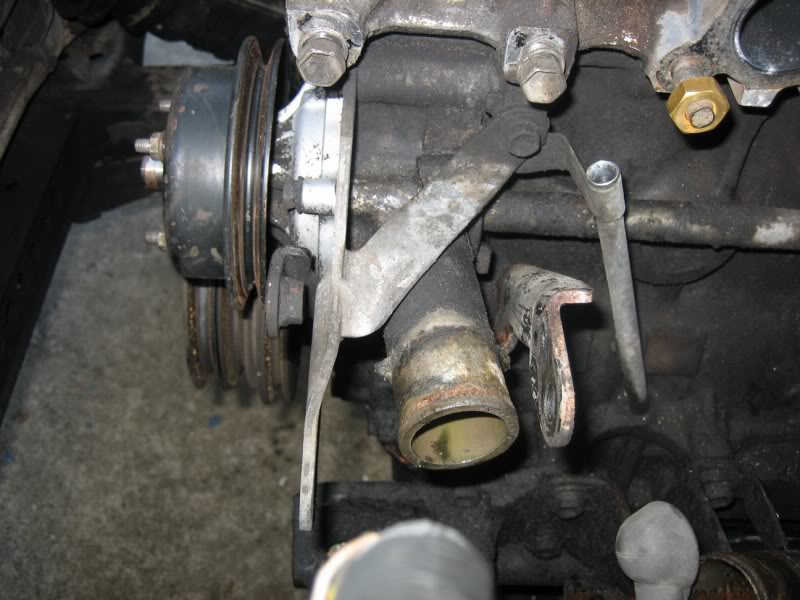
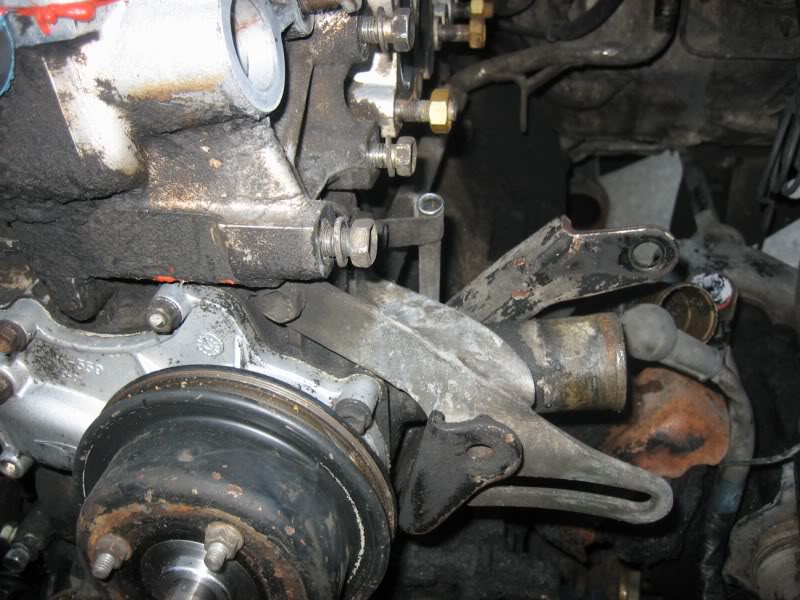
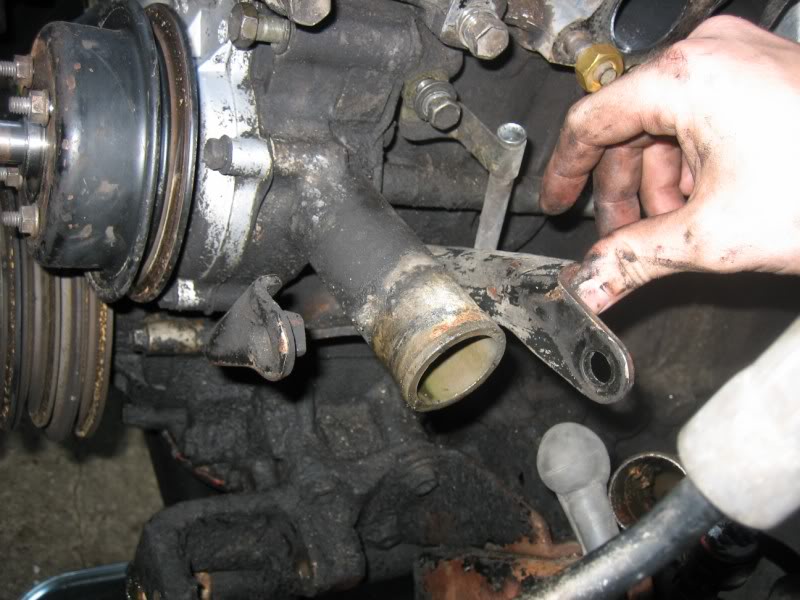
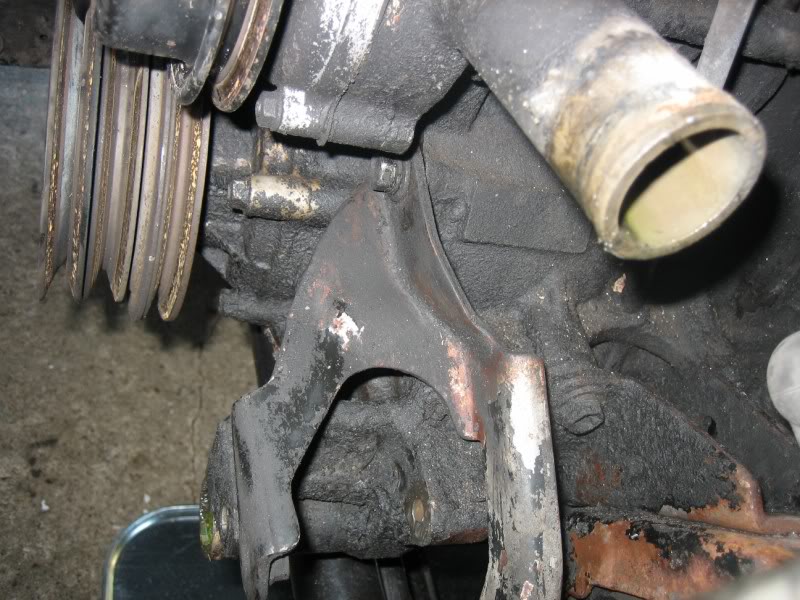
now that I think about it, that's the most useless gear to try that in, lmaothe mangled heater core ends, well, just after this winter, my heater core developed a leak, so I just pulled the hoses off at the firewall and looped it to bypass the heater core, and I somehow managed to do that to each end of the outlets
i am a fan of painting the engine bay black because
1. it looks good
2. if you ever decide you want a new color the bay will match anything
3. it looks good
4. it hides all the nastiness that tends to accumulate
5. best time for a little corrosion protection on the fire wall and inner fenders
6. if you paint the block it will really pop in a black engine bay
7. wiring and hoses just aren't as noticable
8. leaks are easy to find on semi-gloss or satin
9. one more custom touch
10. it just looks good
1. it looks good
2. if you ever decide you want a new color the bay will match anything
3. it looks good
4. it hides all the nastiness that tends to accumulate
5. best time for a little corrosion protection on the fire wall and inner fenders
6. if you paint the block it will really pop in a black engine bay
7. wiring and hoses just aren't as noticable
8. leaks are easy to find on semi-gloss or satin
9. one more custom touch
10. it just looks good
do you think it'll be too much black if I do the block in black, in a black engine bay?
that's got me re-thinking my color choises now
of the block, not the engine bay
Last edited by iamsuperbleeder; May 5, 2009 at 08:28 PM.
May 5, 2009 | 08:32 PM
#60
Thread Starter
Contributing Member
Joined: Feb 2008
Posts: 12,248
Likes: 33
From: Lake City, Fl
thanks Blue, me as well; hell I cant wait just to start putting clean parts back together


