When you click on links to various merchants on this site and make a purchase, this can result in this site earning a commission. Affiliate programs and affiliations include, but are not limited to, the eBay Partner Network.
Anyone have pics of first gen 4runner patch panel bodywork in process?
Trying to determine how to go about the bodywork on my 4runner- either 1) replace sections of the rear quarter with patch panels or 2) replace the entire quarter.
I have read that I might be able to use some front fender opposite sides to patch rears but would like to see photos if anyone has them.
My main problem is between the gas door and fender arch on the passenger side. The body filler doesn't go more than halfway back the wheel well.
So I'd like to see examples of what other people have done.
You can look through my build thread and see what i chose to do. Mine was not as bad as yours. Looks like yours had filler over rusted metal. I cut out and made patches for the rusted spots then put filler.
note that this was my first time ever doing body work.
Passenger side cut out Repaired spots Patch made Looks good Ready for filler
i have not finished the filler work on that side but here is my drivers side with primer
Thanks very much! very helpful. (Although I kind of think yours was worse...)
that's because you haven't dug into yours yet. based on what is visible, i'd be surprised if it's better. the chrome has to go, too, as it traps dirt and moisture. you can check the condition by pulling the interior panels off of the cargo area, but you may not like what you find.
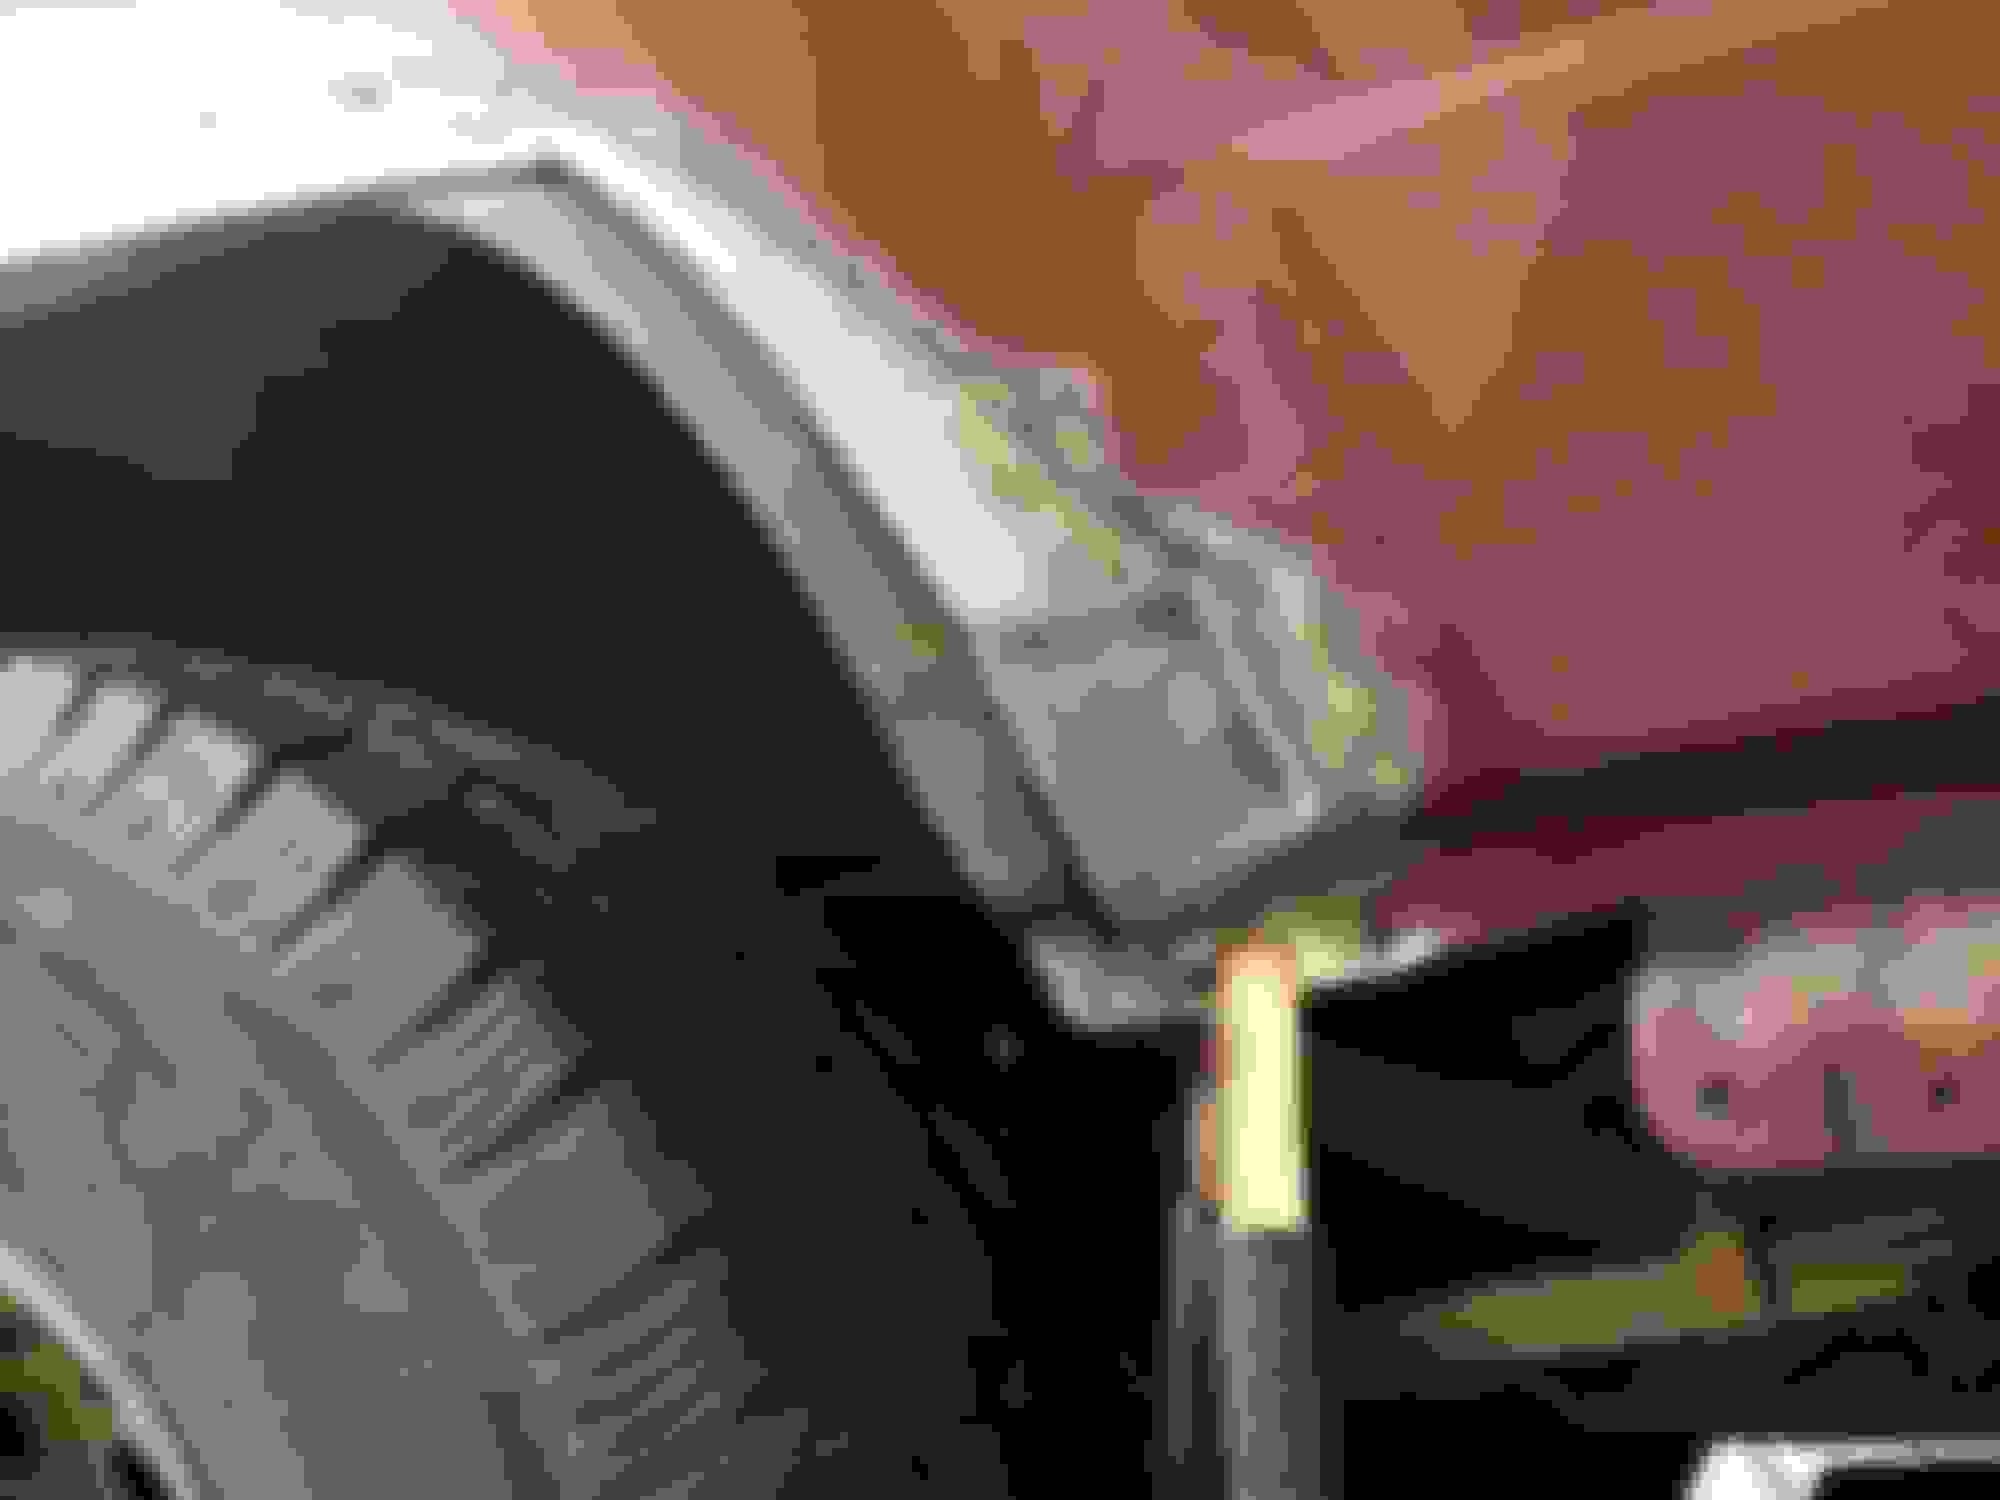
rust is visible at the far left in the photo, just above the chrome. the area around the fuel filler is in bad condition, too. i bet the damage there is fairly extensive.
Last edited by wallytoo; Oct 25, 2017 at 03:43 PM.
Any time i see bondo cracking out with rust behind it i can be fairly certain it's worse. I only cut so much out of mine to clean behind it.
i did my drivers side different and just went to town cutting it out. I made that repair so much harder and had to seriously work on getting it decent. I have more filler in the drivers side than i want, but did what i had to do.
in showed you how i did my passenger side, i have very little filler after that repair because i cut it out and put most of it right back, giving me excellent body lines to work my patches to, rather than guess and check.
Here is my jig saw puzzle from the drivers side. I would never do it that way again
that's because you haven't dug into yours yet. based on what is visible, i'd be surprised if it's better. the chrome has to go, too, as it traps dirt and moisture. you can check the condition by pulling the interior panels off of the cargo area, but you may not like what you find.
rust is visible at the far left in the photo, just above the chrome. the area around the fuel filler is in bad condition, too. i bet the damage there is fairly extensive.
All valid points, albeit negatively stated, but you can rest assured this isn't the first vehicle i've ever restored. Shame on me if i gave you the impression i dont know what i am looking at or haven't spent the last 38 years of my life working on cars.
This truck is remarkably solid aside from its previous bodywork which i believe was done on the cheap when the truck was in South Korea.
But still way better off than a New England vehicle of the same vintage. No rust at all in the doors, rockers, tailgate or underside. That photo is the worst of it and i actually found a cardboard box with emergency roadside reflectors inside the inner panel. It had been lodged in there holding moisture against the inside and caused the rot hole from the inside out.
Last edited by Melrose 4r; Oct 25, 2017 at 07:28 PM.
Here's what I'm doing it right now. I made an impression/mold of the profile of the quarter panel right behind the passenger door. That's the biggest part of the quarter panel, the part I thought I could have the best luck with making a mold. And once I have a mold of that part of the quarter panel it's good for either side, Driver or passenger.
Once I captured the profile I used it as a pattern to make a wooden plug mold (male mold) that I am using to make a patch panel to fix the area between the door and the wheel opening flare. Around the wheel opening is I am applying fiberglass mat over the rusty metal to preserve and capture the contours (don't be alarmed, It's not permanent). Behind the wheel opening, I cut away the bottom two or 3 inches to eliminate any of the rusty metal in the outer body skin. After cleaning up the inner panel I made a temporary outer body skin out of aluminum repair tape. I basically made a double thick sheet of sticky backed heavy aluminum foil and stuck it to the outside of that rearmost section of The quarter panel. I hand formed it to approximate the contour of the missing sheet metal and then I squirted expanding foam into the cavity. I let that sit overnight. The next day I pulled the foil off add was left with a foam plug where the missing metal once was. I use sandpaper to shape the phone foam. Then I took fiberglass mat and resin and laid it up over the foam about two layers thick. I also laid two layers of mat over the wheel arch/opening. Then I laid fiberglass mat and resin on the mold and pulled a panel off of that and cut it to size and shape. I also cut away all the rusty metal in front of the wheel opening and behind the door. This is the area I plan to cover with the patch panel. I cleaned up the inner panel, sandblasted it and painted it with POR 15. That's as far as I've gotten. Next I will glue the patch panel to the quarter panel. Once the panel is glued in place I will glass all three sections together, the front panel, the wheel arch and the rear section, so that the lower third of the quarter panel from the door to the tailgate is completely remade. I will apply filler and get the shape right and then paint it.
Okay so now I would say the front and rear sections are well done, but there is still the rusty wheel arch buried under fiberglass. My plan is to pull a mold off of the newly finished wheel arch and then make a patch panel of just the wheel arch. I will then cut out my fiberglass work around the wheel opening along with the rusty metal that's buried inside and then repair it with the patch panel. At that point, I will have cut away most of the lower third of the quarter panel and replaced it with fiberglass. That should seal things up and buy me a few years to decide if I want to tear back into it and maybe do a complete quarter panel.
Some things to note: while this truck is now based in Wisconsin, It started out life in California where it spent the first 11 years of its life. At some point, it got to Wisconsin where it has had exposure to road salt. At this point though, the rust is confined mainly to the front fenders and the quarter panels. The doors have no rust. The hood has no rust. The seams in the cowl, up behind the dashboard, are good, the tailgate is good, the windshield pillars are good, and even the notorious weak spot in the frame, just in front of the passenger side rear leaf spring hanger and next to the gas tank, is good.
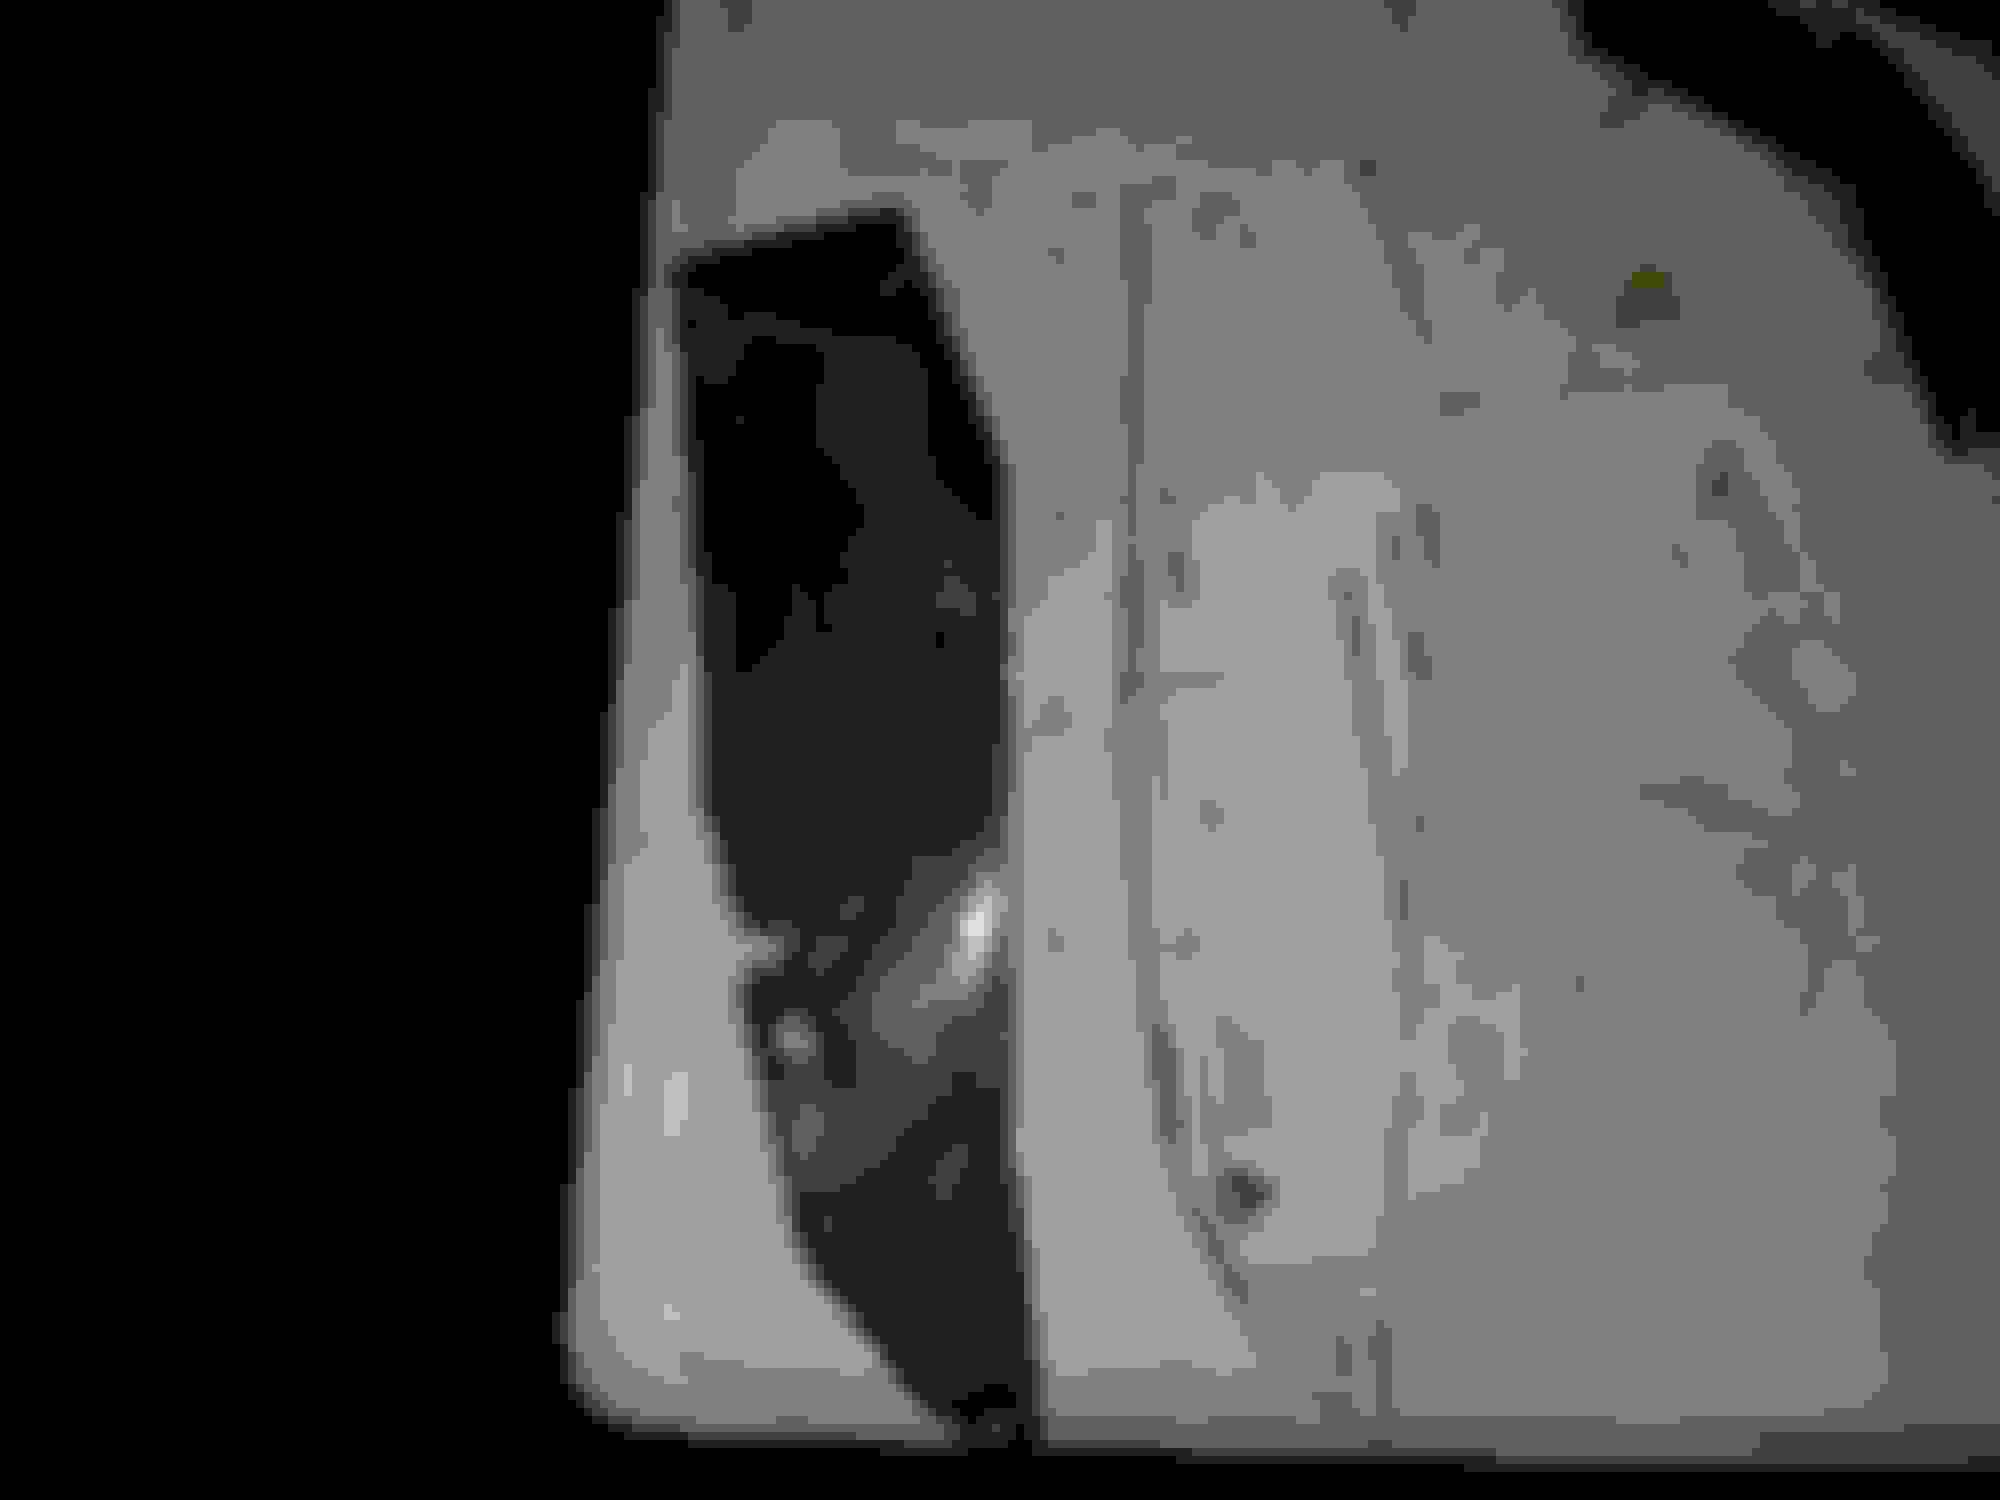
As an earlier poster noted, with the inner panels off one can easily see the extent of the rust in the quarter panel.
I have test fitted the panel you see in the picture above and I can honestly say it fits perfectly over the remaining sheet metal and should bond nicely with about two thirds of the fiberglass bonding directly to sound Metal.
Last edited by wrenchtech; Oct 25, 2017 at 11:15 PM.
All valid points, albeit negatively stated, but you can rest assured this isn't the first vehicle i've ever restored. Shame on me if i gave you the impression i dont know what i am looking at or haven't spent the last 38 years of my life working on cars.
This truck is remarkably solid aside from its previous bodywork which i believe was done on the cheap when the truck was in South Korea.
But still way better off than a New England vehicle of the same vintage. No rust at all in the doors, rockers, tailgate or underside. That photo is the worst of it and i actually found a cardboard box with emergency roadside reflectors inside the inner panel. It had been lodged in there holding moisture against the inside and caused the rot hole from the inside out.
my statement wasn't intended to be negative or positive. it was intended to give you a realistic idea of what you'll find under the bondo.
for other patch panel/repair ideas, look for 89fourrunner's (i believe) build thread. like ehatch, he did a pretty good job for no prior metalwork experience.
thanks, i have seen those and the sections wolf steel offers. Its either going to be that or a full panel shipped in from the west. Just dont know yet.
this weekend i'll pull the chrome strip and plastic trim and see whats under them.
Here's what I'm doing it right now. I made an impression/mold of the profile of the quarter panel right behind the passenger door. That's the biggest part of the quarter panel, the part I thought I could have the best luck with making a mold. And once I have a mold of that part of the quarter panel it's good for either side, Driver or passenger.
Once I captured the profile I used it as a pattern to make a wooden plug mold (male mold) that I am using to make a patch panel to fix the area between the door and the wheel opening flare. Around the wheel opening is I am applying fiberglass mat over the rusty metal to preserve and capture the contours (don't be alarmed, It's not permanent). Behind the wheel opening, I cut away the bottom two or 3 inches to eliminate any of the rusty metal in the outer body skin. After cleaning up the inner panel I made a temporary outer body skin out of aluminum repair tape. I basically made a double thick sheet of sticky backed heavy aluminum foil and stuck it to the outside of that rearmost section of The quarter panel. I hand formed it to approximate the contour of the missing sheet metal and then I squirted expanding foam into the cavity. I let that sit overnight. The next day I pulled the foil off add was left with a foam plug where the missing metal once was. I use sandpaper to shape the phone foam. Then I took fiberglass mat and resin and laid it up over the foam about two layers thick. I also laid two layers of mat over the wheel arch/opening. Then I laid fiberglass mat and resin on the mold and pulled a panel off of that and cut it to size and shape. I also cut away all the rusty metal in front of the wheel opening and behind the door. This is the area I plan to cover with the patch panel. I cleaned up the inner panel, sandblasted it and painted it with POR 15. That's as far as I've gotten. Next I will glue the patch panel to the quarter panel. Once the panel is glued in place I will glass all three sections together, the front panel, the wheel arch and the rear section, so that the lower third of the quarter panel from the door to the tailgate is completely remade. I will apply filler and get the shape right and then paint it.
Okay so now I would say the front and rear sections are well done, but there is still the rusty wheel arch buried under fiberglass. My plan is to pull a mold off of the newly finished wheel arch and then make a patch panel of just the wheel arch. I will then cut out my fiberglass work around the wheel opening along with the rusty metal that's buried inside and then repair it with the patch panel. At that point, I will have cut away most of the lower third of the quarter panel and replaced it with fiberglass. That should seal things up and buy me a few years to decide if I want to tear back into it and maybe do a complete quarter panel.
Some things to note: while this truck is now based in Wisconsin, It started out life in California where it spent the first 11 years of its life. At some point, it got to Wisconsin where it has had exposure to road salt. At this point though, the rust is confined mainly to the front fenders and the quarter panels. The doors have no rust. The hood has no rust. The seams in the cowl, up behind the dashboard, are good, the tailgate is good, the windshield pillars are good, and even the notorious weak spot in the frame, just in front of the passenger side rear leaf spring hanger and next to the gas tank, is good.
As an earlier poster noted, with the inner panels off one can easily see the extent of the rust in the quarter panel.
i appreciate your fiberglass working skills and am following your thread closely, but honestly, that is way, way too much work for me to consider.(and i don't have your fiberglass experience)
i looked at the full fiberglass quarters available but i'd only need one and i think the truck's value will be best increased with metal.
Last edited by Melrose 4r; Oct 26, 2017 at 03:36 AM.
Trying to determine how to go about the bodywork on my 4runner- either 1) replace sections of the rear quarter with patch panels or 2) replace the entire quarter.
I have read that I might be able to use some front fender opposite sides to patch rears but would like to see photos if anyone has them.
My main problem is between the gas door and fender arch on the passenger side. The body filler doesn't go more than halfway back the wheel well.
So I'd like to see examples of what other people have done.
Originally Posted by 92ehatch
You can look through my build thread and see what i chose to do. Mine was not as bad as yours. Looks like yours had filler over rusted metal. I cut out and made patches for the rusted spots then put filler.
note that this was my first time ever doing body work.
Passenger side cut out Repaired spots Patch made Looks good Ready for filler
i have not finished the filler work on that side but here is my drivers side with primer
Originally Posted by wrenchtech
Here's what I'm doing it right now. I made an impression/mold of the profile of the quarter panel right behind the passenger door. That's the biggest part of the quarter panel, the part I thought I could have the best luck with making a mold. And once I have a mold of that part of the quarter panel it's good for either side, Driver or passenger.
Once I captured the profile I used it as a pattern to make a wooden plug mold (male mold) that I am using to make a patch panel to fix the area between the door and the wheel opening flare. Around the wheel opening is I am applying fiberglass mat over the rusty metal to preserve and capture the contours (don't be alarmed, It's not permanent). Behind the wheel opening, I cut away the bottom two or 3 inches to eliminate any of the rusty metal in the outer body skin. After cleaning up the inner panel I made a temporary outer body skin out of aluminum repair tape. I basically made a double thick sheet of sticky backed heavy aluminum foil and stuck it to the outside of that rearmost section of The quarter panel. I hand formed it to approximate the contour of the missing sheet metal and then I squirted expanding foam into the cavity. I let that sit overnight. The next day I pulled the foil off add was left with a foam plug where the missing metal once was. I use sandpaper to shape the phone foam. Then I took fiberglass mat and resin and laid it up over the foam about two layers thick. I also laid two layers of mat over the wheel arch/opening. Then I laid fiberglass mat and resin on the mold and pulled a panel off of that and cut it to size and shape. I also cut away all the rusty metal in front of the wheel opening and behind the door. This is the area I plan to cover with the patch panel. I cleaned up the inner panel, sandblasted it and painted it with POR 15. That's as far as I've gotten. Next I will glue the patch panel to the quarter panel. Once the panel is glued in place I will glass all three sections together, the front panel, the wheel arch and the rear section, so that the lower third of the quarter panel from the door to the tailgate is completely remade. I will apply filler and get the shape right and then paint it.
Okay so now I would say the front and rear sections are well done, but there is still the rusty wheel arch buried under fiberglass. My plan is to pull a mold off of the newly finished wheel arch and then make a patch panel of just the wheel arch. I will then cut out my fiberglass work around the wheel opening along with the rusty metal that's buried inside and then repair it with the patch panel. At that point, I will have cut away most of the lower third of the quarter panel and replaced it with fiberglass. That should seal things up and buy me a few years to decide if I want to tear back into it and maybe do a complete quarter panel.
Some things to note: while this truck is now based in Wisconsin, It started out life in California where it spent the first 11 years of its life. At some point, it got to Wisconsin where it has had exposure to road salt. At this point though, the rust is confined mainly to the front fenders and the quarter panels. The doors have no rust. The hood has no rust. The seams in the cowl, up behind the dashboard, are good, the tailgate is good, the windshield pillars are good, and even the notorious weak spot in the frame, just in front of the passenger side rear leaf spring hanger and next to the gas tank, is good.
As an earlier poster noted, with the inner panels off one can easily see the extent of the rust in the quarter panel.
I have test fitted the panel you see in the picture above and I can honestly say it fits perfectly over the remaining sheet metal and should bond nicely with about two thirds of the fiberglass bonding directly to sound Metal.
I have a 1988 4runner parts truck. This is a shot of the passenger side quarter panel
See anything here that you could use?
interesting that one has a hole in the same place as mine. I actually see two parts i could use in that photo, the plastic rock guard and the tip of the rocker spear. If you are willing to part with those just pm me and i'll be happy to pay you for them.
Hi 92ehatch I was wondering if you could help me. I also have an 87 4runner SR5 22re. I have the same rust problem you did on my rear fenders. I have gone to 3 body shops and no one would even get out of their chair to come outside and look except one guy who seems extremely reluctant but has agreed to cut out and patch in the rusty areas. Prime only. No paint for $3k. I really want to try it myself and I am confident in my abilities but I dont have the knowledge base in terms of what parts or materials to use. I've done some research and parts seem readily available but there are different options so im not sure which way to go. Rear fender on both sides is rusty.
I would love to talk to you about your process if you have time.
Last edited by Nattygirl81; Dec 15, 2022 at 09:27 AM.
$3k no paint is insane. You may be able to use some used/new front fender radius as the repair panel. There’s two kinds of people in the world- those with mig welders and those without. Become the kind with a mig welder. 😁
$3k no paint is insane. You may be able to use some used/new front fender radius as the repair panel. There�s two kinds of people in the world- those with mig welders and those without. Become the kind with a mig welder. 😁
Im going to take a stab at it myself. The worst thing that can happen is I end up cutting off rust that I dont do a good job repairing and I'll have to figure it out from there I guess. I saw someone post this link and I know the Hilux surf is essentially the European 4runner. I just want to make sure they are literally the exact same vehicle just with a different name before I order these pieces. Do you know if that's the case?
That’s why i suggested a front fender (opposite side) may provide the panel you need. The better the creases and fit, the less the trouble. Or buy the Wolff steel panels or best yet, get some cut off a parted out 4runner in the west. Check FB marketplace and Craigslist. http://www.ranchotoyotatruckparts.co...a-4runner.html
where are youlocated? Maybe someone nearby could loan you a welder or help out.
it’s not rocket science, you just need the welder setup correctly and time.
sometimes local tech schools will take on a bodywork project like that.
love the color of your 4runner by the way!
Last edited by Melrose 4r; Dec 16, 2022 at 12:26 PM.
That�s why i suggested a front fender (opposite side) may provide the panel you need. The better the creases and fit, the less the trouble. Or buy the Wolff steel panels or best yet, get some cut off a parted out 4runner in the west. Check FB marketplace and Craigslist. http://www.ranchotoyotatruckparts.co...a-4runner.html
where are youlocated? Maybe someone nearby could loan you a welder or help out.
it�s not rocket science, you just need the welder setup correctly and time.
sometimes local tech schools will take on a bodywork project like that.
love the color of your 4runner by the way!
Thanks. It wouldn't be my first choice but it's grown on me. I like the stripes a lot. I am in Michigan. I actually found a guy about 2 hours away with an 89 wreck (a tree fell on the roof) but the side bodies are really nice and no rust. So that is one option but I'm not sure if he would let me just come cut off 2 small pieces. Id like to buy the whole thing in case I ever need future parts but it has no wheels so I'd have to have it put on a flat bed and I don't want it sitting in my yard for the rest of it's life. I probably wouldn't even be allowed to.
And I really want to try it myself. Im doing a lot of research before I dive in and I feel pretty ok about it.
Thanks for your input. Im putting a step by step process together from videos and comments on videos and these forums so maybe I'll post my final draft here before I start and see if anyone has any final pointers.
https://www.facebook.com/marketplace/item/1179370725988997/?hoisted=false&ref=search&referral_code=null&referral_story_type=post
not sure whyi can’t get this link to show…someone parting an 88 4r in Phoenix.
Last edited by Melrose 4r; Dec 16, 2022 at 12:52 PM.

 Oct 25, 2017 | 07:42 AM


 )
)