When you click on links to various merchants on this site and make a purchase, this can result in this site earning a commission. Affiliate programs and affiliations include, but are not limited to, the eBay Partner Network.
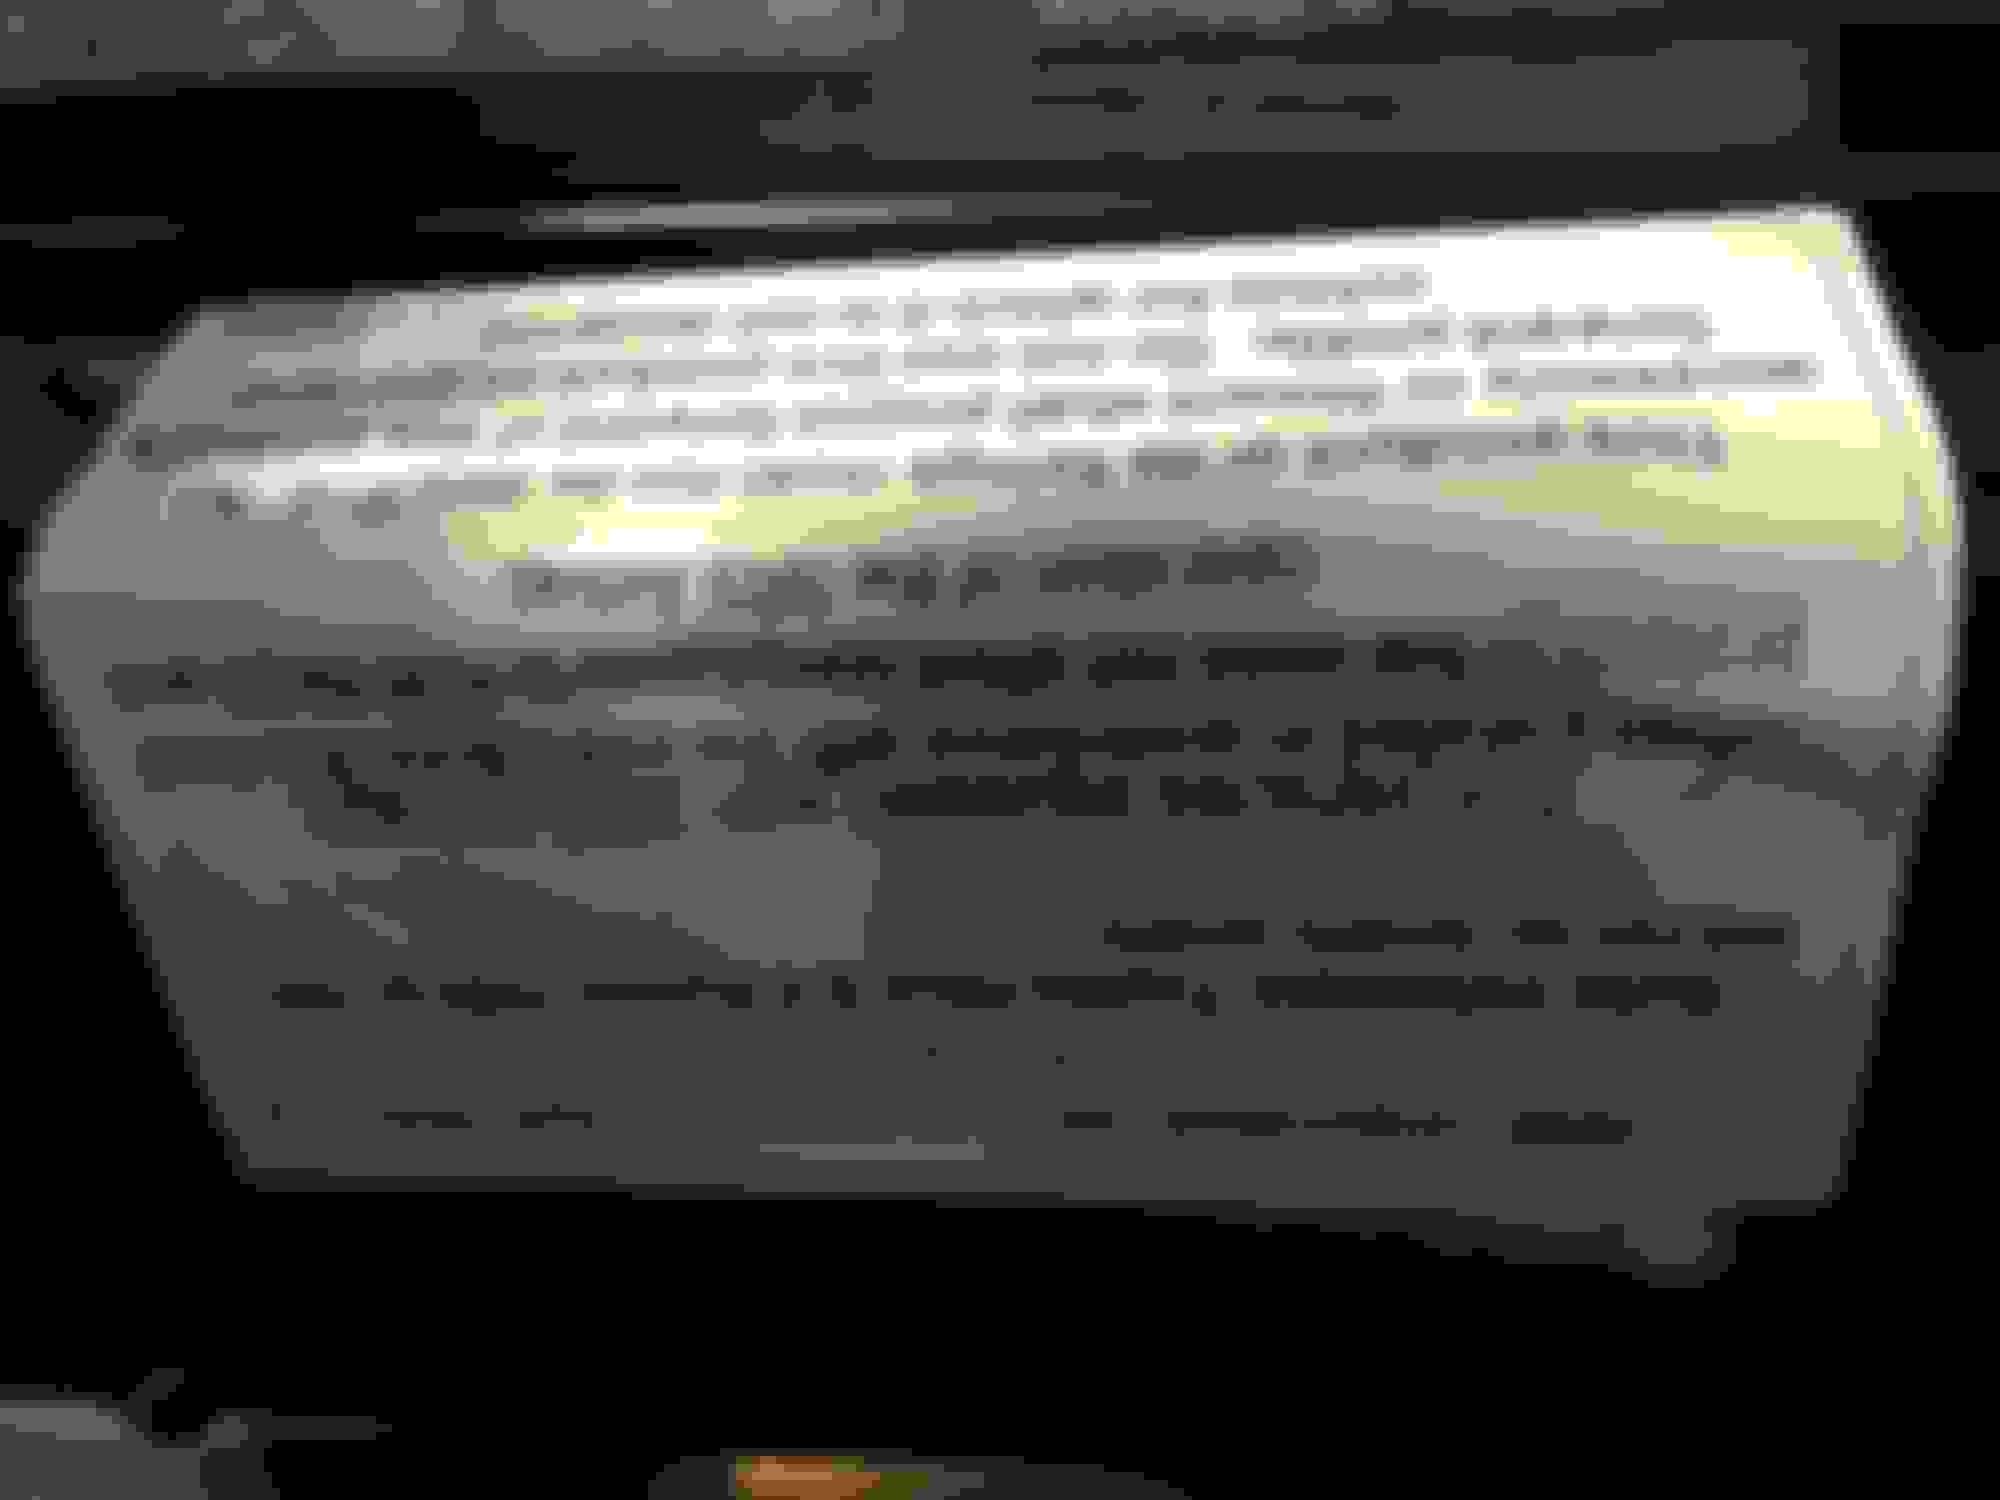
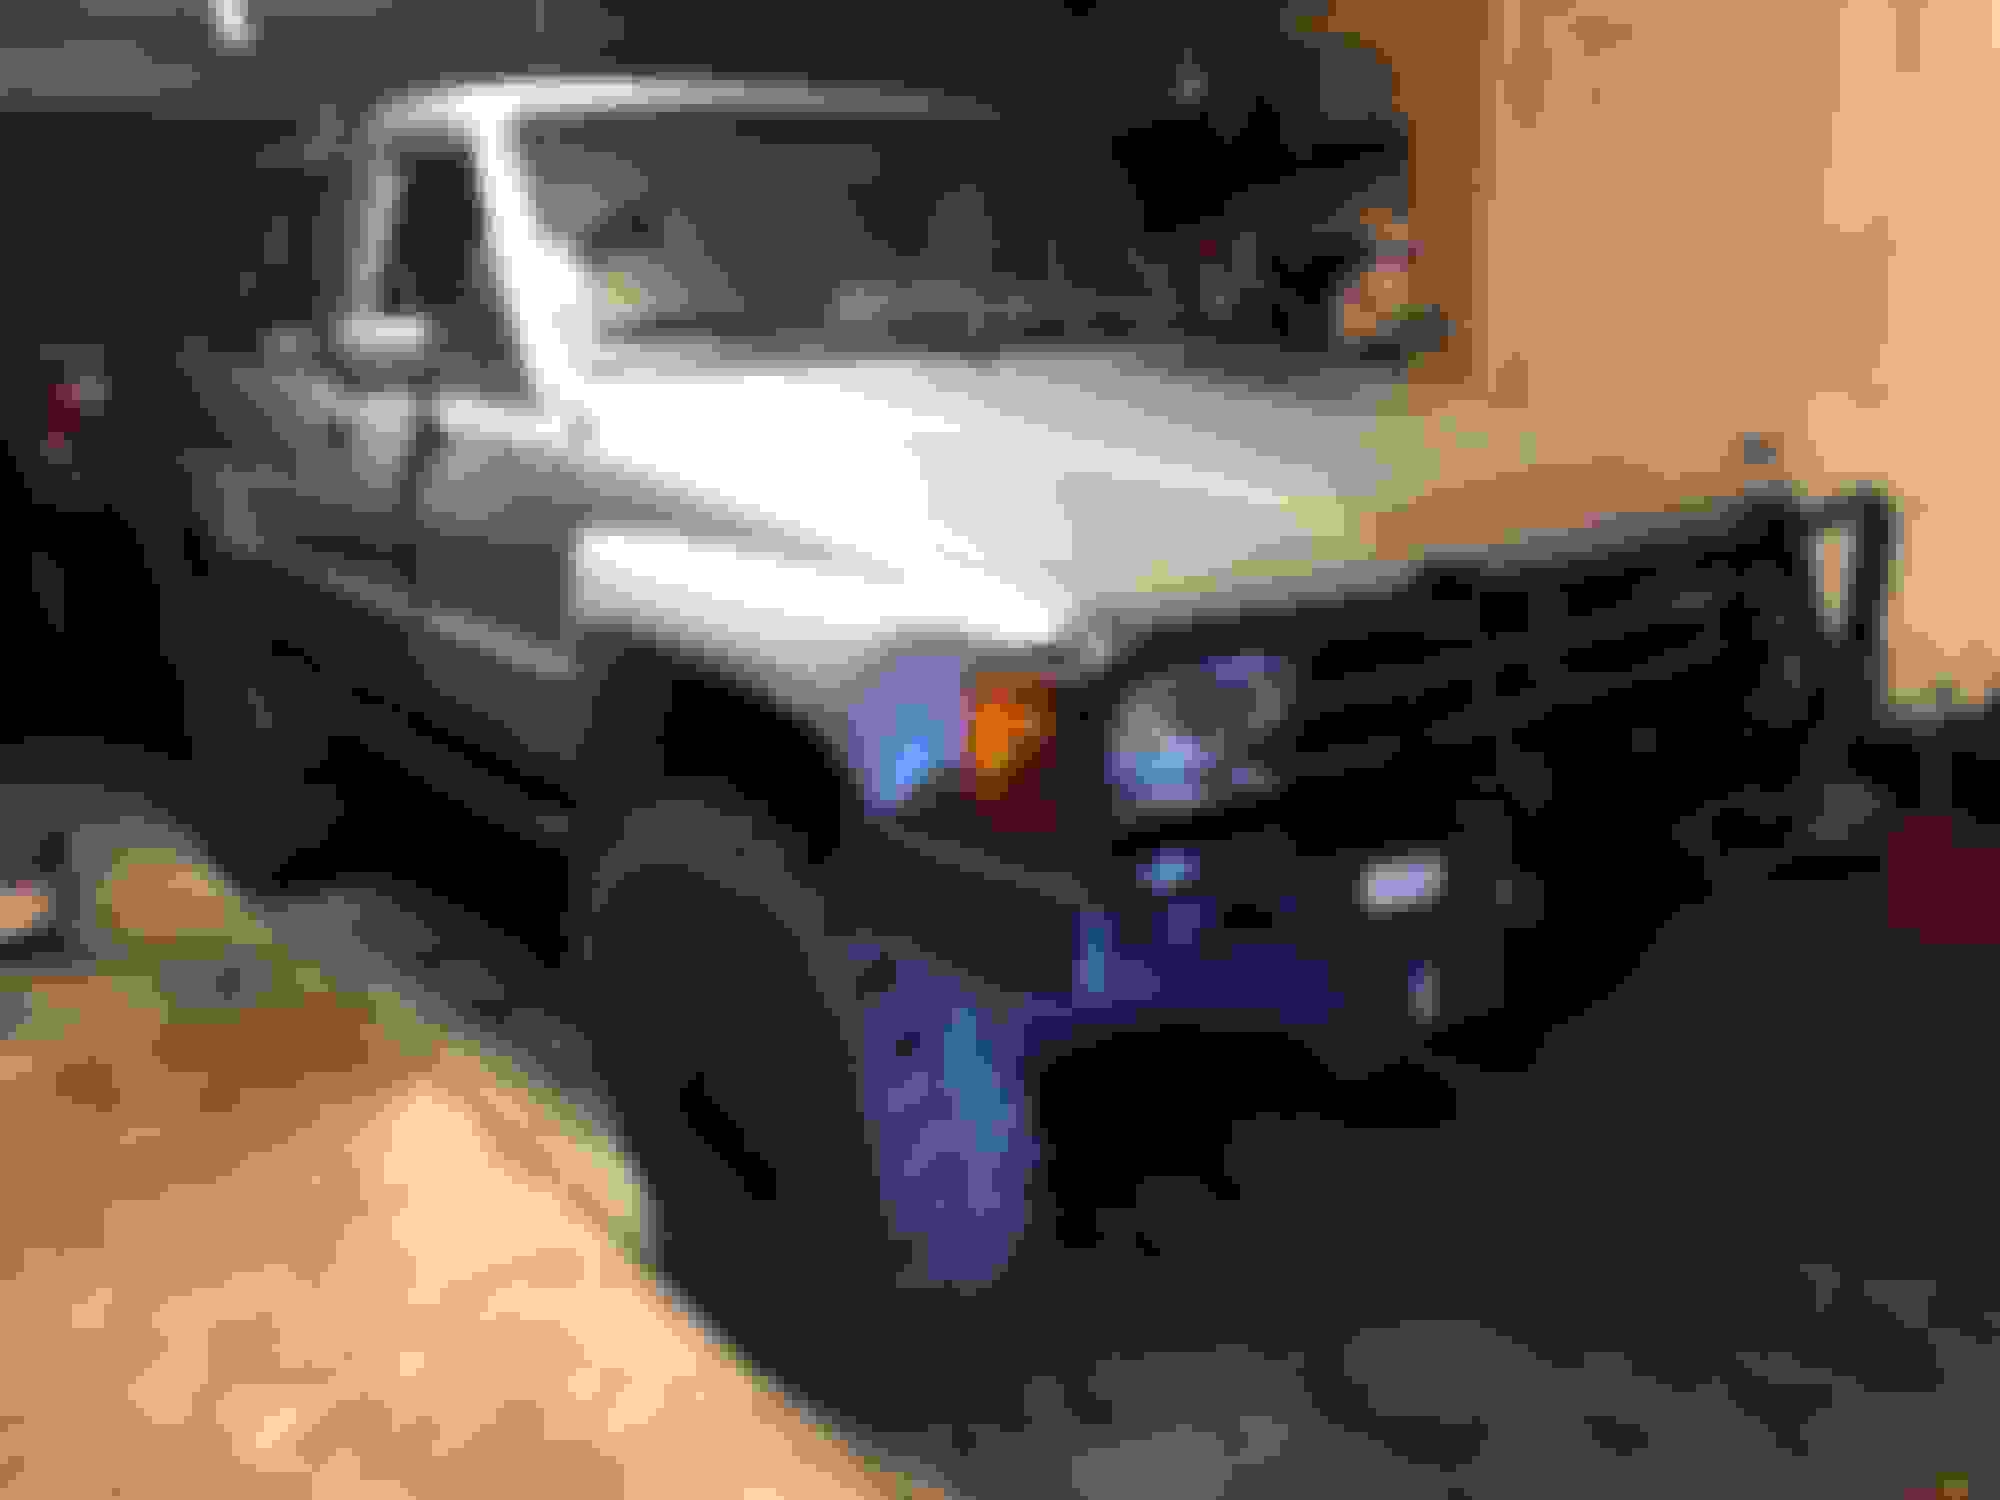
I picked up my ARB bumper yesterday on my way home from work. there doesn't seem to be many detailed installs documented in the forums and as per usual ARB's directions suck. First and foremost I was to point out that if you have a IFS 1st gen, this bumper requires modification to your truck. I cannot verify this for second gens because have never owned one. your factory bumper attaches to two brackets that bolt to your subframe (the piece that runs from frame rail to frame rail) and to the two little brackets that are lightly welded to the top of the subframe. the two small extensions need to be removed in order to mount this bumper. other than that this bumper is a pretty simple install. a buddy helps, two help a lot especially if your installing a winch. the bumper ships with a caution label stating that it only fits 89-95 vehicles and should never be used on anything else, although it is also for 86-89 4runner, you can verify this by crossing the part numbers on the ARBUSA website. the bumper is pretty good quality but I will say that there are two brackets (one on either side of the bumper) near the turn lamps that are not used on the 1st gen and will contact the body mount slightly. I will be trimming my body mount metal about 1/4" to solve this. I test fitted the bumper last night, basically hot bolted it with the 4 main bolts. I will be pulling it back off today to fit the winch and trim the body mount metal.
start by removing the (4) 10mm bolts at the ends of your factory bumper there are two under the small black plastic covers on your bumper end caps and two on the lower valance under the end caps.
next remove the screws holding the valance on located in the center, the valance should come off.
disconnect your turn signal lamps, located behind the bumper.
remove the (4) 17mm bolts holding the bumper on, located on either side of the front of the frame, and remove the bumper.
next remove the skid plate, by removing the (4) 12mm bolts.
now the oem tow points, each has (2) 17mm bolts located under each side of the frame.
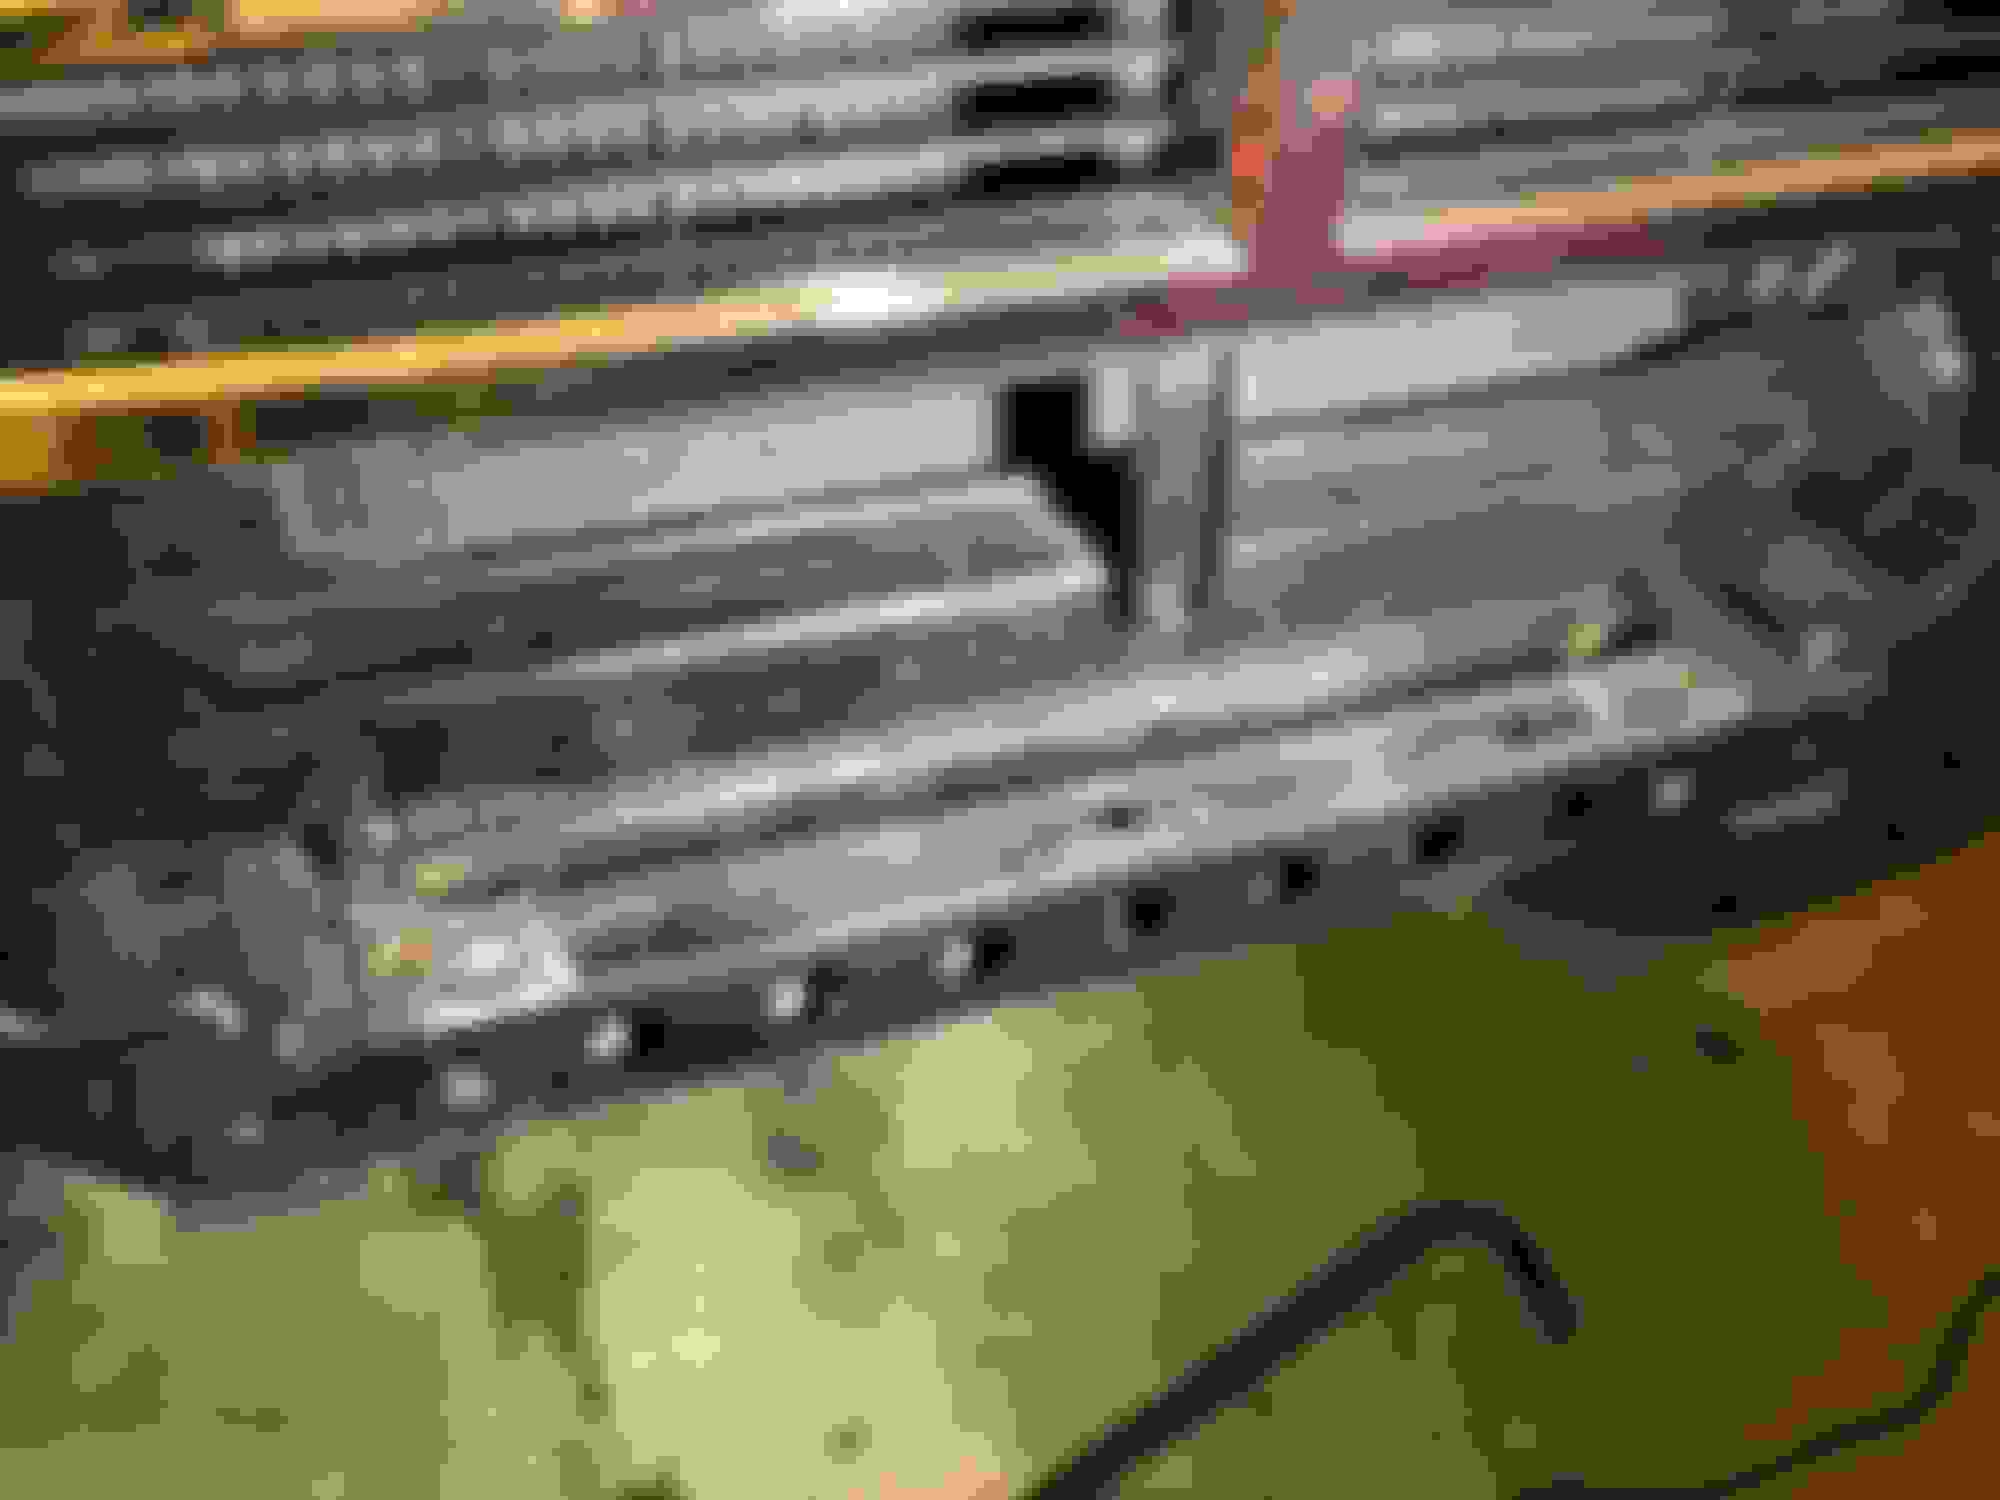
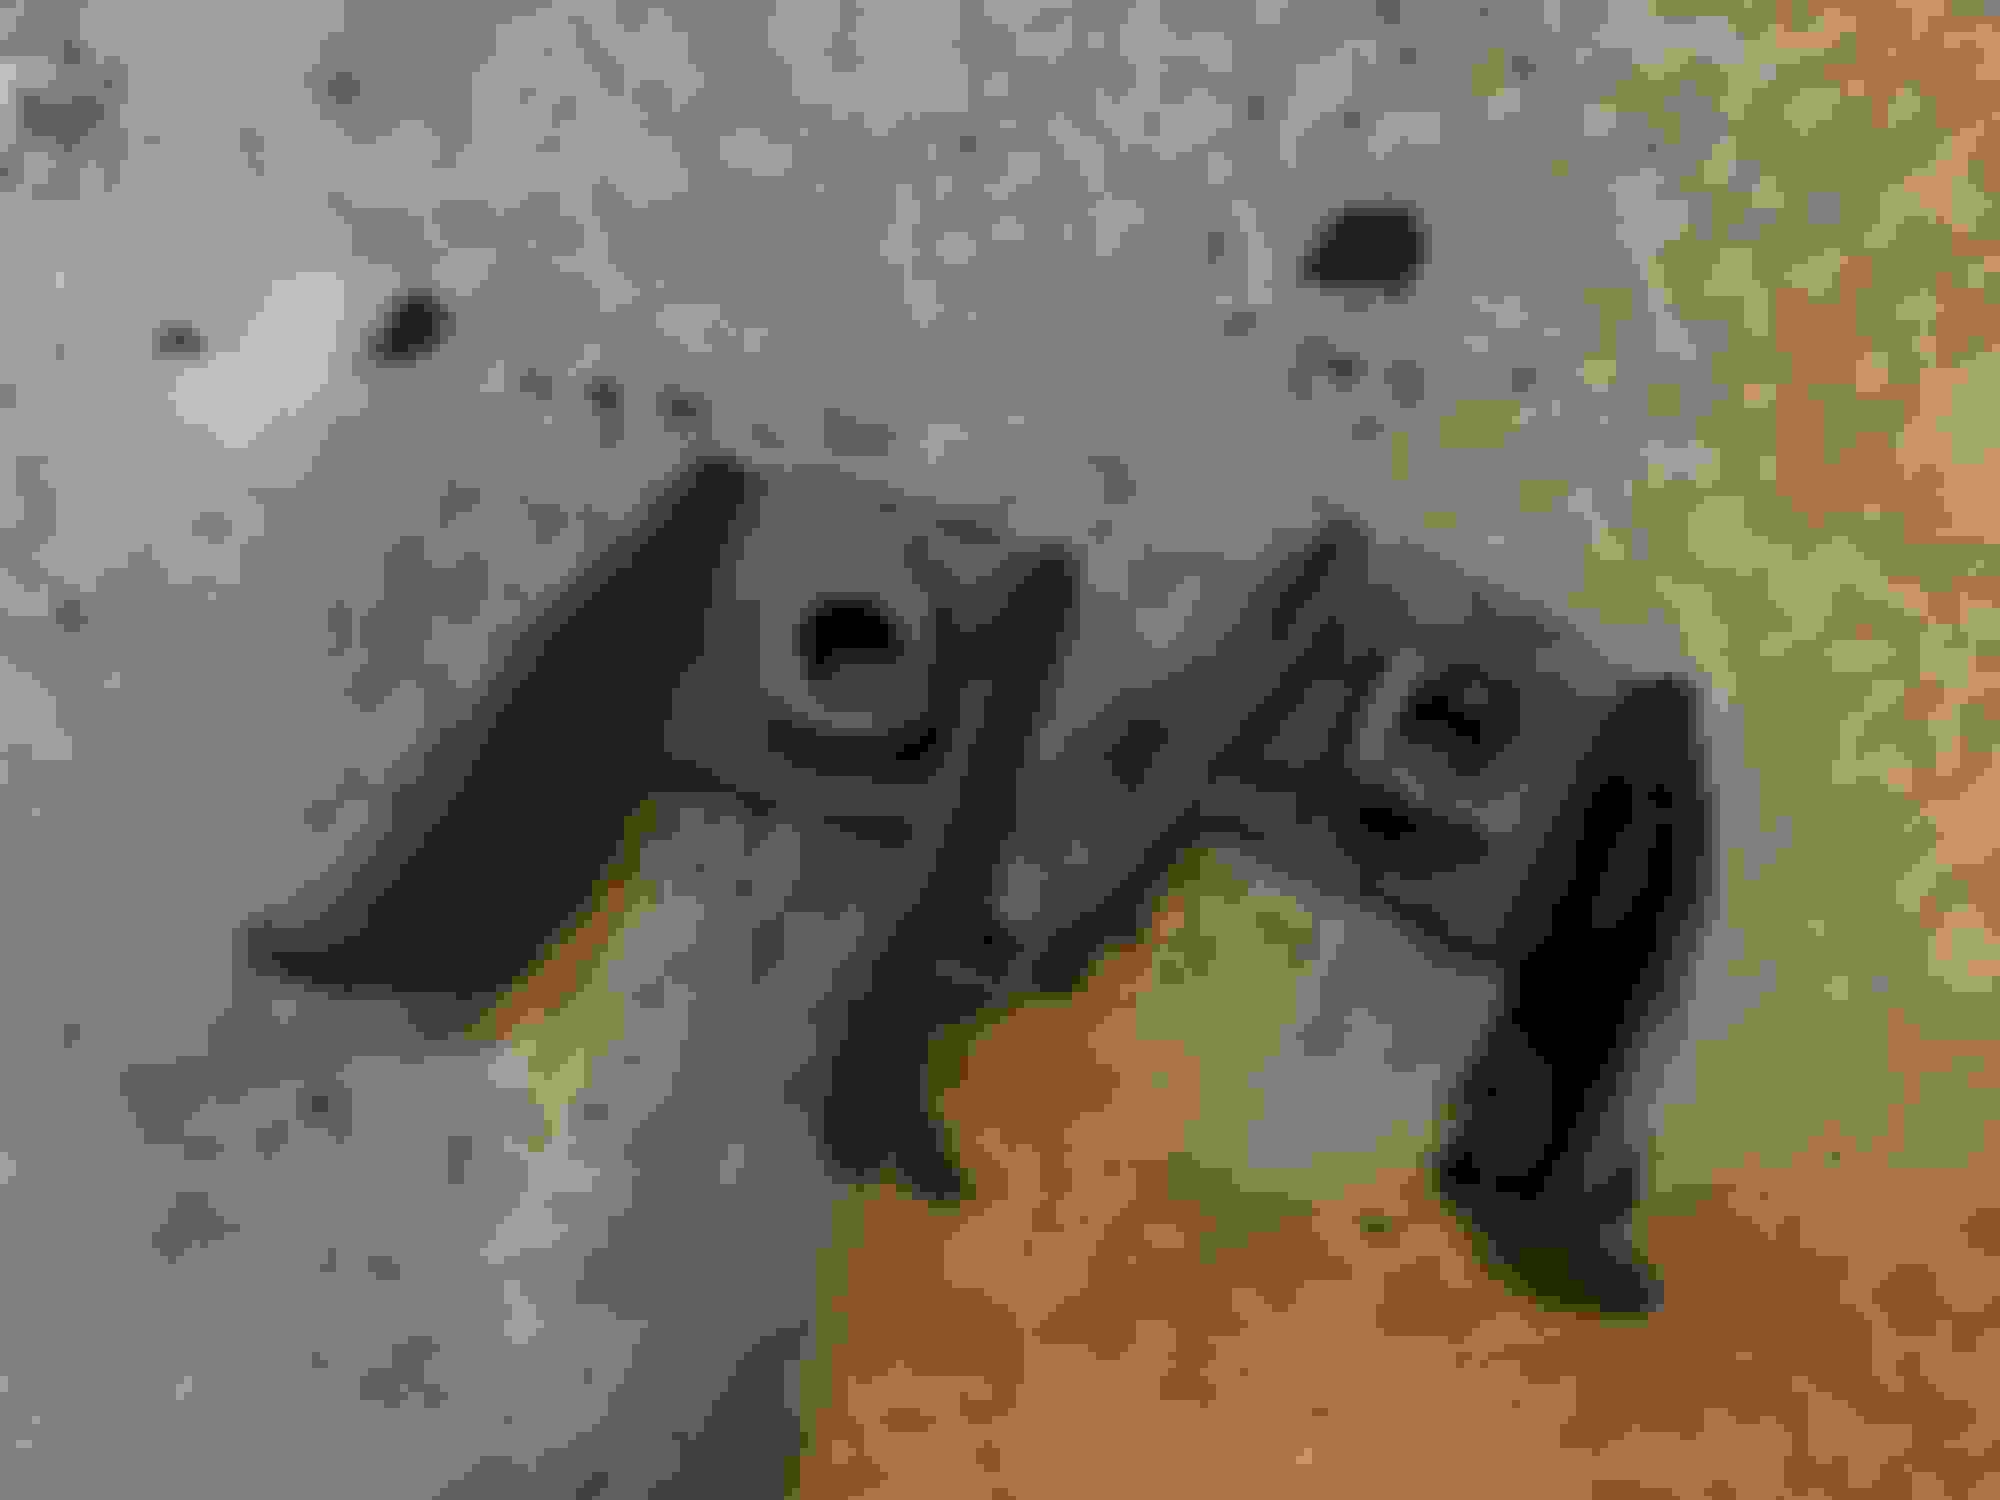
you will also need to either trim or remove the small braces that are under the bumper end caps. there are (2) 10mm bolts on each brace, plus what appears to be a spot weld, ill know for sure tonight when I remove mine.
now the cringing, remove the two extensions that hold the upper 17mm bumper bolts. I used a crow bar and it took a matter of about 15 second. they are barely welded. insert a pry bar under the extension and lightly pry up, they will pop right off. then take a grinder and flush it out, and throw a light coat of paint over any bare metal.
your now ready to install the bumper. you are supplied with new turn lamps and new hardware. I used a tranny jack to line it up and push it into place. this bumper fits very closely to the fender so be careful.
install the supplied bolts into the lower holes of where your oem bumper mounts, and then two more where your oem tow points were mounted. the remaining hardware is self explanatory. just install a bolt where you see holes. there are several smaller bolts along the under side of the bumper. the two large bolts in the kit are for the fairlead. I will put up more pictures after I install the winch,fairlead, and turn lamps.
the fitment label stock bumper removed extensions removed extensions paint and cleaned lining up installed
Man it looks good!
Do the stock bumper end reinforcements remain bolted on?
If no, let me know if you'd be interested in selling one.
they will not stay on. ARB conveniently leaves this part out of the directions (along with the bumper tab cuts). you should note, as I state in the install notes, that it looks like there are two small 10mm bolts and a spot weld that hold them in place, ill take a closer look when I get home. Check back with me after the install is done and I will absolutely get them to you
they will not stay on. ARB conveniently leaves this part out of the directions (along with the bumper tab cuts). you should note, as I state in the install notes, that it looks like there are two small 10mm bolts and a spot weld that hold them in place, ill take a closer look when I get home. Check back with me after the install is done and I will absolutely get them to you
Great! I've had mine off but one is bent badly. The rod is spot welded to the bracket. The bracket is bolted up in the wheelhouse. I need the driver's side.
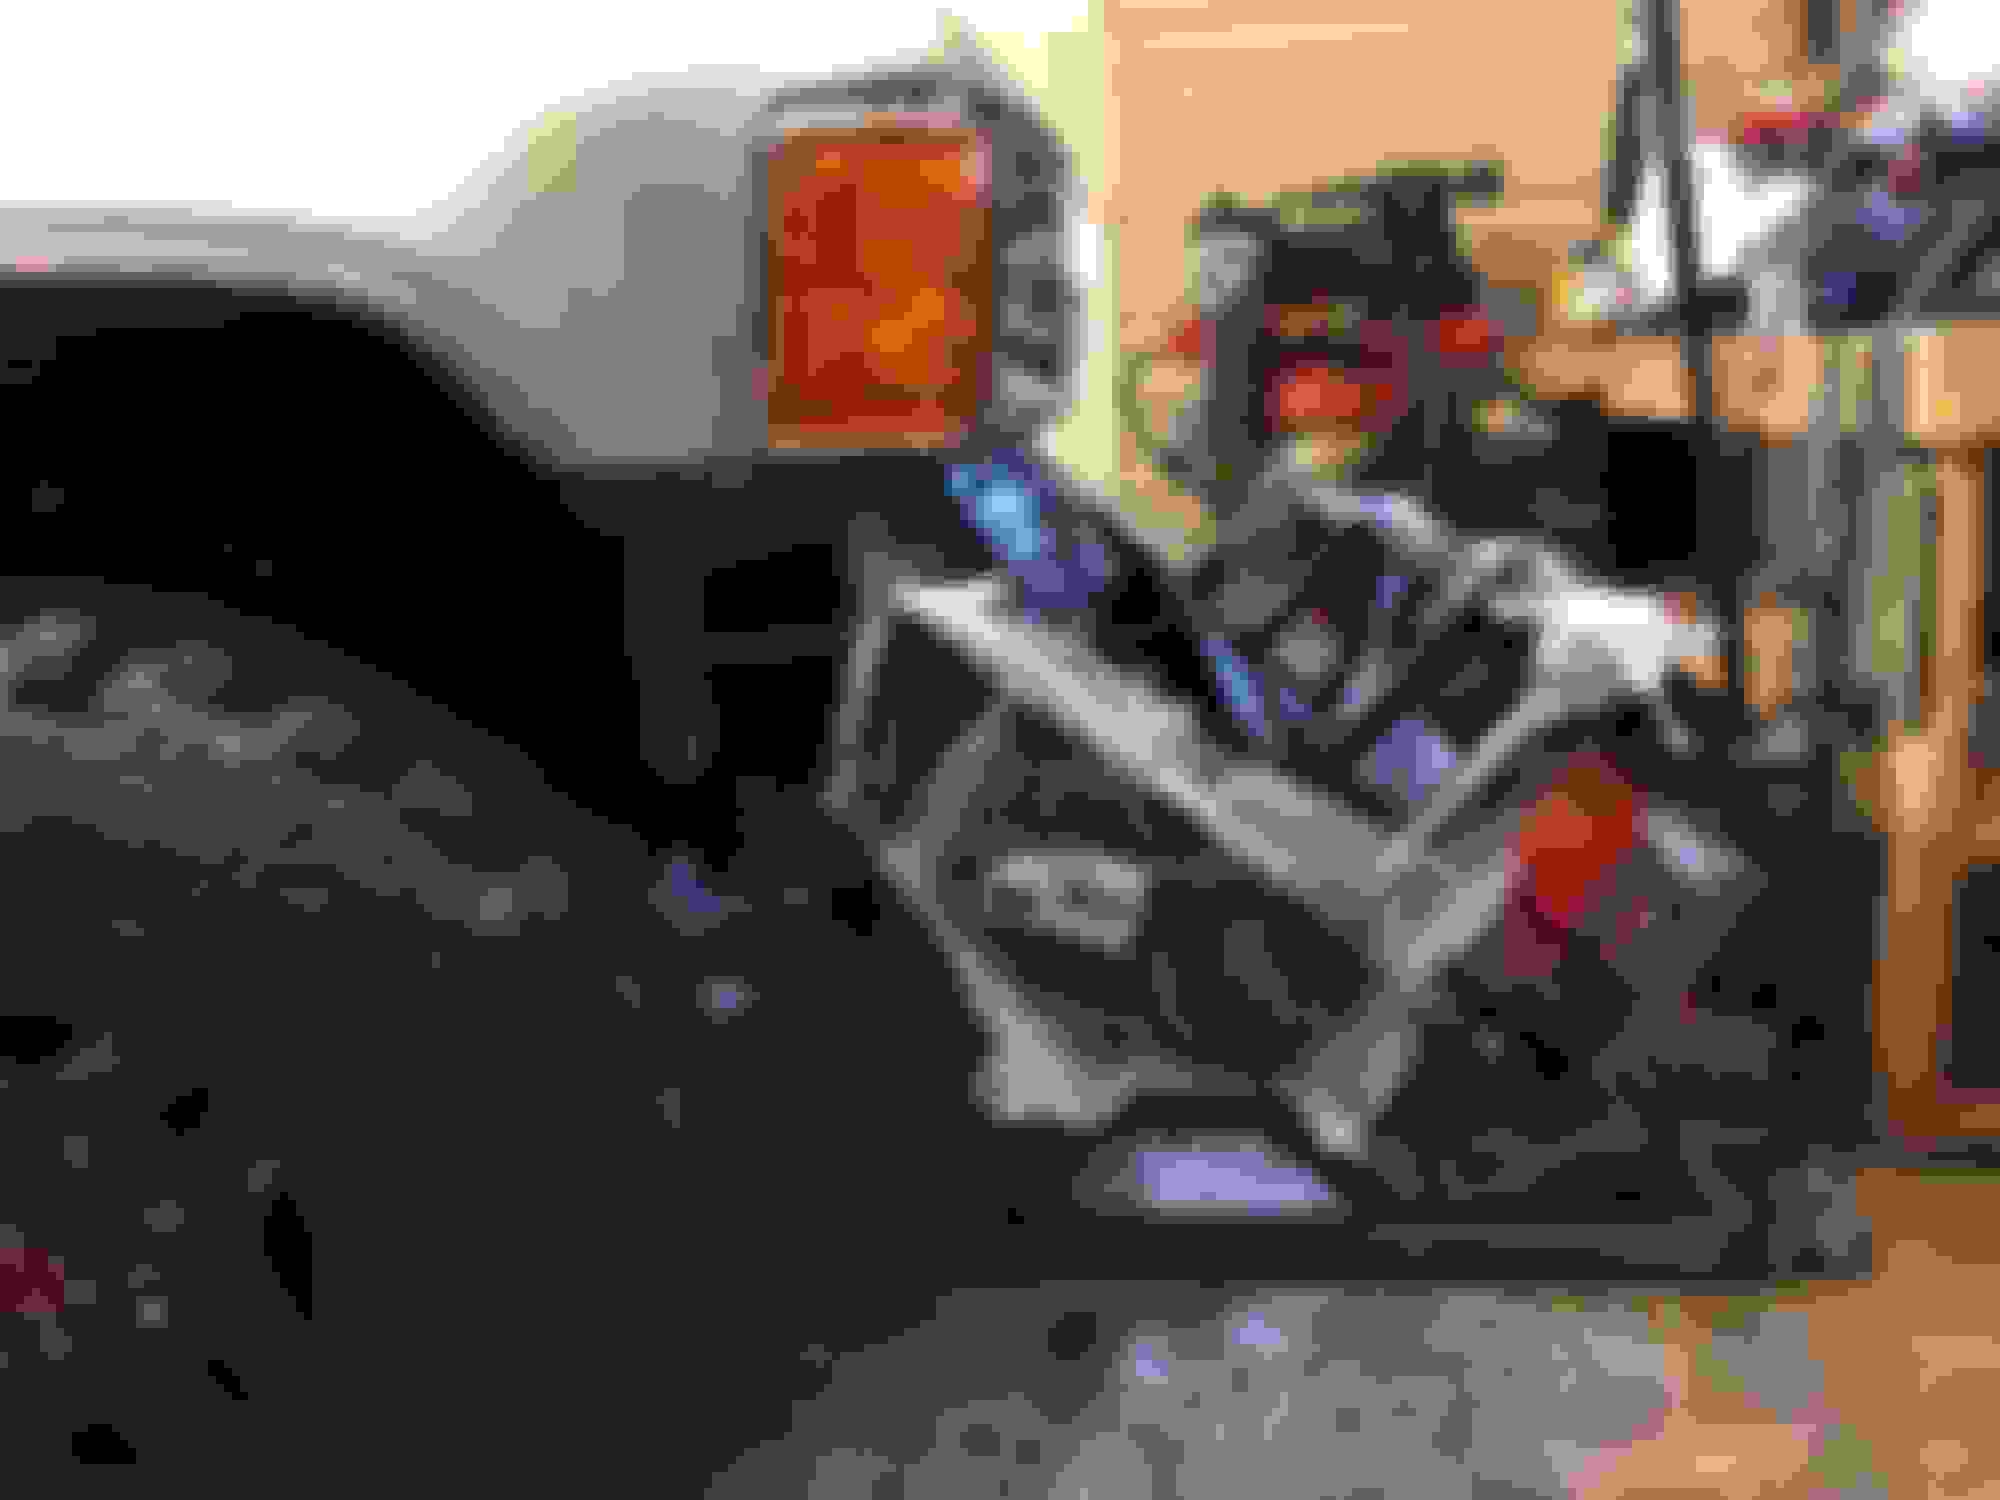
After hot bolting the bumper up to ensure fitment, I pulled it back off to install the winch (went with a warn m8000), make some trims to the body mounts, and reinstall..
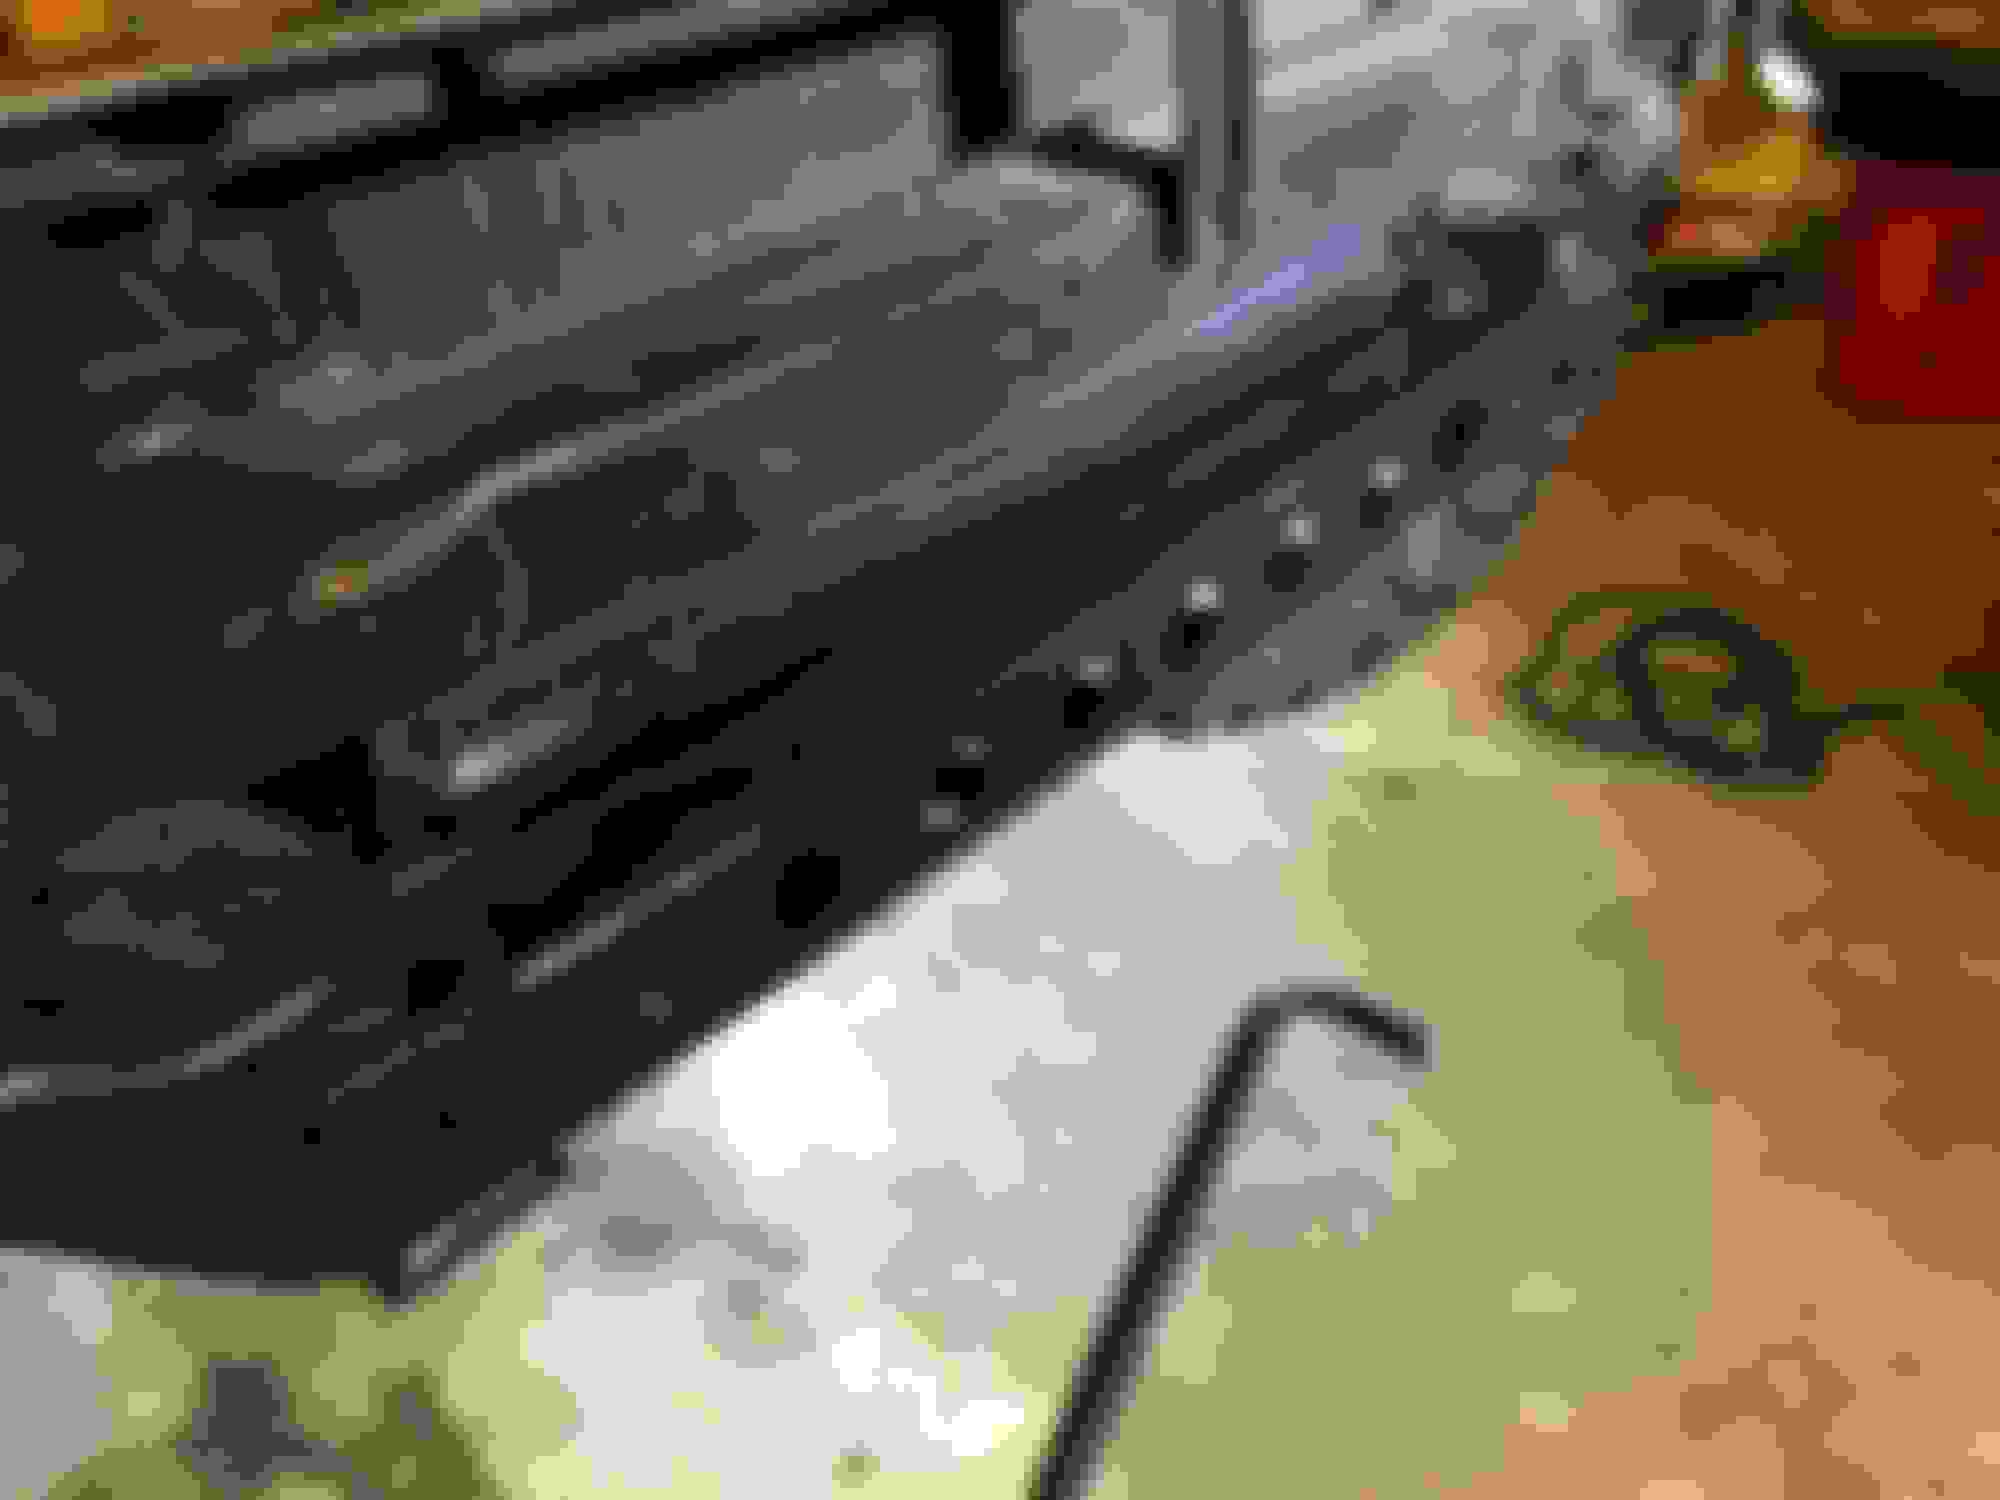
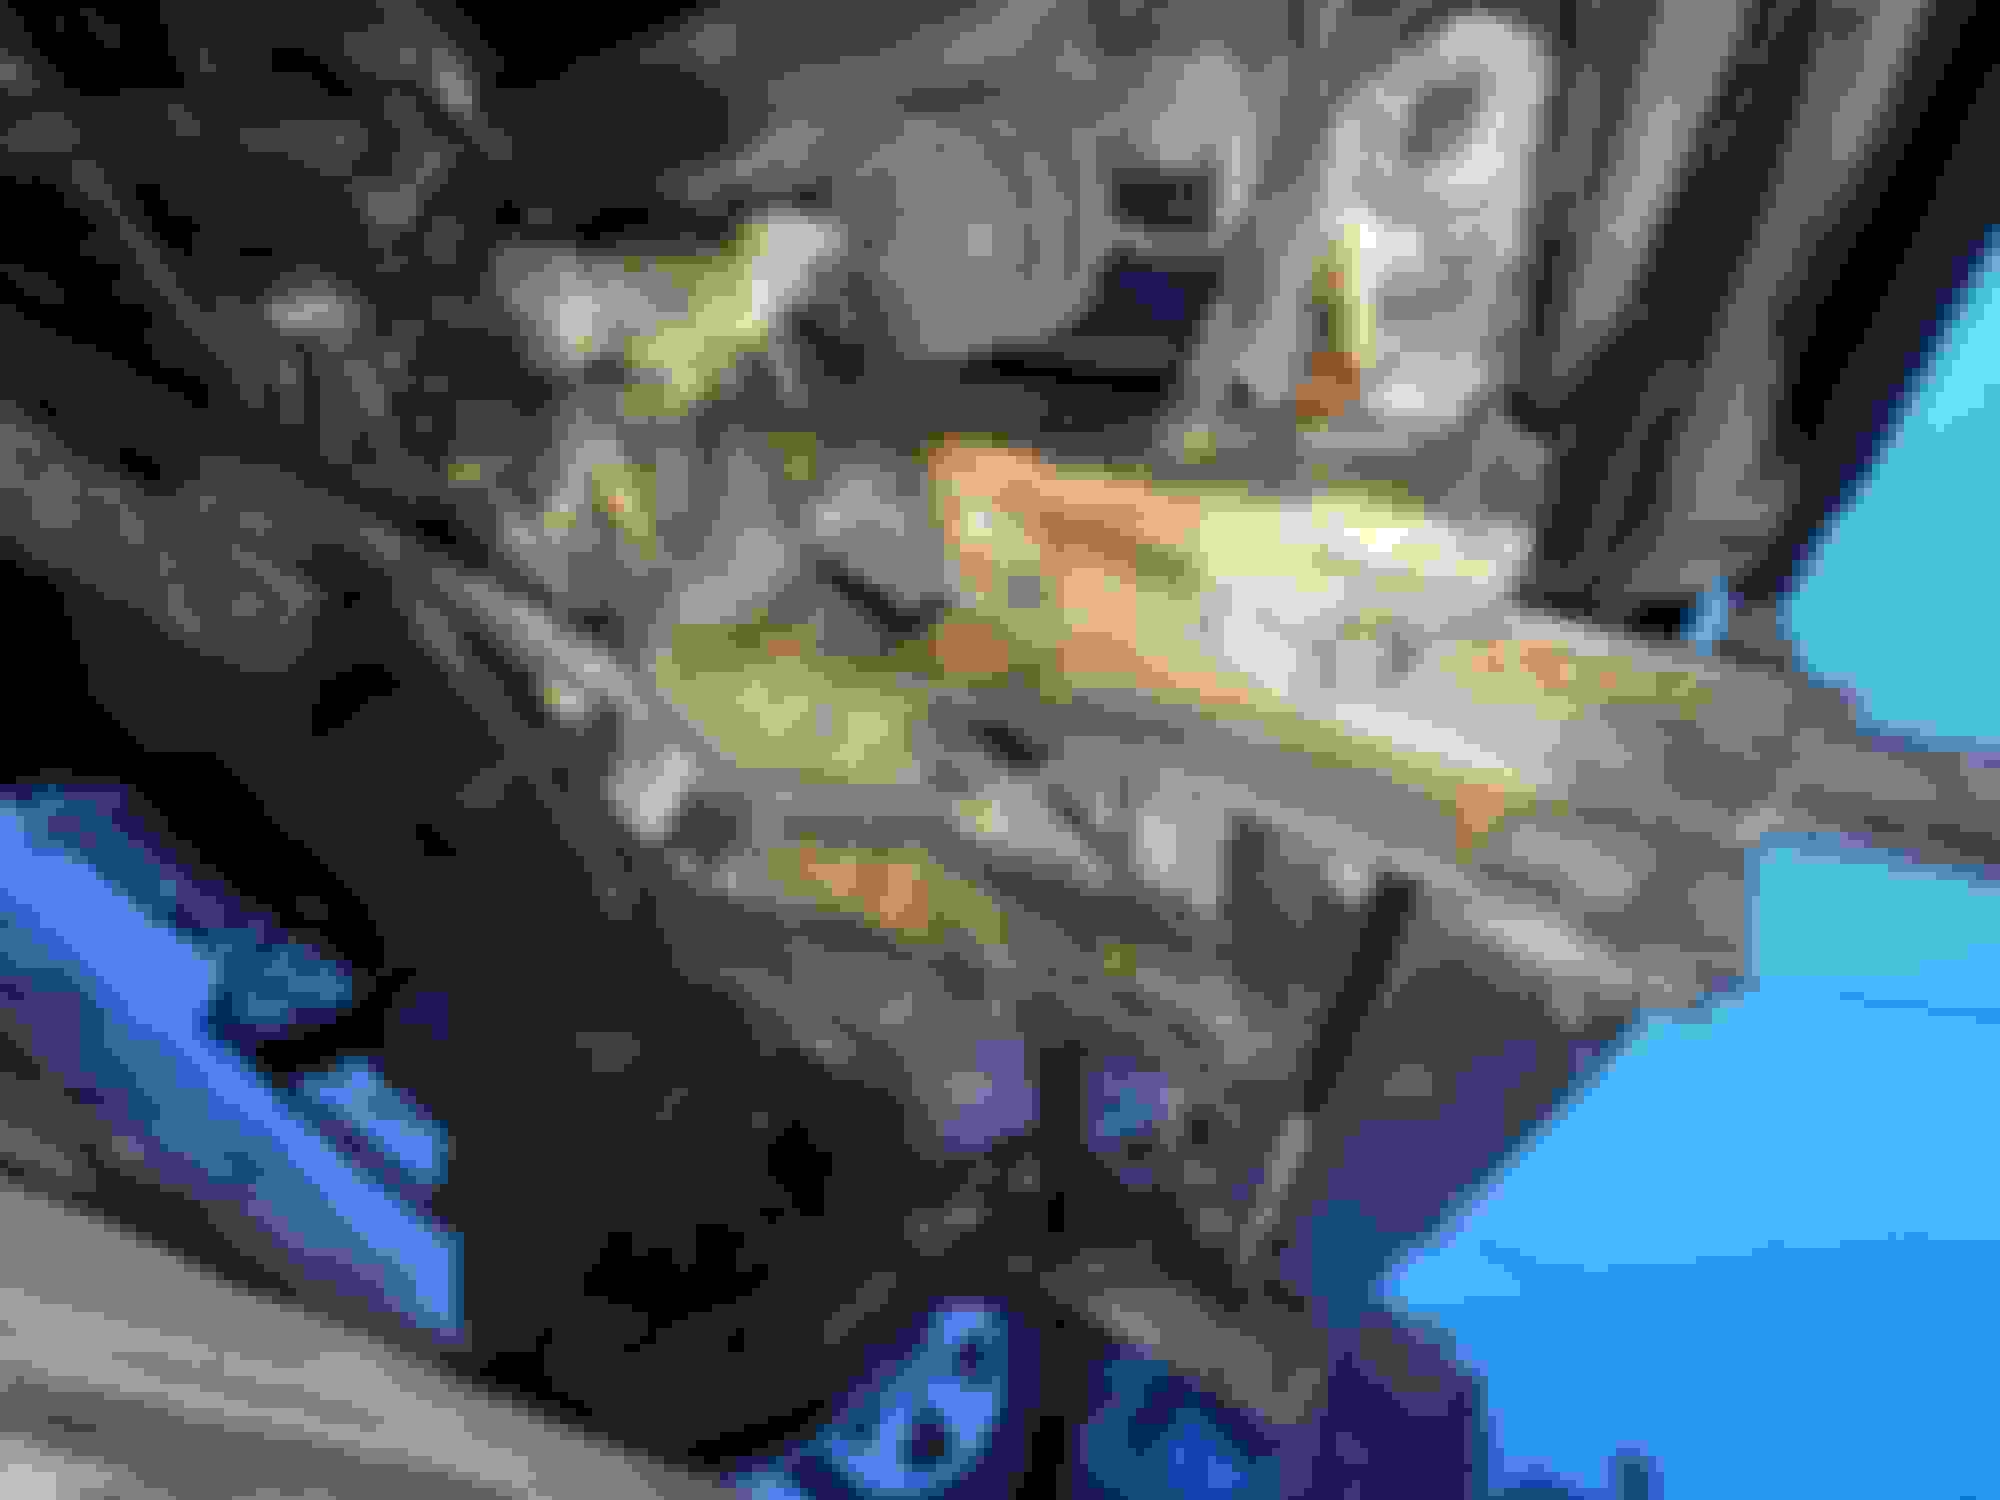
I believe I will eventually pull it off again and clock the ends of the winch, because the power cables stick out a little too far in my opinion. if it were clocked I think they would suck down into the bumper a little more. you use the hardware warn provides to install the winch, but you need the mount ARB supplies to mount the control box. the warn wiring is cake, they color code everything. there is a small ground wire that isn't mentioned in any install notes or videos I could find, so I simply grounded it to the body behind the grill using a small 10mm bolt. the fairlead is a little confusing but there are some notes about it in the ARB instructions. you have to use some snap ring pliers to remove the c-clips and outer rollers from the fairlead, then use the supplied bolts from ARB to mount it. if you do not mount it like this, and you decide to just bolt it through the back of the fairlead, the cable will contact the ARB bumper during use. ARB does not mention this, but after removal I noticed some paint missing from the bumper on the inside. there are two mounting brackets that are not used for 1st gen, and they WILL contact the front body mounts. a quick skim with a grinder solves this. take off about 1/8" of metal form the outside of the body mount metal. there are two offset washer that are used on the rear most mounting bolts. your stock skid is reusable if you still have it. you can reuse your OEM recovery points on the ARB as well. it is supplied with 2 new turning lamps, but they require splicing (connectors are not the same as factory). I plan to buy some cheapo rock auto turn lamps and cut off the oem style connector and put them on the ARB lamps. ARB does not give any pictures for install, and you really just need to sort through their bag of bolts and start fitting them into the empty holes, to be honest. ive attached a picture of the underside where most of the bolts are (on one side).
under carraige bolts offset washer for rear mounting bolts oem skid installed fitment
After hot bolting the bumper up to ensure fitment, I pulled it back off to install the winch (went with a warn m8000), make some trims to the body mounts, and reinstall..
I believe I will eventually pull it off again and clock the ends of the winch, because the power cables stick out a little too far in my opinion. if it were clocked I think they would suck down into the bumper a little more. you use the hardware warn provides to install the winch, but you need the mount ARB supplies to mount the control box. the warn wiring is cake, they color code everything. there is a small ground wire that isn't mentioned in any install notes or videos I could find, so I simply grounded it to the body behind the grill using a small 10mm bolt. the fairlead is a little confusing but there are some notes about it in the ARB instructions. you have to use some snap ring pliers to remove the c-clips and outer rollers from the fairlead, then use the supplied bolts from ARB to mount it. if you do not mount it like this, and you decide to just bolt it through the back of the fairlead, the cable will contact the ARB bumper during use. ARB does not mention this, but after removal I noticed some paint missing from the bumper on the inside. there are two mounting brackets that are not used for 1st gen, and they WILL contact the front body mounts. a quick skim with a grinder solves this. take off about 1/8" of metal form the outside of the body mount metal. there are two offset washer that are used on the rear most mounting bolts. your stock skid is reusable if you still have it. you can reuse your OEM recovery points on the ARB as well. it is supplied with 2 new turning lamps, but they require splicing (connectors are not the same as factory). I plan to buy some cheapo rock auto turn lamps and cut off the oem style connector and put them on the ARB lamps. ARB does not give any pictures for install, and you really just need to sort through their bag of bolts and start fitting them into the empty holes, to be honest. ive attached a picture of the underside where most of the bolts are (on one side).
under carraige bolts offset washer for rear mounting bolts oem skid installed fitment
hey man, thanks for the write up. This is my 4th ARB but first where the winch mounts in a covered area. Can you tell me how the winch mounts to the bumper?
I looks like it mounts upside down? The instructions from arb are always terrible but thought you could help me out. Thanks!
hey man, thanks for the write up. This is my 4th ARB but first where the winch mounts in a covered area. Can you tell me how the winch mounts to the bumper?
I looks like it mounts upside down? The instructions from arb are always terrible but thought you could help me out. Thanks!
it doesn�t mount upside down. It mounts facing forward. You�ll need to clock the winch, which only takes a few minutes. You can see some of the feet bolts just above the fairlead. Can confirm is winches fine, I�ve put it under heavy load several times.
Resurrecting an old thread; I have an 86 2wd pickup and was wondering if this bumper (arb 3414070?) would work? It looks like they have similar mounting points but the bar with the holes going across seems to be closer to the grille on the 2wd? But maybe not, I can get measurements if needed. I can see the two diagonal brackets getting in the way but i figure i can probably just cut around those parts on the bumper? OP considering you went through the install, do you think youd be able to install that bumper on the 2wd version?
2wd:
underside of my dirty 2wd with tow brackets installed (Ill be taking those off)
Thanks for any insight you can provide!
Looks like you�ll need to fabricate your own mounting. Seems like a waste of money to me, both because they�re expensive and you are going to hack up the bumper to fit, and because I guess I don�t see the point on a 2wd truck. Your better bet is just having a custom bumper built for probably half the cost.

 May 10, 2019 | 04:47 AM