When you click on links to various merchants on this site and make a purchase, this can result in this site earning a commission. Affiliate programs and affiliations include, but are not limited to, the eBay Partner Network.
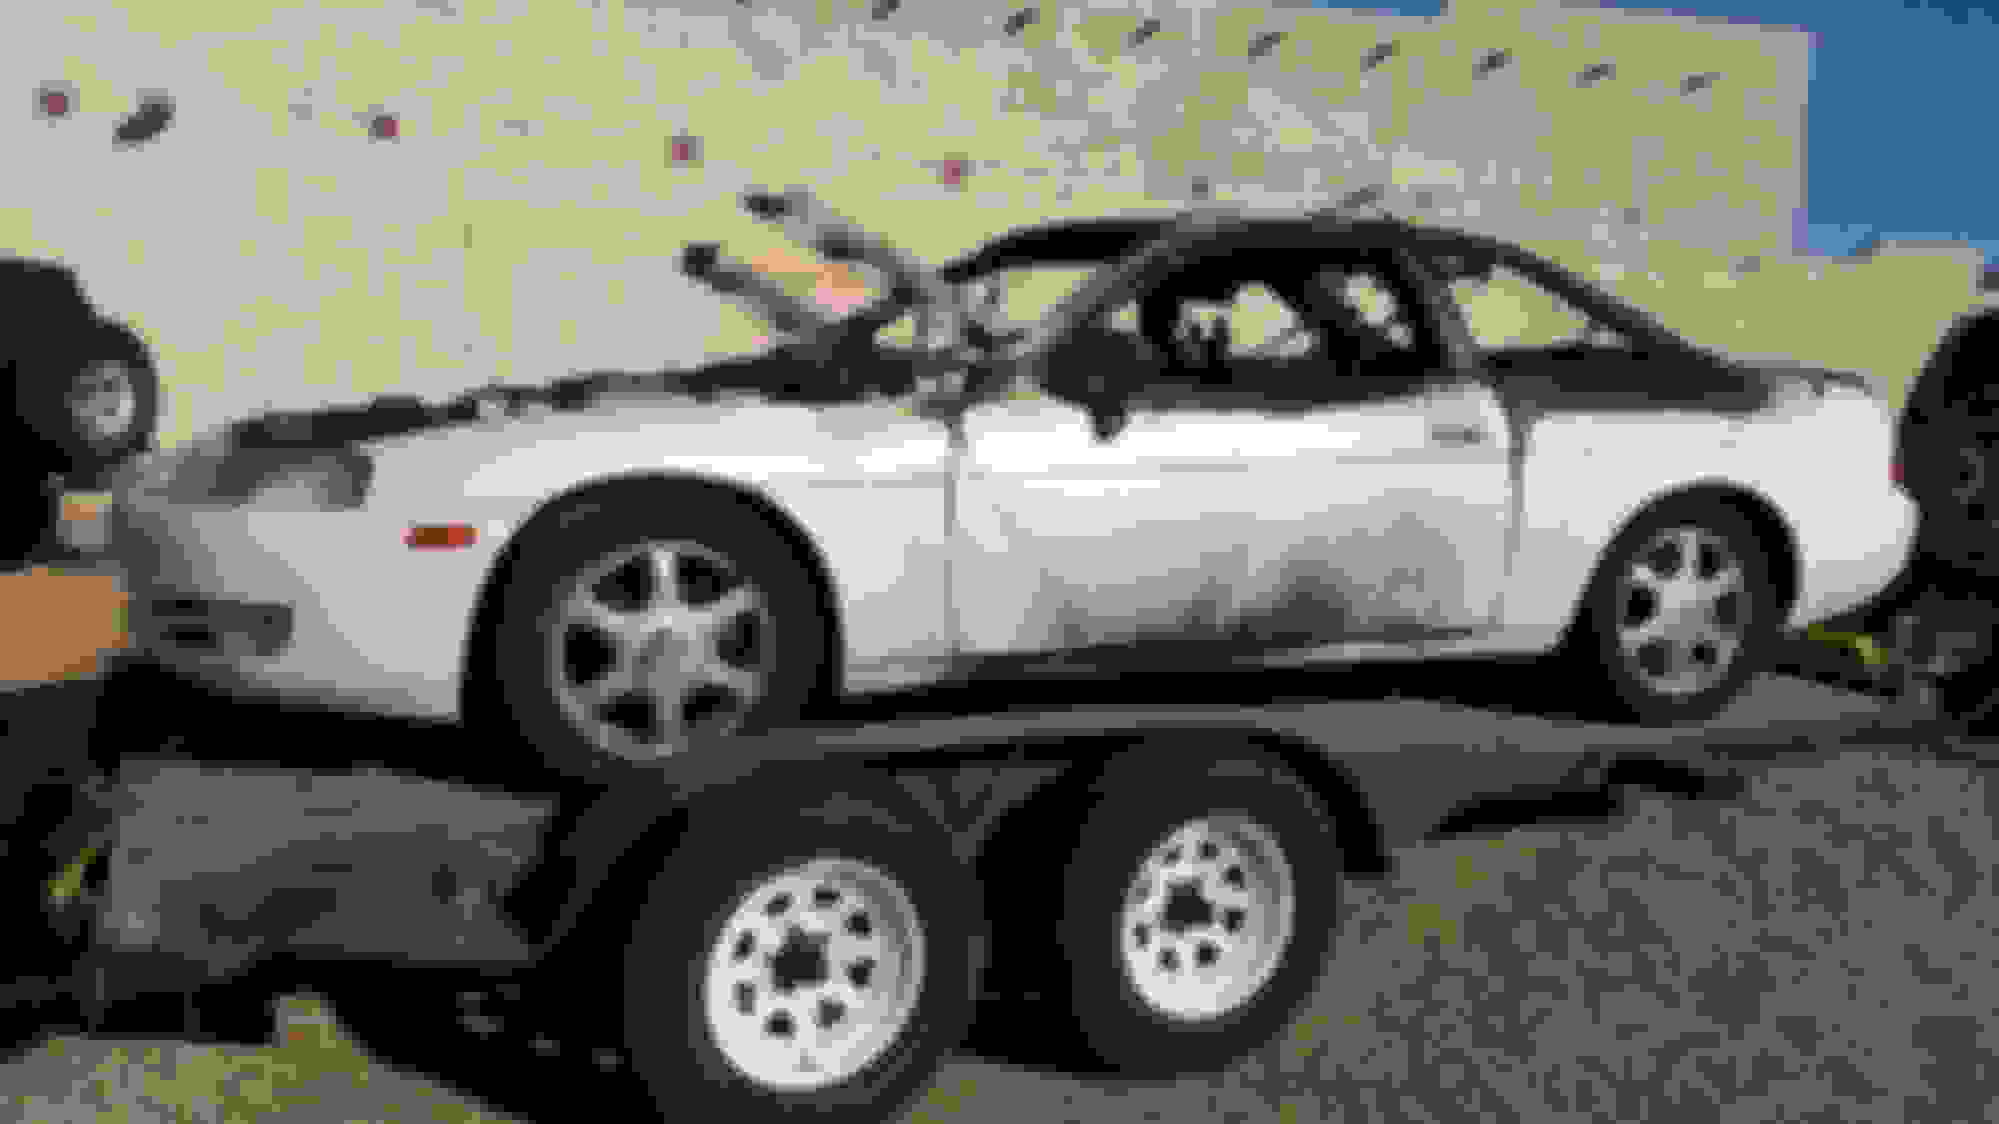
Long-time reader, first-time poster! Here is the recent addition to the family; a 1984 4Runner that has been sitting for at least 10 years.
1984 Runner: day 1
Background: I purchased a 1995 SC-300 with a 2JZ for my girlfriend to learn how to drift. I got a great deal at $2,200 because the PO didn't fix a crack in the exhaust manifold which caused the car to run like a dog. After welding the crack and completing a tune-up, the car ran great. Unfortunately, this was short lived because a stupid decision compounded with a plugged catalytic converter resulted in a car fire.
1995 Lexus SC-300
I hate to see a good engine go to waste just because of a little fire. So, I started brainstorming ideas: buy another SC with a blown engine; install the engine in my 1984 Mustang road racing project; or buy my friends 4Runner that been wasting away in the Arizona sun. I liked the idea of having a Lexus engine in my Ford but after running the numbers I decided it was cost prohibitive to reach my power goals of 500hp. The 4runner was the next best option. I reached out to my friend who gave me the Runner for FREE! Unfortunately the title is MIA and I'm sure he didn't transfer the title into his name so bonded title process, here I come.
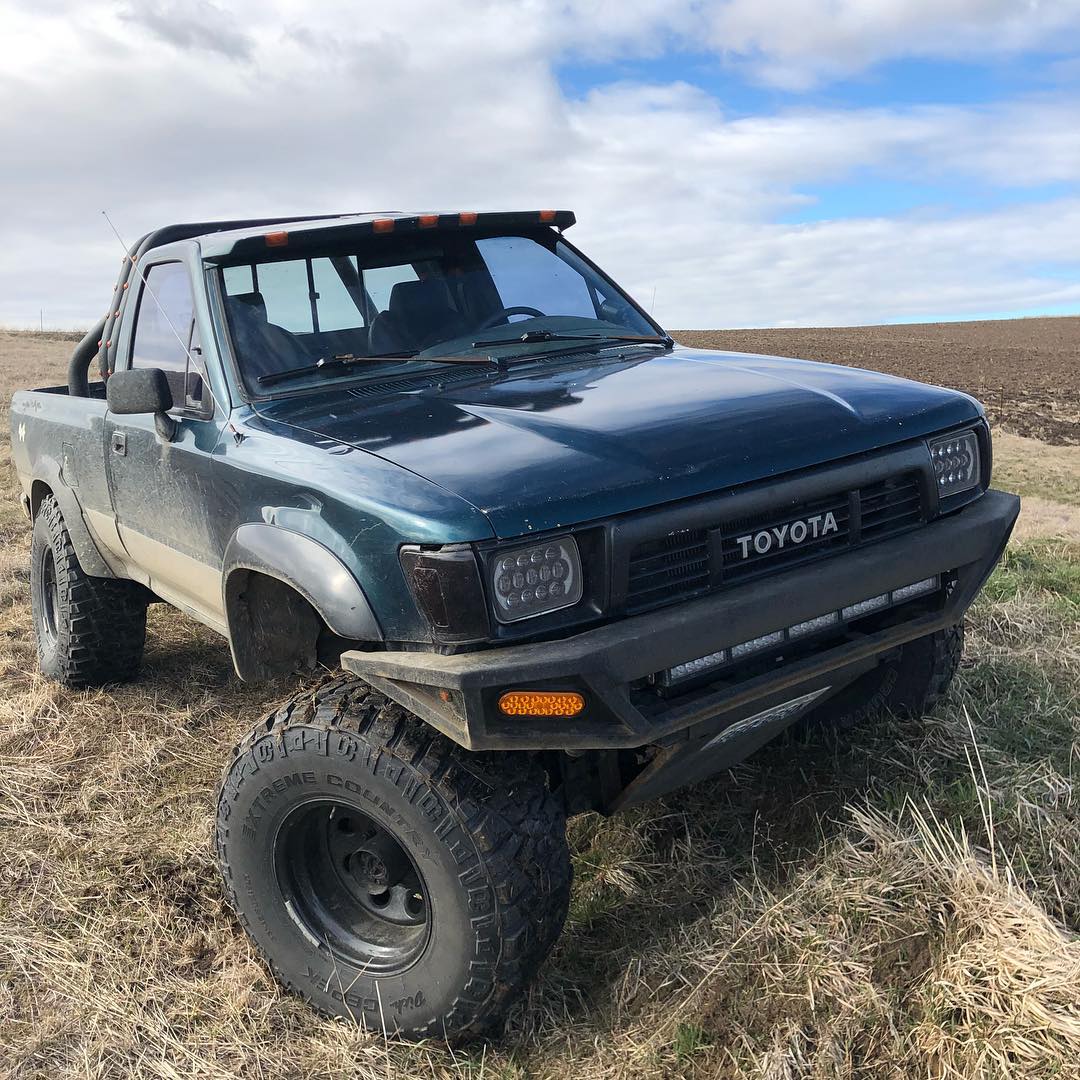
My goal is to build a reliable trail rig for camping and exploring. I'm not building a rock crawler. I plan to install the lift last so it may look a little funny for a little while. I'm shooting for end of August to have the Runner on the road. By October I plan to install the roll cage and get all the creature comforts working (heat, AC, radio, etc) for a road-trip to Idaho. The color is up in the air but I plan on using either Raptor Liner or Monstaliner for the interior floor and exterior body. The wheels will be 15x10 white wagon wheels wrapped with 32" tire for now (I know it's going to rub) and 33" after she's lifted. The 4-5" lift should be installed by next summer.
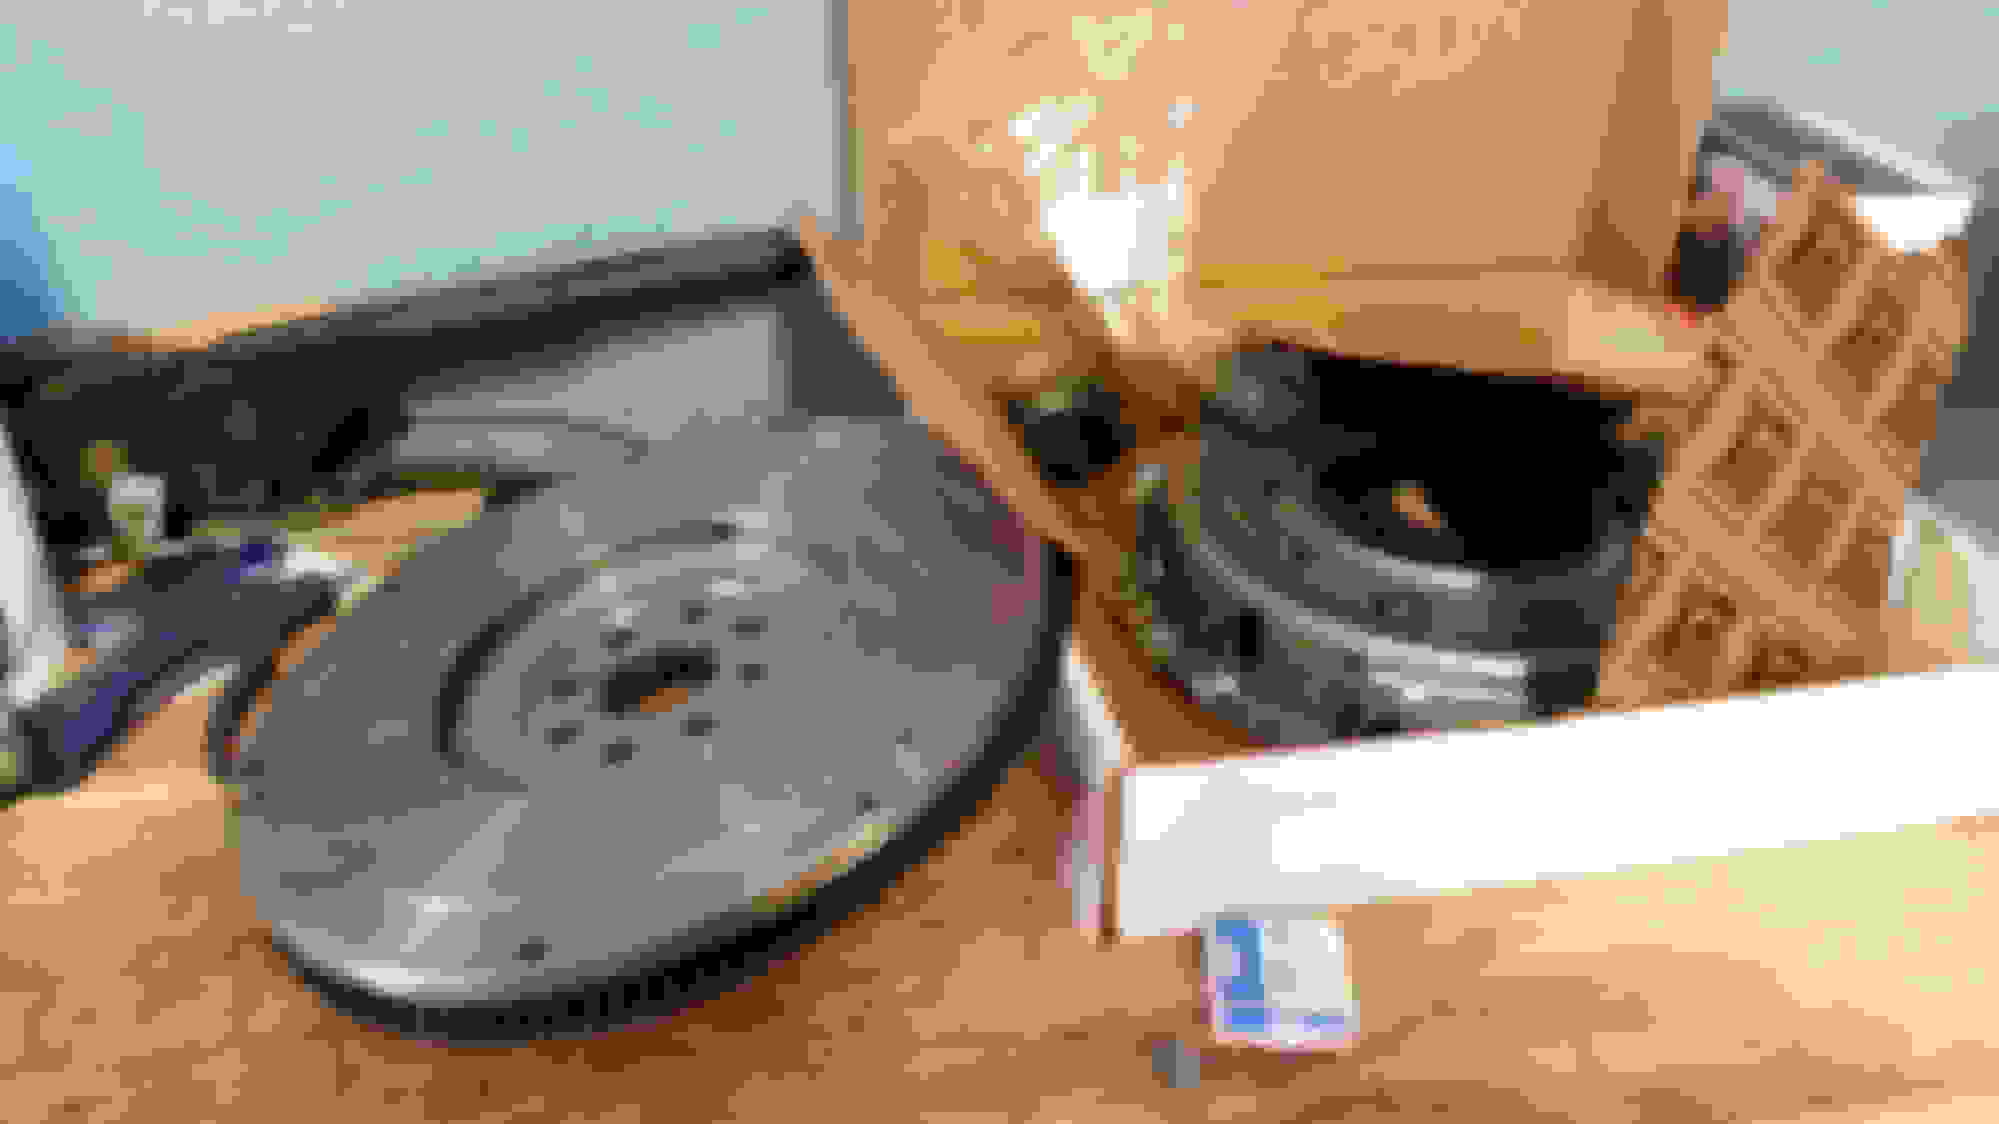
Lets get this build started! First, the cleanup and tear-down. As you can see it was packed with stuff. I won't bore you with the details but I think it was used as a trash can.
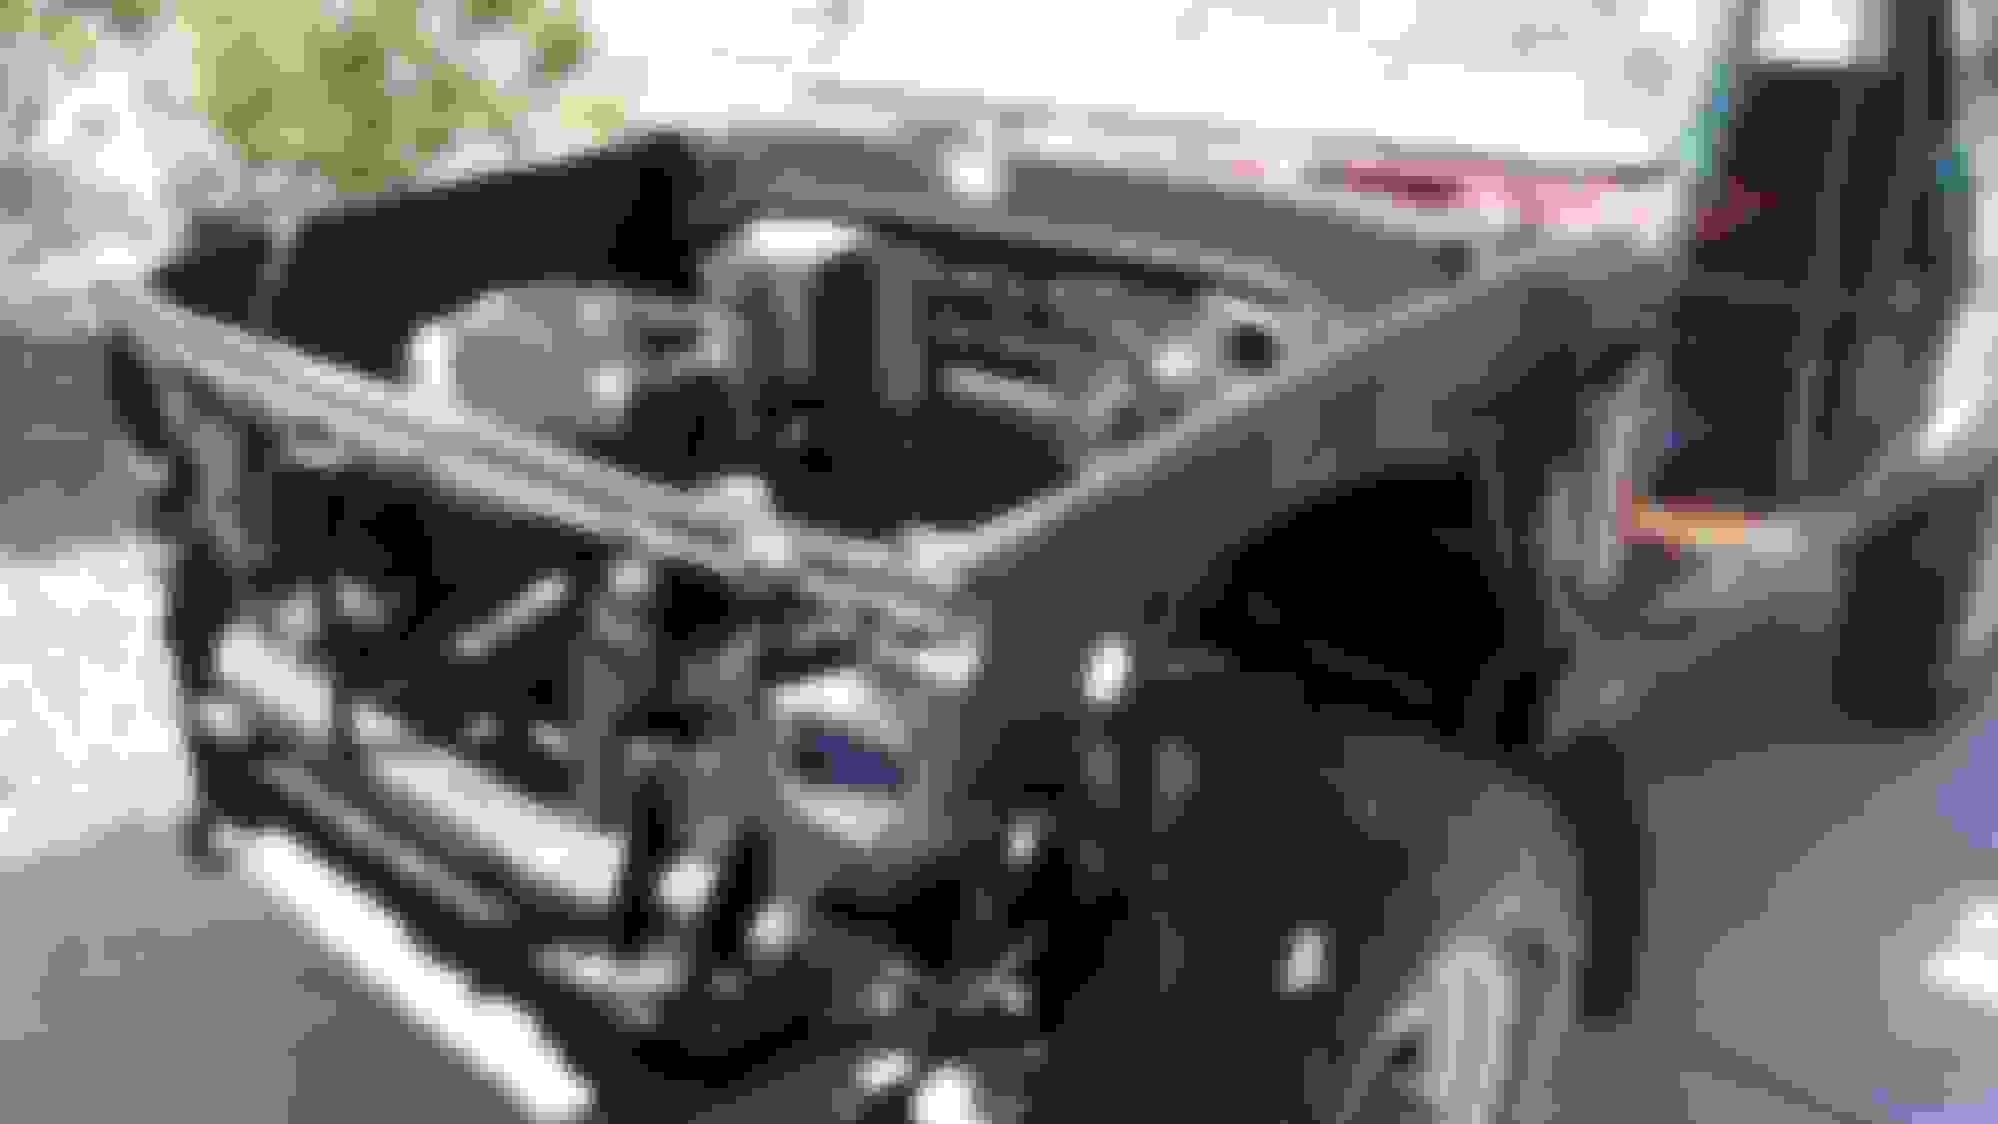
Next, I started dismantling in the engine bay.
After a thorough cleaning and a wipe-down with acetone, I sanded as much as I was willing too. I really need to invest in a sander.
That's much better!
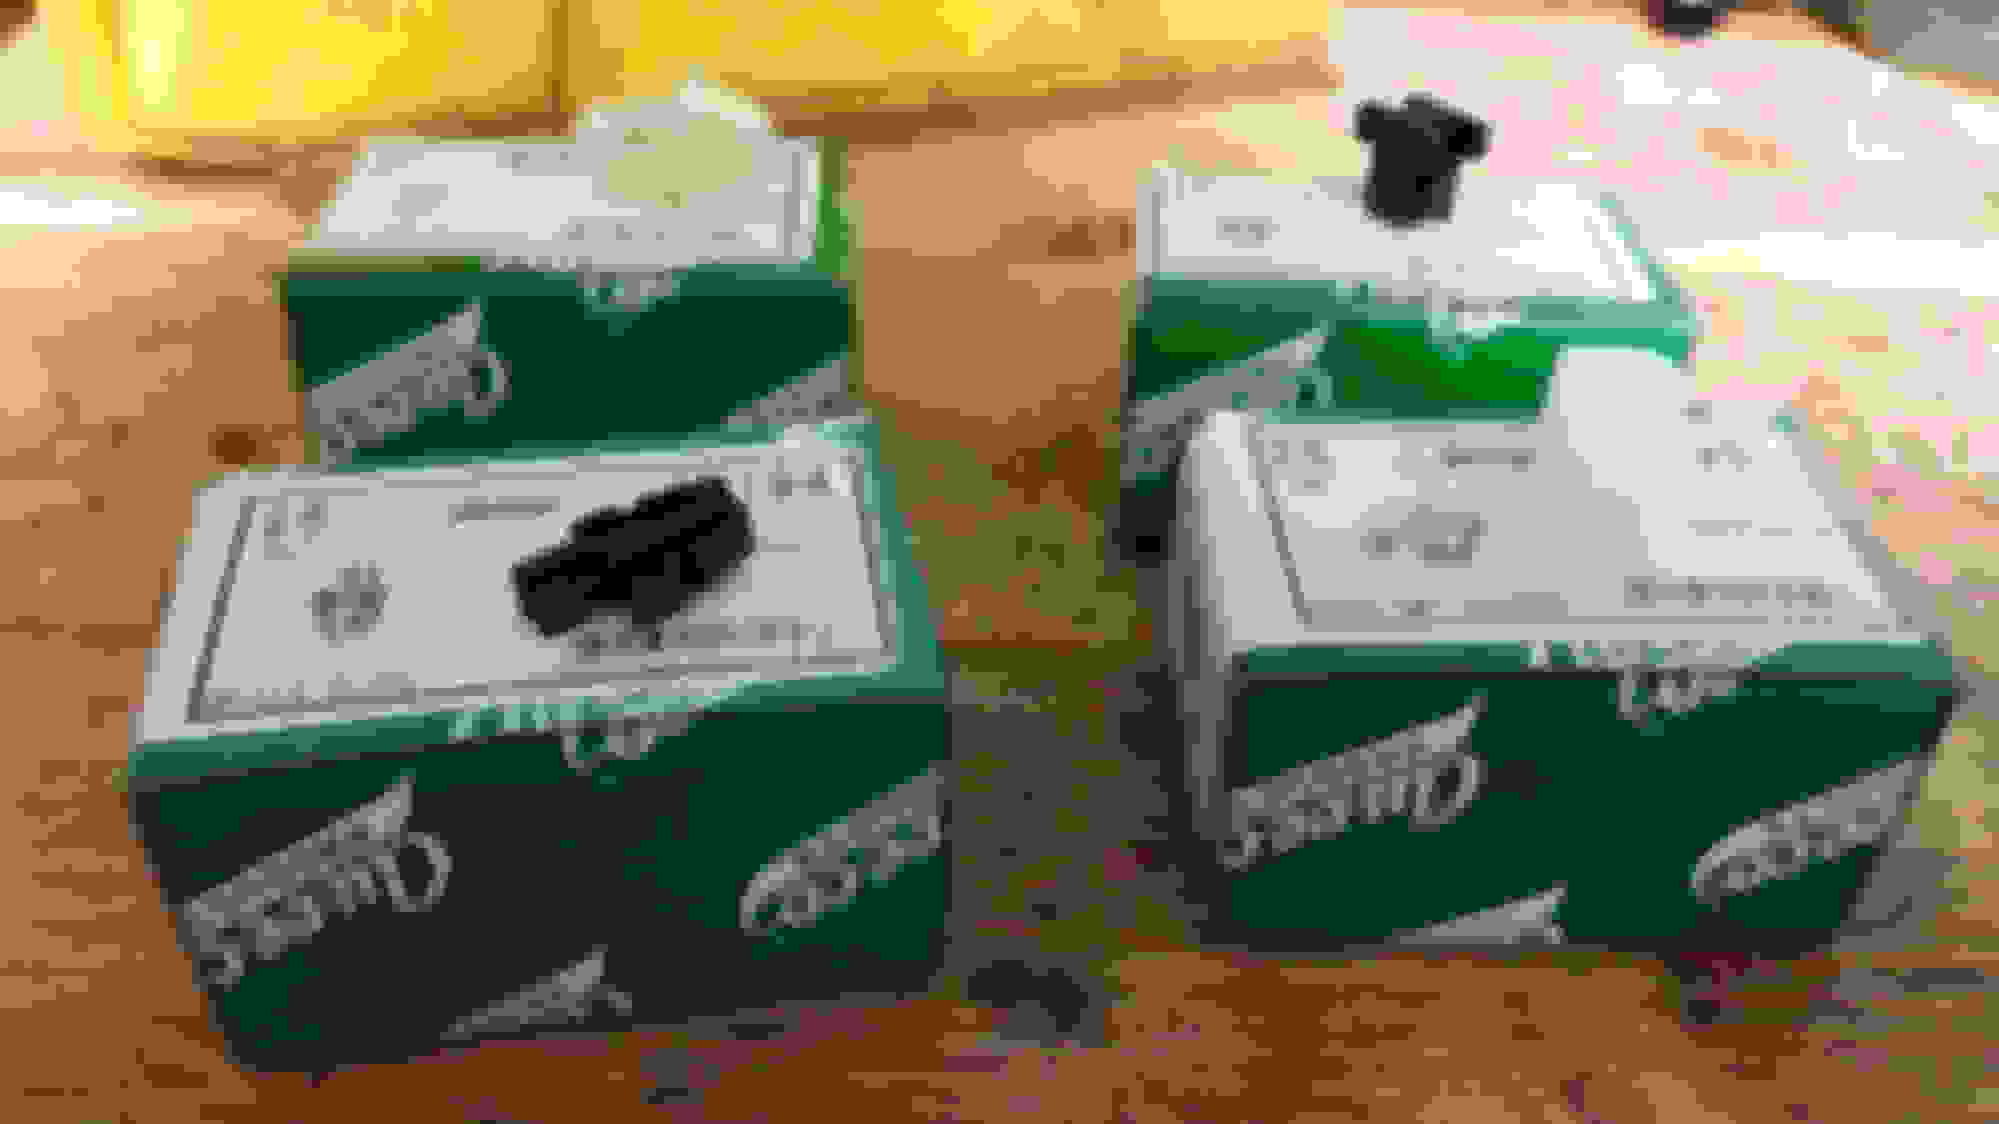
During the tear-down all the plastic clips disintegrated. After searching, I found these on clipsandfastners.com.
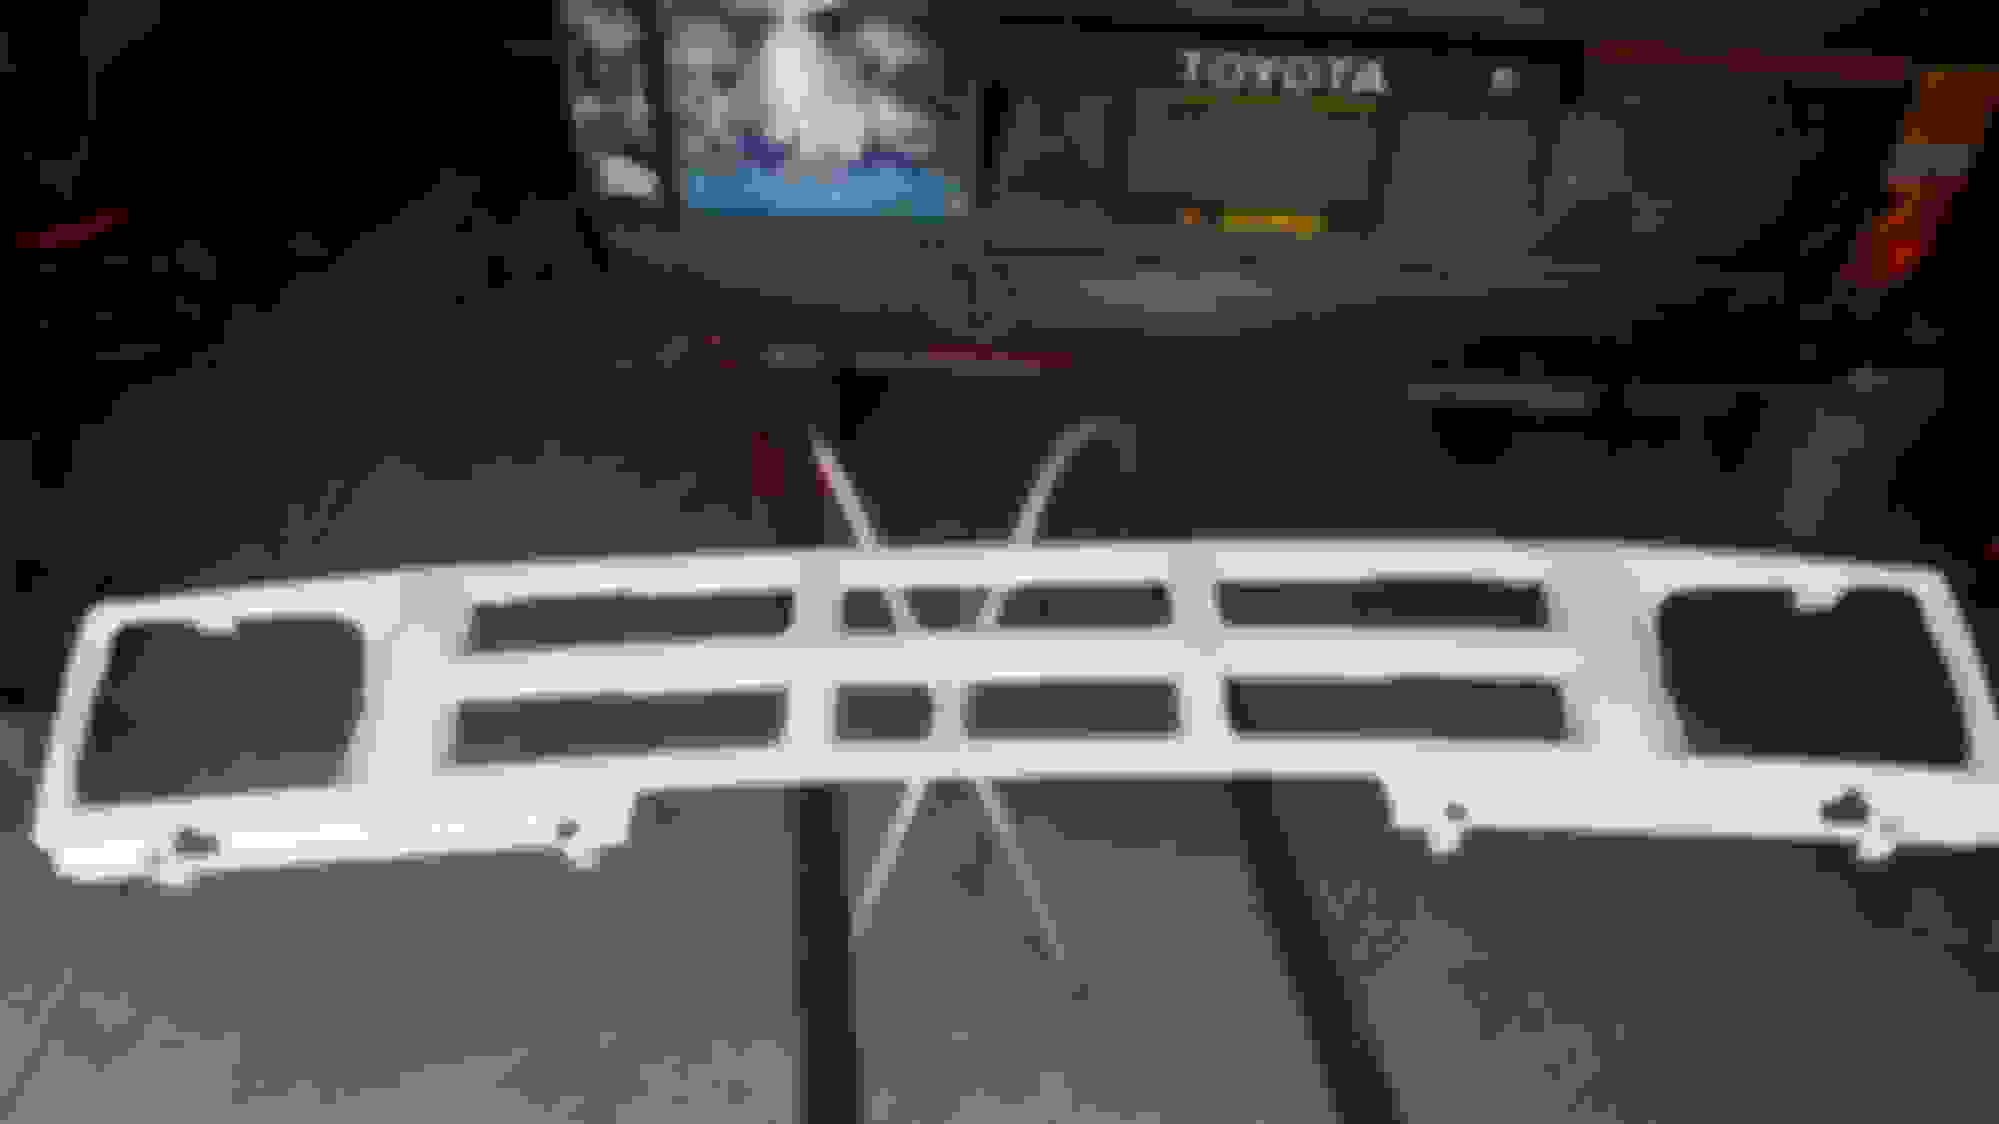
I found this grille in the cab of the Runner. Time to clean this up and paint it.
I cutout the broken section and made the grille symmetrical. I also removed the louvers with a 4" grinding wheel. I'll add a dremel tool to the list. Because I like to be different, I painted the grille white which will match the accents (cage, wheels, and badges) when the project is complete. And yes, that's Bugs Bunny on the tailgate. The verdict is not in yet on whether he stays.
The bumper, bumper ends, turn signal's, and grille installed. Looks much better than when she arrived a few months ago. I've ordered some LED headlights which should be here soon!
Here's the 2jz and the motor mount brackets I picked up from BICperformance.com. I chose BIC over the CXRacing because I can use a stock motor mounts.
That's it for now. Next week I'll install the headlights and test fit the engine.
2JZRunner
Welcome to the gang, Another 84 build, that's 3 going on, I've got a lot of support out there. Nice job so far, I will be watching this build. I have ordered some clips clips from clipsandfastners.com. before but really didn't know if the headlight and grill clips were the correct ones. If you could list the numbers for those 2 clips, I need to get those. So what did you do in the engine bay, just clean it and wipe it down with acetone and sand it? I'm thinking about sand blasting mine to the bare metal so there will be no paint flaking later on. And I like the grill work, very nice. Did you get LED's for the front HL or did you get the Rampage H4 setup? And , keep bugs bunny, looks good
Good luck
Mike
Ps, If you want to sell me some of the extra clips PM me
Last edited by NYHumpinUtah; May 22, 2018 at 09:29 AM.
Thanks! Glad to finally have something to contribute to the forum. It's nice to be in good company with the other builds; you're quite a bit more ambitious than me with a frame-off restoration.
If you could list the numbers for those 2 clips
headlight and grill
I purchased the clips as a guest so there's no electronic record and I'm out of town for a week. Once I get home I'll post the part numbers.
So what did you do in the engine bay, just clean it and wipe it down with acetone and sand it?
I cleaned everything with a degreaser, wiped down the area with acetone, then sanded with 80 grit for some rough area then 120 (I think) for everything, then cleaned with acetone again and painted with flat black. I took my time to clean and made sure every nook and cranny was scuffed with sand paper. hopefully it doesn't flake but time will tell. Blasting is the best way to go but too detailed for this build. Given the level of your build I think it's a good idea; however, you may want to look into soda blasting vs sand.
Thanks! Glad to finally have something to contribute to the forum. It's nice to be in good company with the other builds; you're quite a bit more ambitious than me with a frame-off restoration.
I purchased the clips as a guest so there's no electronic record and I'm out of town for a week. Once I get home I'll post the part numbers.
I cleaned everything with a degreaser, wiped down the area with acetone, then sanded with 80 grit for some rough area then 120 (I think) for everything, then cleaned with acetone again and painted with flat black. I took my time to clean and made sure every nook and cranny was scuffed with sand paper. hopefully it doesn't flake but time will tell. Blasting is the best way to go but too detailed for this build. Given the level of your build I think it's a good idea; however, you may want to look into soda blasting vs sand.
Hey Nick, Just checked out your web site but there's no Toyota section!
We definitely need to extend our model year options to include 1st & 2nd Gen, but we have plenty of Toyota listings on our site. We have universal options as well:
Anyways, don't wanna derail your thread! Just wanted to post to get updates on it lol.
It's funny how things work out. I sold my FJ Cruiser because I was rarely off-roading. Once I sold it, I realized how much fun I had in the desert so I'm glad to have this new project.
Last edited by 2JZRunner; May 29, 2018 at 05:39 PM.
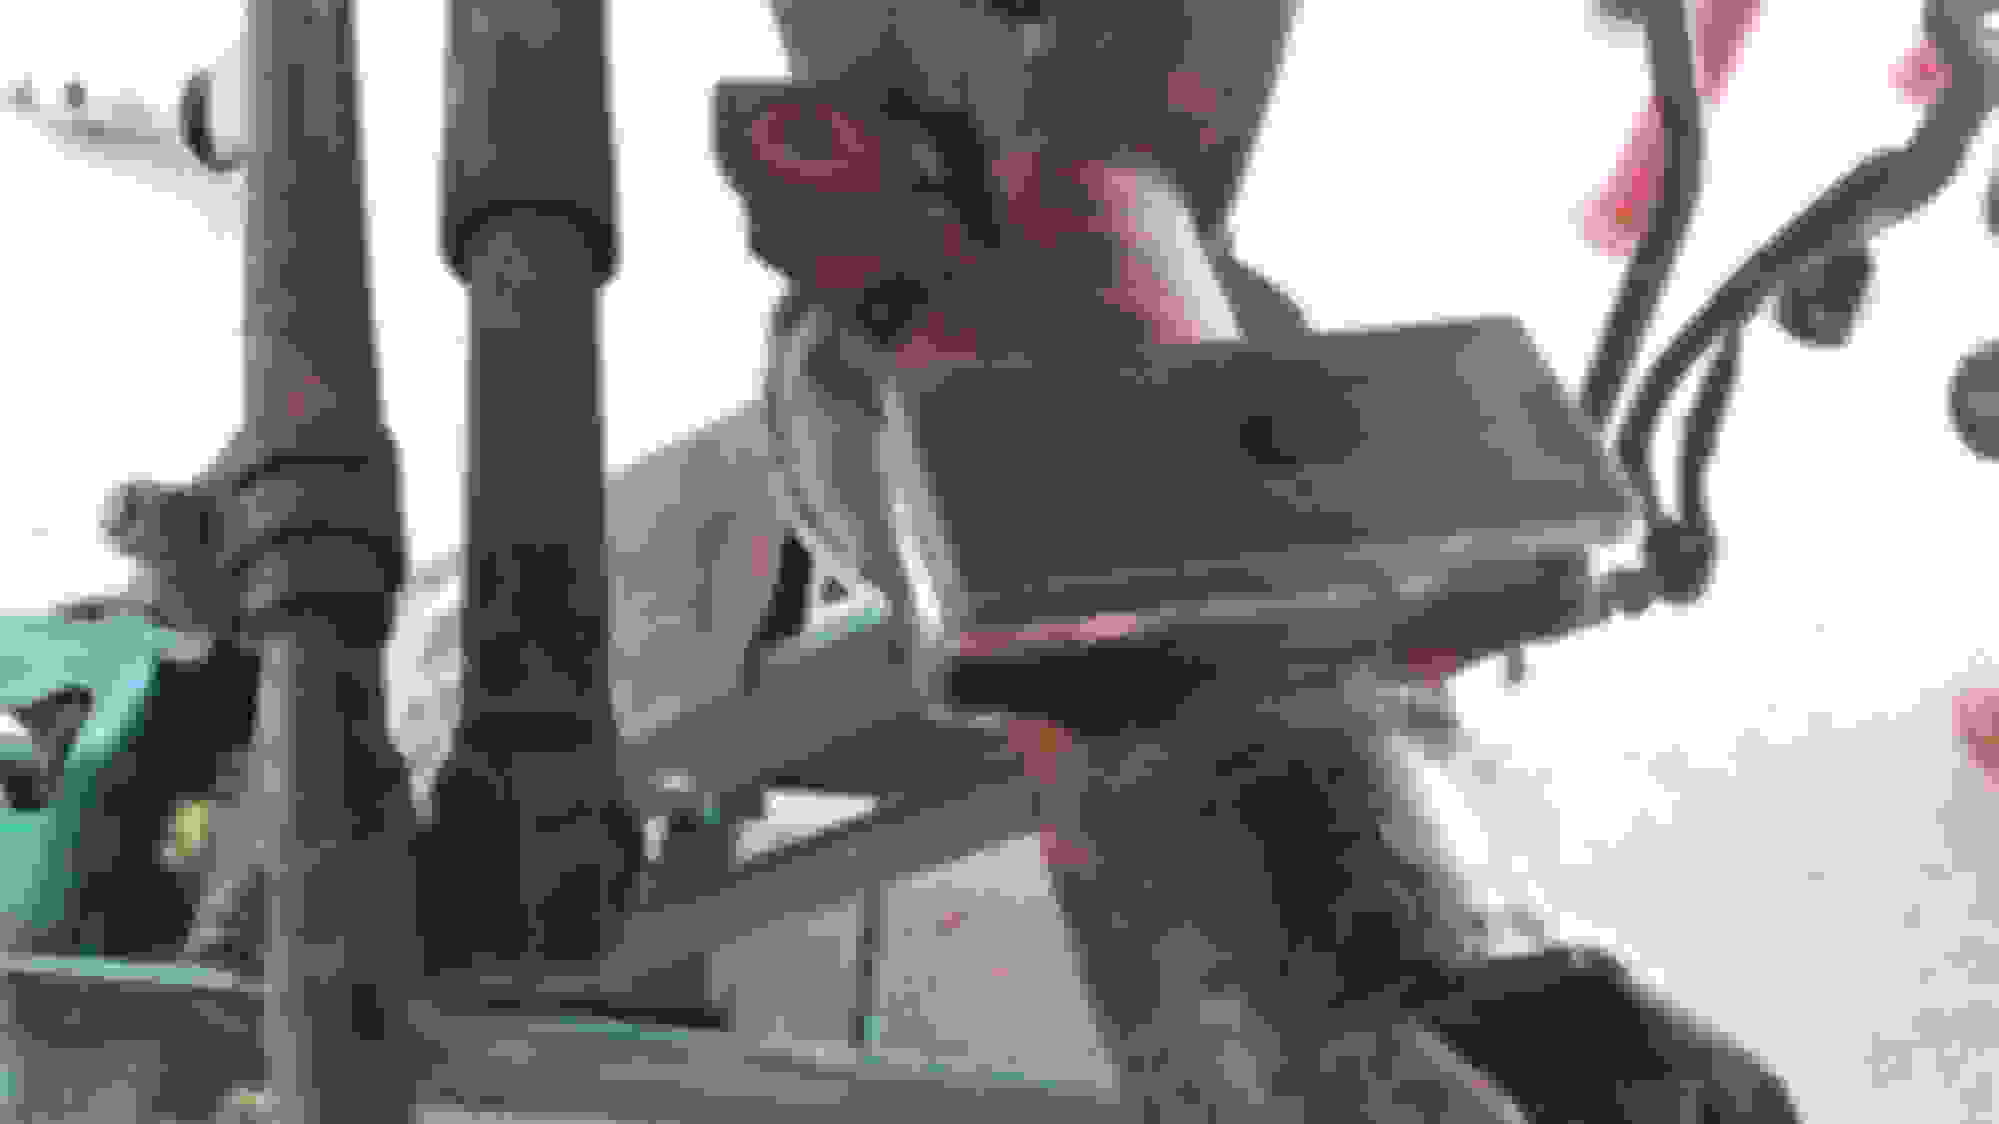
I had a feeling the power brake booster would not clear the 2JZ and now I'm 90% positive it won't fit. Time to do some research for a smaller booster. Also, it looks like that lift kit will be installed sooner than I anticipated. Here you can see the oil pan is about 1/4 of an inch from the front differential which may need modification. Also, the anti-wrap bracket (I think that's what it's called) is in line with the driver's side of the block which will become an issue with any flex. I'd like to keep the anti-wrap bar so another solution will need researched.
Last edited by 2JZRunner; May 29, 2018 at 08:14 PM.
first gen trucks had a smaller booster setup that used a spacer to get away from the firewall, I don't remember the diameter, but I can measure mine after work for you.
first gen trucks had a smaller booster setup that used a spacer to get away from the firewall, I don't remember the diameter, but I can measure mine after work for you.
Thanks but I decided to test install the booster and it fits. It�s about 1.5 inches from the plenum. I�ll post pictures soon.
As it turns out the factory booster fits with the 2jz but it's a tight fit.
The factory power steering pressure hose fits the 2jz; however, I had to bend the hard lines to clear the other hoses and the rubber hose extends far from the pump. (See the cracked hose. I have replaced the hose with a new high pressure line but haven't taken a picture of it yet.) I bypassed the pressure sensor which tells the engine to increase RPM during turning. When I have the custom AC lines built, I'll have them build a custom power steering hose to accommodate the pressure sensor.
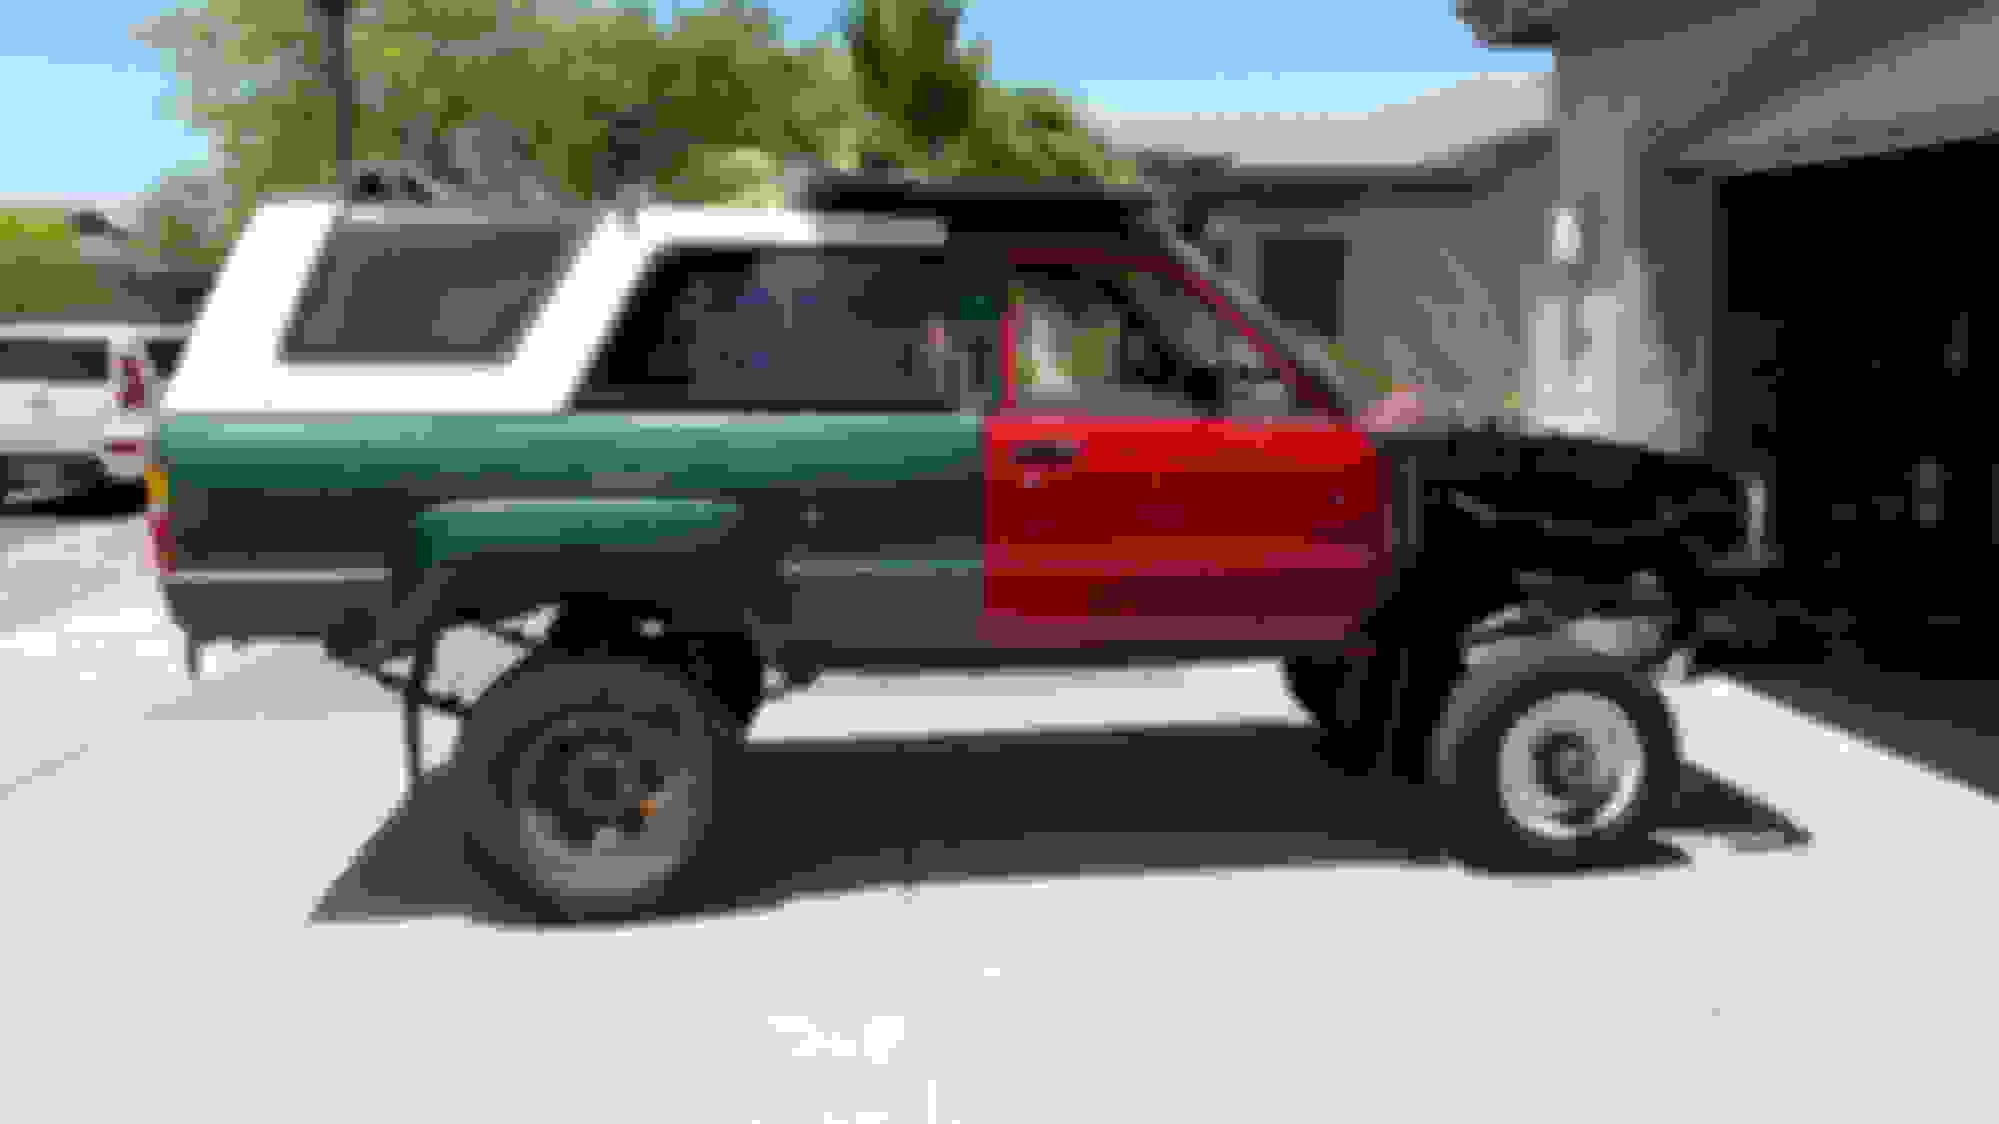
I decided to install a lift to get the oil pan off the front axle. Because I wasn't planning on completing the lift until next year, I decided to go the cheap route and ordered Pro Comp 4" springs front and rear. I also welded a 10mm spacer on the drivers spring perch to allow me to use the same spring rates for the front springs. I picked up the red doors with A-windows from a local scraper.
So far, I removed the engine three times to make adjustments. I used the Lexus SC300 throttle cable which clipped onto the 4runner gas peddle bracket without any modifications. However, the throttle cable hole was too small. I used a hole punch to enlarge the hole to fit the SC cable through the firewall. I also used a hole saw on the passenger side and routed the SC wiring harness into the glove box which barely reaches. I may move the ECU behind the kick panel instead. I've wired the starter to the 4Runner wiring harness and began wiring the alternator. The 4Runner uses a 60 amp fuse whereas the SC uses a 120 amp fuse. I'm still researching the best way to wire the SC alternator main power wire. I'm thinking of running an external fuse block with a 120 amp fuse to tie into the 4Runner factory harness (of course bypassing the 60 amp fuse). I'm not sure what affect this increase in amperage will have on the existing harness. If anyone knows, feel free to weigh-in.
Major items I still need to get 2jz Runner on the road is:
EFI fuel tank. I'd rather not run an external fuel pump
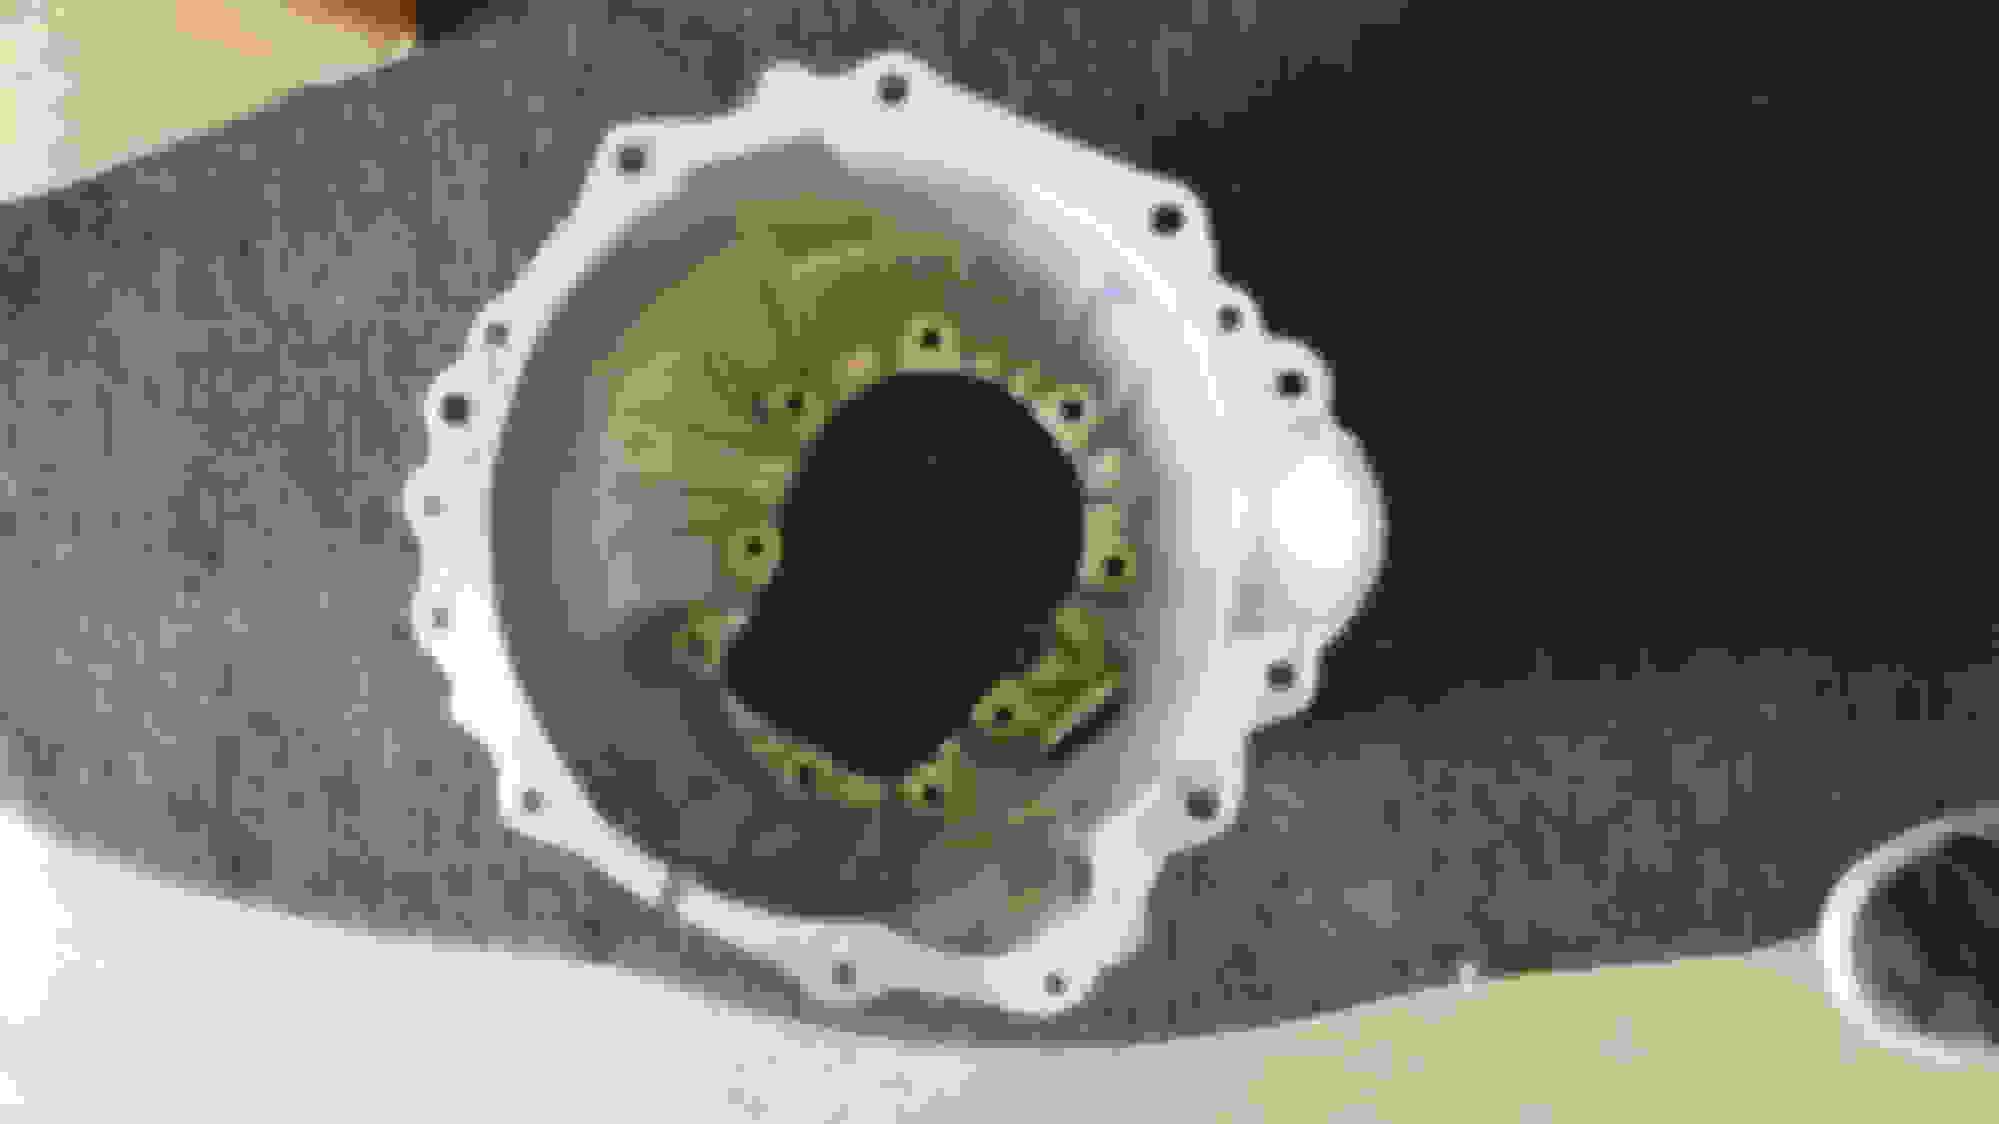
W-58 bellhousing to attach to the G-52 transmission. I've found several of them for $300 which I think is too much.
Wheels and tires.
After a long delay, it's time for an update! After I installed the lift, I decided for practical reasons I would purchase 33" BFG All-terrains. Somehow I came home with Goodyear MTRs and I couldn't be happier with the purchase. They're wrapped around 15x10 wagon wheels.
When I installed the lift kit, I damaged the front leaf spring pins. It turns out the dealer still has these available.
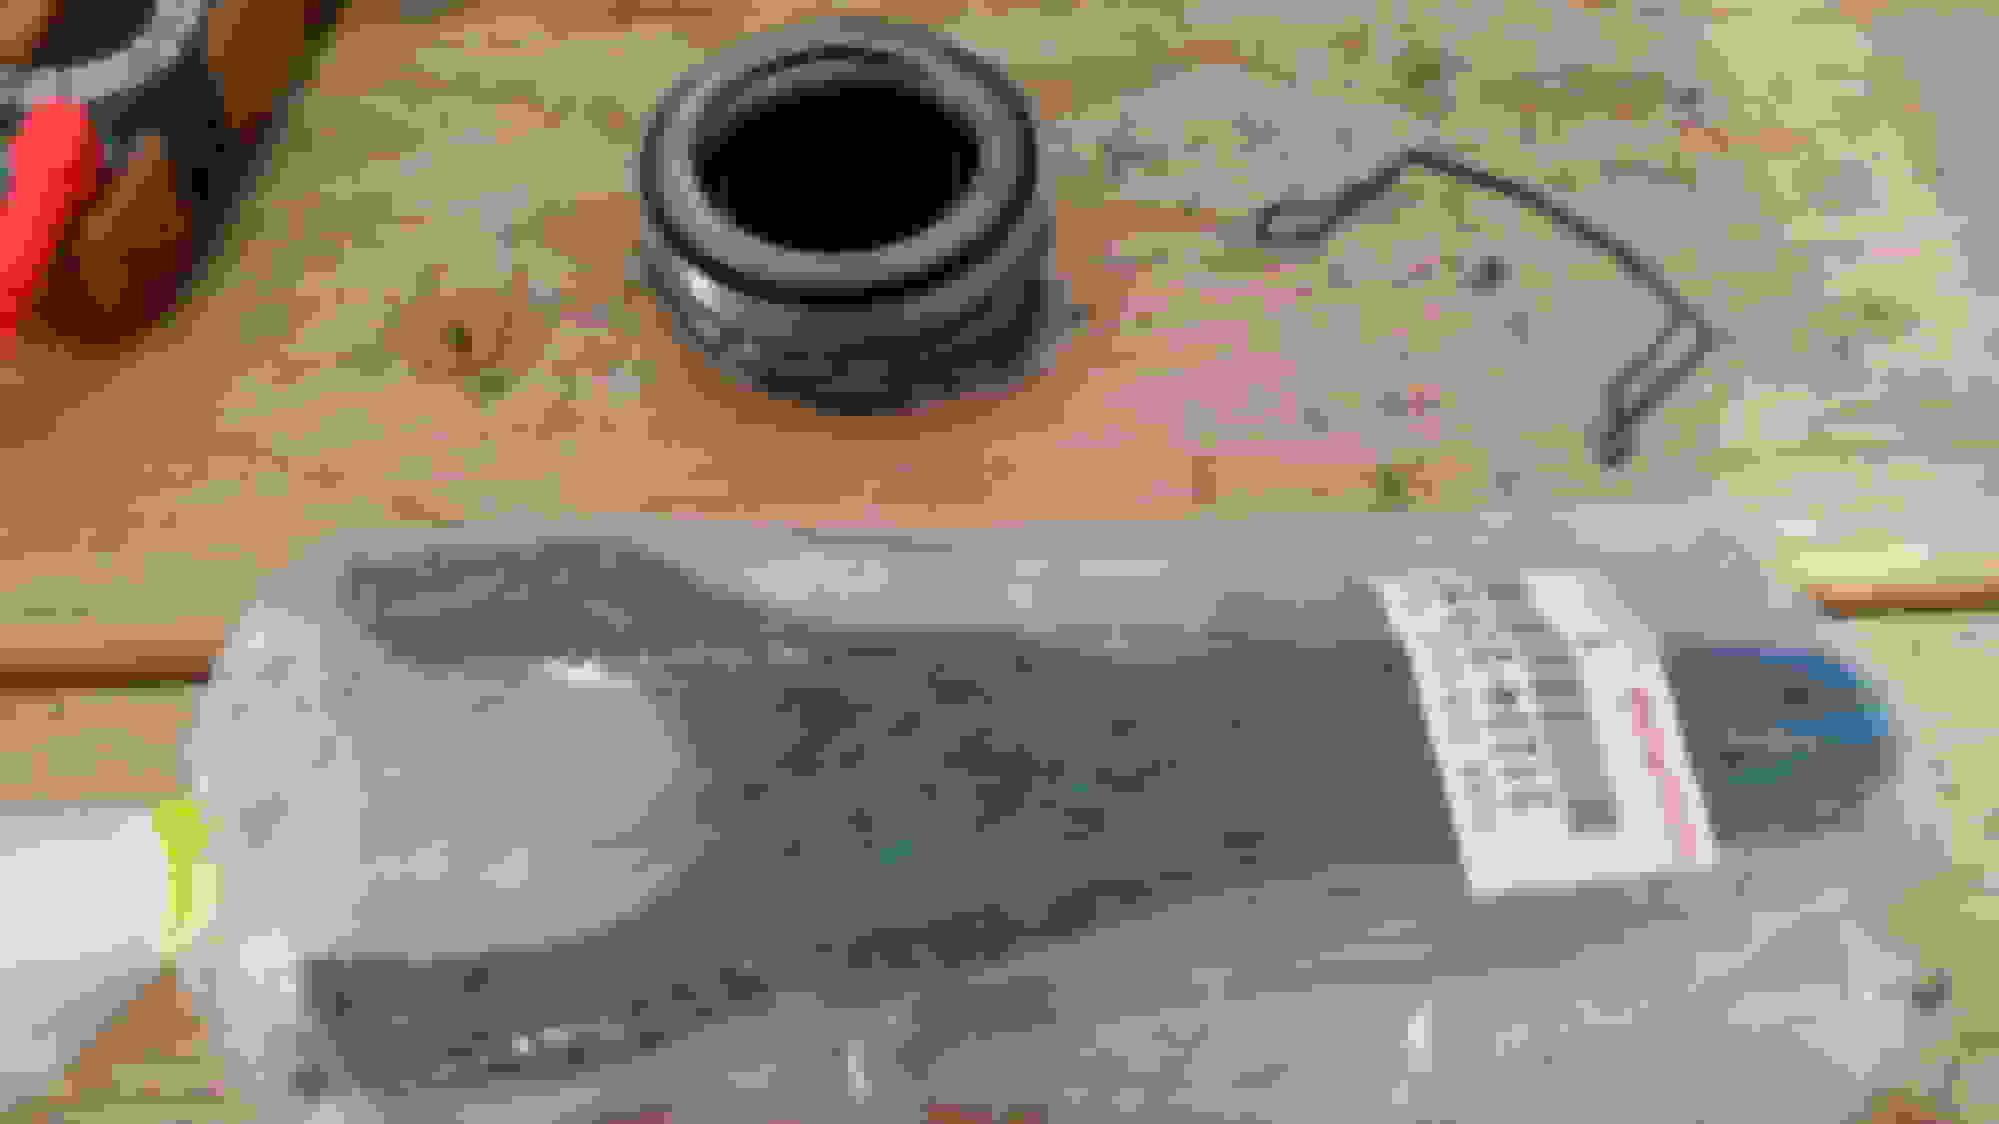
I've been searching for months for a W58 bell-housing (bolts up to the G52 transmission without any modifications). I finally found one on ebay at a price I was willing to pay. To finish the transmission install, I picked up a clutch fork, pivot ball, flywheel, and clutch kit.
I picked up a universal clutch line from summit racing which didn't make it into the picture. The good news is the extended brake lines made it in the photo with the clutch slave cylinder.
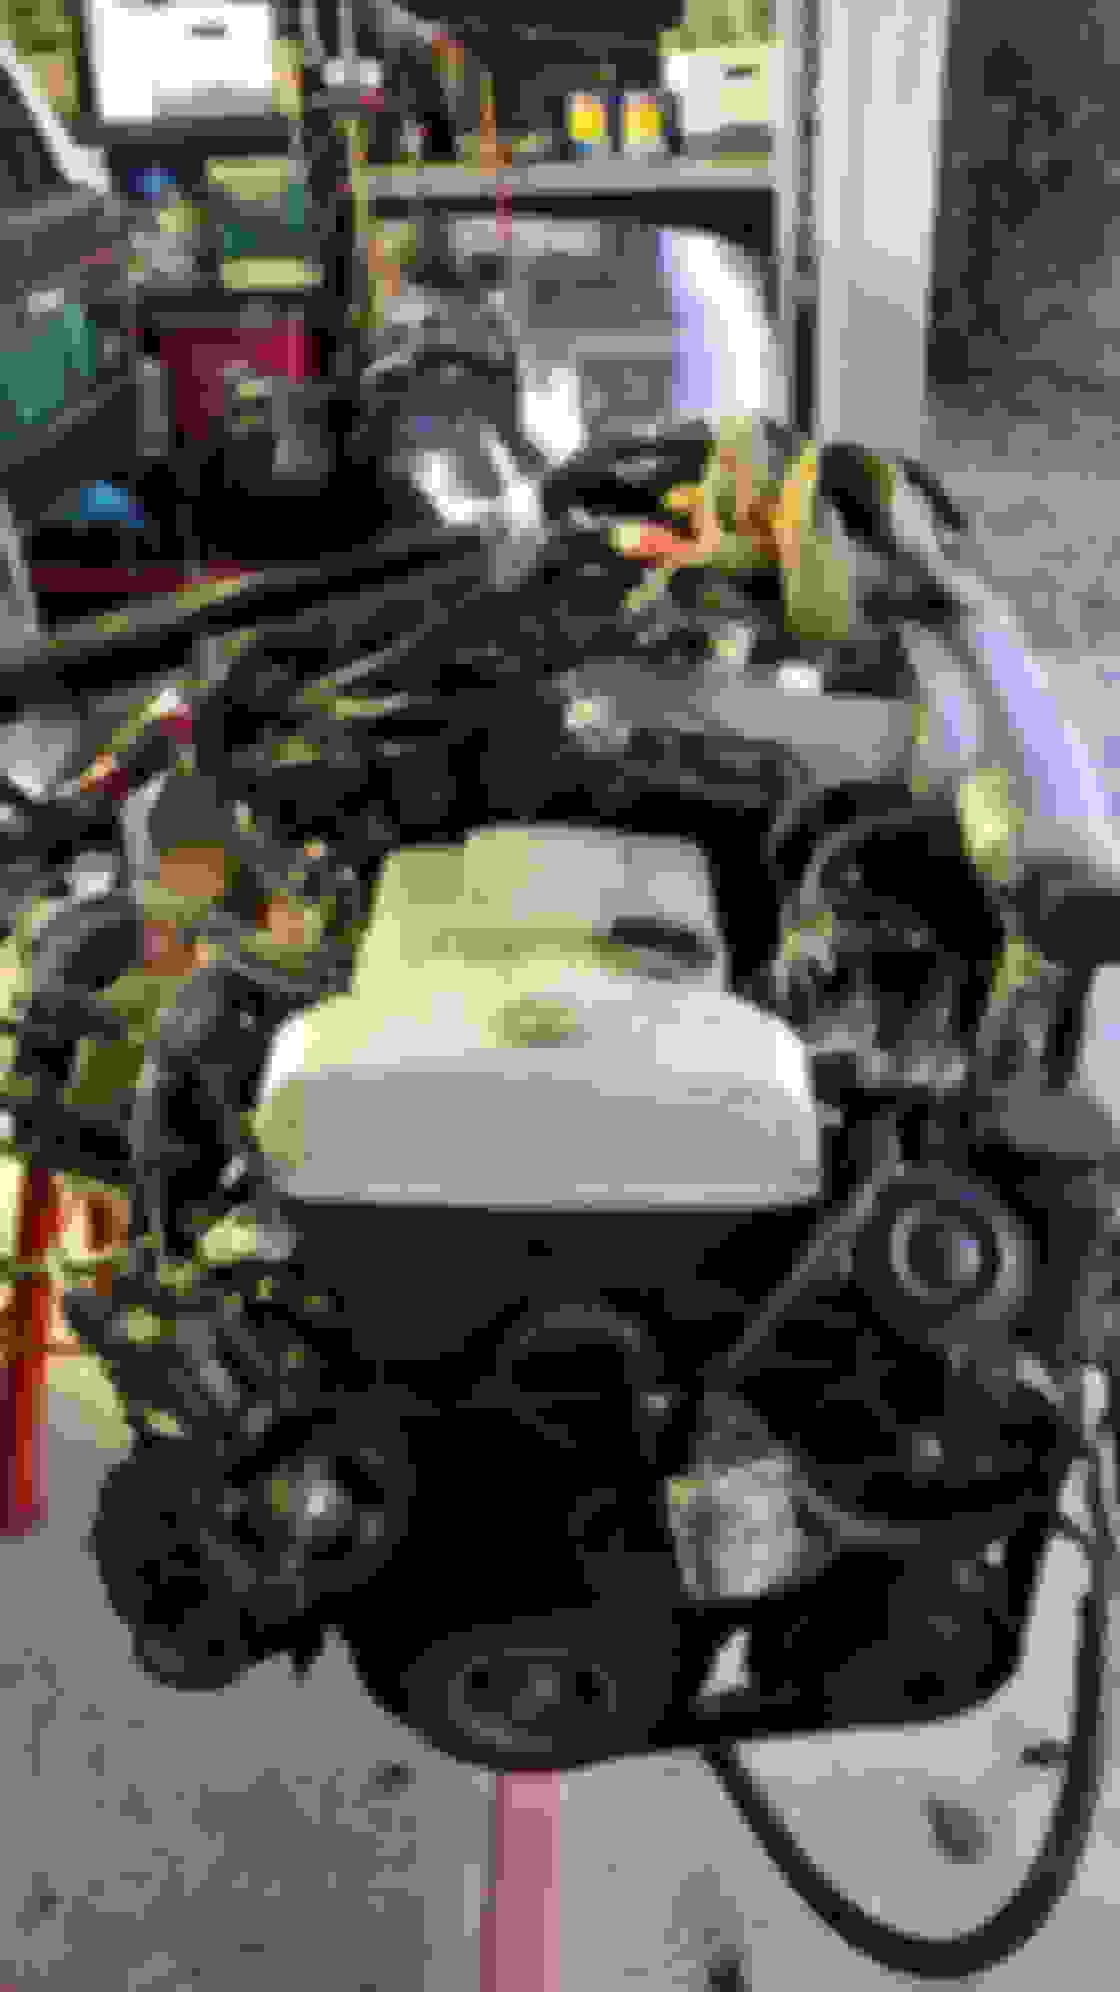
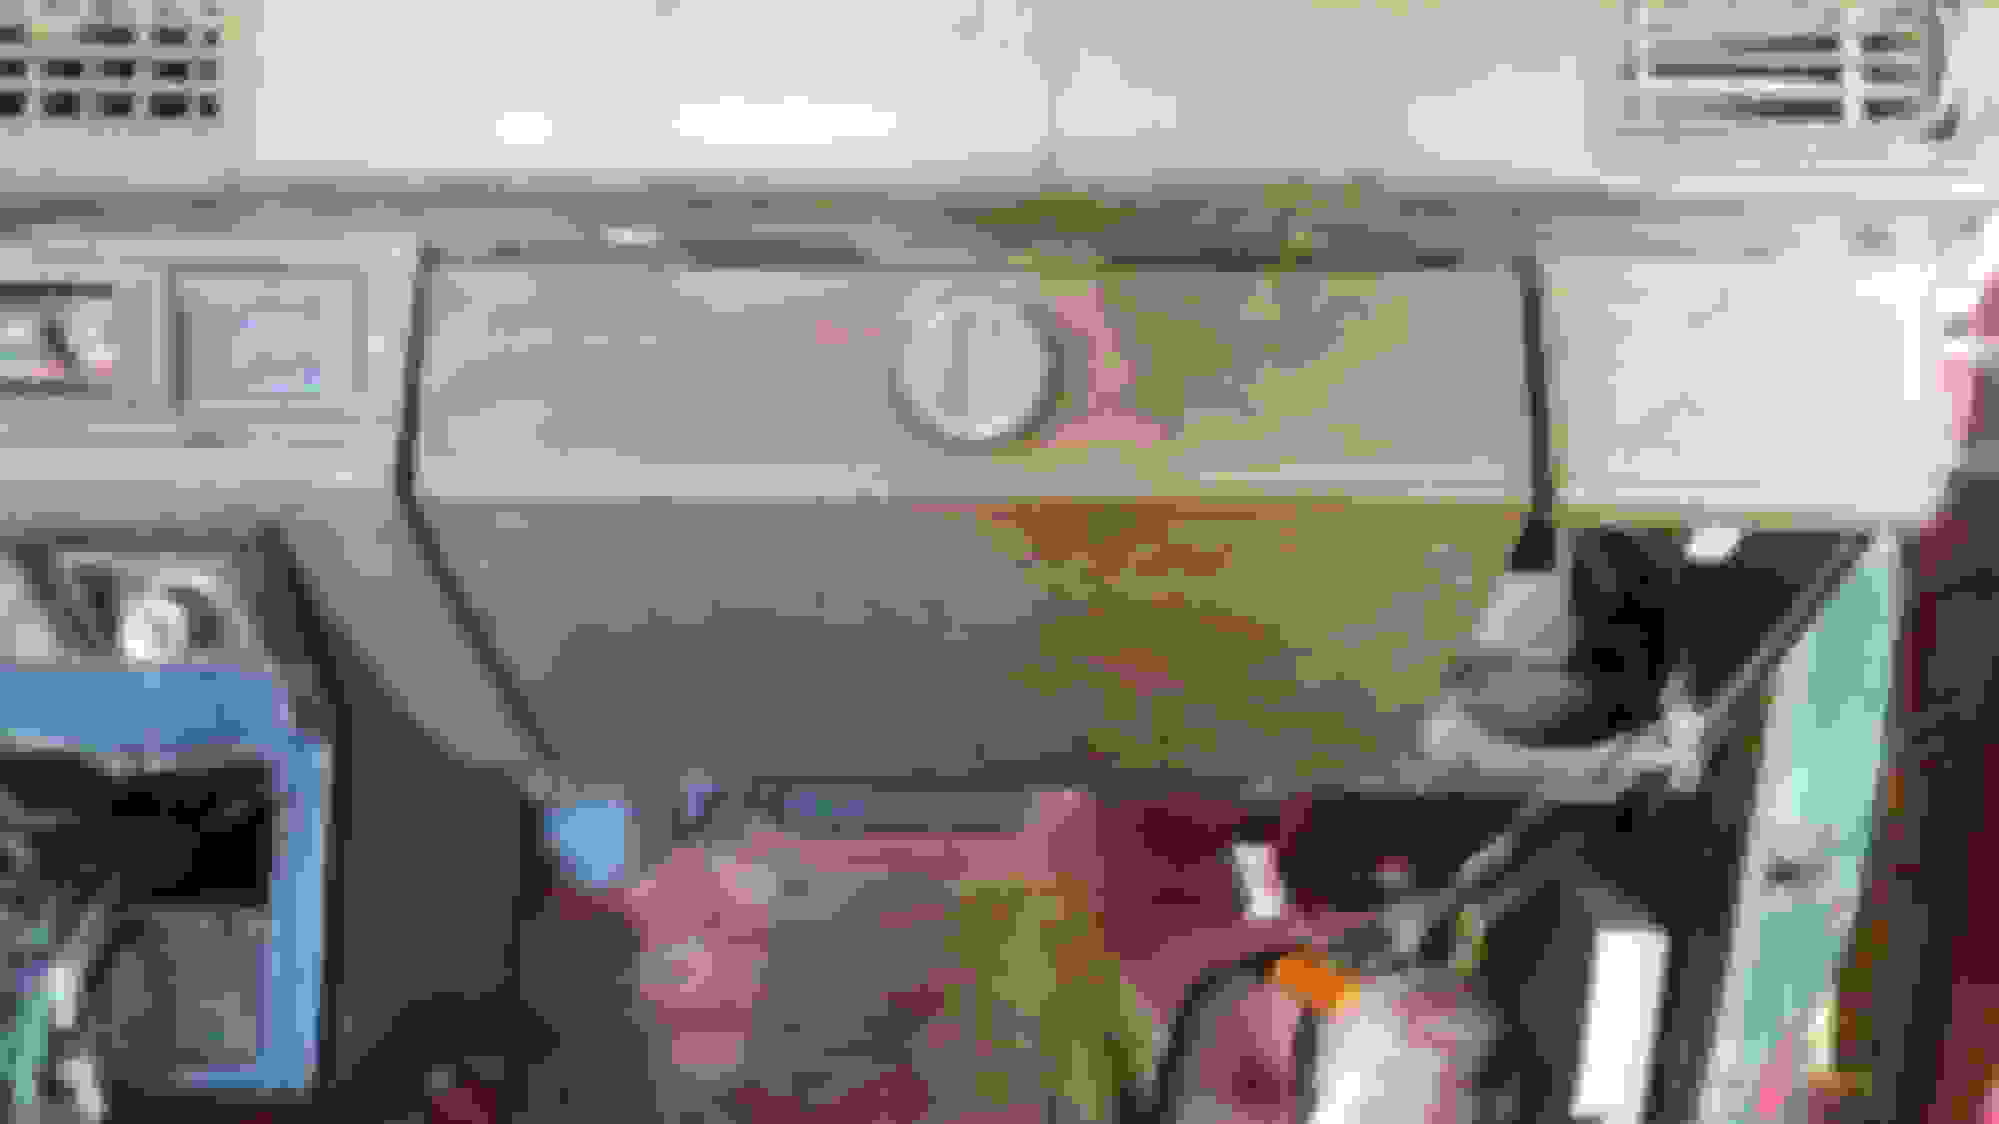
Slowly the wiring is coming together. I finished wiring the alternator, the LED headlights, and ECU. I also installed three extra relays; two for the electric fans and one for the LED lightbar. I routed the ECU wiring through the firewall on the passenger side into the glove box. It's a very tight fit which required me to remove the face of the glovebox to hookup the ECU.
Last edited by 2JZRunner; Aug 29, 2018 at 07:29 AM.
After completing the wiring, I gave the 2J a shot of starting fluid and IT RAN!!!!!! Now it's time to find a reasonably priced clean EFI gas tank for a 4runner.
Last edited by 2JZRunner; Aug 29, 2018 at 07:30 AM.

 May 22, 2018 | 08:59 AM