
Rattle time!
 Aug 14, 2013 | 11:30 AM
#1
Thread Starter
Registered User
Joined: Jan 2011
Posts: 351
Likes: 0
From: Twentynine Palms, CA
Looked through the threads and didn't really find a tutorial on how to rattle can and come out with good results so I'm going to make an attempt even though its my first time. My goal isn't to have an awesome job but decent enough.
I procured my paint already from primer to clear. I have a few cans for rust encapsulation although I made an honest attempt at getting the metal clean.
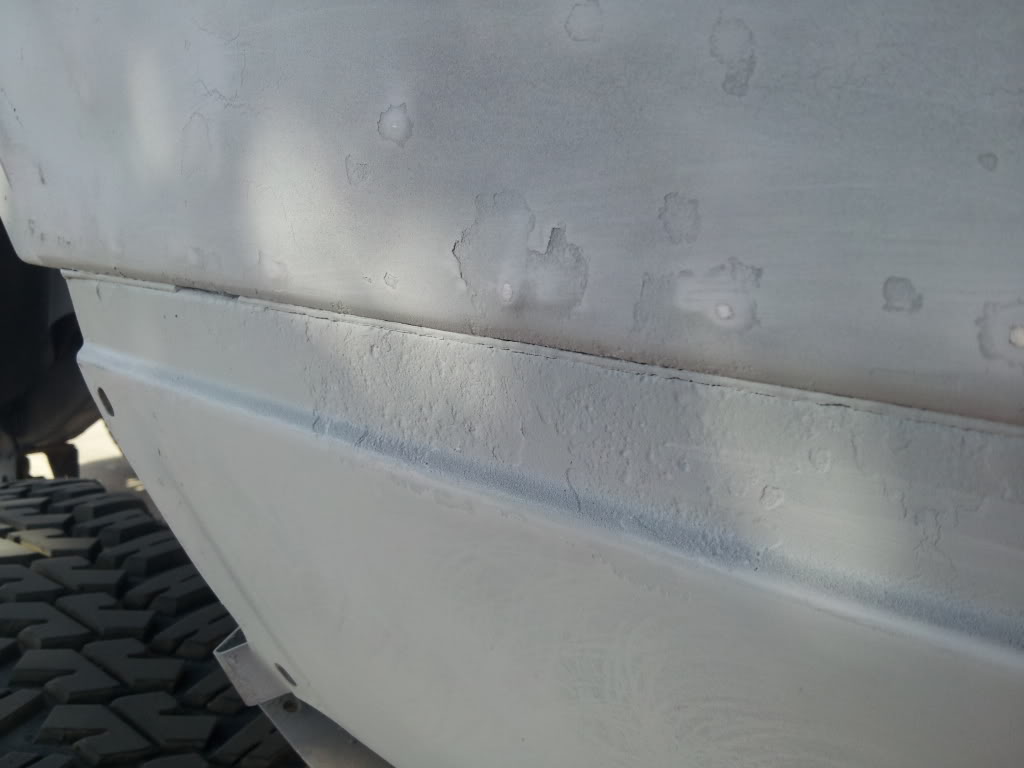
I started with a wire brush and putty knife to get the bubbles gone and expose all the rust possible. Then I went over with 100 grit sandpaper.
Wiped with dry rag and then mineral spirits. The spraying of rattle can isn't hard but follow directions and it will come out better. I have no garage I can do this in so sadly it will be outdoors. Luckily I have weather with less than 10% humidity. The paint might be sticky for about 10 min but after that it is curing time.
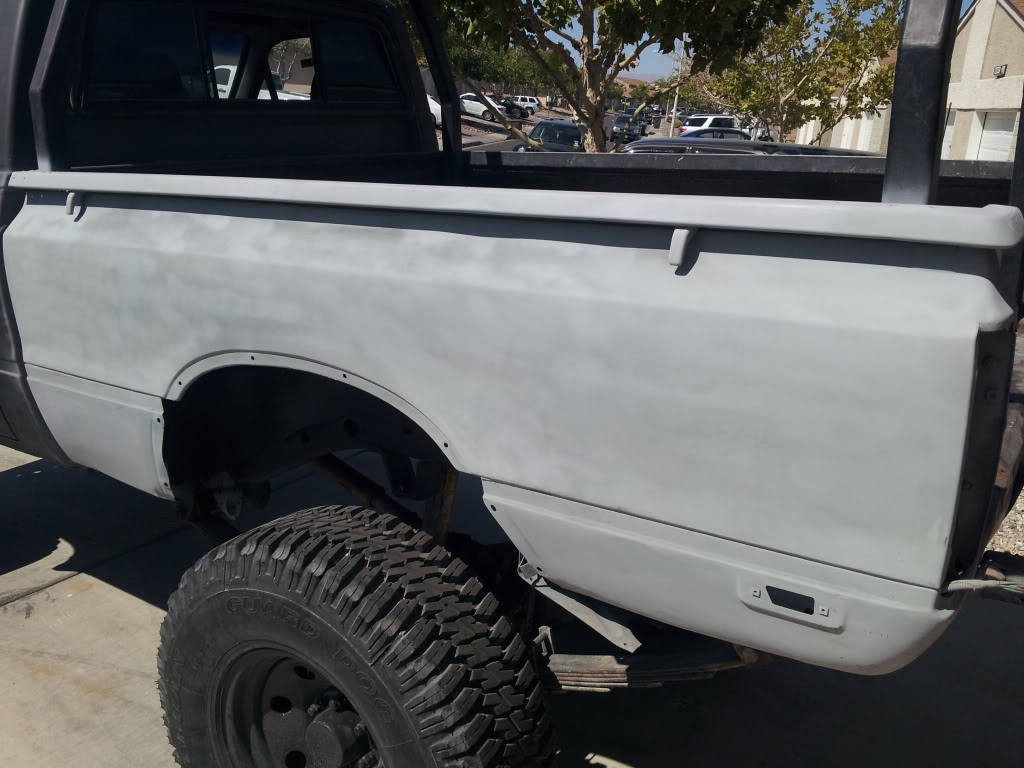
Here's a pic of what the first attempt looks like. I'm also a newbie so please tips and tricks. I have lots of rust to scrub so I'm doing it in sections.
Beamed from my dumbphone
I procured my paint already from primer to clear. I have a few cans for rust encapsulation although I made an honest attempt at getting the metal clean.
I started with a wire brush and putty knife to get the bubbles gone and expose all the rust possible. Then I went over with 100 grit sandpaper.
Wiped with dry rag and then mineral spirits. The spraying of rattle can isn't hard but follow directions and it will come out better. I have no garage I can do this in so sadly it will be outdoors. Luckily I have weather with less than 10% humidity. The paint might be sticky for about 10 min but after that it is curing time.
Here's a pic of what the first attempt looks like. I'm also a newbie so please tips and tricks. I have lots of rust to scrub so I'm doing it in sections.
Beamed from my dumbphone
Last edited by KryptoRoxx; Aug 14, 2013 at 11:34 AM.

 Aug 16, 2013 | 07:56 PM
#3
Thread Starter
Registered User
Joined: Jan 2011
Posts: 351
Likes: 0
From: Twentynine Palms, CA
Picked up the body filler and am looking forward to Sunday when I can get some work done! I've got to be crazy for saying that as I am hand sanding and trying to make a truck the same age as me look good again. Oh well it beats drinking paychecks away.
Aug 17, 2013 | 05:09 AM
#4
I agree...at least my wife can see the evidence of the $$$ I have blown
Aug 18, 2013 | 08:17 AM
#5
Thread Starter
Registered User
Joined: Jan 2011
Posts: 351
Likes: 0
From: Twentynine Palms, CA
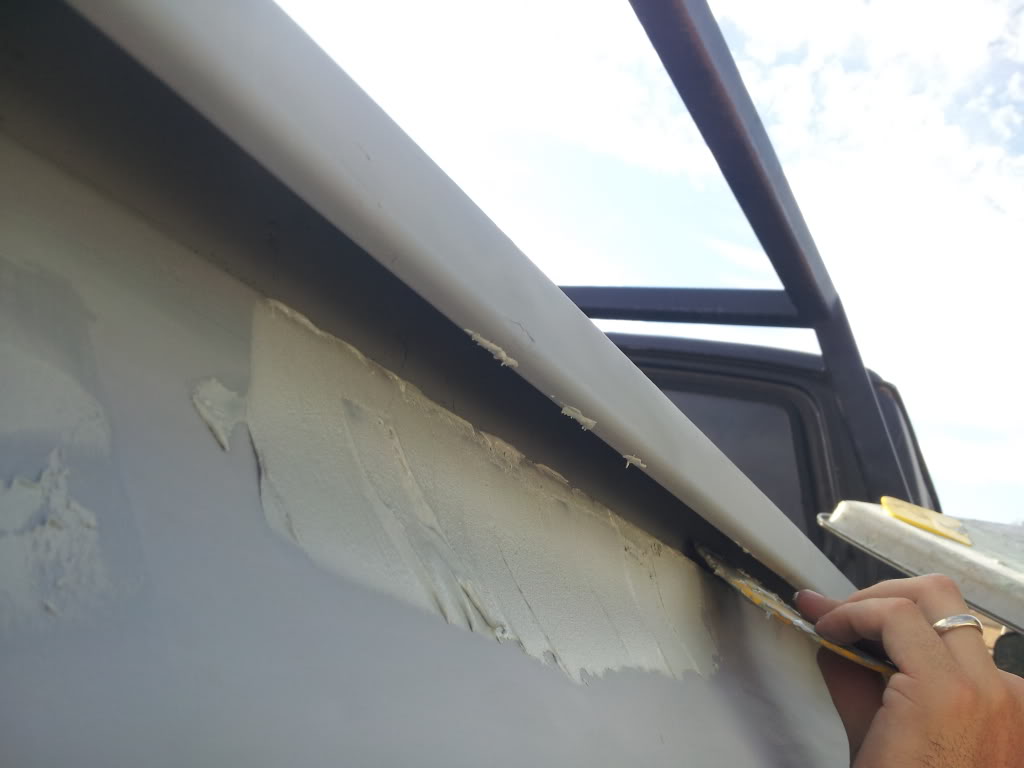
Finally some real progress and some solid advice on how I got everything looking pretty good off the first coat of primer. This may not be the best way but I played around with it and got good results.
#1 Remove everything from the area around where you will be spraying or you plastic it off. I thought removing everything was easier and it also helped me identify things that need replacing anyway like my clearance lights and my brake lights.
#2 Grab a putty knife and burst all the bubbles of rust you may or may not have on your truck. (I'll bet there's one) I also used it with drips of dried paint from previous rattle jobs.
#3 After all the rust is exposed hit it with a steel brush or steel wool. Either will do fine and get the scale gone.
#4 I used 100 grit but I sand the whole panel of what I'm working on but I pay special attention to the burst bubble areas. Smoothing out the edges will help a uniform look when primering/sanding.
#5 This is a big one. You need mineral spirits. I have a quart container but I'm thinking a gallon might be more appropriate for this job. Don't use the red rags as they will leave behind fluff. I used my old green tshirts I couldn't wear in uniform anymore. Put some mineral spirits on the rag (damp works best) and rub the entire area you will be spraying down. This will get rid of all of the remaining grit that may or may not be present.
#6 Spray with a can holder. Its so much easier to spray with this thing vs. holding the can open with one finger!! Best 6 bucks I spent so far.
#7 Choose your tools wisely. I spent the extra whatever amount and am sticking to rustoleum for all of the paint steps.


From left to right:
2in1 filler and sandable primer (don't know the difference but I know I needed sandable
Mineral Spirits (magical stuff for cleaning everything)
Eastwood Fast Etch (this stuff is awesome for bare metal rust removal. Only bare metal though.)
3m Body Filler (only for emergencies and never for filling holes. Works great for pitting on the body and leveling out areas. I find it like working with spackle only it's more runny and dries a helluva lot faster)
Rusty Metal Primer (will adhere to and stop rust so it claims)
Spray Can Gun (this thing makes spraying panels a snap and your finger is not that tired.)
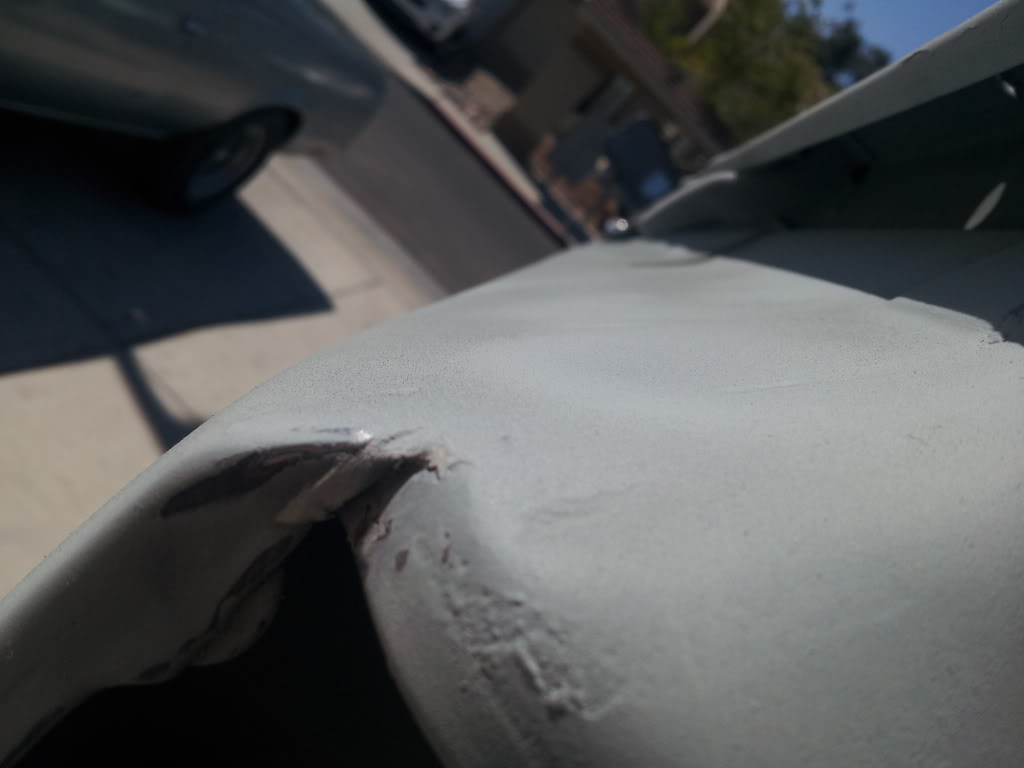
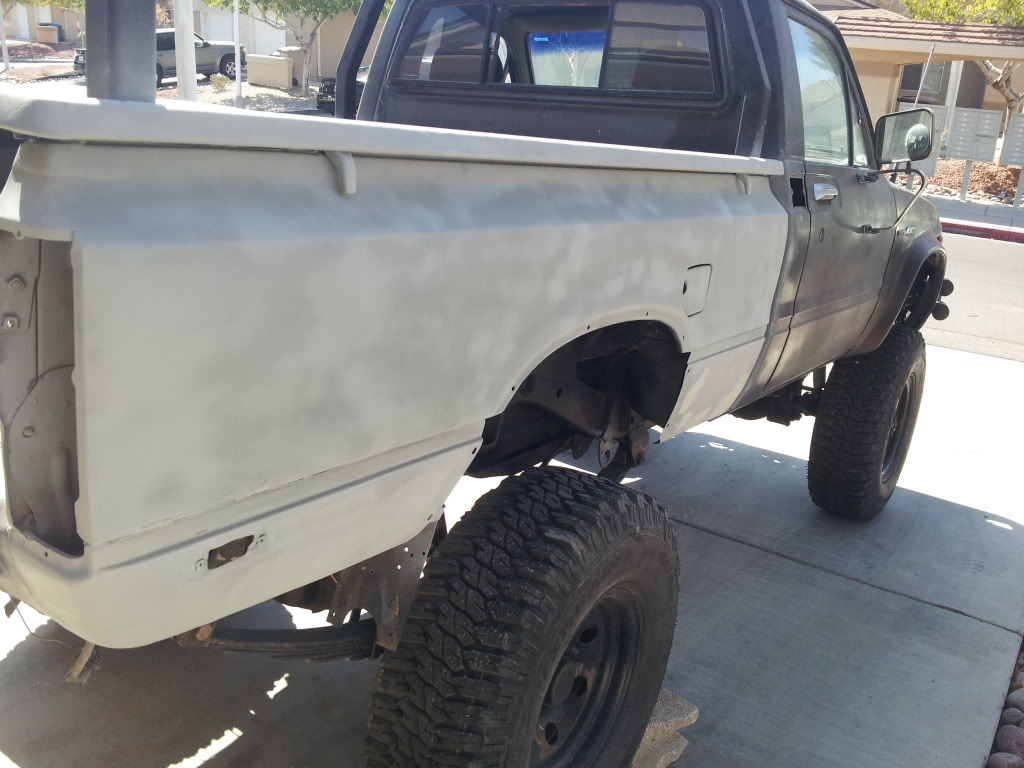
And now for my results from today's efforts. Tomorrow will be light sanding with 200grit and filler primer/body filler to smooth everything out on the final layer.

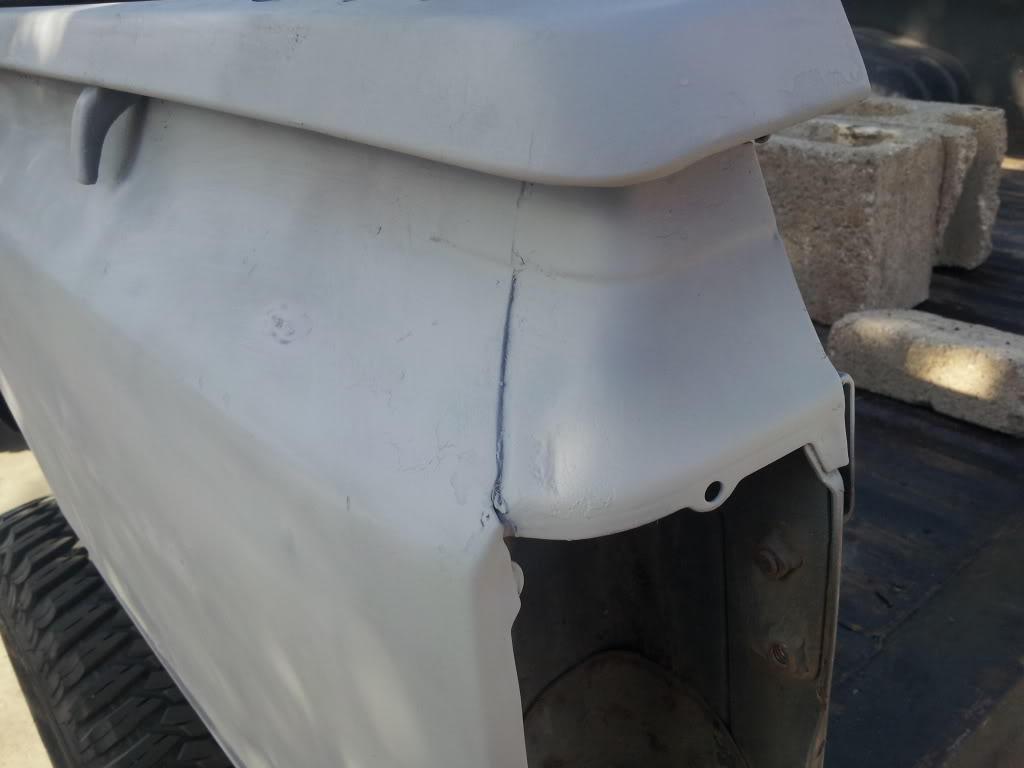

The right side of the truck came out immensely better on the first coat since I had figured out how to go about this task. I think the left side might have been in worse repair though. I need to get this finished while I still have 100+ days of summer left. It does a great job of curing the paint in the middle of the day.
#1 Remove everything from the area around where you will be spraying or you plastic it off. I thought removing everything was easier and it also helped me identify things that need replacing anyway like my clearance lights and my brake lights.
#2 Grab a putty knife and burst all the bubbles of rust you may or may not have on your truck. (I'll bet there's one) I also used it with drips of dried paint from previous rattle jobs.
#3 After all the rust is exposed hit it with a steel brush or steel wool. Either will do fine and get the scale gone.
#4 I used 100 grit but I sand the whole panel of what I'm working on but I pay special attention to the burst bubble areas. Smoothing out the edges will help a uniform look when primering/sanding.
#5 This is a big one. You need mineral spirits. I have a quart container but I'm thinking a gallon might be more appropriate for this job. Don't use the red rags as they will leave behind fluff. I used my old green tshirts I couldn't wear in uniform anymore. Put some mineral spirits on the rag (damp works best) and rub the entire area you will be spraying down. This will get rid of all of the remaining grit that may or may not be present.
#6 Spray with a can holder. Its so much easier to spray with this thing vs. holding the can open with one finger!! Best 6 bucks I spent so far.
#7 Choose your tools wisely. I spent the extra whatever amount and am sticking to rustoleum for all of the paint steps.


From left to right:
2in1 filler and sandable primer (don't know the difference but I know I needed sandable
Mineral Spirits (magical stuff for cleaning everything)
Eastwood Fast Etch (this stuff is awesome for bare metal rust removal. Only bare metal though.)
3m Body Filler (only for emergencies and never for filling holes. Works great for pitting on the body and leveling out areas. I find it like working with spackle only it's more runny and dries a helluva lot faster)
Rusty Metal Primer (will adhere to and stop rust so it claims)
Spray Can Gun (this thing makes spraying panels a snap and your finger is not that tired.)
And now for my results from today's efforts. Tomorrow will be light sanding with 200grit and filler primer/body filler to smooth everything out on the final layer.


The right side of the truck came out immensely better on the first coat since I had figured out how to go about this task. I think the left side might have been in worse repair though. I need to get this finished while I still have 100+ days of summer left. It does a great job of curing the paint in the middle of the day.
Last edited by KryptoRoxx; Aug 18, 2013 at 08:27 AM.
Aug 18, 2013 | 02:55 PM
#7
Thread Starter
Registered User
Joined: Jan 2011
Posts: 351
Likes: 0
From: Twentynine Palms, CA
I'm going with tan honestly. It sets off the color of black pretty well and I read somewhere that light colors don't show errors as easily. I was looking for a satin finish but could only find a gloss from rustoleum.
While I'm doing this to the outside I will be taking the acid etch and some Eastwood satin black high temp paint and doing the engine bay. This will take a while I am sure.
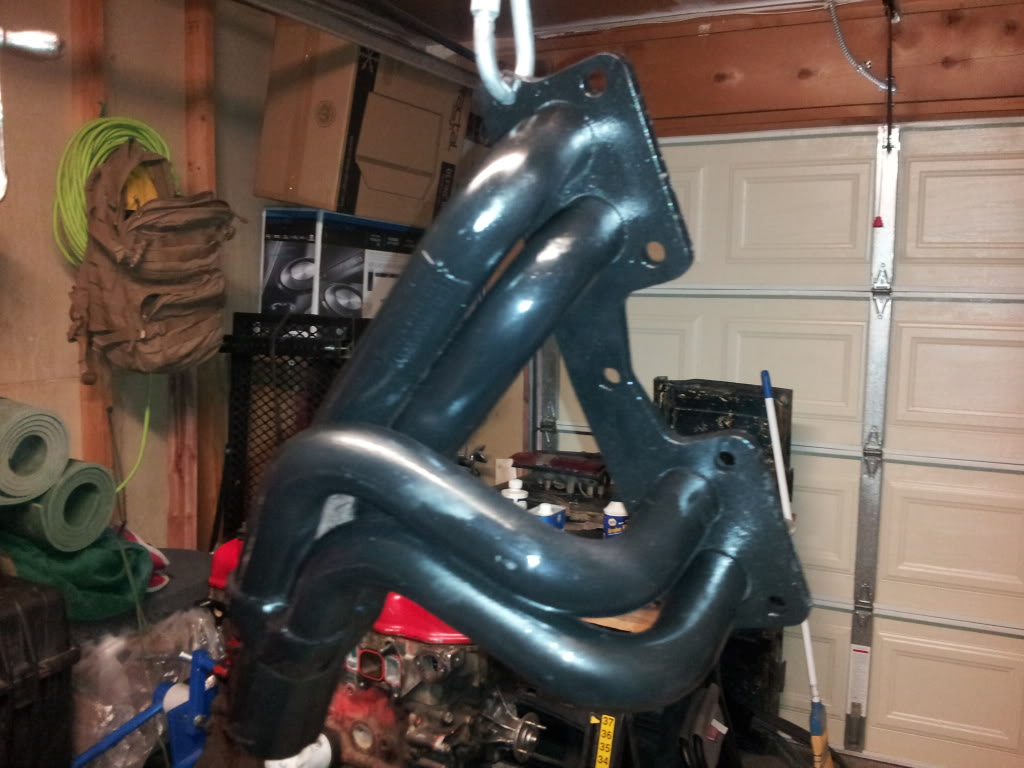
I just finished restoring a set of hedman shortys with that acid etch and some high temp actually. Here's a shot of them.
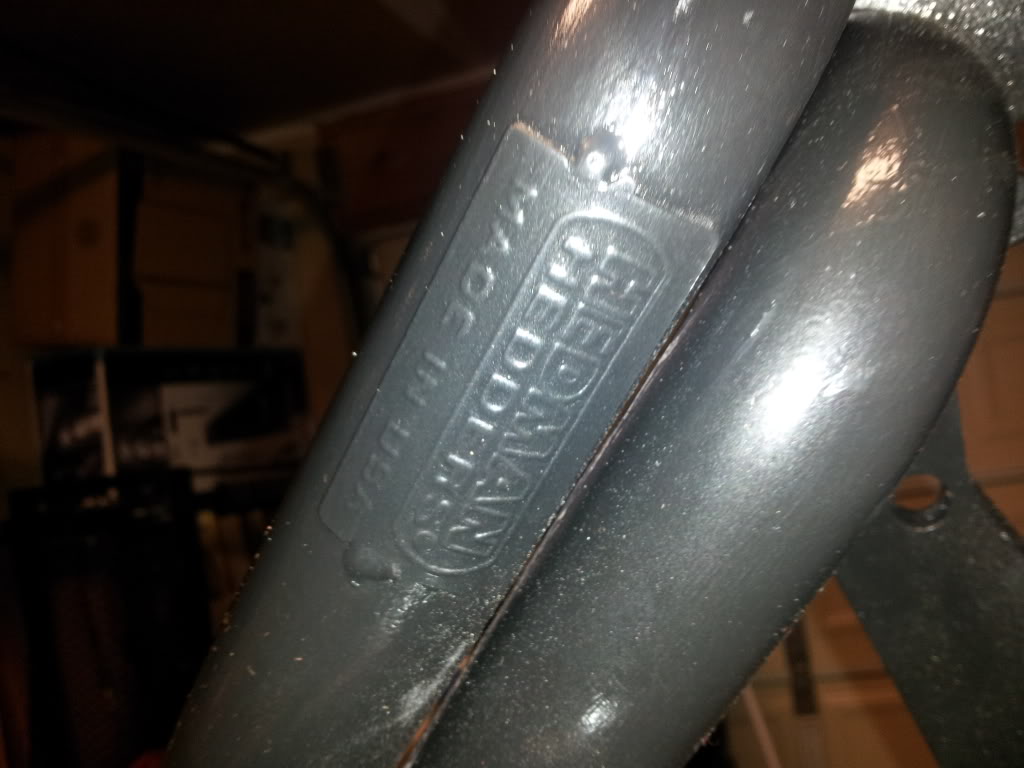
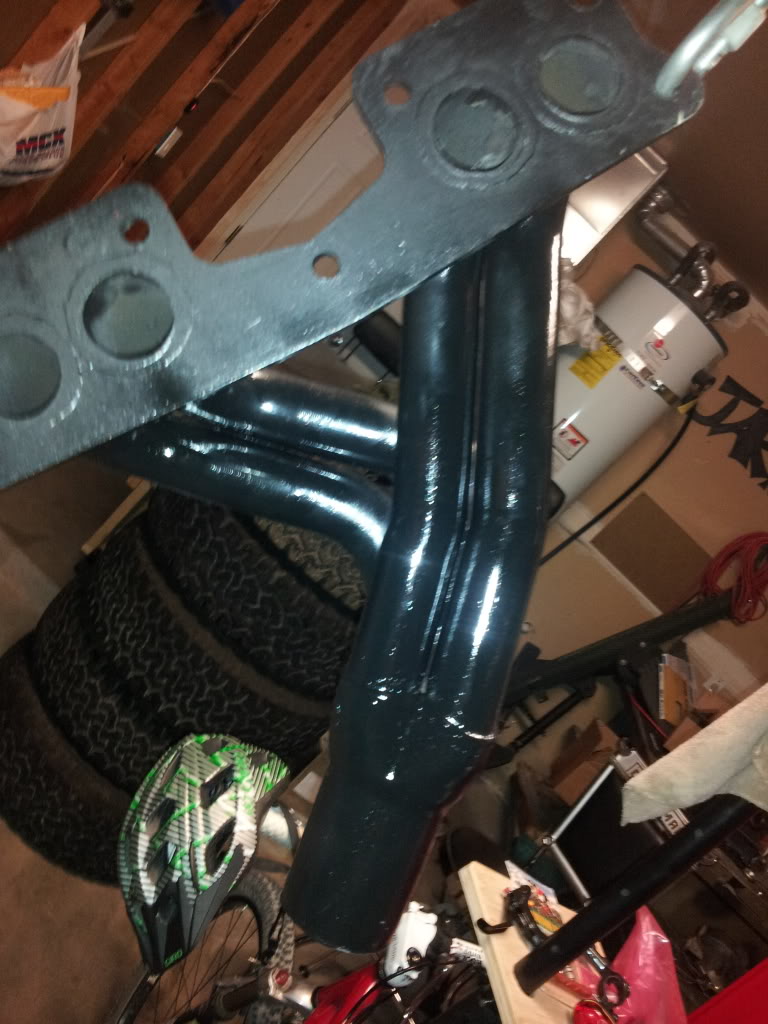
Beamed from my dumbphone
While I'm doing this to the outside I will be taking the acid etch and some Eastwood satin black high temp paint and doing the engine bay. This will take a while I am sure.
I just finished restoring a set of hedman shortys with that acid etch and some high temp actually. Here's a shot of them.


Beamed from my dumbphone
Last edited by KryptoRoxx; Aug 18, 2013 at 02:58 PM.
Trending Topics
 Aug 19, 2013 | 07:42 AM
#9
Thread Starter
Registered User
Joined: Jan 2011
Posts: 351
Likes: 0
From: Twentynine Palms, CA
So I should have started out this morning by punching myself in the face repeatedly until knocked out for some of the concern I had abut filling some of the rust areas perfectly. Part of the paint job is going to be Raptorliner in the bed with an over the top and then anything below the indention in the side panels.
So a note for anyone wanting to rhinoline their truck. Get the rust gone....and then paint. You can skip all the steps in between unless you have gaping holes. Then you need a welder and maybe 2 coats of bedliner. Wouldn't even notice it then.
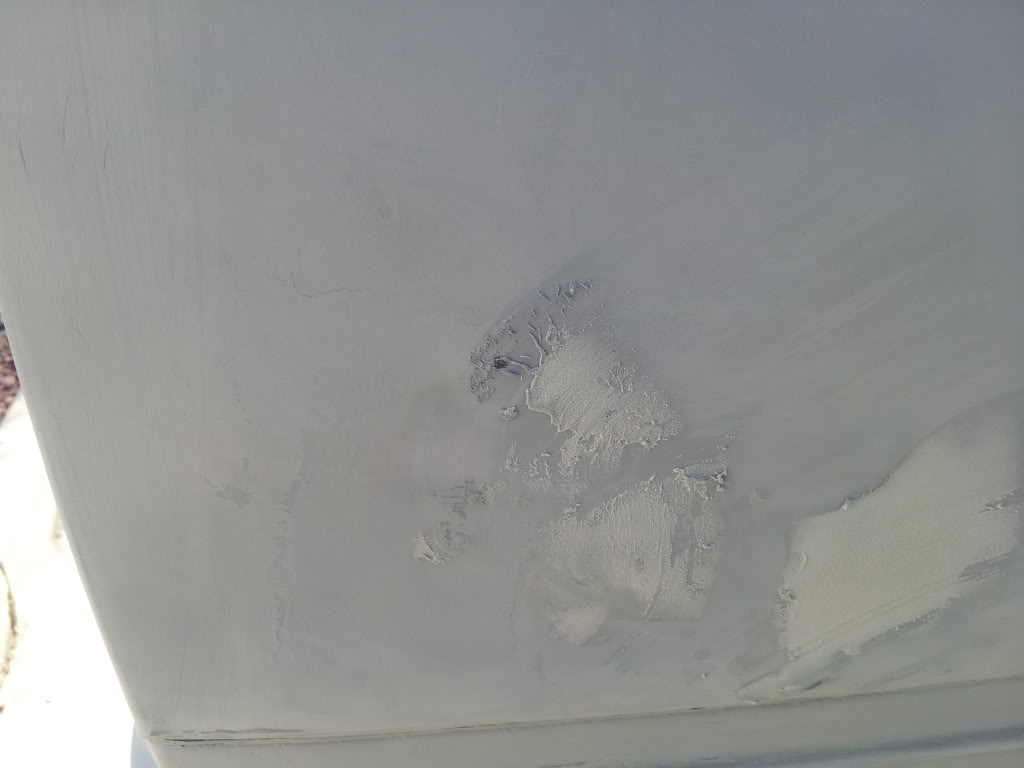
When you're doing the body filler moving quickly is the key. You also want to do it carefully enough that you don't end up with pinholes. Pinholes basically result from to little working of the filler or laying it too think in one coat.
Supplies: You'll need a cheap cookie pan. My wife donated one to me when I was doing fiberglass (which is not really different from body filler)
Body Filler (I do not recommend Bondo!!!)
--reason why is body filler/bondo has a shelf life of about 4 months. How
long has the can been sitting on the shelf. Get your filler from someone
who supplies body shops if possible. It will make this experience easier.
Putty knives (cheap ones, various sizes)
Mixing Sticks (lots of them. This stuff is thick and your hand will be tired after mixing for 3 min.
Mineral Spirits
Clean clothes


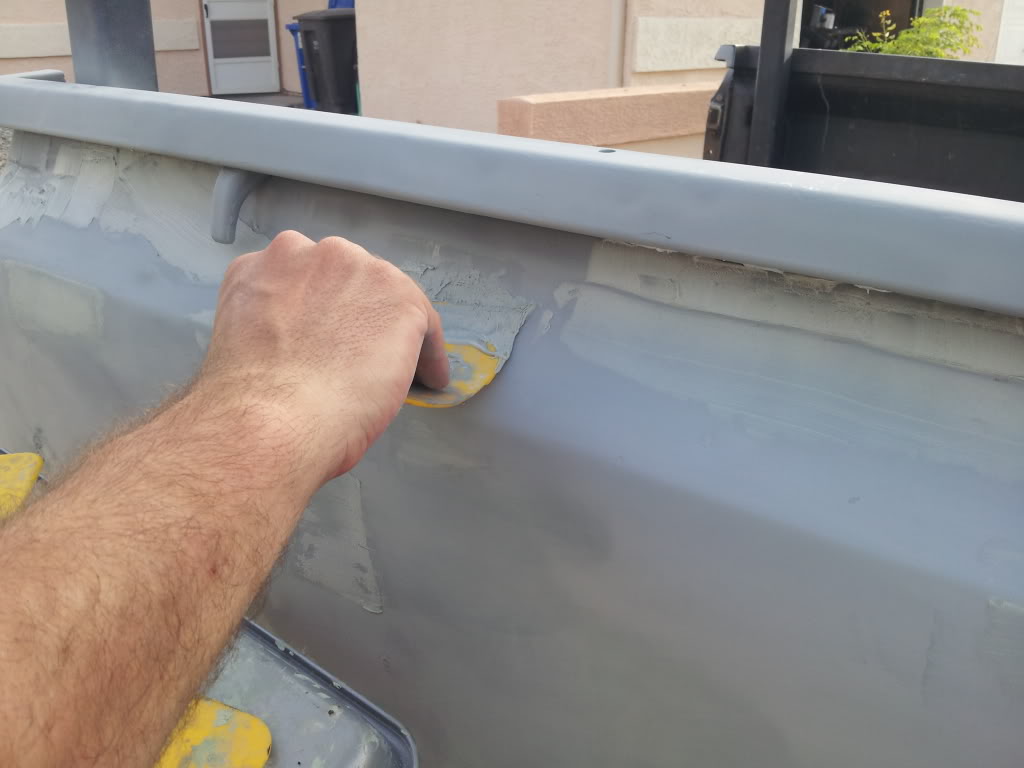
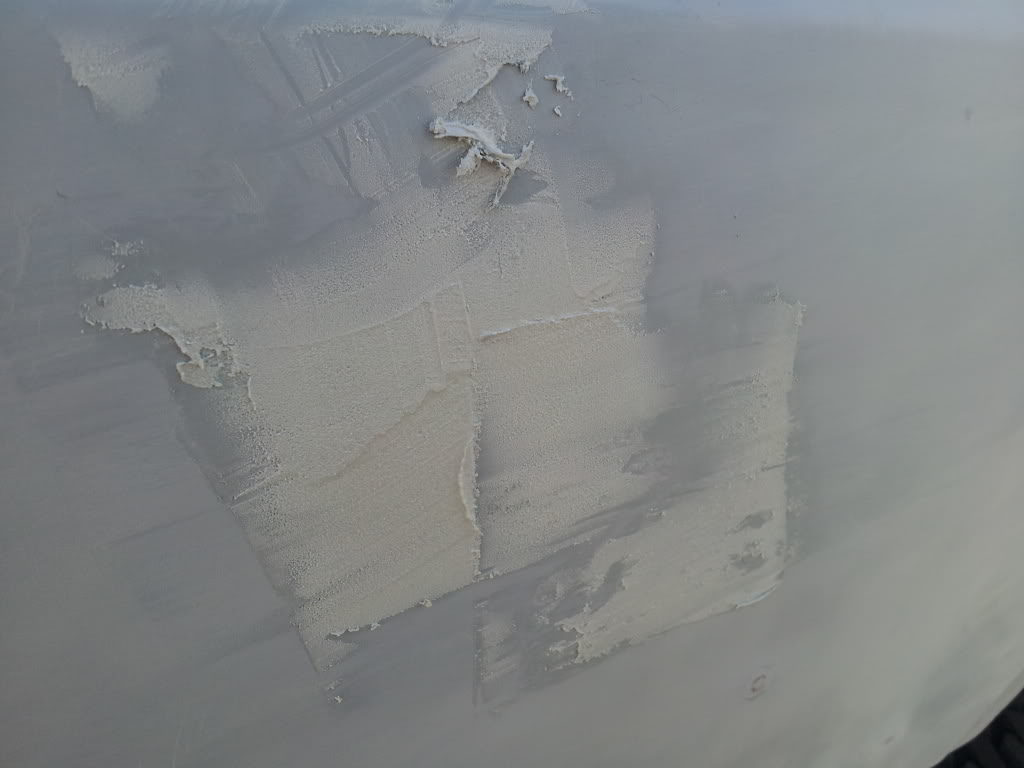
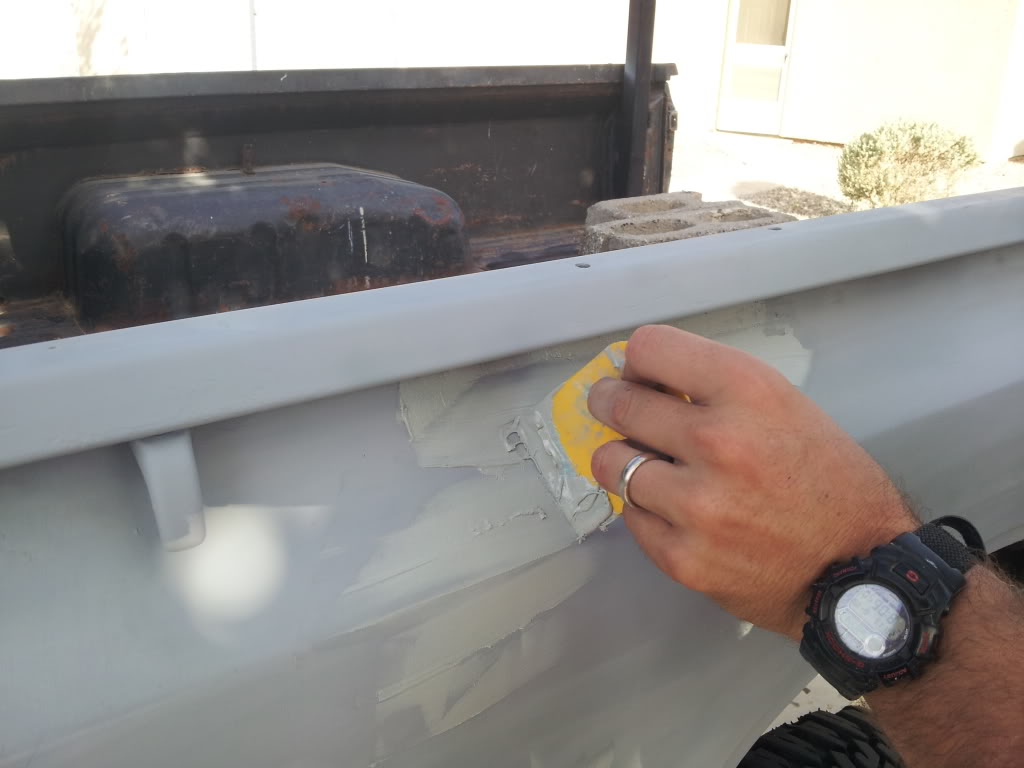
After you mix the stuff up good (the picture with the dark blue dot is about how much hardener you need to activate the whole pile) on your cookie sheet go lay the stuff out as quickly and carefully as possible. For the first run I wouldn't mix up much so you can get a feel for it. After a while though you can mix up quite a bit and lay it quickly. Pressure will help with pinholes and completely filling in the area.
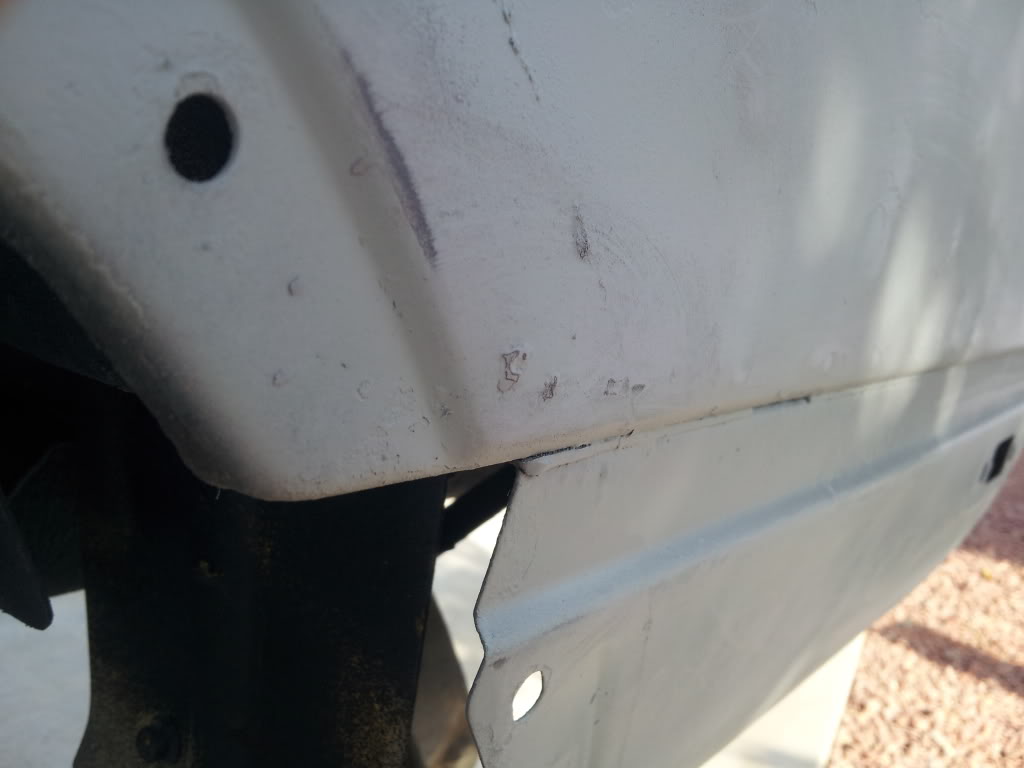
Remember that you are filling on a contoured surface! Anything that you build up to much will show in the final coat I promise you. This stuff does sand well so that is a plus.
Here's what it looks like wet and while you're laying it up. I laid it a little thick so I'm going to be busy with the sander for a while. I got the wife to take pics while I was doing it.


So a note for anyone wanting to rhinoline their truck. Get the rust gone....and then paint. You can skip all the steps in between unless you have gaping holes. Then you need a welder and maybe 2 coats of bedliner. Wouldn't even notice it then.
When you're doing the body filler moving quickly is the key. You also want to do it carefully enough that you don't end up with pinholes. Pinholes basically result from to little working of the filler or laying it too think in one coat.
Supplies: You'll need a cheap cookie pan. My wife donated one to me when I was doing fiberglass (which is not really different from body filler)
Body Filler (I do not recommend Bondo!!!)
--reason why is body filler/bondo has a shelf life of about 4 months. How
long has the can been sitting on the shelf. Get your filler from someone
who supplies body shops if possible. It will make this experience easier.
Putty knives (cheap ones, various sizes)
Mixing Sticks (lots of them. This stuff is thick and your hand will be tired after mixing for 3 min.
Mineral Spirits
Clean clothes


After you mix the stuff up good (the picture with the dark blue dot is about how much hardener you need to activate the whole pile) on your cookie sheet go lay the stuff out as quickly and carefully as possible. For the first run I wouldn't mix up much so you can get a feel for it. After a while though you can mix up quite a bit and lay it quickly. Pressure will help with pinholes and completely filling in the area.
Remember that you are filling on a contoured surface! Anything that you build up to much will show in the final coat I promise you. This stuff does sand well so that is a plus.
Here's what it looks like wet and while you're laying it up. I laid it a little thick so I'm going to be busy with the sander for a while. I got the wife to take pics while I was doing it.


 Aug 19, 2013 | 08:29 AM
#10
Registered User
Joined: May 2008
Posts: 4,591
Likes: 126
From: Montana
That neighborhood is crazy!
Must be because I'm in Montana and we have a lot of space...but seeing those driveways all so close together all with at least one car in them is making me claustrophic even from all the way over here!
Nice work on the paint so far.
Must be because I'm in Montana and we have a lot of space...but seeing those driveways all so close together all with at least one car in them is making me claustrophic even from all the way over here!
Nice work on the paint so far.
Aug 19, 2013 | 09:15 AM
#11
Thread Starter
Registered User
Joined: Jan 2011
Posts: 351
Likes: 0
From: Twentynine Palms, CA
You should see it after everyone gets home from work! All of those houses have at least two cars and some have 3.
The whole reason I had to do this was because someone was claiming my truck was abandoned....and it kinda looked abandoned. So a new paint job should do it.
Beamed from my dumbphone
The whole reason I had to do this was because someone was claiming my truck was abandoned....and it kinda looked abandoned. So a new paint job should do it.
Beamed from my dumbphone
Aug 19, 2013 | 11:05 AM
#12
Registered User
Joined: May 2008
Posts: 4,591
Likes: 126
From: Montana
Ha.
Drive through some neighborhoods in my town, you'll see what a real abandoned vehicle looks like
People tend to mind their own business around here, though that seems to be changing, year by year...
Drive through some neighborhoods in my town, you'll see what a real abandoned vehicle looks like
People tend to mind their own business around here, though that seems to be changing, year by year...
Aug 19, 2013 | 06:16 PM
#13
Thread Starter
Registered User
Joined: Jan 2011
Posts: 351
Likes: 0
From: Twentynine Palms, CA
For being on a military base mine is about as rough as they get. I also hope I'm killing at least one hippies hopes for the environment each time I start my three vaccum line engine lol.
Aug 21, 2013 | 04:37 PM
#14
Thread Starter
Registered User
Joined: Jan 2011
Posts: 351
Likes: 0
From: Twentynine Palms, CA
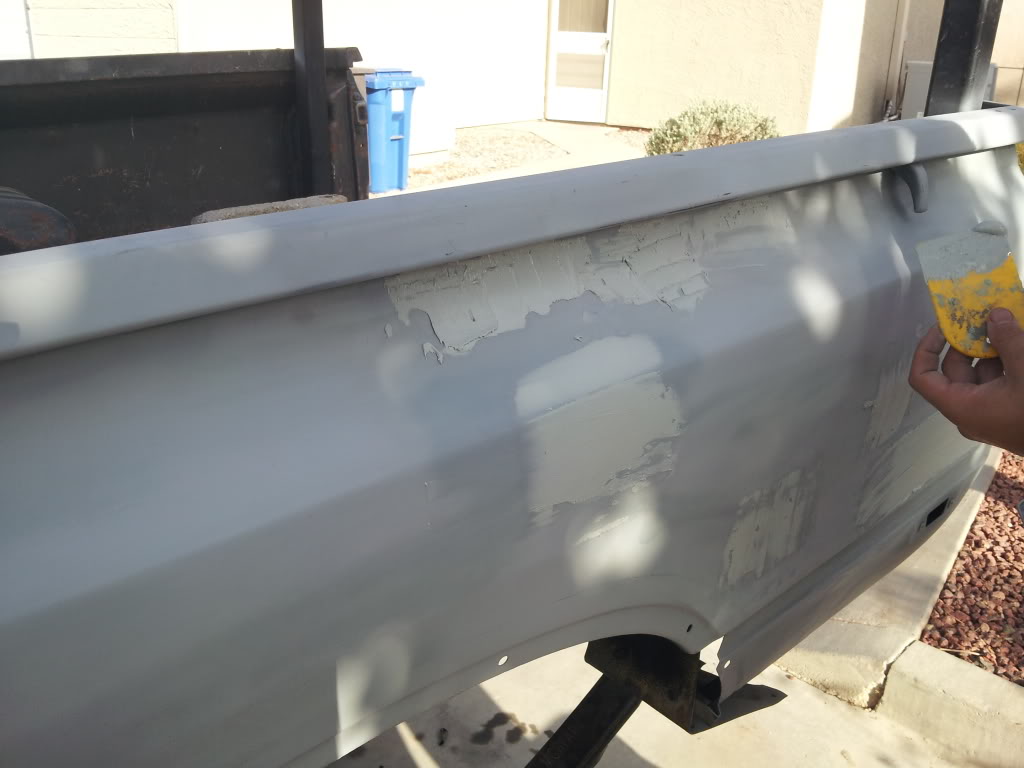
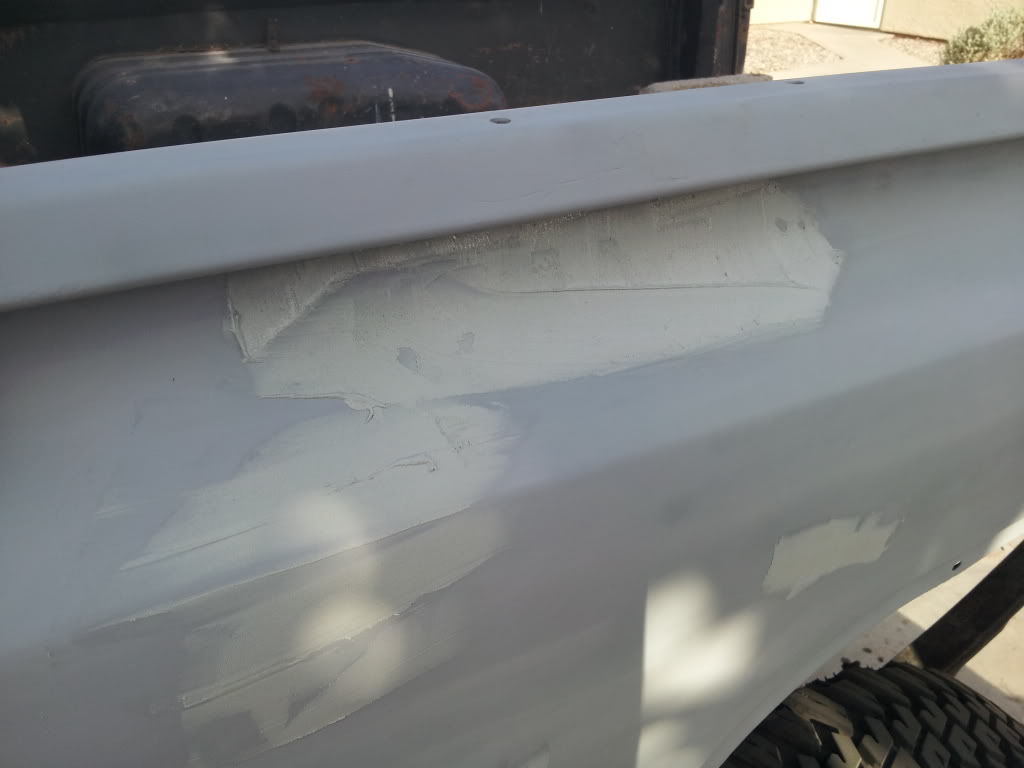
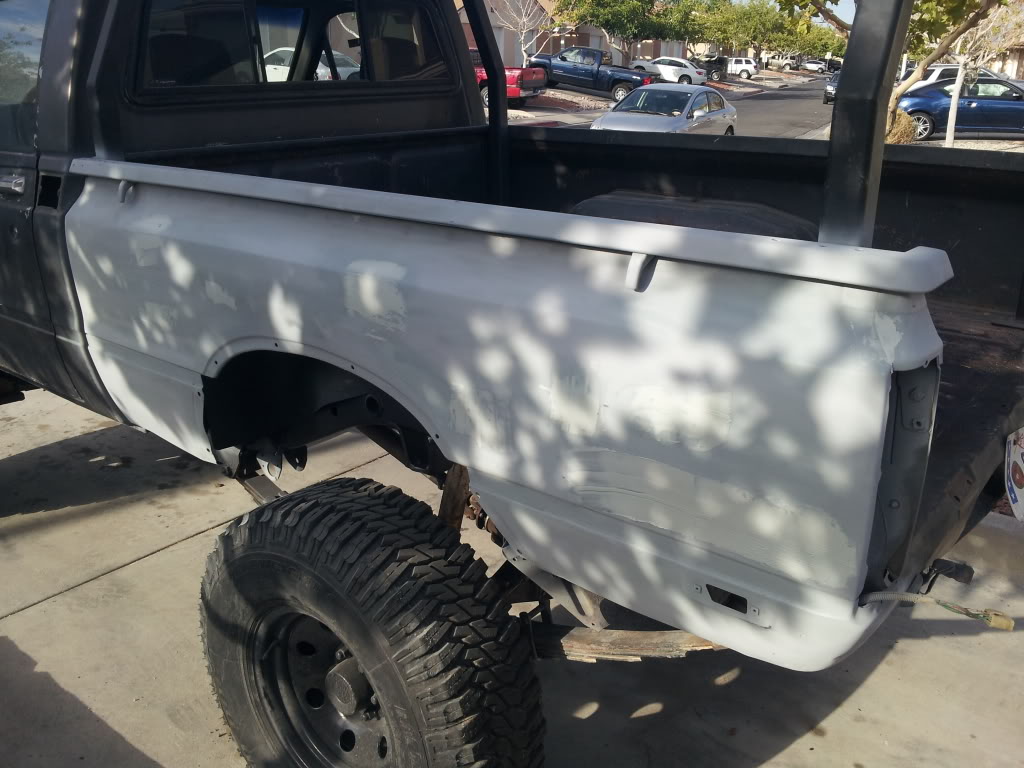
Bed is looking better and better!
Sadly I had to scrape most of what I had laid because the amount of cream hardener was different than what I was used to. That brand difference though took me a full day of scraping to fix. I should have tested it out on something other than the truck before doing work with it but se la vie.
Here's what she looks like. I was starting to look up front on how to dismantle it. I assume the 4wd pieces are stick on only? I'm gonna have to find some replacement logos methinks.
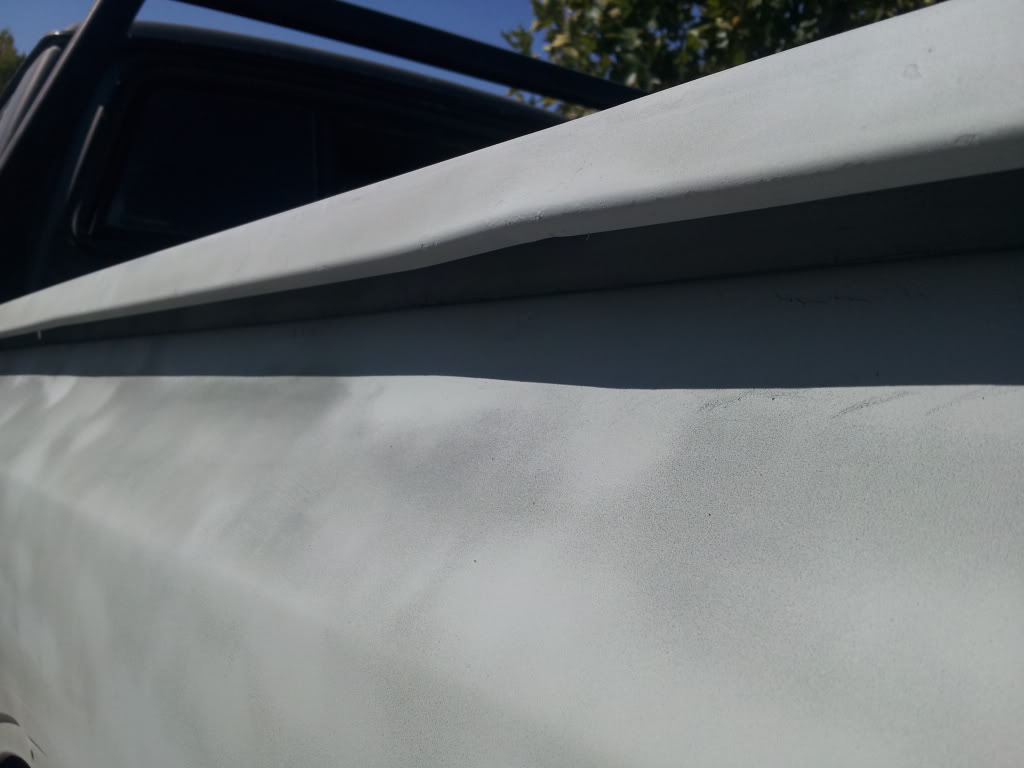
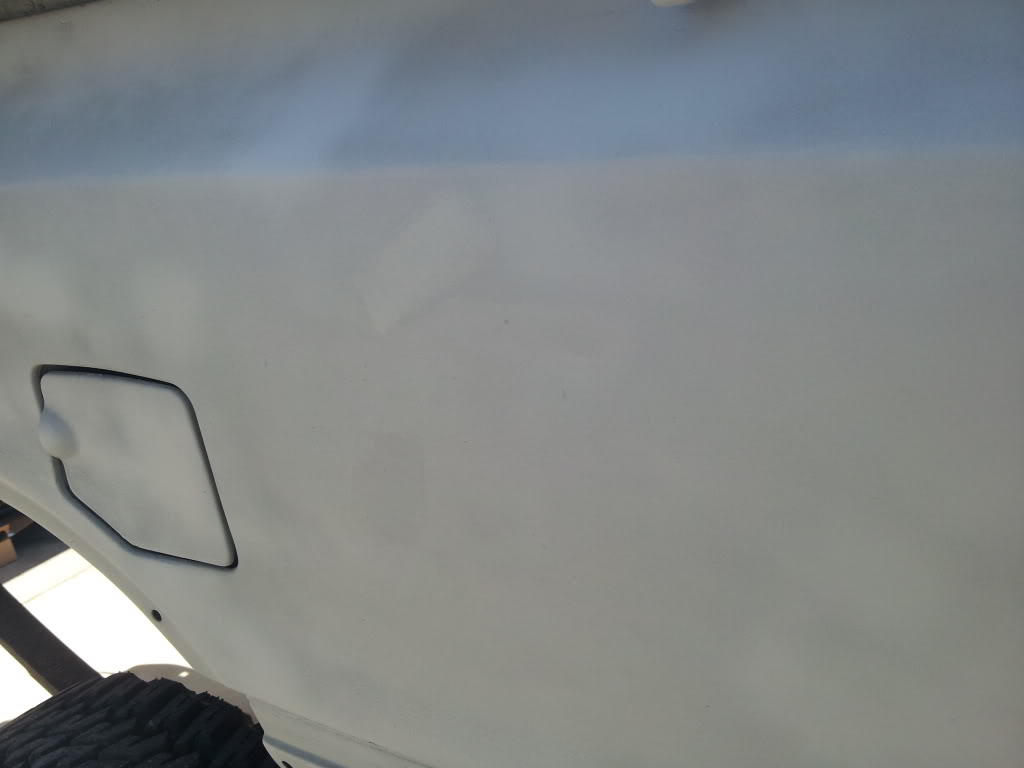
Panels feel pretty smooth. I realize that I am not going to get it perfect without having more experience but at least the pitting from the removed rust will be filled in and that will be a big improvement. Those bed rails are a PITA!!!! I was scrubbing at those things for hours. I really hope I got all of the bad stuff up there.
Aug 22, 2013 | 06:52 PM
#17
Thread Starter
Registered User
Joined: Jan 2011
Posts: 351
Likes: 0
From: Twentynine Palms, CA
I appreciate the encouragement. Right now I'm waiting for the weather to give me more of a solid dry pattern. Its gotta be just because I started painting this thing lol. I live in the desert and they have forcasted rain for the rest of the week!
Aug 27, 2013 | 07:28 AM
#18
Registered User
Joined: Aug 2013
Posts: 11
Likes: 0
I have painted MANY cars with the Ace Hardware version of Rustolium. I have a pretty good (Home Depot) HVLP gun and I get the Ace brand tinted to what I want. Then I do pretty much what you have done. The results never seem to disappoint, it is as good or better than a Maaco, and is even cheaper. I have had them last up to 3 years and still look good - I sold the car. The paint is just a oil based enamel and smooths pretty well.
I plan on painting mine Beige as well when I shoot it.
KC
I plan on painting mine Beige as well when I shoot it.
KC
Aug 27, 2013 | 07:54 AM
#19
Thread Starter
Registered User
Joined: Jan 2011
Posts: 351
Likes: 0
From: Twentynine Palms, CA
Hey big thanks for the advice/confidence that I'm doing it the right way. Looks like I will get into the hobby shop this weekend and spray the rest of the truck! I sold my spare tires and that gave me enough to afford it all....more actually but wish me luck.
Beamed from my dumbphone
Beamed from my dumbphone


