
Cab Removal, how's it done?
 Mar 5, 2012 | 05:42 PM
#1
Thread Starter
Registered User
Joined: Sep 2011
Posts: 87
Likes: 0
From: Somerset, WI
Time to start doing some serious work on Gloria. I want to start my complete restoration within the next month, and I want to remove the cab so I can go over the whole frame and repair the cab floors, etc. Does anyone have any experience doing this and/or have a list of what needs to be disconnected to achieve this? I searched and could find very little on this, and what I found wasn't very descriptive. Thanks for any tips you can supply.


 Mar 5, 2012 | 06:19 PM
#3
-disconnect/remove battery
-remove/drain radiator
-disconnect heater lines
disconnect steering shaft
disconnect/mark all wires at firewall or where ever the closest connection is
disconnect the fuel, brake lines that run under the floor boards,
disconnect speedometer cable, 4x4 indicator wire, reverse light wire at the switches on the transfer case/transmission
4 cab bolts, 2 on each side of the cab at the floor boards and cab corners, 2 bolts up front by the front of the frame
-disconnect/mark the ignition junk on the d/s fender well
-disconnect/mark all the wires on the p/s side fender well.
this is the stuff off the top of my head...check everything again before you lift it off...your will forget something...
edit: and take lots of pictars so we know how to do it too
Mar 5, 2012 | 06:24 PM
#4
Thread Starter
Registered User
Joined: Sep 2011
Posts: 87
Likes: 0
From: Somerset, WI
Thanks guys  It'll probably be early April before I get this project going. Gotta get the Ranger out of storage and registered again so I have something to drive. But you can expect a lot of updates. I'm really looking forward to it. This is my first restoration, so I'll learn a ton and have a blast.
It'll probably be early April before I get this project going. Gotta get the Ranger out of storage and registered again so I have something to drive. But you can expect a lot of updates. I'm really looking forward to it. This is my first restoration, so I'll learn a ton and have a blast.
 Mar 6, 2012 | 11:38 PM
#7
On my 88 build I have the steps listed on post #88. It isnt bad at all to do. Most applies to what you are doing even though I did it on a 89 model. I will plan on adding a couple of pics to it later on this week.
Trending Topics
Oct 26, 2012 | 03:16 PM
#8
Thread Starter
Registered User
Joined: Sep 2011
Posts: 87
Likes: 0
From: Somerset, WI
Soooo it's been a while since I've posted..... life and school kept me from getting to this project when I wanted to, but I've had some more free time and have removed the cab from the frame and am building a heated shop in the barn where I can work on my truck all winter. I will be adding photos of my progress as I go and will have many questions concerning cab repair, so get ready for that :p It'll be quite the task, but from the knowledge found on this website I'm sure it will get done well. Thanks in advance, Ben.
 Nov 2, 2012 | 11:44 AM
#10
Thread Starter
Registered User
Joined: Sep 2011
Posts: 87
Likes: 0
From: Somerset, WI
Alright, well here are a few pictures of removing the cab.

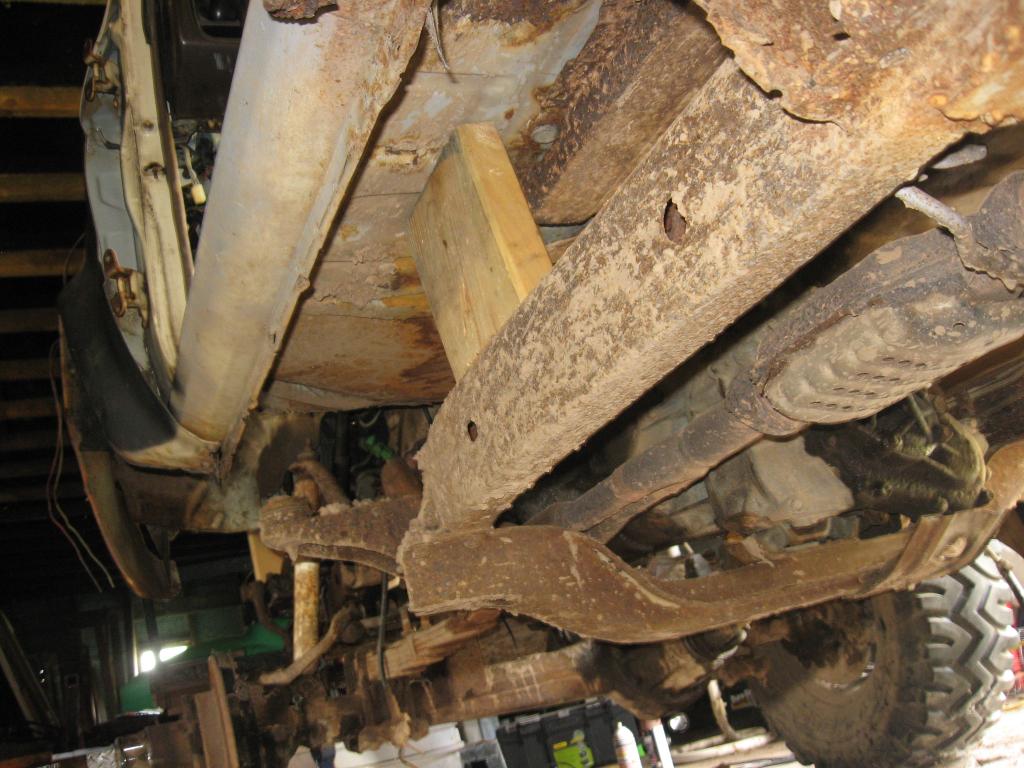
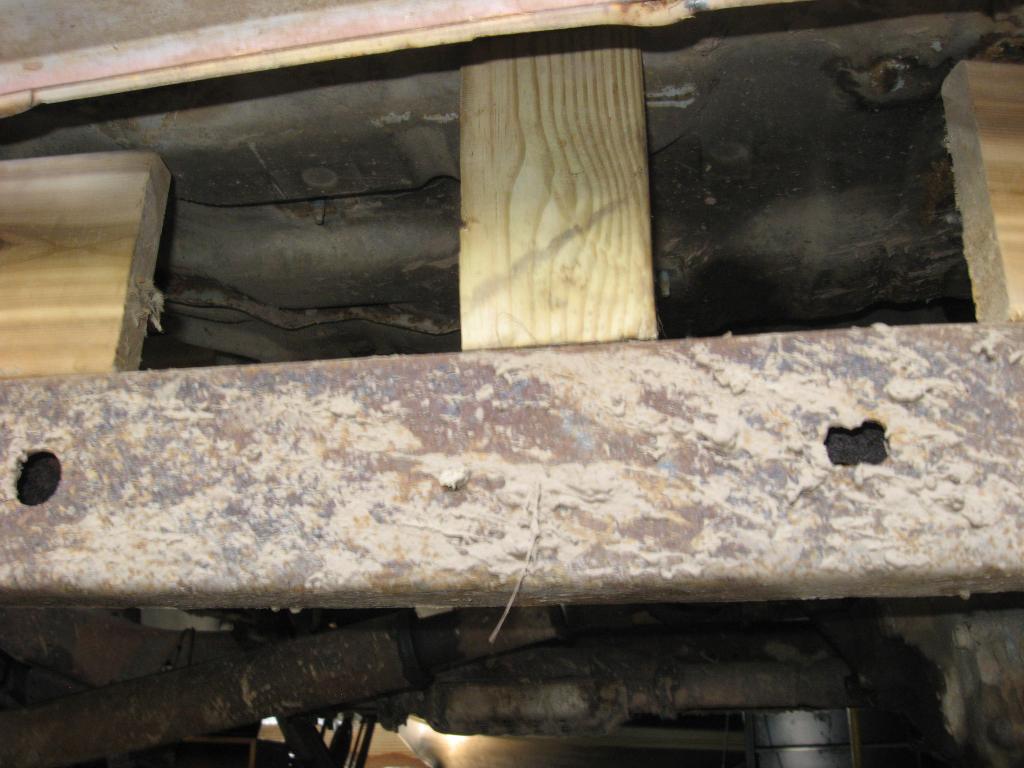
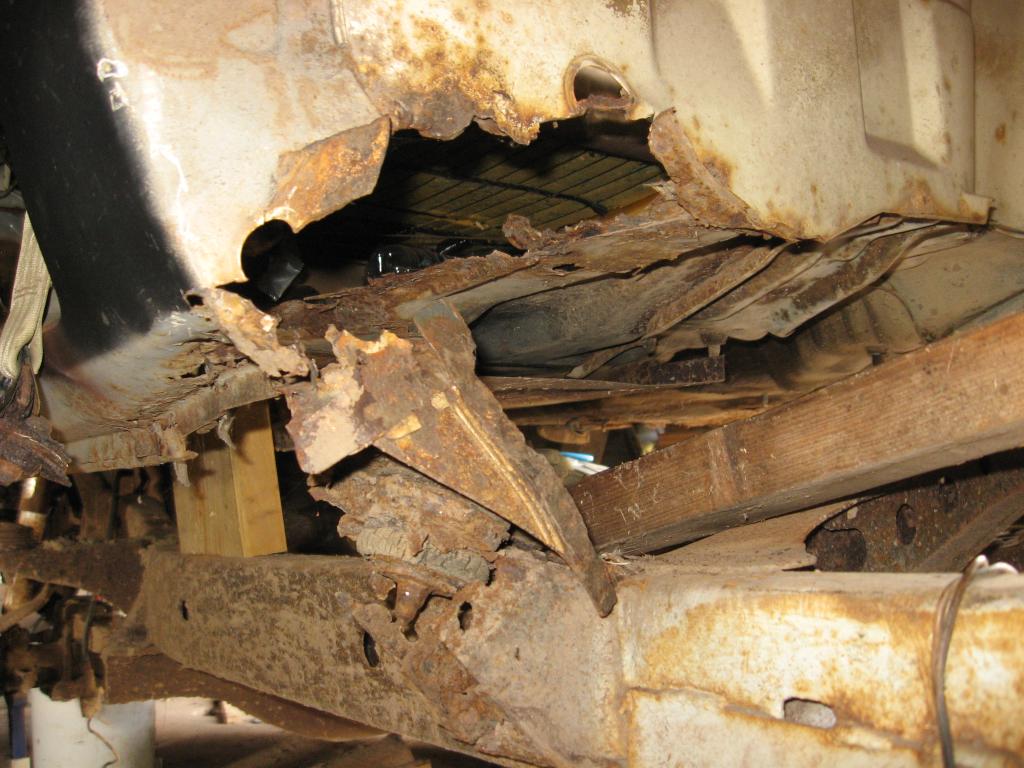
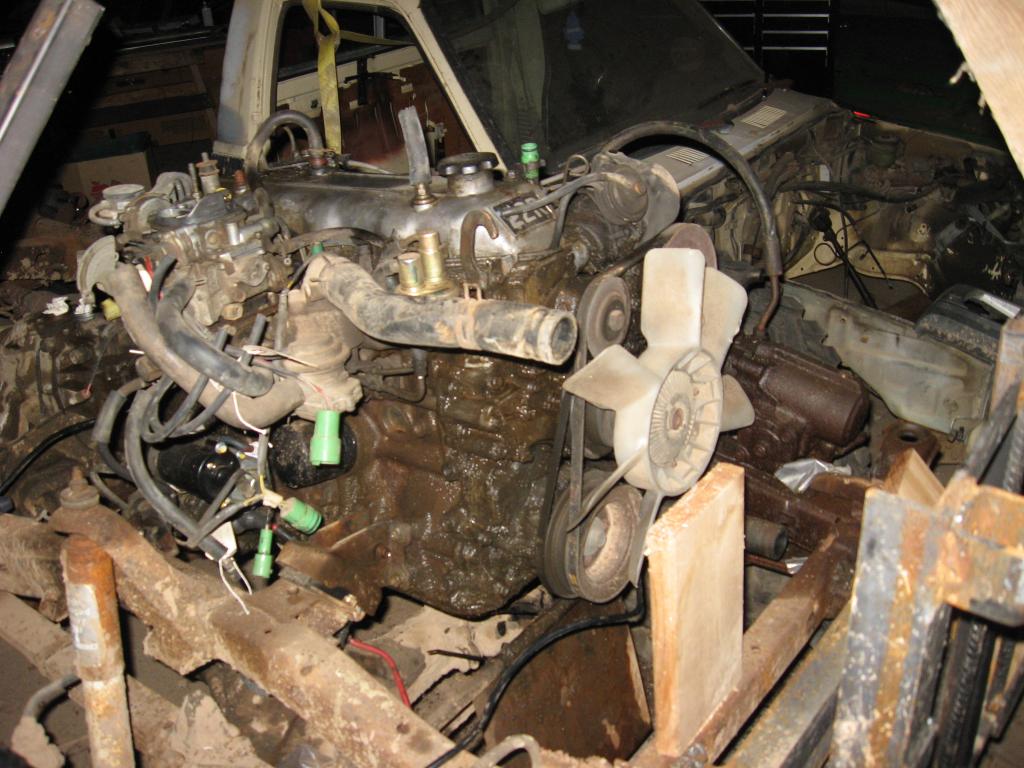
After disconnecting everything, I just started jacking up one side of the cab with the Hi-Lift and putting blocks of wood between the frame and cab. I alternated sides until the body was about a foot above the frame, and then built a ramp with 2x4's on one side and just slid it down. It really wasn't very difficult at all.
After disconnecting everything, I just started jacking up one side of the cab with the Hi-Lift and putting blocks of wood between the frame and cab. I alternated sides until the body was about a foot above the frame, and then built a ramp with 2x4's on one side and just slid it down. It really wasn't very difficult at all.

Thread
Thread Starter
Forum
Replies
Last Post
Esibnitsud
86-95 Trucks & 4Runners
11
Jul 30, 2015 08:21 PM
Esibnitsud
86-95 Trucks & 4Runners
0
Jul 30, 2015 08:19 PM
PopsDad1
General Electrical & Lighting Related Topics
0
Jul 30, 2015 02:21 PM
Backcountry411
86-95 Trucks & 4Runners (Build-Up Section)
4
Jul 24, 2015 08:06 AM


