Brake lever conversion for early '80's 4x4s
 04-28-2012, 09:23 AM
#1
Registered User
Thread Starter

Join Date: Jun 2006
Location: London, KY
Posts: 6
Likes: 0
Received 0 Likes
on
0 Posts
Has anyone tried and been able to change the stock "pull" style lever beside the steering wheel to a floor mounted type? If so, how did you do it?
I've gotten tired of the stock "pull" parking brake that comes stock on the Toyota so I decided to try to instal a floor mounted model like in most cars. All went well with the cutting, mounting, and fabrications, but I never could get the brake lever to pull enough to engage the wheel brakes. The lever is from a Subaru Outback (the Outback is the first problem, I know) because it was the right size to mount in the floor beside the shifters and it was cheap. The length of cable travel is about an inch, but the length needed to engage the brakes sufficiently is about six inches. No matter what type of leverage I would try it never would engage enough to lock the wheels.
Any help would be great.
 04-28-2012, 09:15 PM
#2
Registered User
Did you tighten ( adjust ) the cable under truck to make up for lack of throw with floor shifter ? On my 84 the adjuster is in front of gas tank under truck.
04-29-2012, 03:25 AM
#3
Registered User
Thread Starter
Join Date: Jun 2006
Location: London, KY
Posts: 6
Likes: 0
Received 0 Likes
on
0 Posts
I tightened both the brake adjuster at the drums and the adjuster just in front of the fuel tank. The only time I could get the new system to work is when I adjusted everything so tight the brakes rubbed. The one inch pull is not enough to allow the brakes to be free when not engaged and locked when engaged.
04-29-2012, 10:46 AM
#5
Registered User
Use a Lokar street rod hand brake lever and one of their hand brake cables. The hand brake lever is compact and the hand brake cable can be shortened. Both the hand brake lever and the cable are fully adjustable. Great quality.
04-30-2012, 07:29 AM
#6
Registered User
can you cut the stop off the hand brake to let it pull up more than it does now? I have no idea what the lever looks like but if it has a stop cut it off to get more pull but then it might not have any thing to keep it up...I dont know just a thought.
Last edited by dirtdobberoffroad; 04-30-2012 at 07:31 AM.
04-30-2012, 08:14 AM
#7
Edit-didn't see you had already did it. I hate posting from my phone-old and blind...
Post some pics of your rendition
Here is one approach used by a fellow trekker owner, he is using a TC mounted ebrake but the same concept could apply. I can think of a little better mount and routing for the cable...
Post some pics of your rendition
Here is one approach used by a fellow trekker owner, he is using a TC mounted ebrake but the same concept could apply. I can think of a little better mount and routing for the cable...
Ok, so I think I have some tech here. I had trouble getting my allpro ebrake kit adjusted well and ended up frying out the whole brake pad. With inspection due this month I finally got around to trying to fix it.
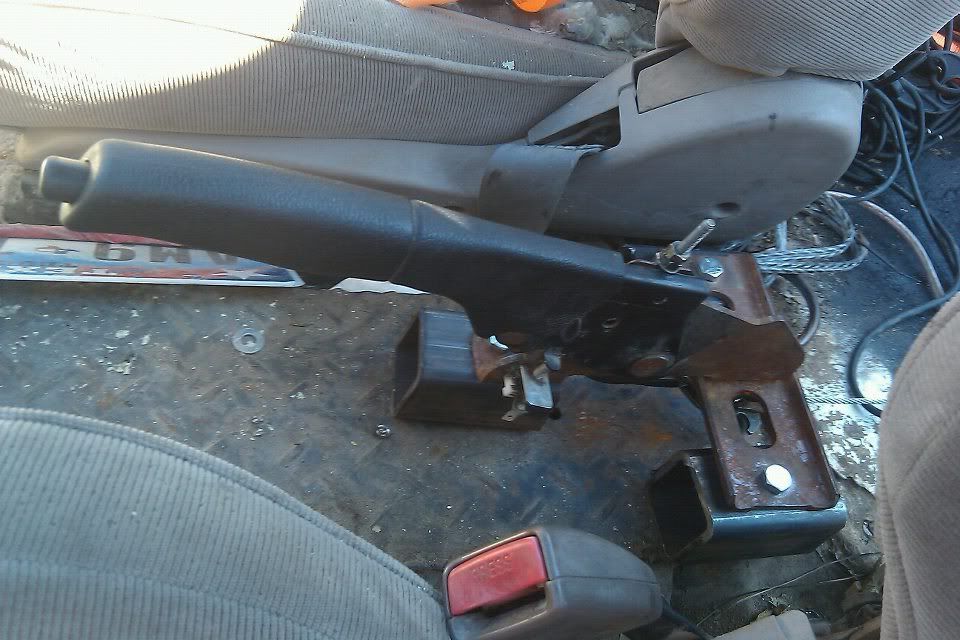
Sence the cable was broken on the original ebrake handle I decided to go with a center pull set up. I used the brake leaver out of a isuzu rodeo. I used some 2x2 square steel bolted down to the floor to get the clearance for the cable to go under.
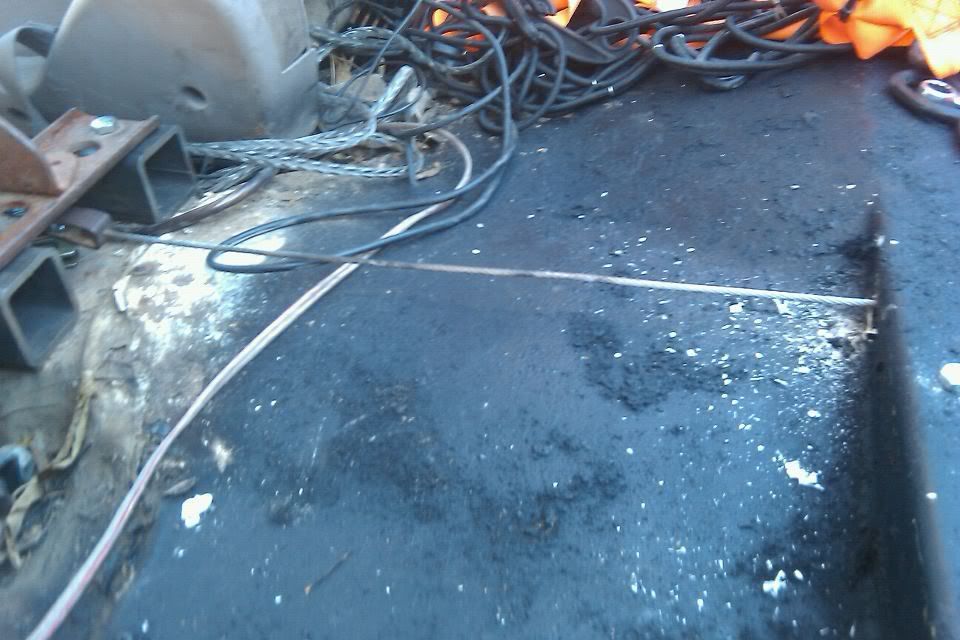
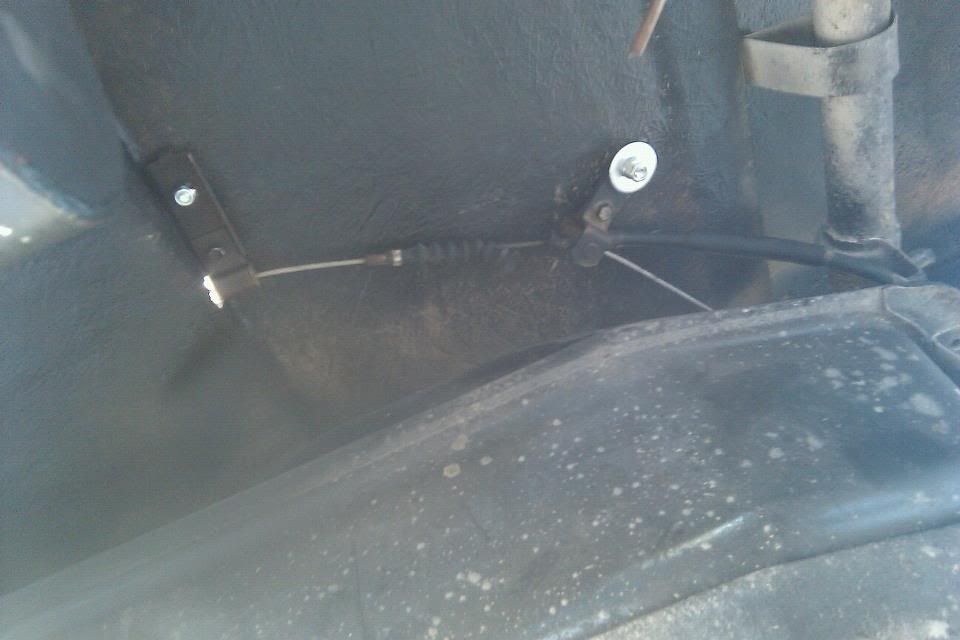
Then I used the end of where the ebrake cable originally hooked up to the axle and ran it through the floor board and to the ebrake handle set up from the rodeo. I drilled a hole in the original ebrake link cable on the rodeo set up to put hook up where the ebrake cable originally hooked up to axle drum.
And how its routed under the truck.
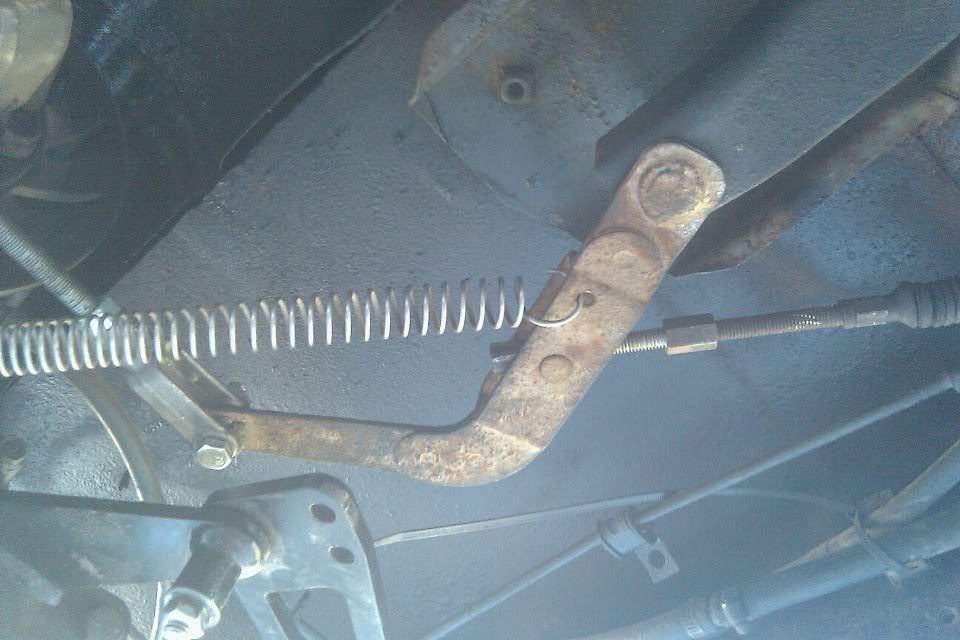
Next you hook up the link from the allpro ebrake that go to the lever arm and attach it to the orginal lever arm on the bottom of the toyota like this.
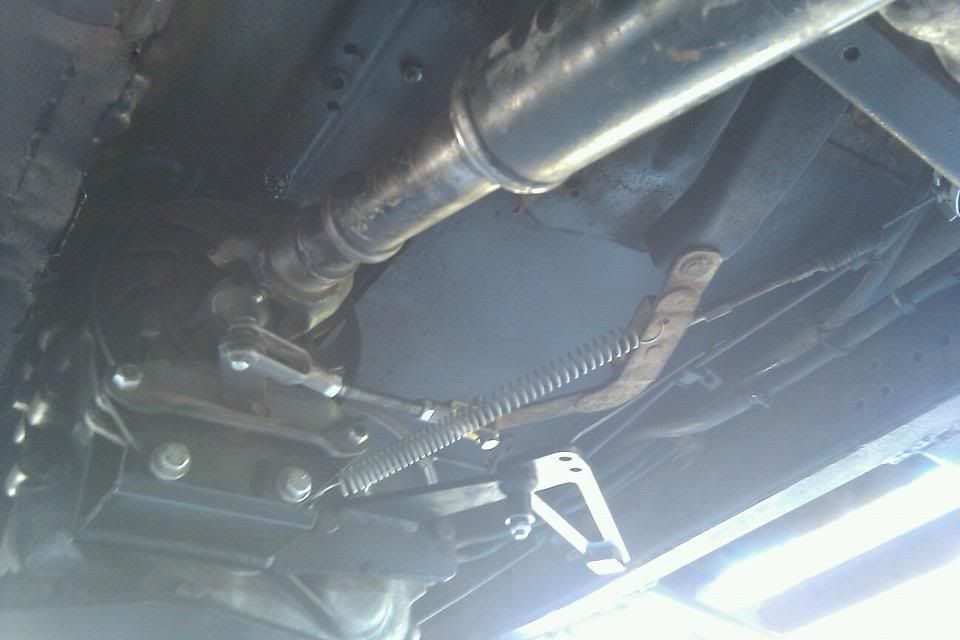
And put the return spring into the new lever arm to return the brake to open.
And thats basically the set up. Im going to get some square tube to cover up the cable that runs on the floor but so far it looks like it will work like a charm. I havent been able to fully test it out because Im waiting for the new caliper from allpro as well as a new rear tcase output seal. (ordered up a marlin ecoseal, figured I might as well go with a quality part). Along with that Im also waiting on the brake upgrade kit I ordered from Davez offroad. For $200 for v6 ifs calipers, pads, and fj rotors is too good of a price to pass up. All in all I paid $15 for the ebrake handle from the pick-n-pull and everything else was laying around. Next I will probably try and get my old rodeos center consel to work in the toyota too.
Sence the cable was broken on the original ebrake handle I decided to go with a center pull set up. I used the brake leaver out of a isuzu rodeo. I used some 2x2 square steel bolted down to the floor to get the clearance for the cable to go under.
Then I used the end of where the ebrake cable originally hooked up to the axle and ran it through the floor board and to the ebrake handle set up from the rodeo. I drilled a hole in the original ebrake link cable on the rodeo set up to put hook up where the ebrake cable originally hooked up to axle drum.
And how its routed under the truck.
Next you hook up the link from the allpro ebrake that go to the lever arm and attach it to the orginal lever arm on the bottom of the toyota like this.
And put the return spring into the new lever arm to return the brake to open.
And thats basically the set up. Im going to get some square tube to cover up the cable that runs on the floor but so far it looks like it will work like a charm. I havent been able to fully test it out because Im waiting for the new caliper from allpro as well as a new rear tcase output seal. (ordered up a marlin ecoseal, figured I might as well go with a quality part). Along with that Im also waiting on the brake upgrade kit I ordered from Davez offroad. For $200 for v6 ifs calipers, pads, and fj rotors is too good of a price to pass up. All in all I paid $15 for the ebrake handle from the pick-n-pull and everything else was laying around. Next I will probably try and get my old rodeos center consel to work in the toyota too.
Last edited by dropzone; 04-30-2012 at 08:34 AM.
Trending Topics
04-30-2012, 08:17 AM
#8
Registered User

Since you seem to have decent fab skills you could get more creative. Detach the pedal brake from the stock brake cables. As you said, the throw is just not enough. Build an intermediate lever that has a short pull on one side for the pedal and a long arm on the other for the brake system. Basically turn 1" of throw into 6" of pull. You'll likely need to make up some new cables, but that's kinda what happens when we do new things.
04-30-2012, 05:06 PM
#9
Registered User
Thread Starter
Join Date: Jun 2006
Location: London, KY
Posts: 6
Likes: 0
Received 0 Likes
on
0 Posts
I'll have to post some pics of finished parts once I have time to take them and put them up.
05-01-2012, 07:05 AM
#10
Registered User
I took a look at the brake lever arrangement under my truck last night. The arm in front of the tank is almost exactly the reverse of what I described. the pull lever cable attaches to very end of the arm and the cable that goes to the drums is attached much closer to the fulcrum. you might be able to pull the arm out completely and join the pedal brake to the drum cables.


Thread
Thread Starter
Forum
Replies
Last Post
GreatLakesGuy
The Classifieds GraveYard
8
09-04-2015 09:27 AM


