
MY '90 Hilux build
 02-11-2012, 09:07 PM
#1
Registered User
Thread Starter
I bought my 1990 22RE from a buddy for $500 because the radiator had a leak, he let it over heat and blew the head gasket, when it came time for him to move he wanted it gone and I couldn't pass her up! I had her towed home and started work.
First I replaced the engine with a crate motor I found at a good little shop in Tacoma. I took a cold air intake I had from a '92 Honda Civic and adapted it to fit, I bought the air filter adapter off eBay for the K&N air filter, and fabricated my own gasket for this out of a small piece of sheet rubber.

Next I had to move onto the interior.
Lets take a look at the old... and all the treasure's that, that held.


Next I stripped it down to bare metal, installed sound dampening material, and added my own style.


With that done its time to add the little creature comforts, like carpet, new racing seats, and custom shift boots, also I went ahead and pulled out my old model paint set and painted the numbers in my shifter. Also got a new steering wheel.


Above, my nice new carpet, out of the box for less than 5 minutes and its already covered in dog hair.
Now time to put it all inside!!


Now that it's running and I can sit in comfort, time to take care of those little things that make life nice! My brakes calipers were both seized on the inside piston, so my pads were paper thin.
It started off I was only replacing the drivers side, but then when I pulled the passenger side and found it seized I had to make an emergency trip down to the parts store to grab another caliper.
You can see how worn my disc's were when held next to the new ones, also below are my pretty new red calipers!!


Now onto a new exhaust!!
My loving fiancee got me Pace Setter headers for my birthday... yeah parts, that's why I decided to put a ring on it!!!
Below the headers is some fiberglass wrap I picked up from a friend, it's a little wider than the normal header wrap 3" vs 1-2", but it was free so you can't argue to much with the price.


All installed, still welding on my cat & muffler, but hopefully by the end of this weekend my exhaust will be 2 1/4" all the way back
So far that's it for mod's, a little painting thing's here and there, and keeping up with what breaks, I really want to do a can-back, but remove the whole rear wall and maybe weld the cab to the bed, or install some sort of flexible connection, don't know yet... any advice? I'd really like that area to be open, I'm 6' and the regular cab is a little cramped, not to mention the extra dry storage area would be nice.
But to wrap it up here are some flexing pic's!!


First I replaced the engine with a crate motor I found at a good little shop in Tacoma. I took a cold air intake I had from a '92 Honda Civic and adapted it to fit, I bought the air filter adapter off eBay for the K&N air filter, and fabricated my own gasket for this out of a small piece of sheet rubber.
Next I had to move onto the interior.
Lets take a look at the old... and all the treasure's that, that held.
Next I stripped it down to bare metal, installed sound dampening material, and added my own style.
With that done its time to add the little creature comforts, like carpet, new racing seats, and custom shift boots, also I went ahead and pulled out my old model paint set and painted the numbers in my shifter. Also got a new steering wheel.
Above, my nice new carpet, out of the box for less than 5 minutes and its already covered in dog hair.
Now time to put it all inside!!
Now that it's running and I can sit in comfort, time to take care of those little things that make life nice! My brakes calipers were both seized on the inside piston, so my pads were paper thin.
It started off I was only replacing the drivers side, but then when I pulled the passenger side and found it seized I had to make an emergency trip down to the parts store to grab another caliper.
You can see how worn my disc's were when held next to the new ones, also below are my pretty new red calipers!!
Now onto a new exhaust!!
My loving fiancee got me Pace Setter headers for my birthday... yeah parts, that's why I decided to put a ring on it!!!
Below the headers is some fiberglass wrap I picked up from a friend, it's a little wider than the normal header wrap 3" vs 1-2", but it was free so you can't argue to much with the price.
All installed, still welding on my cat & muffler, but hopefully by the end of this weekend my exhaust will be 2 1/4" all the way back
So far that's it for mod's, a little painting thing's here and there, and keeping up with what breaks, I really want to do a can-back, but remove the whole rear wall and maybe weld the cab to the bed, or install some sort of flexible connection, don't know yet... any advice? I'd really like that area to be open, I'm 6' and the regular cab is a little cramped, not to mention the extra dry storage area would be nice.
But to wrap it up here are some flexing pic's!!
 02-12-2012, 08:04 AM
#4
Registered User
Thread Starter
One day when I'm rich, I'd like to do the total chaos suspension up front and the Chevy leaf spring swap in the rear.
Then some fiberglass body panels all around, my end-dream is a prerunner style trophy truck.
As for now it's on a paycheck to paycheck building plan
Then some fiberglass body panels all around, my end-dream is a prerunner style trophy truck.
As for now it's on a paycheck to paycheck building plan
02-02-2013, 09:56 PM
#6
Registered User
Thread Starter
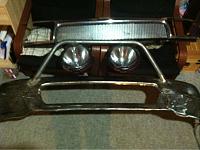
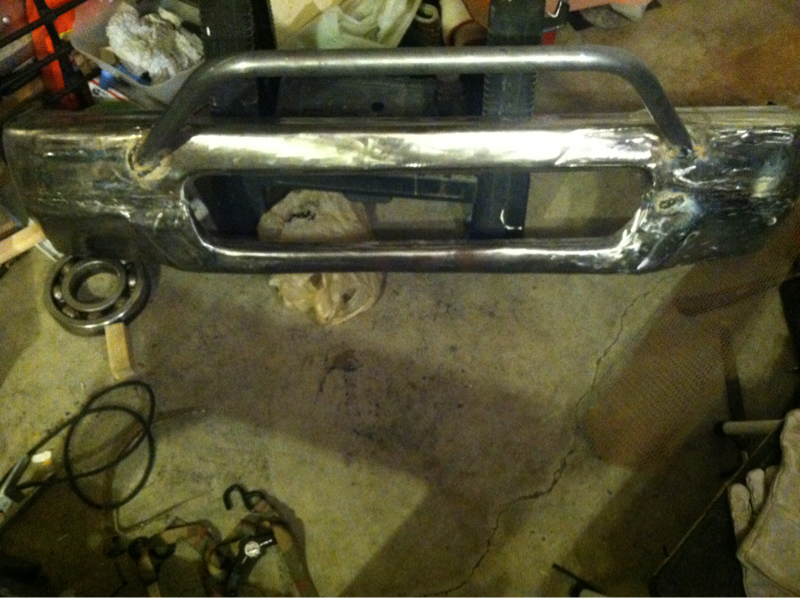
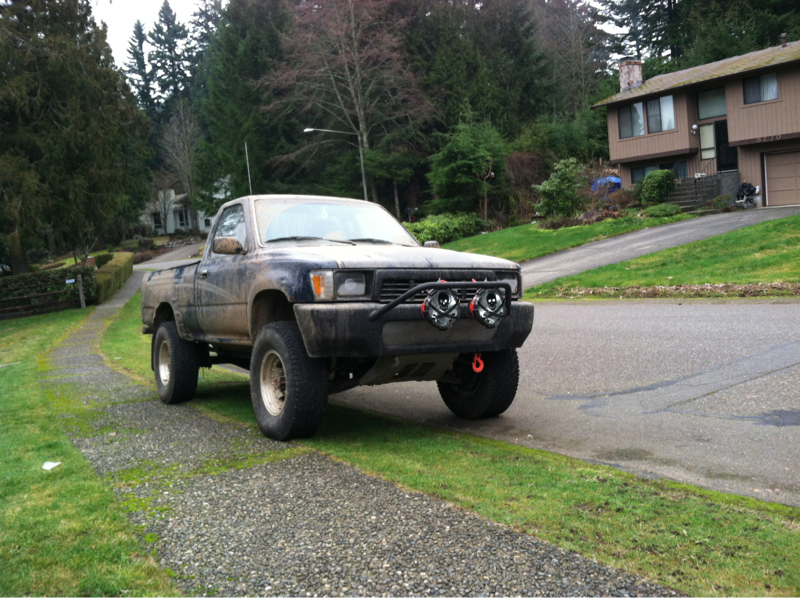
So I welded up a new bumper, then mounted 9" HID's on it to help me see at night
In this you can see I welded over my blinkers, the blinkers are now in where my running lights were, and my running lights are in my new head lights. They glow blue when they're on.
Also I ended up destroying my grill as I was planning on doing the 4runner swap but decided it was to much work for not enough reward and abandoned it. So new grill, and new headlights!
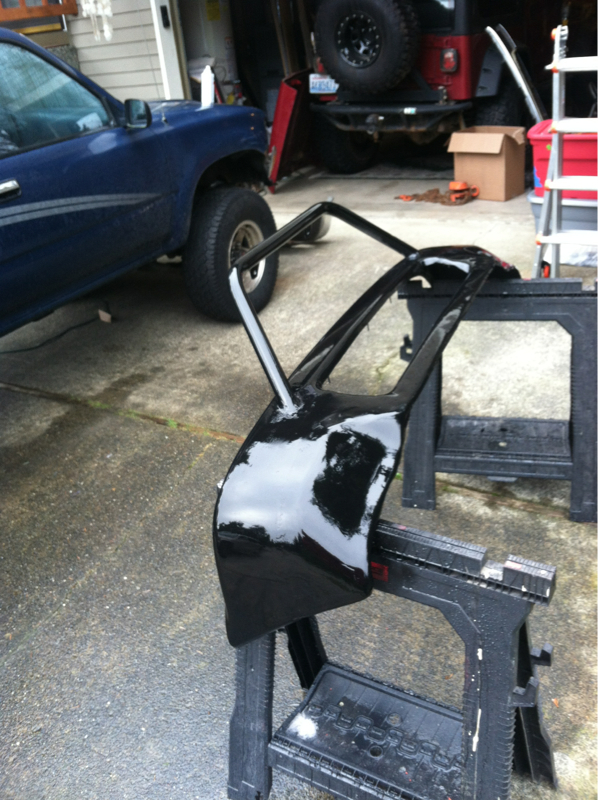
The final stage was spray on bed liner for the bumper (the shiny black was my primer paint to check my bondo work)
After I welded everything and ground it down I used bondo as a filler to smooth it out. My first time ever using the stuff & I think it came out nicely. If you look closely you can see where my "feathering" wasn't to good, but it's an off road bumper, all the rocks will grind it smooth!

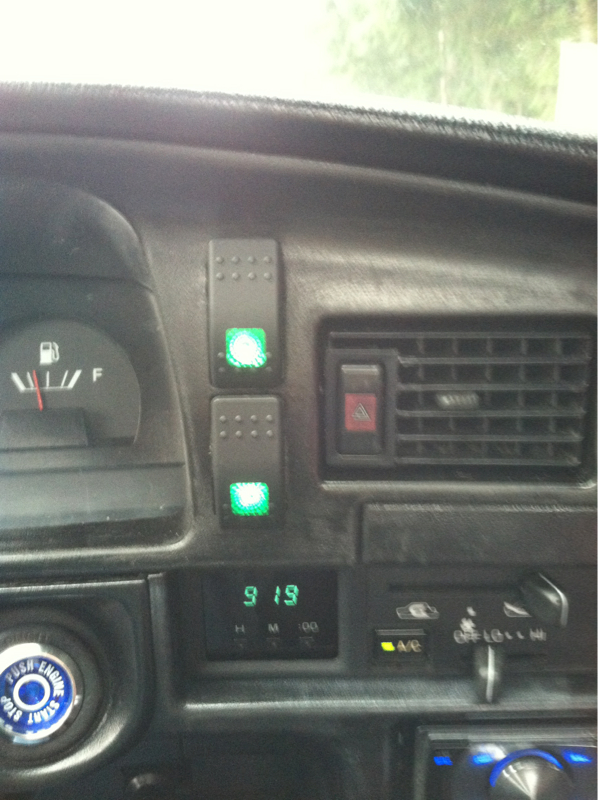
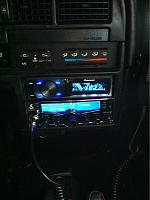
And of course had to attach a "Zombi Apocalypse" switch to turn them on

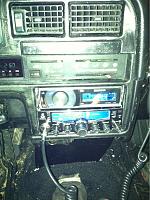
So while as was at it I went ahead and did a push button starter.
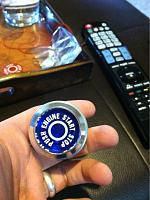
I bypassed the whole ignition to I now have 2 switches (and a 3rd hidden to prevent theft) when you start it up you click your switches on & press the button! It's pretty badass
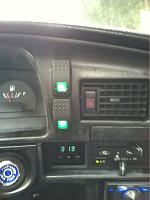
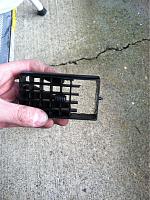
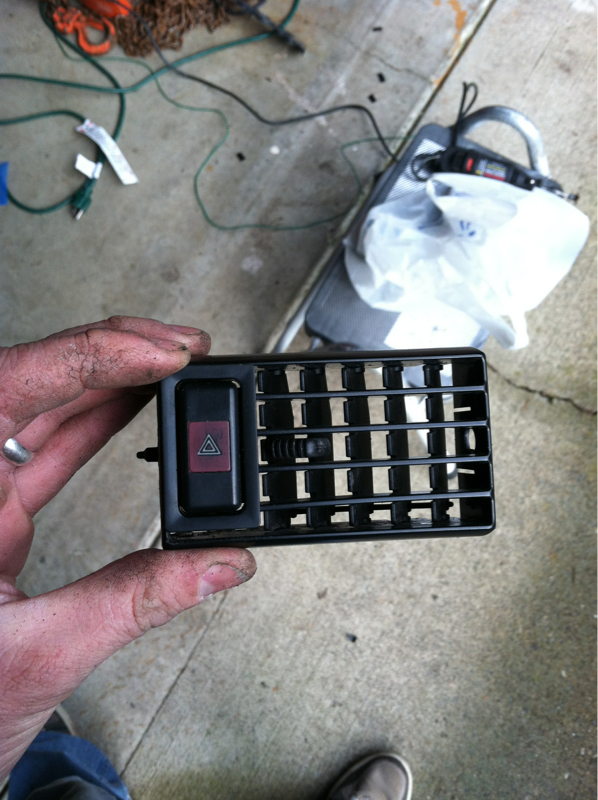
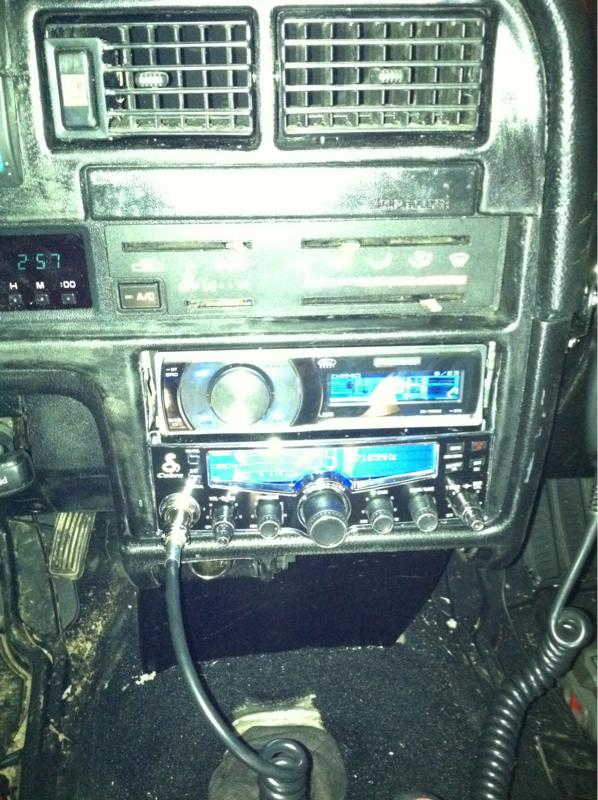
In doing that I had to re-position my hazard button, I opted to epoxy it into the dash vent, as dash space is a premium in this area & I didn't want to have to extend to many wires.

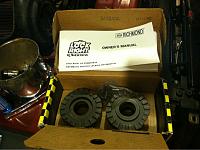
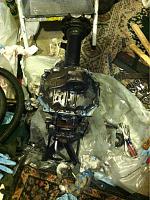
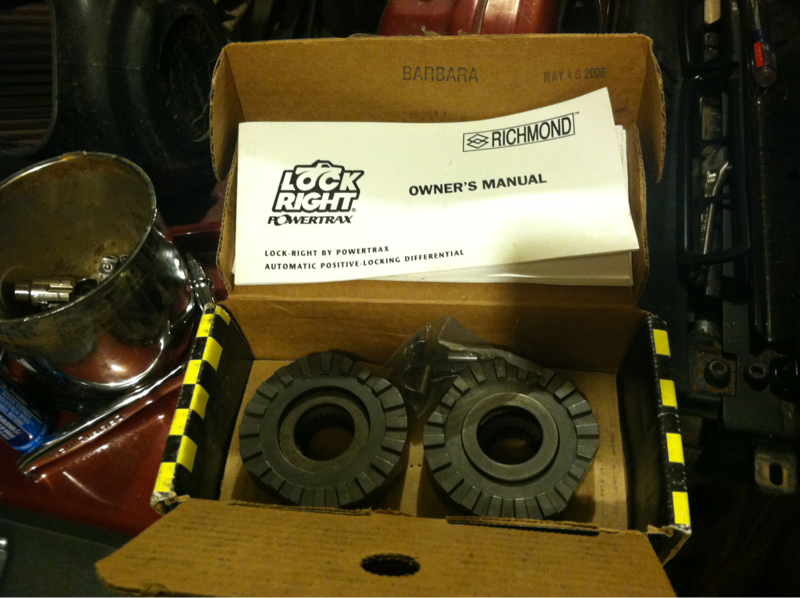
And as if I did t have enough projects going I scored a NIB lock right for $150 off eBay so in it went!!
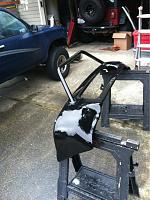
As all of this was wrapping up, I traded some tires to a kid for a new rear bumper, rock sliders & a roll bar!!
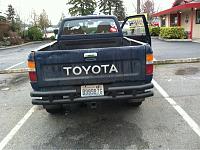
So now I have new bumpers!! Still waiting to put on the sliders and roll bar tho.
Another day!
In this you can see I welded over my blinkers, the blinkers are now in where my running lights were, and my running lights are in my new head lights. They glow blue when they're on.
Also I ended up destroying my grill as I was planning on doing the 4runner swap but decided it was to much work for not enough reward and abandoned it. So new grill, and new headlights!
The final stage was spray on bed liner for the bumper (the shiny black was my primer paint to check my bondo work)
After I welded everything and ground it down I used bondo as a filler to smooth it out. My first time ever using the stuff & I think it came out nicely. If you look closely you can see where my "feathering" wasn't to good, but it's an off road bumper, all the rocks will grind it smooth!


And of course had to attach a "Zombi Apocalypse" switch to turn them on
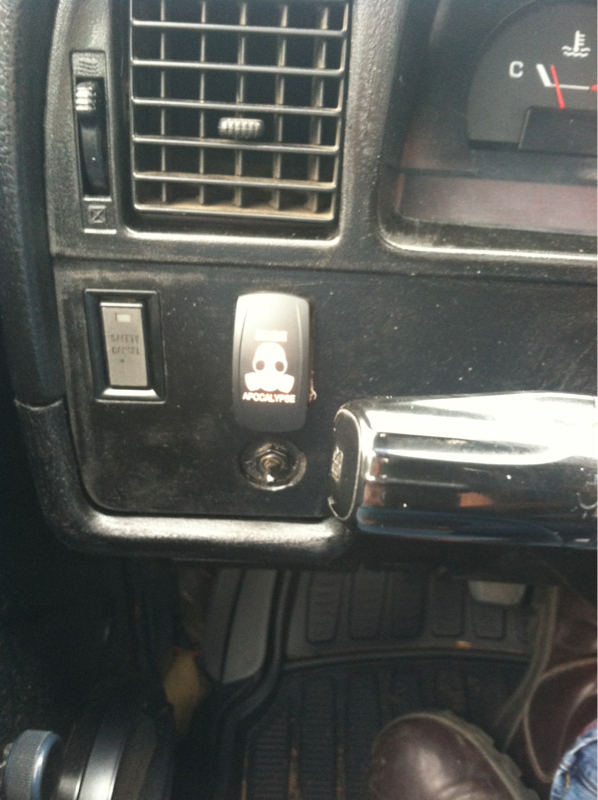
So while as was at it I went ahead and did a push button starter.

I bypassed the whole ignition to I now have 2 switches (and a 3rd hidden to prevent theft) when you start it up you click your switches on & press the button! It's pretty badass
In doing that I had to re-position my hazard button, I opted to epoxy it into the dash vent, as dash space is a premium in this area & I didn't want to have to extend to many wires.

And as if I did t have enough projects going I scored a NIB lock right for $150 off eBay so in it went!!

As all of this was wrapping up, I traded some tires to a kid for a new rear bumper, rock sliders & a roll bar!!

So now I have new bumpers!! Still waiting to put on the sliders and roll bar tho.
Another day!
Last edited by neon_jaguar; 02-02-2013 at 10:02 PM.
02-02-2013, 10:07 PM
#7
Registered User
Thread Starter
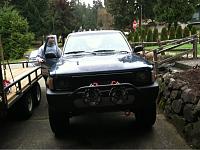
Also, I did a 2" lift. I'm hoping to add 33" tires in my near future, then fit up my roll bar and add things like a high lift mount, hooks to hand tow ropes from etc etc and of course more big ass lights!!! Gotta see those zombies!!
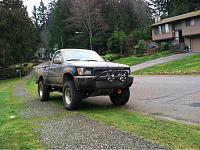
Bigger tires are definitely in my future, those little 31's just don't do it justice!!
Bigger tires are definitely in my future, those little 31's just don't do it justice!!
Last edited by neon_jaguar; 02-03-2013 at 08:03 AM.
Trending Topics
02-12-2013, 11:40 AM
#8
Registered User
Thread Starter
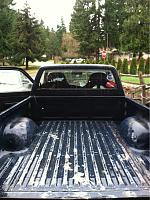
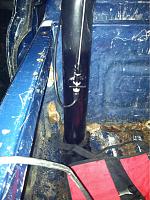
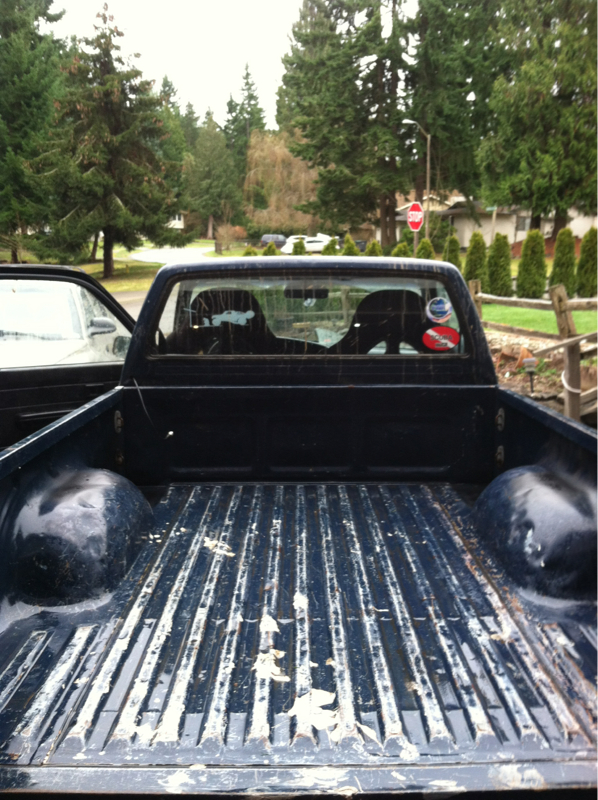
Finally bought a CB, had an extra couple pieces from a buddies winch plate that I welded to my roll bar to make the bracket for my whip antenna, then put one on the other side for an off road flag. They are required on the beach & I was zip-tying it to the cargo rings in the bed  so it's nice to have an actual spot for it
Before
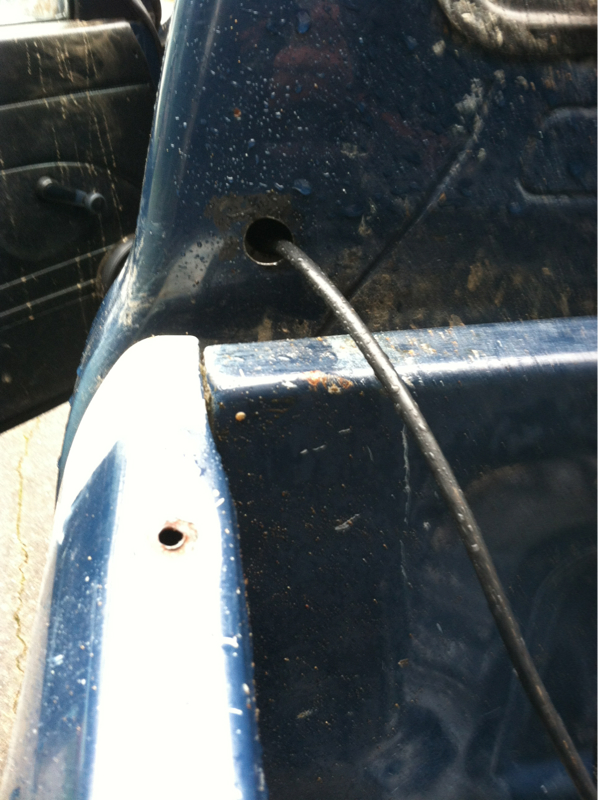
Antenna cable & bracket

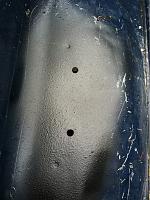
Now to mount my roll bar. I got some sheet rubber from the plumbing section at lowes to act as a buffer between the bed & bar, hopefully easing any imperfections from causing stress
Holes drilled & touched up with rattle can bed liner
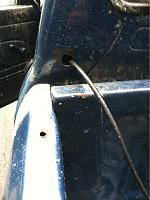
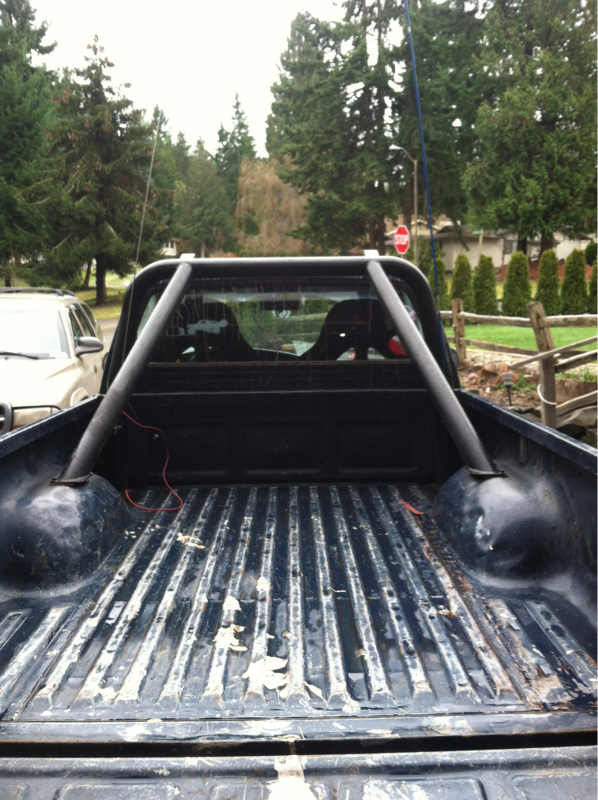
Everything installed & looking good, you can see a little red wire on the left side right by the antenna cable, with the rubber sheet & everything being painted I added a ground wire for the CB antenna.

so it's nice to have an actual spot for it Before
Antenna cable & bracket


Now to mount my roll bar. I got some sheet rubber from the plumbing section at lowes to act as a buffer between the bed & bar, hopefully easing any imperfections from causing stress

Holes drilled & touched up with rattle can bed liner

Everything installed & looking good, you can see a little red wire on the left side right by the antenna cable, with the rubber sheet & everything being painted I added a ground wire for the CB antenna.

Thread
Thread Starter
Forum
Replies
Last Post
choppe777
Axles - Suspensions - Tires - Wheels
5
05-16-2016 08:00 AM
1965chevy
86-95 Trucks & 4Runners (Build-Up Section)
1
09-20-2015 07:33 PM


