When you click on links to various merchants on this site and make a purchase, this can result in this site earning a commission. Affiliate programs and affiliations include, but are not limited to, the eBay Partner Network.
I read the warning on LCE about their V6 brake kit possibly not clearing, but I don�t have any first hand experience. When I was searching for the V6 calipers I looked at Marlin Crawler, Yotamasters and Trail-Gear. I reached out to Marlin Crawler last year and they told me their calipers at that time were S12W. Not sure which reman caliper the others sell.
In the thread I linked above using the S13WB calipers it looks like there�s some trimming of the dust shield involved. Not sure if that�s necessary with the S12W.
One difference between the V6 Pickup/4Runner Aisin BMT-051 and the Land Cruiser/LX450 Aisin BMT-046 is where the brake lines connect to the cylinder. The BMT-051 has both connections on the side, while the BMT-046 more closely resembles the current one on your 4Runner with one on top and the other on the side. Less bending of your 35 year old brake lines to connect.
I will ping LCE and see what they say - just trying to assess how much grinding of the calipers may be required. I do expect that the backing plate will need to be trimmed for both caliper types, I'm OK doing that.
Thanks for the explanation about BMT-046 vs BMT-051 - now that you explained that subtle difference, it becomes very obvious. Appreciate that!
I'm still taking care of a few other miscellaneous things with the parts I have on hand, while waiting for my $700 order to ship from Amayama...
Thanks to some awesome tips from @SomedayJ about how things were originally routed under the hood, I installed this clamp to hold the two idle up hoses together:
Next I replaced the aftermarket cruise control vacuum line with an OEM piece, and used a clamp to attach it to the air hose. Before:
Hose:
Clamp:
After:
My '86 pickup didn't come with cruise control, so i'm curious as to what the other end of the vacuum hose connects to?
It's my daily driver currently, and I'd love to add cruise control using all OEM components. Is there some repository of detailed information on how to do this? Thanks!
My '86 pickup didn't come with cruise control, so i'm curious as to what the other end of the vacuum hose connects to?
It's my daily driver currently, and I'd love to add cruise control using all OEM components. Is there some repository of detailed information on how to do this? Thanks!
I don't know how to answer this, hopefully someone else might have the answer. Sorry!
We finally got the 1st Gen transported up to Portland, where she was reunited with her 3rd Gen sibling...
The house does not have a garage, so my projects on the truck will be limited until we get one built. But I'll try to chip away at easy projects, and update them here. I got way too many parts sitting on the shelf, begging to be installed.
I picked up a V6 brake booster from a ‘94 4Runner from a friend. Toyota discontinued the brake master cylinder that fits that booster. Advics/Aisin BMT-051 is what some have gone with due to the connector plug being on the cap of the cylinder. The Advics/Aisin version of the Land Cruiser master cylinder is BMT-046. The Advics/Aisin version of the larger FJ60 rear cylinders is WCT-011.
those are part numbers? it thinks that it's trying to dial a phone number, weird
at any rate, i put a used t100 booster in my '86 4runner, works great, and for the v6 rear axle brakes i used this bigger bore slave cylinder, i paid $18.36 back in 2020, it's now $16:
Hi Leon, the first Gen looks great next to the 3rd Gen 4runner.
My first Gen is now running and driving but still at the mechanics for some last minute items. Refurb fuel tank installed and working great. Tires and wheels installed this week as well.
I just bought a 4th Gen last week from a friend....she has a Newer 5th Gen 4Runner and this one was sitting around collecting rodents that i am currently working on finding a new home for. 07 4Runner V6 4x4 with 180,000 Miles .......but only cost me $2300 and it still runs and drives but just have some dash lights on that I need to figure out why.
Mike
1st Gen with old tires and wheels.
Nice one Mike! Always good to see a 4Runner saved from collecting dust and rodents . I bet you'll have it up and running in no time.
Without a garage, I'm limiting my work to benchtop projects. I decided to do something about having two different keys, one for ignition and a different one for the doors, tailgate, and fuel lid. In addition to not wanting to have two separate keys, I didn't like that could pull the ignition key out at any position - ACC, RUN, etc, which told me that the key or the lock was really worn out.
Here are the two keys, the worn one is for ignition:
I assumed that the worn key was original, but @Jimkola pointed out that it was an "S" series key, with an extra groove, and was introduced in 1988. My 1987 came with "K" keys, like the second one in the photo, without the groove. So that second key must have been the original.
Thanks to @Jimkola 's guidance, I bought a replacement ignition lock for my "K" key, ASP C-30-110:
But if I wanted the original key to work with this lock, I would need to recode it, using ASP A-30-104 rekeying kit. I bought one on Ebay:
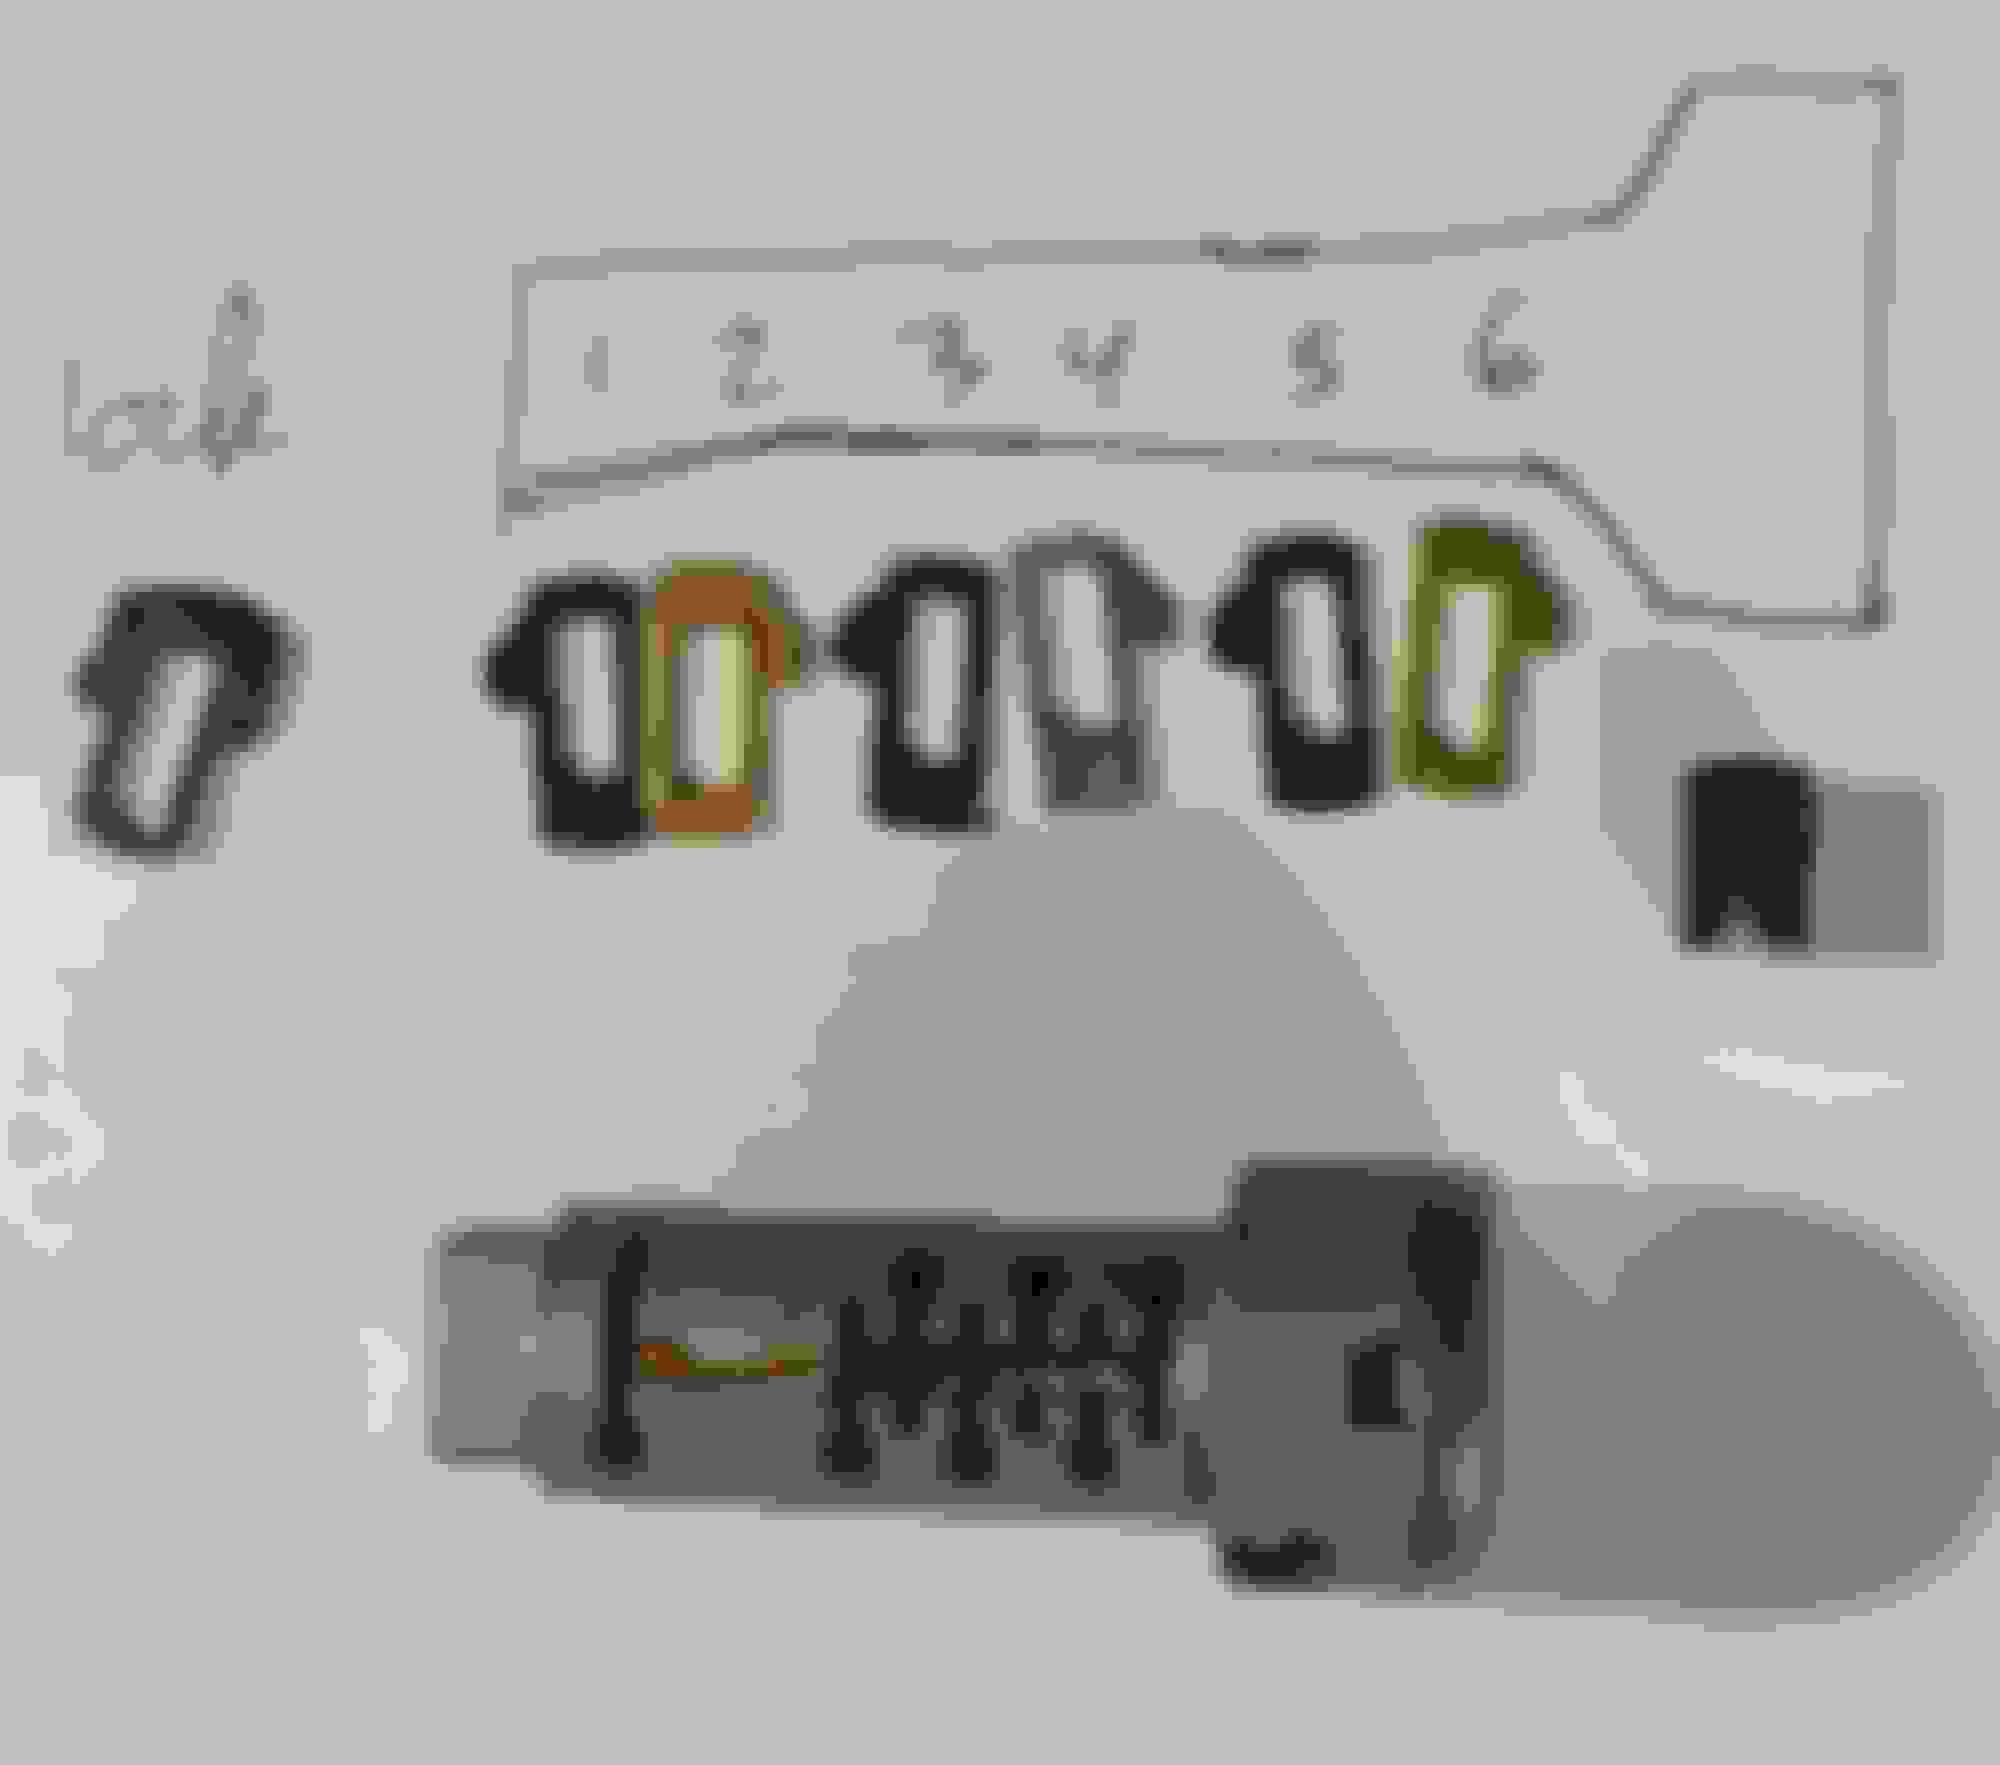
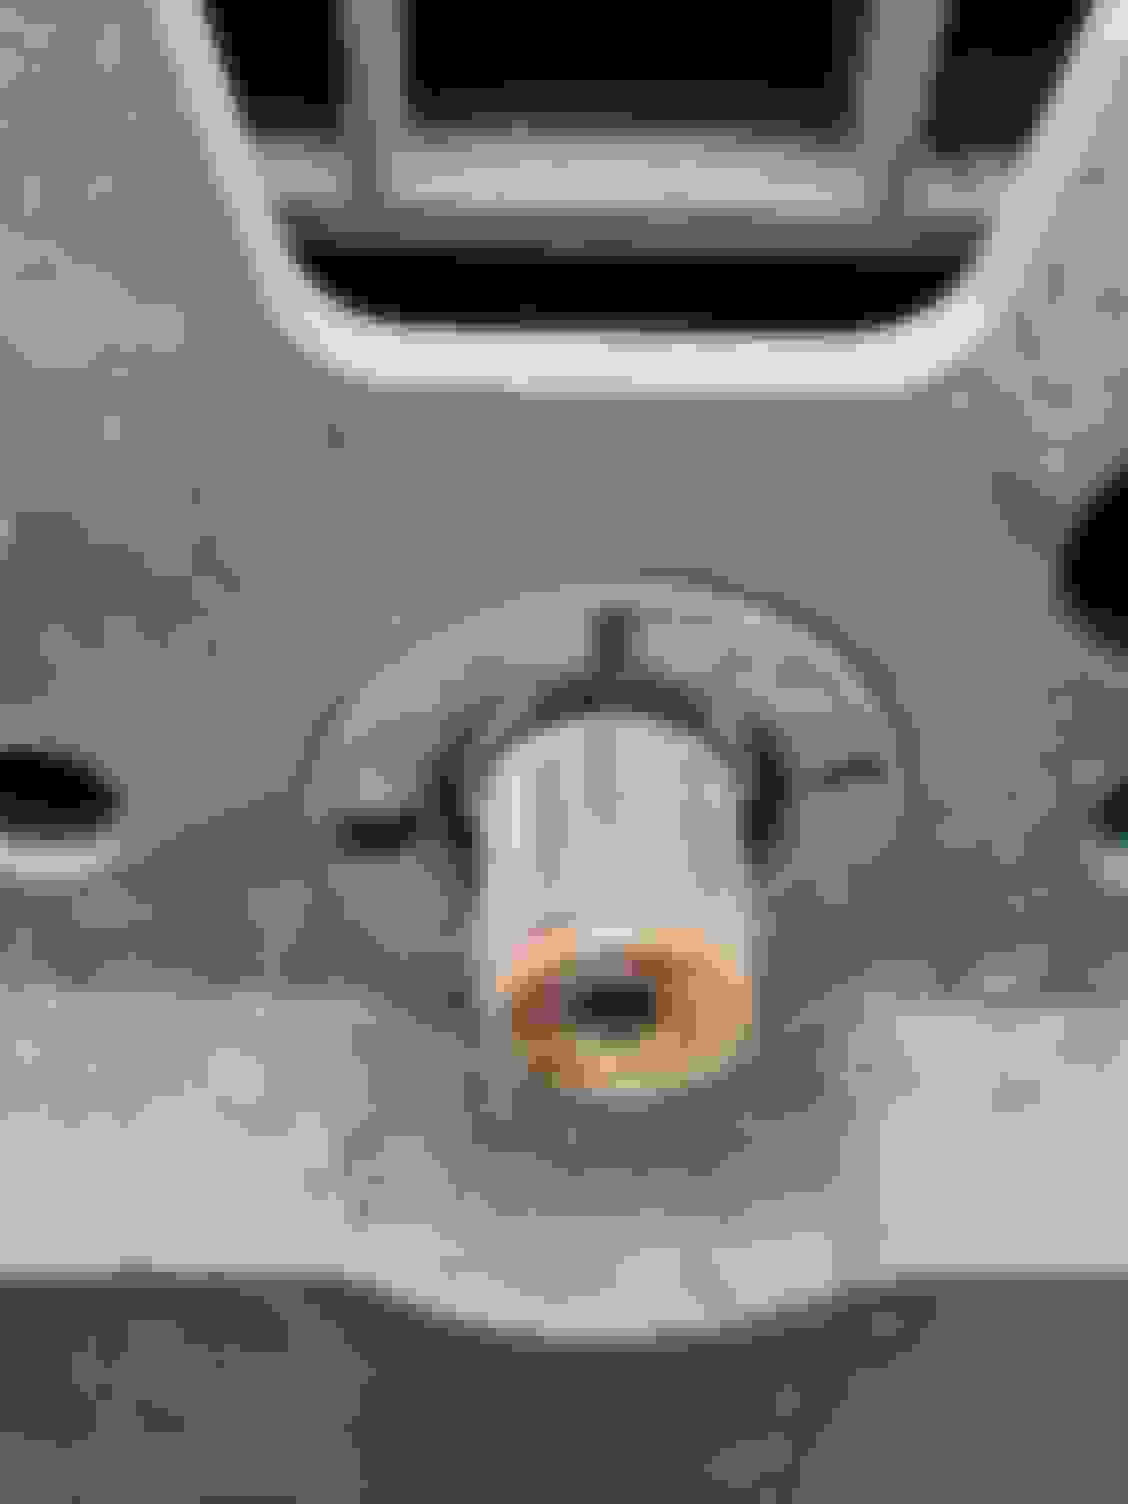
To disassemble the lock cylinder, push down on that lock wafer in the back of the cylinder, and slide the lock out:
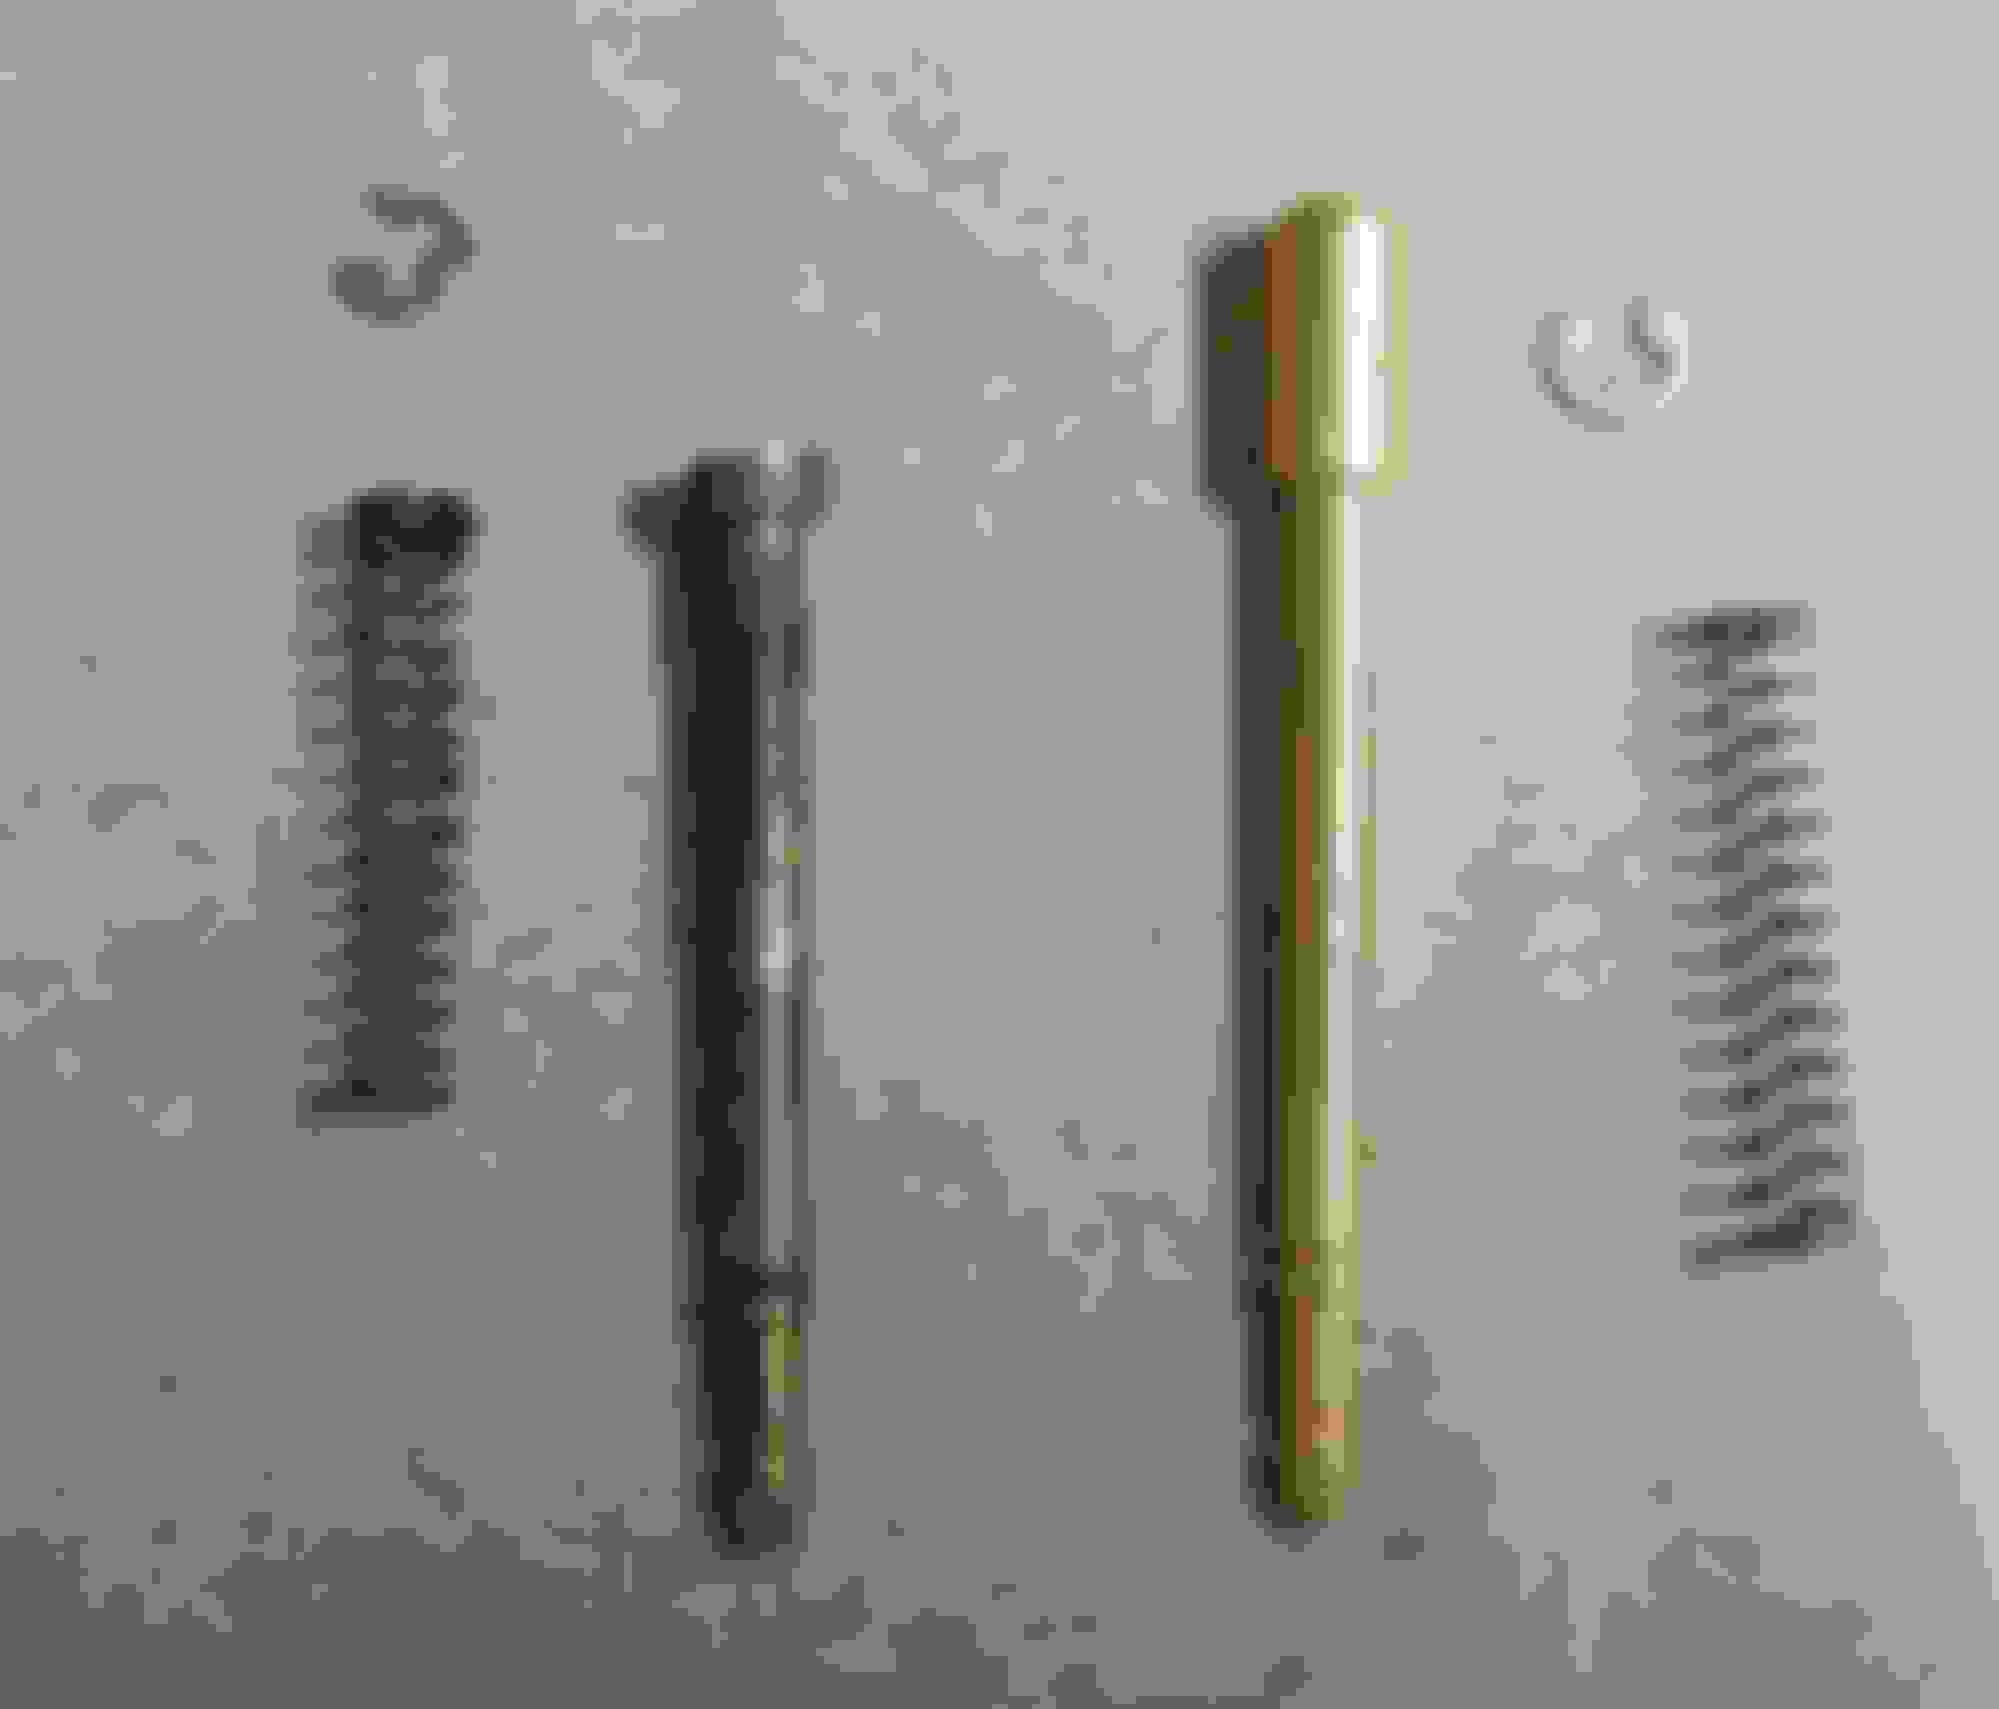
I removed the wafers that the ASP lock came with, here are all the parts just for illustration (except the little plunger springs):
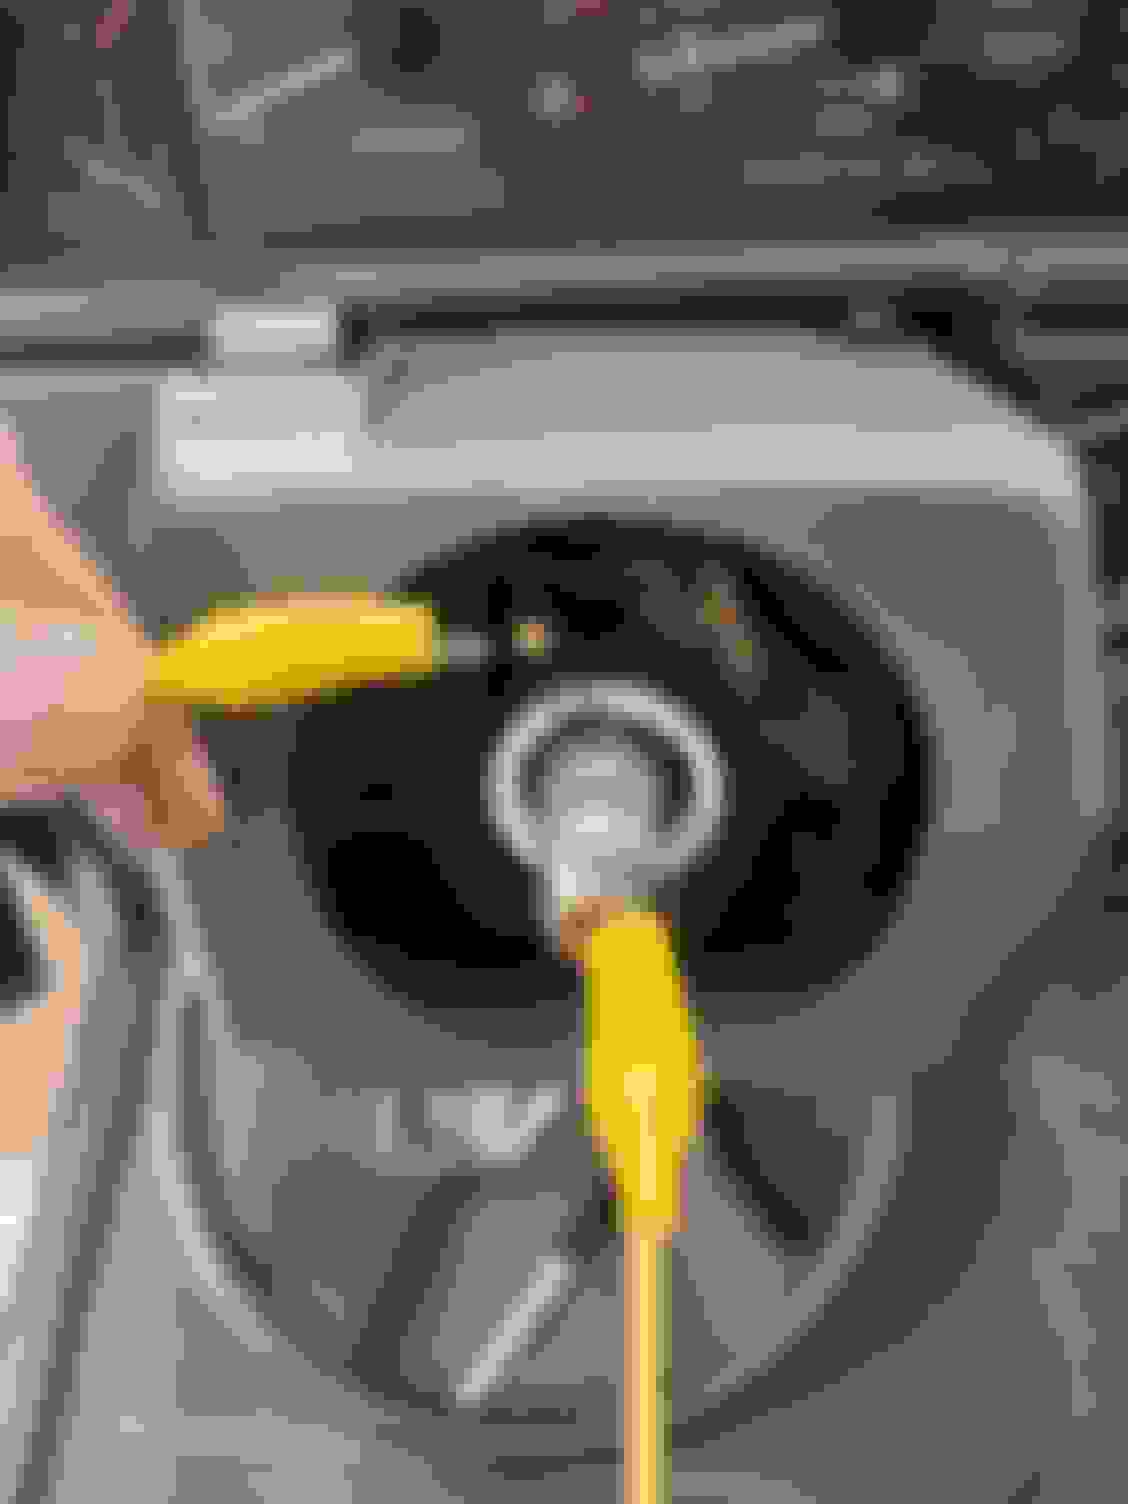
Now comes the fun exercise of trying different wafers with the key inserted, to see which one goes in each location. There are four wafer sizes in the kit, so you just need to find one that is flush on both top and bottom when inserted into a location. So for example, this wafer is too low:
And this one is just right:
Do this for each location, until all the wafers are in place and flush:
Now I knew what wafer numbers went into each location. So I took my brand new uncut Toyota key to the locksmith, armed with the wafer numbers, and the key code from the passenger door lock cylinder, just in case:
He cut the key to the code I provided, and it worked smooth as butter in the newly wafered ignition lock. But, I was surprised to find that the new key did not work well in any of the other locks - door, tailgate, fuel lid. In fact, the key did not work in them at all. More on that in the next post.
Last edited by 4Runner4Leon; 04-03-2024 at 03:47 PM.
So as I mentioned in the previous post, the new key worked perfectly in the newly wafered ignition lock, but not in the door and tailgate locks. Looking closely at the new key and the old one I had for the door locks, they were clearly different:
So I went back to the locksmith to complain, but he told me that this happens often, because the old cylinders wear down, along with the old key, so they sort of "wear in" together over time. But a brand new key does not have the same wear pattern as the old wafers, and thus would have trouble opening the old locks.
I was skeptical, but decided to try it out by re-wafering an old door lock. Lo and behold, the new key worked perfectly with the new wafers. So now I need to re-wafer all the other locks, and unintended consequence of getting a brand new key. Oh well, what else should I expect .
I pulled out the old ignition lock and noticed that it had a longer lever than the replacement, so the new ignition lock would not fit into the steering column:
I swapped the levers, and all was good. But I wonder why the levers were different length?
Regardless, I buttoned everything up, and started enjoying a new key/lock. and a key that does not pull out from every position. Life is good.
Last edited by 4Runner4Leon; 04-04-2024 at 06:52 AM.
After a recent short drive where some idiot pulled out from a driveway in front of me, and I found myself pushing uselessly on a non-functioning horn button, i decided it was time to fix the horn.
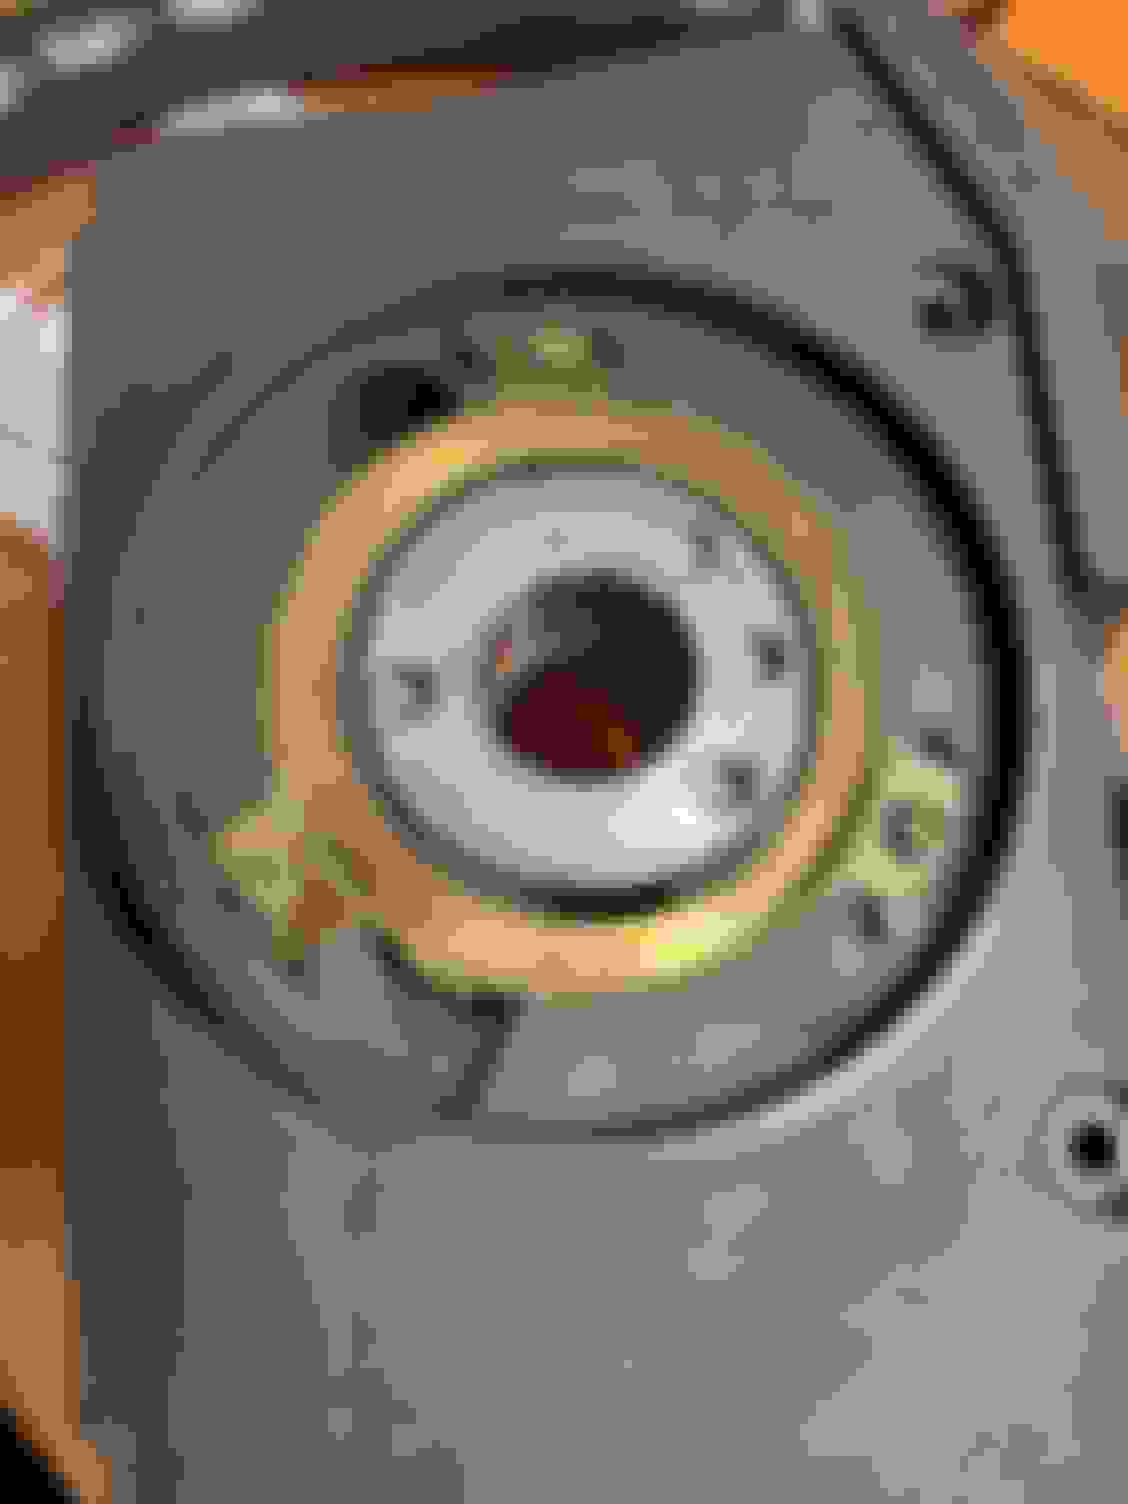
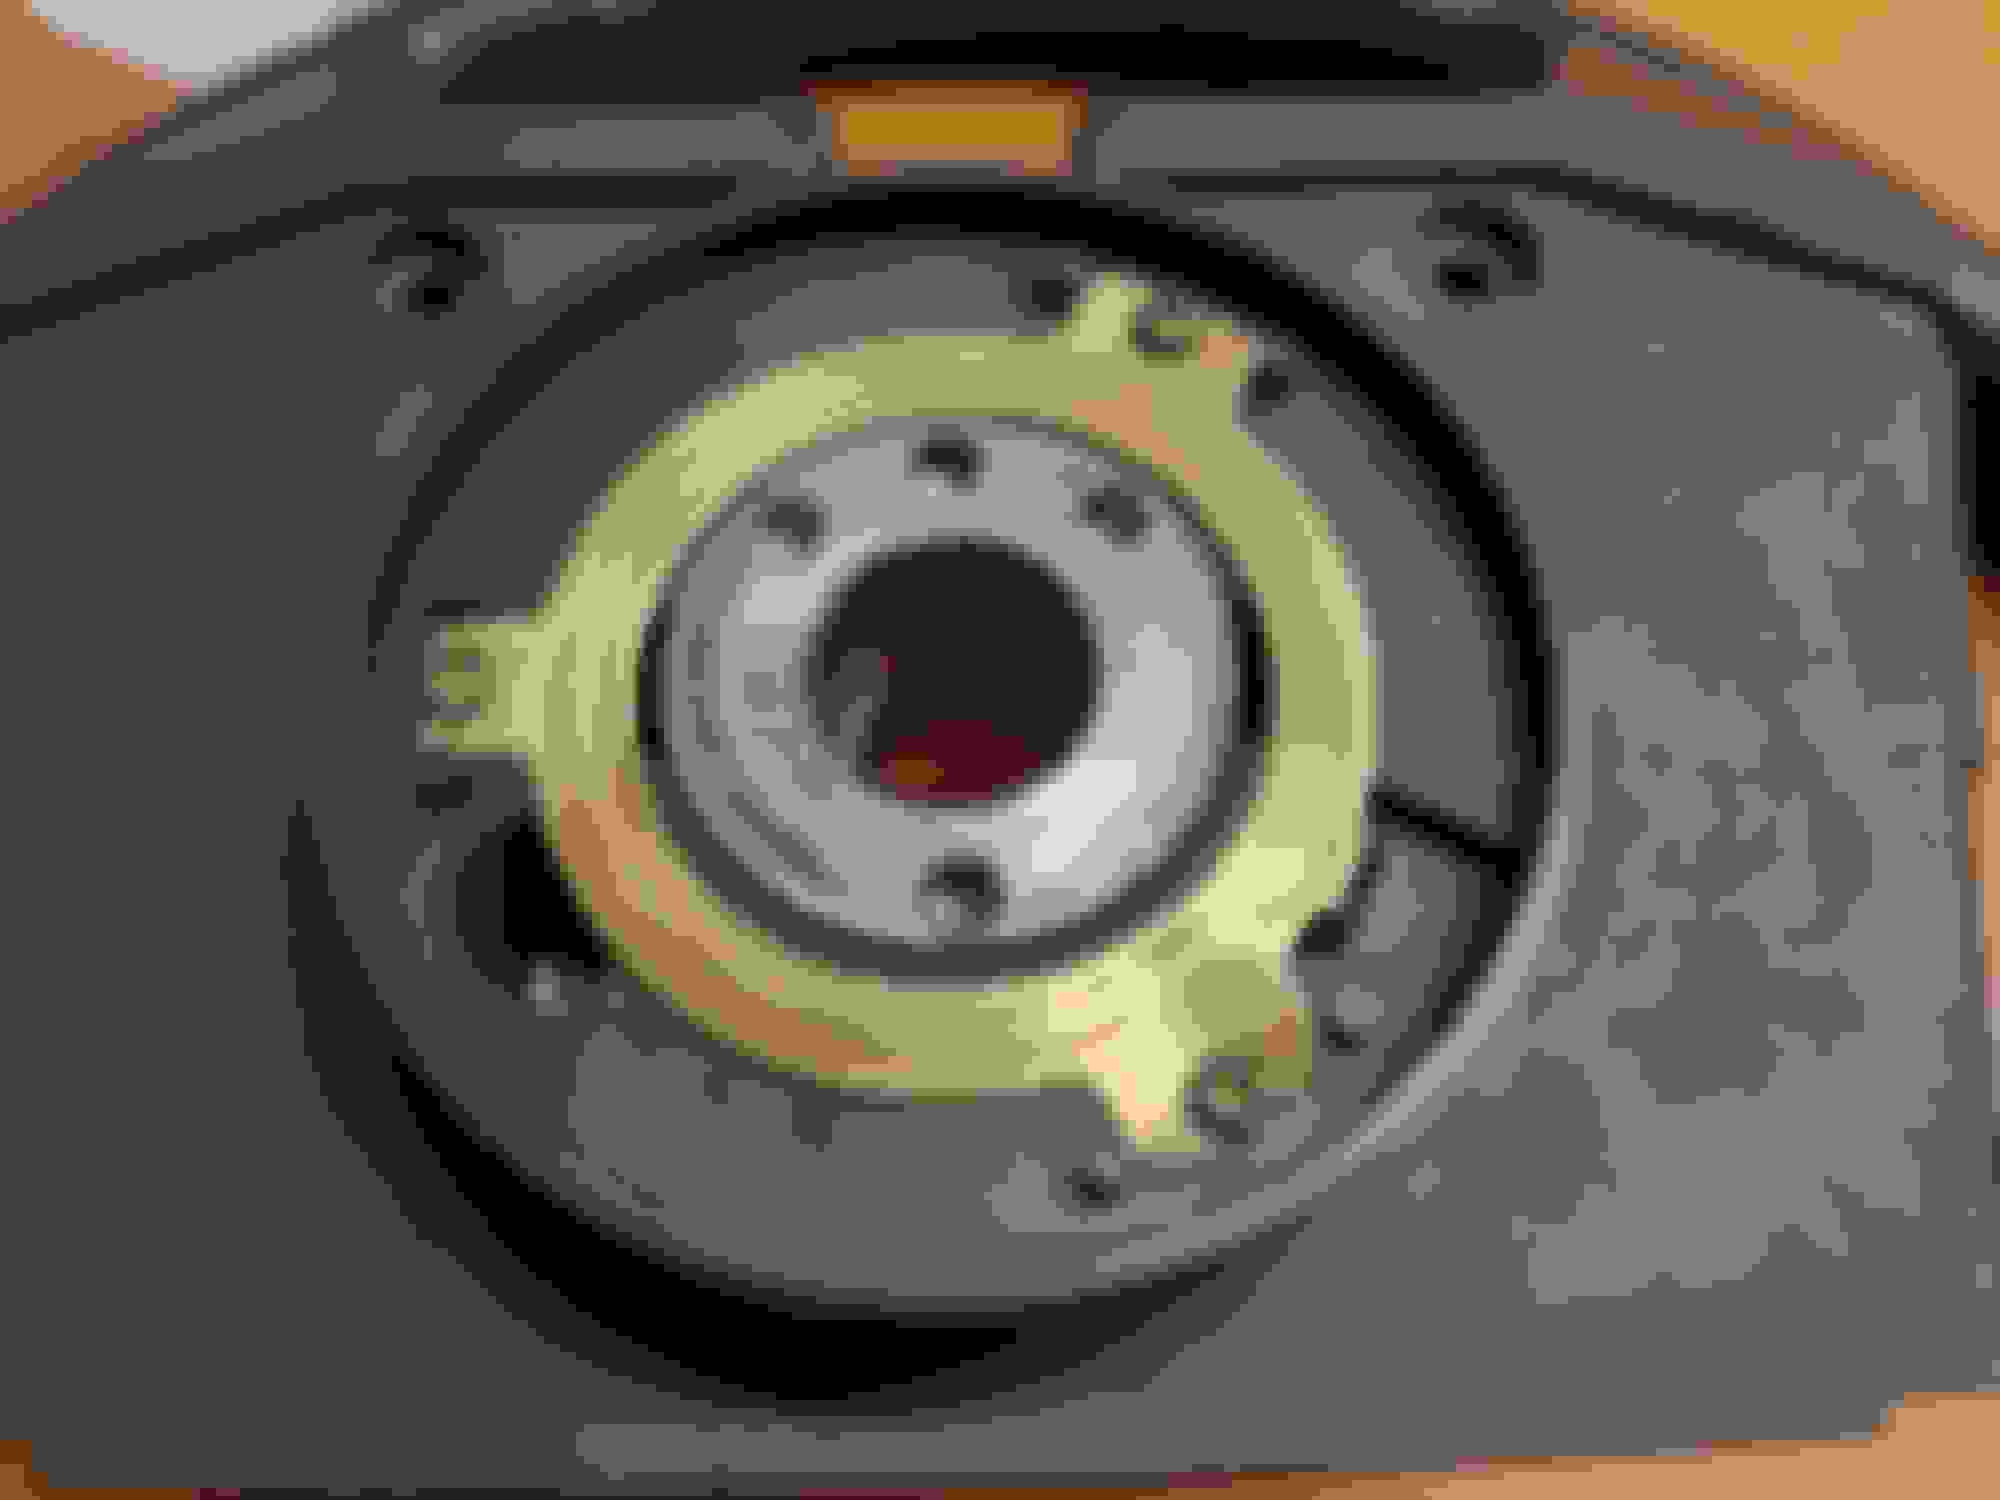
Using @RAD4Runner awesome post on horn diagnostics, I quickly determined that the culprit was the horn contact plunger. So, I pulled off the steering wheel, after making matching marks on steering wheel and shaft:
I know one can remove the wheel by hitting/rocking it, but given how everything else on this truck breaks when I look at it (or even if I don't look at it), I decided to do it right and use a puller:
With the wheel off, I confirmed that the horn works by shorting the plunger to ground.
Sure enough, that resulted in the horn working, as anemic as it might be:
I previously purchased the replacement horn contact:
But the replacement turned out to be quite a project. With the steering column covers removed, you can see the back of the plunger, along with the e-clip that needs to be removed:
I considered briefly using needle nose pliers to remove the e-clip, but figured that I will most likely drop the clip and end up with a mess on my hands. So, I did it the hard way, removing the combination switch, then disassembling it until the back of the plunger was accessible:
After removing the wire from the stem, and the e-clip, the old plunger came right out:
Comparing it to the new one, yeah, I guess it shows some wear:
I also cleaned to contact ring on the back of the steering wheel:
Then I noticed that the terminal on the steering wheel wire was cracked, so I replaced it with a new one:
Here's the new plunger with the combination switch reinstalled:
Last edited by 4Runner4Leon; 04-04-2024 at 07:22 AM.
With everything back in place, I found that I can use the horn but... only when I press on certain areas of the horn pad. So I examined the horn pad a little closer, and found that it was severely deformed, probably from someone desperately pushing hard on a non-working horn. So some of the four contacts were too far apart to close when pushing on the horn pad, leading to one side of the pad not working:
I don't have any photos of the process, but I straightened the plate, and the horn now works with a light touch anywhere on the horn pad. Yay! So now I know confidently that I can honk in an emergency (I hate using my horn in general), and will get some attention - if not in awe, at least in amusement.
Good job! When you get a chance, I recommend you also add a relay to the horn circuit. Later models have it, not on our first-gens. I think I have a write-up for that as well.
Good job! When you get a chance, I recommend you also add a relay to the horn circuit. Later models have it, not on our first-gens. I think I have a write-up for that as well.
Thanks Ray, I've seen that write up and will probably get around to it at some point. I'm still in the "fix things" phase, so the "upgrade phase" is a luxury, but I'll get there. Might also want to upgrade the horn at that point.
For now, I need to figure out why my driver side door switch is not working, seems like it should be easy enough to do. Then door locks, passenger side window, you get the idea.
good work on the horn, leon. i used a "hack" from this site (i think) and placed a spent 22 casing over the end of the worn plunger. this restored solid contact with the horn ring, and is something that i have a relatively endless supply of (22 casings), so i can relplace the casing when it wears (i assume it will wear a bit faster than the correct plunger that you installed. the biggest benefit of the 22 casing is not having to disassemble beyond pulling the steering wheel itself. once the wheel is pulled, the casing can be placed over the plunger top, and the wheel reinstalled. so that saves the 1.5 to 2 hours of fully breaking down the innards. of course, you'll probably never need to replace that new plunger, whereas i'll certainly be replacing the casing a few more times.
the hood struts are working excellent, too. really like them. you made a nice product and a simple upgrade. best part is the ability to go back to stock if desired, with no holes having to be drilled. good stuff!
good work on the horn, leon. i used a "hack" from this site (i think) and placed a spent 22 casing over the end of the worn plunger. this restored solid contact with the horn ring, and is something that i have a relatively endless supply of (22 casings), so i can relplace the casing when it wears (i assume it will wear a bit faster than the correct plunger that you installed. the biggest benefit of the 22 casing is not having to disassemble beyond pulling the steering wheel itself. once the wheel is pulled, the casing can be placed over the plunger top, and the wheel reinstalled. so that saves the 1.5 to 2 hours of fully breaking down the innards. of course, you'll probably never need to replace that new plunger, whereas i'll certainly be replacing the casing a few more times.
Hi Wally, I read about the .22 casing trick, and that definitely would have saved some time. But I didn't have any .22 casings on hand, and I figured that hopefully I won't need to replace the plunger again, so I didn't mind doing it the hard way. I have to say I was amazed how much that plunger wore down, I can see why they switched to clocksprings. I'll probably pull the steering wheel again and add some carbon grease to that surface - I didn't have any on hand then, but I do now.
the hood struts are working excellent, too. really like them. you made a nice product and a simple upgrade. best part is the ability to go back to stock if desired, with no holes having to be drilled. good stuff!
Thank you, I'm glad you're enjoying them. They really do make you want to open the hood just for the fun of it .
 11-03-2023, 06:28 AM


 . I bet you'll have it up and running in no time.