91 toyota ext-cab sr5 build
 01-19-2014, 02:08 PM
#1
Registered User
Thread Starter
Join Date: Jan 2014
Location: colorado
Posts: 153
Likes: 0
Received 0 Likes
on
0 Posts
91 toyota ext-cab sr5 build
Hi guys,
First off I am brand new to this thread and would like to tell you I am 17 and working part time to pay for yet another expensive hobby any way this will not be the coolest build but would like tips and ideas for it.
Now the truck,
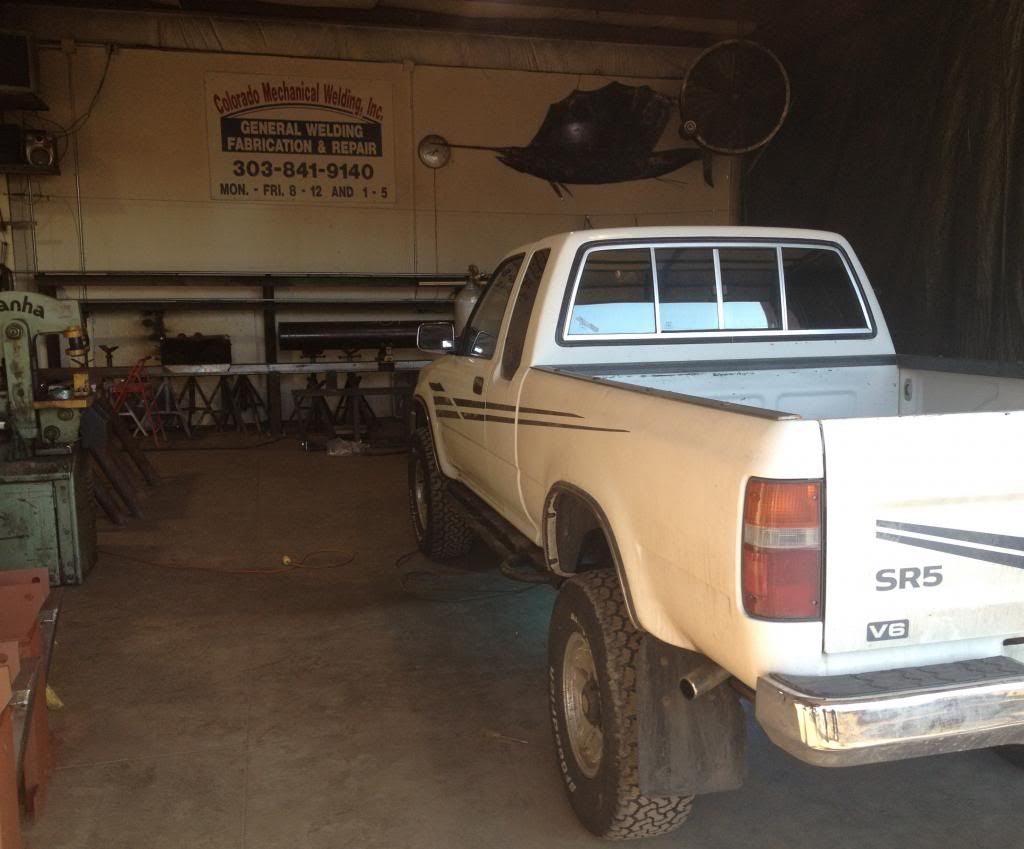
It's a 91 toyota ext-cab sr5 that my uncle bought in 92 and put 200,000 on it then sold it to my dad a couple years ago. back to now it has 315,000 on it and a new engine 115000 miles ago. It's a 3.0 v6 5 speed I love the truck and have a freind in school that has a 01 jeep grand Cherokee and him and I have bee doing mods to our cars for a while now.
What I've done
3 inch ifs spacer up front
New shocks up front
3 inch spacer in back
2.5 inch longer shackles in the back as well
Blisten 5125 12 inch stroke in back
On my 5th stearin box in a Month ( where it is now )
I would do it my self if the shop that did it was not doing it all for free
I just fixed thy knock sensor after a year of not having time to fix it
I have replaced about all the stearing system now
Fun toys
All pro bed rack with lots of mods
Custom sliders that I will be making this week
Skid for the front that I will also be making if I can find time
And much more dreams that I will add as I Go on
Will move the rear shackle hanger forward 2 inches to get full flex again
Ps the profile pic is the only one I have put on right now and is not how much flex it has that is A month old pic before shocks and shackles got here but I'll try to run over there tomorrow if I get It back From the shop and go flex it again.
First off I am brand new to this thread and would like to tell you I am 17 and working part time to pay for yet another expensive hobby
any way this will not be the coolest build but would like tips and ideas for it. Now the truck,
It's a 91 toyota ext-cab sr5 that my uncle bought in 92 and put 200,000 on it then sold it to my dad a couple years ago. back to now it has 315,000 on it and a new engine 115000 miles ago. It's a 3.0 v6 5 speed
I love the truck and have a freind in school that has a 01 jeep grand Cherokee and him and I have bee doing mods to our cars for a while now. What I've done
3 inch ifs spacer up front
New shocks up front
3 inch spacer in back
2.5 inch longer shackles in the back as well
Blisten 5125 12 inch stroke in back
On my 5th stearin box in a Month
( where it is now )I would do it my self if the shop that did it was not doing it all for free
I just fixed thy knock sensor after a year of not having time to fix it
I have replaced about all the stearing system now
Fun toys
All pro bed rack with lots of mods
Custom sliders that I will be making this week
Skid for the front that I will also be making if I can find time
And much more dreams that I will add as I Go on
Will move the rear shackle hanger forward 2 inches to get full flex again
Ps the profile pic is the only one I have put on right now and is not how much flex it has that is A month old pic before shocks and shackles got here but I'll try to run over there tomorrow if I get It back From the shop and go flex it again.

 01-22-2014, 07:16 AM
#3
Registered User
Thread Starter
Join Date: Jan 2014
Location: colorado
Posts: 153
Likes: 0
Received 0 Likes
on
0 Posts
Ok. So I need some help ASAP I have a 2 1/2 ball joint spacer on my truck and I do know that they are manly only for increased travel but any ways I torqued the torsion bars to lift it a little (1 1/2 in ) and I have seen this done before but now I'm on my 4th steering box and supposedly that's because their is a force pushing the worm gear up and loosening the nut on the top and causing the box to leak really badly any one with a ball joint spacer have this problem? I really need help on this I have not been able to find any answers on this at all.
01-22-2014, 07:28 AM
#4
Registered User
iTrader: (1)

Join Date: Mar 2013
Location: Mobile, Alabama
Posts: 2,121
Likes: 0
Received 0 Likes
on
0 Posts
I haven't heard of a "force" pushing the gear inside the steering box making it leak. I want to say that makes no sense what so ever but I'm also interested in this.
01-22-2014, 07:28 AM
#5
Registered User
Join Date: Jan 2011
Location: Memphis, TN
Posts: 1,051
Likes: 0
Received 0 Likes
on
0 Posts
I can't says anything about the ball joint spacer.. But, if need be, take your BJs off and see if the problem goes away. If so, you've isolated the problem. If not, you've got more research to do.
01-22-2014, 07:46 AM
#6
Registered User
Thread Starter
Join Date: Jan 2014
Location: colorado
Posts: 153
Likes: 0
Received 0 Likes
on
0 Posts
Thanks for the help any other advice will be used. I have lowered the front back down to close to stock to see if that helps but I had the lift on with the original stearing box from 1991 and had no problems for a month and then replaced it because of play already there and now I am going through remans once a week but have found no us full answer to why they are leaking so badly so quickly!!!! I just want a truck that I can drive more then fix the same problem over and over again.
but have found no us full answer to why they are leaking so badly so quickly!!!! I just want a truck that I can drive more then fix the same problem over and over again.
Trending Topics
01-24-2014, 10:44 AM
#8
Registered User
Thread Starter
Join Date: Jan 2014
Location: colorado
Posts: 153
Likes: 0
Received 0 Likes
on
0 Posts
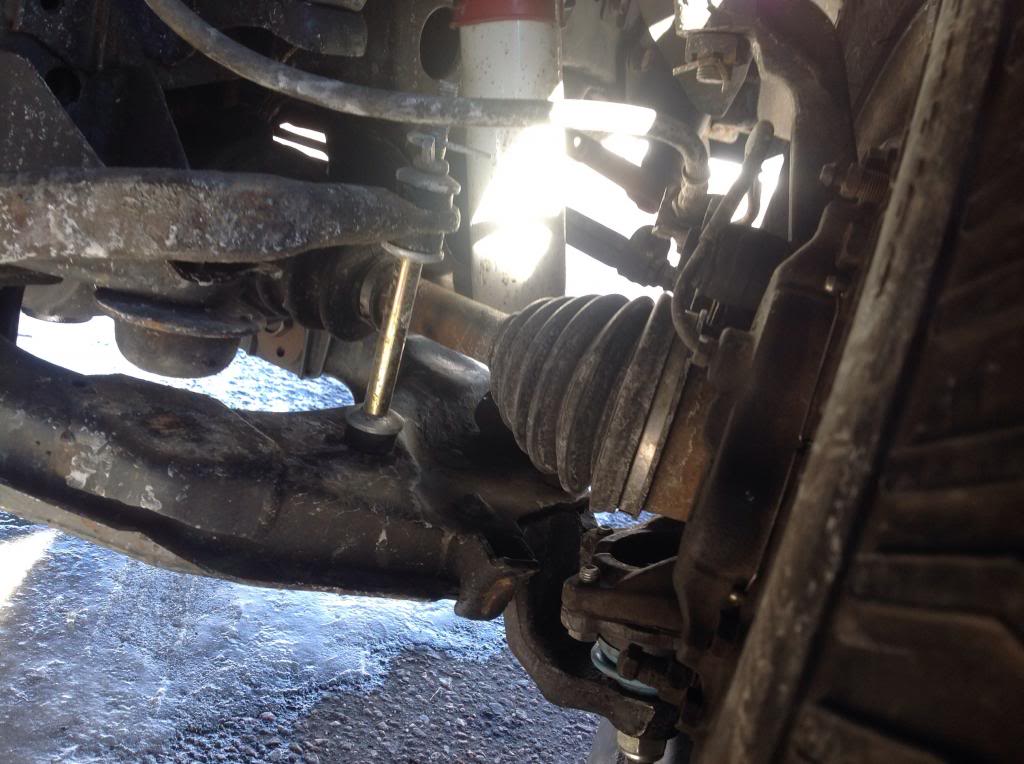
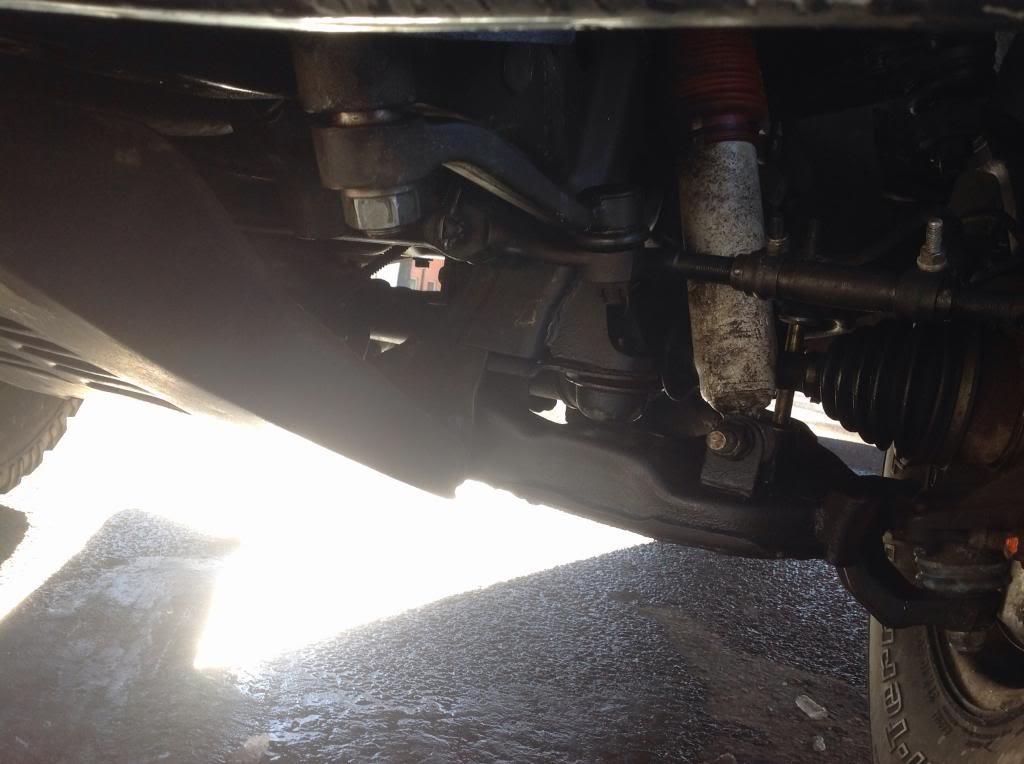
I got pics during lunch this is with the front lowered but it does not matter because it still shakes!!
This is front right from the back
Front right from the front

Front left from the front
[URL=http://s1374.photobucket.com/user/Jakesr5/media/image_zpsa24704c0.jpg.html]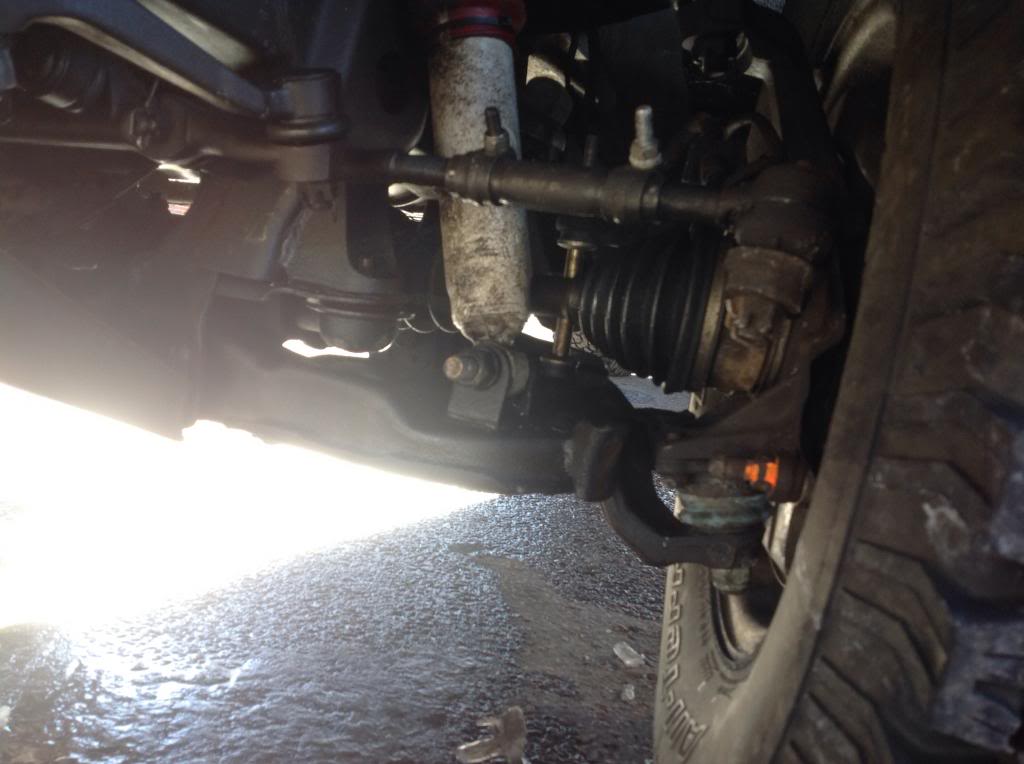 [/URL
[/URL
Same
Here is front right from the front but the steering stop on the lower is gone? Don't know what happened there
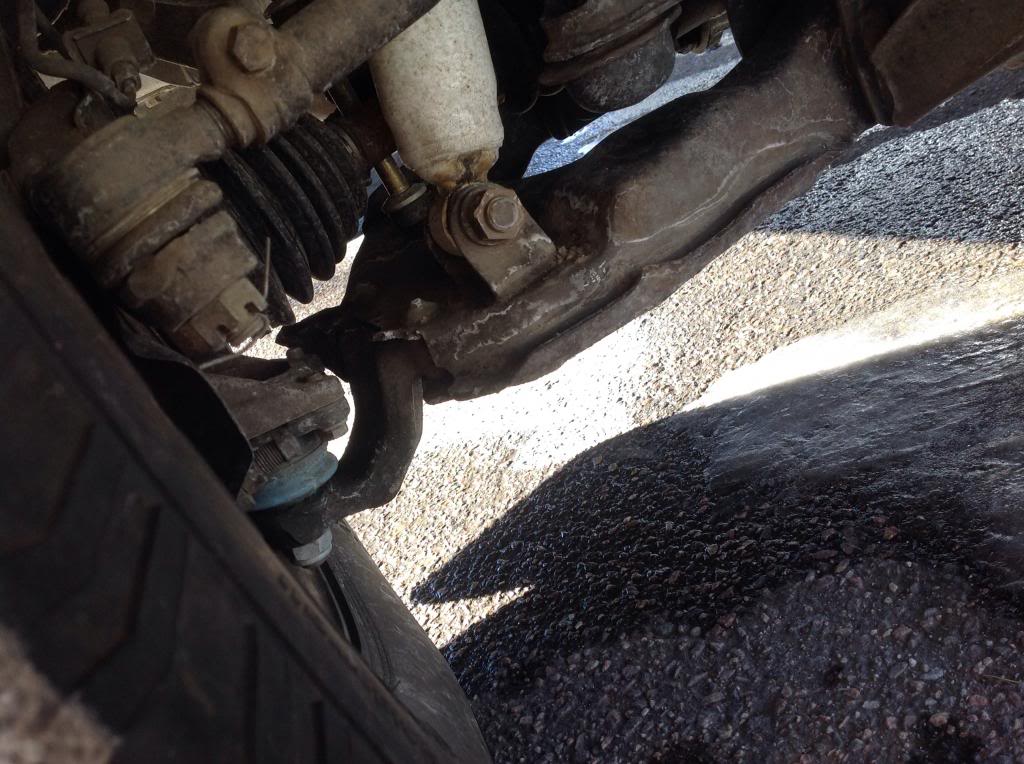
Might be showing this one again but look at the steering stop bolt. They told me they have no idea why my steering radius was lengthened by 4 feet!! Hhe I can't imagine why??
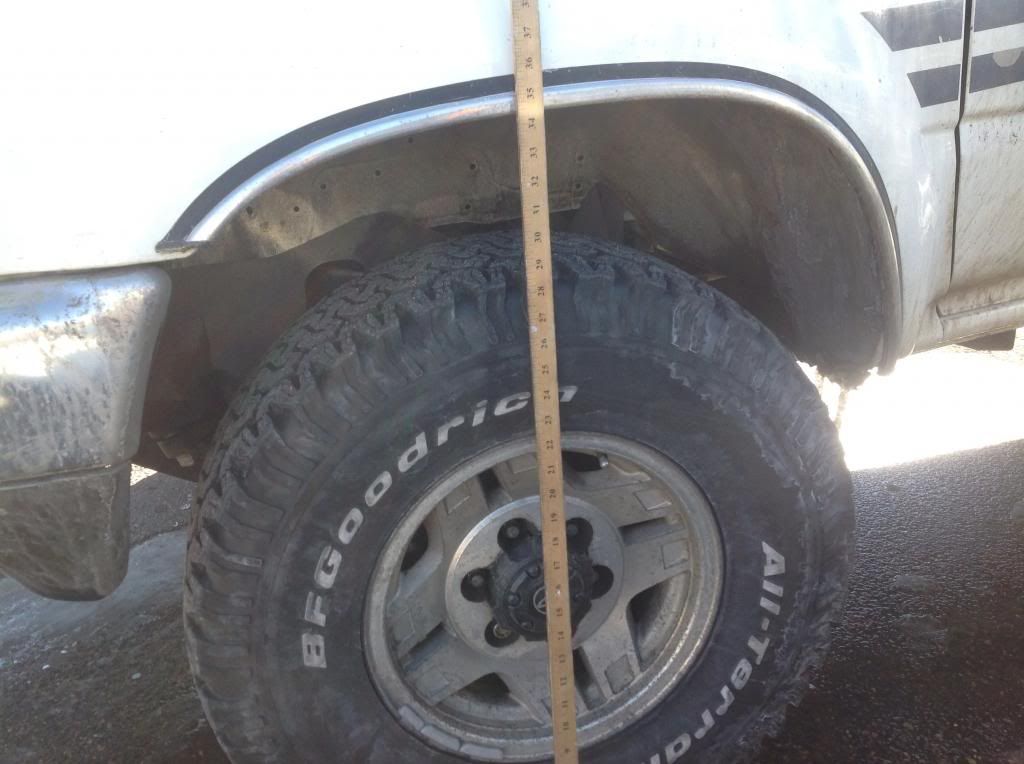
Here is the lift measurements
Rear (passenger but driver is 1/4 inch lower
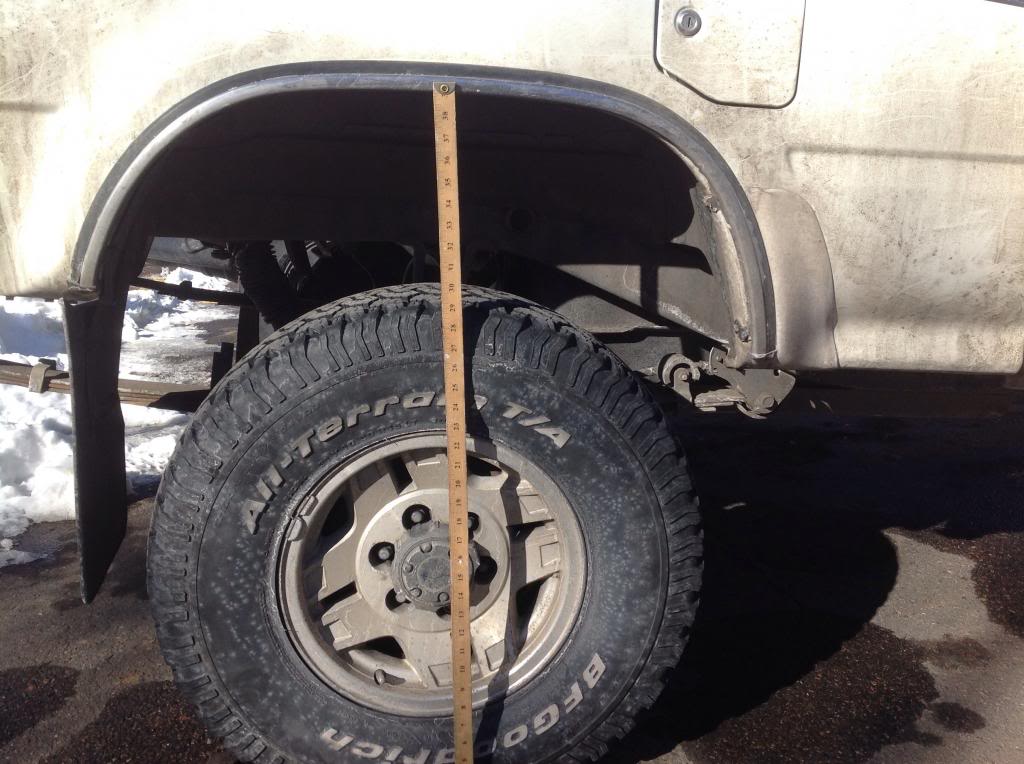
Front right
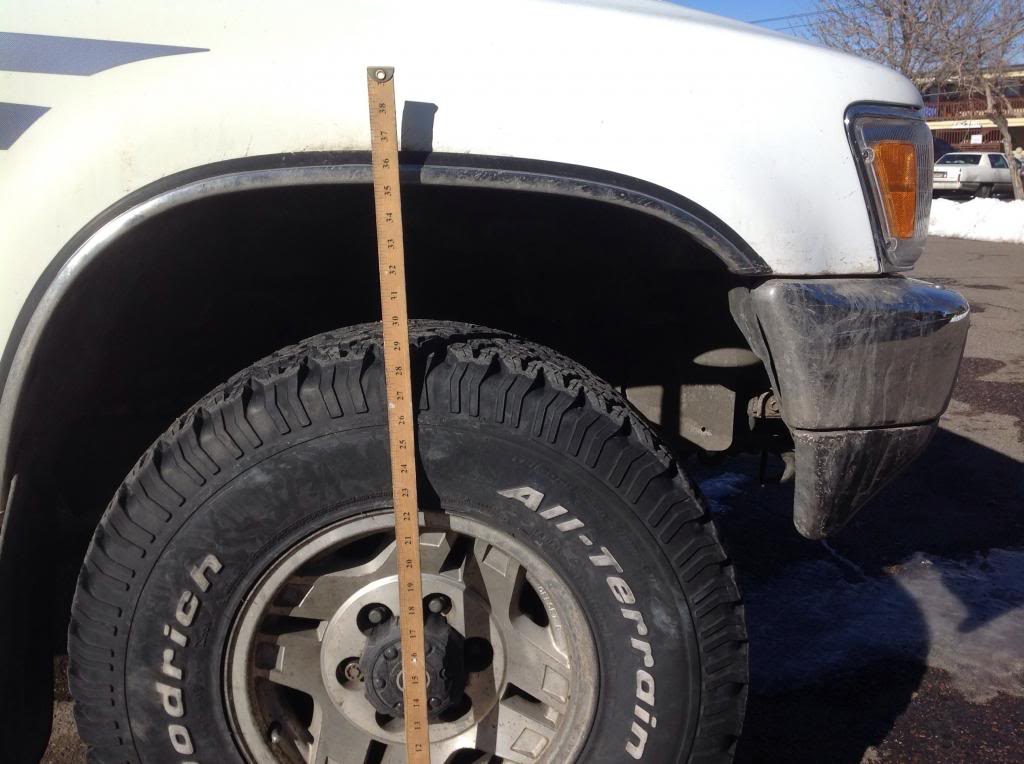
And front left
Hope this helps!!! Will post pics on sliders later.
This is front right from the back

Front right from the front

Front left from the front
[URL=http://s1374.photobucket.com/user/Jakesr5/media/image_zpsa24704c0.jpg.html]
[/URLSame

Here is front right from the front but the steering stop on the lower is gone? Don't know what happened there

Might be showing this one again but look at the steering stop bolt. They told me they have no idea why my steering radius was lengthened by 4 feet!! Hhe I can't imagine why??

Here is the lift measurements
Rear (passenger but driver is 1/4 inch lower

Front right

And front left

Hope this helps!!! Will post pics on sliders later.
01-26-2014, 07:36 AM
#9
Not sure how the BJ spacer would put extra pressure on the steering gear box like that, but I guess anything is possible.
Have you tried swapping out PS pumps yet. It could be sending too much pressure to the pumps and causing them to blow the seals and leak. Would be worth a shot and a heck of a lot easier to swap out than the gear box.
Hope that helps
Have you tried swapping out PS pumps yet. It could be sending too much pressure to the pumps and causing them to blow the seals and leak. Would be worth a shot and a heck of a lot easier to swap out than the gear box.
Hope that helps
01-28-2014, 06:25 AM
#10
Registered User
Thread Starter
Join Date: Jan 2014
Location: colorado
Posts: 153
Likes: 0
Received 0 Likes
on
0 Posts
Ok thanks for the help and I hope I can get that Shake out but I think I am going to get a skyjacker lift for the front kit number T422 but would like to here some reviews on skyjacker about them and possibly that kit
Now on to the sliders I was going to post last night but my iPad died about 3/4 of the way through
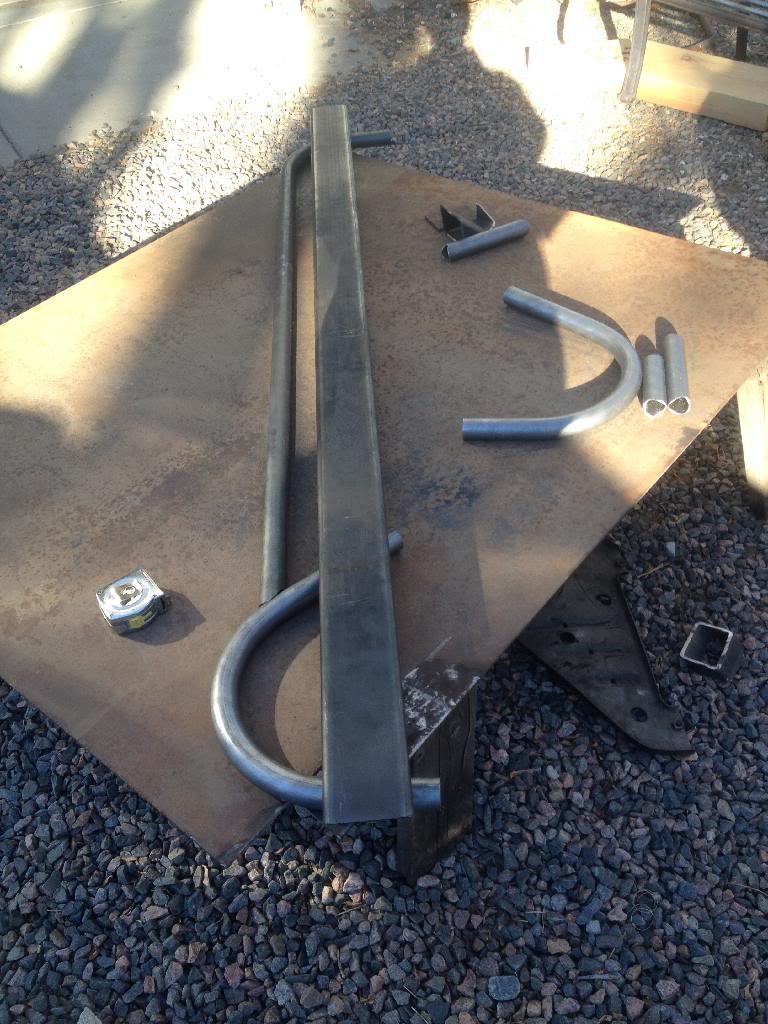
Ok so I wanted to make my own sliders so we went down to the local scrap/ metal yard and got some 2x4 by 3/16 box tubing and some 1 1/2 by 0.120 DOM tubing and we also found a 55x64 quarter inch plate that weigh 250 lbs
Good thing I had my dad's material truck and some my brother and best friend there. We dropped the tube of at a shop that said they could bend it for us and then started on the base
My best friend cutting some box tube
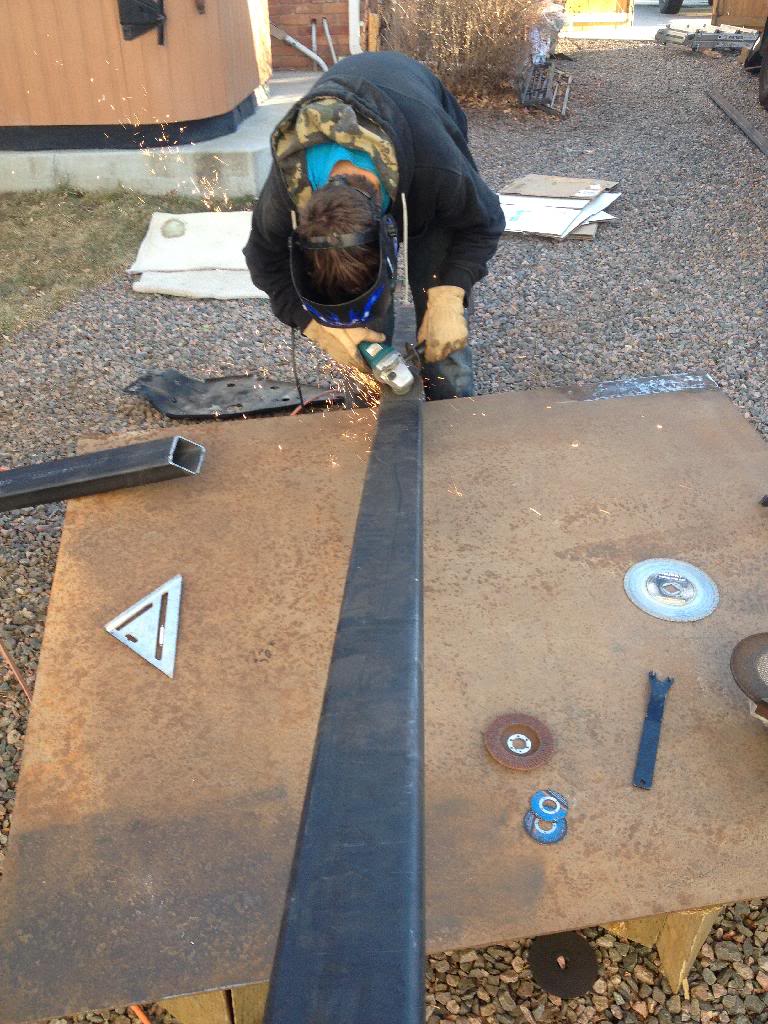 that "table" is the plate we got
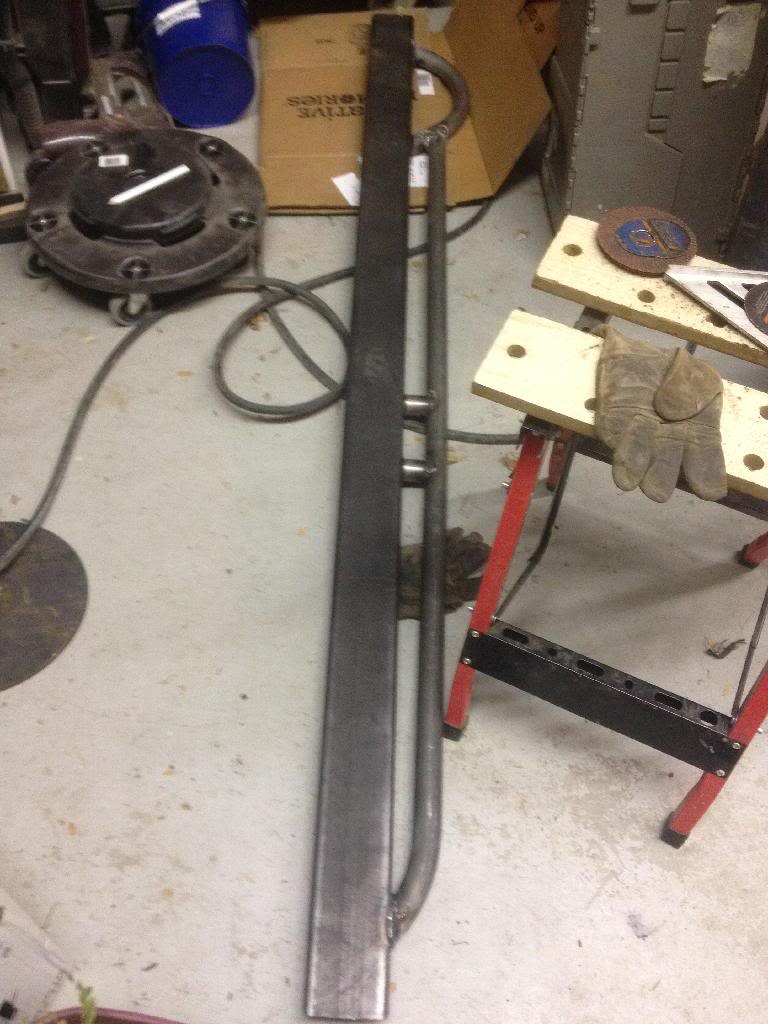
We cut some plates out of our table for the end caps for the sliders and welded them on
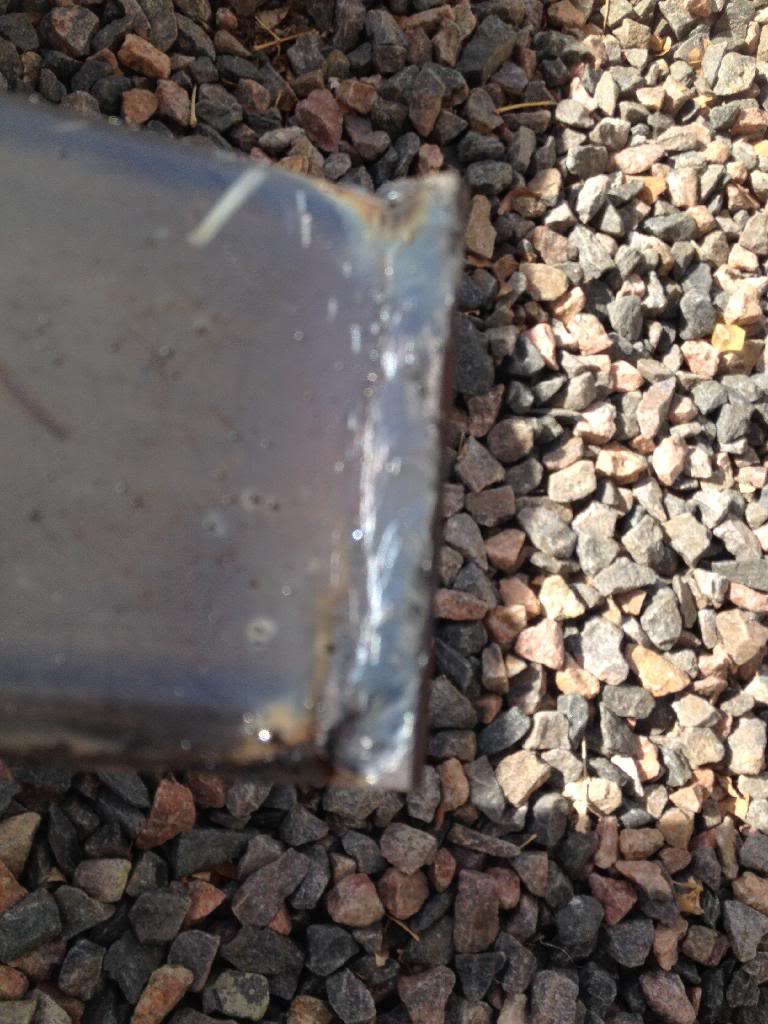
How good are my welds
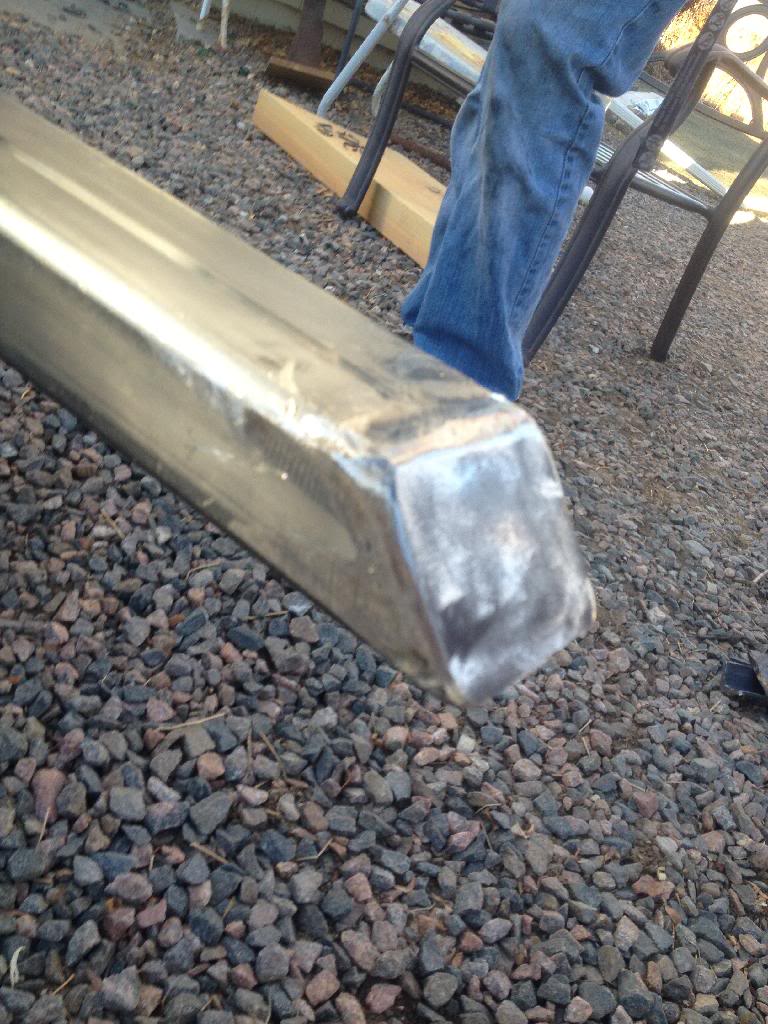
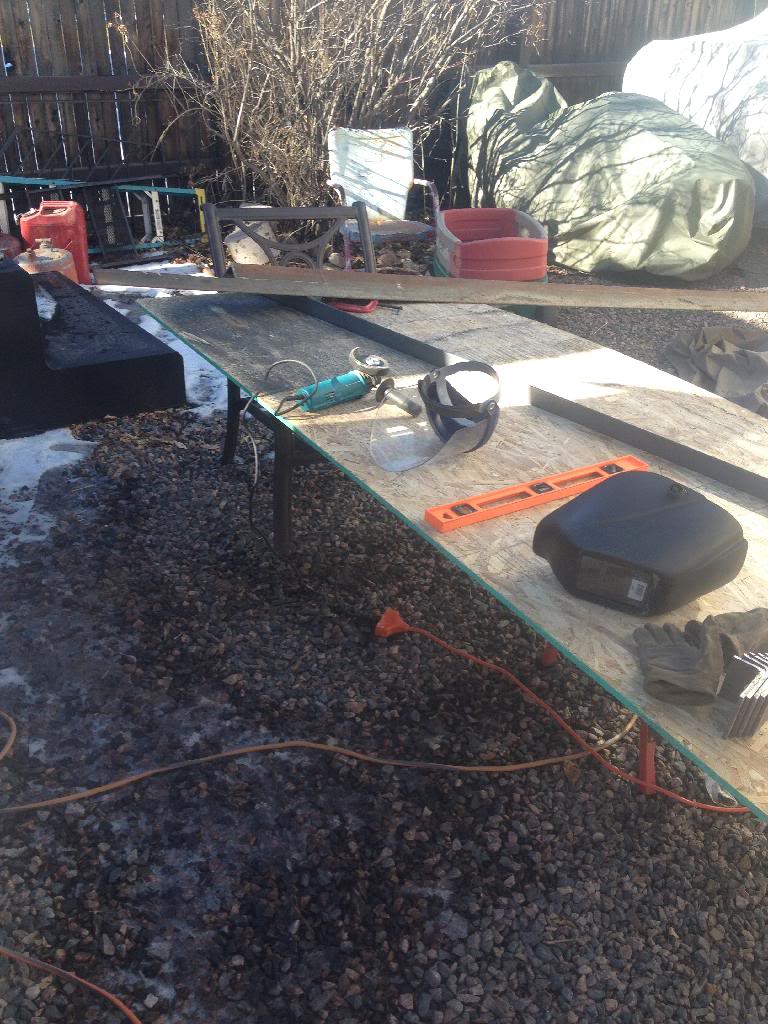
Then we grinded the corners down and shined them up then hit it with some paint to see our work
My friend picked up the tube back all nice and bent while I was at work and the first thing I water to do once I got home from work is mock it up to see what it looked like but after I clipped my shin on the corner of the steel plate I desired I could wait tell the next day. So herb is what it looked like mocked up
Now I had to wait tell the weekend to start welding. I had my uncle weld the tubing because he knows what he is doing and I wanted the sliders to last for more than one rock
So we had a busy weekend we had welding
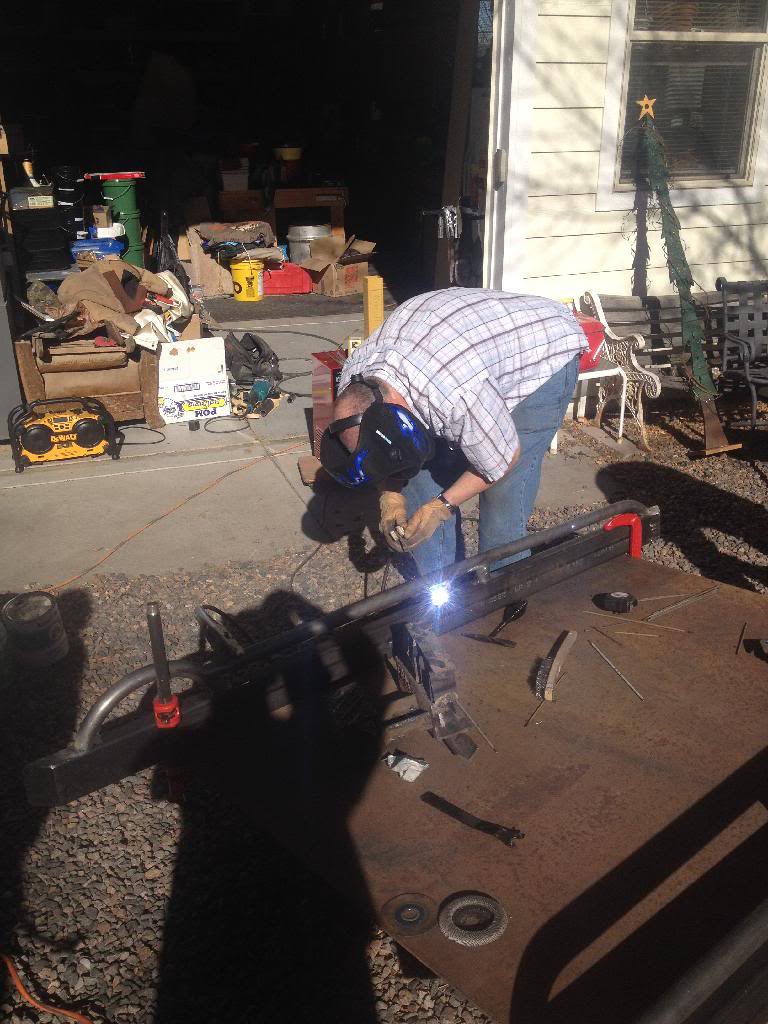
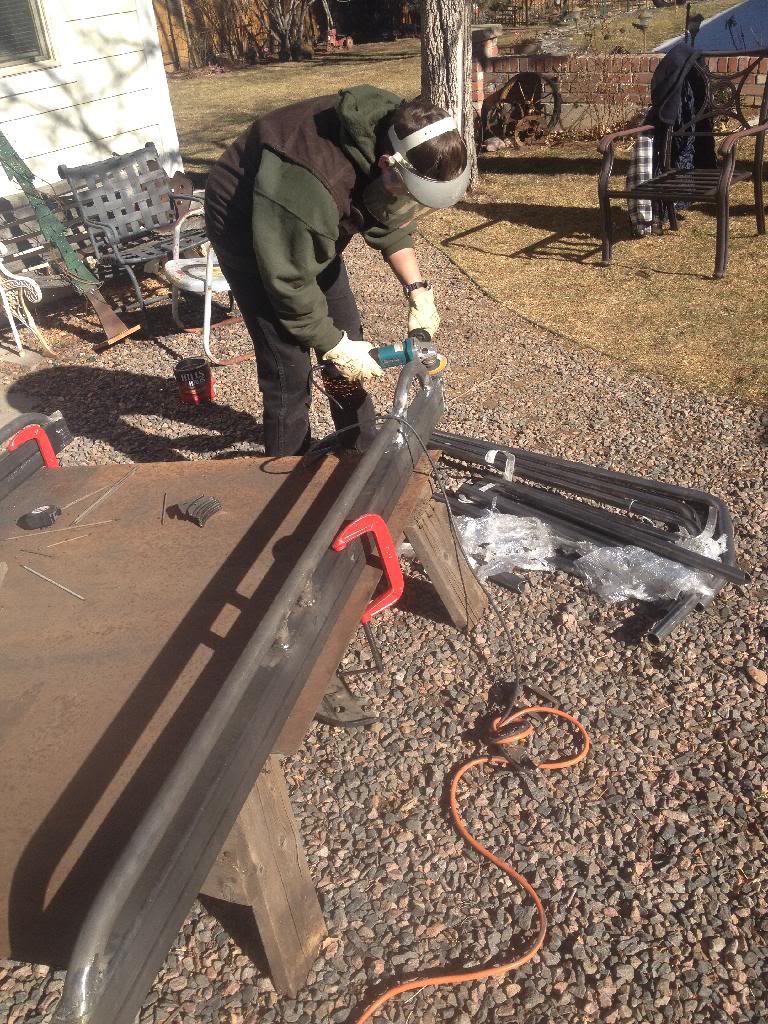
Started cutting some feet out of some angle my dad had
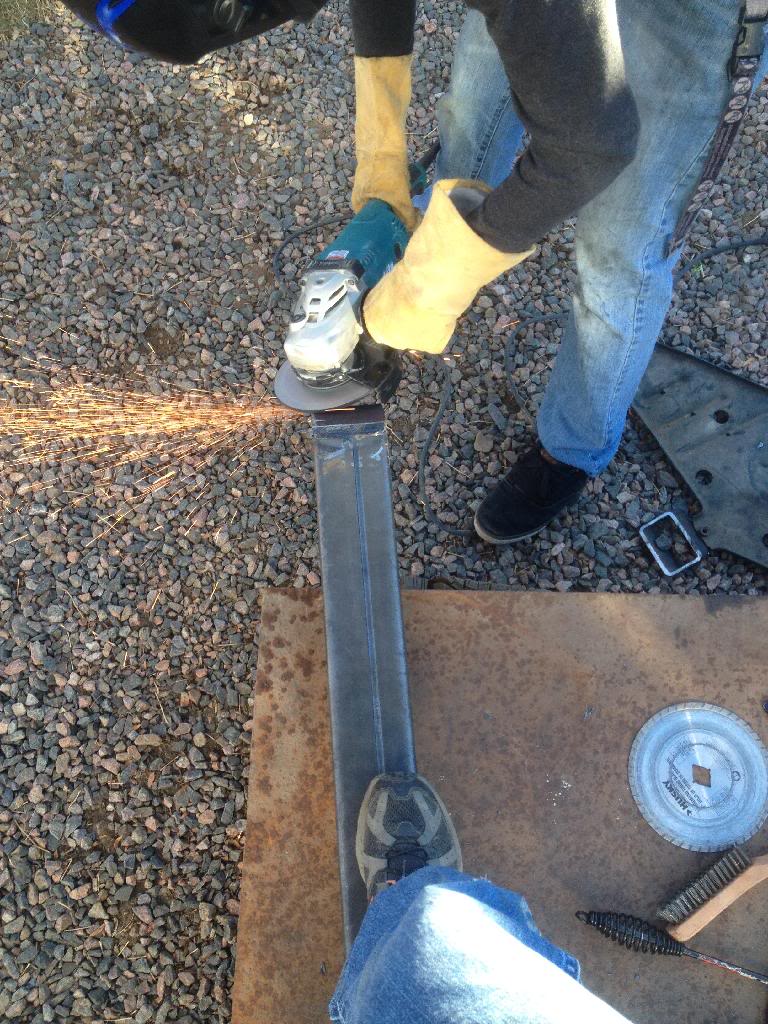
And had to find some thing for my brother to do so I gave him a grinder and told him not to go through the metal
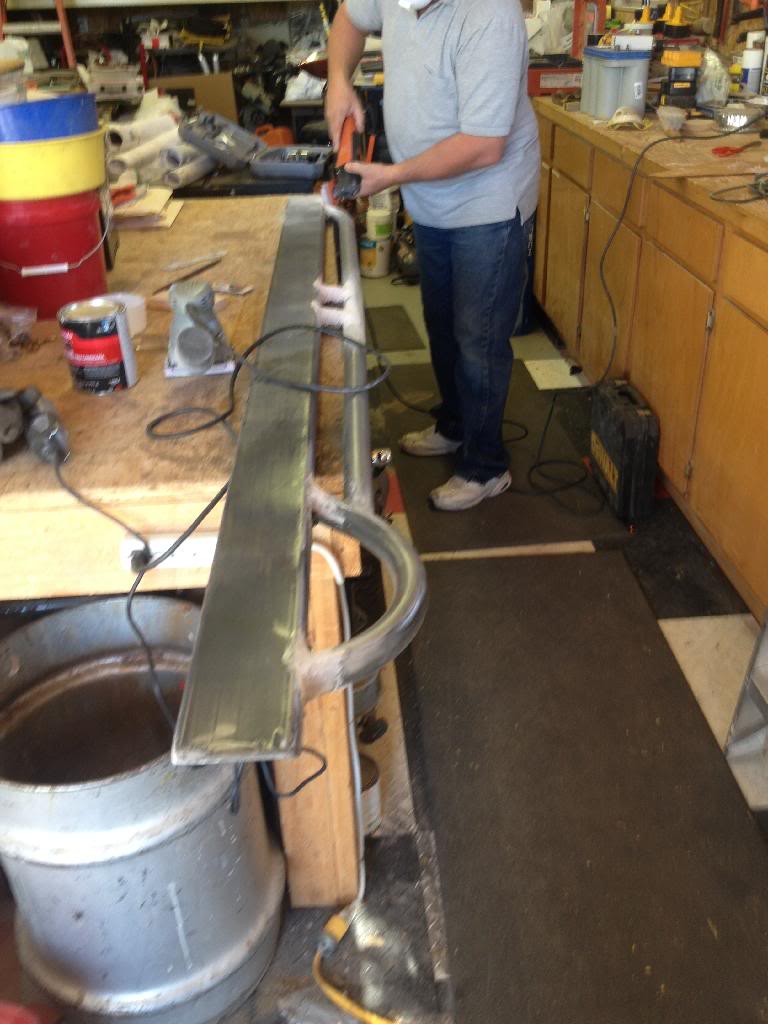
here is a pic of them finished welding
 and my dad decided that we should make the top of them look nice so we bondoed the top of them and they look pretty nice
this is how far we are with the slider and will hopefully finish them them this weekend if the snow melts!!
Now on to the sliders I was going to post last night but my iPad died about 3/4 of the way through
Ok so I wanted to make my own sliders so we went down to the local scrap/ metal yard and got some 2x4 by 3/16 box tubing and some 1 1/2 by 0.120 DOM tubing and we also found a 55x64 quarter inch plate that weigh 250 lbs
Good thing I had my dad's material truck and some my brother and best friend there. We dropped the tube of at a shop that said they could bend it for us and then started on the base
My best friend cutting some box tube
 that "table" is the plate we got
 We cut some plates out of our table for the end caps for the sliders and welded them on

How good are my welds
Then we grinded the corners down and shined them up then hit it with some paint to see our work


My friend picked up the tube back all nice and bent while I was at work and the first thing I water to do once I got home from work is mock it up to see what it looked like but after I clipped my shin on the corner of the steel plate
I desired I could wait tell the next day. So herb is what it looked like mocked up 
Now I had to wait tell the weekend to start welding. I had my uncle weld the tubing because he knows what he is doing and I wanted the sliders to last for more than one rock
So we had a busy weekend we had welding

Started cutting some feet out of some angle my dad had

And had to find some thing for my brother to do so I gave him a grinder and told him not to go through the metal

here is a pic of them finished welding
 and my dad decided that we should make the top of them look nice so we bondoed the top of them and they look pretty nice
this is how far we are with the slider and will hopefully finish them them this weekend if the snow melts!!
01-28-2014, 06:28 AM
#11
Registered User
Nice work on the sliders! Make sure to plate your frame when you weld them on.
Its hard to tell about your welds, the picture is a little blury
Its hard to tell about your welds, the picture is a little blury
Last edited by rattlewagon; 01-28-2014 at 06:30 AM.
 01-28-2014, 09:29 AM
#14
when he said plate the frame he means that you should weld a vertical plate onto the end of the tube thats going to attach the slider to the frame. It will give you a larger surface area to weld and also be alot stronger. As the plate will spread the load of the slider out evenly.
Im sure someone will post a pic before I can find one and post.
Im sure someone will post a pic before I can find one and post.
01-28-2014, 09:41 AM
#15
Registered User
This is straight off TGs site.

Heres the ones I put on my truck

The plate is critical to help the frame support the weight of the truck when you really get to using the sliders, and help from denting the frame from a hard side impact.
Heres the ones I put on my truck
The plate is critical to help the frame support the weight of the truck when you really get to using the sliders, and help from denting the frame from a hard side impact.
Last edited by rattlewagon; 01-28-2014 at 09:48 AM.
01-28-2014, 11:45 AM
#16
Registered User
Thread Starter
Join Date: Jan 2014
Location: colorado
Posts: 153
Likes: 0
Received 0 Likes
on
0 Posts
Oh that what you mean haha yah that's this photo

It's a 4x4 angle that my dad used to support bricks over a garage door and it's very hard to cut through but I cut 3.5 inch lengths and cut one side in half so they are L's and that's what I'm welding to the frame.
And quick question I'm going to use 2x2 by 1/4 angle I have for the bars connecting the frame ( plates ) to the sliders is this going to be strong enough I'm mounting them so if you look at them they look like a roof on a house
01-29-2014, 07:15 AM
#18
Registered User
Thread Starter
Join Date: Jan 2014
Location: colorado
Posts: 153
Likes: 0
Received 0 Likes
on
0 Posts
Ok so I'm going to get some 1/4 thick square tubing 1/ 1/2 in size and use as the connecting pieces for the frame and sliders instead of the angle.
03-08-2014, 05:37 PM
#20
Registered User
Thread Starter
Join Date: Jan 2014
Location: colorado
Posts: 153
Likes: 0
Received 0 Likes
on
0 Posts
een forever since i have been on here iv been so busy with school tsa and work that i have had no free time to get back to the truck.( well at least to reply)
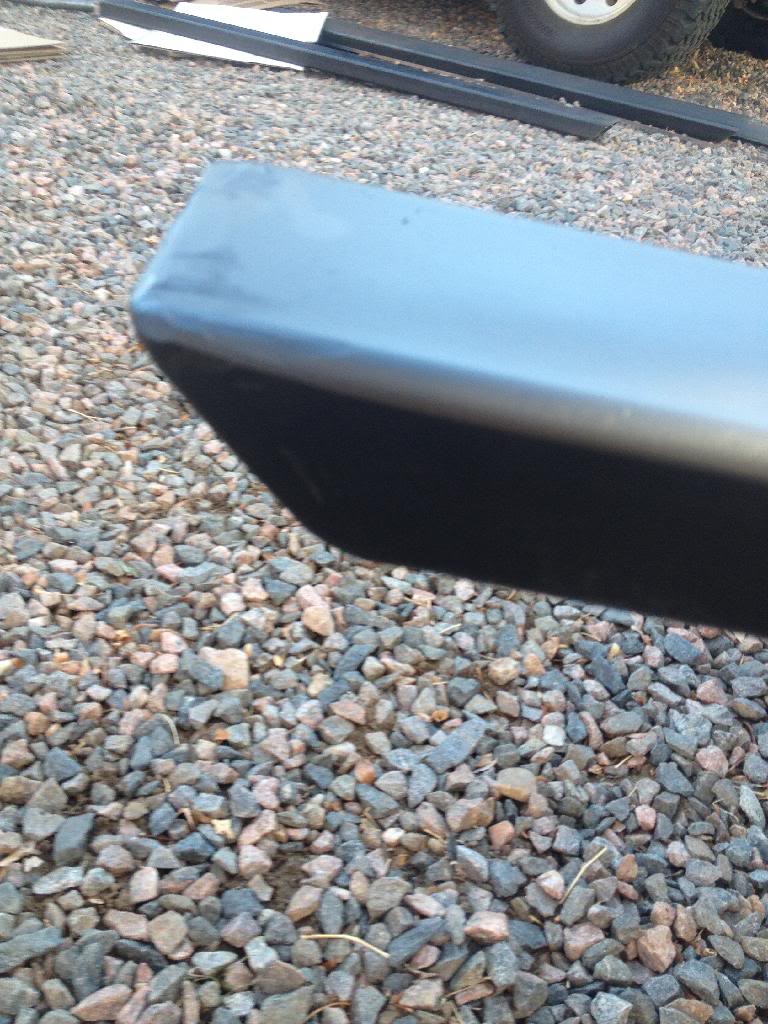
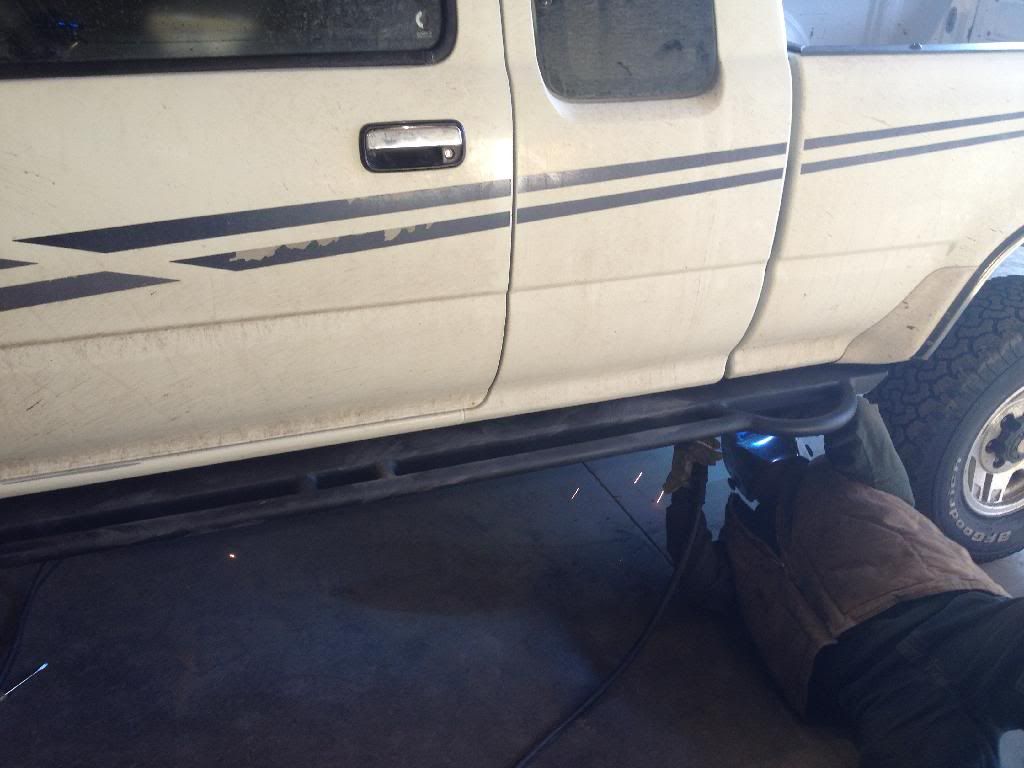
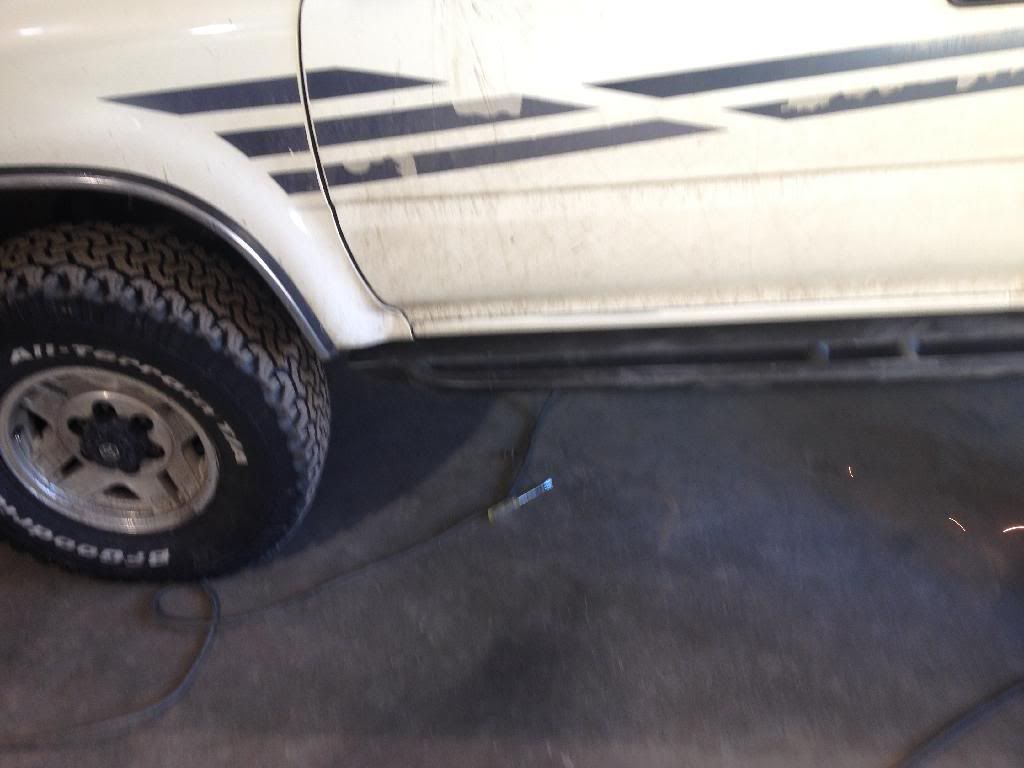
ok so i got the sliders finished and painted
we put bondo on the welds because they where not that pretty
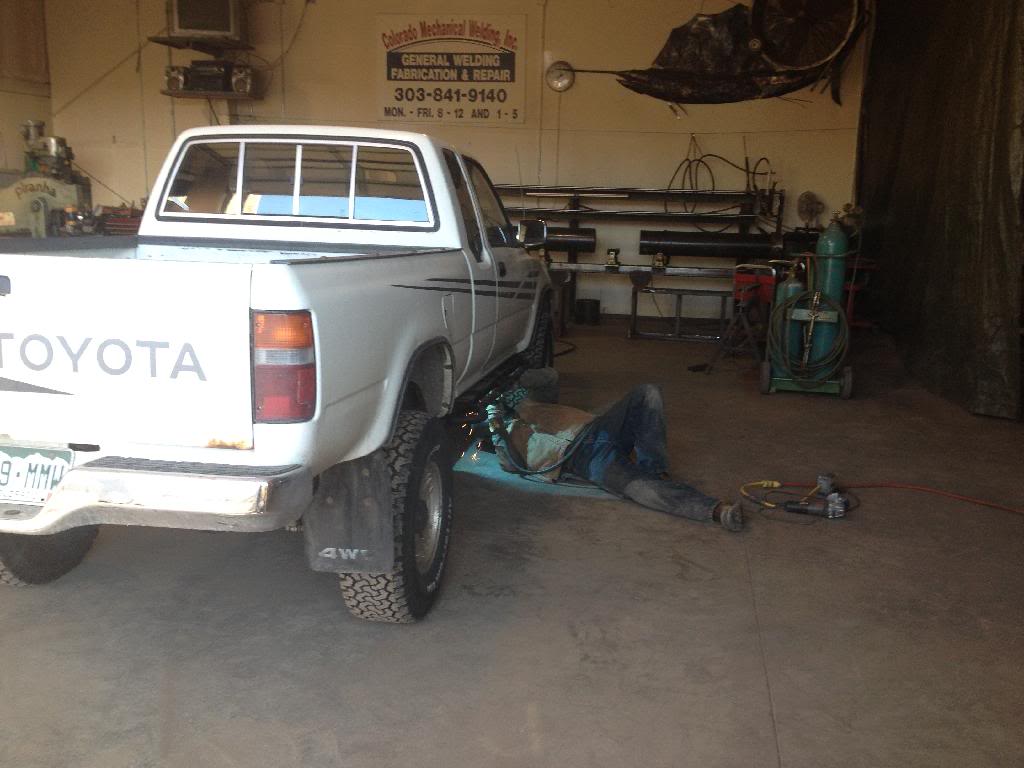
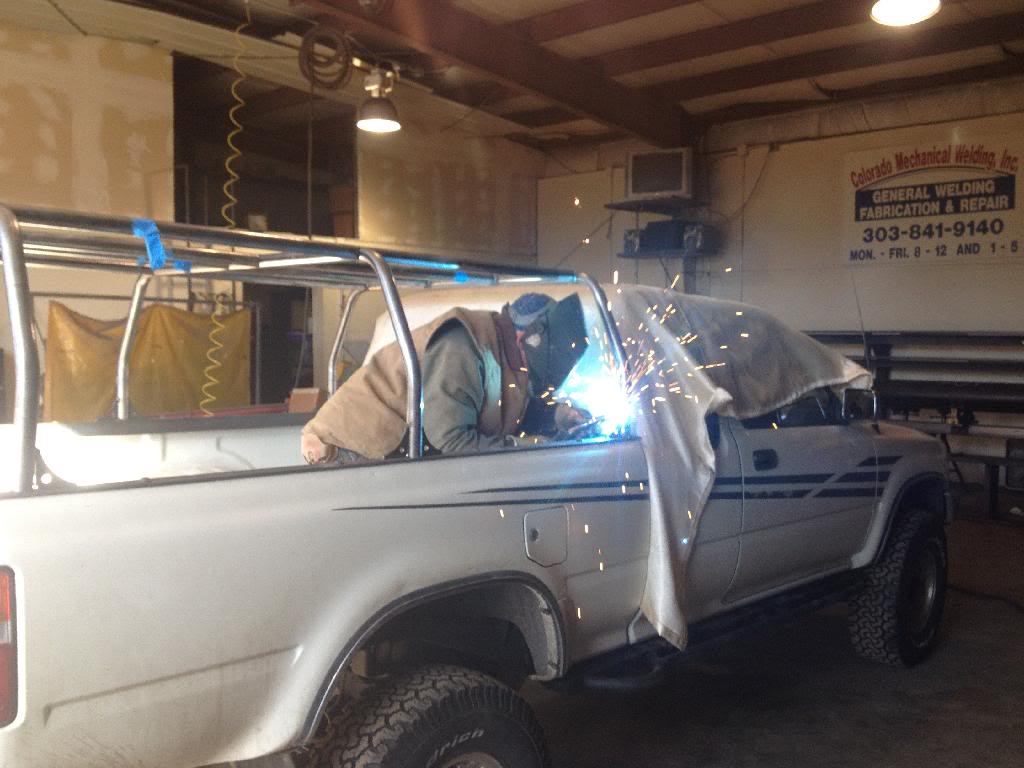
sorry no pics of painting but i went to the welder and got them welded on
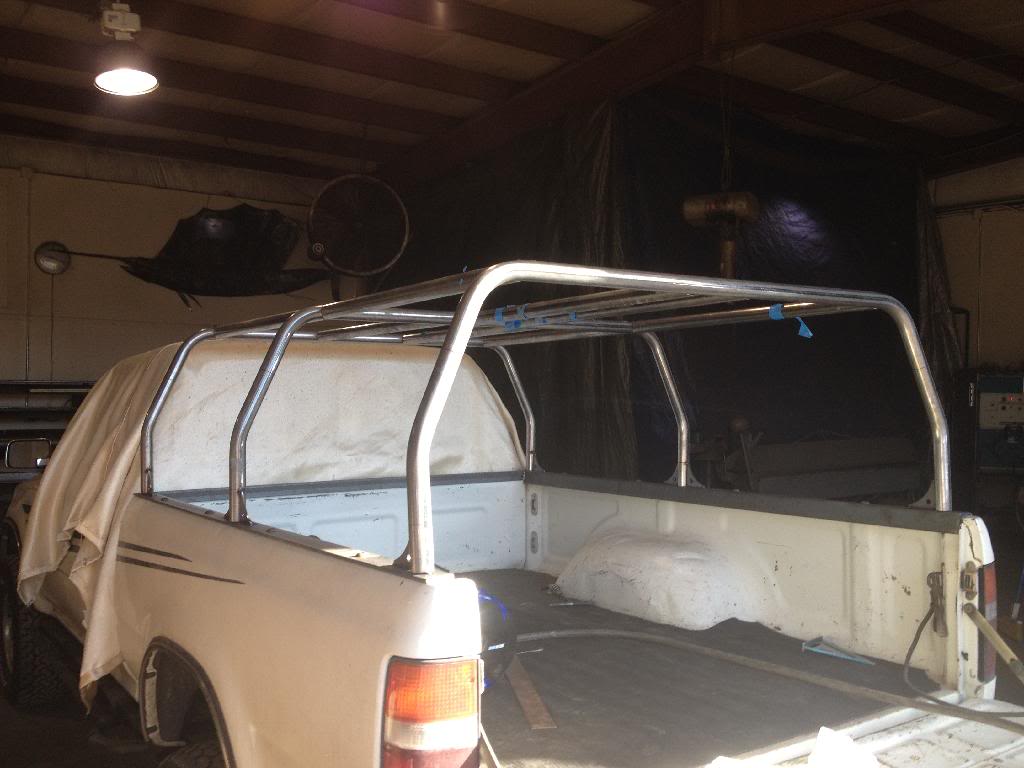
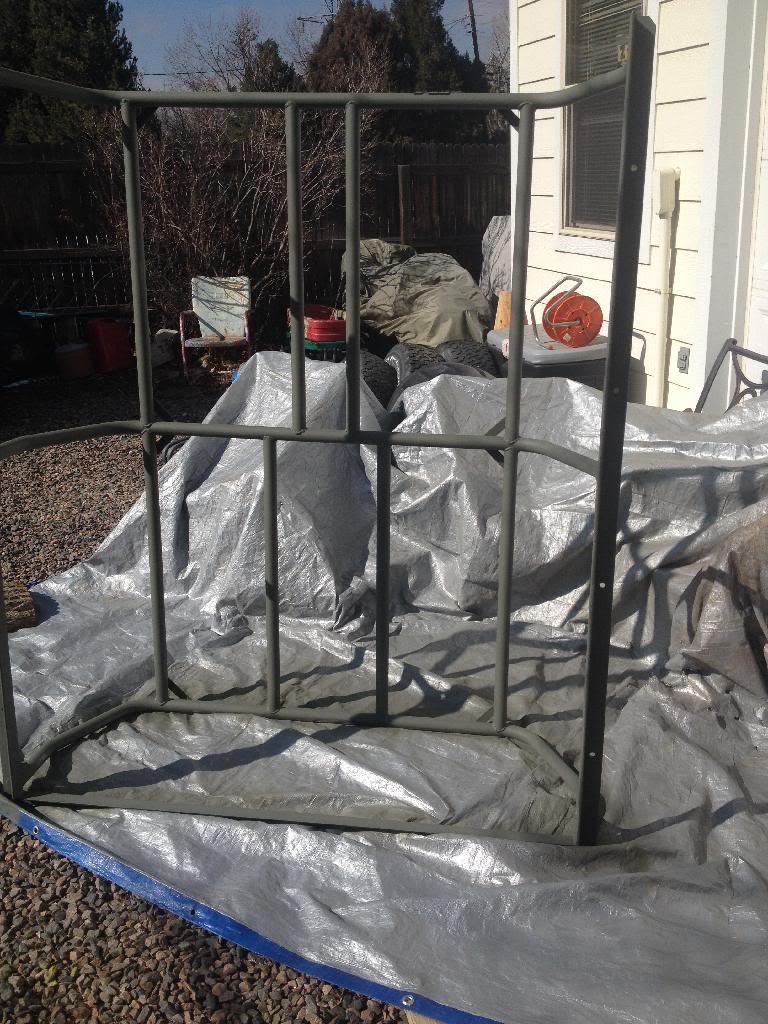
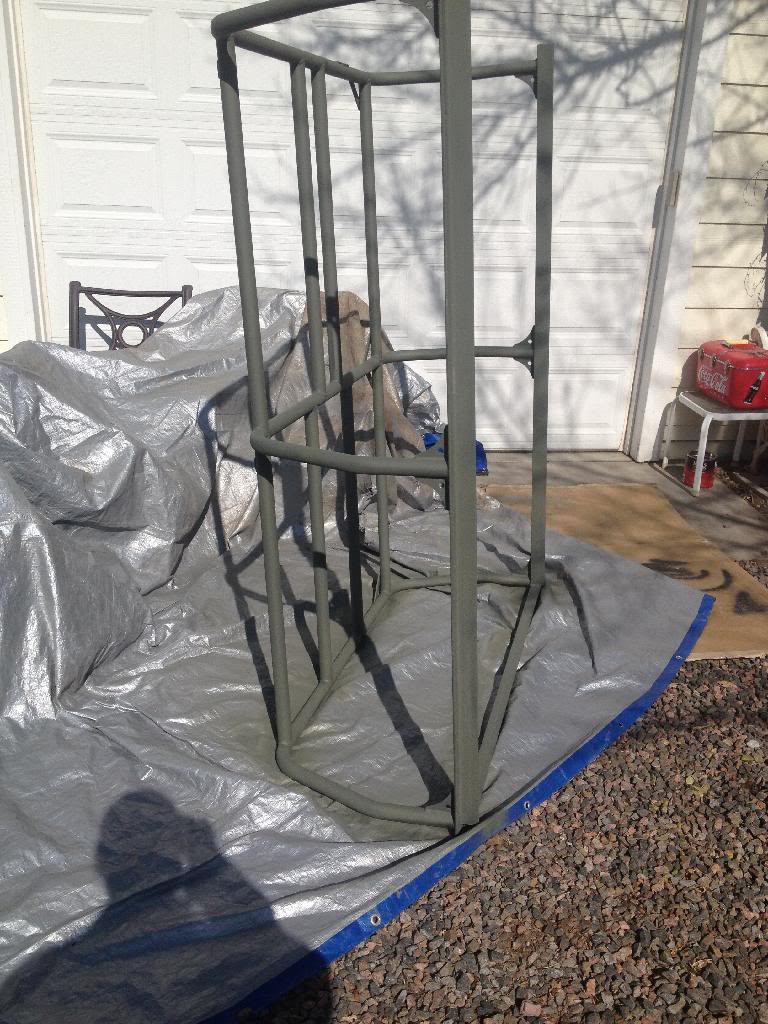
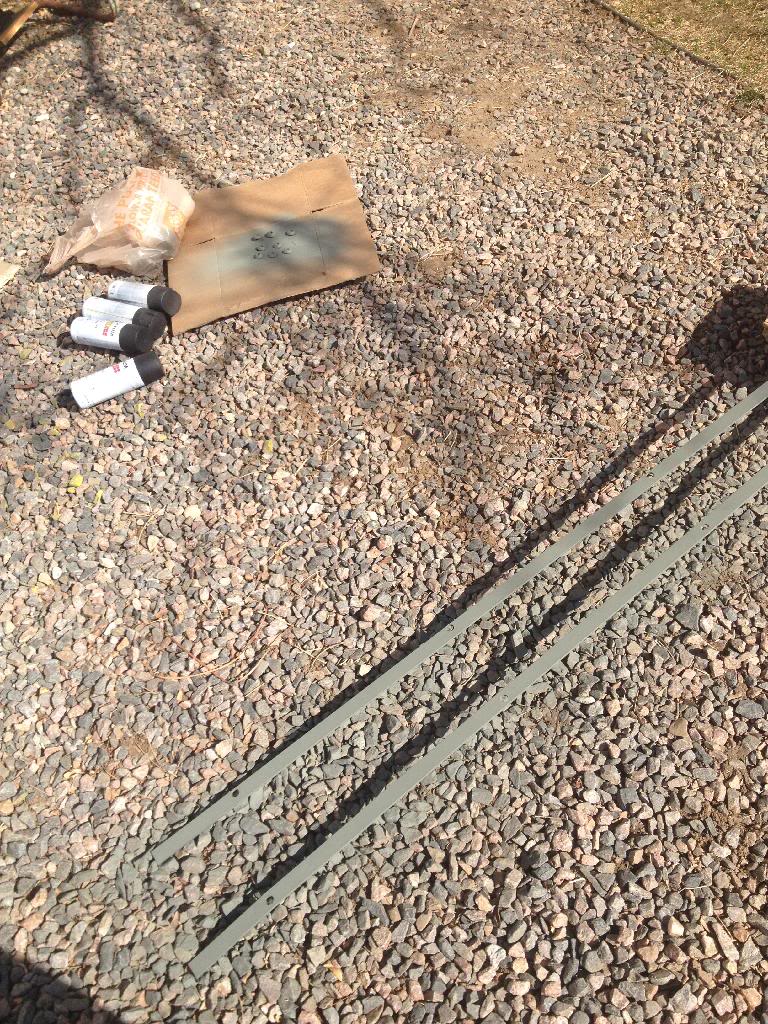
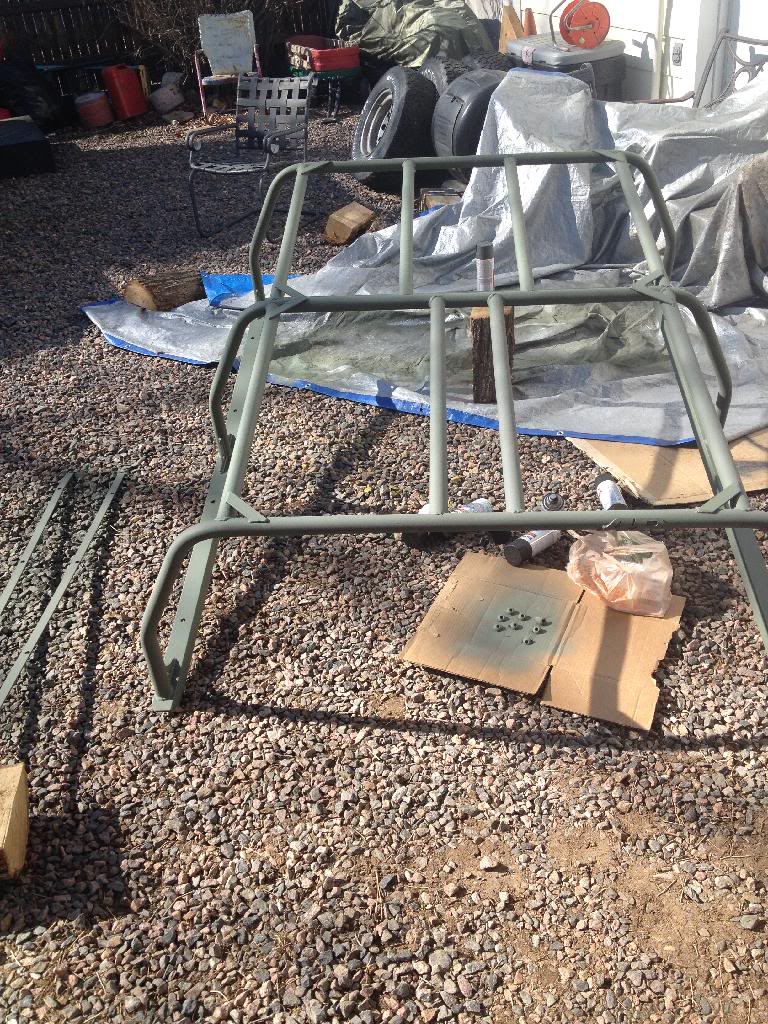
and on to the bed rack
the parts i ordered from all pro offroad and added 4 more of the cross members and 4 more of the bottom corner gussets
the kit is for 95+ tacos so i did not order the bed rails. instead i used some 2x2 angle for the sides and one 1.5x1.5 angle for the back of the bed just for support/more places to mount things in the future. and secured it down with 4 1/2 inch bolts on each side.

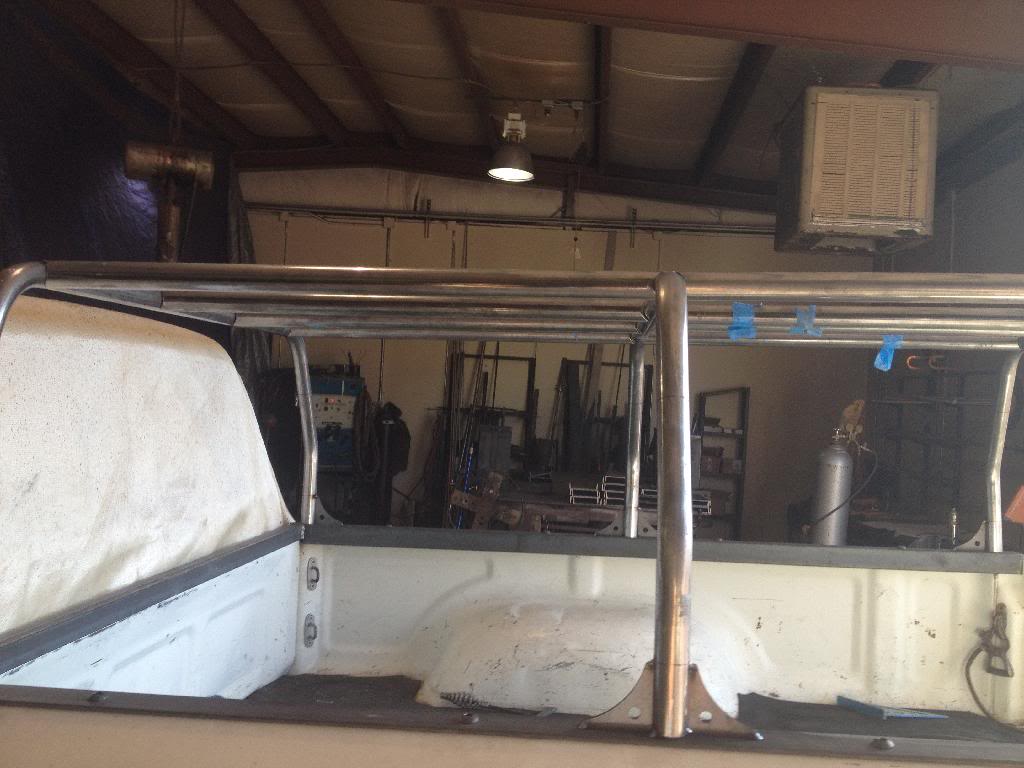
then i got it welded at the same time as the sliders
flex pic/ rack
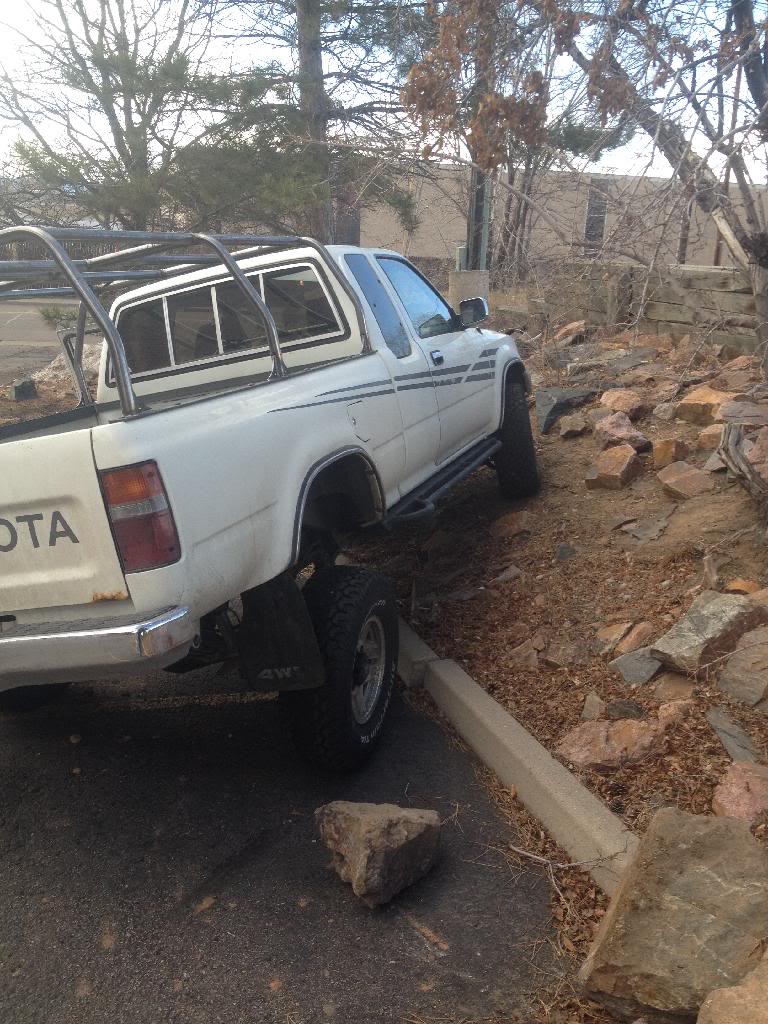
i dont think you can see any of the top but i cut out 8 angles from 3/16 by 1 inch bar stock and had them welded on to the top corners.
i do have pictures of this being painted.
im very happy with it
i do like that it does stick out a little more then the cab and it does make a good jungle gym for my friends at school
next if i can talk my dad into letting me will be converting my ac pump in an OBA and thats something i really want to do so if you guys have done this please help it looks like it will be a pain in the ass to get to the pump and get air lines there and wiring from the clutch.
thanks guys and sorry about the long time between posts.
ok so i got the sliders finished and painted
we put bondo on the welds because they where not that pretty
sorry no pics of painting but i went to the welder and got them welded on


and on to the bed rack
the parts i ordered from all pro offroad and added 4 more of the cross members and 4 more of the bottom corner gussets
the kit is for 95+ tacos so i did not order the bed rails. instead i used some 2x2 angle for the sides and one 1.5x1.5 angle for the back of the bed just for support/more places to mount things in the future. and secured it down with 4 1/2 inch bolts on each side.


then i got it welded at the same time as the sliders


flex pic/ rack

i dont think you can see any of the top but i cut out 8 angles from 3/16 by 1 inch bar stock and had them welded on to the top corners.
i do have pictures of this being painted.


im very happy with it
i do like that it does stick out a little more then the cab and it does make a good jungle gym for my friends at school
next if i can talk my dad into letting me will be converting my ac pump in an OBA and thats something i really want to do so if you guys have done this please help it looks like it will be a pain in the ass to get to the pump and get air lines there and wiring from the clutch.
thanks guys and sorry about the long time between posts.


