Toyota Tundra: How to Replace Brake Master Cylinder
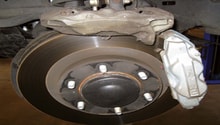
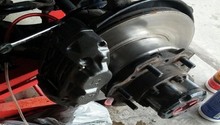
Brake pads, calipers as well as rotors should be inspected, cleaned, and replaced as needed. Another often overlooked component is the master cylinder. When it needs to be replaced (125,000 miles recommended), you can tackle this job in your own garage.
This article applies to the Toyota Tundra (2000-present).
So you have narrowed down the issues with your Tundra's brakes to the master cylinder. There are several components that make up the master cylinder, so how difficult is this going to be? The good news is that a master cylinder won't break your bank and it can easily be changed out yourself. This is much more economically feasible than trying to rebuild it, and as easy as it is to replace, just pick up an entire unit and get started. If you prefer, you can always take it to a pro to do this work for you, but they will charge you a good deal to do it. If you are into saving cash, give yourself a couple of hours and you'll be done in no time. The most time consuming and difficult aspect of this job is completely bleeding the lines and making sure that you properly adjust the push rod for the new cylinder.

Materials Needed
- Bleeder tubing and catch container
- Several pints of new brake fluid
- Master cylinder bleeder kit (optional, as it may come with replacement cylinder)
- 10-12mm box or line wrench
- Ratchet and socket set
- Plastic bags, shop rags, paper towels
- Latex gloves
- Helper to pump brake lines for bleeding
Remember to always use fresh and un-opened brake fluid because once opened, it begins collecting moisture and you do not want that in your brake line. Brake fluid is also very caustic and will eat paint, and is certainly not good to absorb into your skin.
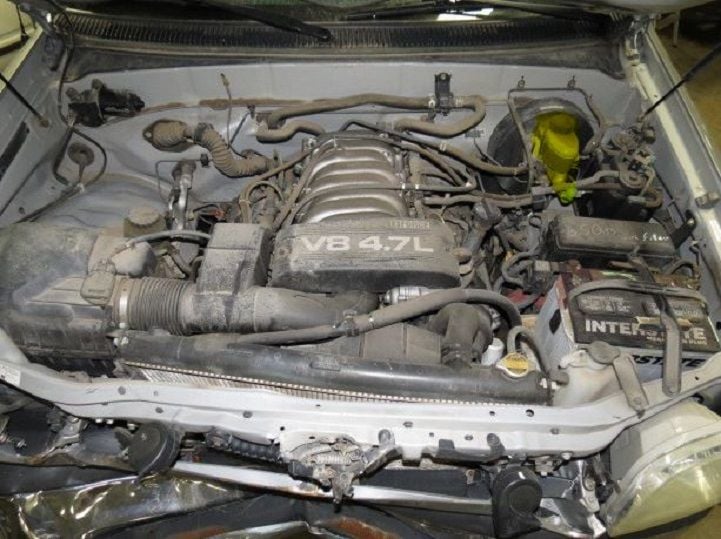
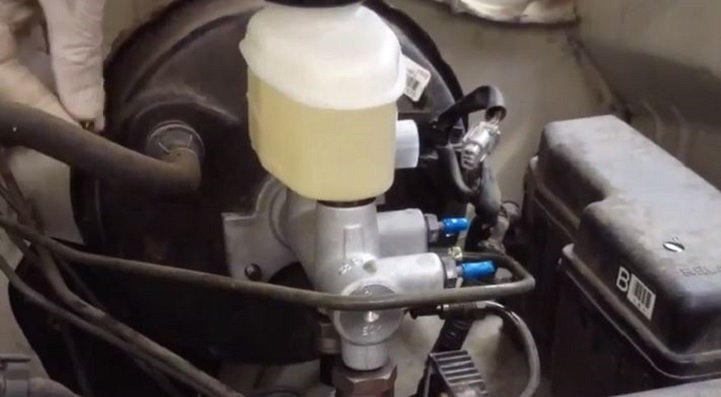
Step 1 – Pop hood and locate master cylinder
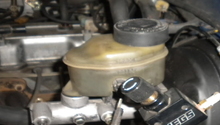
Raise your hood and locate the master cylinder near the firewall on the driver's side. The reservoir sits on top and the entire unit that is bolted onto the front of the big brake booster dome. There will be a couple of connections on the bottom to pop off and a couple of mounting bolts in addition to the two brake line ports to remove.
Pro Tip
Before getting started, place plenty of shop rags or plastic bags ready to catch the brake fluid that is going to leak. Brake fluid will eat paint almost instantaneously.
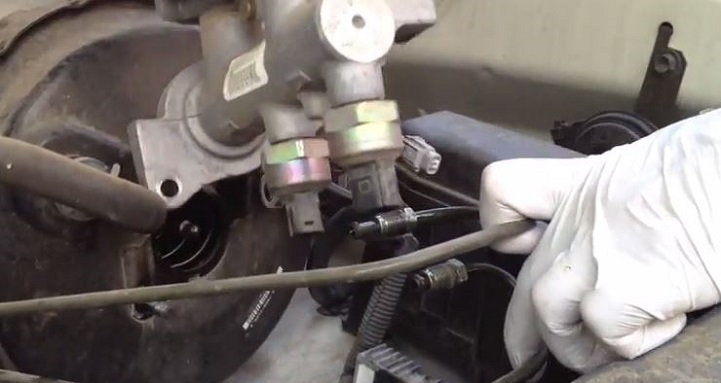
Step 2 – Disconnect the sensors
On the bottom of the cylinder, you will find two electrical sensor connections. These are quick release wiring harnesses that simply pop right off when you depress the tabs on each side. Disconnect these two sensors first. At least one or more of your sensors may actually be connected to the side of the reservoir. In either case, make sure that all the wiring harnesses are disconnected.
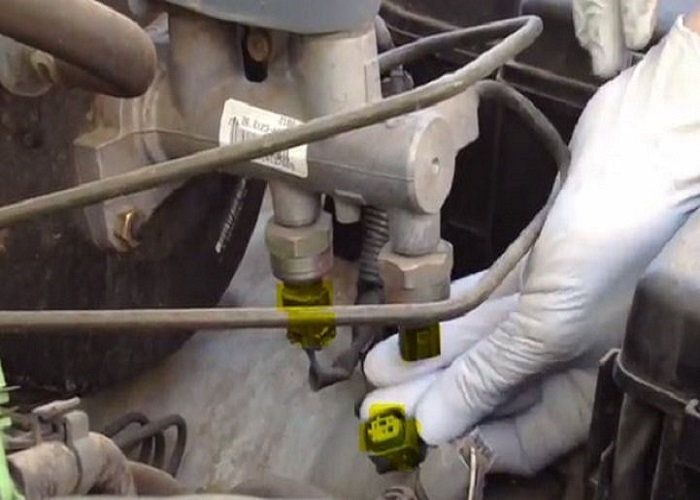
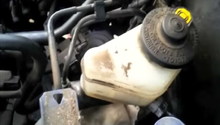
Figure 2. Disconnect the sensor wiring harness from the bottom of the cylinder. 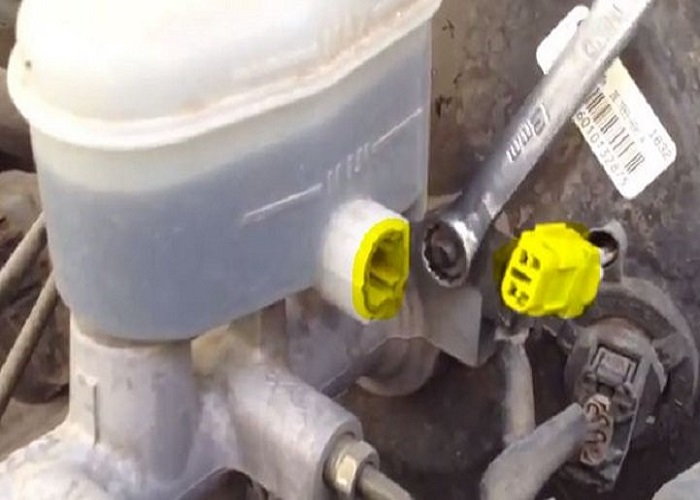
Figure 3. If your model has a wiring harness for the reservoir level sensor on the side, disconnect this one as well.
Step 3 – Disconnect the brake lines
Two hard brake lines come out of the right side of the cylinder. These are are simply mounted with a nut that is removed with a standard 10mm box wrench. If your cylinder is pretty rusty, you may want to give it a shot of a penetrating lubricant to avoid snapping these nuts, as they can be seized on there pretty good. Once these are off, you will get some brake fluid leakage. Do not get this on any painted surface and have something below to catch the fluid. At this point, you have introduced air into your system and you will need to do a full brake system bleed after the installation.
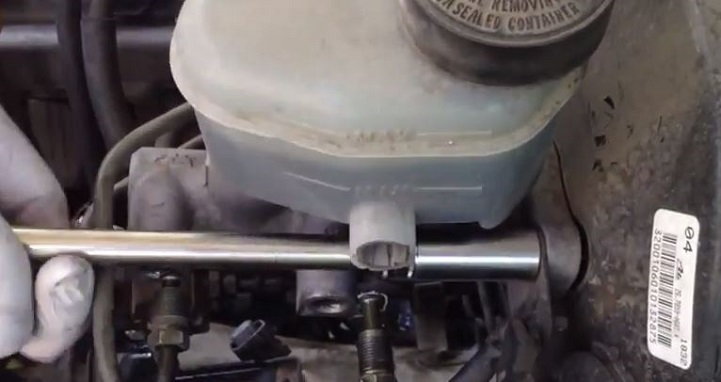
Step 4 – Remove cylinder from the brake booster
There are also two bolts that mount the master cylinder to the brake booster. Remove these with either a box wrench or a socket, whichever is easiest to get in there and get the job done.
Step 5 – Pull the master cylinder
Once the mounting bolts are removed from the booster, the cylinder pulls right out. Be very careful in this entire process and particularly with this step that you don't damage the hard brake lines. Running new hard brake lines is a beast of a job, so take care not to bend, kink or otherwise damage these lines.
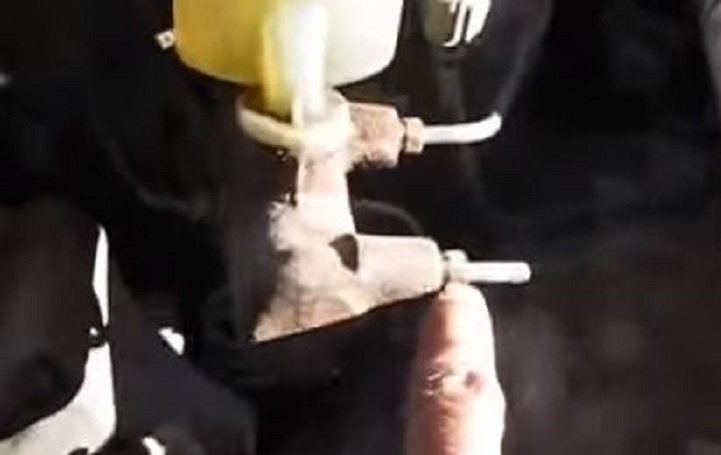
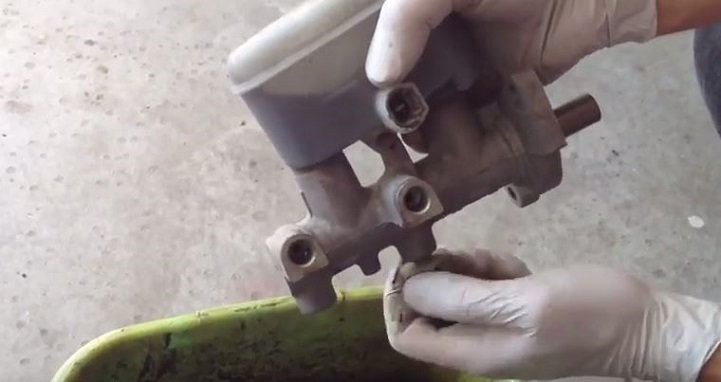
Step 6 – Remove sensors from bottom of cylinder
You will need to remove the old sensors and re-use them on the new master cylinder. You will probably need a wrench to break them free, after which, they should come right off without any tools.
Step 7 – Prepare (assemble) new master cylinder
Your new master cylinder may or may not be plug and play. In the least, you will have to install the new sensors. You may want to clean them up first with a little brake cleaner before installing them in the new cylinder. Your new cylinder also may have come with bleeder adapters to pre-bleed the air out of the cylinder before installing. If you wish to do so, you may also purchase a kit to do this prior to installing. This may prevent the need for bleeding the entire system after installation.
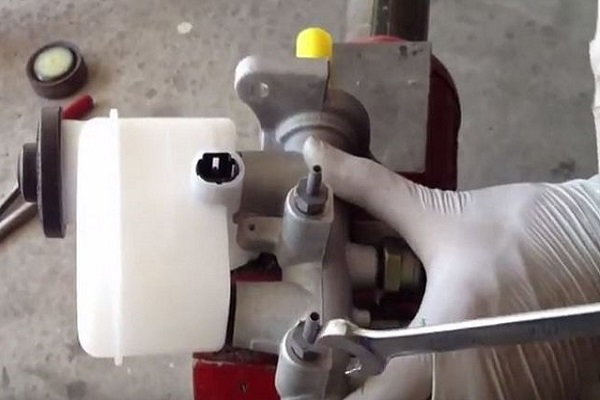
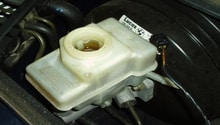
Figure 8. Pre-assemble anything needed on the new cylinder before installing in the truck. 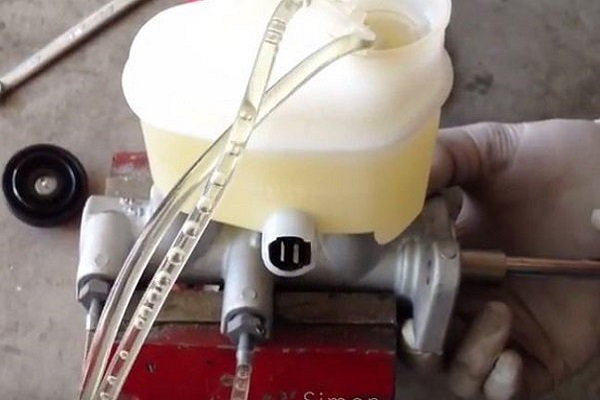
Figure 9. Kits are available to pre-bleed the cylinder to get rid of any air inside before you install on the truck.
Step 8 – Install the new cylinder
Whether you opt to pre-bleed the cylinder before installing, you will need to have the cylinder filled with fresh new brake fluid before you install it on your Tundra. When re-attaching the hard brake lines, thread them by hand until snug and be very careful as it is very easy to cross thread these nuts.
- Mount the cylinder to the brake booster first.
- Re-connect the sensor wiring harnesses.
- Re-connect the brake lines.
- Hand tighten the nuts, being very careful not to strip or cross thread them.
- Have someone press the brake pedal all the way down.
- Use a box or line wrench to back out the nut.
- The brake pedal will drop to the floor, so make sure to keep it there.
- Tighten the nut.
- Let off the brake pedal and then repeat for the other brake line.
- This ensures that you don't get additional air into the lines after the master cylinder is installed.
- Make sure to maintain a full cylinder of brake fluid throughout these steps.
- Regardless if the master cylinder was pre-bled, you may still need to bleed the brake lines at the calipers using the bleeder valves. Work these lines in the order of right rear, left rear, right front, left front.
- Close the bleeder valve before removing the bleeder tubing.
- Pump your brakes with slow, short strokes and re-check the level in the master cylinder. Add more as needed, but don't go above the max-fill line.
- Make sure there is no additional leakage from the master cylinder.
- Test drive your Tundra in wide open area with no traffic or hazards before taking it out into traffic.
Featured Video: Toyota Brake Master Cylinder Replacement
Related Discussions
- Bad Master Brake Cylinder? - YotaTech.com
- Bleeding Master Cylinder - YotaTech.com