Toyota 4Runner 1996-2002: How to Replace Brake Master Cylinder
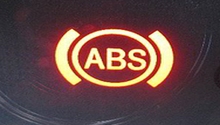
Has your brake pedal become spongy, or does your foot go all the way to the floor when you try to press it? It might be time to replace your brake master cylinder.
This article applies to the Toyota 4Runner (1996-2002).
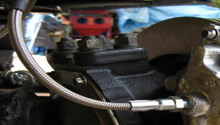
The brake master cylinder is bolted to the firewall and converts pedal pressure to hydraulic force, applied through the brake lines and to the brakes. When the master begins to fail, usually from a compromised seal, insufficient pressure is built, resulting in reduced braking performance and, often times, an inconsistent brake pedal, possibly prone to collapsing. If your brakes have been acting up and you suspect the master, let's get it done today with this handy how-to.

Materials Needed
- 10mm wrench
- 12mm socket and ratchet with extension
- Brake fluid
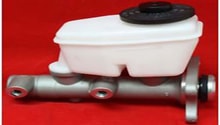
- Replacement master cylinder
- Shop rags or paper towels
- Drip pan (optional)
Step 1 – Remove old master cylinder
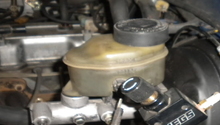
Pop the hood and locate the master cylinder. Because brake fluid is nasty and corrosive stuff that can ruin your paint if it comes into contact with it, it's highly recommended that you remove as much as possible from the reservoir before disconnecting the brake lines. This can be done with a fluid pump or syringe. Alternatively, you can use a drip pan and some rags to clean up the mess when you disconnect the line.
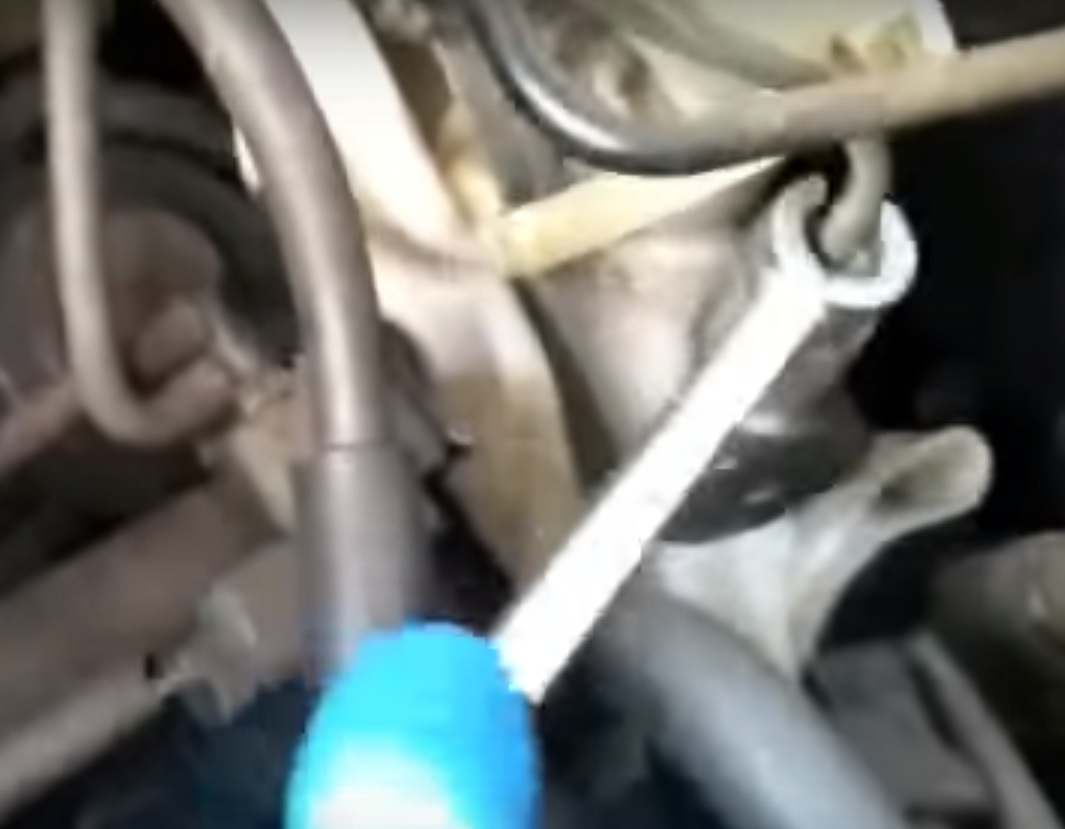
Once you've drained as much fluid as possible from the master cylinder, remove the nut holding the brake line in place on the front of the reservoir with a 10mm wrench. Remove the two nuts on the rear of the master cylinder with a 12mm socket wrench and extension. Remove the plug connected to the master cylinder and lift it out, being careful not to spill brake fluid on your paint.
Step 2 – Install new master cylinder
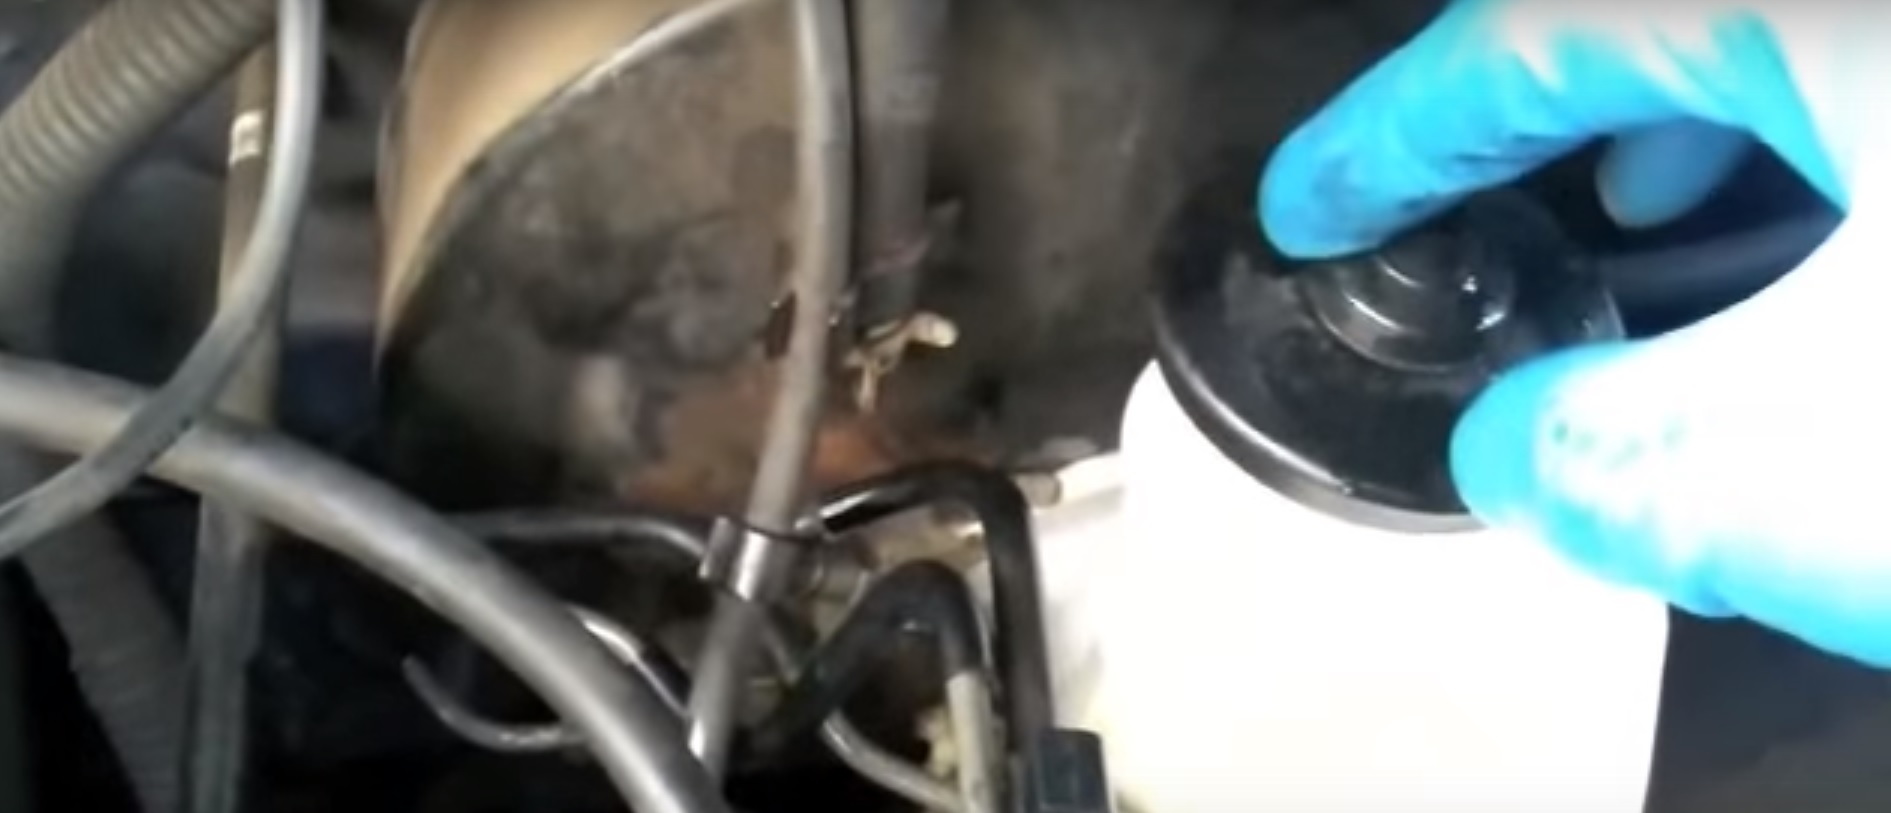
Set the new master cylinder in place and install the two rear nuts. Install the plug and the brake line, then the brake line nut. Fill the master cylinder to the fill line with fresh brake fluid.
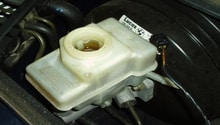
Step 3 – Bleed the system
With the top of the reservoir off, press the brake pedal three to four times, then hold it. Repeat this process until there are no air bubbles coming out of the reservoir. It helps to have a friend press the brake pedal while you watch. Once there is no more air in the system, top off the reservoir with fluid and replace the top.
Featured Video: How to Change Toyota Brake Master Cylinder
Related Discussions
- Bad Master Brake Cylinder - YotaTech.com
- Bleeding the Master Cylinder - YotaTech.com