Toyota 4Runner and Tacoma: How to Replace Brake Line
The brake lines, just like any other lines, can leak after a while due to corrosion or off-road damage. However, with the brake system, a small leak can completely change the way your Toyota Tacoma or 4Runner stops. Read on to learn how to change a brake line.
This article applies to the Toyota 4Runner (1996-2002) and the Toyota Tacoma (1995-2004).
The brake lines are exposed to various weather conditions on your Toyota Tacoma or 4Runner. The brakes are a high pressure, closed system, and once they start leaking, it will make the brake pedal will feel spongy, as well as affect the brake's performance. Replacing a brake line is a simple process; however, it requires you to bleed the brakes after. Read on to learn how to change your brake line and bleed the system.

Materials Needed
- Wrench
- Brake line wrench (optional)
- Bottle
- Hose
- Rag
- Brake fluid
- Brake line
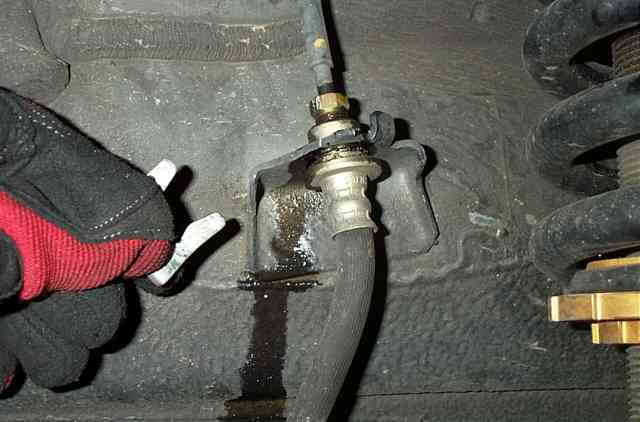
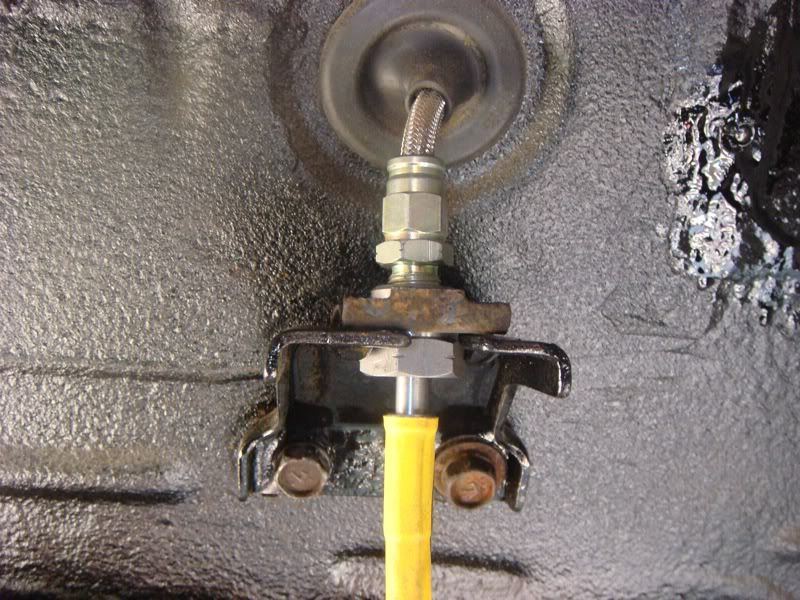
Step 1 – Remove brake line
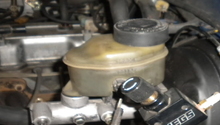
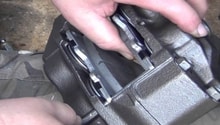
Once you figure out which line you need to remove, be prepared for some fluid leakage. Don't let the brake fluid drip on any painted surfaces. A special brake line wrench works best for holding the fitting on the hard line, but you won't need it in most cases. Use a wrench on both the hard line fitting, and the metal part of the rubber line. One it is free, pull the metal clip that holds it to the frame and it should drop out.
Step 2 – Install new line
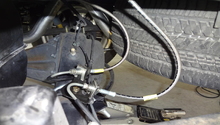
Connect the new brake line and route it the same way the old line was routed using any clamps that was being used. This ensure your line won't rub against anything, which can eventually cause another leak. Tighten the nut and make sure it's not leaking. Wipe off any fluid around.
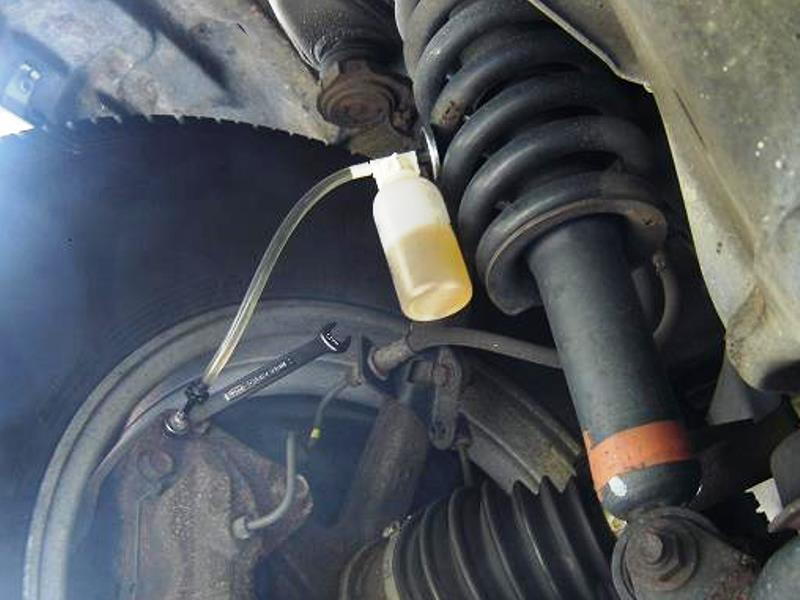
Step 3 – Bleed the brakes
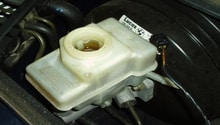
Once you remove a brake line, you introduce air into the brake system, and since the brake system is a closed hydraulic system, it has to stay air free. The bleeding sequence starts from the passenger's rear wheel, then the driver's rear wheel, then the passenger front wheel, and ends with the driver's side. Connect the clear hose to the bleeder valve on the back of the caliper, then connect the other end to a bottle. Ask a helper to pump the brake pedal a few times, then keep it pressed down. Loosen the bleeder valve on the brake caliper, then tighten it back on when you stop seeing bubbles. Don't let go of the brake pedal until you've tightened the valve. Make sure you top off the master cylinder with brake fluid between each wheel.
Related Discussions
- Brake Line Replacement - YotaTech.com
- Rear Brake Line - YotaTech.com
- Brake Upgrade - YotaTech.com