Toyota 4Runner 1984-1995: How to Replace Brake Fluid
For safety reasons, the brake fluid of your car should be replaced with regular intervals of one to two years. Find out how to do it yourself.
This article applies to the Toyota 4Runner (1984-1995).
Brake fluid is hygroscopic, meaning it absorbs moisture. As time goes by and also as more miles are put to your car, the brake fluid contains more and more water. This could affect the brakes' ability to stop your car and the water could also create premature wear on the brake components. Making sure that your car has fresh brake fluid at all times is a cheap insurance to prevent unnecessary (potentially expensive) repairs of the brake components.
The replacement intervals of the brake fluid vary depending on how the car is used, but is usually every second or even every year. To make sure not to exceed the replacement intervals, check the maintenance schedule for your car.
The procedure to replace the brake fluid is known as bleeding the brakes. There are many ways to bleed the brakes. It is possible to bleed the brakes without any special equipment using a second person to press the brake pedal. It is, however, easier and safer to use some type of break bleeding kit. There are very inexpensive kits available (around $20), so there is no need to use anything else. The description below uses a more expensive Motive power bleeder, but the procedure is very much the same no matter what power bleeder you use.

Materials Needed
- 25 oz of brake fluid
- Turkey baster
- 10mm wrench
- Brake bleeding kit to pressurize the brake fluid reservoir
- Hose that fits the bleeding nipples and an attached bottle (kits are available)
- Paper towels
- Regular water
- Marker
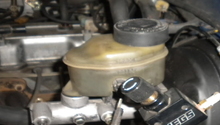
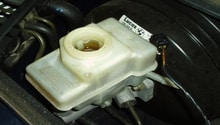
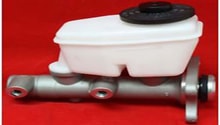
Step 1 – Empty brake fluid reservoir
Put plenty of paper towels around the brake fluid reservoir to make sure not to spill any brake fluid on your car, since brake fluid eats paint. Then use a turkey baster to empty as much of the brake fluid in the reservoir as possible.
Pro Tip
Be very careful with the brake fluid because it will eat the paint on your car if spilled. If you accidentally spill some brake fluid on some painted area of your car, immediately pour plenty of water on the area affected until any remains of the brake fluid is gone.
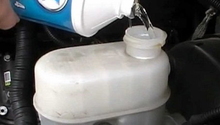
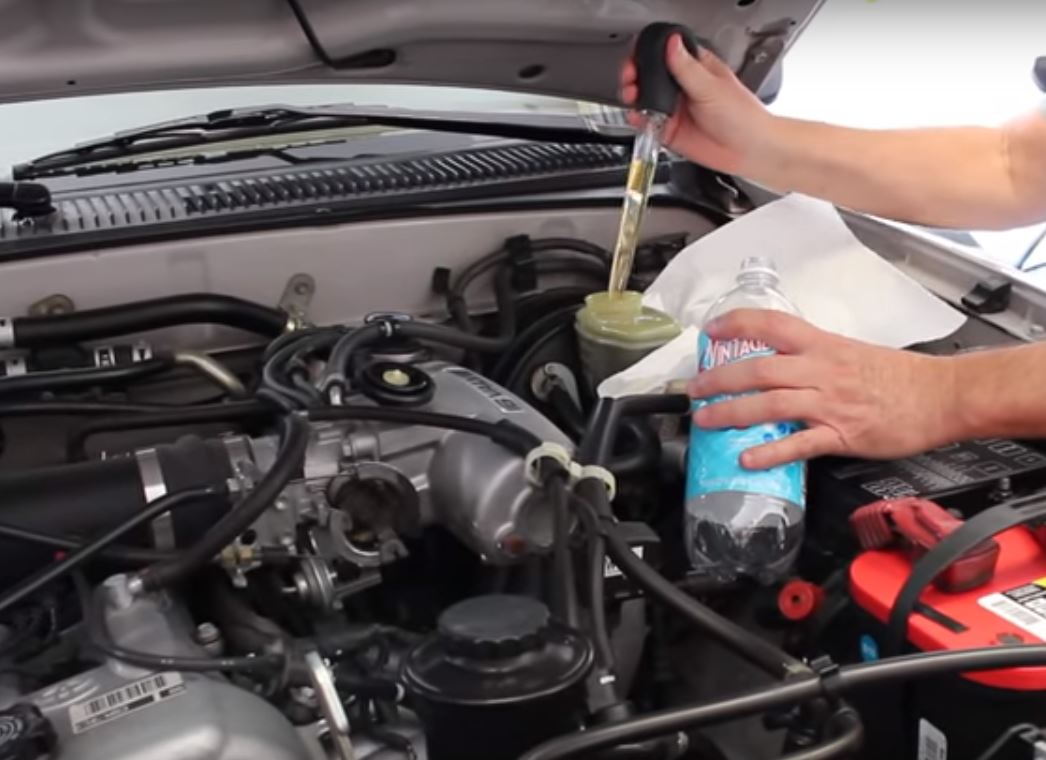
Step 2 – Fill with fresh brake fluid
There are different kinds of brake fluid available (DOT4 is compatible with most all braking systems), but please refer to your car's manual to get the proper kind of brake fluid for your car.
Depending on the power bleeding device you are using, there are basically two different approaches to fill new brake fluid (read the manual for your power bleeding device to get this right):
- If you are using a Motive power bleeder or similar, you pour the fresh new brake fluid into the power bleeder.
- If you are using a simpler power bleeding device, you fill the brake fluid reservoir of your car with fresh new brake fluid. It is okay at this stage to fill the reservoir a bit over the maximum level mark since you are going to bleed out some fluid, but be careful not to get any spillage.
Pro Tip
Be careful not to get any spillage of brake fluid just as when you emptied the reservoir.
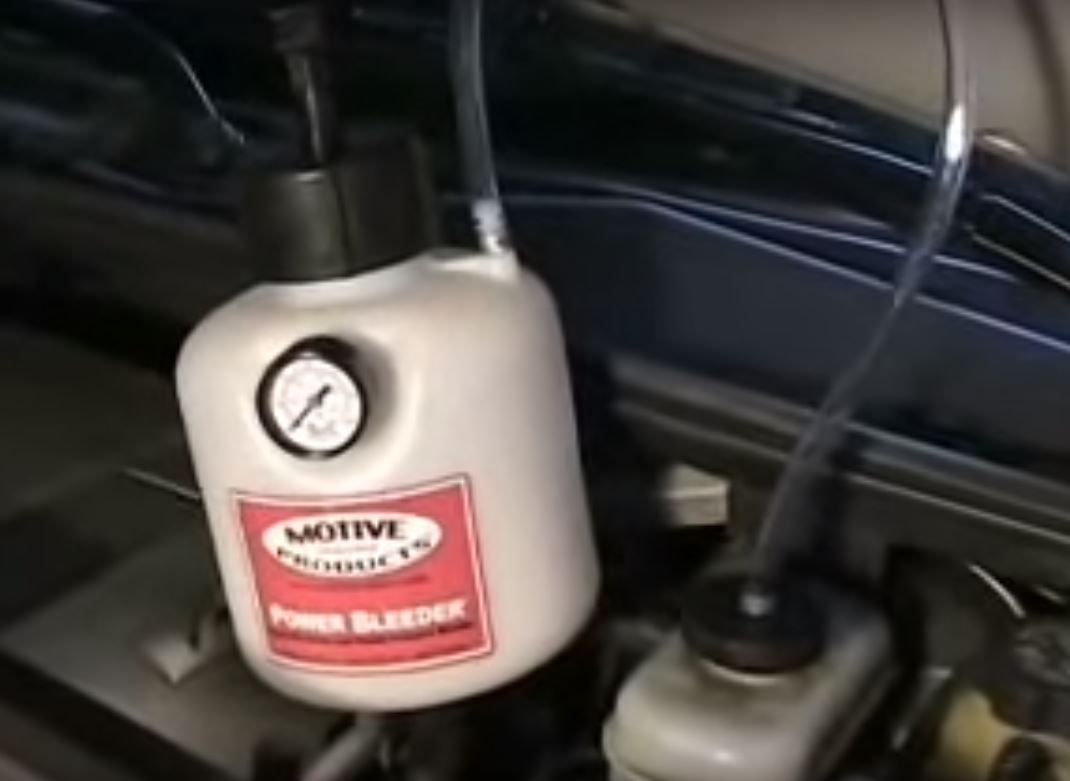
Step 3 – Attach the power bleeder
Screw on the brake fluid reservoir lid from the power bleeder and make sure you pressurize the brake fluid reservoir according to the instructions of the power bleeder. With the Motive unit for example, pump up the reservoir to about 15psi and get the flow of brake fluid going.
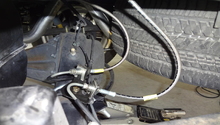
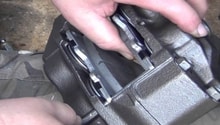
Step 4 – Bleed the brakes
Get under the car to find the brake calipers behind the wheels. Start with the brake caliper farthest away from the brake fluid reservoir (the rear right wheel). The bleeding nipples are covered with small rubber caps that has to be removed before bleeding.
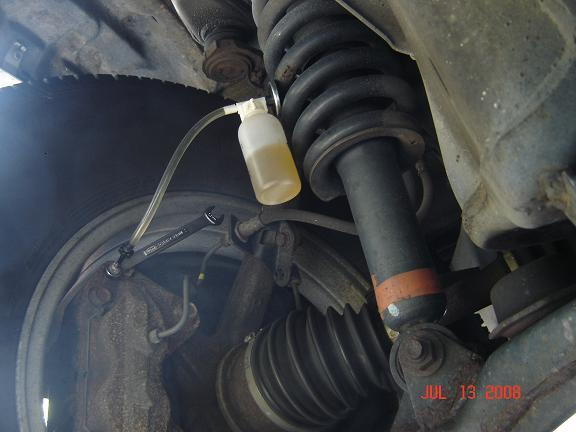
Remove the rubber cap and attach the hose connected with the bottle to the nipple. If possible, it is a good idea to keep the bottle higher than the nipple during the bleeding to make it easier to see if there are air bubbles in the braking system.
When the hose is firmly attached to the nipple, take the wrench and loosen the nipple until you see brake fluid filling the hose and pouring down in the bottle. Bleed a small amount of brake fluid (less than 5 oz). Make sure not to empty the brake fluid reservoir of your car completely. If this happens, you will get air in the braking system that must be removed by bleeding the system again thoroughly.
Pro Tip
Take a marker and make markings on the bottle to make it easier to see how much brake fluid you have bled from each caliper. This also minimizes the risk that you empty the brake fluid reservoir by mistake.
Step 5 – Repeat
When one caliper is bled, check if more brake fluid is needed and if the pressure of the power bleeder is adequate. If needed, add more brake fluid and adjust the pressure.
Repeat Steps 2 to 4 for each caliper in the order of bleeding the caliper farthest away from the brake fluid reservoir first and the caliper closest to the reservoir last.
You can bleed the same amount of brake fluid from each caliper (6 oz) or a little bit more from the rear calipers and less from the front calipers to compensate for the longer brake lines to the rear calipers. It is also a good idea to bleed twice from each caliper (bleeding half the amount each time) to make sure not to run out of brake fluid before all calipers have been bled.
Step 6 – Clean up
When all the calipers have been bled, put back the rubber caps on the bleeding nipples and remove the power bleeder. Make sure that the brake fluid reservoir is filled up to the maximum level mark, but not more. Make a final check for air in the braking system by pressing the brake pedal. The pedal should be firm and not spongy. If your pedal feels spongy, you have to bleed all the calipers again to get rid of the air.
Wipe the calipers clean from brake fluid and pour some water on them to make sure that all brake fluid is washed away.
Now, enjoy your fresh brakes!
Featured Video: How to Bleed Disc Brakes
Related Discussions
- Easy Brake Fluid Change - YotaTech.com
- How Much Brake Fluid - YotaTech.com
- One Man Brake Bleeding - YotaTech.com