Toyota Tundra: Brakes Diagnostics Guide
If you are having issues with your brakes, don't neglect them any longer. Find out what could be the issue and get them corrected straight away.
This article applies to the Toyota Tundra (2000-present).
Running down a problem with your braking system isn't always the easiest thing to do. Most brake problems can be fixed as a DIY job easily enough; however, figuring out what the root cause is can be a challenge. It may be that your warning light is on, a noise or vibration, or even a leak from somewhere. Whatever the symptom, running down the cause can be very costly if you take it to a professional. Read this guide to learn what the culprit likely is, and get it fixed as soon as you can. You don't want to mess with your brakes, but you can save a bundle from fixing them yourselves. If you aren't up for the task, just running down the problem will help save you some cash in labor costs so your pro can get right down to it. If you have just a couple of hours and a few basic tools, you can diagnose and resolve the problem in the comfort of your own garage.

Materials Needed
- Breaker bar with lug wrench
- Flat head screwdriver
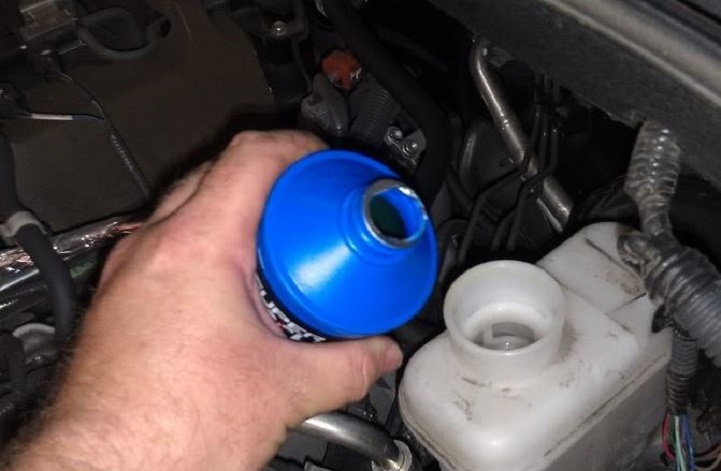
- Bleeder hose and catch basin
- Brake fluid
- Brake pad and caliper grease
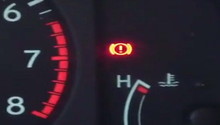
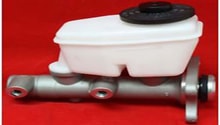
Step 1 – Check the brake fluid level
Your brake fluid level could be low.
Even if your fluid level appears to be fine, double check it. Make sure that it is filled to just below the max line. The sensors in these Toyota trucks are very sensitive, and can cause your warning light to illuminate. If you are stopping short, flooring it on takeoff, or taking hard turns, this could cause the level to fluctuate enough to trigger the sensor.
If your master cylinder is filled up sufficiently, it's time to start checking some hardware.
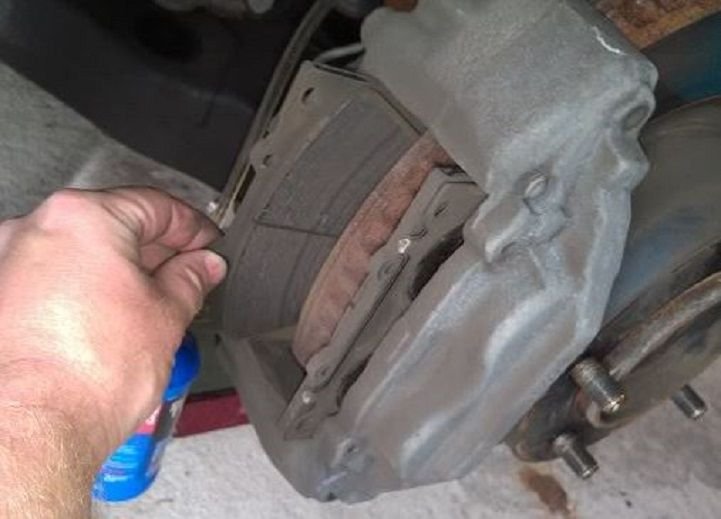
Step 2 – Inspect your brake pads
They might be getting worn.
When your brake pads get worn, the caliper pistons have to travel farther, sucking more brake fluid as they go. Inspect your pads for wear, and also double check the master cylinder when the brakes are depressed all the way. Changing out your brake pads is a really simple job that will take only a matter of minutes per wheel.
Pro Tip
Always replace brake pads in pairs; do both fronts or both rears even if only one of the pair are bad.
If your brake pads are looking good, dig a little deeper and inspect the calipers.
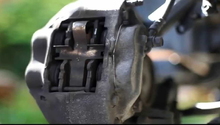
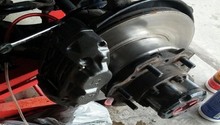
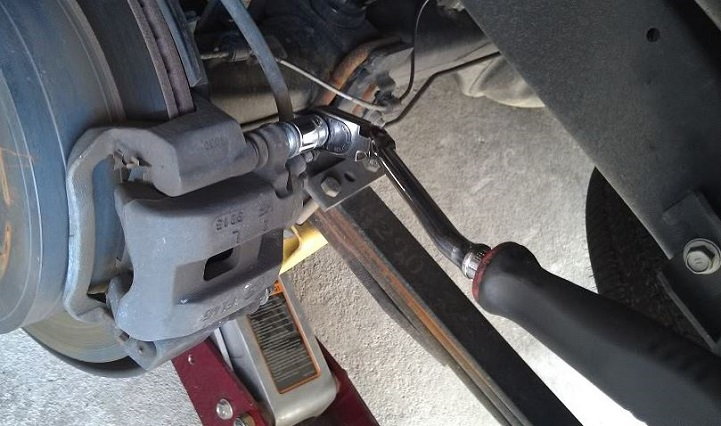
Step 3 – Inspect your brake calipers
They may be worn or damaged.
There are several components that make up a set of calipers and any one of these could be worn or broken and will need to be replaced. The calipers are a big culprit. They could be worn or getting bound up and not traveling the full distance, or they could be traveling too far and getting hung open and dumping fluid. Be sure to check the front and the rear calipers. The rear will come off in two sections, the caliper itself and then the caliper bracket, which holds the pad in place. The calipers may just need a good cleaning, an then a copious amount of grease on the pistons and where the backs of the brake pads touch.
(Related Article: How to Replace Brake Pads, Calipers, and Rotors - YotaTech.com)
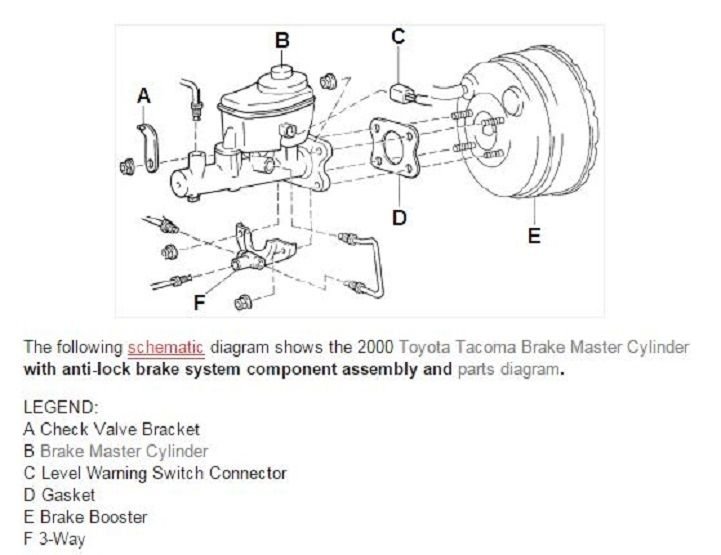
Step 4 – Inspect the master cylinder for leakage
The seal or O-ring from the bottom of the cylinder may be old, cracked or brittle and started to leak.
The base of the master cylinder could have begun a small leak, one that is expounded by freezing or very cold weather. This will cause a low level fluid sensor to fire off a brake warning light and eventually lead to failure if the fluid isn't replenished and the problem taken care of.
If your problem is more of a thumping as you apply brakes, you have a rotor problem.
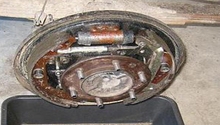
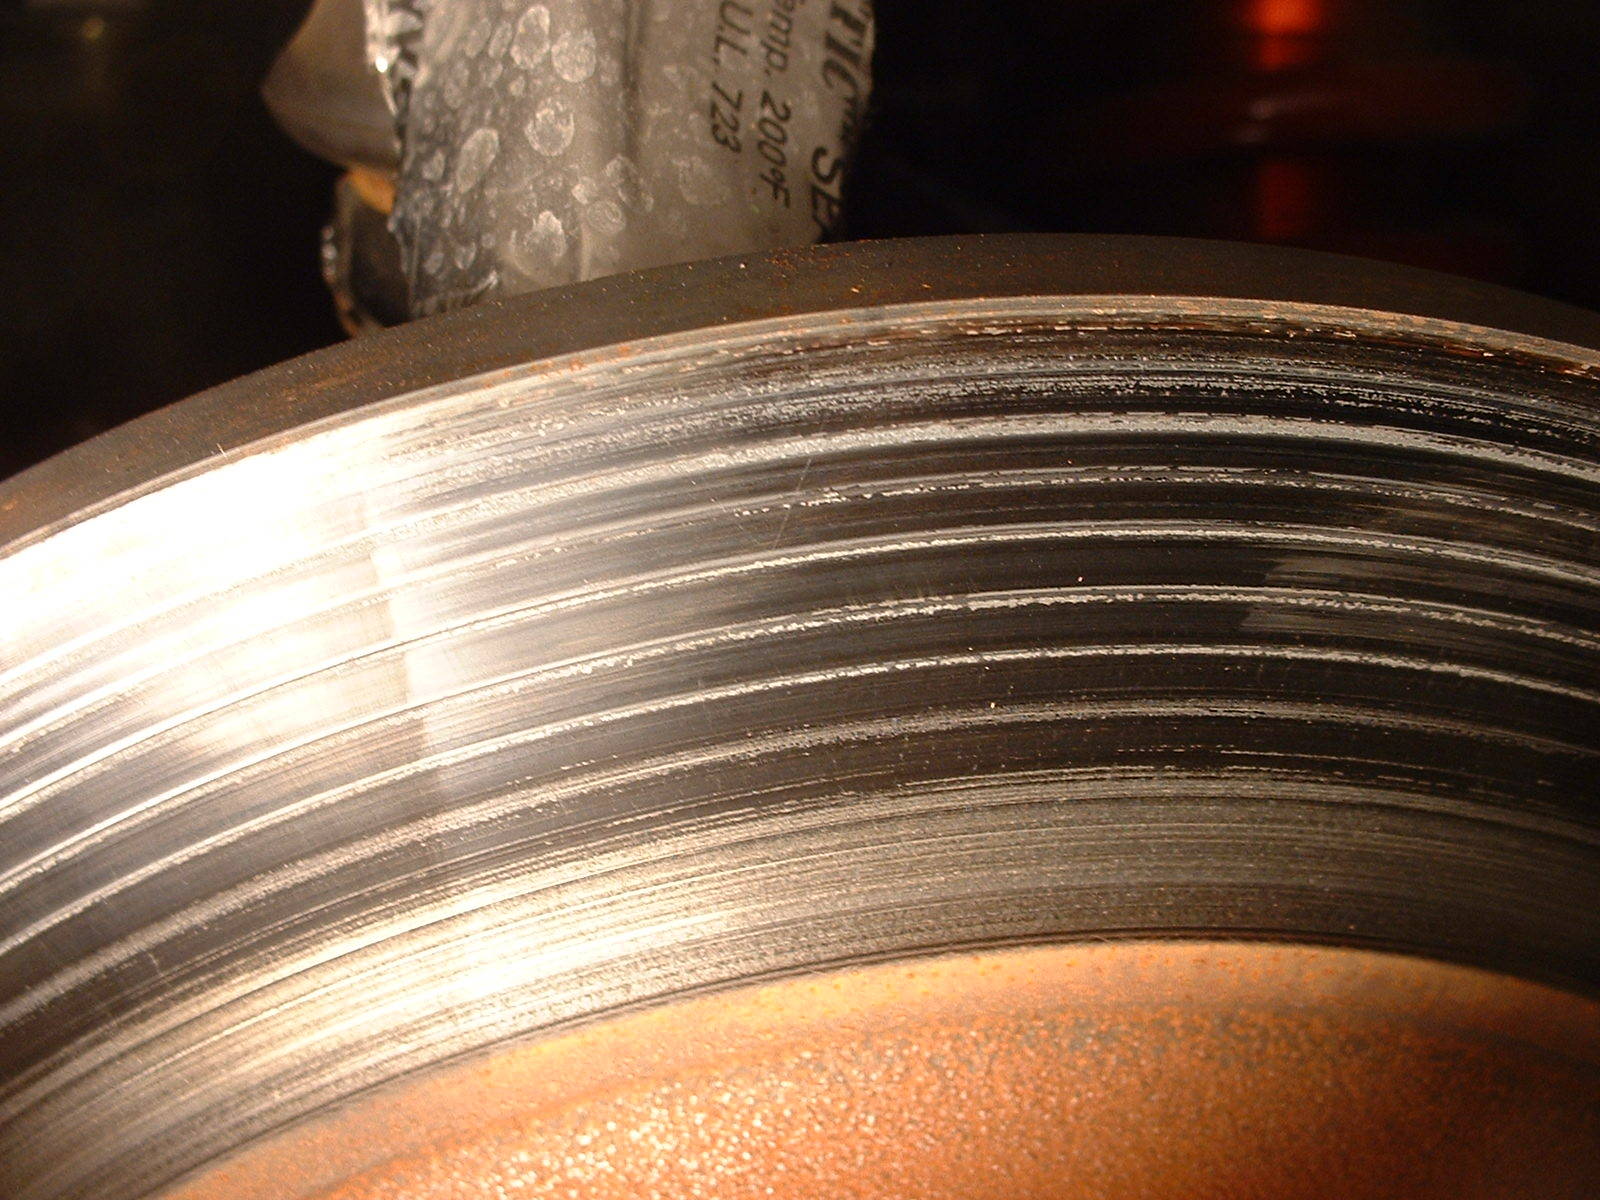
Step 5 – Inspect the rotors for warpage
Rotors can warp for a variety of reasons, and these will make the brakes feel like they are undulating when you go to stop.
Pull the wheels and the calipers off, then take a good look at your rotors. You may not be able to detect if it is warped, but you should be able to see uneven wear pretty easily. To get to these, everything has to come off, so you should take this time to inspect and clean all the other components while you are in there. Replacing the rotors themselves is really easy. Getting them off may be a little tough, but that is simply in muscle currency, not technical currency. Pull and replace your rotors; also, it is very likely that your brake pads need replaced.
Related Discussions
- What Causes Brake Warning Light Come On? - YotaTech.com
- Losing Brake Fluid in Freezing Temps - YotaTech.com
- Front Brakes on 98 Tacoma Questions - YotaTech.com
- Front Brakes Dragging - YotaTech.com