Toyota Tacoma: Tundra 231mm Brake Upgrade
Instead of spending extra money for "performance" brakes, why not just swap your factory brakes with Tundra brakes? The swap is pretty straightforward and only requires minor modifications. This how-to will show you what to do.
This article applies to the Toyota Tacoma (1996-2015).
The 231mm Tundra brake upgrade is popular among 4Runner and Tacoma owners because it's almost a direct swap with only minimal modifications needed to get them to fit. Before you decide on this swap, do some cost comparison. The larger Tundra brake calipers will need bigger brake pads and a thicker rotor. All of these will lead to a considerable performance upgrade to your brakes. Also, make sure that your wheels are large enough to accommodate the much larger brake calipers. If none of this deters you, and you want to make an awesome upgrade, then let's get to it.

Materials Needed
- 2 Toyota Tundra brake calipers
- 2 Toyota Tundra rotors
- 2 front brake pads
- Brake cleaner
- DOT 3/4 brake fluid
- Ratchet with sockets and extensions
- Breaker bar
- Lug wrench
- Flare nut wrench
- Open end wrench
- Torque wrench
- Dremel with cutting and sanding attachments
- One man brake bleeding kit
- Vacuum plug
- C-clamp
- Marker
- Jack and jack stands
- Clean cloth
- Protective eyewear and gloves
Before you begin, you'll need to lift the truck, set it on jack stands, and then remove the front two wheels.
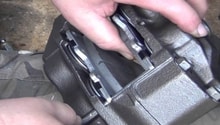
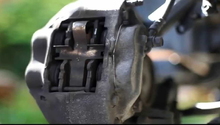
Step 1 – Remove the brake pads
Remove the retaining clip from the top of your calipers, then remove the clips and pins holding the brake pads in. You may need to wiggle the brake pads a little to remove them. If they still won't come out from the caliper because they're stuck against the rotor, you can use a c-clamp to force them apart.

Step 2 – Remove the caliper and rotor
Put down some cloth underneath the caliper. Then use a wrench to crack open the fitting holding the brake line to the caliper. Quickly loosen and remove the fitting, and then cover the brake line with a rubber plug to prevent brake fluid from spilling everywhere.
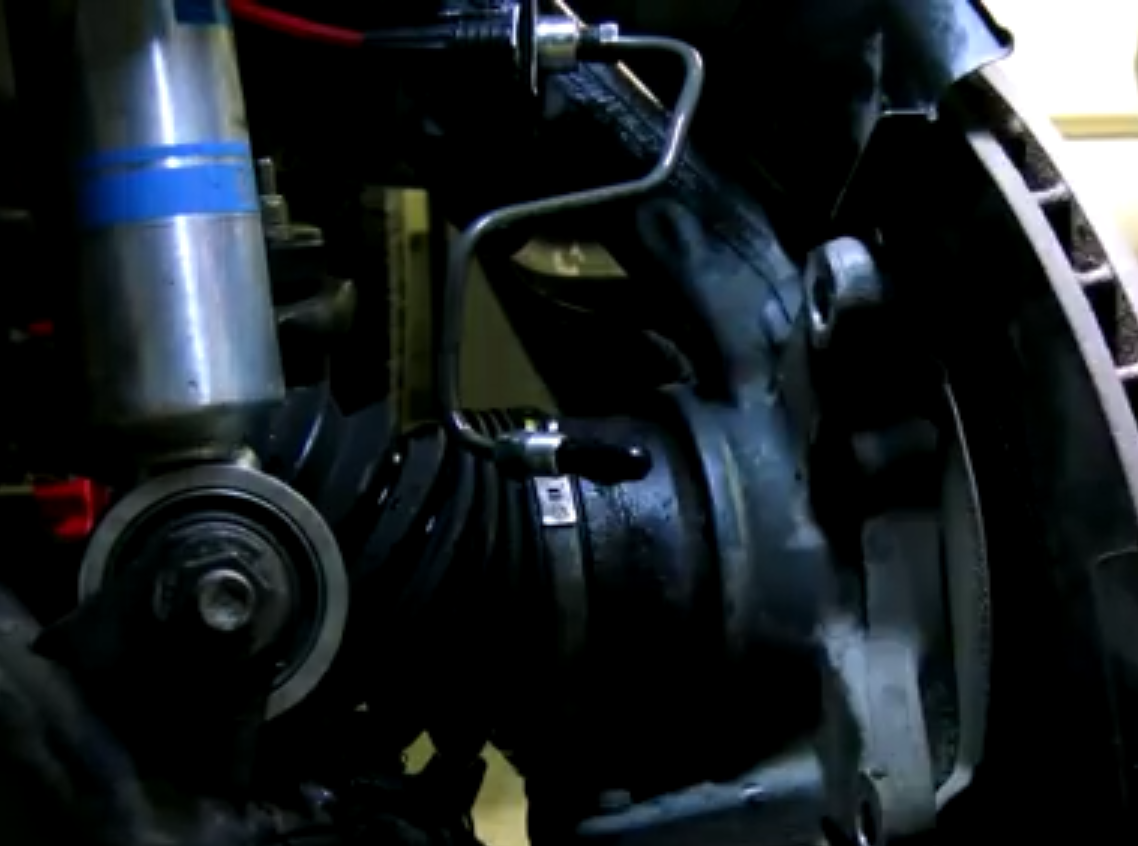
To remove the caliper, you'll have to remove the two bolts mounting the caliper to the knuckle. These bolts are pretty hard to remove, unless you first break them loose with a breaker bar. When you remove the last mounting bolt, make sure your'e holding onto the caliper, otherwise it will drop. After that, slide off the old rotor.
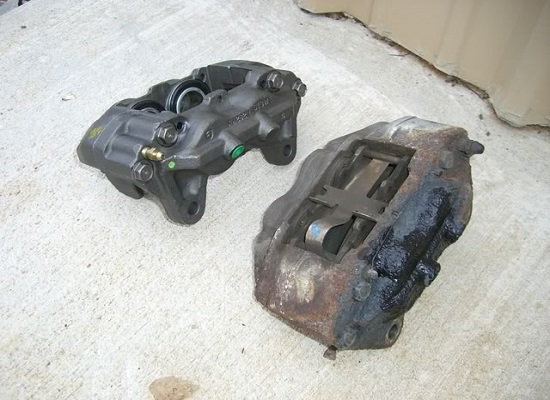
Figure 3. Remove the calipers. 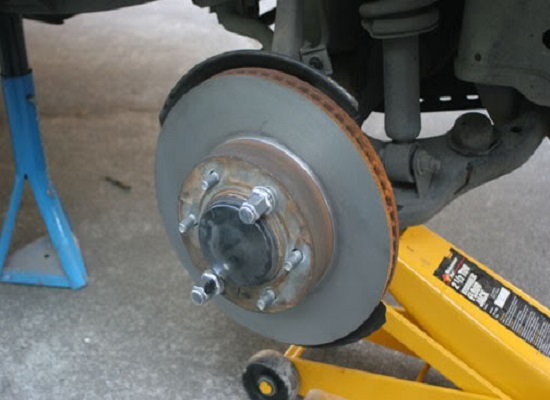
Figure 4. Remove the rotor.
Step 3 – Cut the dust shield
You can't put in the Tundra brakes right away, because it won't fit in front of the dust shield. Hold up your new brake caliper and line it up to the mounting holes on the dust shield. Trace around the caliper with a marker and then cut out the space with a dremel. After you're finished cutting sand down the edge a little more, then brush away any remaining dust.

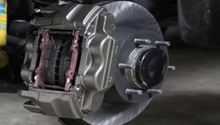
Step 4 – Install Tundra brakes
Slide on your new Tundra rotor. Slide the Tundra caliper over the rotor and torque the mounting bolts to 90 ft/lbs. Put in the brake pads and reattach the pins as well as clips fastening the pads to the caliper. Reattach the retaining clip. Make sure that the brake pads are properly seated to the caliper. Then unplug the brake line and connect it to the caliper.

Locate the bleeder valve on the new caliper. Put your box wrench over the valve. Your one man bleeder kit should have a plastic hose and a container. Fit the hose over the valve, then crack the valve open. Wait for brake fluid to flow through the caliper and into your bleeder. Keep bleeding until you stop seeing air bubbles coming through the line. Close the valve and then add brake fluid to your master cylinder.
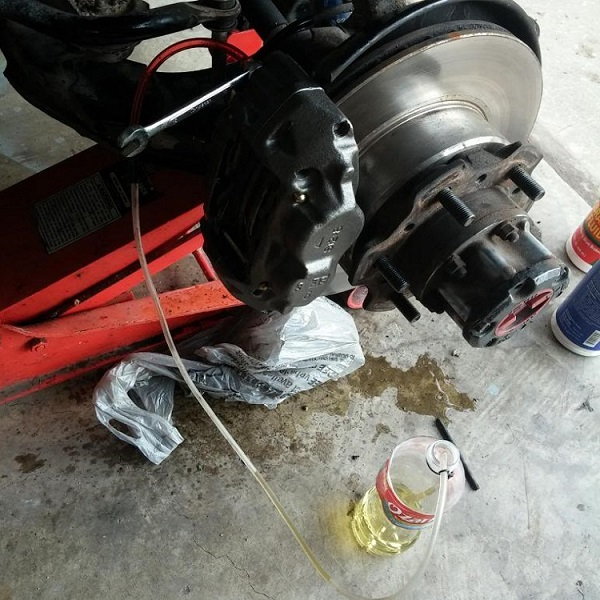
Figure 7. Bleed air out of the brakes. 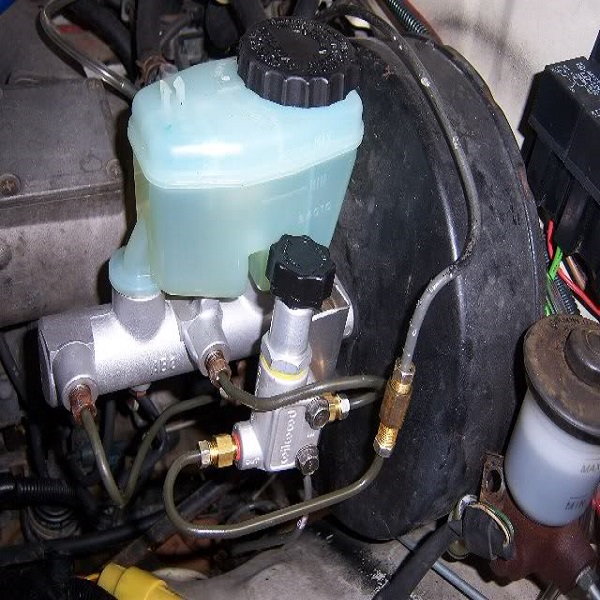
Figure 8. Add fluid to the master cylinder.
Repeat the previous steps for the other wheel. When you've finished installing your new Tundra brakes, reattach the wheels and lower the truck. It's always a good idea to break in a new set of brake pads. You do this by taking the truck out and repeatedly brake until the pads as well as rotor heat up. This will cause the pads to leave a thin film on the rotors. After doing this your brake pads will work better and last longer.
Featured Video: Tundra Brake Upgrade on 4Runner/Tacoma
Related Discussions and Site
- Tundra Brake Upgrade - PC'd Calipers Gloss Red - YotaTech.com
- Tundra Brake Upgrade FAQ - YotaTech.com
- My 231mm Tundra Brake Upgrade - YotaTech.com
- Specs, Info and Measurements on 231mm 13WL Tundra Calipers & Rotors - Toyota-4Runner.org