Toyota 4Runner 1984-1995: How to Replace Brake Pads and Rotors
Taking care of your brakes regularly enables superior braking performance. A good braking performance is not only needed for sprinted driving, but also for security reasons both on and off-road.
This article applies to the Toyota 4Runner (1984-1995).
Every now and then your brakes need some attention. When the brake pads are getting thin, it is time to replace them for a fresh set of brake pads. When the rotors start to get deep grooves where the brake pads meet the rotors, it is time to replace the rotors as well. Another reason for replacing the rotors is when the rotors are warped. When the rotors are warped, you get a pulsing sensation in the brake pedal, especially when braking semi-hard. Fortunately, it is not a very complicated job to replace the pads and rotors, so it is nothing to really worry about.

Materials Needed
- Socket wrench
- 17mm socket
- Bent nose pliers
- Breaker bar
- Mallet
- Log of wood
- Brake rotors ($100-$400)
- Brake pads ($100-$300)
Step 1 – Jack up front end and remove wheels
Jack the front end of your car up using the dedicated jacking points. Then put the front end on jack stands for safety reasons.
In order to gain access to the brakes behind the wheel, you will need to remove the wheels. So, unscrew the lug nuts and remove the front wheels on each side of the car.
(Related Article: How to Jack Up Your Truck - YotaTech.com)
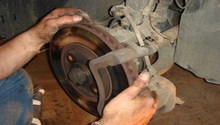
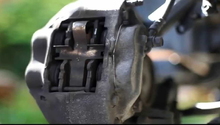
Step 2 – Remove the brake pads
The brake pads are held in place by two pins that are locked in place by a locking clip. First pry out the locking clip from the ends of the two pins. This can be done with your fingers.
Once the locking clip is pulled out from the pins, pull out the two pins using, for example, a bent nose pliers.
When the pins are removed, there is a support bracket that will basically fall off by itself. Or, you can remove it when the upper pin has been removed.

Now remove the locking clip completely from the caliper by prying it out of the hole in the caliper with your fingers (the hole is in the middle of the brake caliper). When the locking clip is completely removed, it should be possible to remove the brake pads. Use your fingers or, if the pads are stuck, use the bent nose pliers to pry them out.
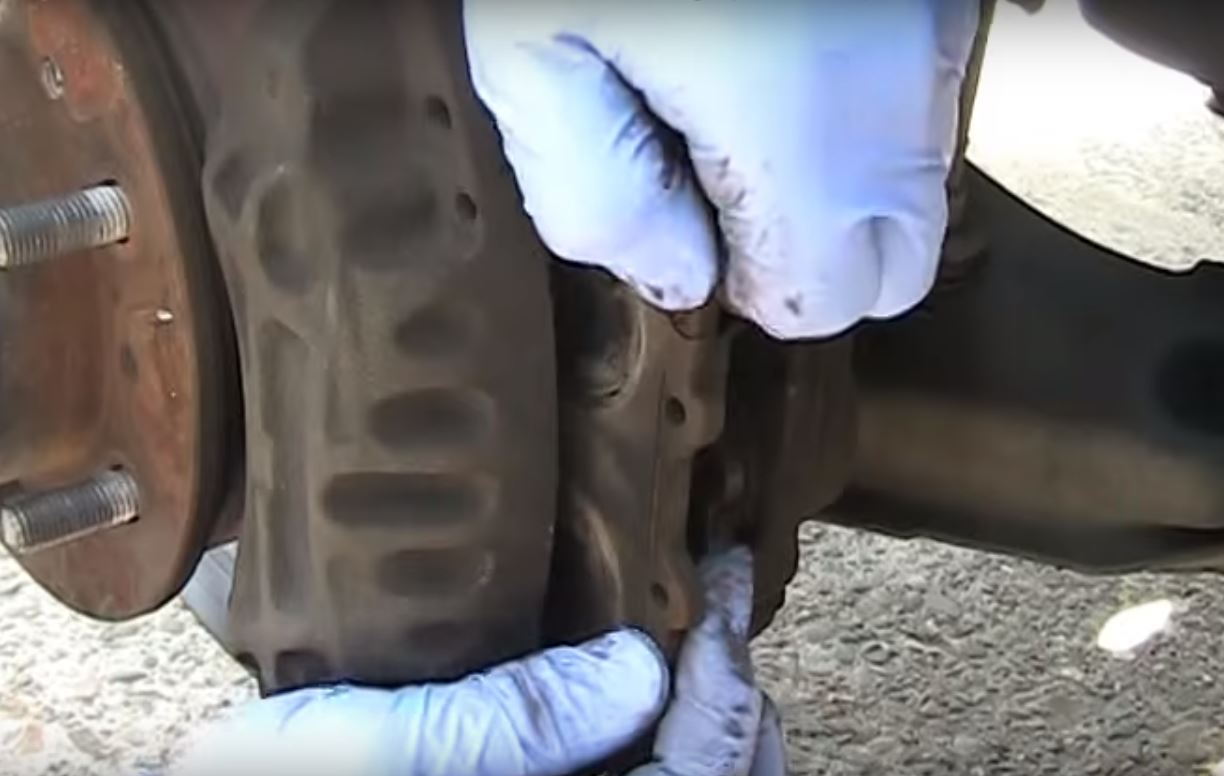
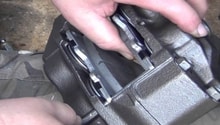
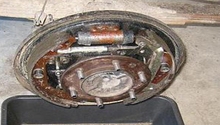
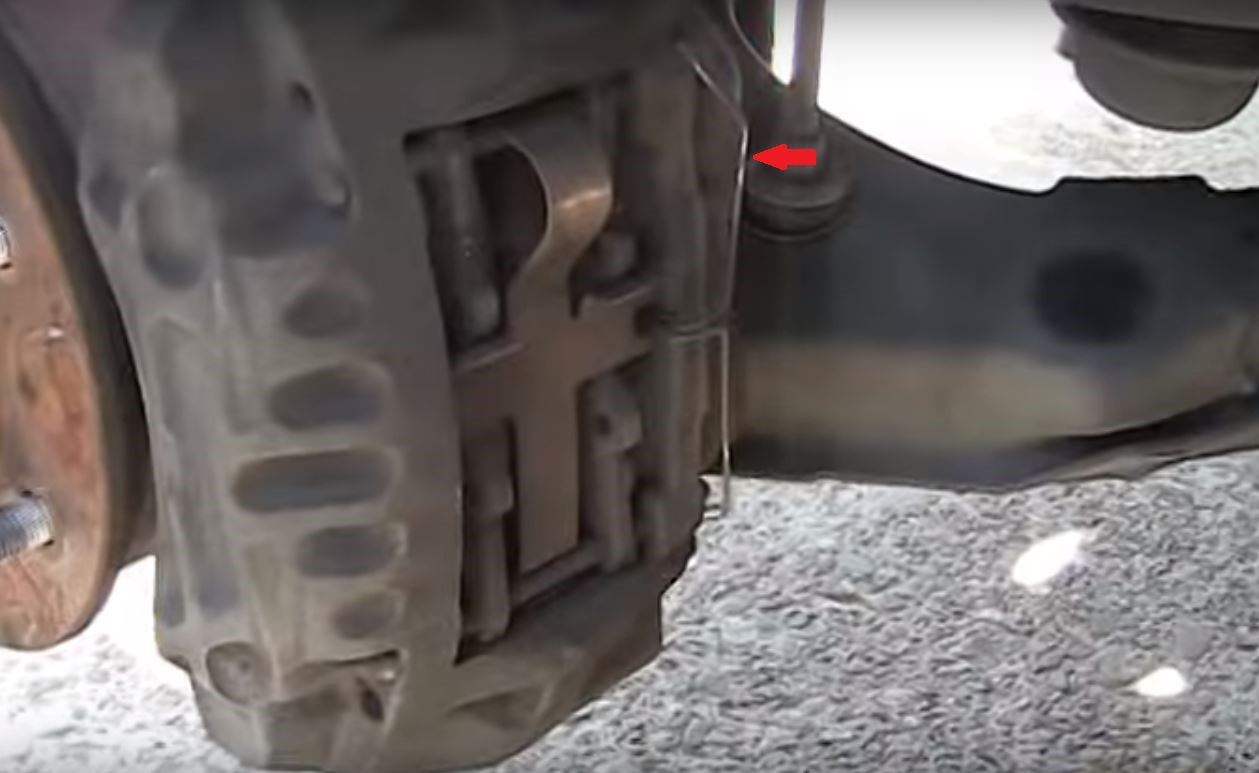
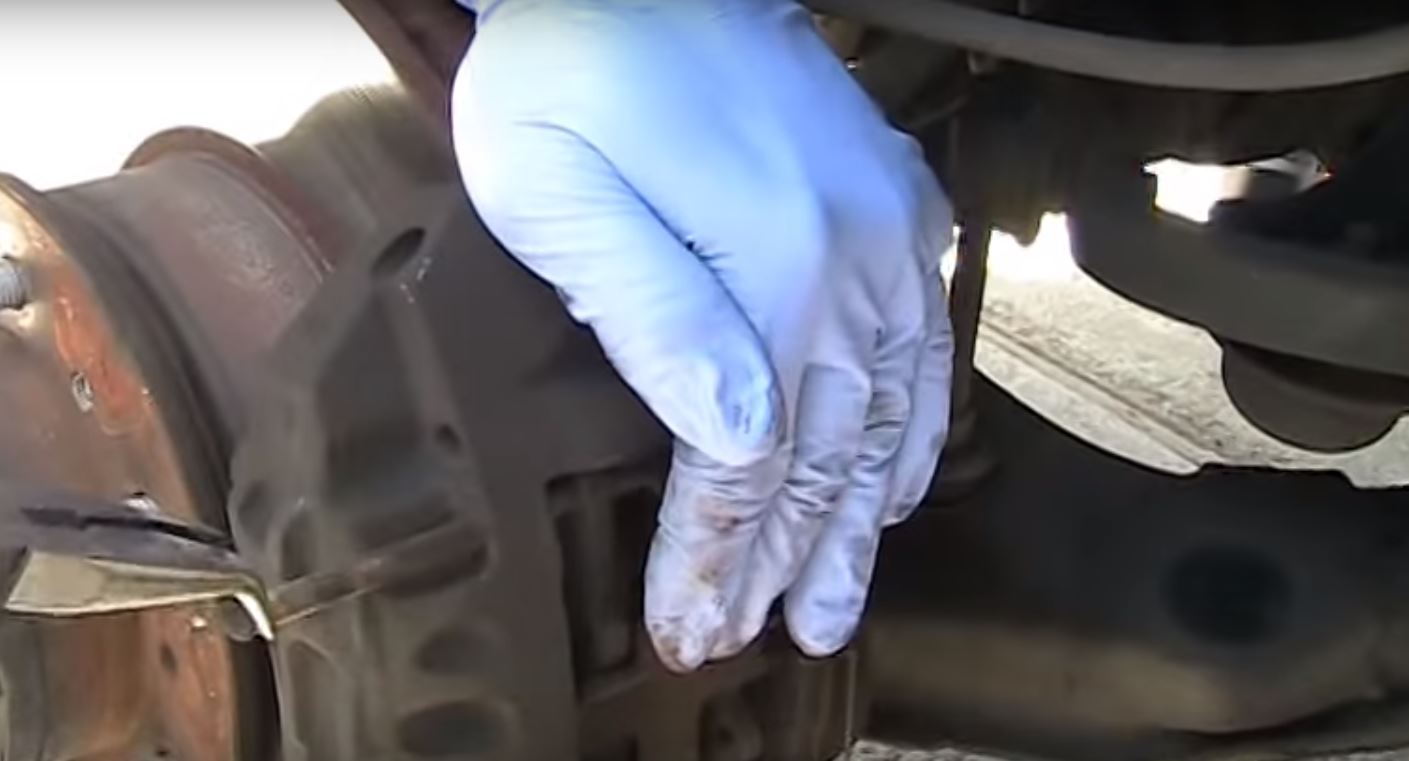
Step 3 – Remove the brake rotors
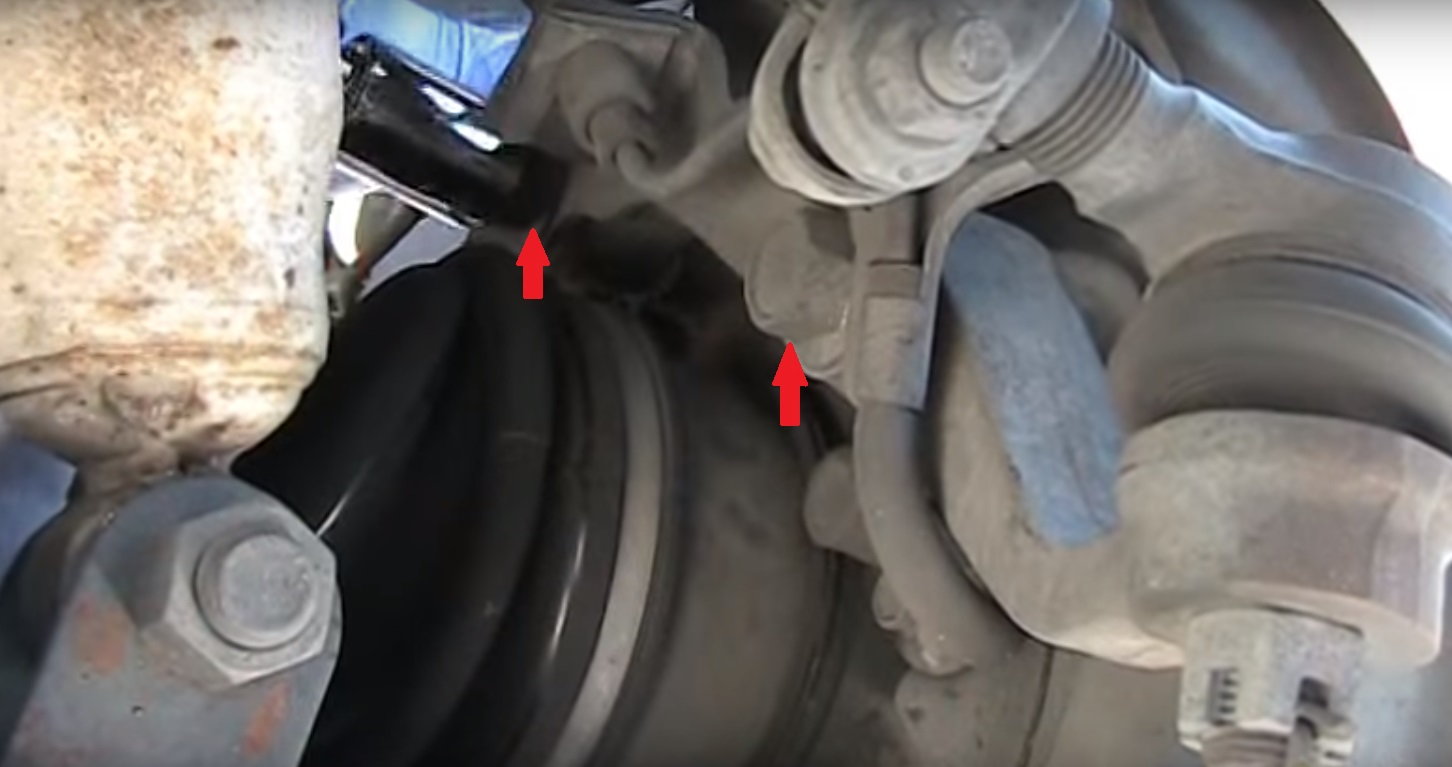
To be able to remove the brake rotors, the entire caliper has to be removed first. The calipers are held in place by two 17mm bolts behind the wheel assembly. Use a breaker bar to get the bolts loose and then continue with a socket wrench to unscrew them.
Once the brake calipers have been removed, put a log of wood or similar under the wheel assembly and let the calipers rest on it. Do NOT let the calipers hang by the brake hose, since that could damage the brake hose.
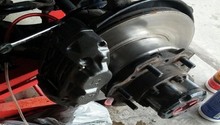
When the calipers are off, the brake rotors can be simply removed by pulling them out. If the brake rotors are stuck, gently hit them with a mallet around the edges to get them loose.
Step 4 – Reassemble everything
When all the parts described above have been removed from the car, it is time to reassemble everything again. Just put everything back in the reverse order as above. Assemble the rotors onto the hubs. Reattach the caliper via the two large bolts back onto the hub assembly. Torque the caliper bracket bolts to 90-ft lbs. Fit the brake pads inside the caliper. Reinstall the pad retaining pins. Put the wheels back on the truck and lower it off the jack stands.
When everything is back on the car, get in the driver's seat and pump the brake pedal a few times until the pedal feels firm and provides resistance when pressed (just as it used to before the rotors and brake pads swap).
Then, finally, go for a test drive to make sure that the brakes work as they are supposed to.
Featured Video: DIY 4Runner Front Brake Job
Related Discussions
- Front Brake Pads - YotaTech.com
- Replacing Rotors - YotaTech.com
- Front Brake Job - YotaTech.com
- Front Rotor Replacement - YotaTech.com
- How to Change Rotors - YotaTech.com